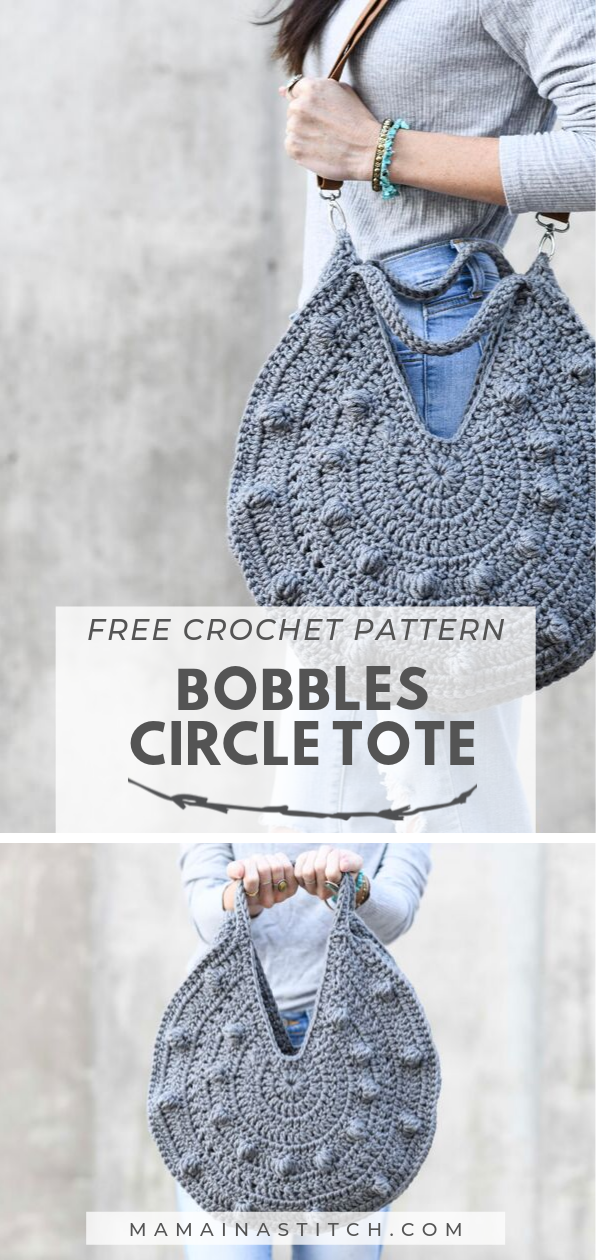
Bobbles Circle Tote Crochet Pattern
Scroll down to see the free Bobbles Circle Tote Crochet Pattern below, or you may choose to purchase the advertisement-free, printable pattern from my Etsy shop HERE
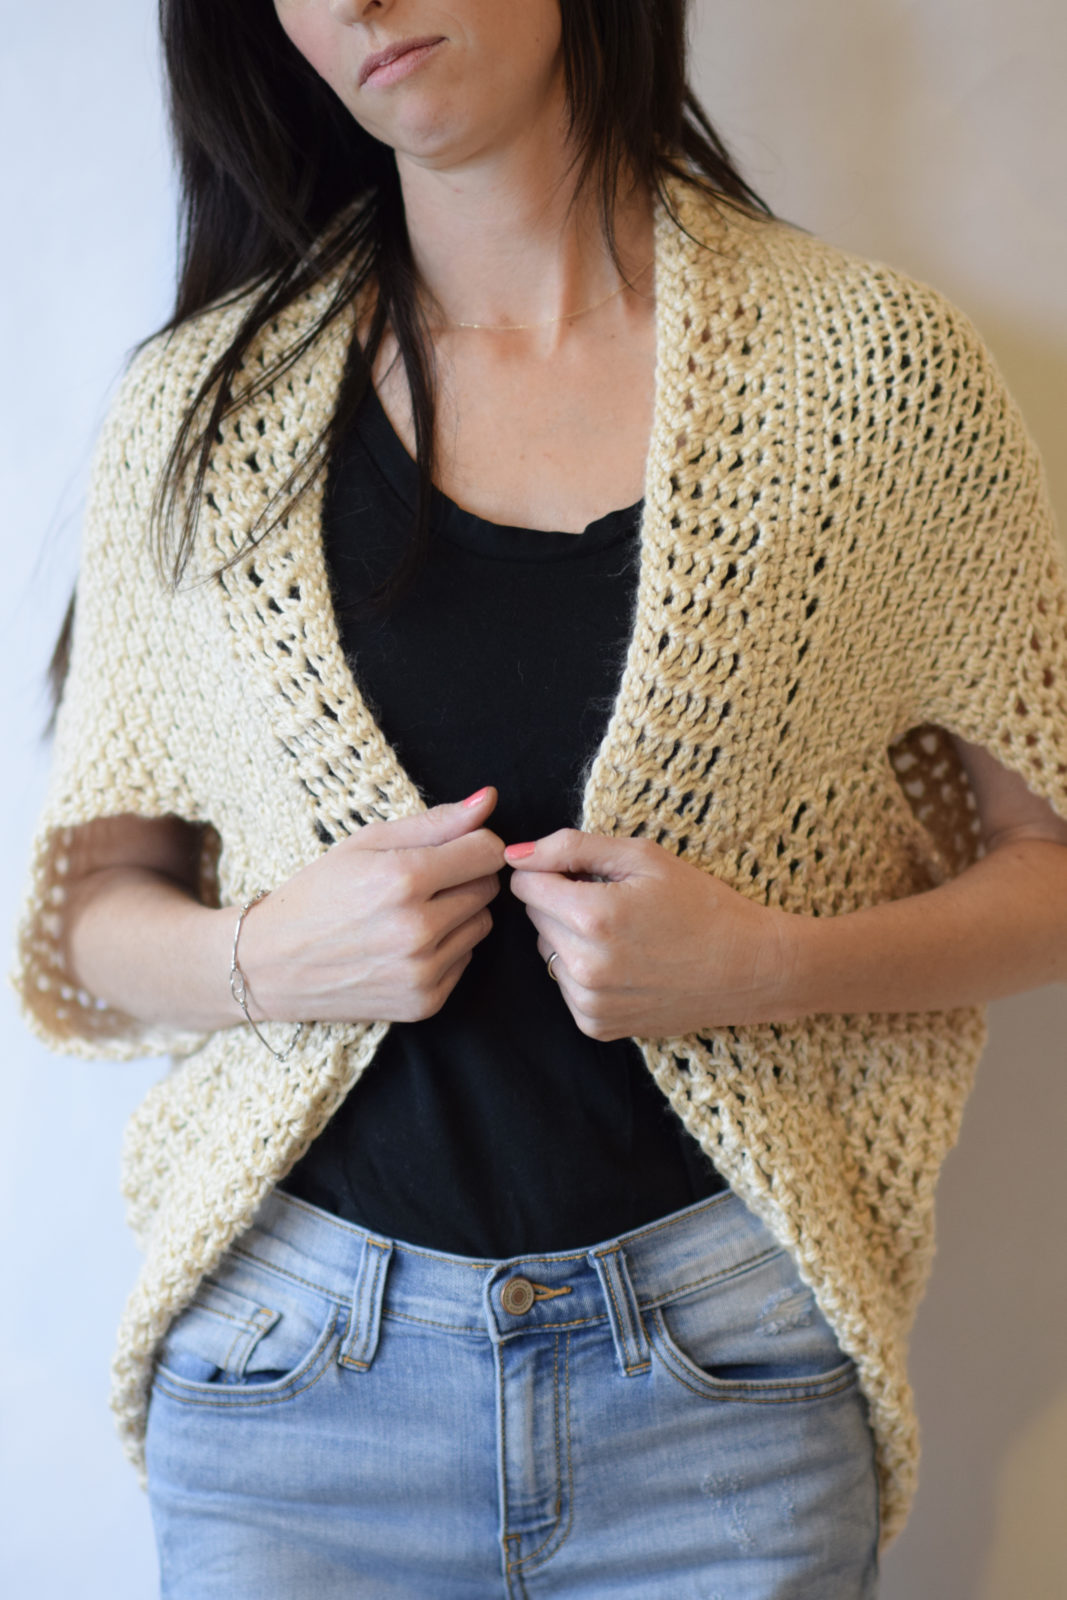
The Summer Circle Bag (here) that I made a few months ago was a lot of fun and became quite popular with several of you. While I love that bag for the warmer months, it doesn’t fare as well for the winter. It’s got a very open, airy, straw-like feel. Enter today’s “Bobbles Circle Tote Crochet Pattern”! Hehe! It’s easy to crochet and has a professionally made appearance. And as you know, bobbles are all the rage right now. 😉
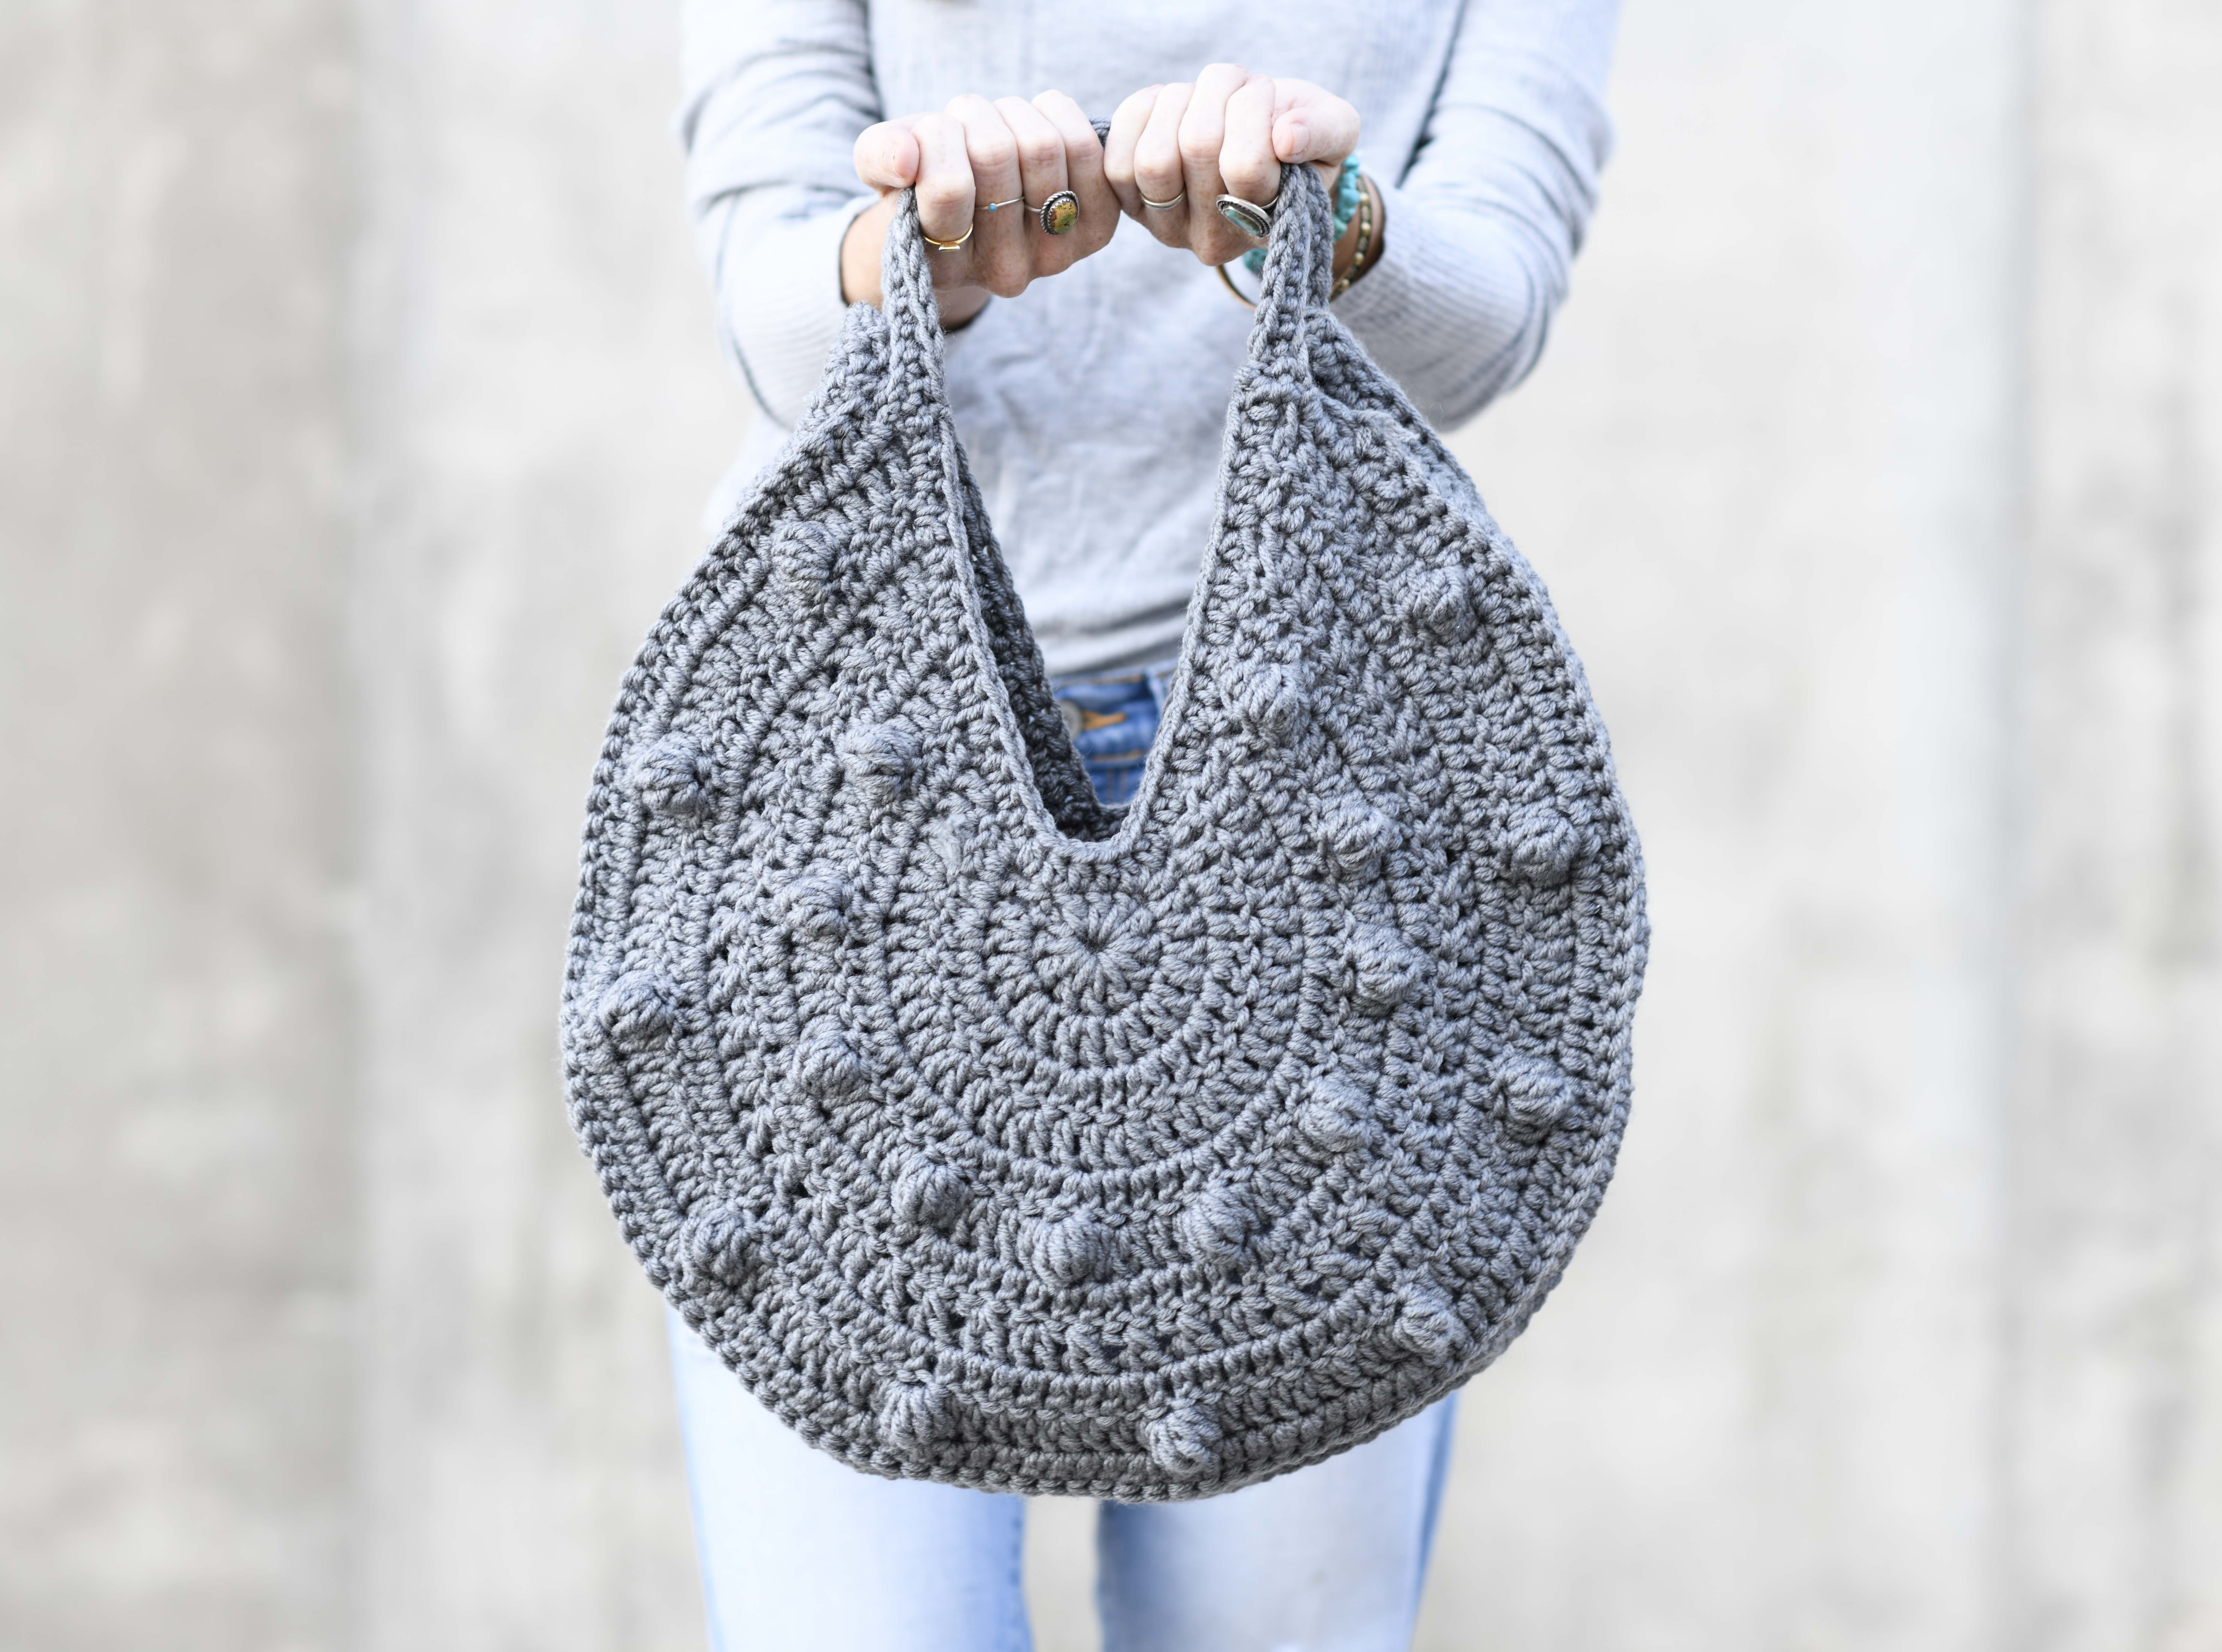
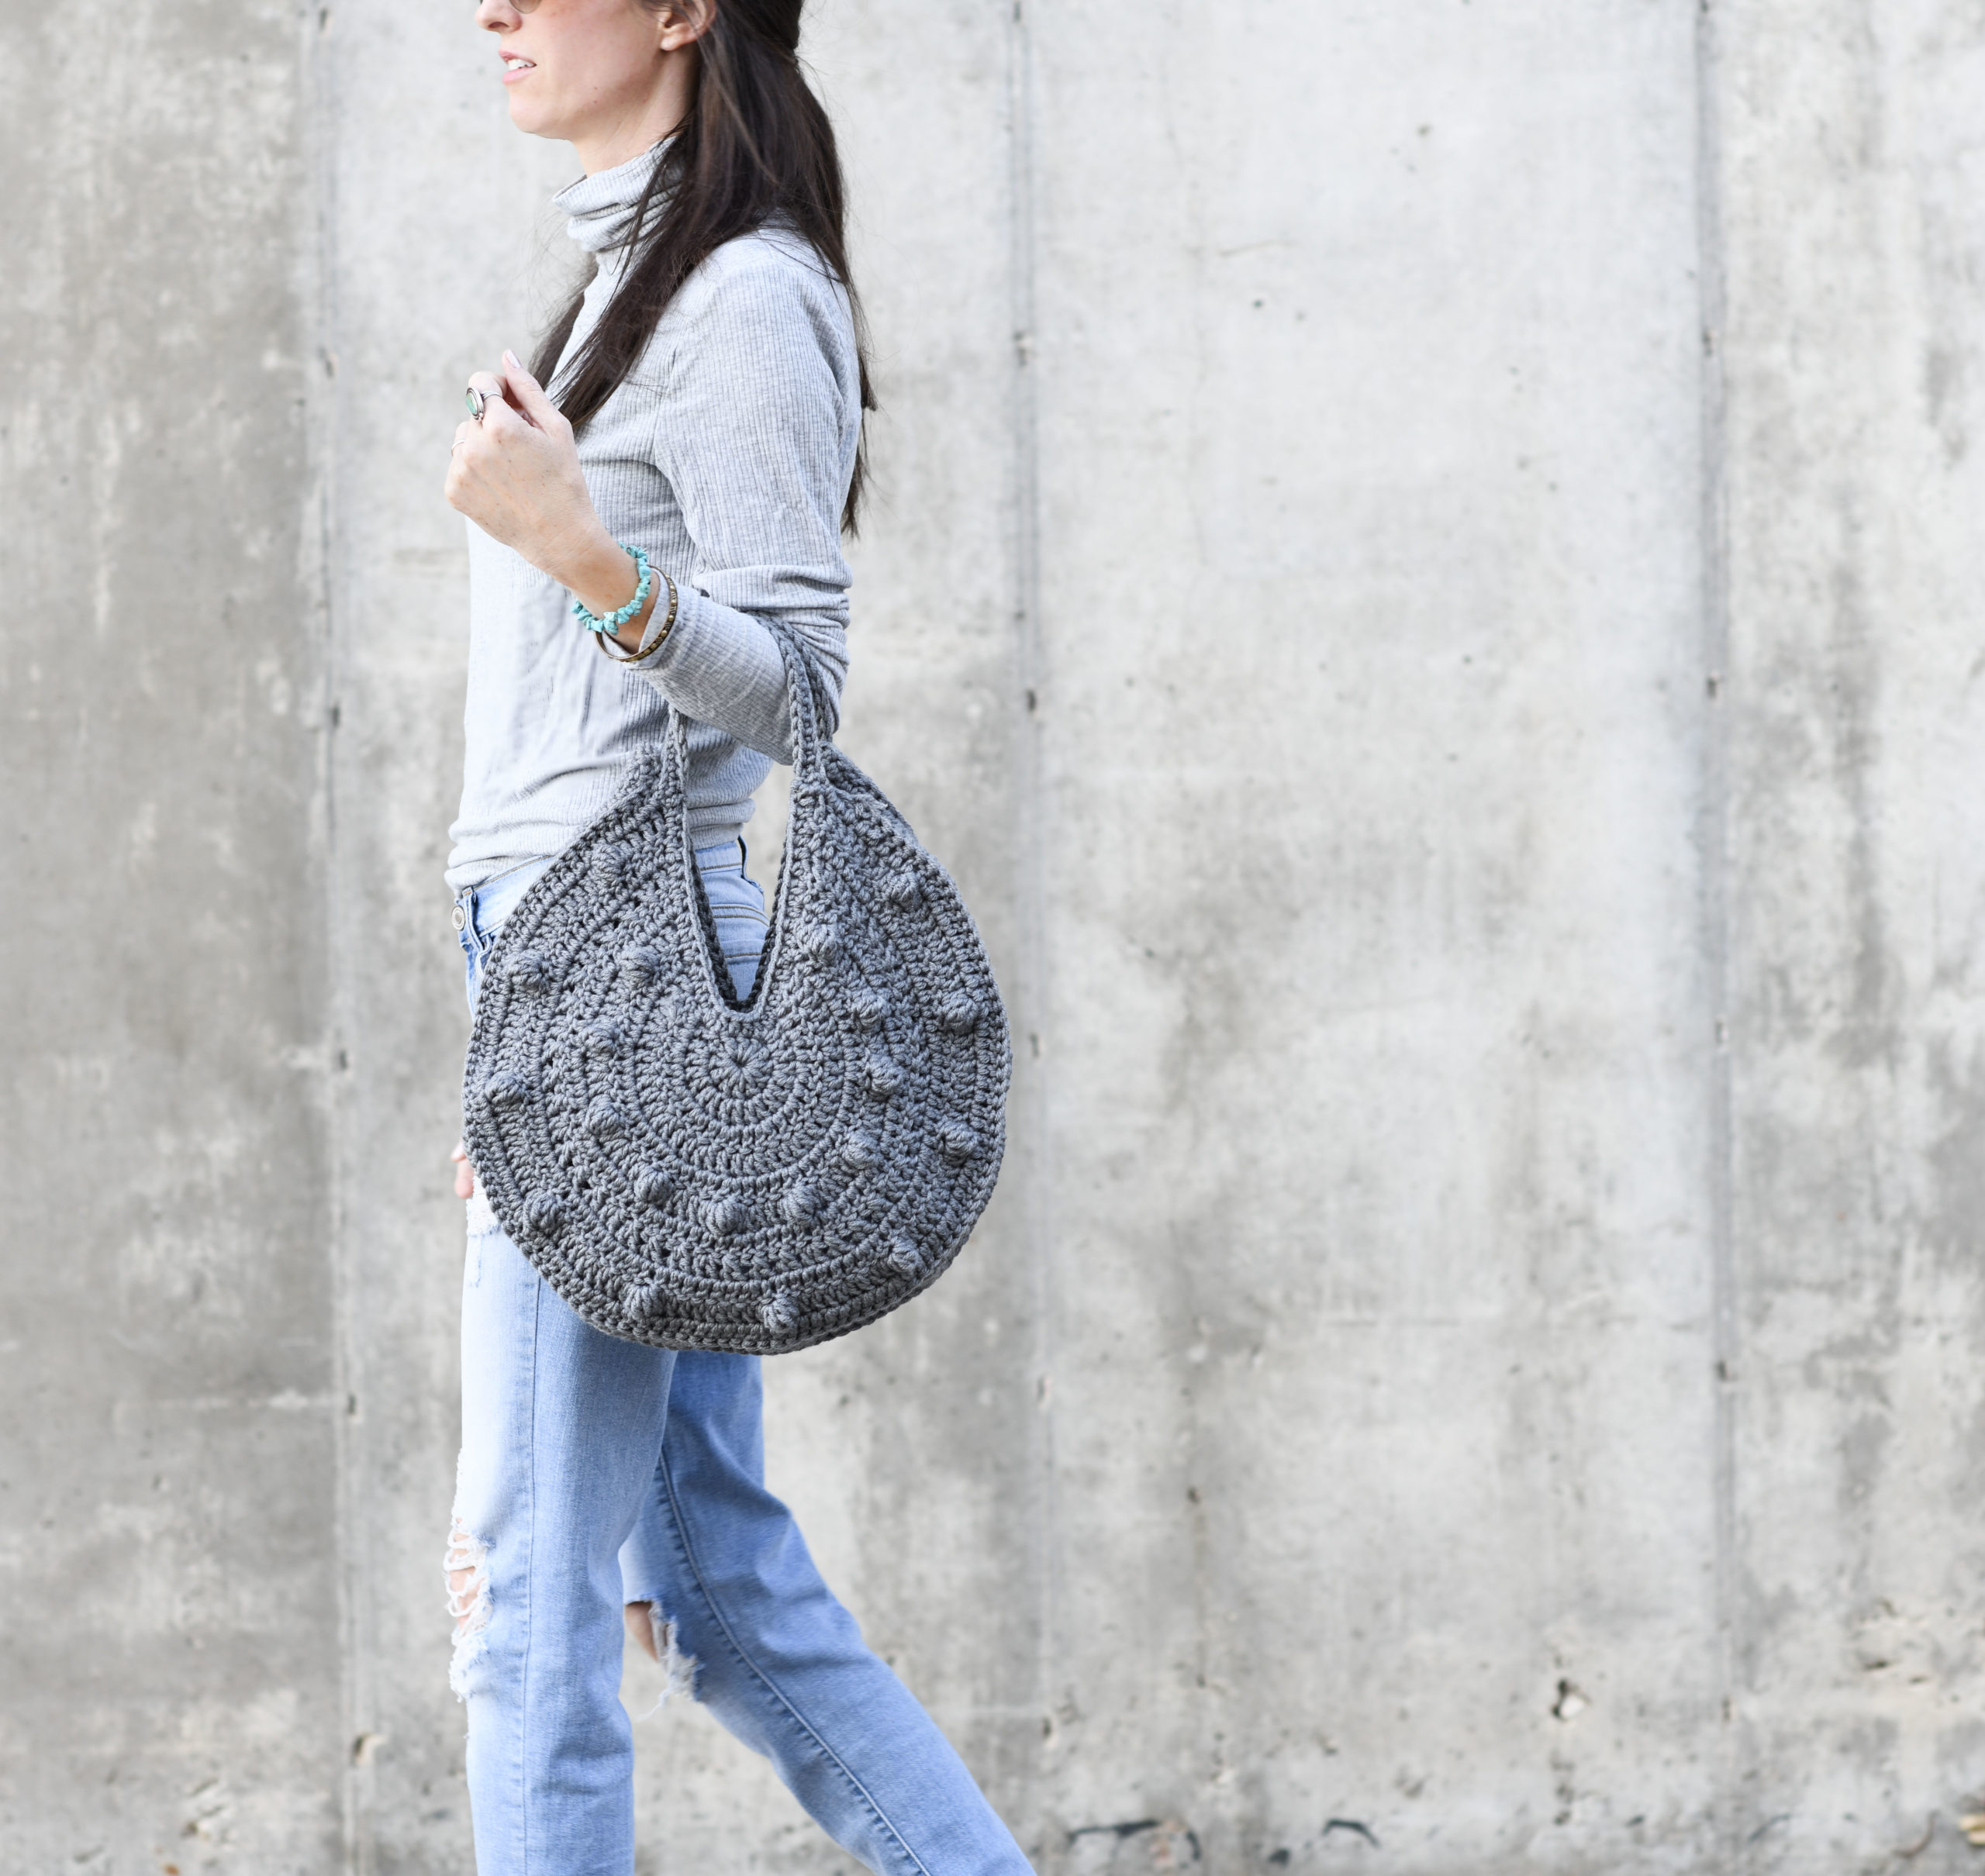
I made this circle bag in a similar fashion to my summer version, only this one’s made with a nice, chunky yarn rather than jute. It also has a different opening on top and is slightly larger as well! The bobbles add a playful, trendy look to the bag and the Basalt Grey color goes with everything. I really love this tote for the fall and winter. The yarn is soft but sturdy and isn’t at all fuzzy.
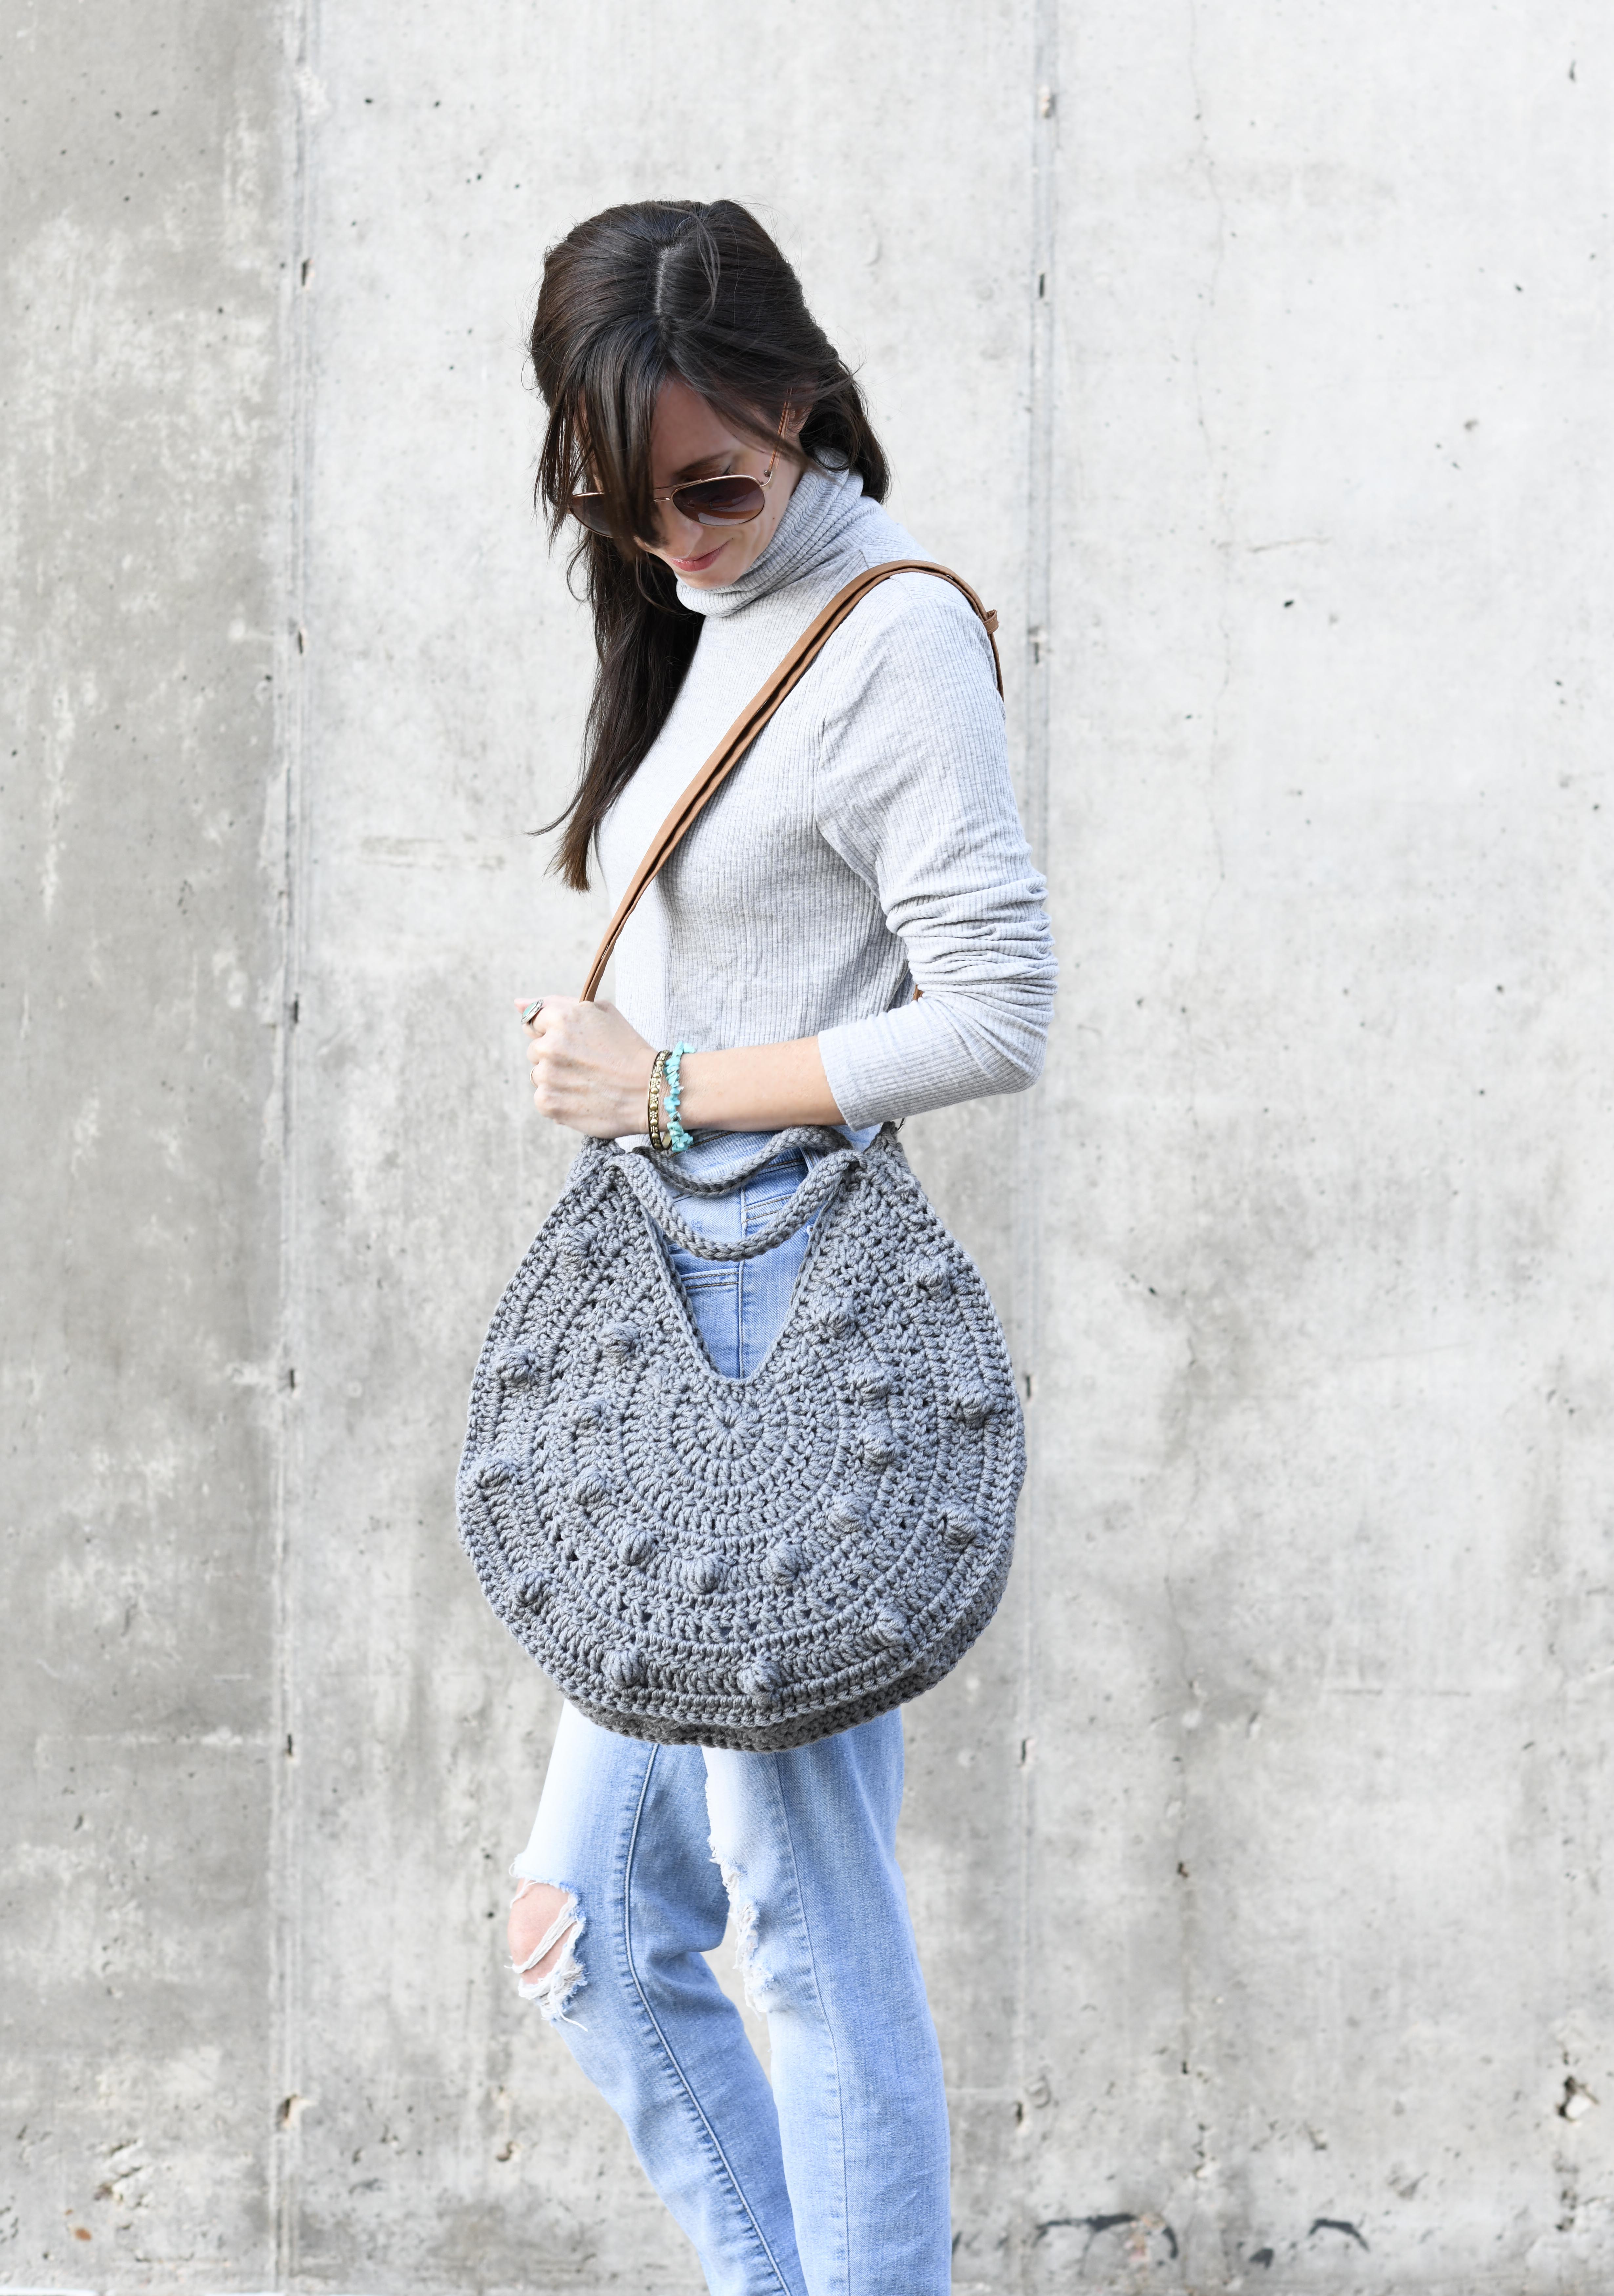
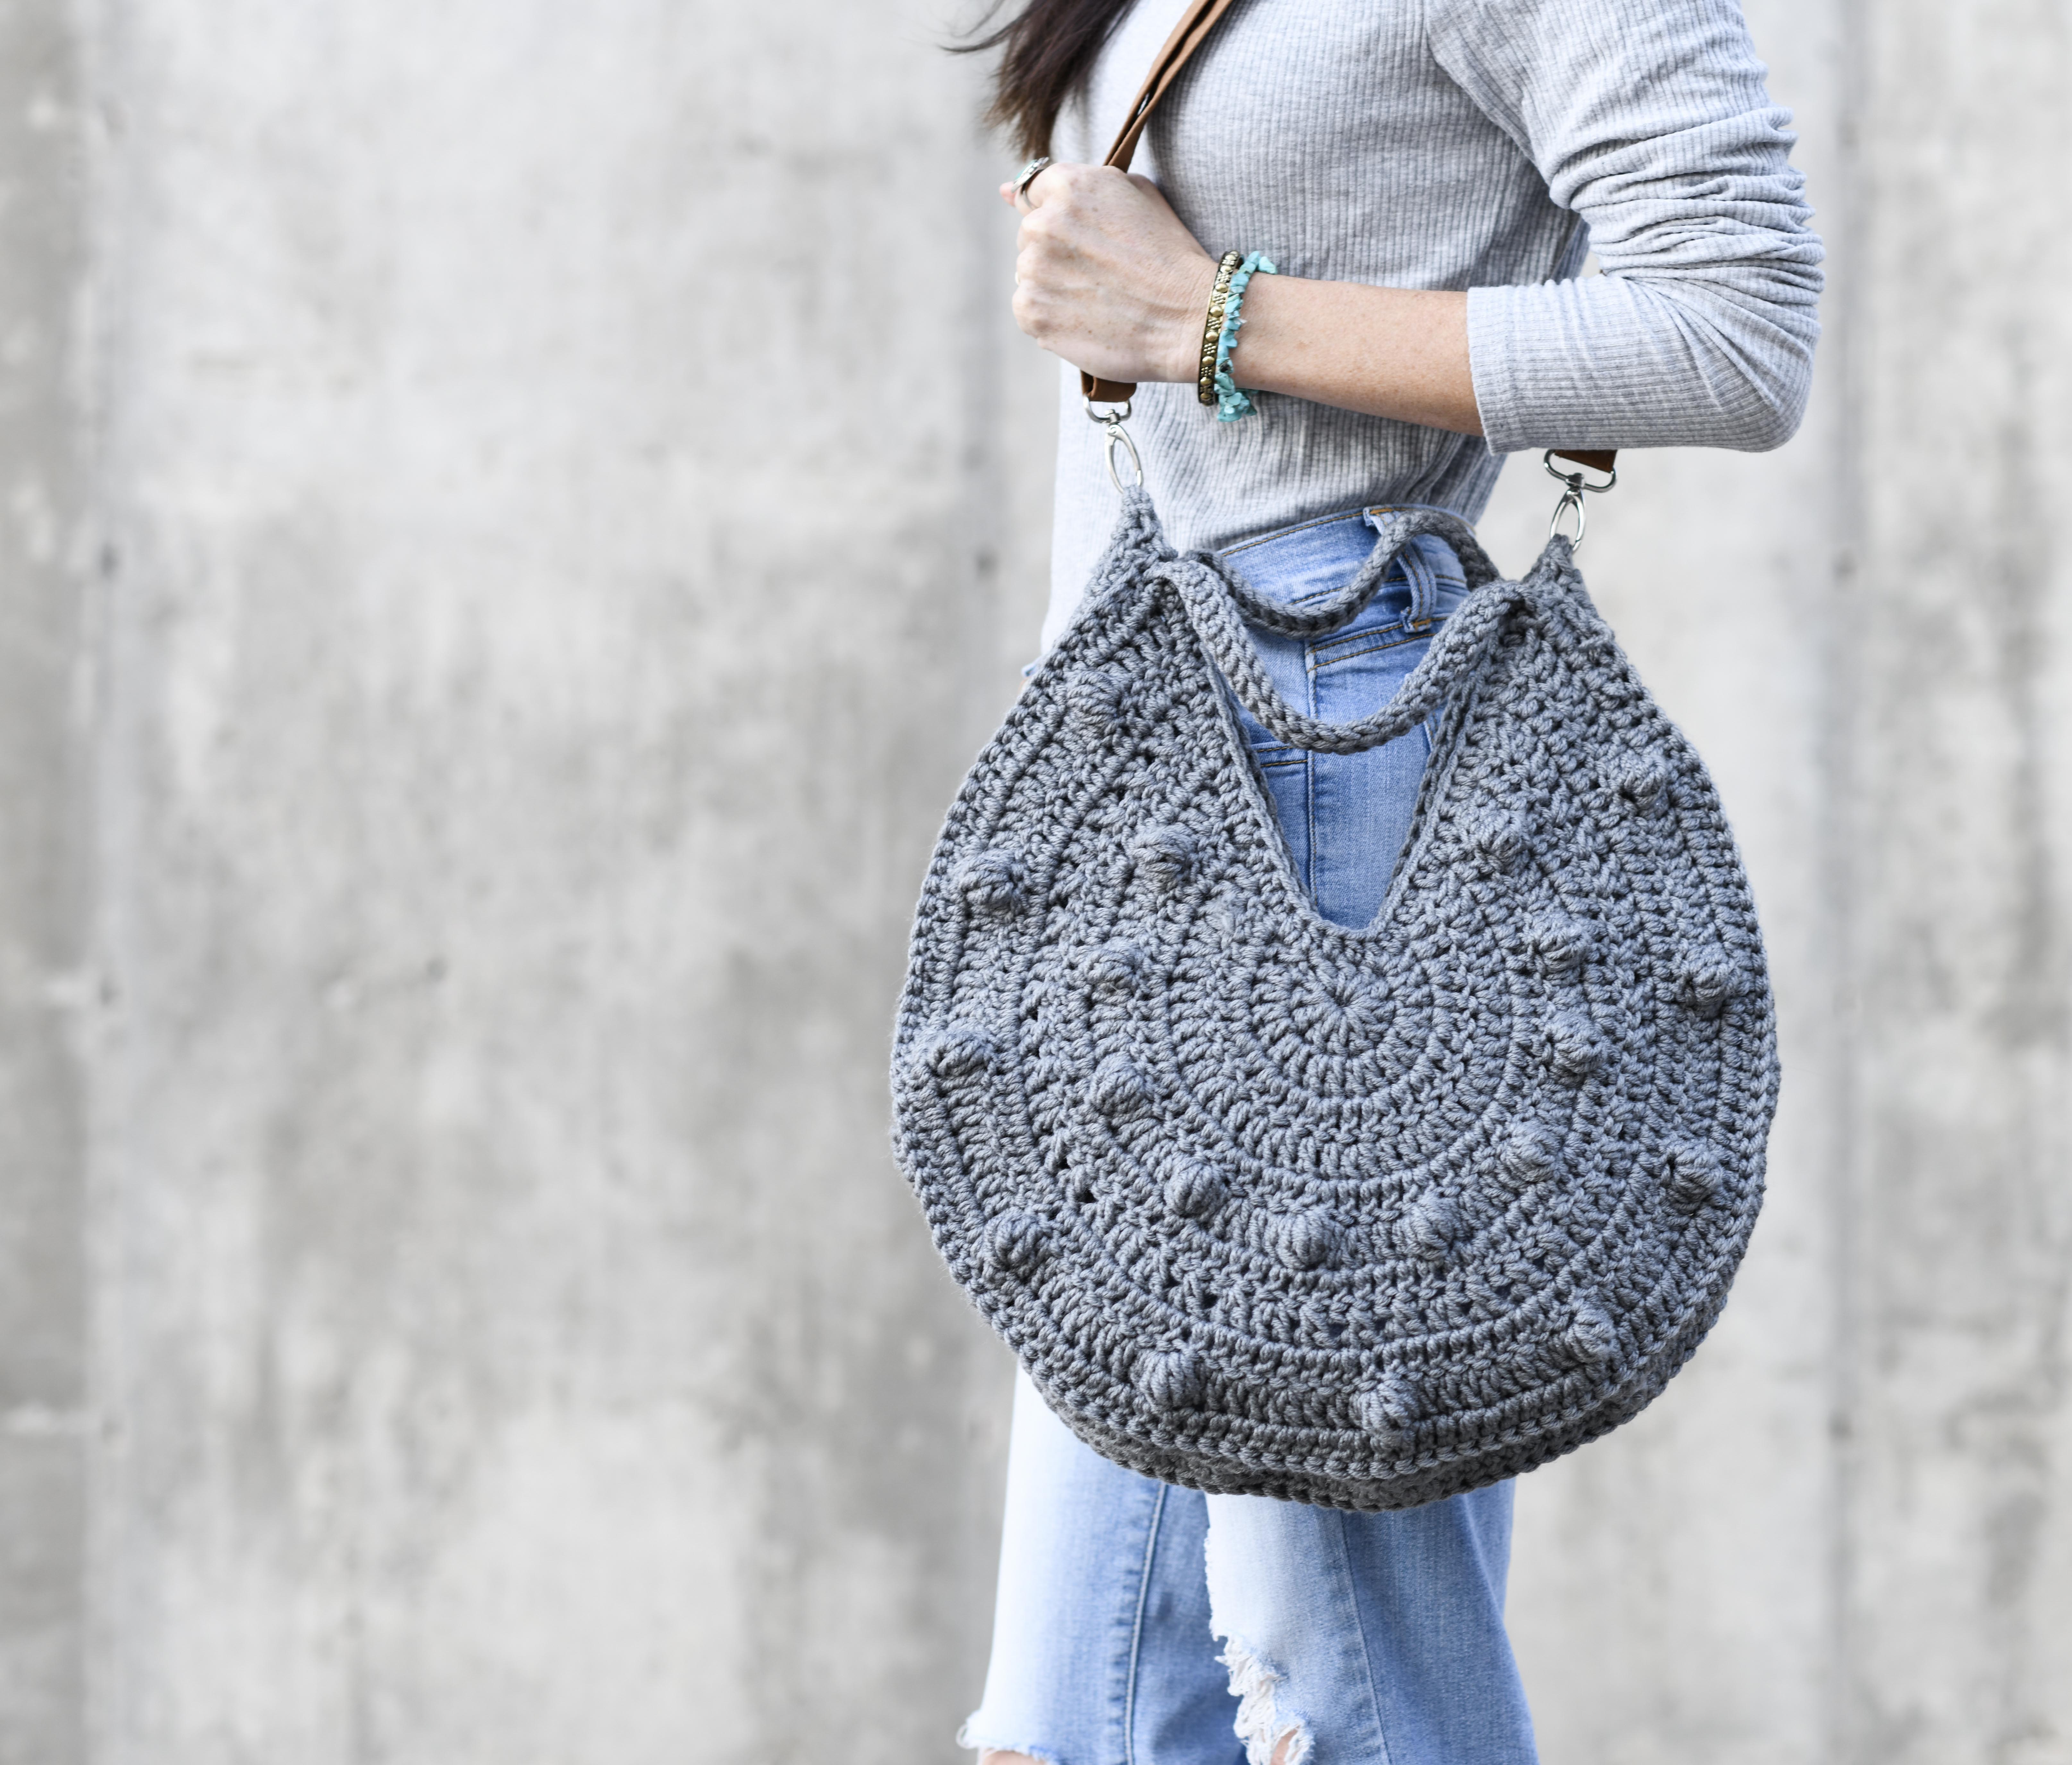
Circle bags have continued to maintain popularity for a while now so it’s fun when you can make your own. As you can see above, I added a store bought strap to mine which makes it look kind-of professionally made, don’t you think? I got this one at Jo-Ann’s but I’ve seen various styles at several different stores over the years. You might remember my Aspen Mountain Knit Bag, or Camel Bucket Bag, both of which also use store bought handles. Sometimes those handles give the bags the finishing touch that they need!
You’ll see in the pattern below that you’ll be making two sides, a base and handles. The bag works up fairly quickly with the chunky yarn and it’s a lot of fun to see the bobbles pop as you go!
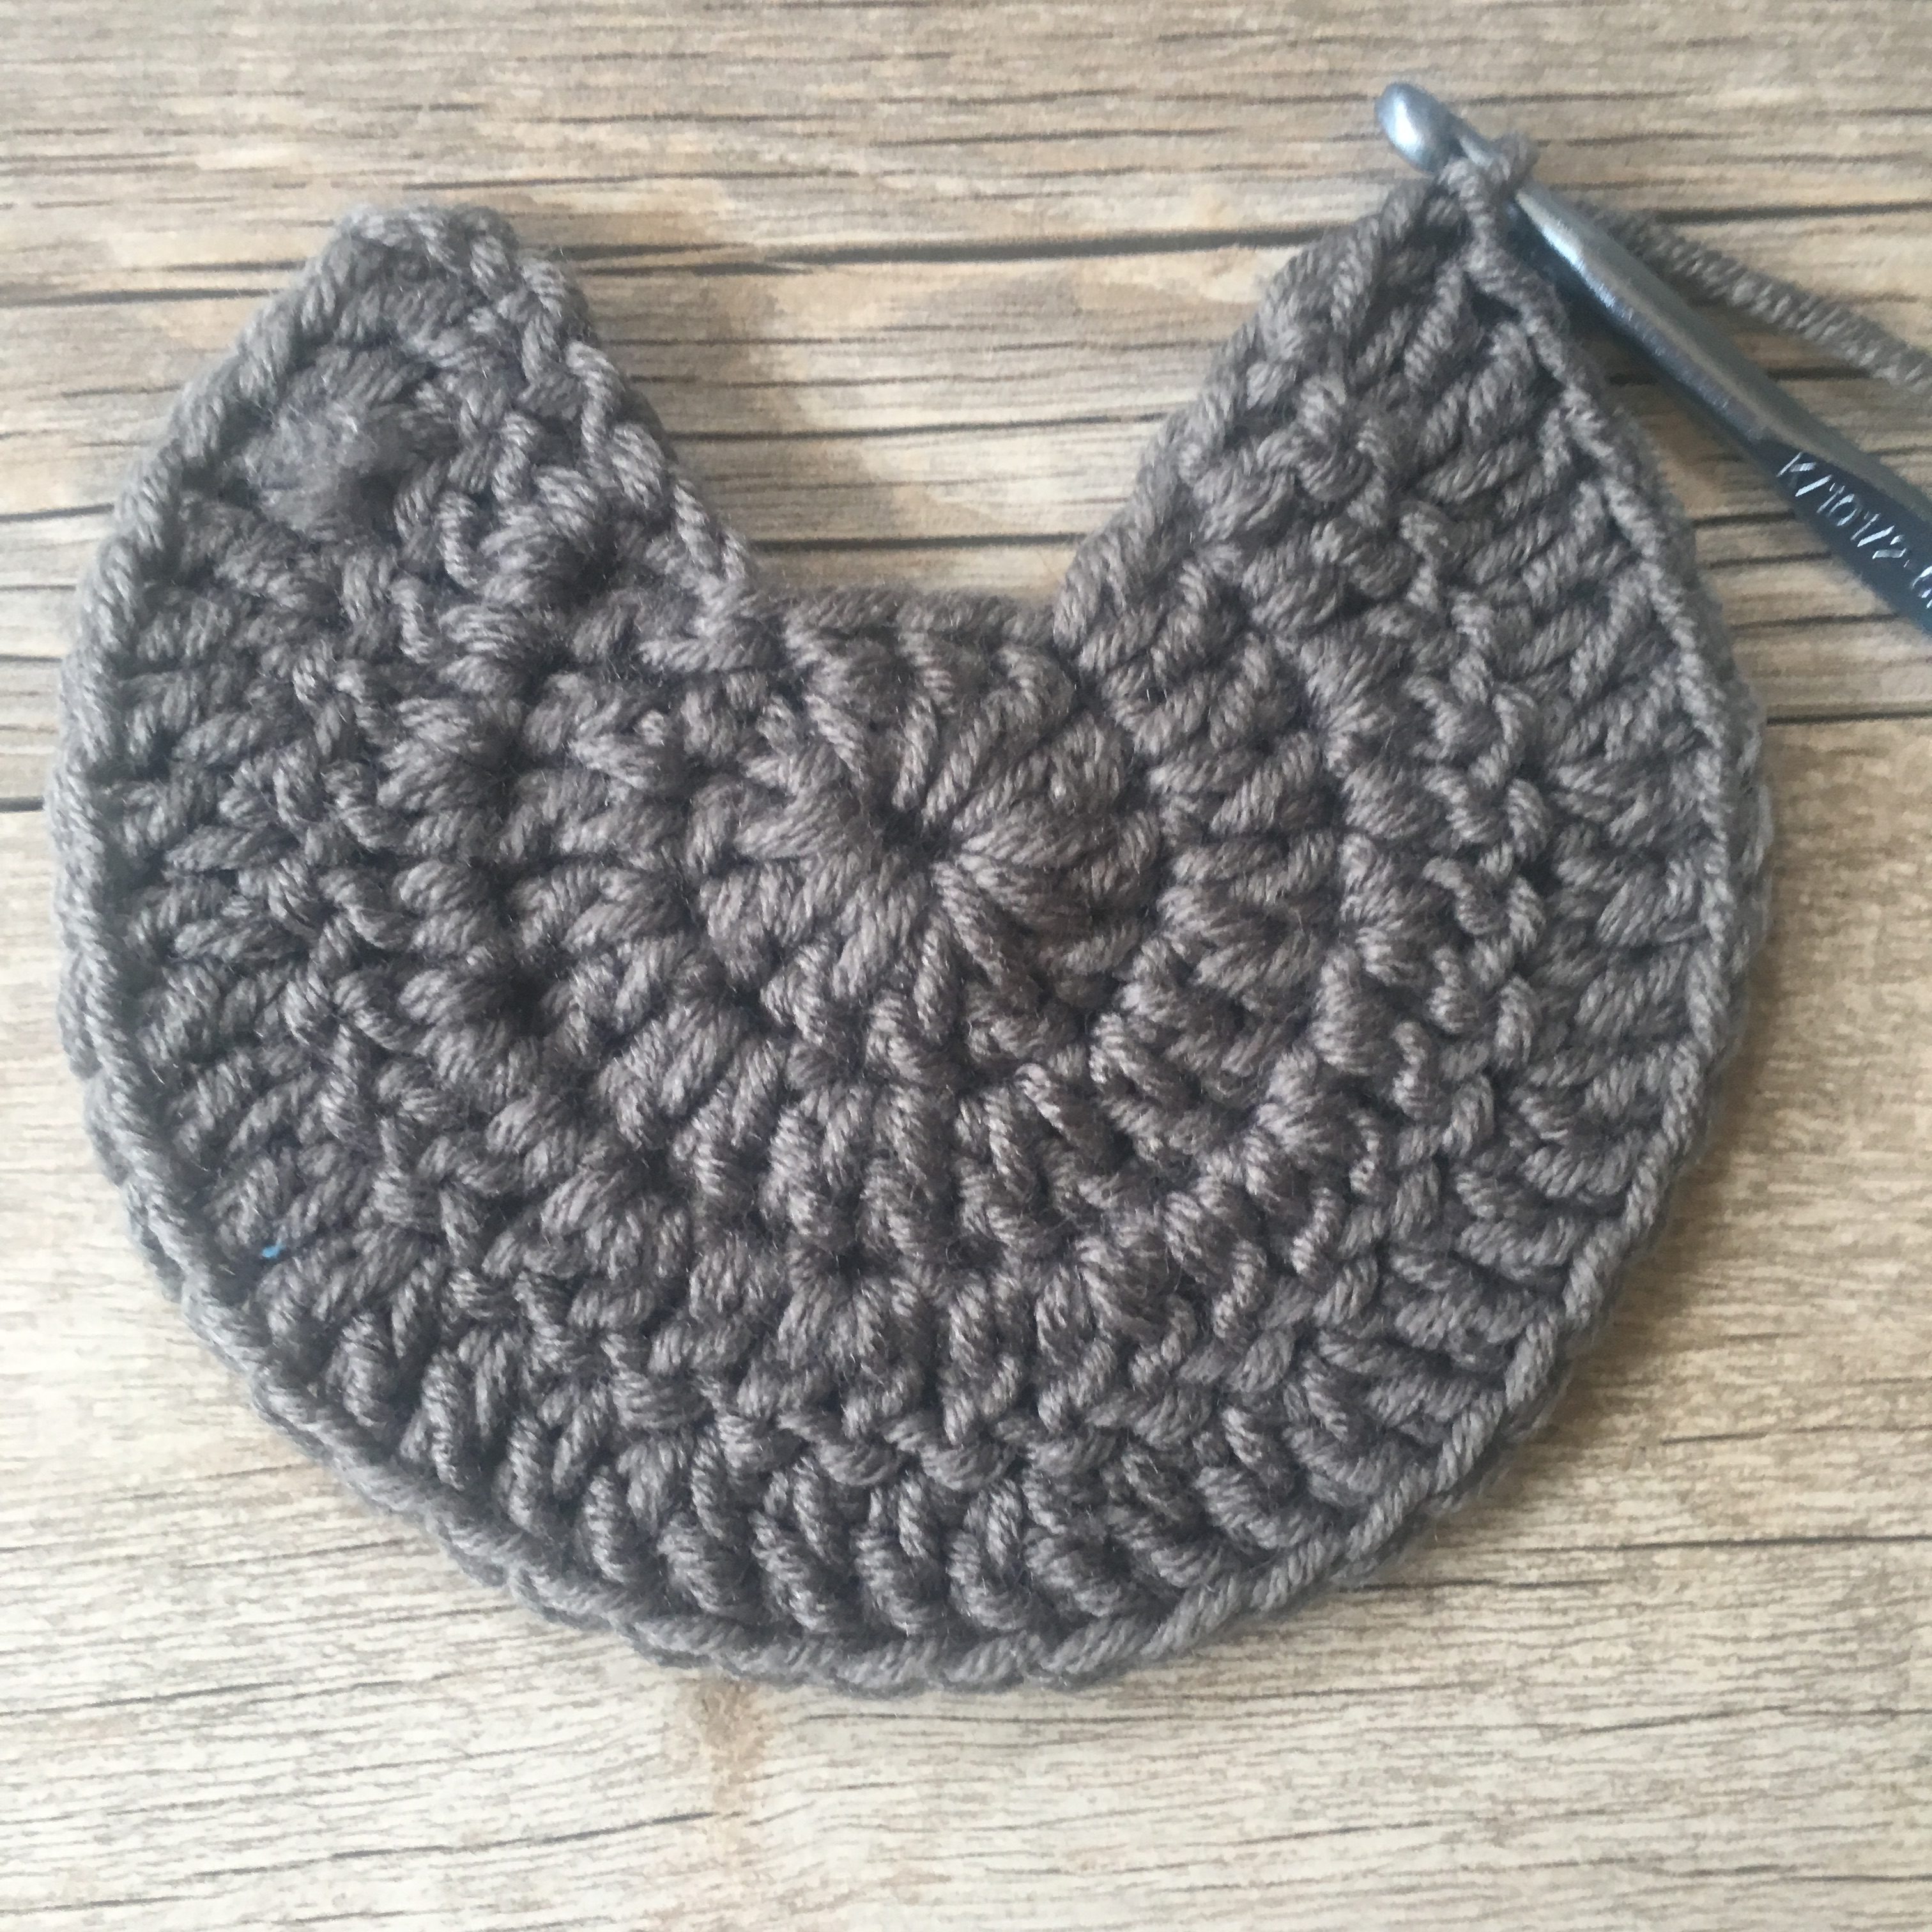
Above: A few rows in an looking good 🙂
Above: The bobbly row’s all done
Above: A few more rows to go!
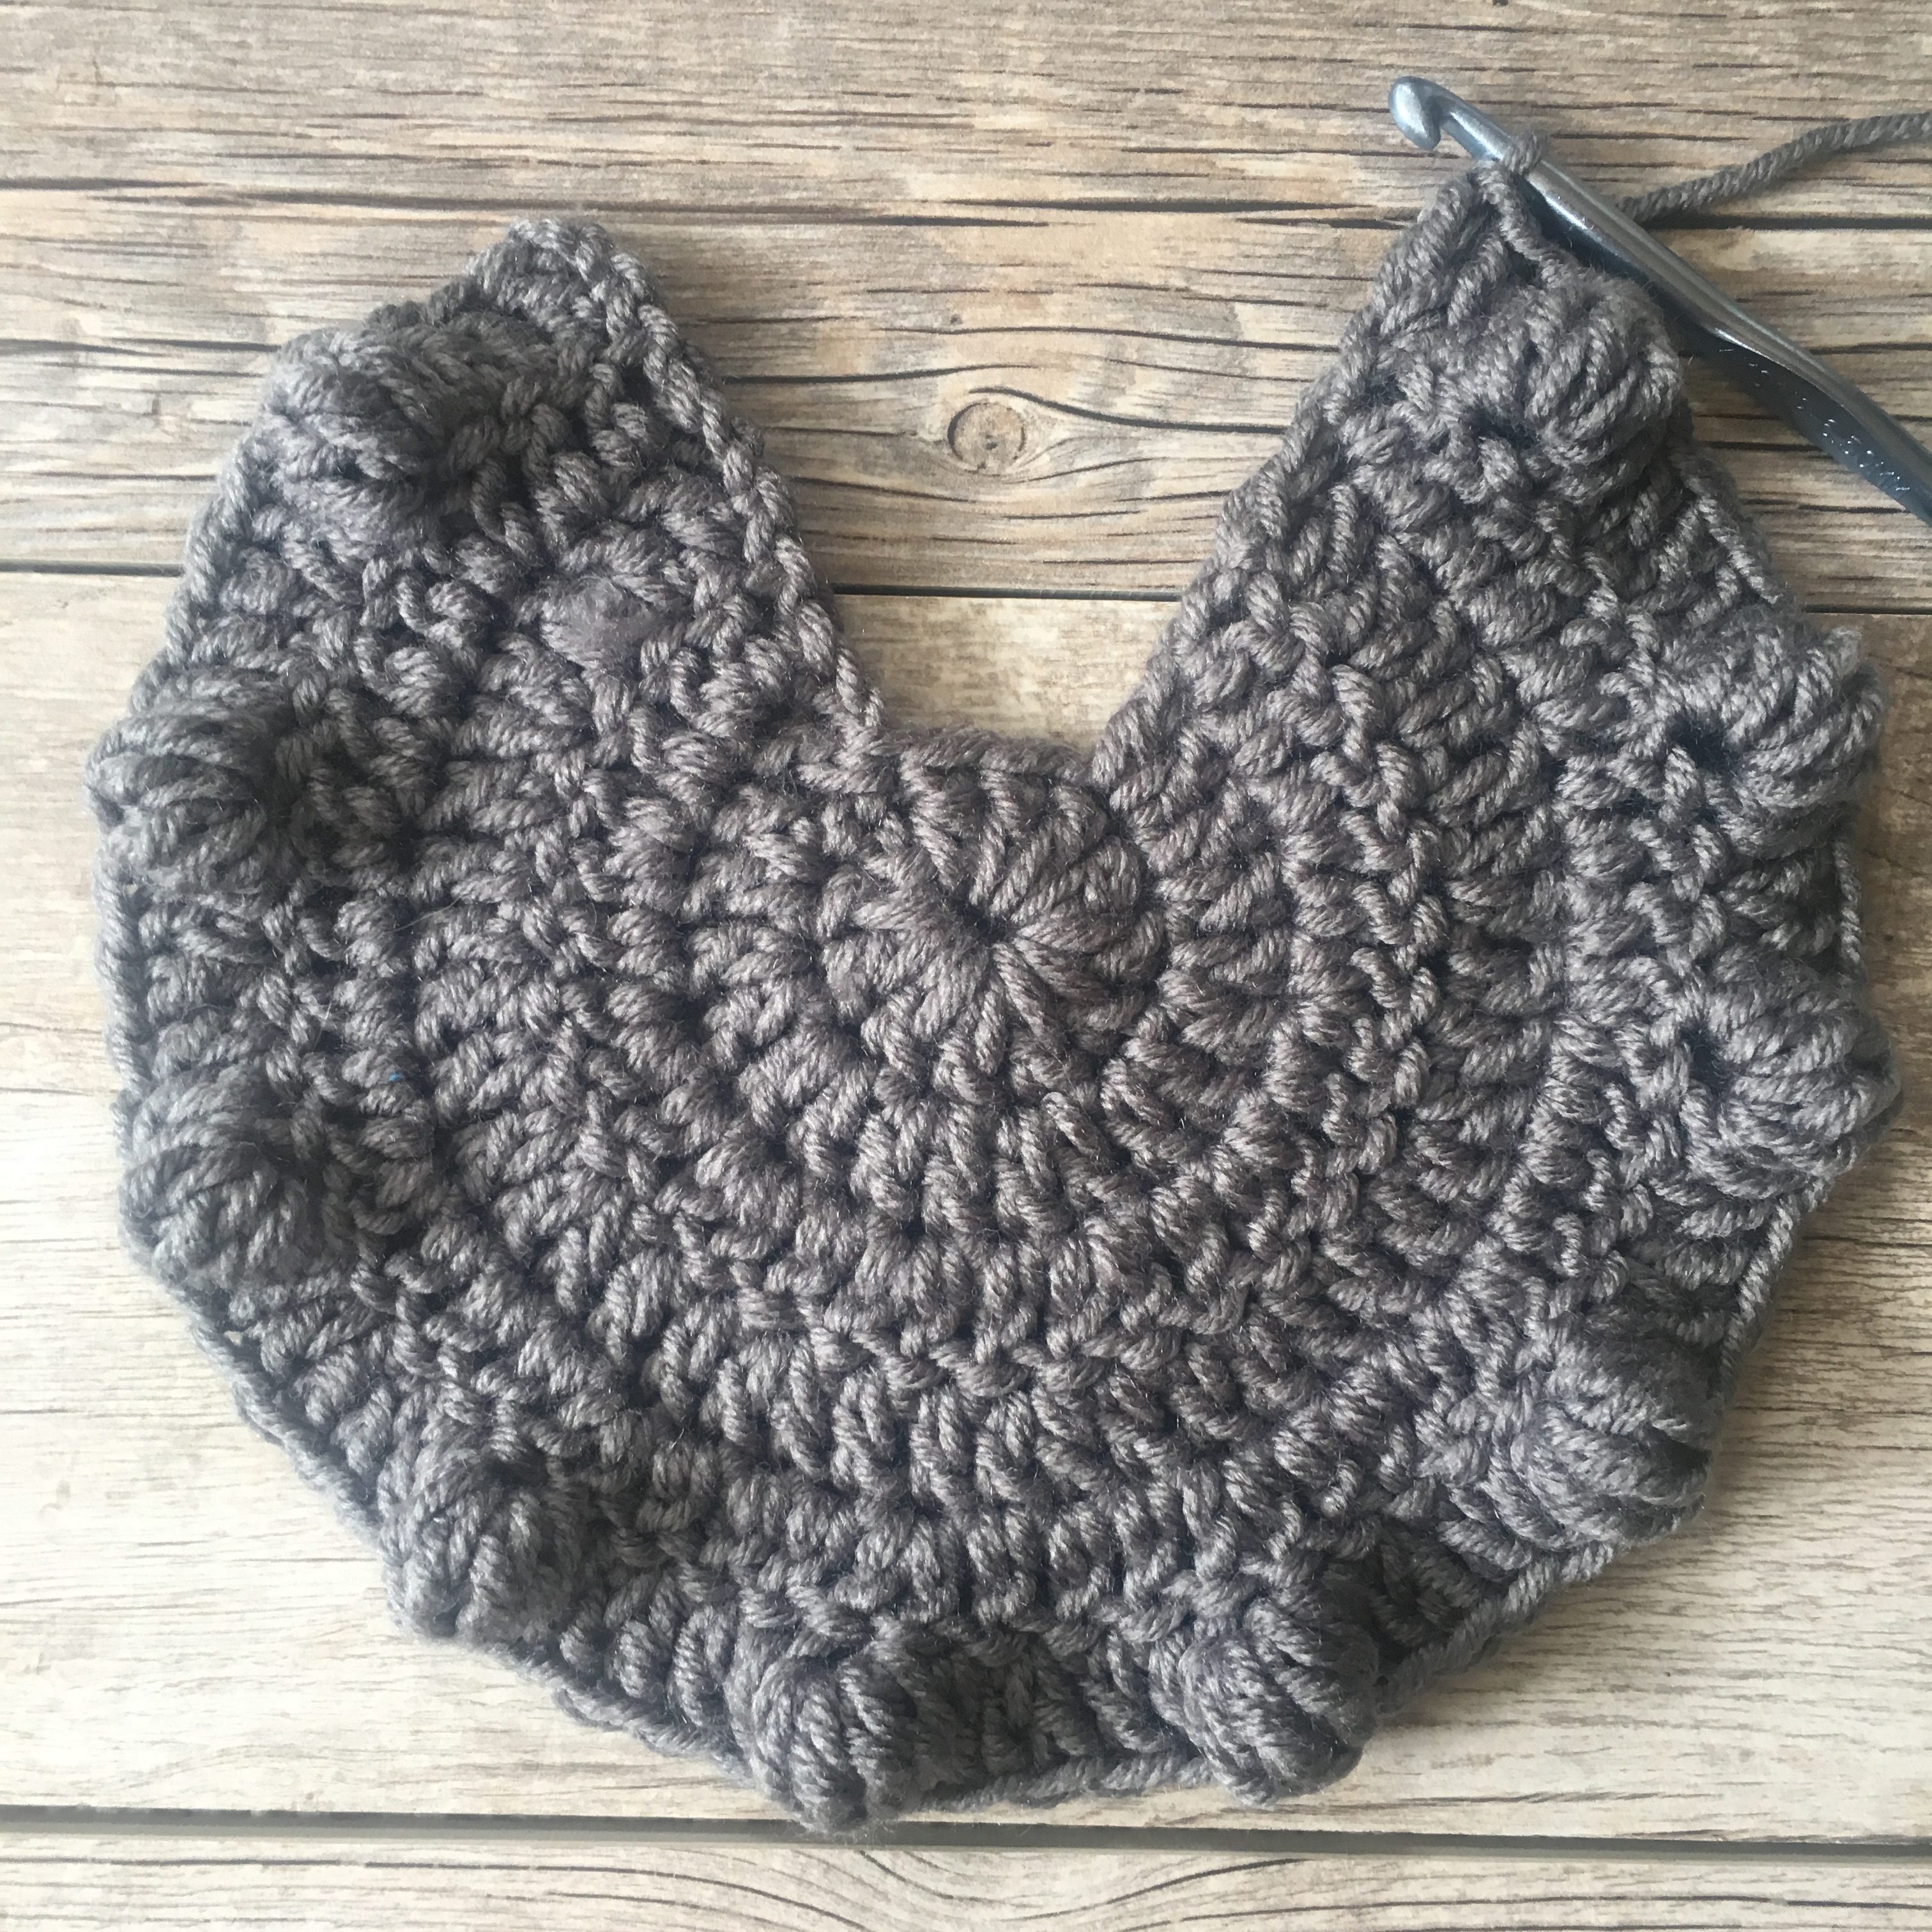
Above: All done with one side and now getting started on the base
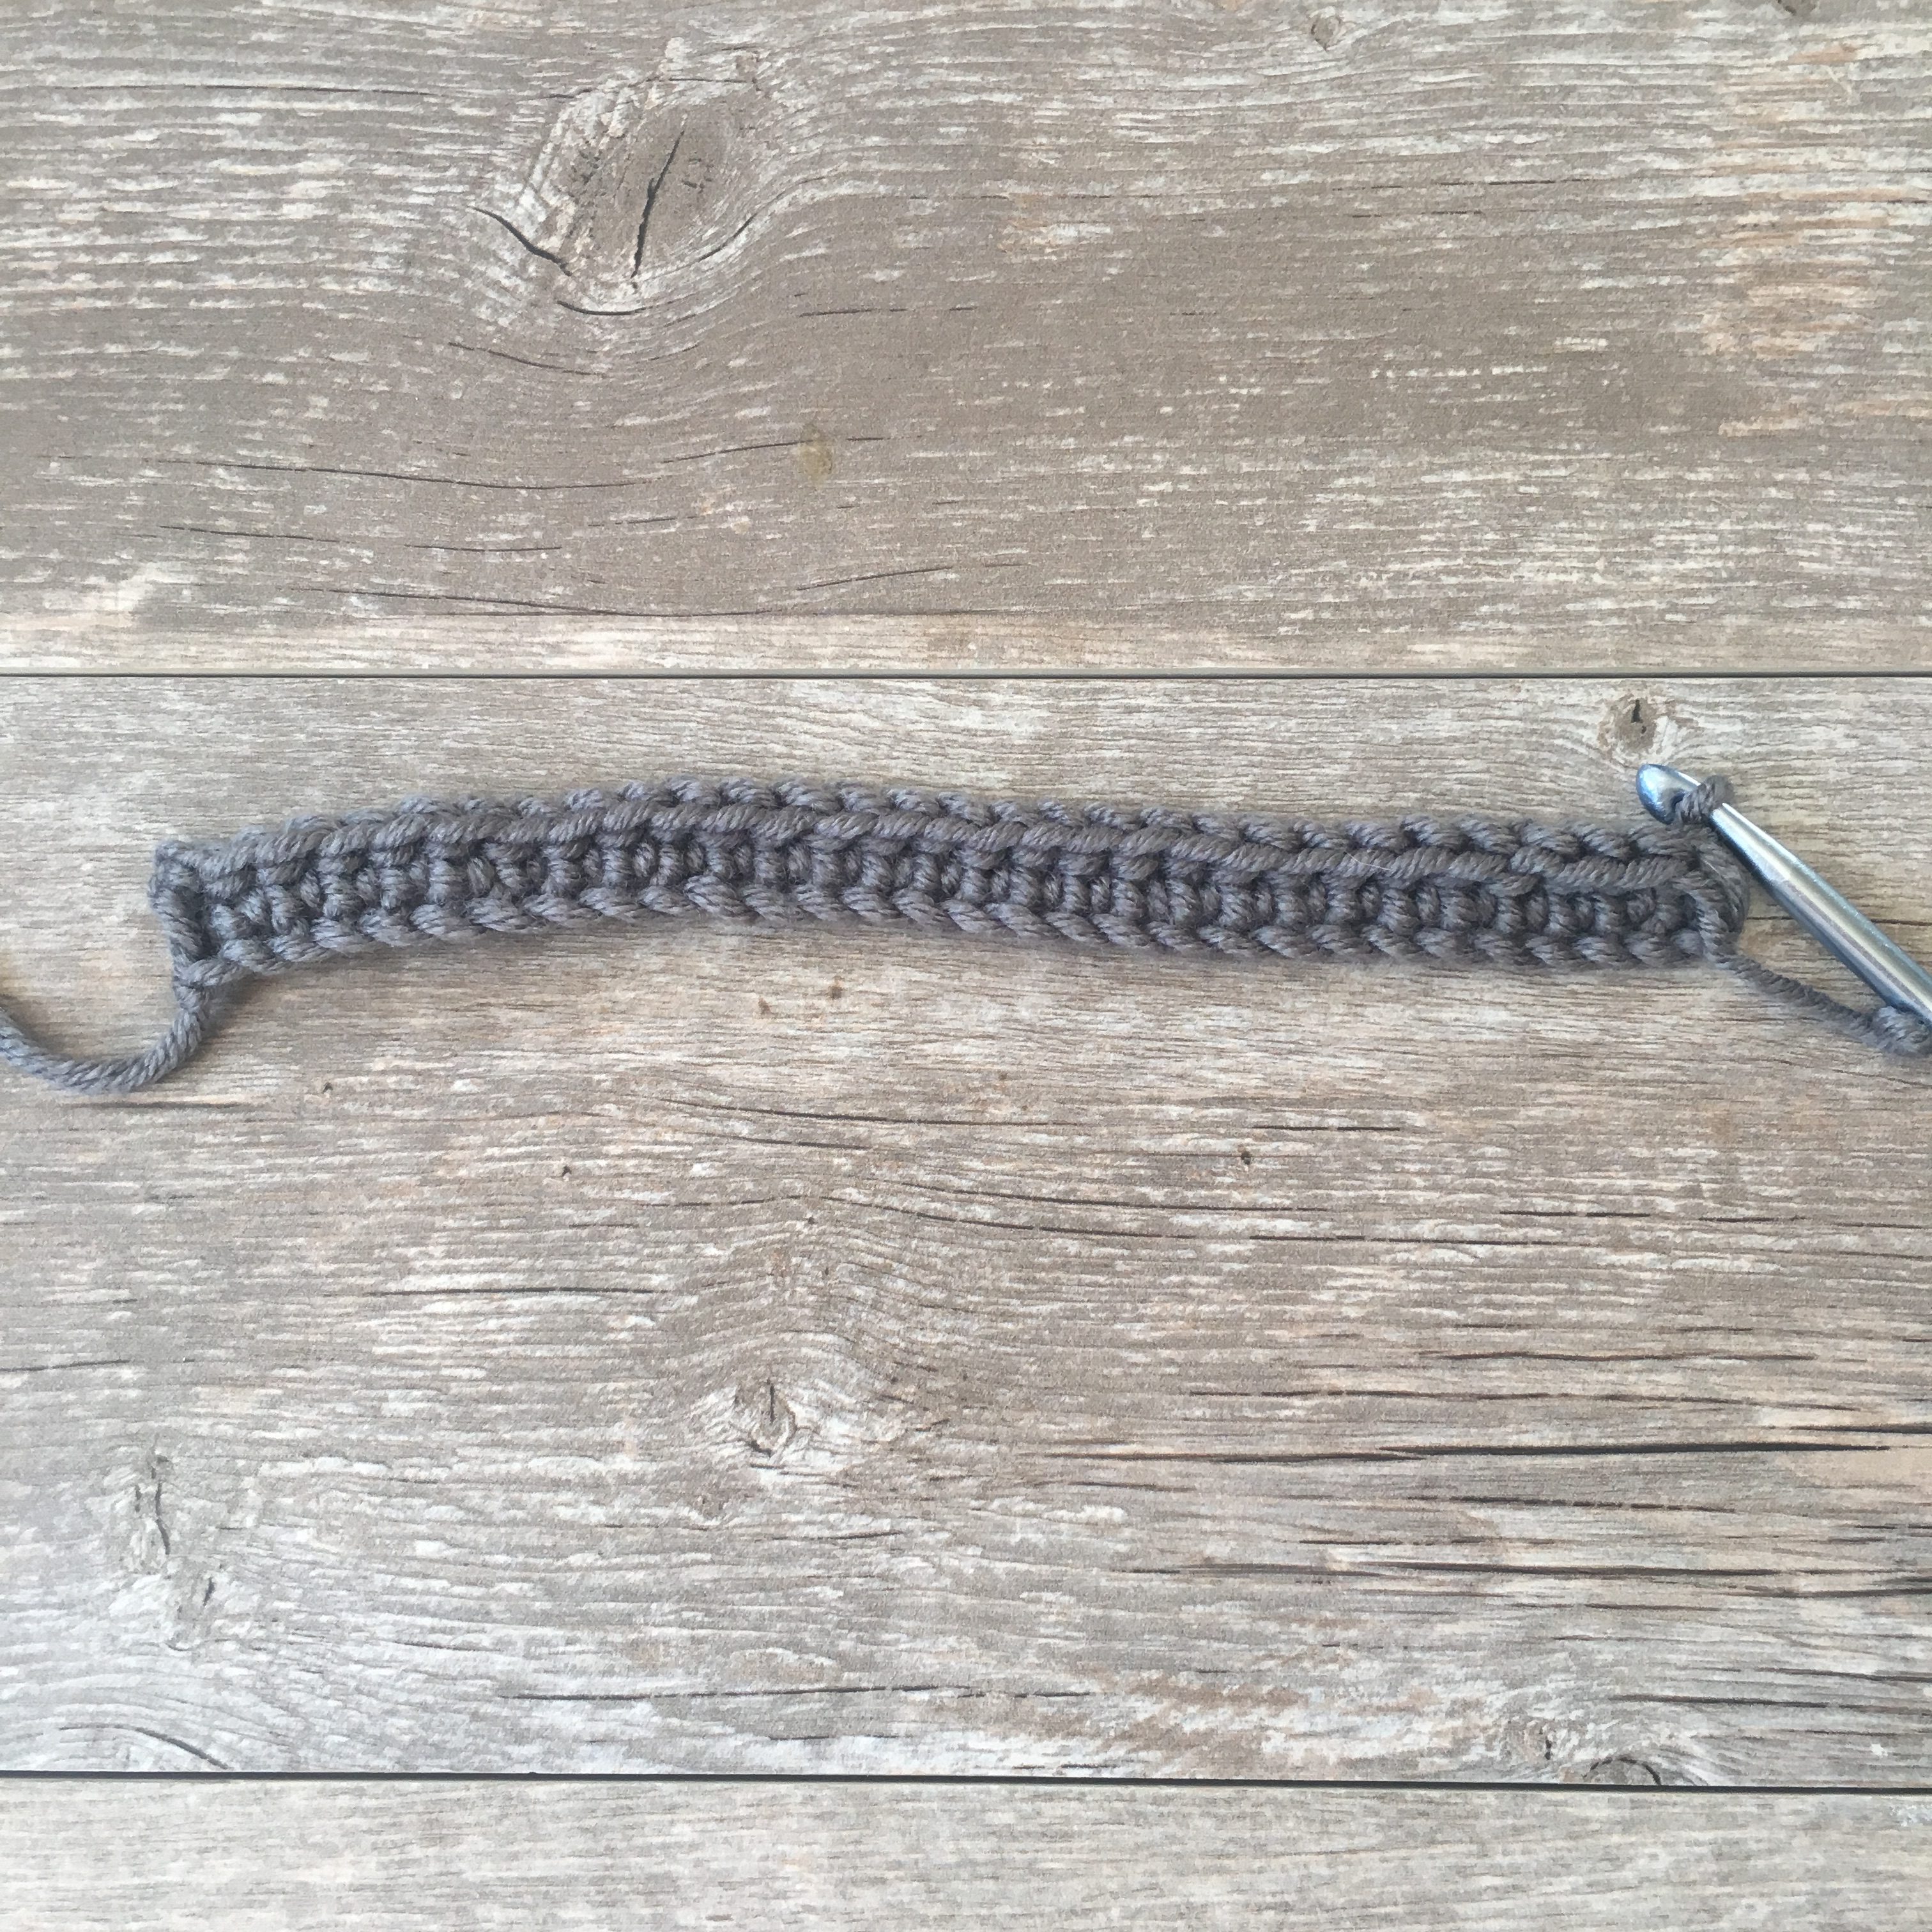
Above: Making handles doesn’t get any easier
Ready to get started on this pattern? Here we go! (Just a reminder that you can purchase the printable ad-free version from Etsy HERE or see the free pattern below)
Description: Chunky yarn, bobbles and tight stitch-work make this the perfect carryall for the fall and winter months. Made with washable 100% acrylic, this bag can withstand your walks through the cold, subway rides and use from the little ones. Large enough to hold your water bottle, wallet, phone and more. Enjoy this bobbly, chunky, bag all year round!
Materials:
US Size K, 6.5 mm crochet hook
2 skeins Lion Brand Yarn Color Made Easy (HERE) in Basalt 200g & 247 yds per skein
Pattern uses approximately 260 g
Scissors
Tapestry Needle
Optional: purse strap purchased from craft store
Skill Level: Easy +
Size: Approximately 15” in diameter and 3” deep (Bag is flexible)
Gauge: Not important for this pattern
Notes: You will begin by crocheting two semi-circles while following the simple stitch pattern. The pattern starts by working in the round and will quickly switch to crocheting in rows. After making your two semi-circles, you’ll crochet a base, seam them together and finally add handles at the end. Keep in mind that you can find helpful online tutorials for the bobble stitch and crossed double crochet by conducting a simple online search.
Abbreviations (US) & Skills:
ch – chain
sc – single crochet
dc – double crochet
hdc – half double crochet
hdc flo – half double crochet through the front loops only
sl st – slip stitch
sts – stitches
Bobble – bobble stitch – yarn over, insert hook into st, pull up a loop, yarn over, pull through two, *yo, insert hook into same st, yarn over, pull up a loop, yarn over, pull through 2 more, repeat from * three more times for a total of 6 loops on hook, yarn over, pull through all loops on the hook
Crossed dc sts – Crossed Double Crochet Stitch: *skip stitch, dc in next stitch, go back to skipped st and work dc; repeat from *.
Bobbles Circle Tote Free Crochet Pattern
Ch 5, sl stitch to join in order to form a ring
Round 1 Ch 3 (counts as dc st here and throughout pattern), dc 11 times into ring, sl st to join in top of beginning ch 3 (12sts)
Now you will begin to work in rows. Note that each row has a pattern repeat, however the row will not necessarily end at the end of the pattern repeat. Simply ensure your stitch count is correct for each row.
Row 2 Ch 3, dc in same st, 2 dc in each of next 9 sts (20 sts)
Row 3 Ch 3, turn, dc in same st, *1dc, 2dc in next st; repeat from * around (30sts)
Row 4 Ch 3, turn, dc in same st, *1 dc in each of next 2 sts, 2dc in next st; repeat from * around (40 sts)
Row 5 Ch 3, turn, dc in same st, * 1 dc in each of next 3 sts, 2dc in next st; repeat from * around. (50 sts)
Row 6 Ch 3, turn, dc in same st, *1dc, Bobble in next st, 1 dc in each of next 2sts, 2dc in next st; repeat from * around. (60 sts)
Row 7 Ch 3, turn, dc in same st, *1dc in each of next 5 sts, 2dc in next; repeat from * around. (70 sts)
Row 8 Ch 3, turn, dc in same st, * work crossed dc sts in next 6 sts, 2dc in next st; repeat from * across the row (80 sts)
Row 9 Ch 3, turn, dc in same st, * 1dc in each of next 7 sts, 2dc in next st; repeat from * across the row (90 sts)
Row 10 Ch 3, turn, dc in same st, *1dc in each of next 3 sts, Bobble in next st, 1dc in each of next 4 sts, 2dc in next st; repeat from * across the row (100 sts)
Row 11 Ch 3, turn, dc in same st; *1dc in each of next 9 sts across, 2dc in next st; repeat from * across the row (110 sts)
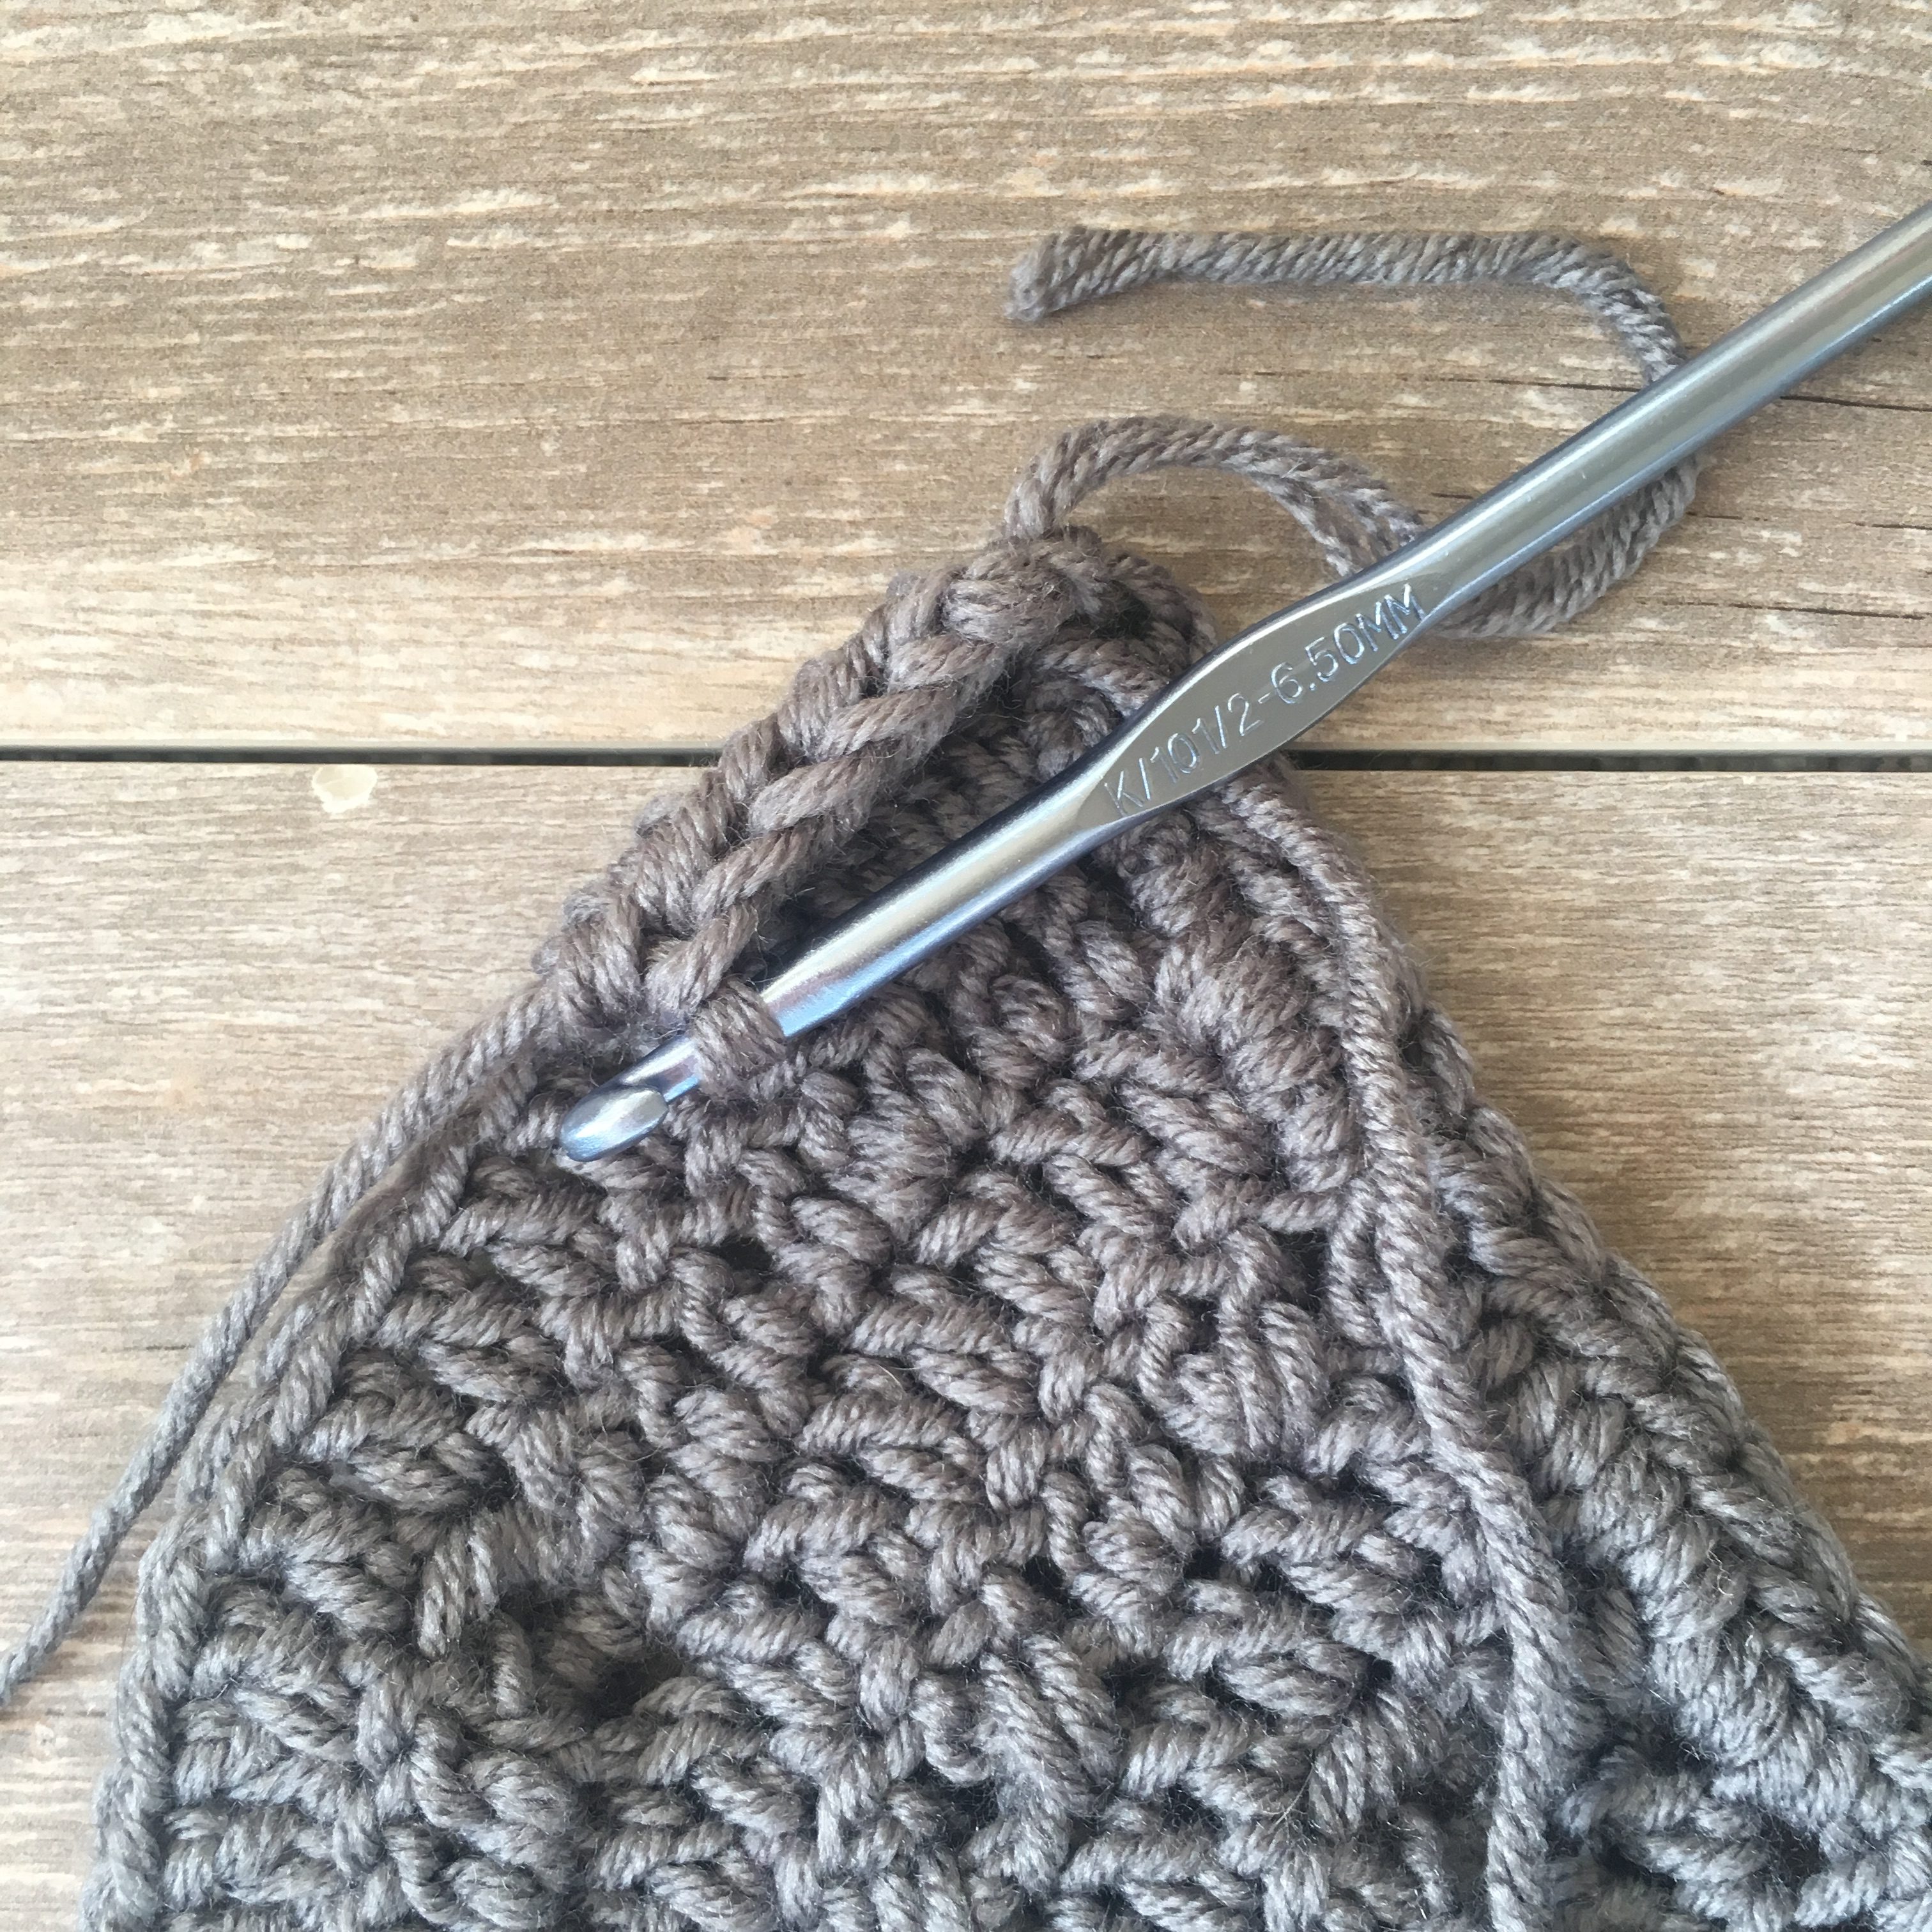
Tie off and weave in ends.
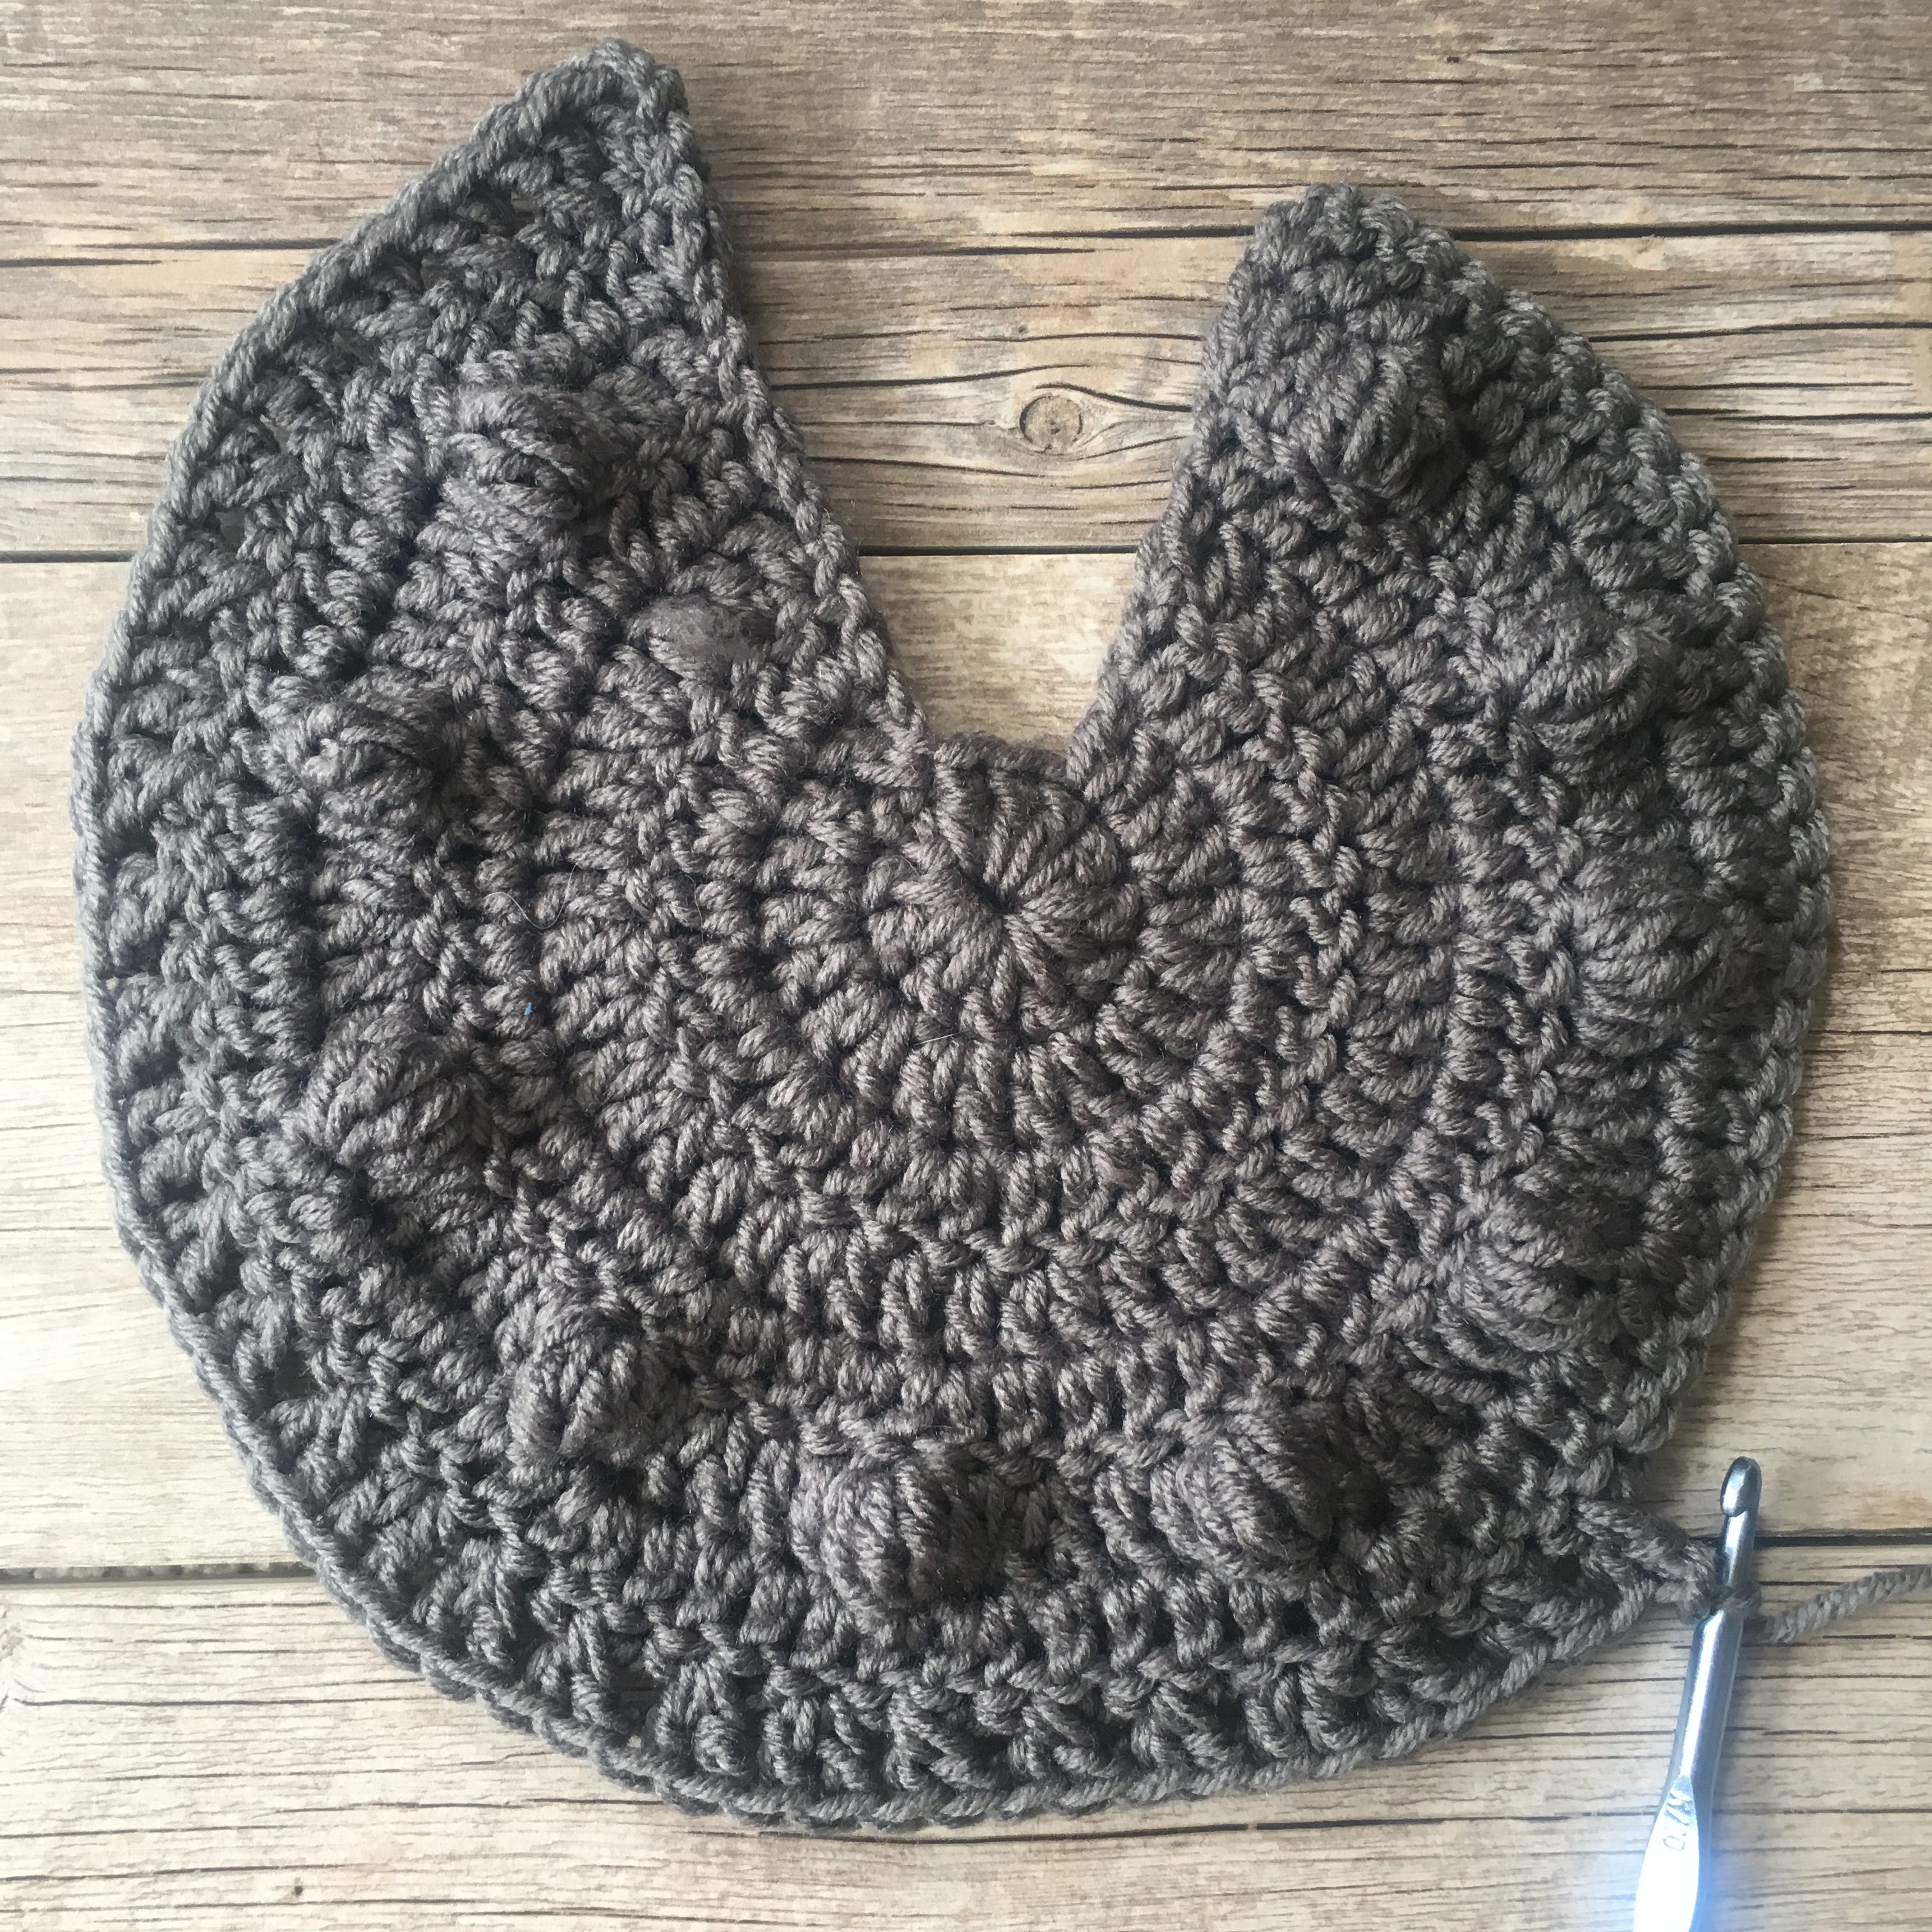
Crochet A Border in the upper “Notch” of the Bag
Attach yarn to center top. Ch 2 and hdc evenly in the upper “notch” of the circle bag. Tie off and weave in ends.
Repeat pattern to make opposite side of the bag (you’re making a front and a back).
Base of the Bag
Secure yarn to the inside of the notch of one of the semi-circles. The wrong side should be facing you. Ch 2, hdc flo evenly around until you reach the opposite end of the circle. Ch 2, turn, and work a row of hdc sts. Repeat this until you’ve worked a total of 3 rows of hdc sts. Tie off and weave in ends.
Next, you will attach the second semi-circle to the bag by seaming with a slip stitch seam.
Attaching the 2nd semi circle
Secure the yarn to the semi-circle, sew with a slip stitch seam to base working through both loops on the semi-circle and the front loops only on the base, matching the front of the bag.
Handles (you may also choose to purchase store bought handles)
Feel free to make the handles as long or as short as you like. While the short handles pictured look cute, longer handles are more practical for opening and using this bag.
Ch 30
Row 1 Sc in each st across the row
Row 2 Ch 1, turn, sl st in each st across the row
Tie off and weave in ends
Attach Handles
With a tapestry needle and length of yarn, whip stitch the handles firmly onto the bag. You may also choose to crochet them onto the bag or use your preferred method.
That’s it!
I sure hope you enjoyed this project and would love to see if you make one on Instagram (or shoot me an email)!
XO
Jessica
If you liked this, you might also like:

Hi Jessica!
Any chance you could design this bobbles tote for knitters?
Also any chance for UGG baby booties pattern for knitters?
Please pretty please? Lol.
I love all your beautiful patterns!
Have a great week!
Mona.
Great bag pattern! Thank you for sharing and just printed out the pattern to make this weekend. Paula-Windmill Flower Farm, Gridley, Ca.
Hi Jessica,
Did you sew a lining? Just wondering. I can not wait to make this… may even make a mini for my littles. Thanks for the pattern!
Just love this Bobble Circle Tote! I love bobbles and I love circles – so I gotta make one!
Hey Jessica, I’m having a hard time understanding the upper notch and where my hdc need to go. Guessing, starting at either the left or right tip and working hdc down the “u” shape and back up the other side?
Thanks,
Kati
Ahhh yay!!
Great question and you’re right, Kati! Just work the hdc stitches evenly along that “u”.
Great pattern. Reminds me of a fossil.
Lovely bag, great work! I wonder if you will make a video?! Looking forward to see you do it in video, I need visual help. Thanks in anticipation!
Great pattern! I’m impressed with how fast this works up. I was able to finish mine in 2 evenings, about 7-8 hours. Which worked out great as I needed it done in less than a week from when my yarn arrived.
I modified the handle. Ch. 40. SC in the 3rd loop. 2 more rows of SC. Tied off with long tail. Then folded it and stitched it together through the inner loop only. This hides the stitching.
https://share.icloud.com/photos/01oP89ISGWnYtLlYSnLElDSHA
I’m thrilled you found that it was quick to work-up! I love when I can make a project in just a couple of evenings. 🙂 Thank you so much for taking the time to share with us. 🙂 So glad you liked it!
Do you slip stitch them together with right sides together, or right sides facing out?