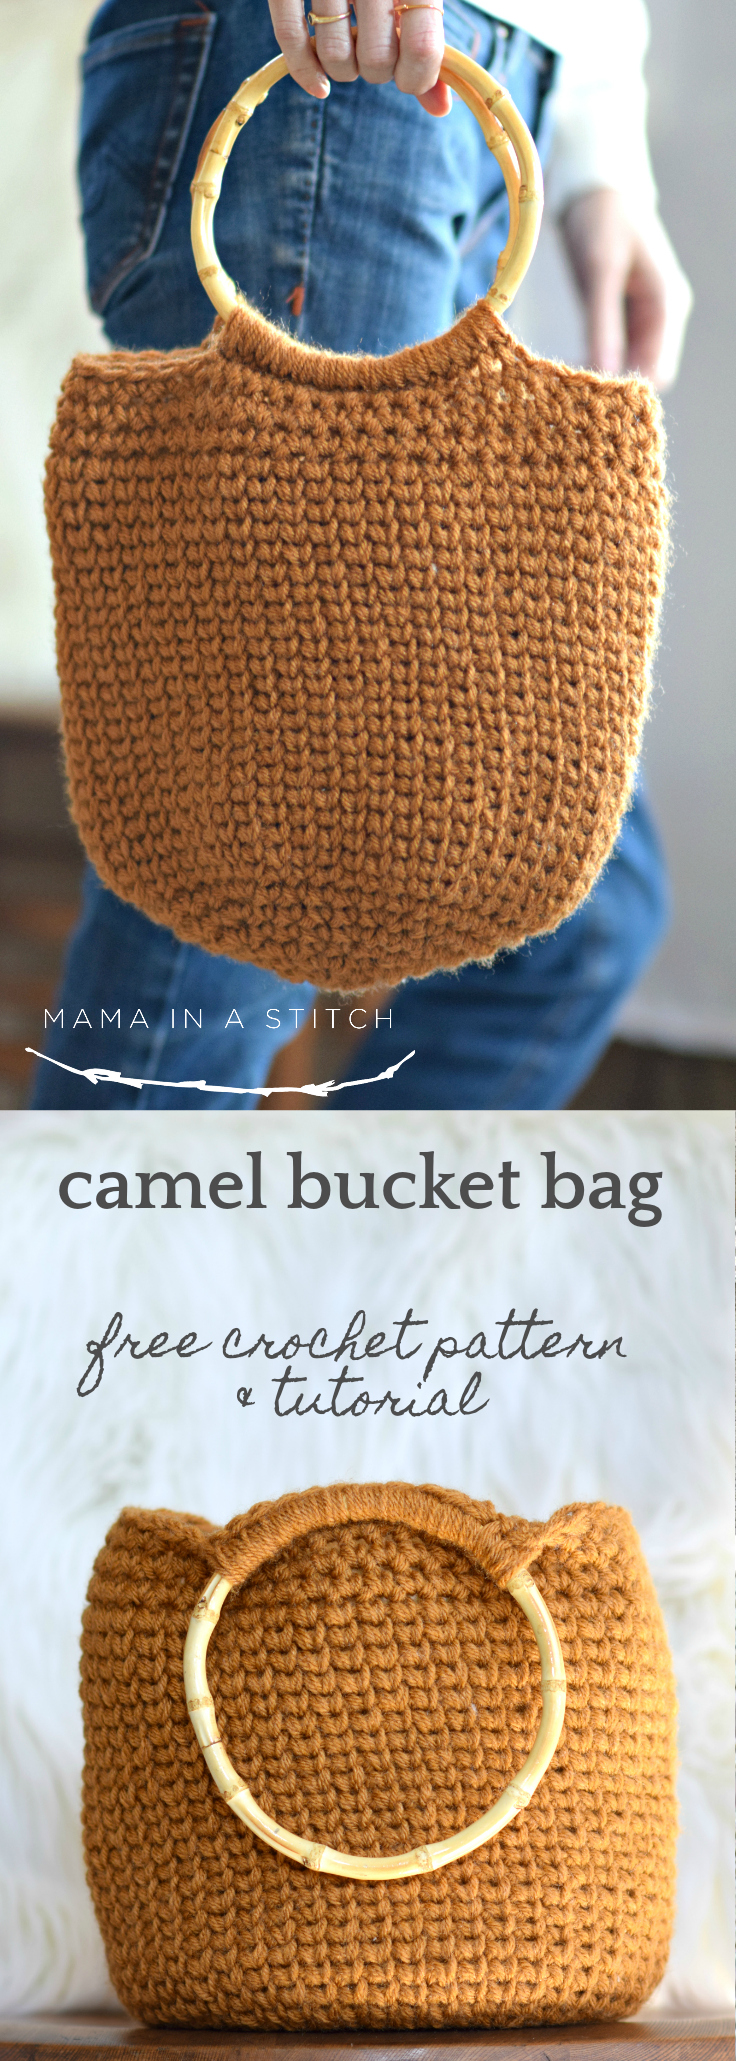
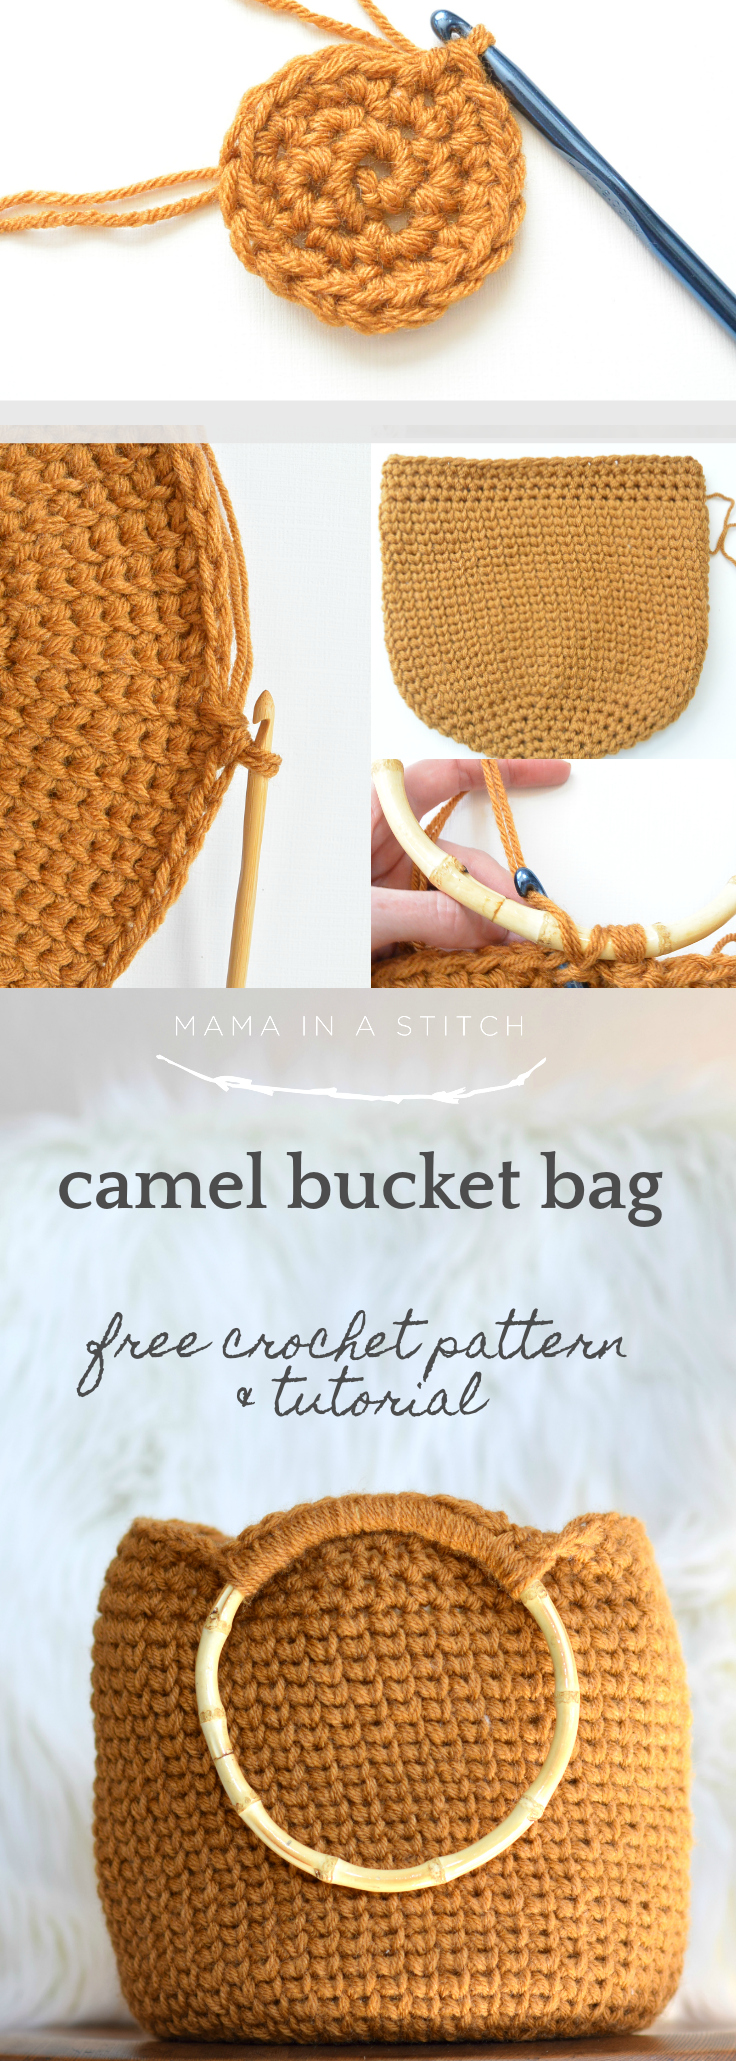
Camel Bucket Bag – Crocheted Bag Pattern
Anyone else suffering from spring fever?! I was in the mood for a quick but satisfying project and I also wanted to make something that could be used this spring. My first thought was to crochet a new market tote for some warmer weather, but I’ve been contemplating a simple bucket crocheted bag pattern with bamboo handles for quite some time. Once I dropped my daughter off at school yesterday, I headed over to JoAnn Fabrics and picked up some “Rust” colored yarn and little bamboo handles. This bag was inspired by my Manhattan Market Tote and it’s is so super easy and fast to make! I started and finished this bag in a day, so it’s now on my short list for last minute gift making. 😉 The stitches are all beginner friendly and you’ll find a lot of pictures to walk you through the pattern. There’s even a link to my tutorial on the center single crochet stitch which is the stitch that is used most on the bag. So as usual scroll on down to see the free pattern or you can find the printable PDF for sale in my Etsy shop here. 🙂
The entire bag is made while holding two strands of worsted weight yarn together. It’s also budget friendly as it only takes two skeins of yarn. Most of us have some (or A LOT of) extra worsted weight yarn around the house, don’t we? It’s a great stash buster and I think it would even look cool to hold two different colors together. My daughter says she wants me to make her a purple one. Personally, I’d like to make another one in a mustard yellow colorway. 🙂
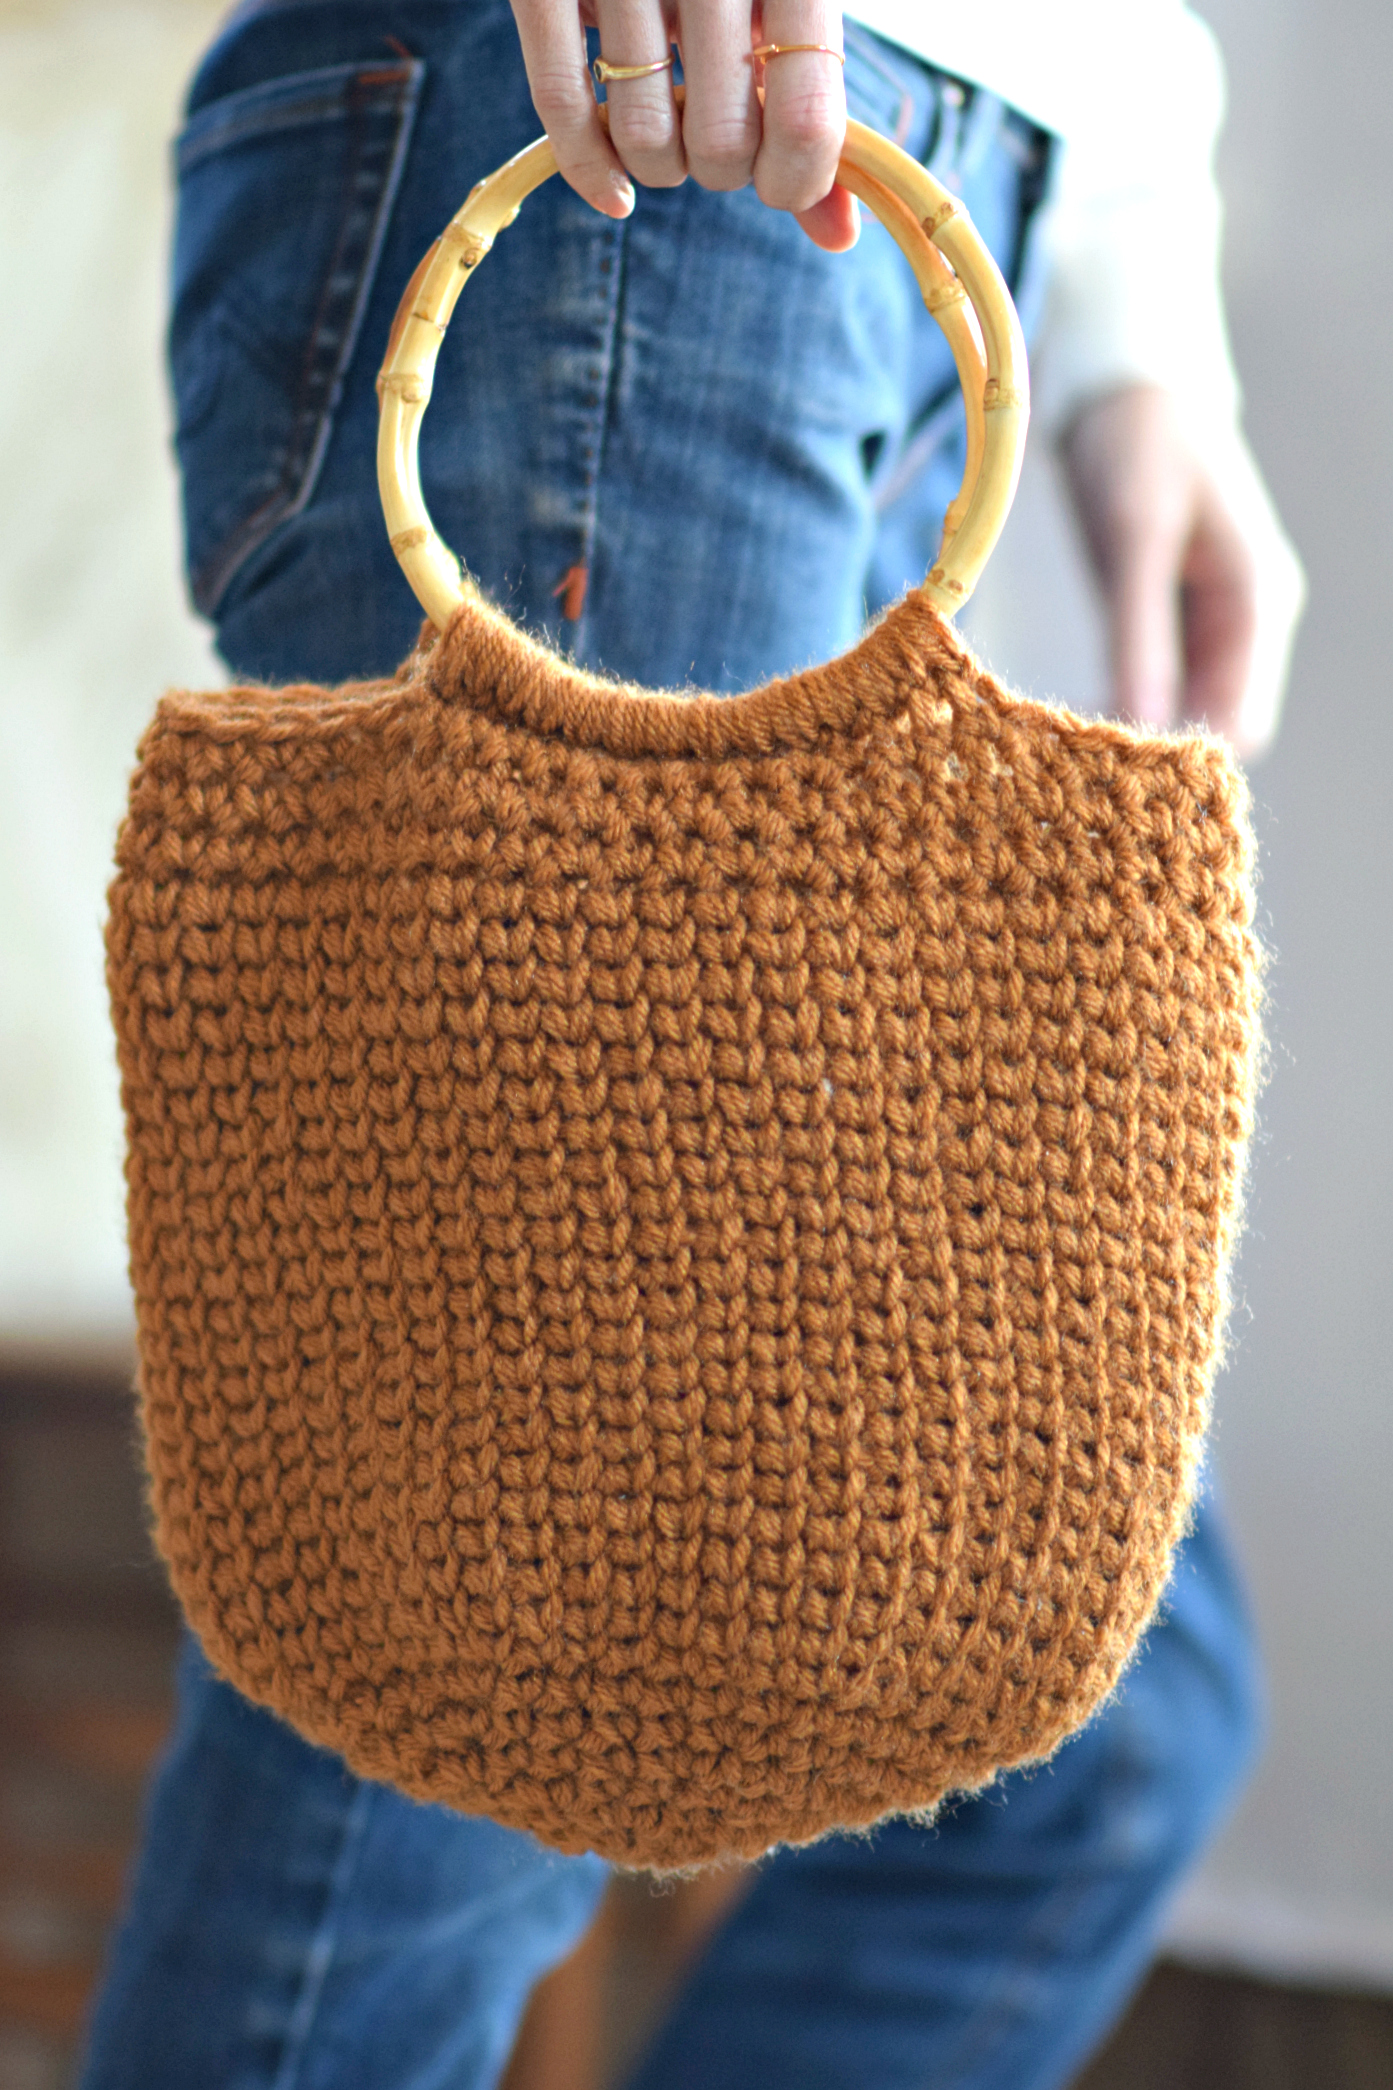
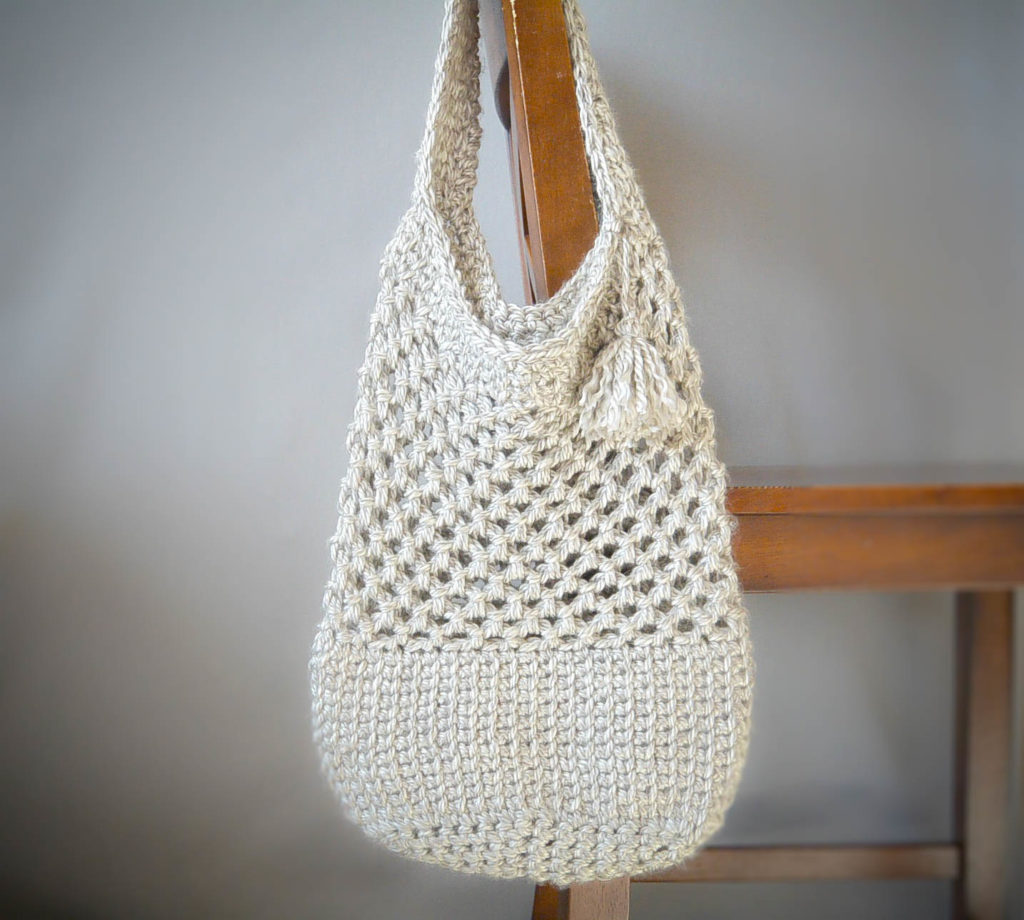
As I mentioned earlier, this little crocheted tote was inspired by the Manhattan Market Tote that I made a while back (here). The fun thing about that bag is that the tight stitches at the bottom keep anything from falling out and I wanted to use that same stitch for this bag today. There’s no need to line it since the stitch work is tight and I’m pretty sure there will be NO stretch happening with this purse. This camel bucket bag is fairly small at just 11 inches wide and about 10.5 inches tall. There was enough yarn leftover to make it a hair taller if you’d like (using the two skeins). If you’ve got more than two skeins, you can make this a whole lot deeper. Feel free to be creative with the pattern! It would even be pretty if you added some stripes. Or use natural twine to make it more of a basket look.
You will find the free pattern below, or you may choose to purchase the ad-free printable PDF version from my Etsy shop HERE.
Camel Bucket Bag Crochet Pattern
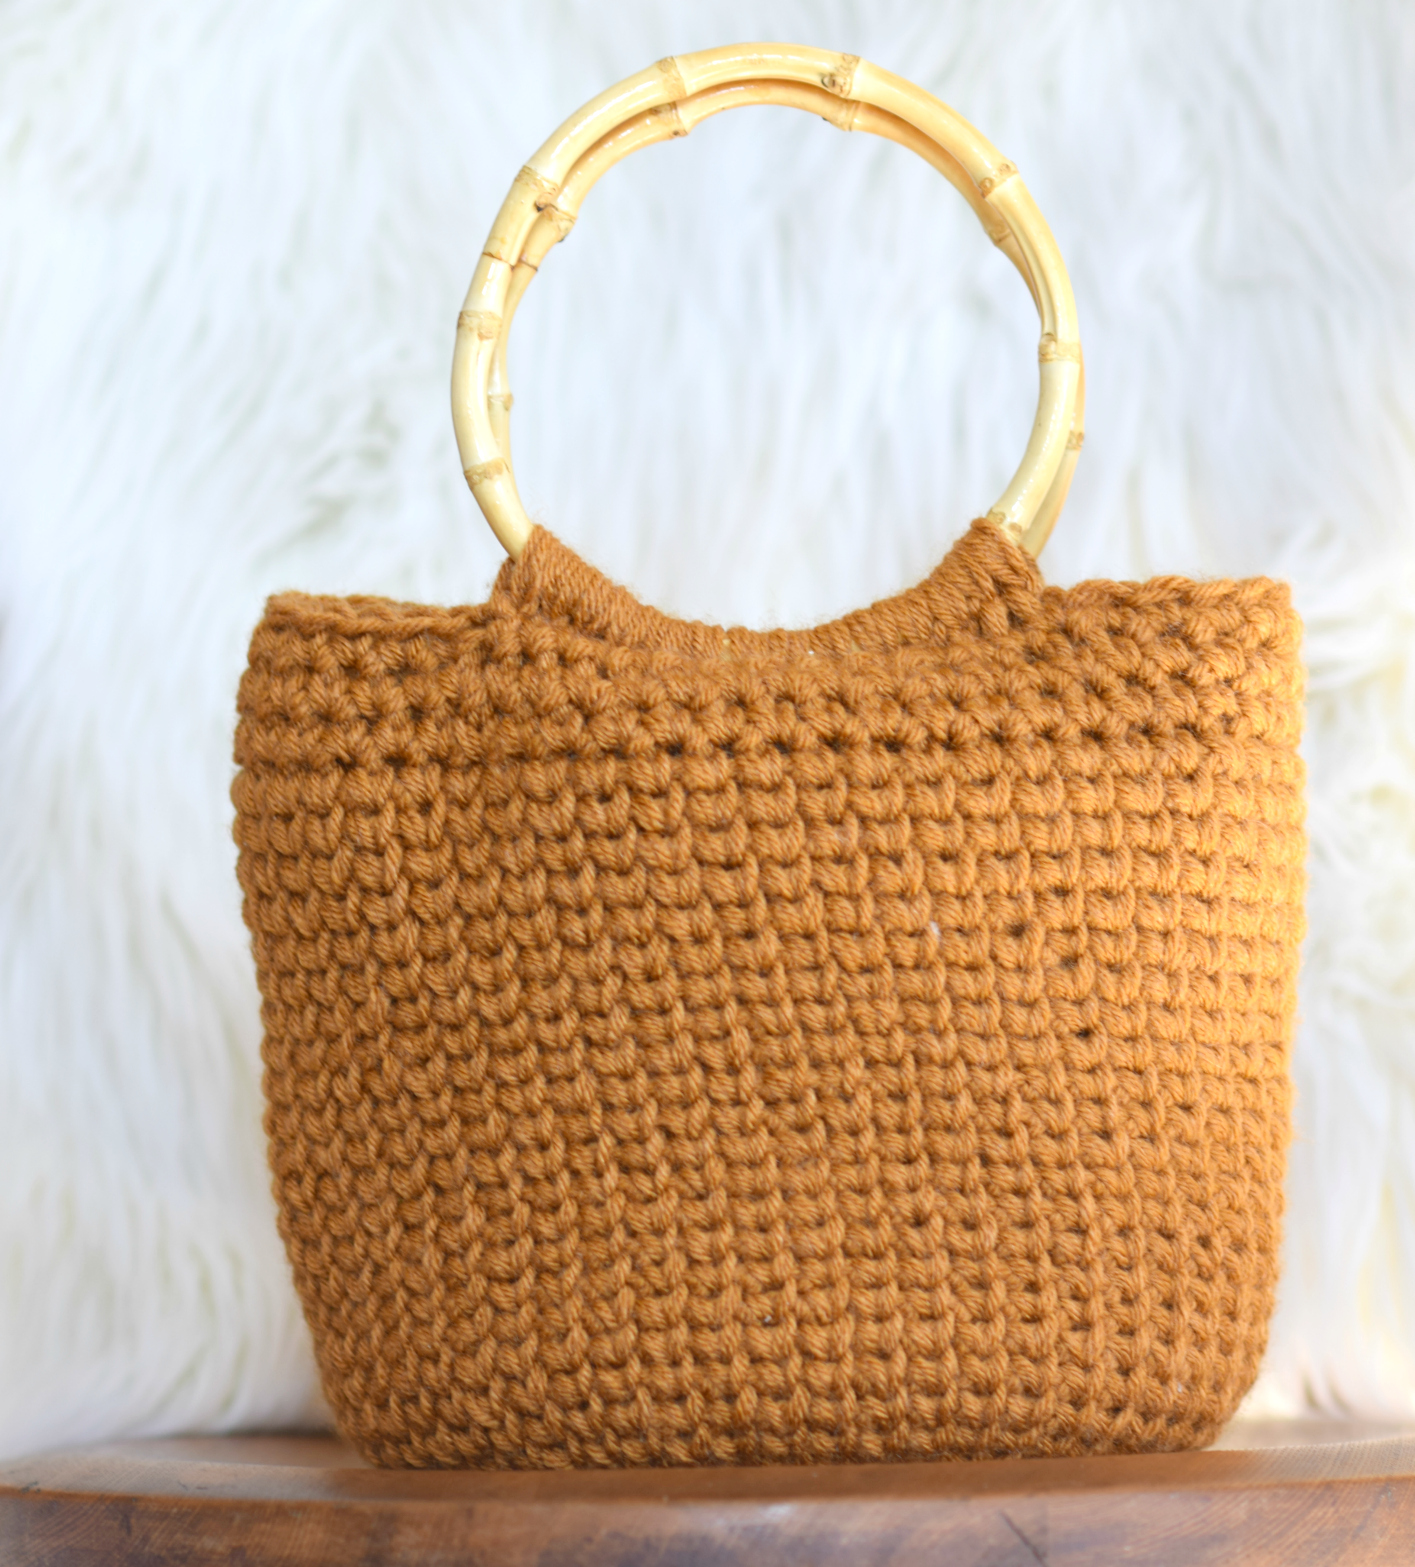
Pattern Description: A cute bucket bag featuring bamboo handles and simple stitch work. No need to line this bag as the tight stitches hold everything inside.
Skill Level: Easy +
Materials:
US Size L 8.0 mm crochet hook
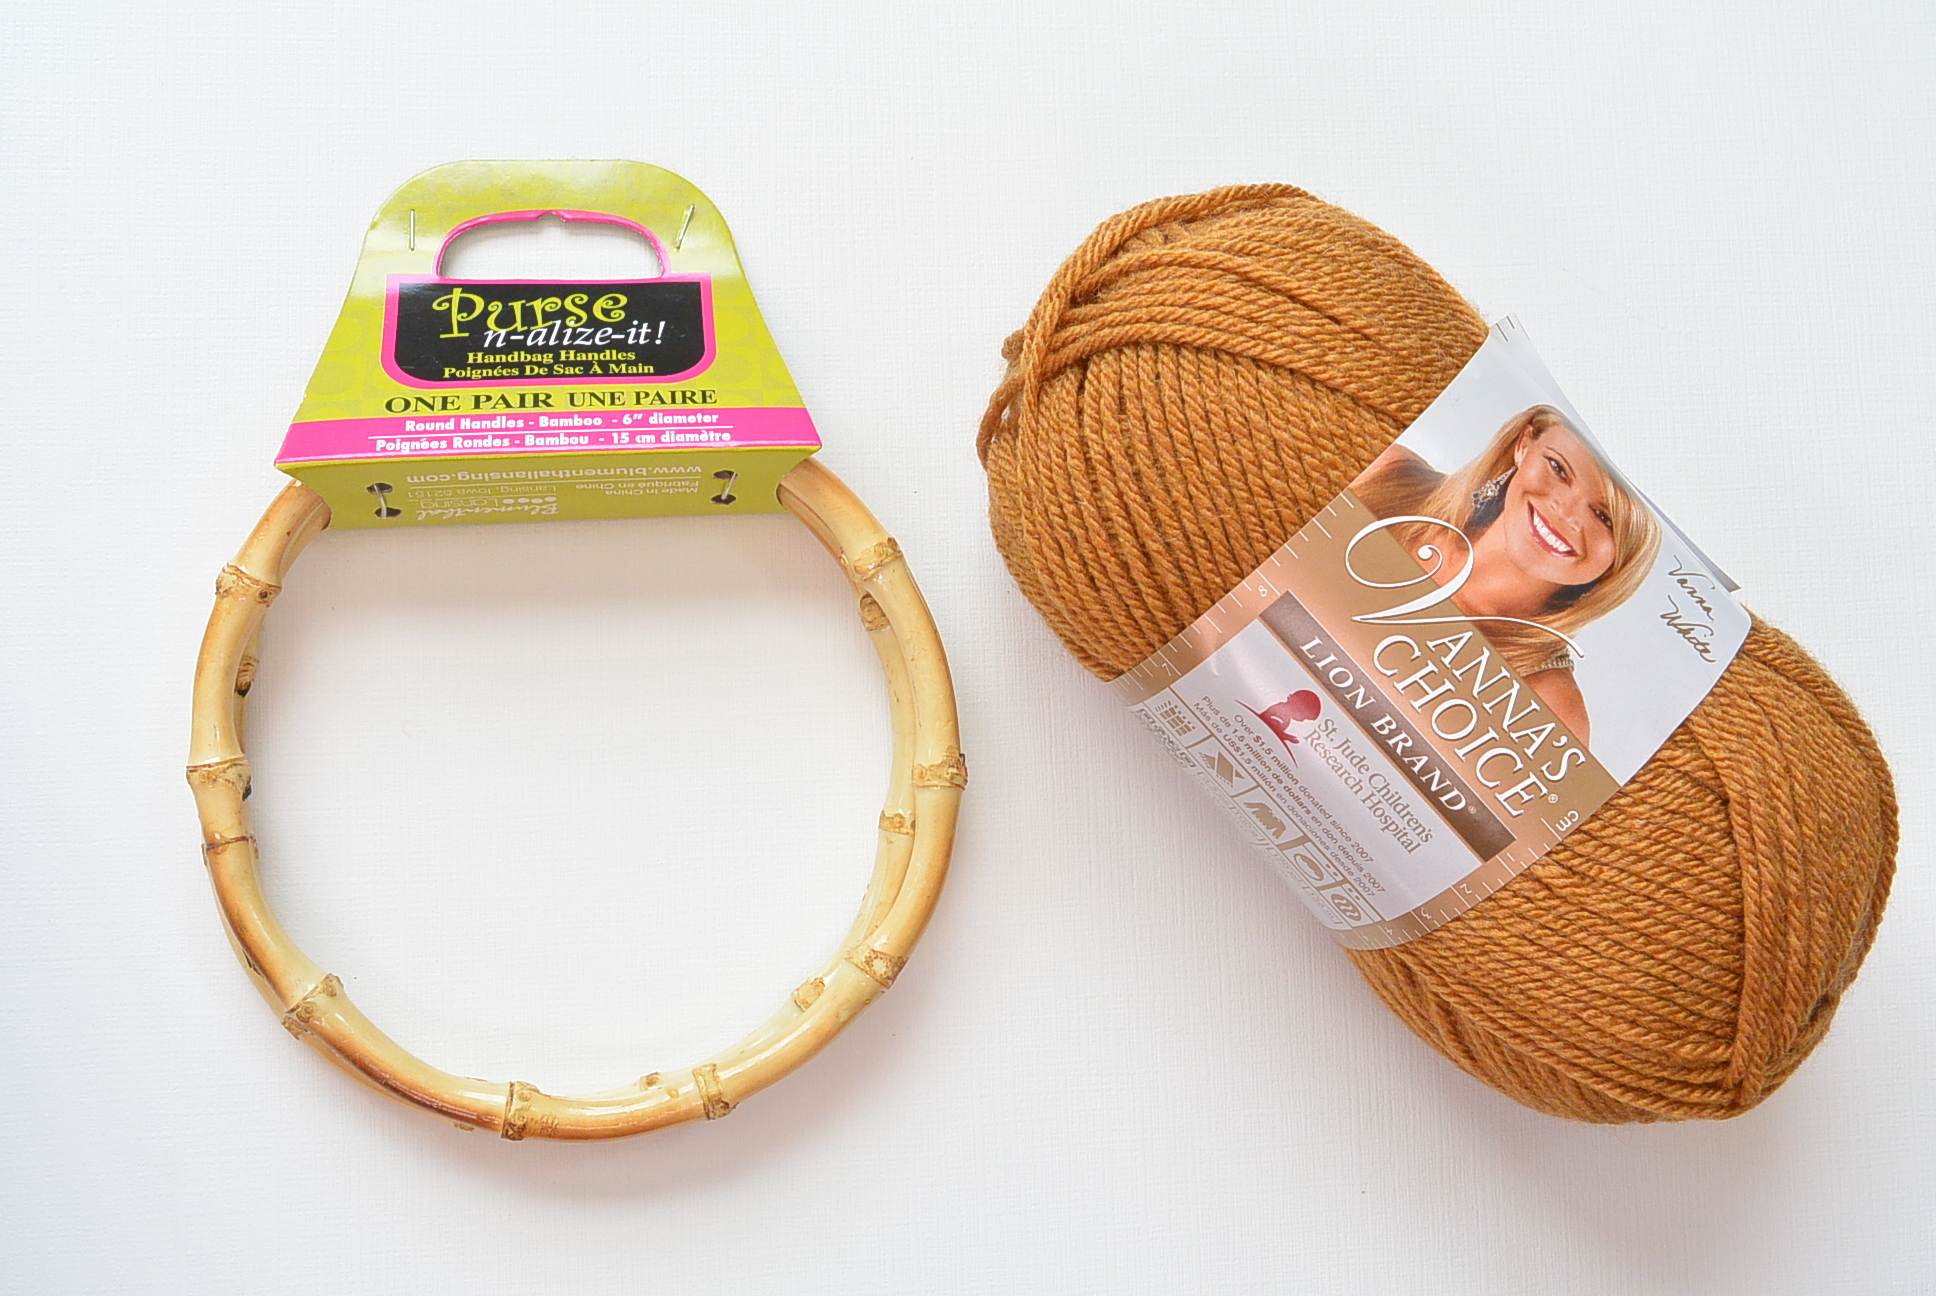
2 Skeins Lion Brand Yarn Vanna’s Choice in Rust here (100g/skein) Pattern uses approximately 190 grams
6” Diameter Bamboo Handles
Stitch Markers
Scissors
Tapestry Needle to weave in ends
Gauge: Not important for this pattern
Dimensions (approximate): 11” wide X 10.5” tall
Abbreviations:
ch – chain
sc – single crochet
csc – center single crochet (this is also known as the waistcoat stitch and it almost looks knit) You can find a tutorial and link to a video tutorial on my blog here https://www.mamainastitch.com/crochet-knit-stitch/
st -stitch
Notes: For this pattern, you should know how to crochet in the round. Pattern is worked in continuous rounds unless indicated otherwise. The bag is made while holding two strands of worsted weight yarn together throughout the pattern.
Pattern Instructions
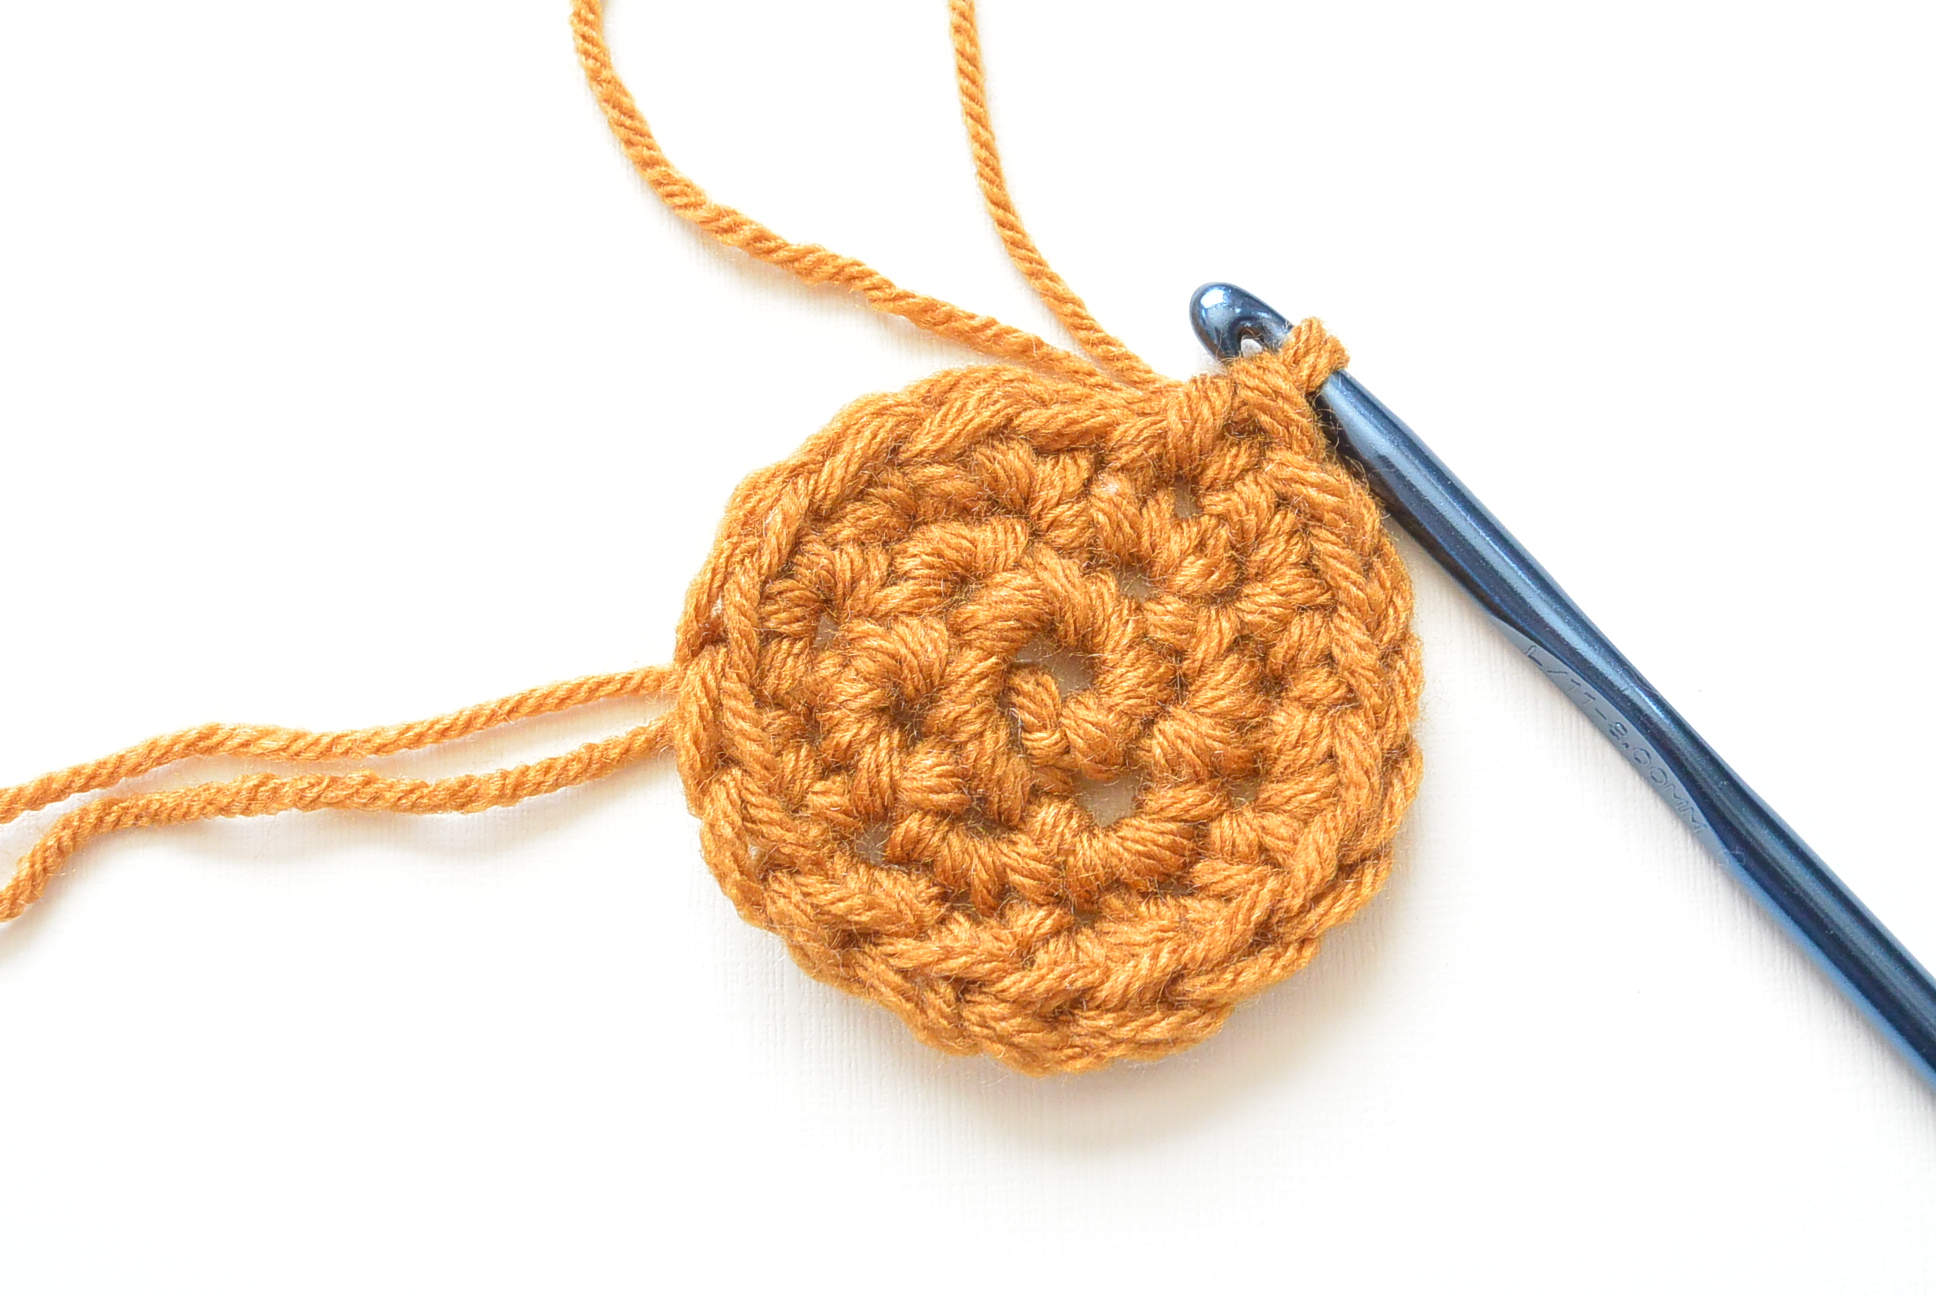
Flat Base of Bag:
(Crochet with two strands of yarn held together throughout the pattern)
Ch 2
Round 1Work 6 sc into 2nd ch from hook (mark the beginning of each round with stitch marker if needed) (6 stitches)
Round 2 2 sc in each sc around (12 stitches)
Round 3 2 sc in first st, 1 sc in next. Repeat around. (18 stitches)
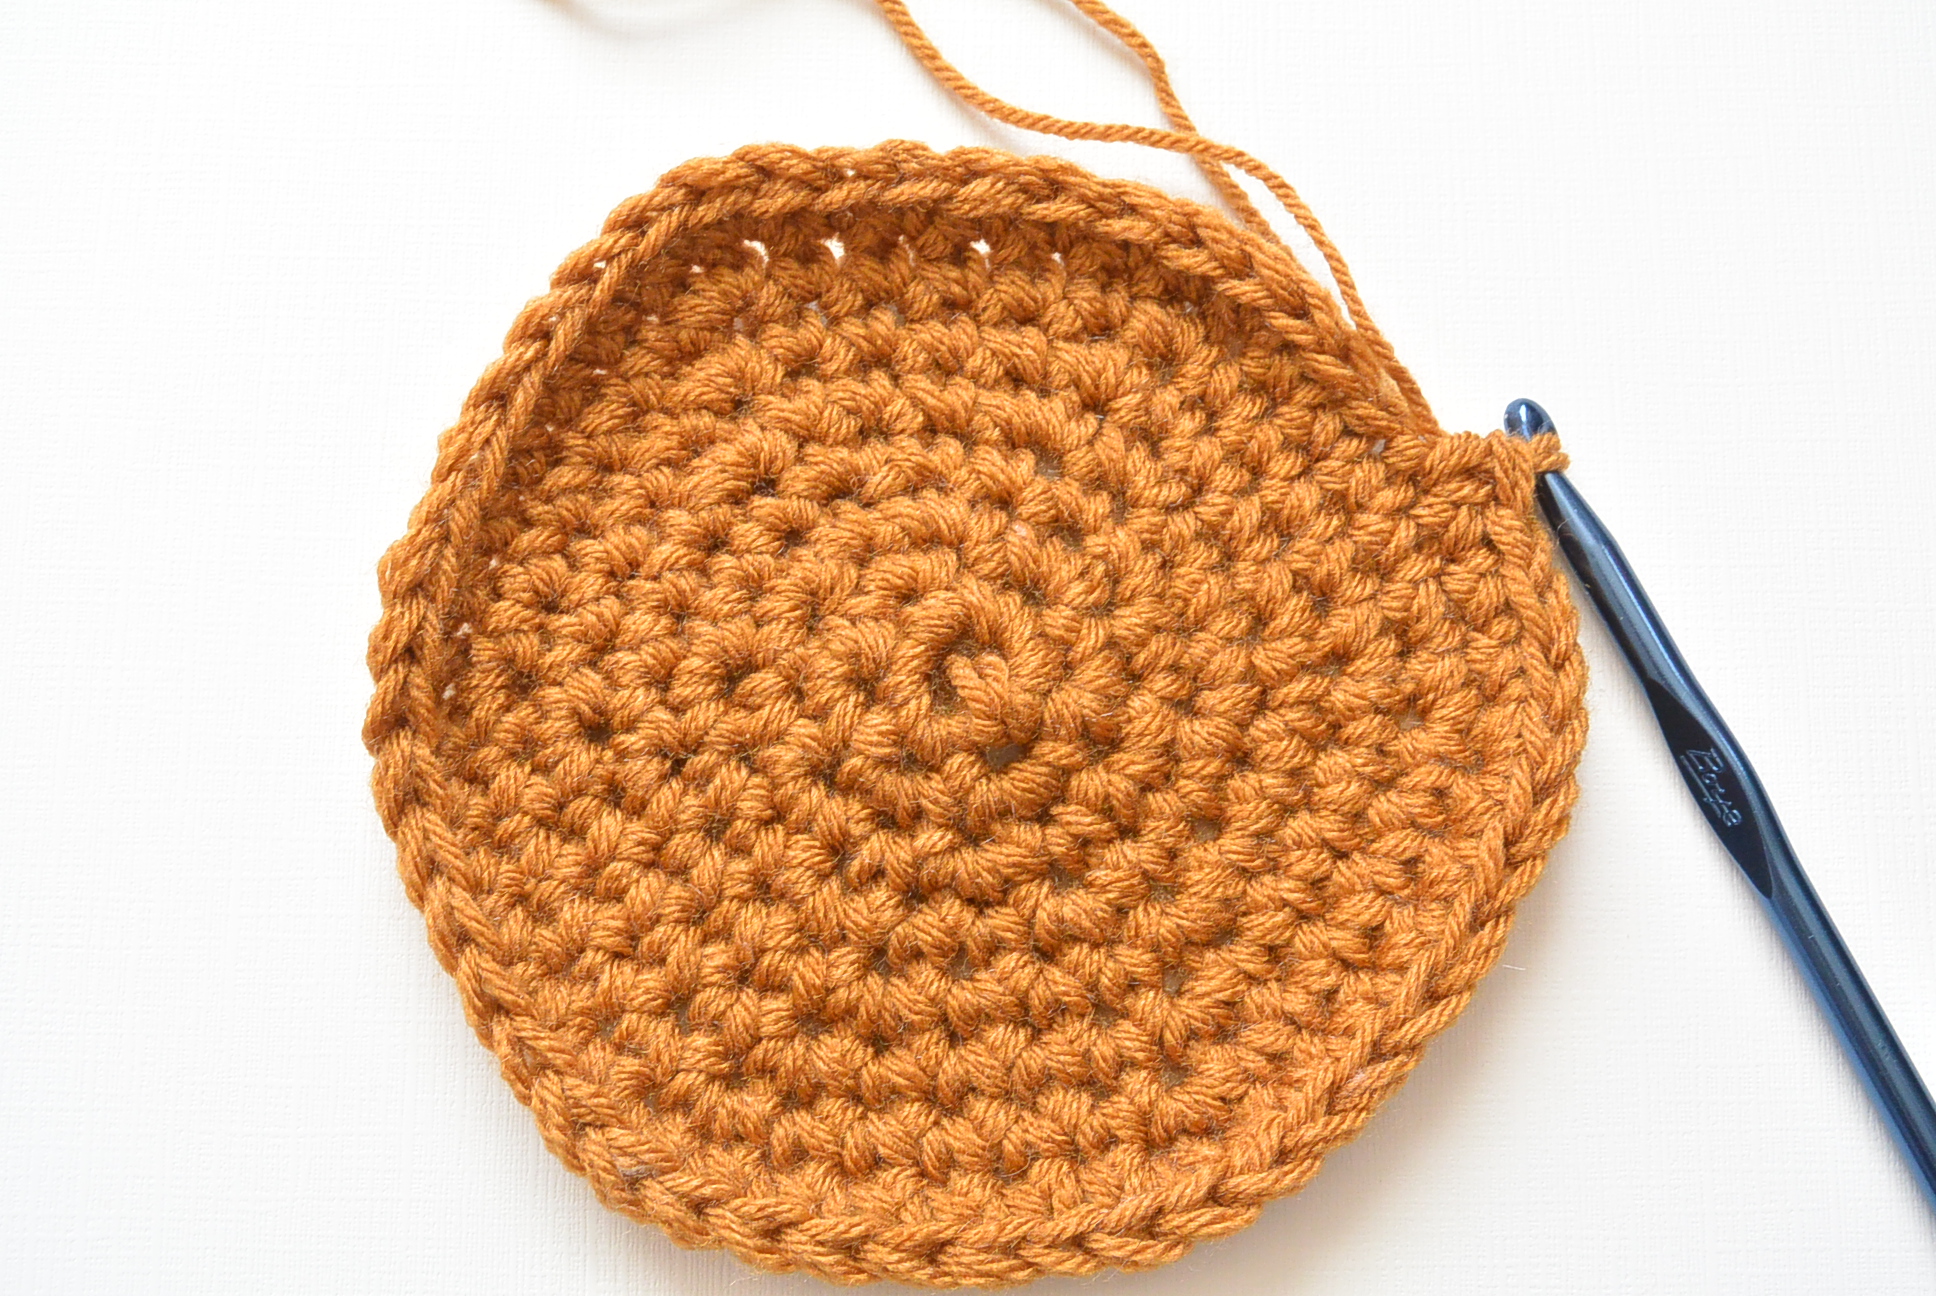
Round 4 2 sc in first st, 1 sc in next two stitches. Repeat around. (24 stitches)
Round 5 2 sc in first st, 1 sc in next three stitches. Repeat around. (30 stitches)
Round 6 2 sc in first st, 1 sc in next 4 stitches. Repeat around (36 stitches)
Round 7 2 sc in first st, 1 sc in next of 5 stitches. Repeat around (42 stitches)
Round 8 2 sc in first st, 1 sc in next of 6 stitches. Repeat around (48 stitches)
Next you will move onto the Main Body of the Bag
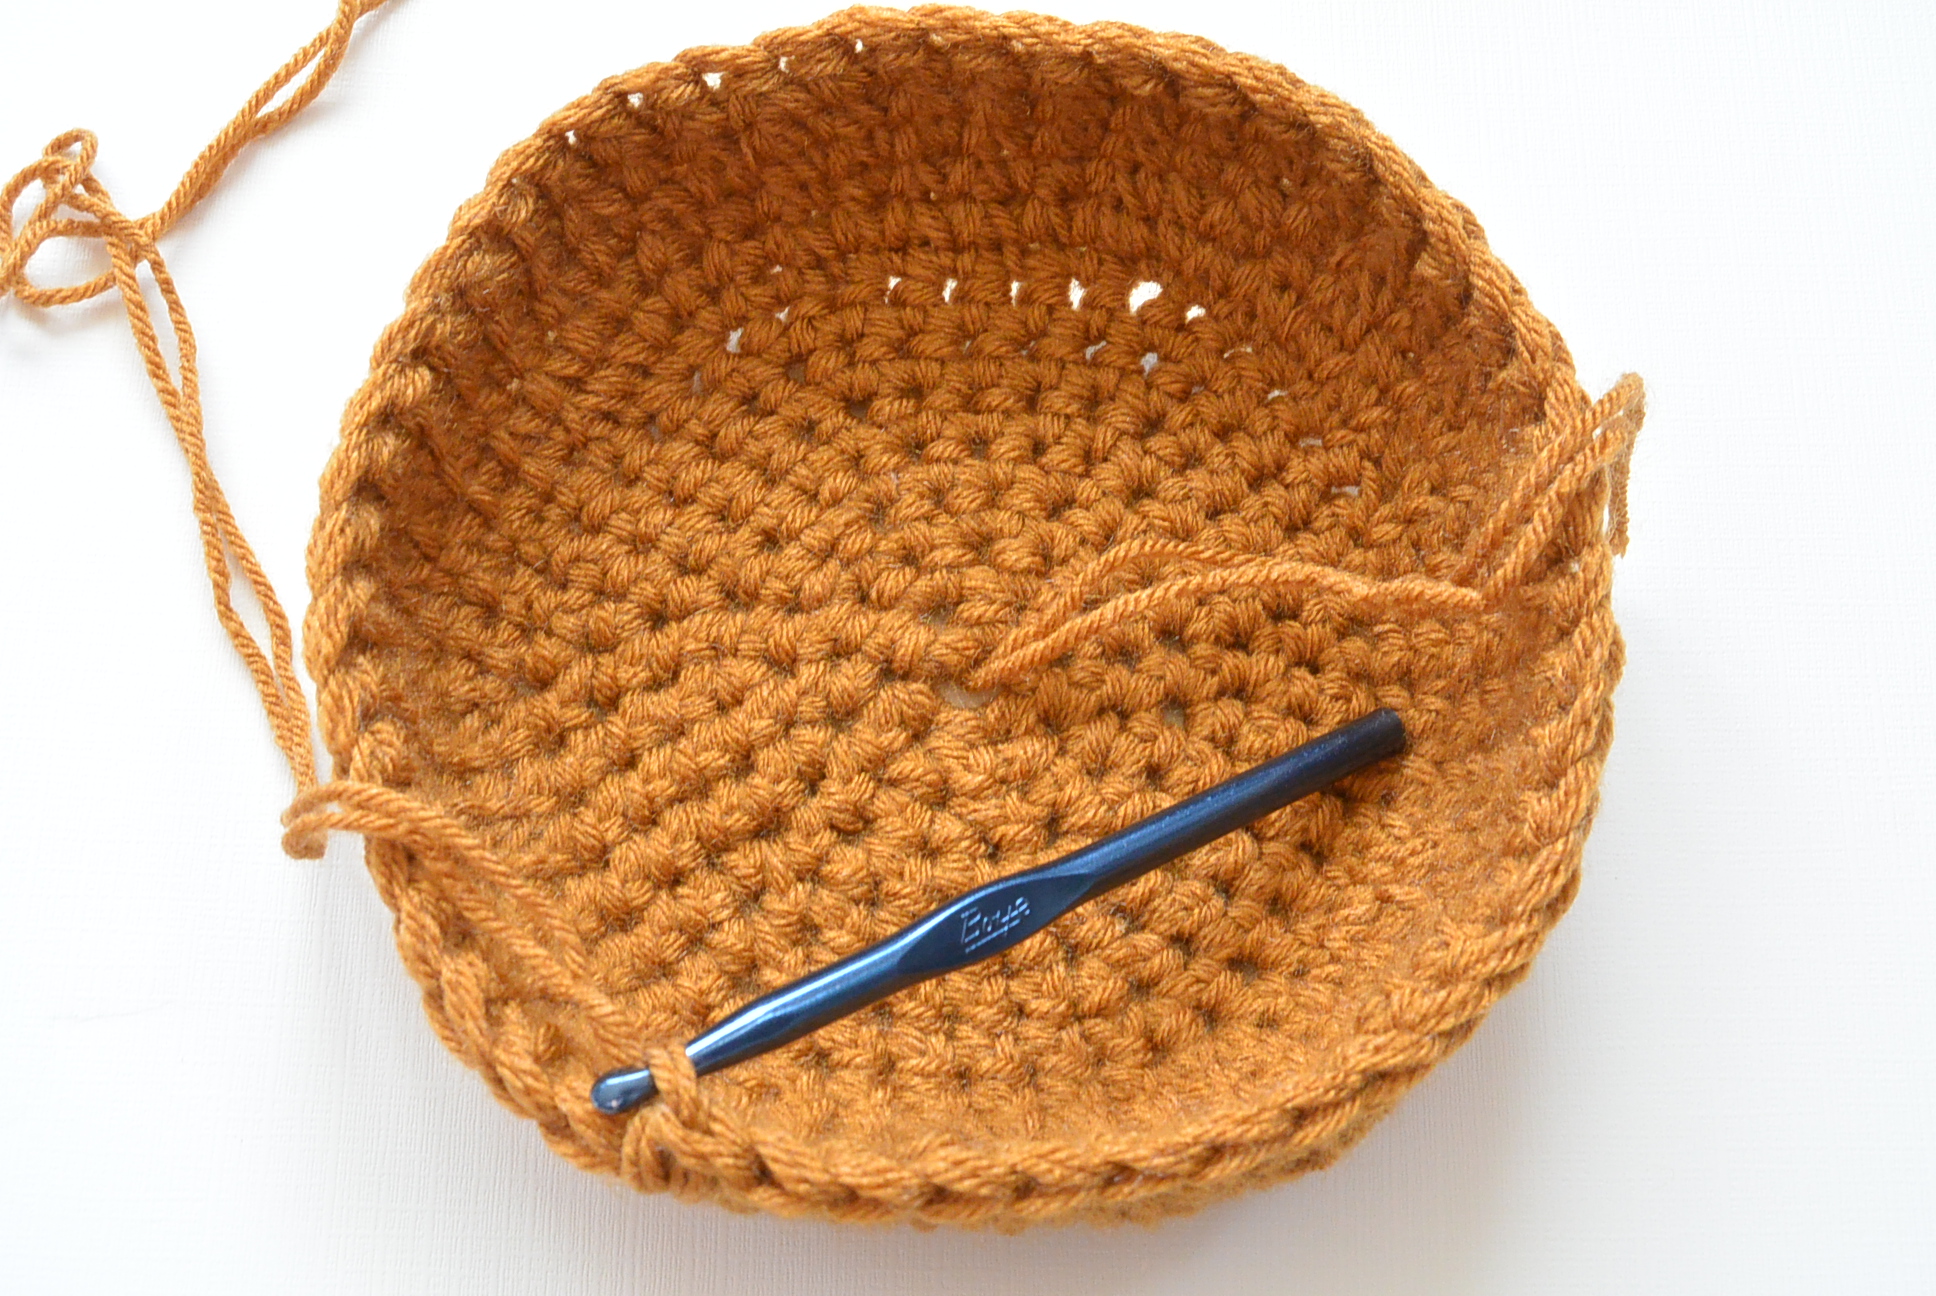
Main Body of Bag:
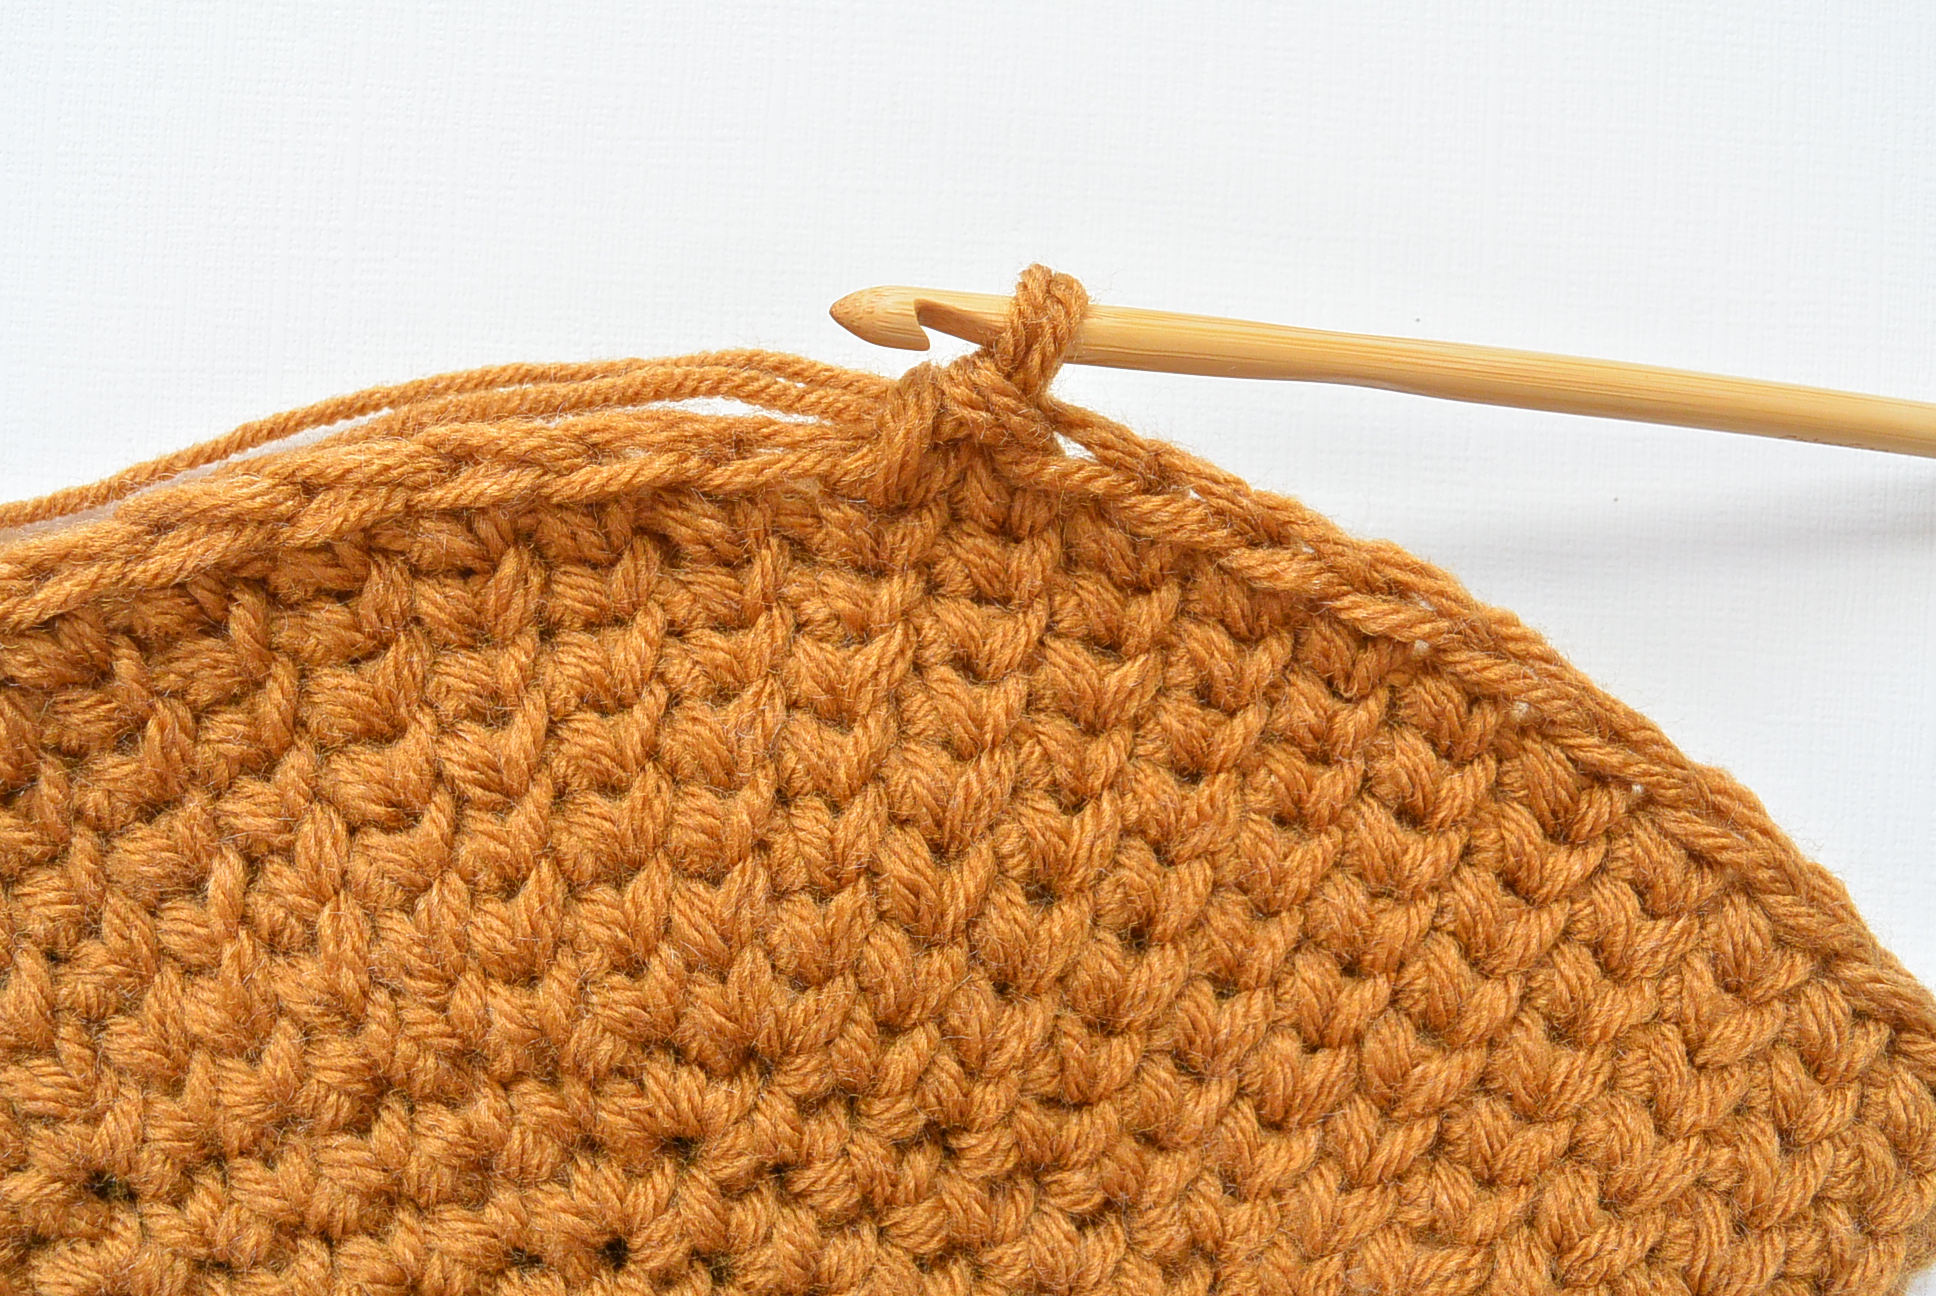
Round 9 Csc in each st around
Repeat round 9 until you have approximately 7” of Csc stitches. This measurement does not include base of the bag.
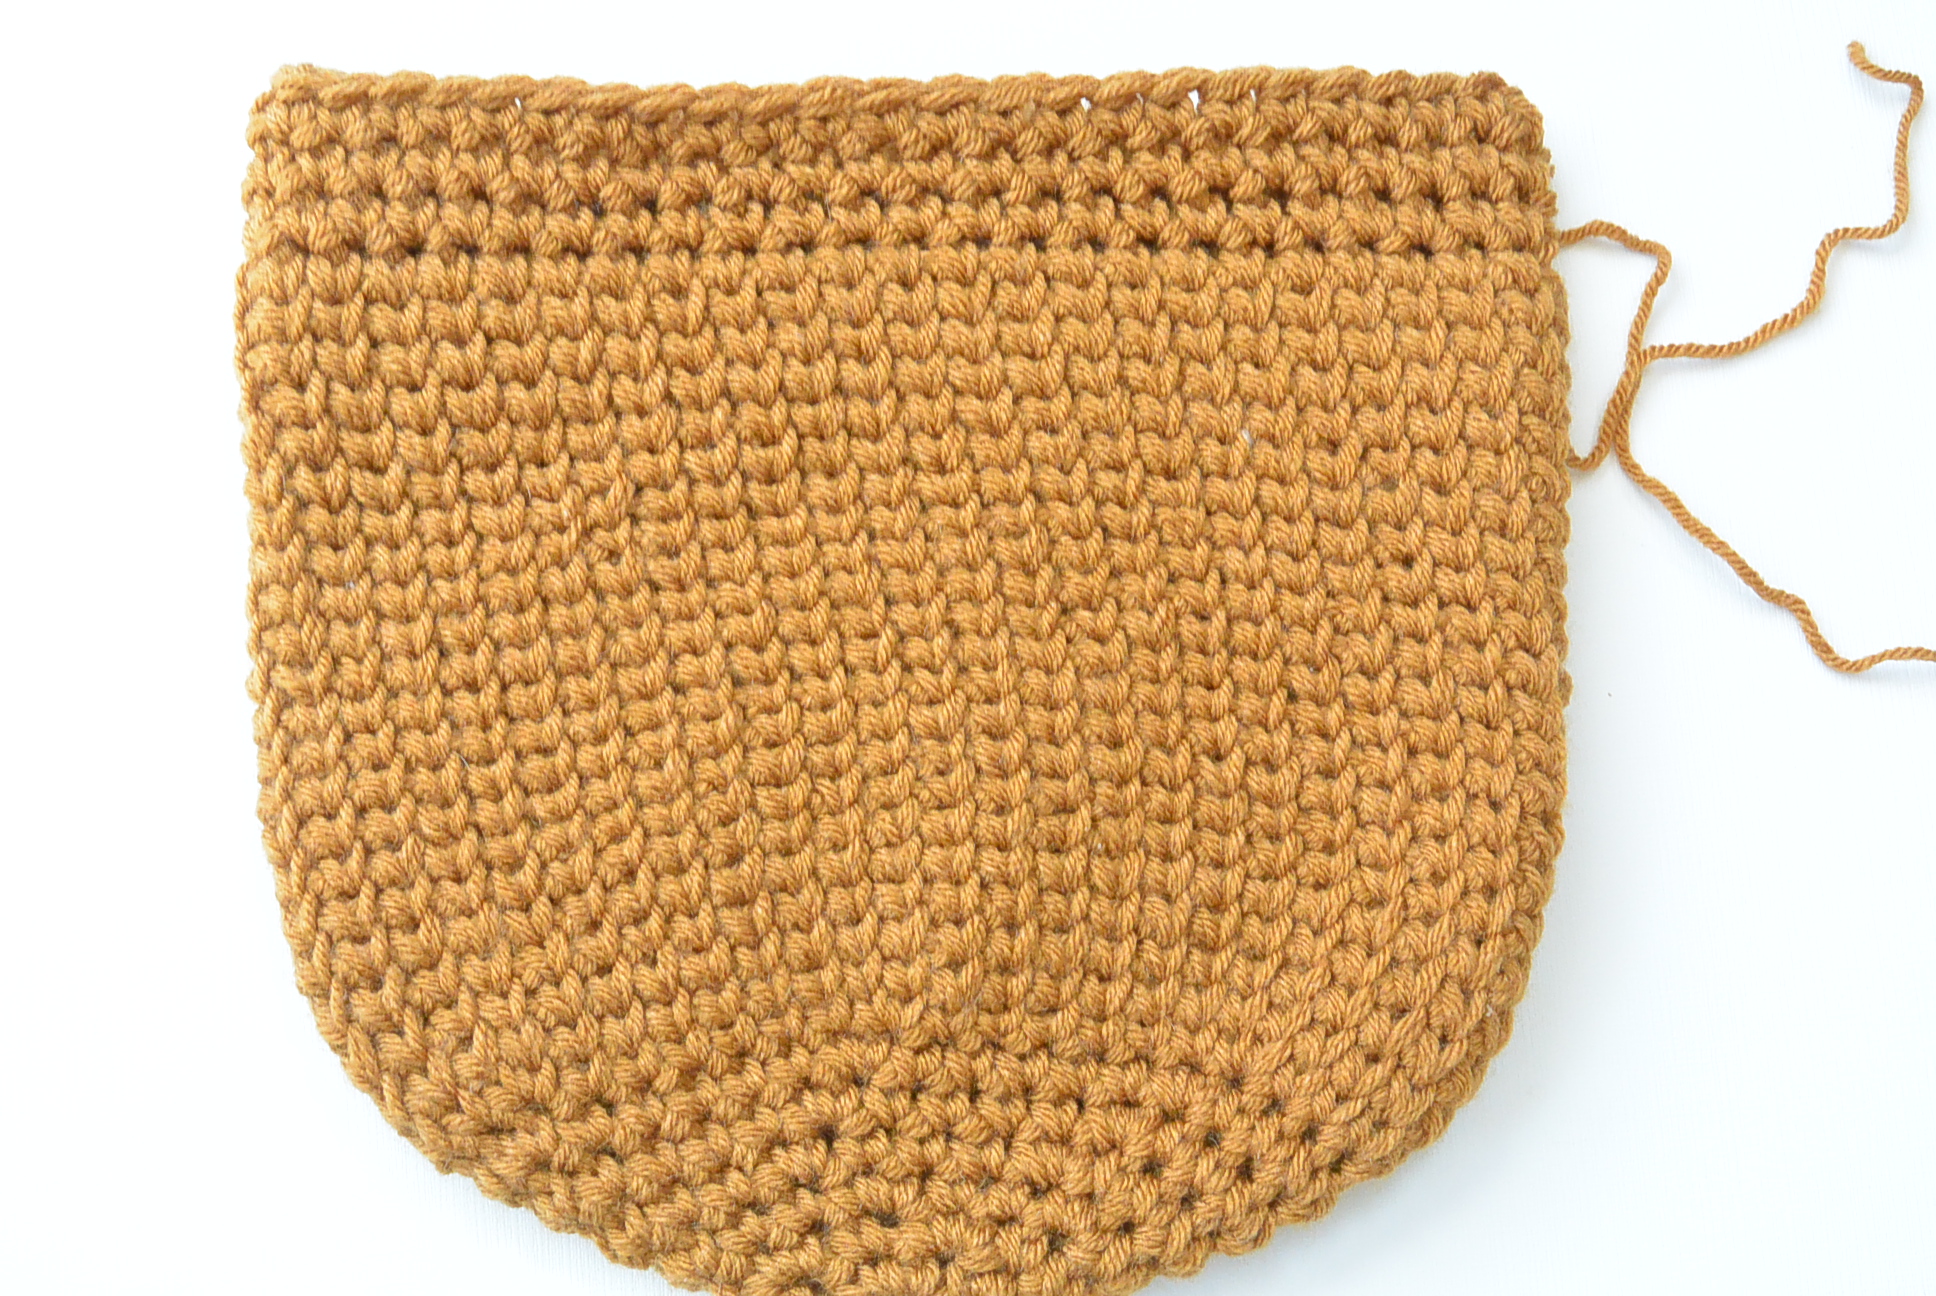
Once you have approximately 7” of Csc stitches and your bag is approximately 9” tall when laid flat (and measured from the center of the bottom to the top) you will now move onto the single crochet top portion of the pattern.
Single Crochet Top Portion:
Single crochet each stitch around, working in continuous rounds, marking your rounds as needed for approximately 1.5”. The bag should now measure approximately 10.5” tall. You can add more rounds to make it taller at this point if you’d like (keep yarn needs in mind)! When you’ve reached the length you want, skip 2 stitches, slip stitch into the next, tie off and weave in ends.
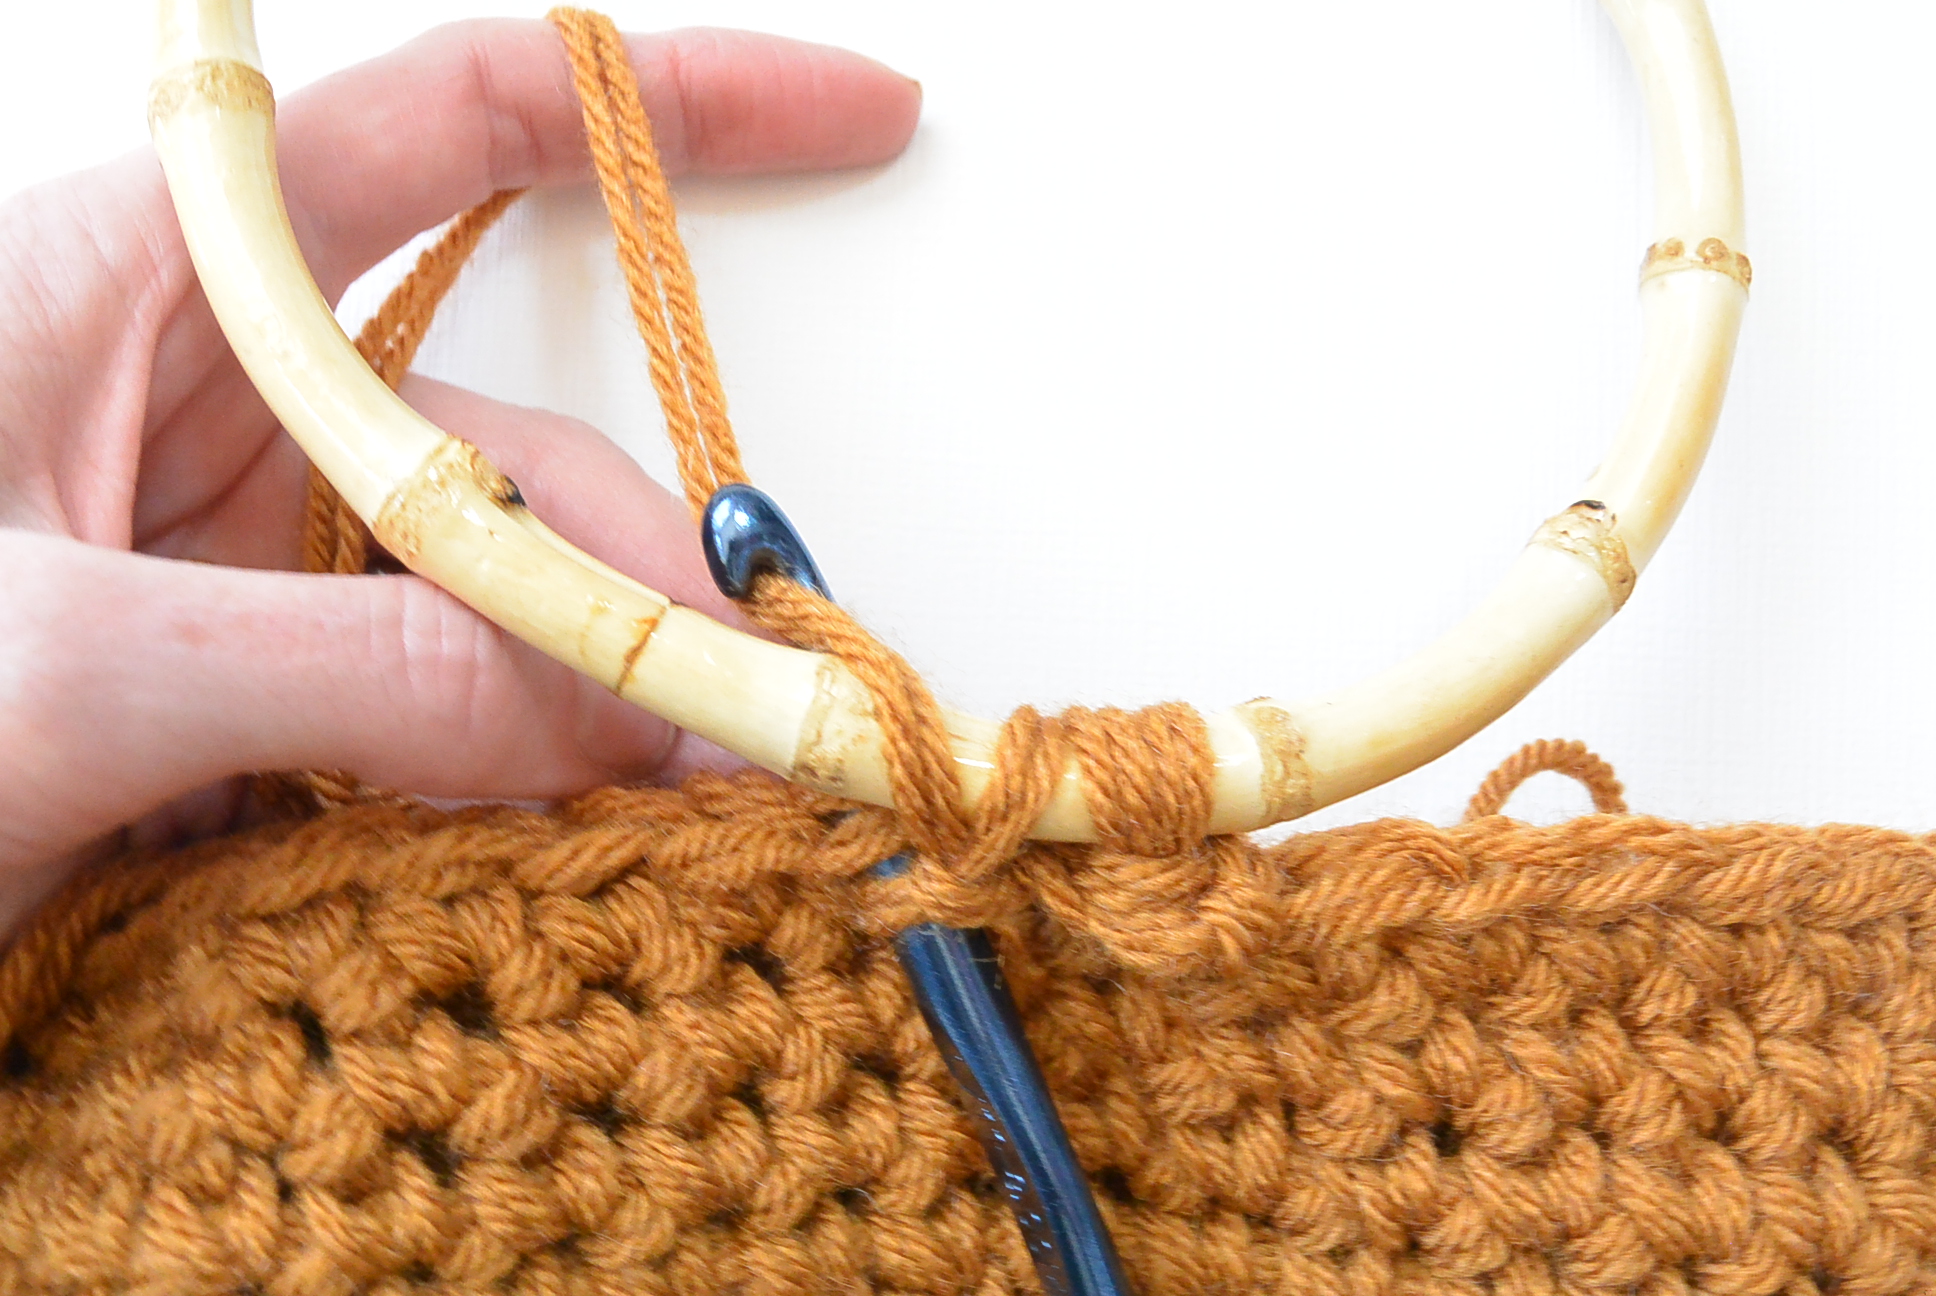
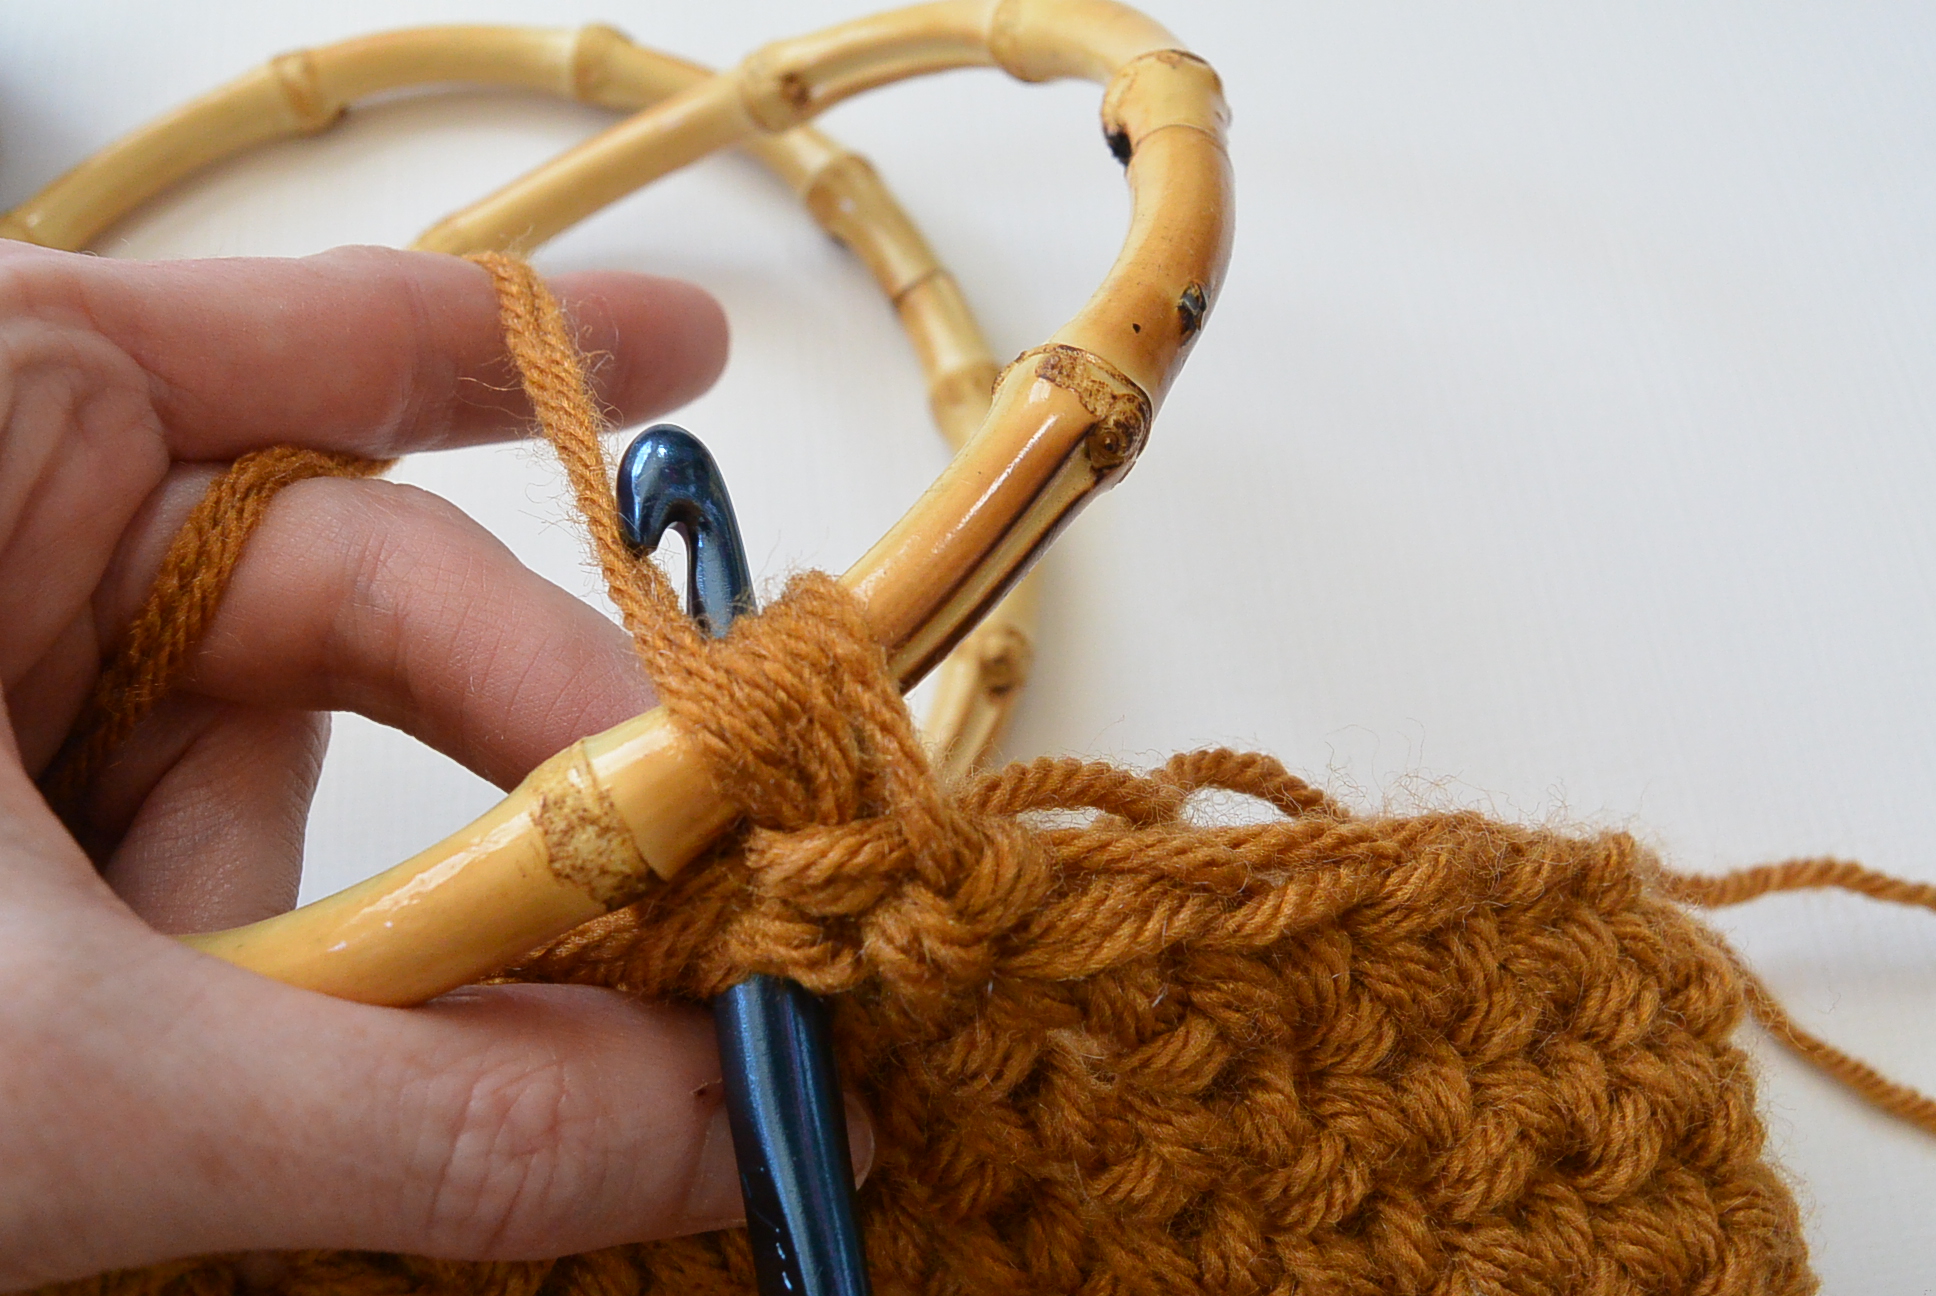
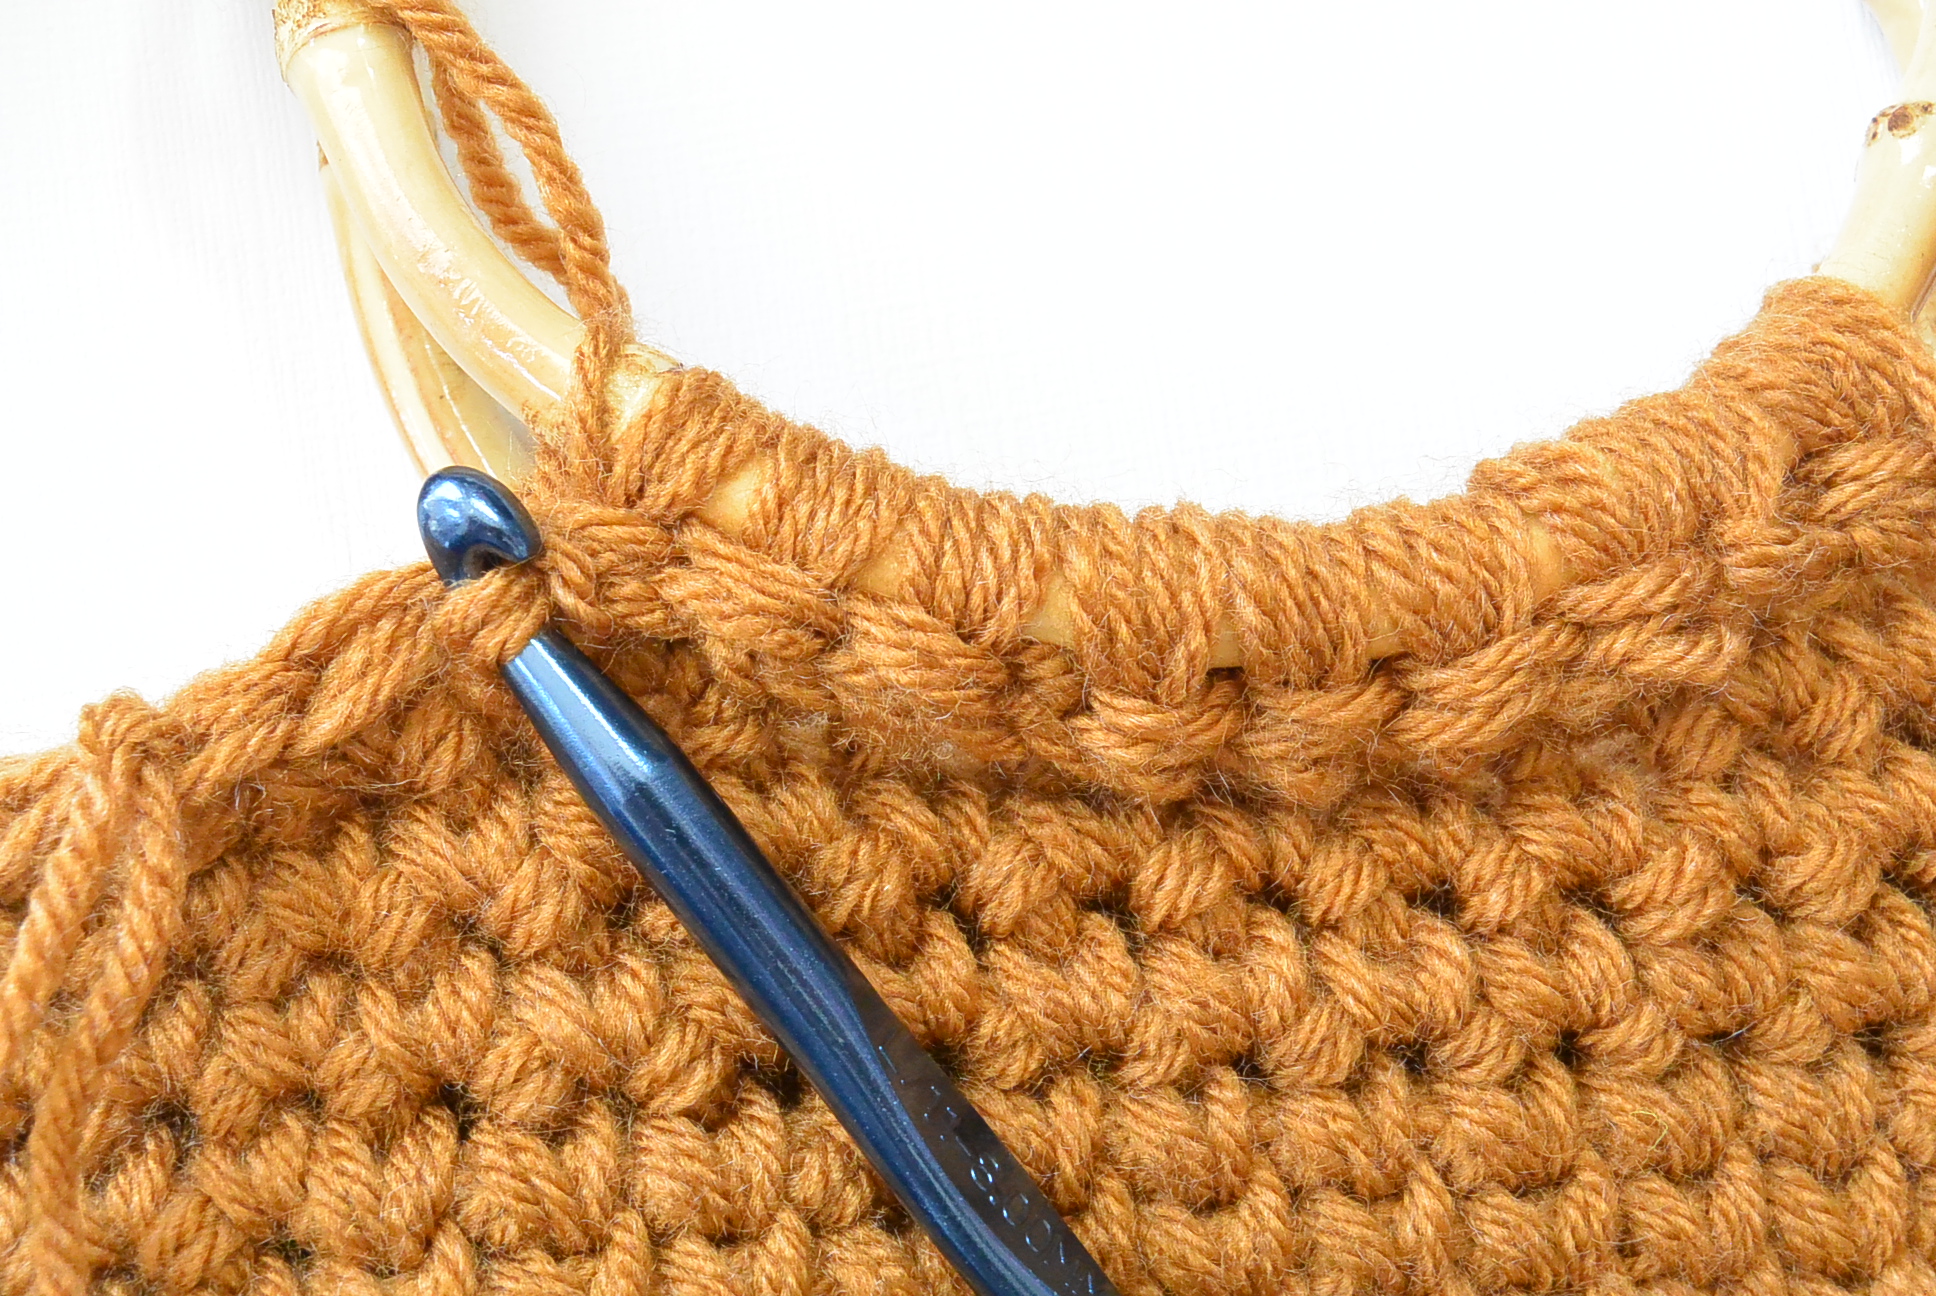
Attach Handles:
Lay bag on a flat surface. Count 5 stitches inward on each side. Mark these stitches. Beginning with the first stitch, attach yarn and slip stitch crochet around the handle to attach to the bag. Make two stitches in each single crochet stitch, wrapping yarn around the handle and then slip stitching to secure. See photos below. Work across to the other stich marker. Tie off and weave in ends. Repeat on opposite side of bag to attach second handle.
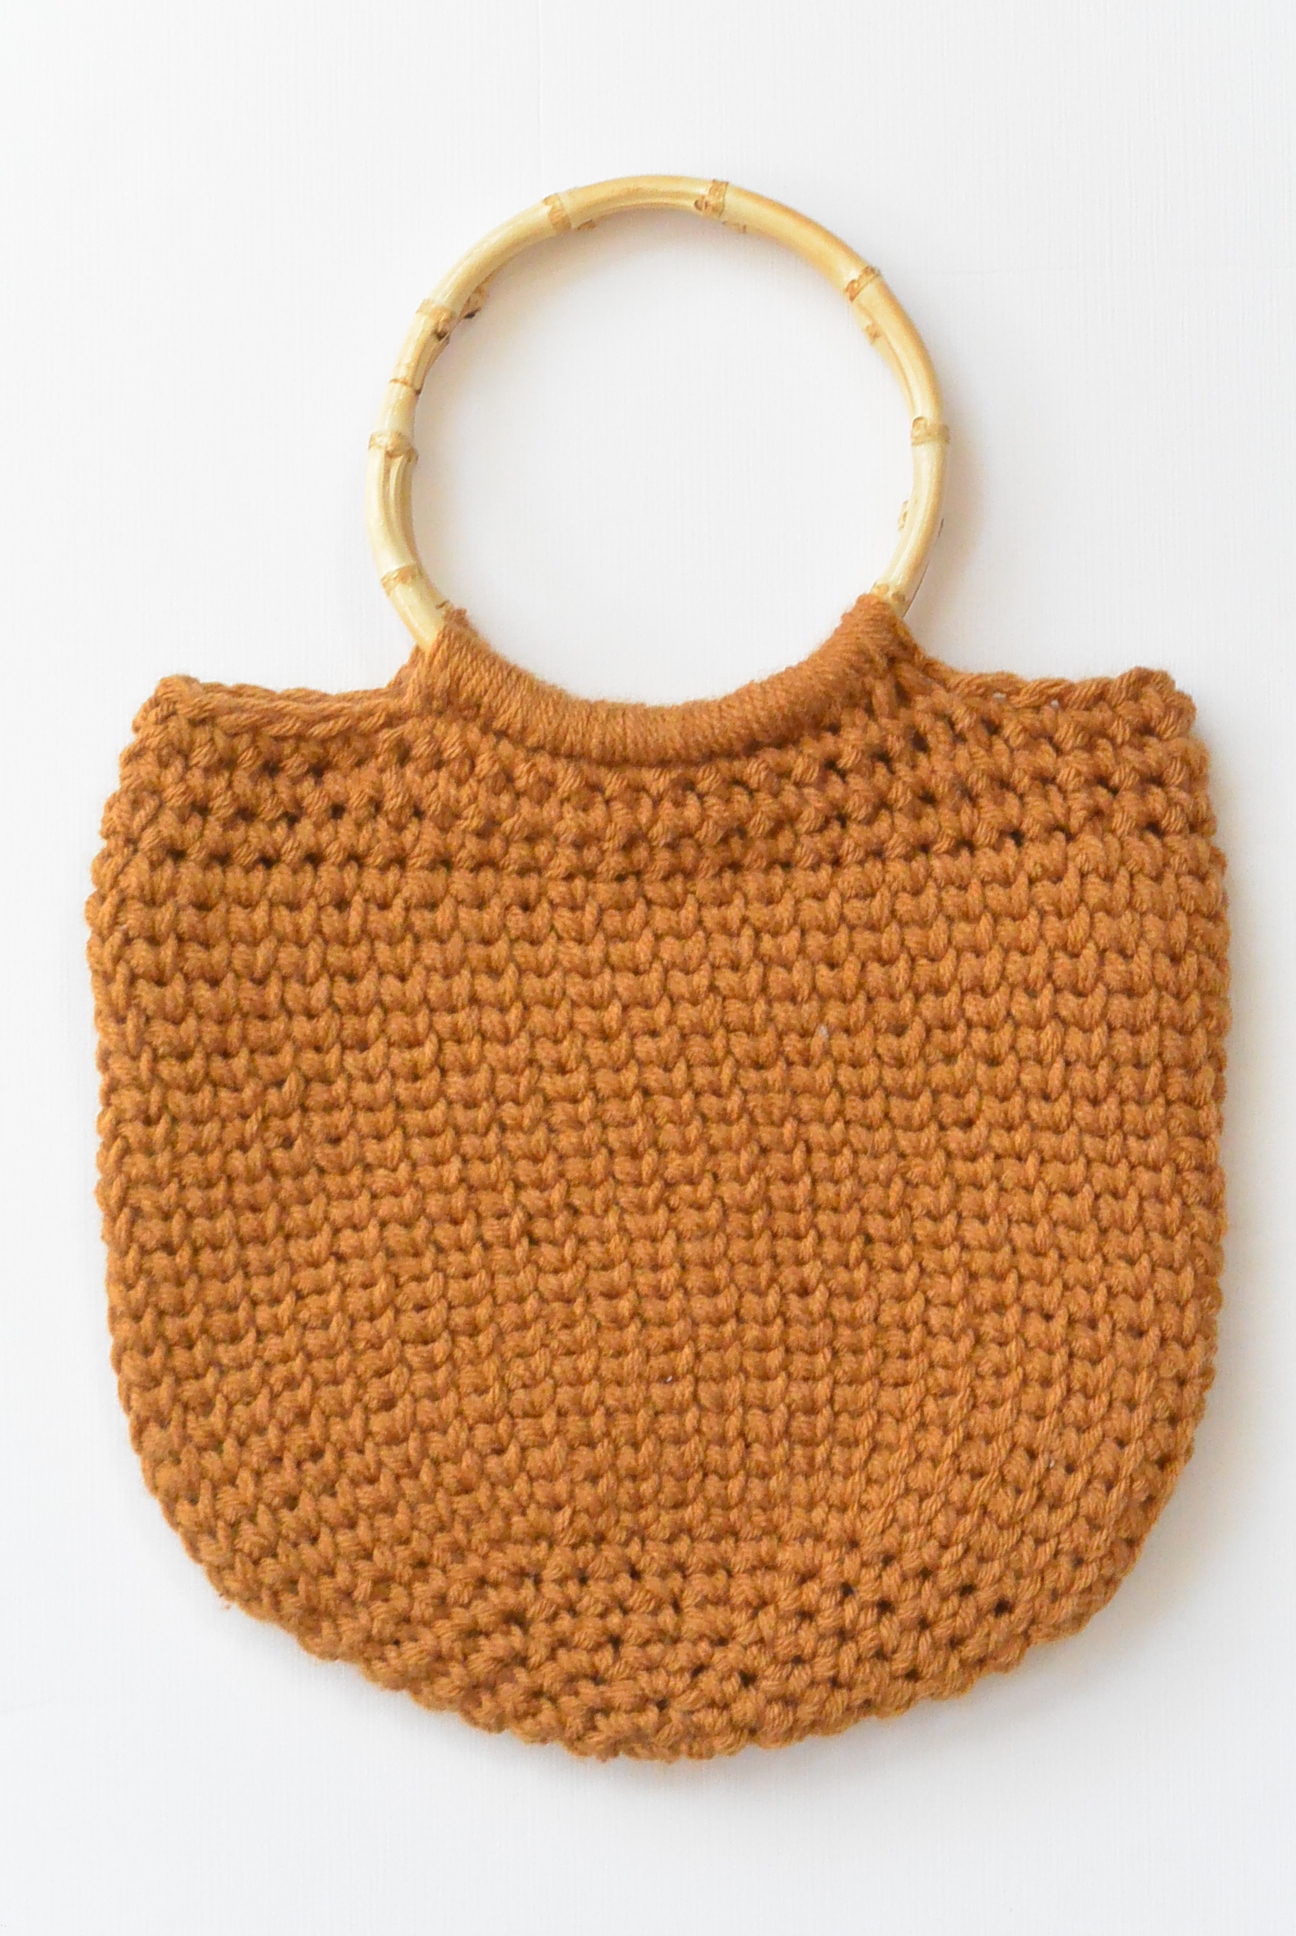
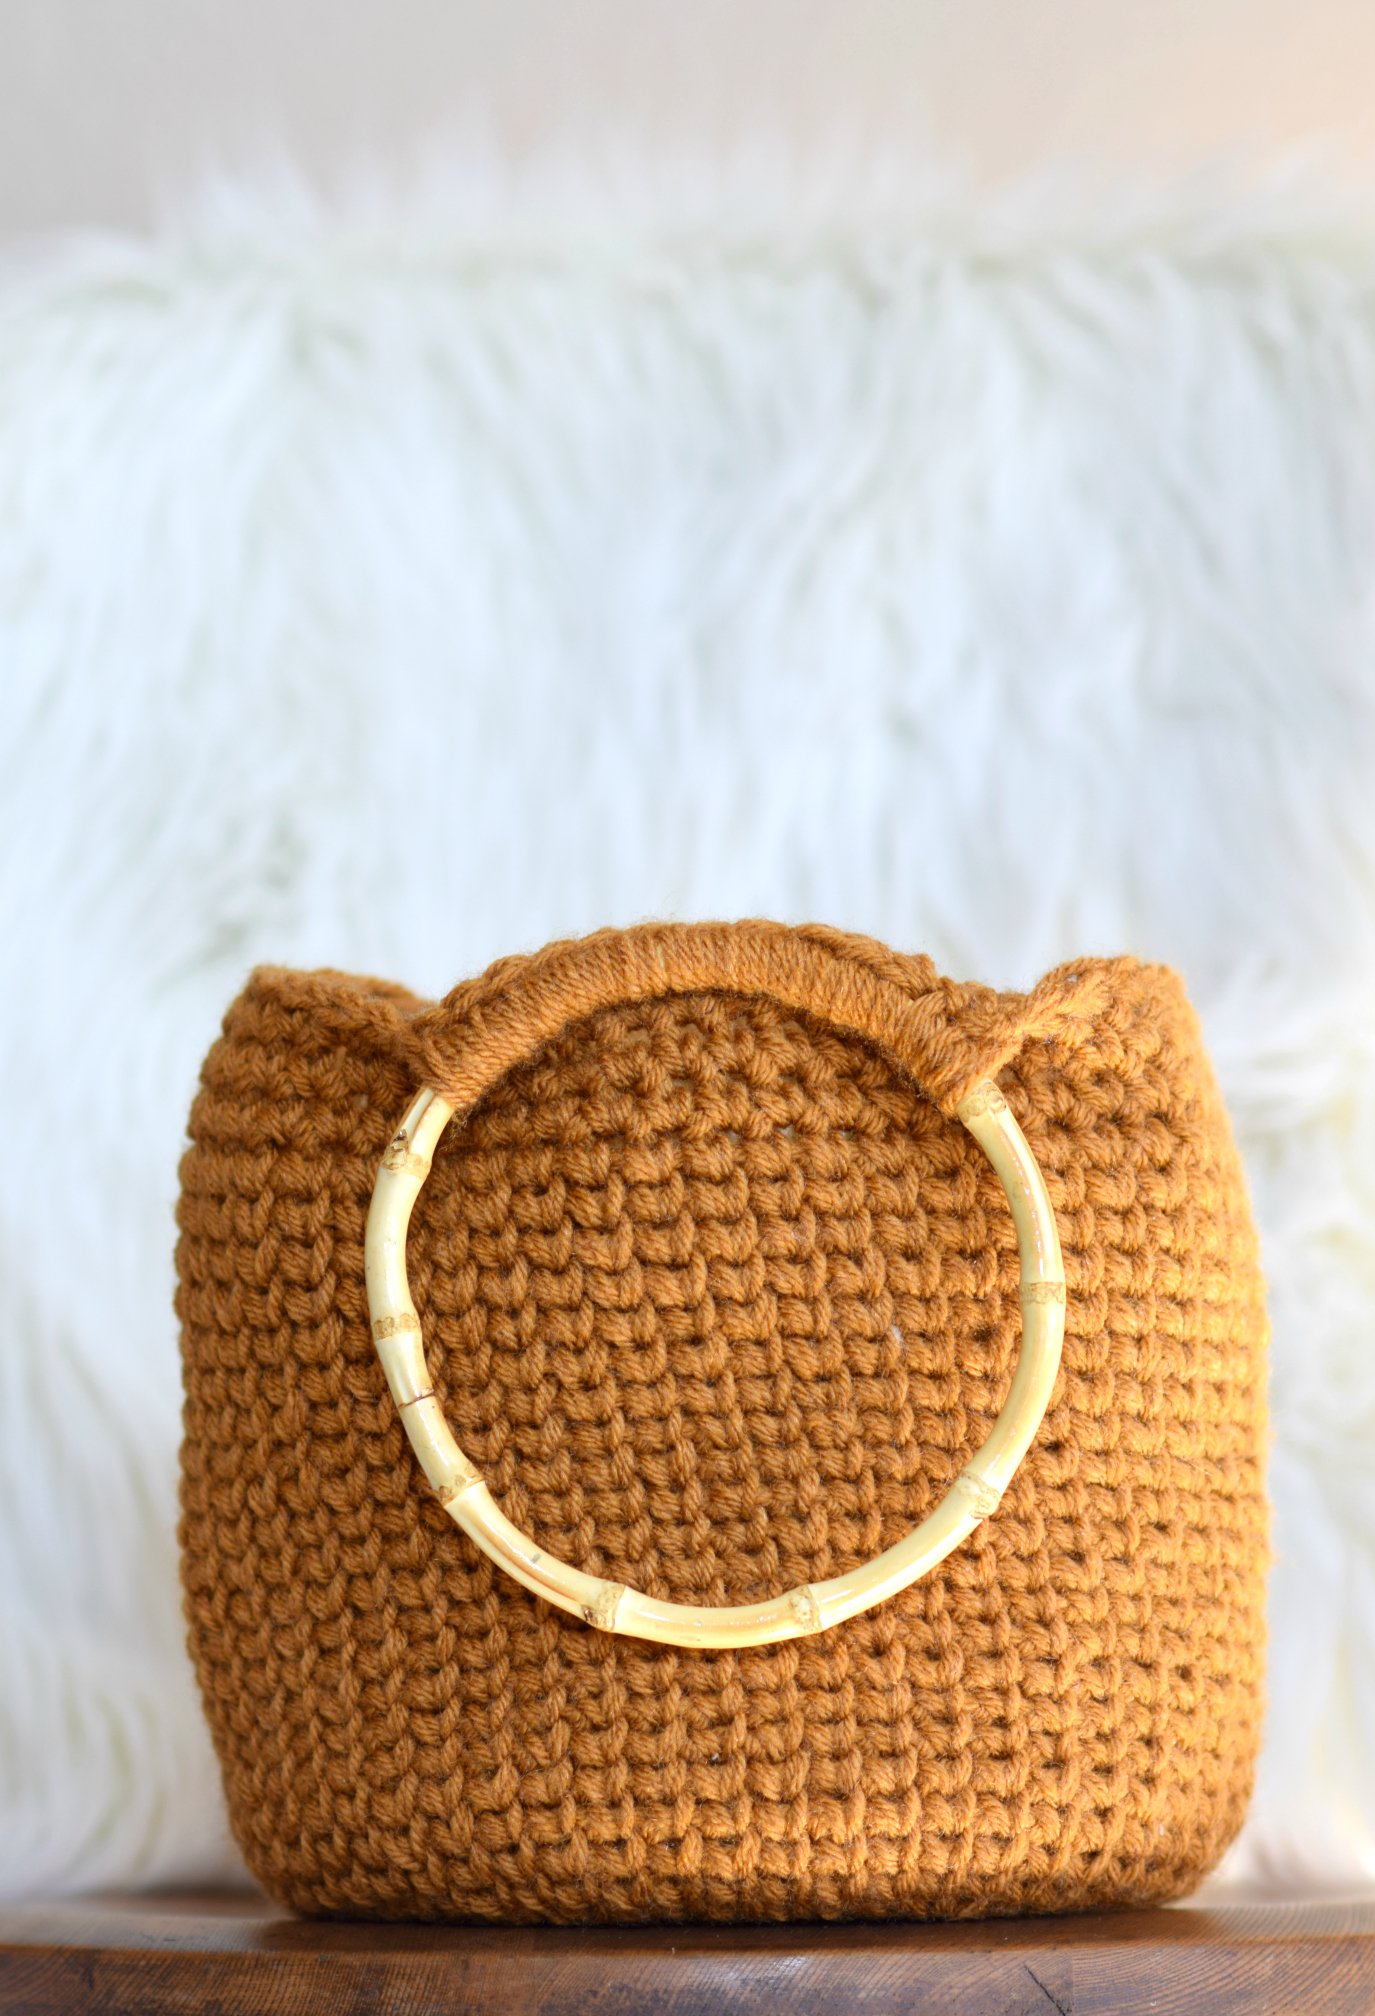
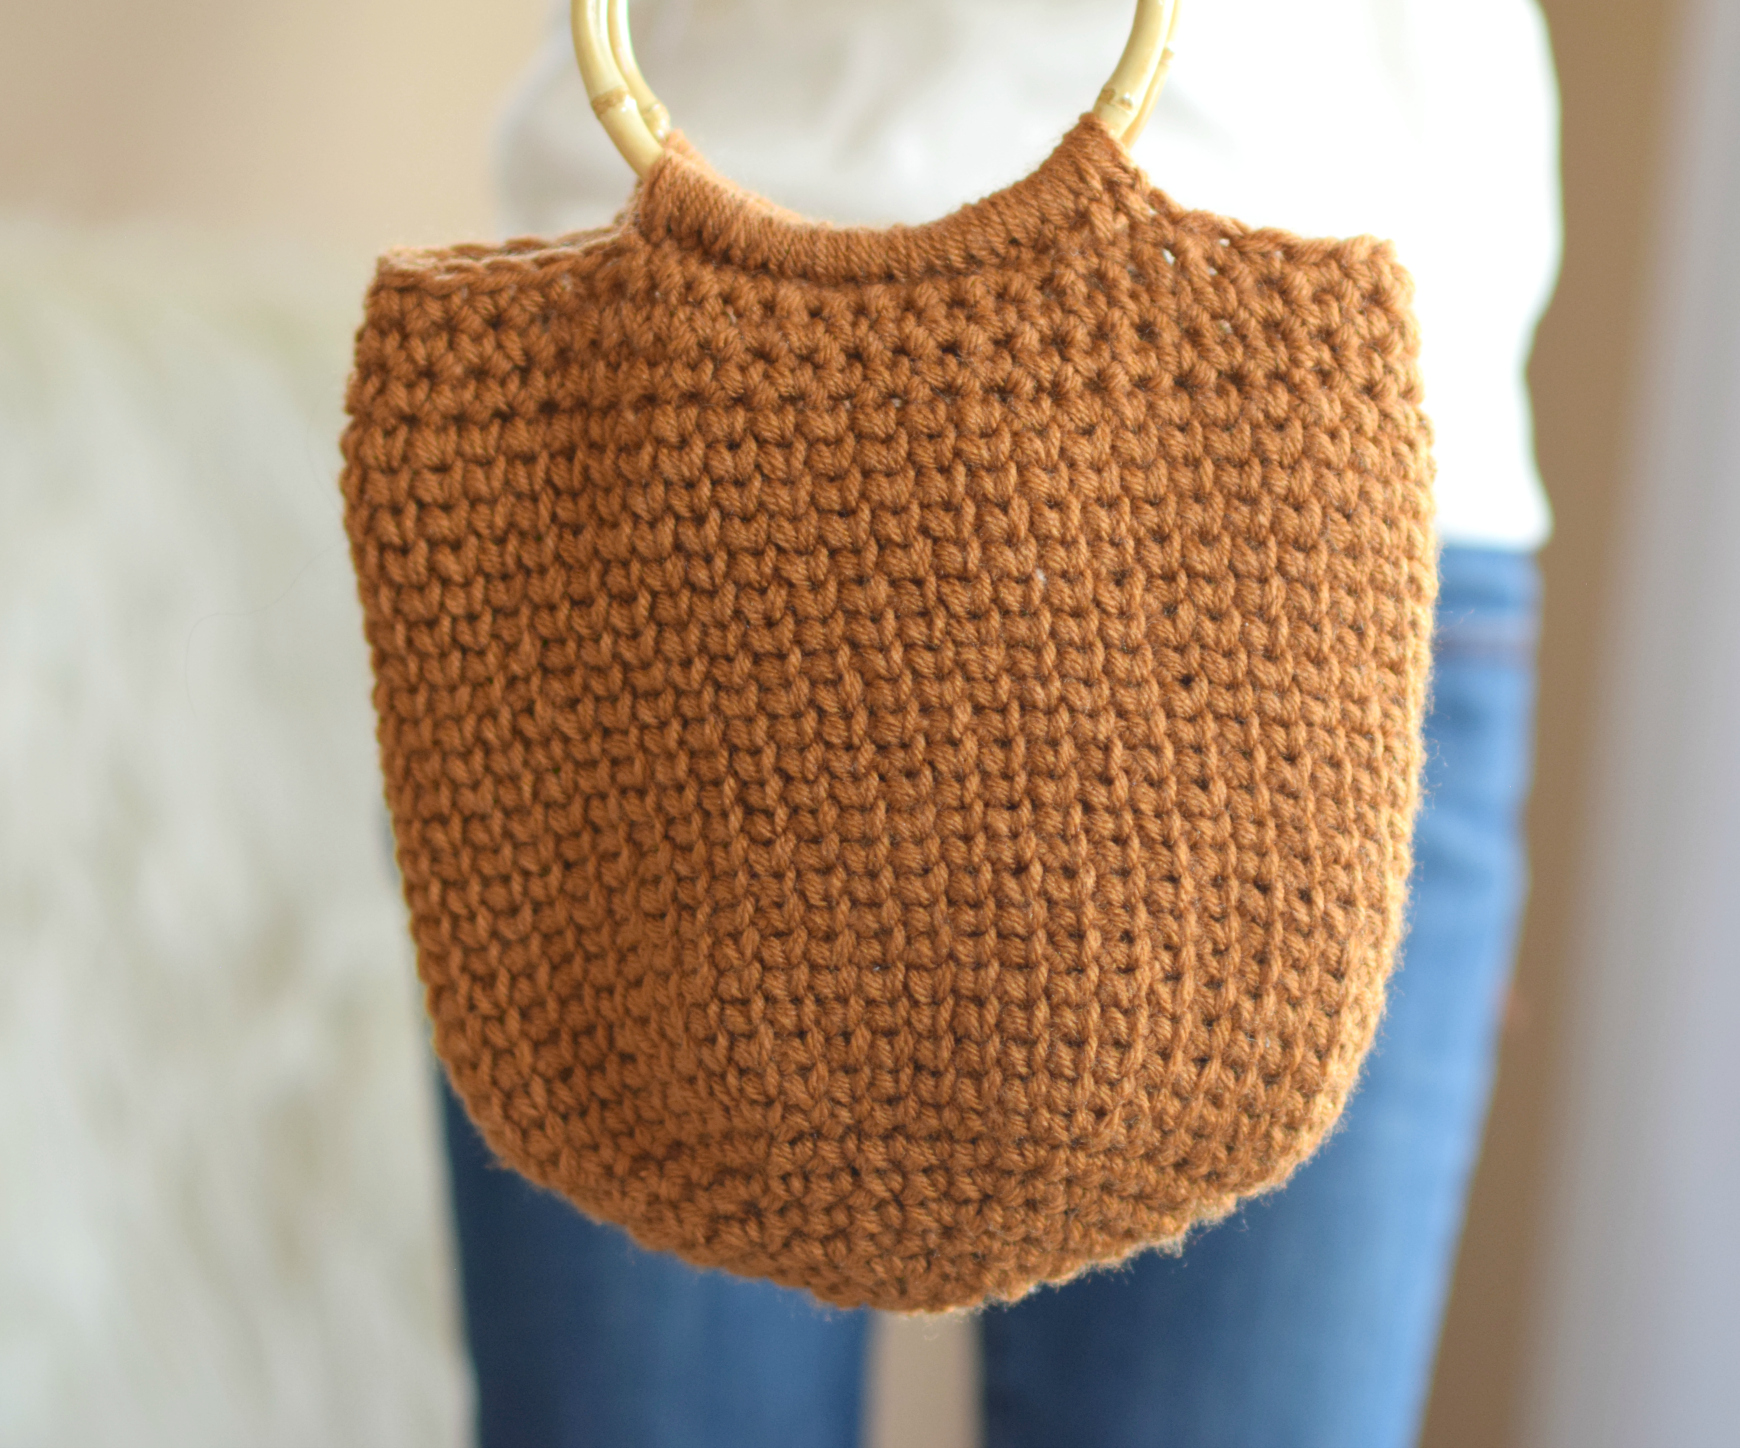
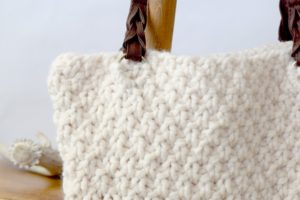
You can see in the photo above that the bag sits up on it’s own as the fabric is quite tight. It’s almost like a little basket! I’m so excited to use this bag and thrilled to know I can easily make more for friends.
Would you add a closure of some sort? I thought about that but wasn’t sure what would be the best method. Let me know your thoughts in the comments below!
XO,
Jessica
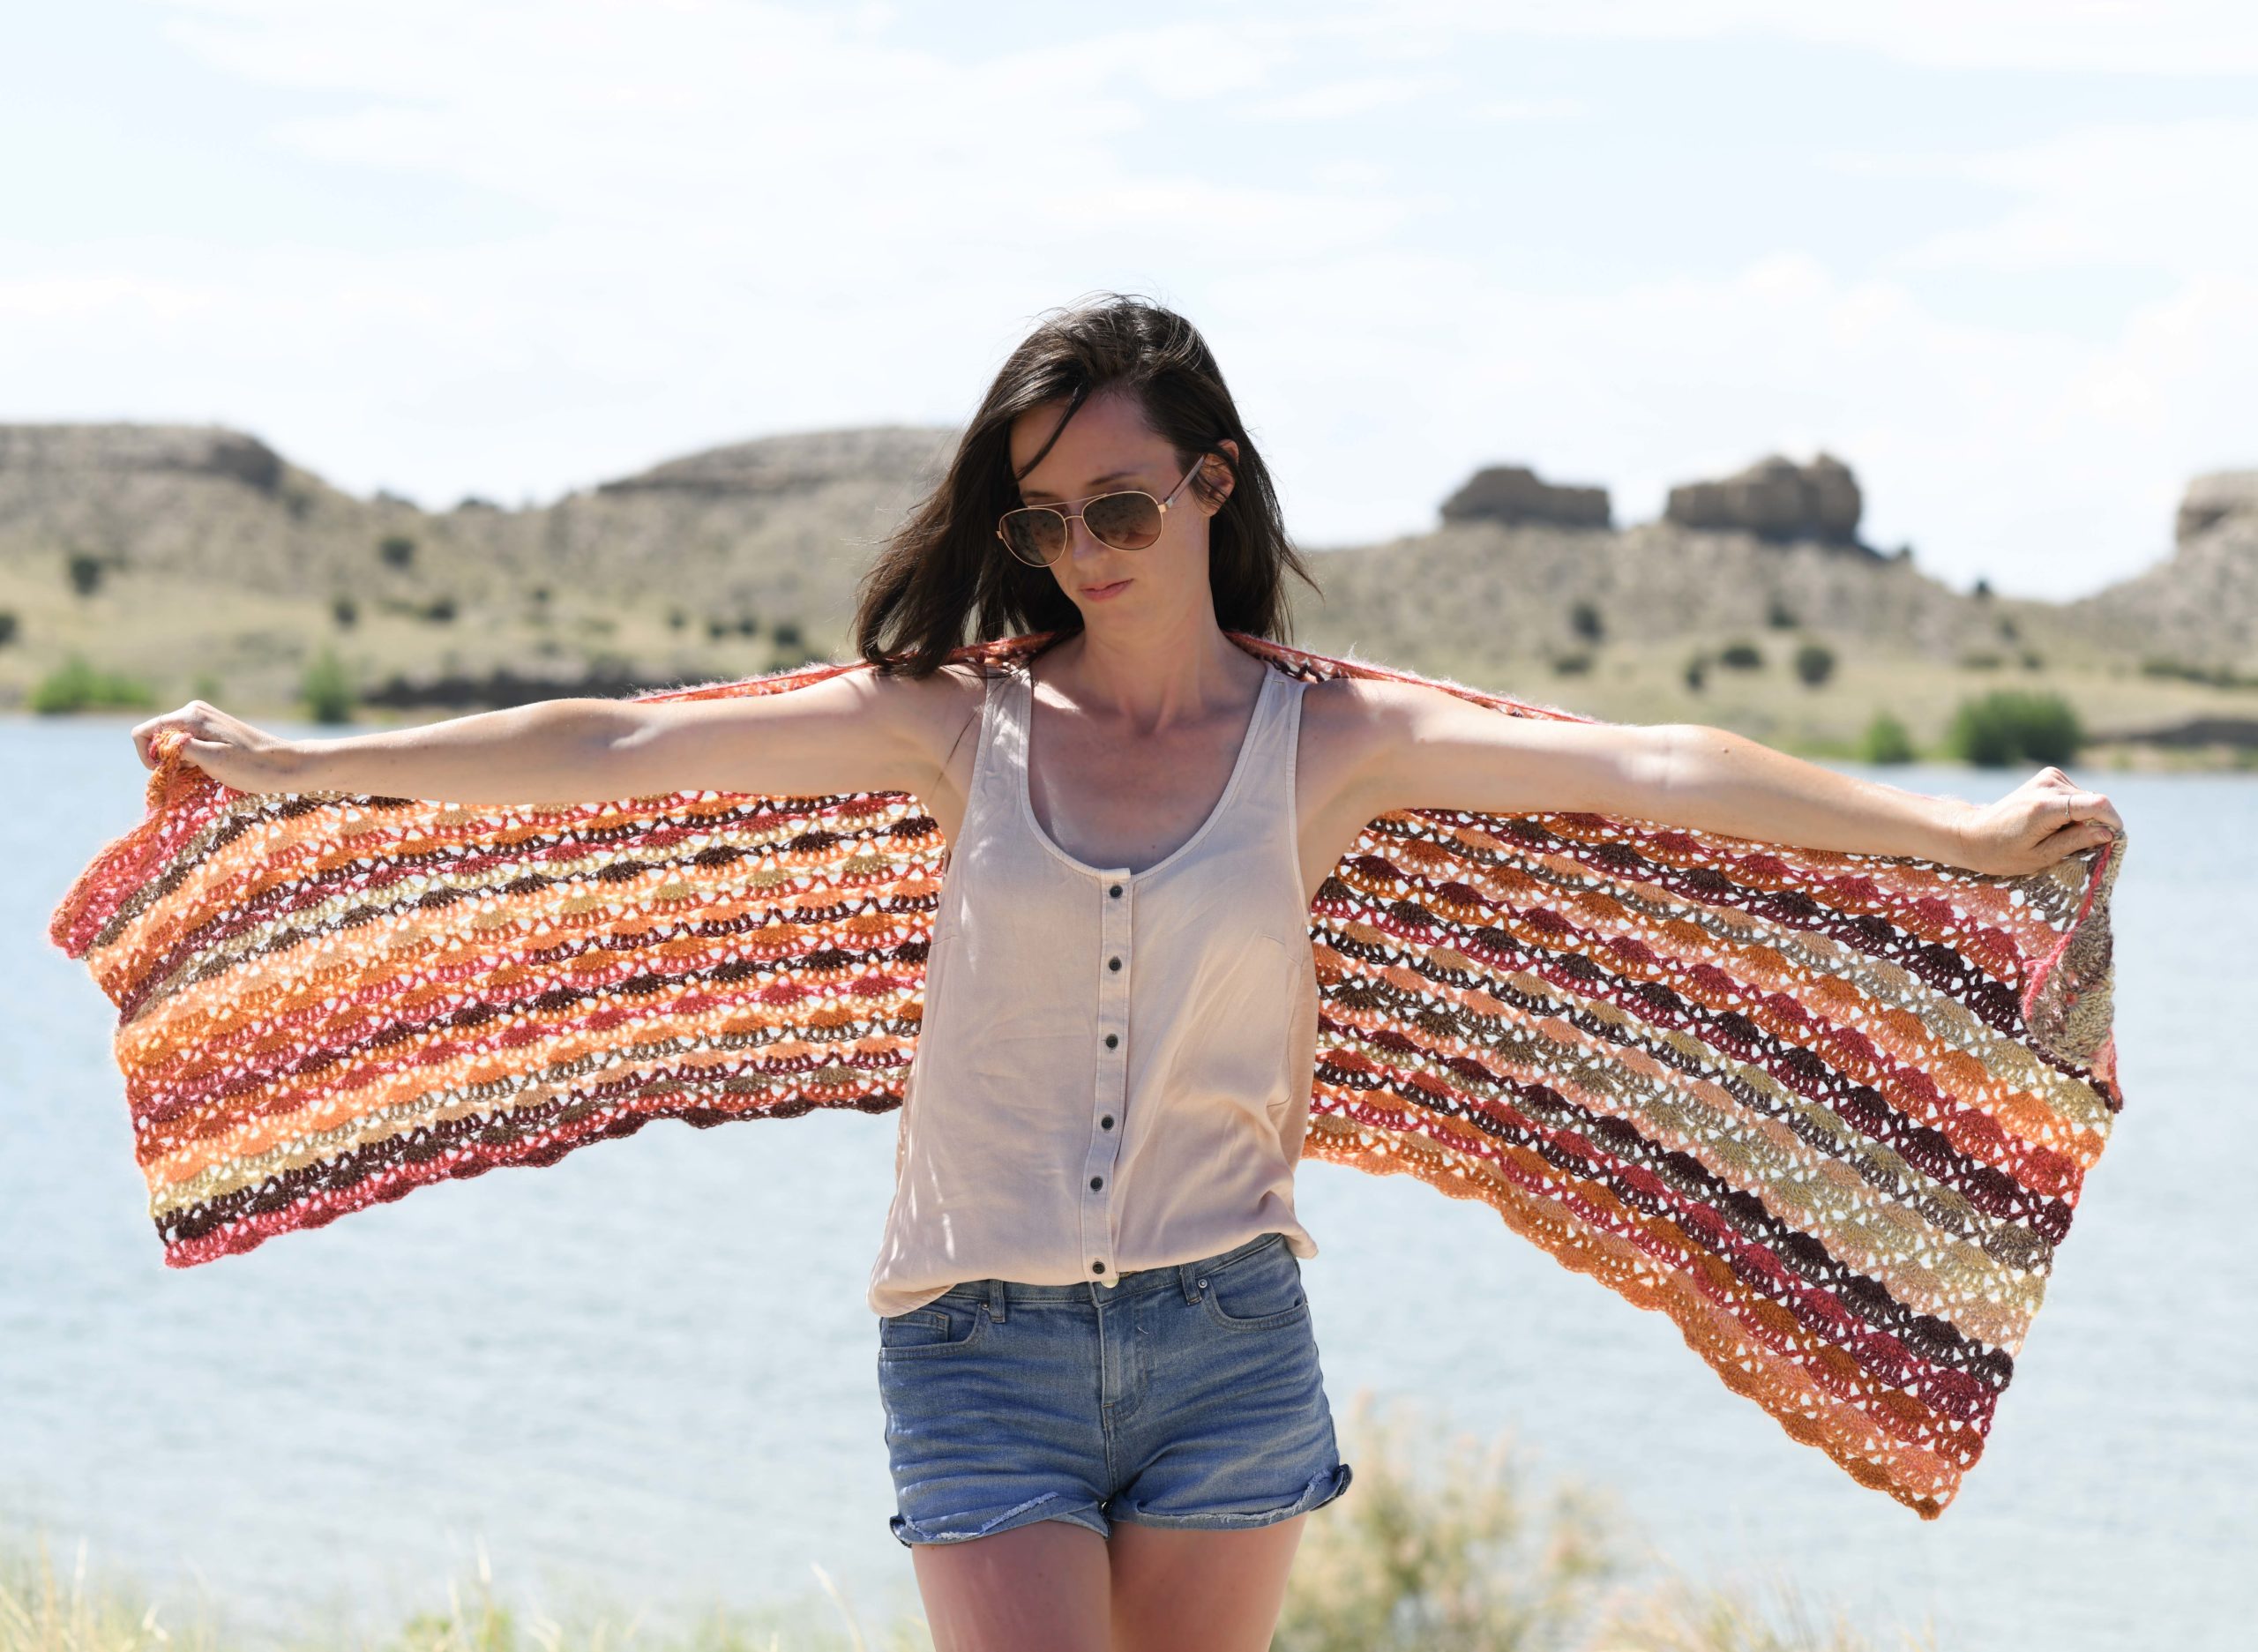
Oh! If you knit, you might like this:
Love this bag….will definitely be making one for myself. And my daughter..makes me think of Spring too..
I’m so happy you like it Sydney! Thanks!
Great bag!!!! A great gift for some one or yourself Thanks so much for sharing with us SMILE
Hi Helen! You’re welcome!
Jessica I love this cute bag!!!!! would it be possible to crochet in a cotton thread? Would I use the same pattern if so would I double the cotton thread also? Please reply I want this for this spring. I will continue to view other patterns since I have subscribed now.
If you use thread you’d have to modify the pattern a lot, but worsted weight cotton yarn would be perfect!
Such a pretty bag!. I’ll be making one soon. Thank you, so much for sharing your wonderful patterns.
I love this. It would be a nice gift bag for another crochet gift….scarf, hat, etc. as far as closure….a large, unique button? A buttonhole would have to be made on one side but should be easy enough to do. Now I know what to do with those bamboo handles I’ve been holding on to. Thanks for the great pattern.
Love this bag ❤️ Do you have any patterns for a crossbody bag?
I love your color choices every. single. time! This is lovely. I’m going to get the handles and make one!
Thanks for sharing, Jessica. I always love your work.
Much love,
Nell
I’m always happy to find your newsletters in my inbox. Your patterns are very lovely and so easy to follow. Thank you for that!
Quick question – Instead of 2 strands of Vanna’s choice could I use one strand of Thick & Quick yarn for this adorable bucket bag? If so what size hook would I use?
Keep those patterns coming.
Hi Mary,
You can use the super bulky yarn but it will be a bit different. A chunky yarn would better mimic the two strands of worsted weight used here. If you do the super bulky yarn, use whichever hook they say to use on the label. That’s my best guess and I bet it will turn out pretty cool!
Going to try this pattern
Love doing crochet it is my past time ,not at work . He is a very nice bag thank you for the pattern .
I really like this bag! I think I would add a magnetic snap so that it doesn’t fall open.
Hi, love the bag, only prob I can’t crochet! Any chance of a knit version? – Please ;>) CT (UK)
No knit version in the works right now Carole, but I’m so happy you like it! 😉
I just finished my second bag (for my BFF). I modified your pattern a wee bit. I used Bernat Maker Home Dec for both. I added two extra rounds to the first bag and four extra rounds to the second bag. I also went with handles I already had in my stash – bamboo U-shape handles. I love them both and my BFF will love hers, too, I’m sure. Thanks so much for a great pattern, Jessica!
Nice designs and simplicity. I’m loving the Camel Bag. Looking forward to making this.
I love this bag. I have 2 metal rings that I could use instead of buying the wooden ones. I might have to make one of these for myself.
So glad I found this and you. Thanks so much for sharing your bag. I absolutely love it!!! I will be making for family and friends, and since I make hats, I think I’ll do both and gift them together.
Ahh you’re welcome Lynn!!! So happy you like it enough to make as gifts!
i just cant seem to get my handles attached. do you have video on this or can you give me some additional photos pointers etc.? i really want to finish this purse. thanks!
Jessica, Love this pattern…wondering if the weight of this and Jute are similar? Would like to make it in Jute and use for a summer bag.
Is it possible to crochet the handles because I have no way of getting wooden handles
Thanks,
Lydia
Absolutely!!
I’m making this beauty now, but I have a question. I see the finished measurements above, but was wondering what is the approximate diameter of the base before you start the waistcoat stitch pattern. I think I must be crocheting *really* tight because my bag is nowhere near 10″ wide at the base…more like 7″ – 8″. And that’s after I added an extra row to the base. My piece seems so much smaller than I thought it would be. Would appreciate any feedback or thoughts. I’m using the L hook size.