How To Work Tapestry Crochet (The Easy Way)
Tapestry crochet is a lot of fun, and there are many gorgeous patterns available that you can use once you learn how to do it. As I’ve searched online and on YouTube to see how folks complete tapestry crochet, the number of methods became overwhelming! Today I will show you the two ways that I’ve done it, which for me, seem to be the easiest ways. I’ll also let you know the other methods that I’ve seen in case you’d like to give those a try. I’d love to hear if you’ve done tapestry crochet and the methods you prefer in the comments below.
Tapestry crochet is done by carrying the two colors of yarn used in a row, and using the indicated color for each stitch while crocheting around the secondary color. See the video tutorial below for tapestry crochet in the round from Moogly, and the pictures for tapestry crochet worked flat.
Tapestry Crochet worked Flat
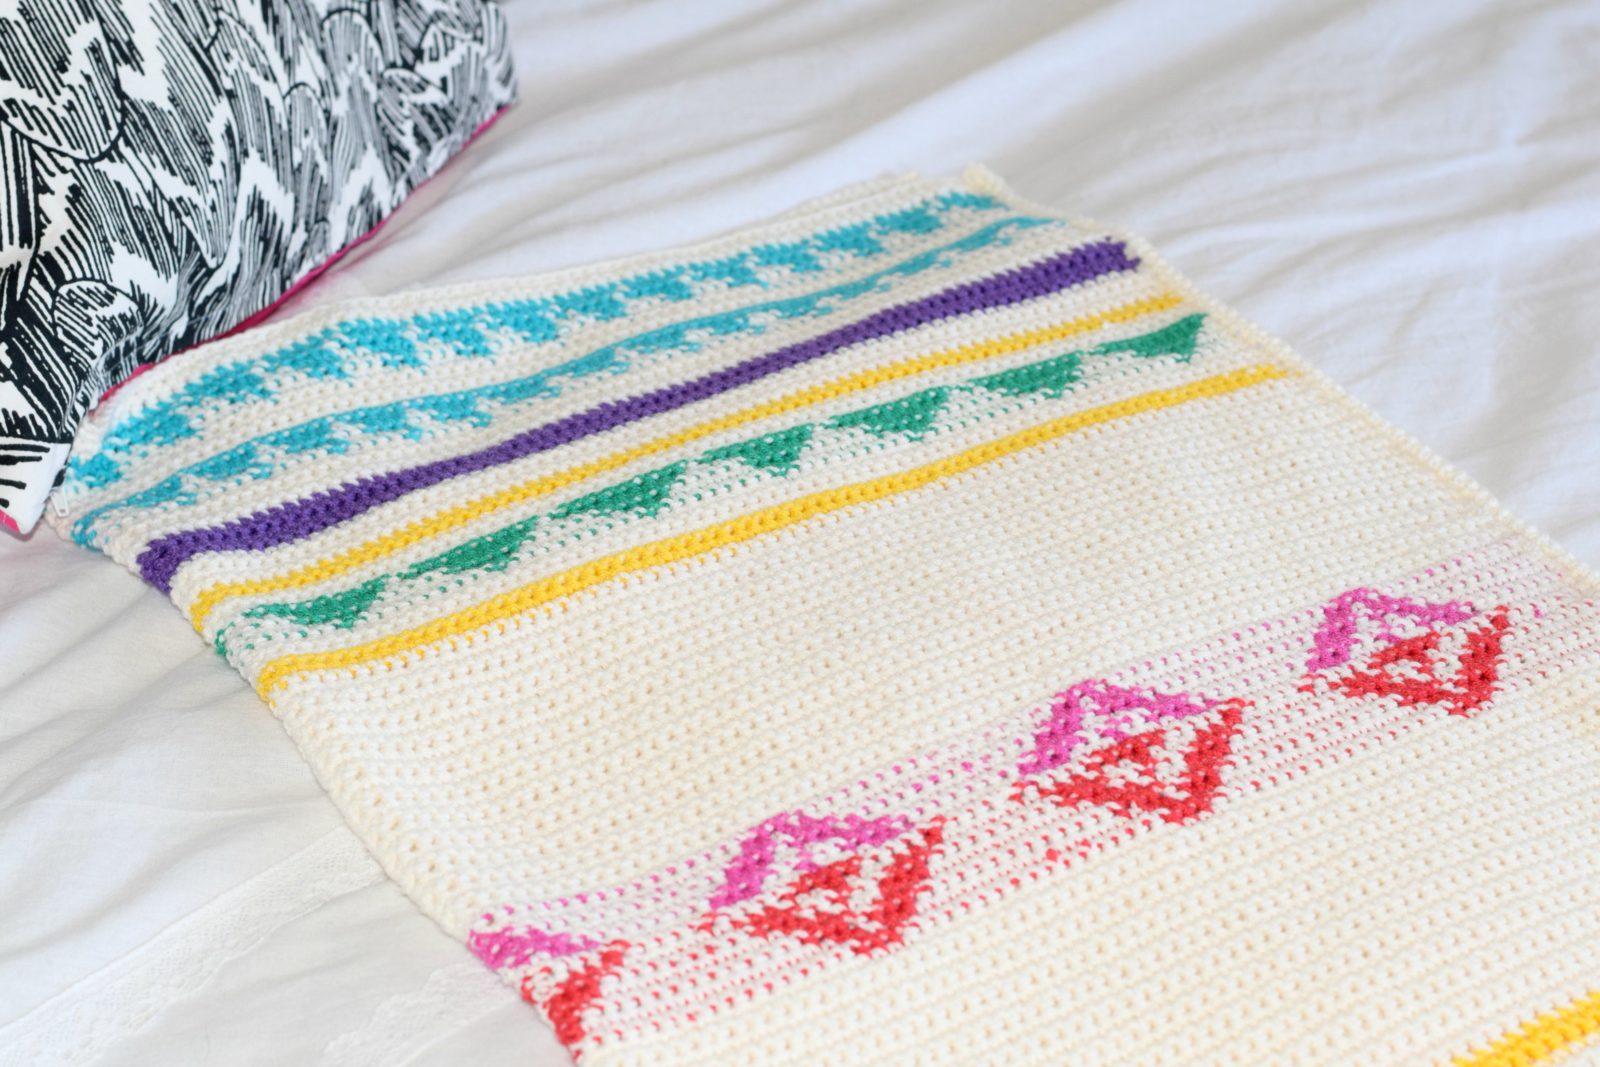
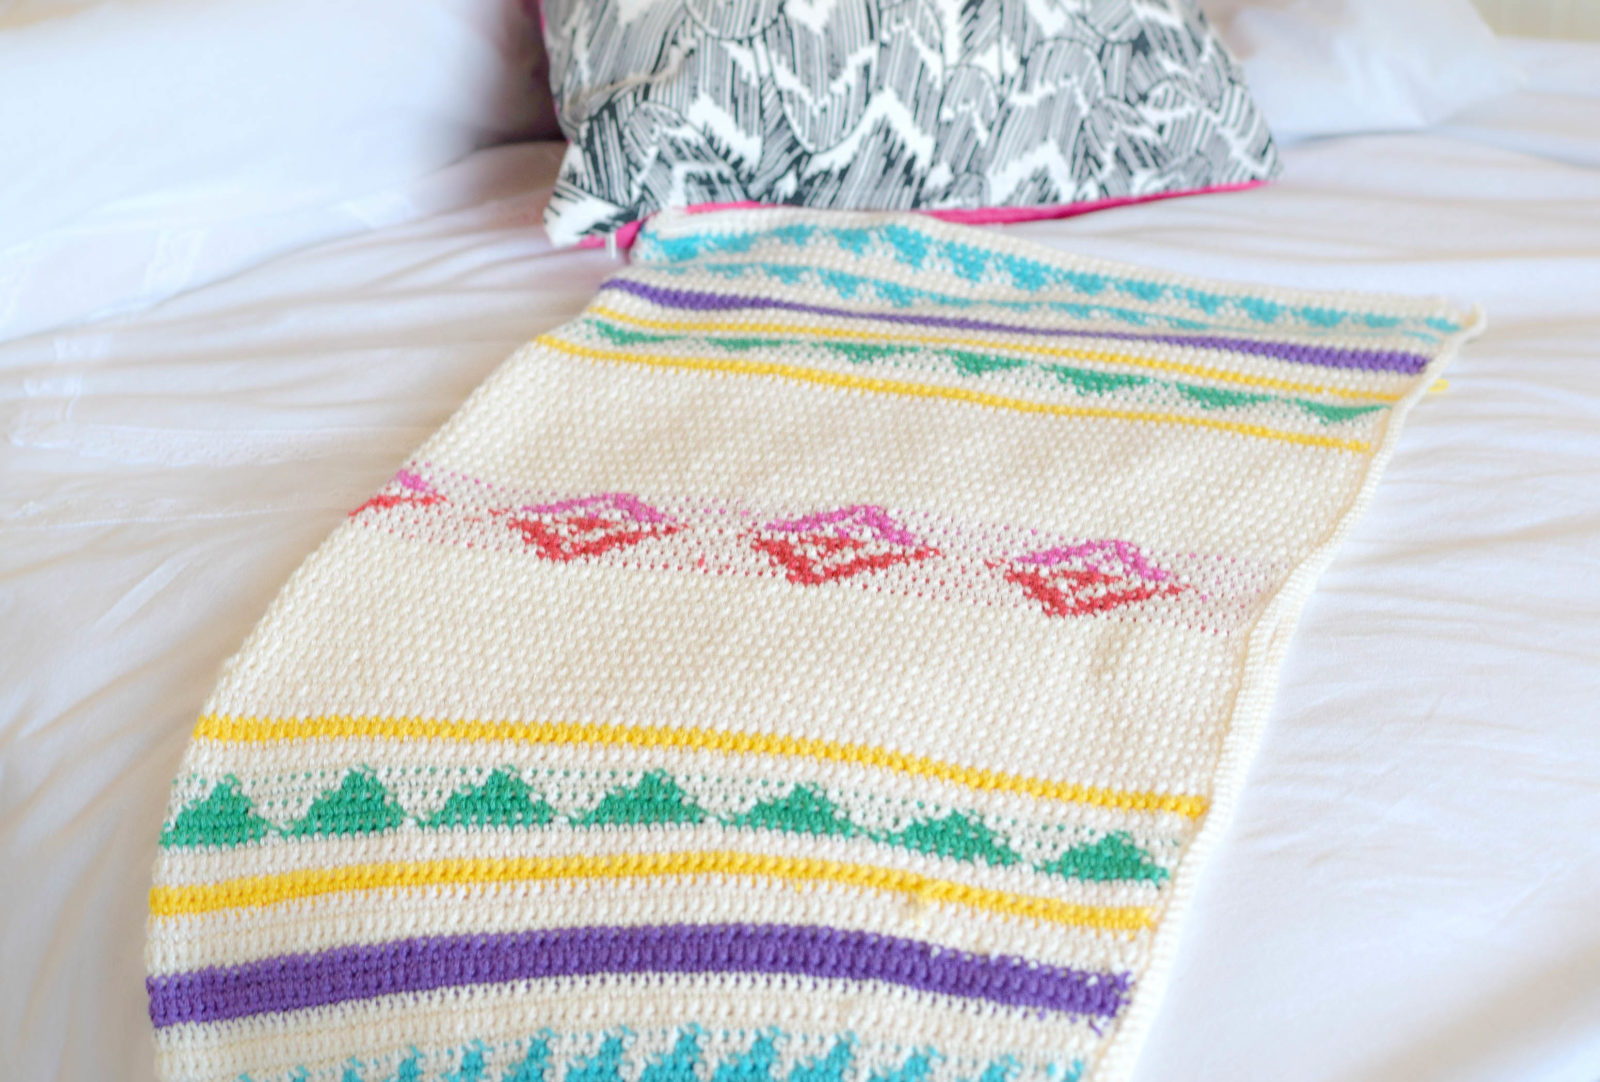
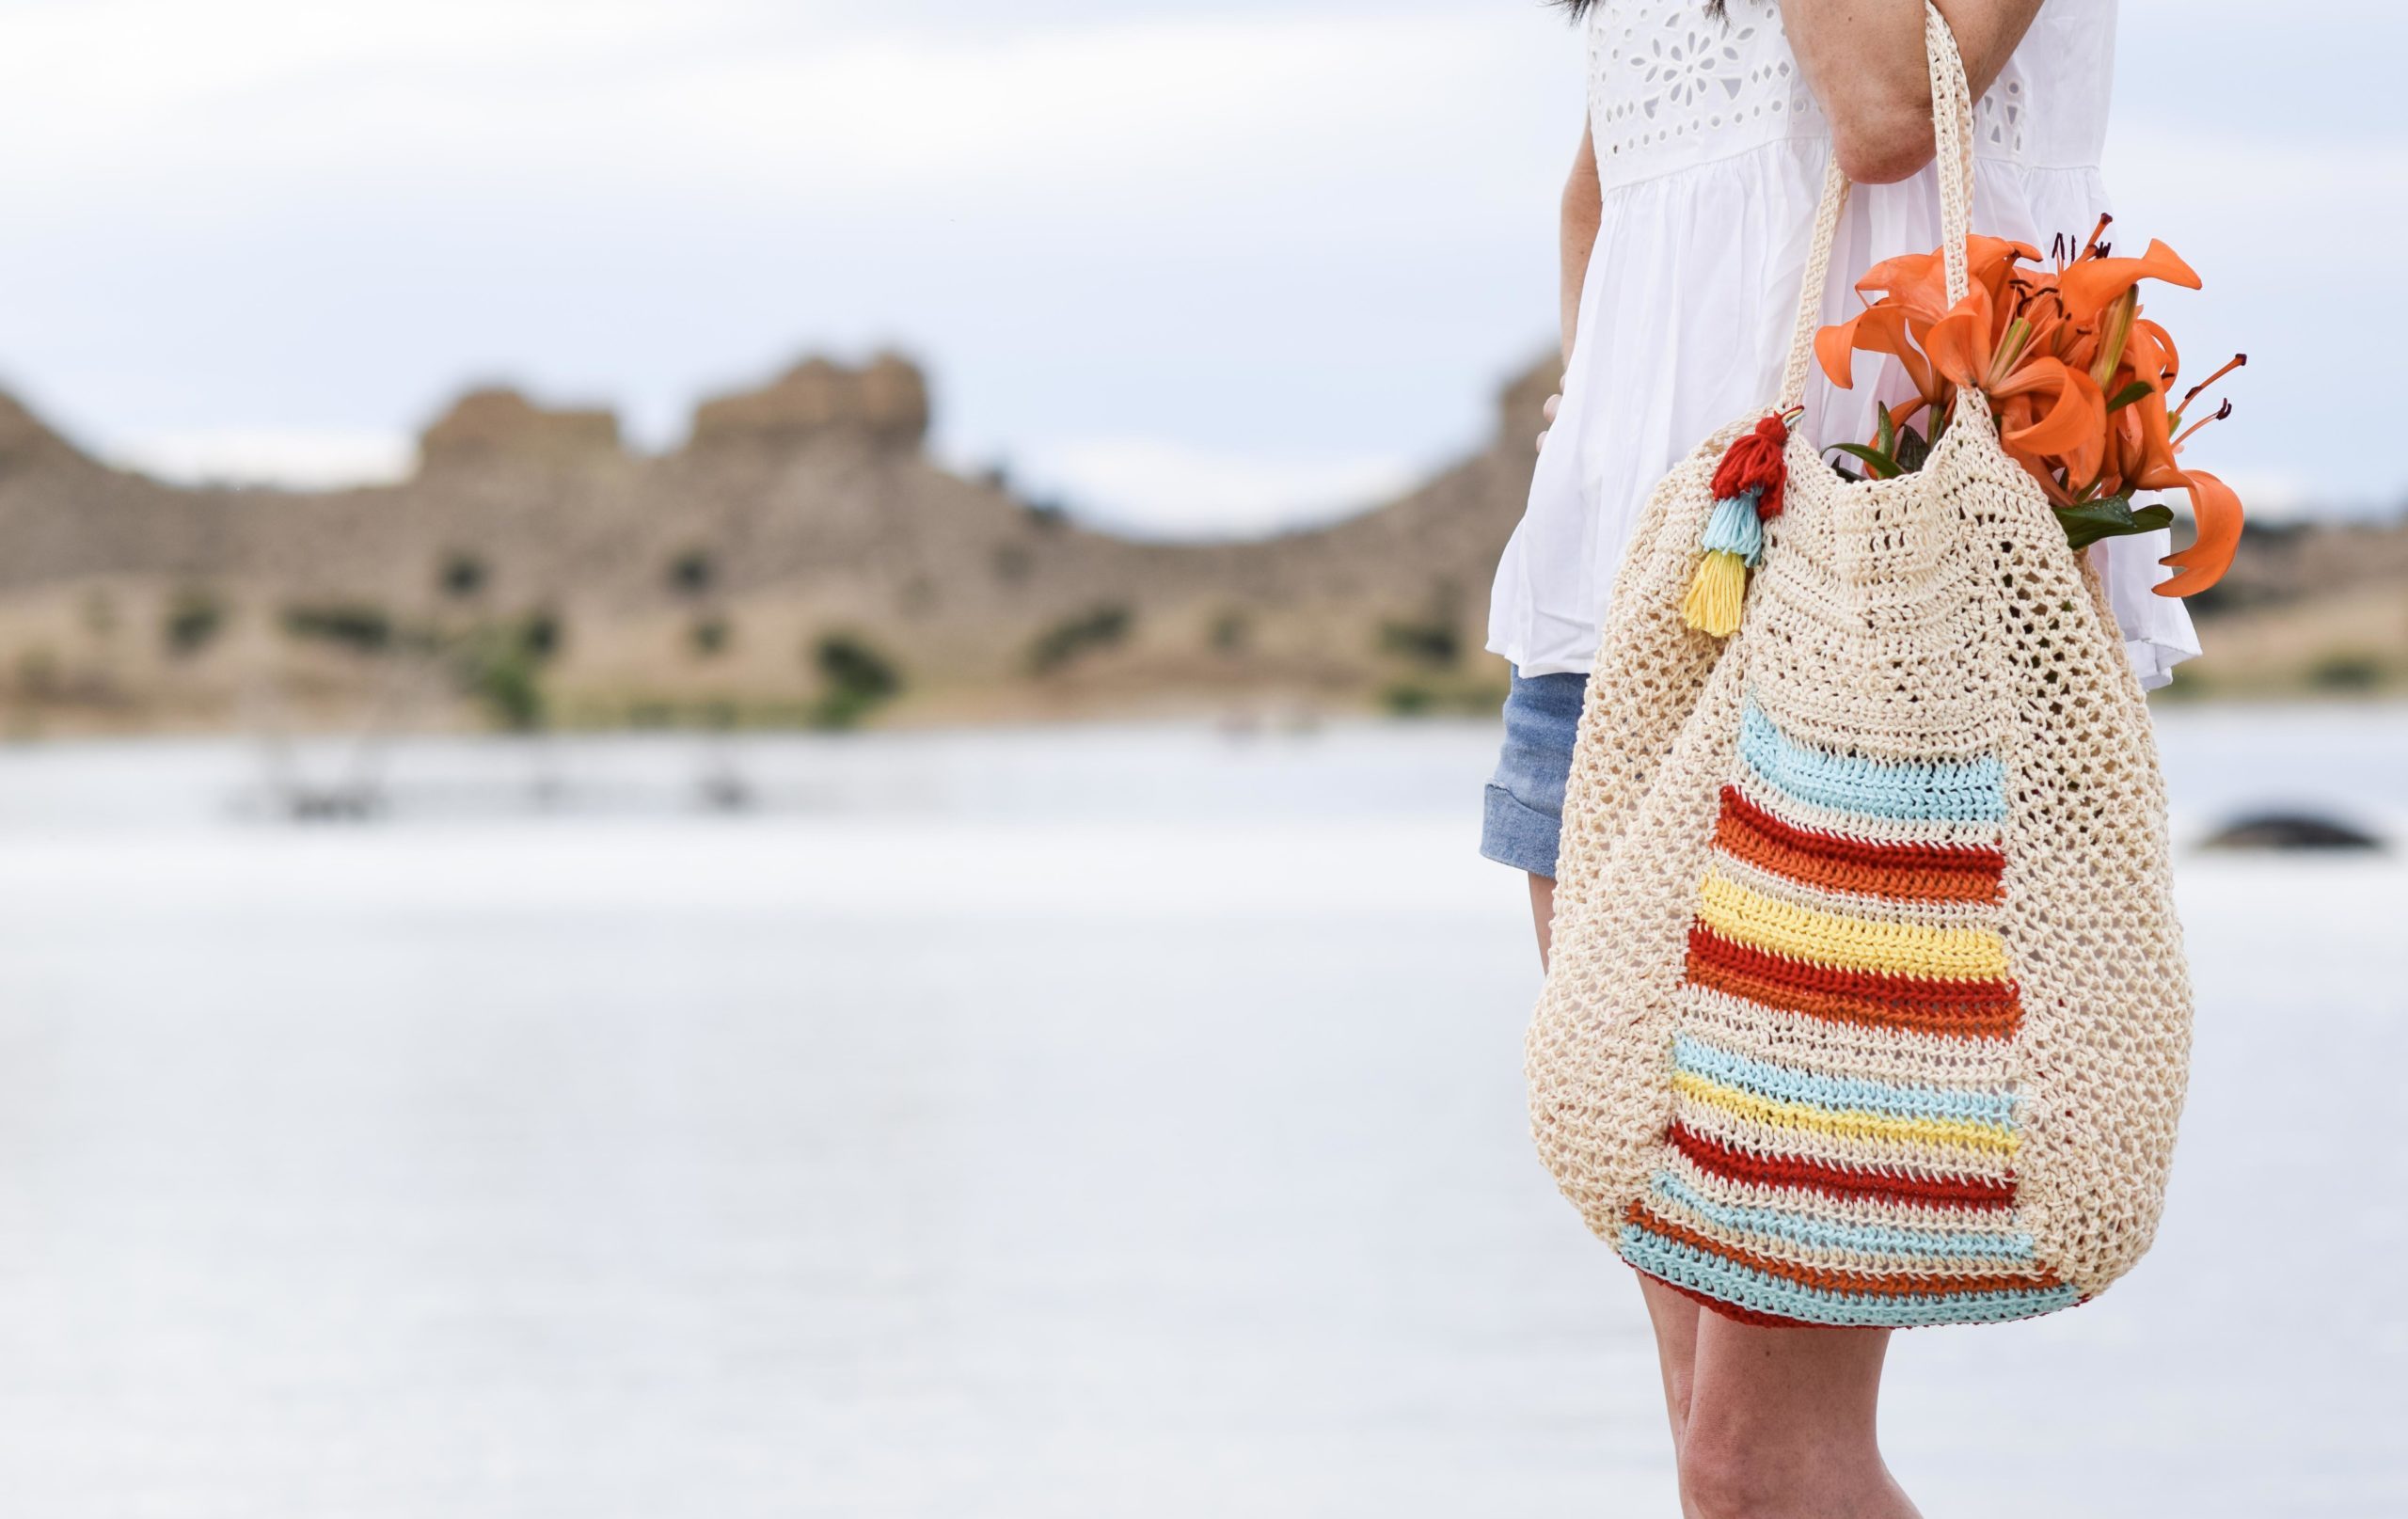
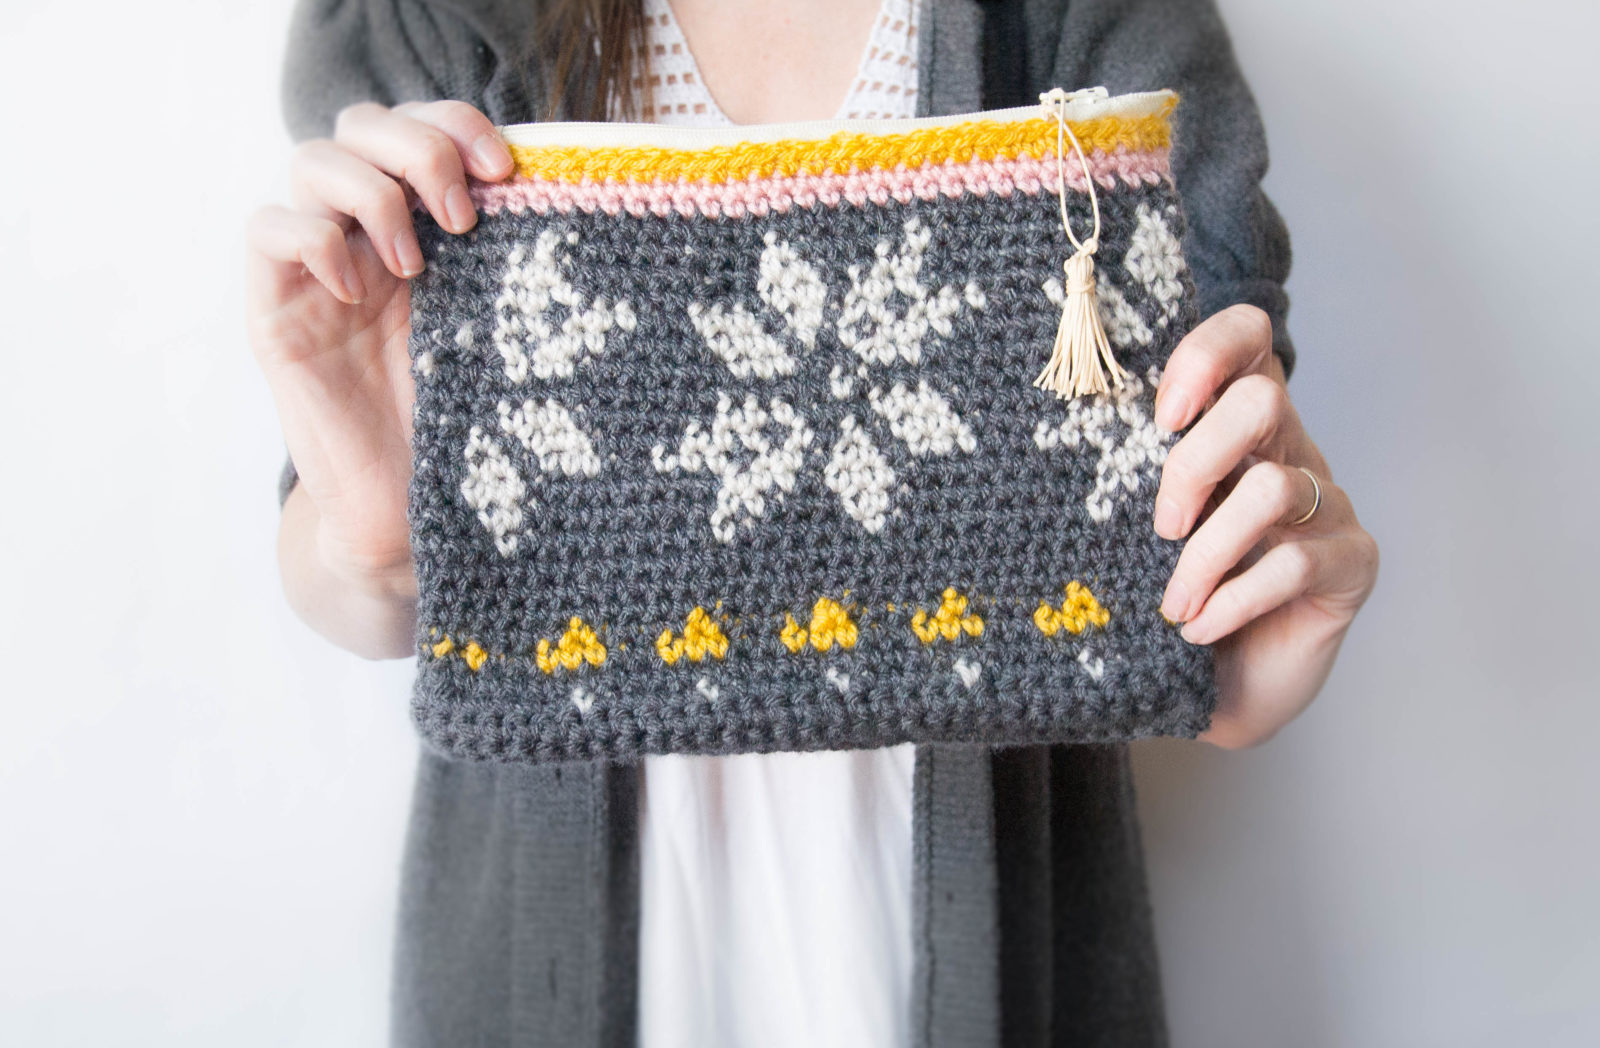
By working tapestry crochet flat, you can make so many projects, from blankets to hot pads to place mats and more!
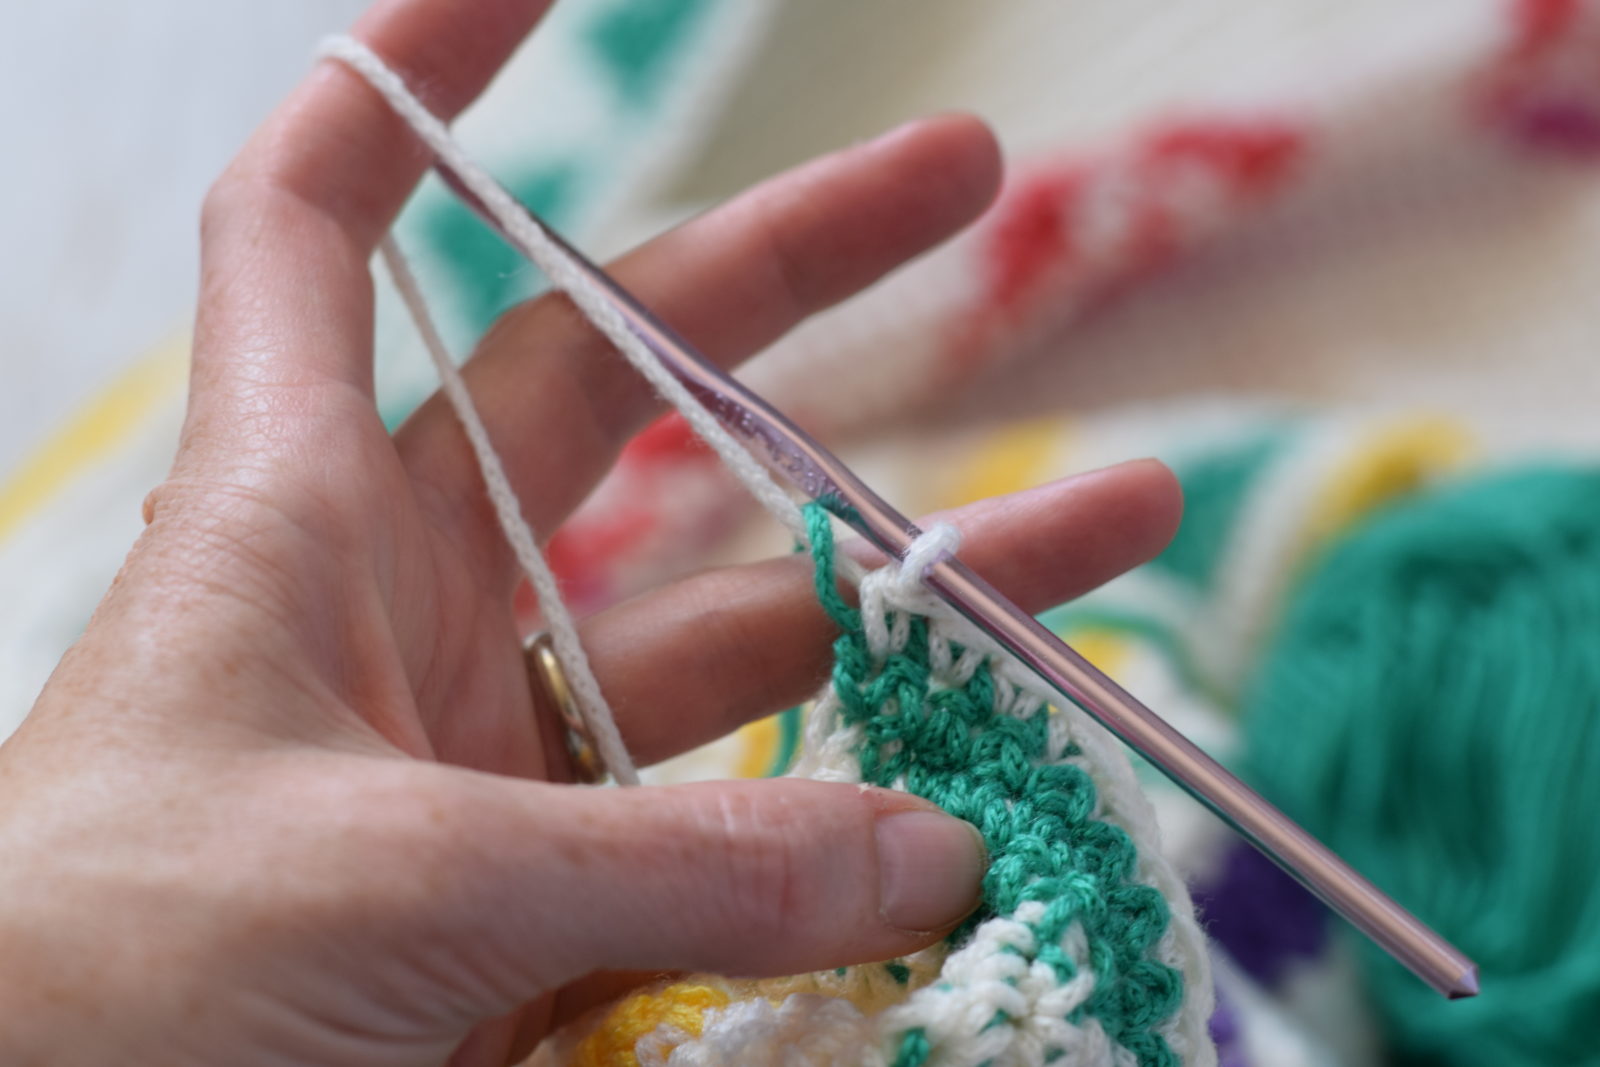
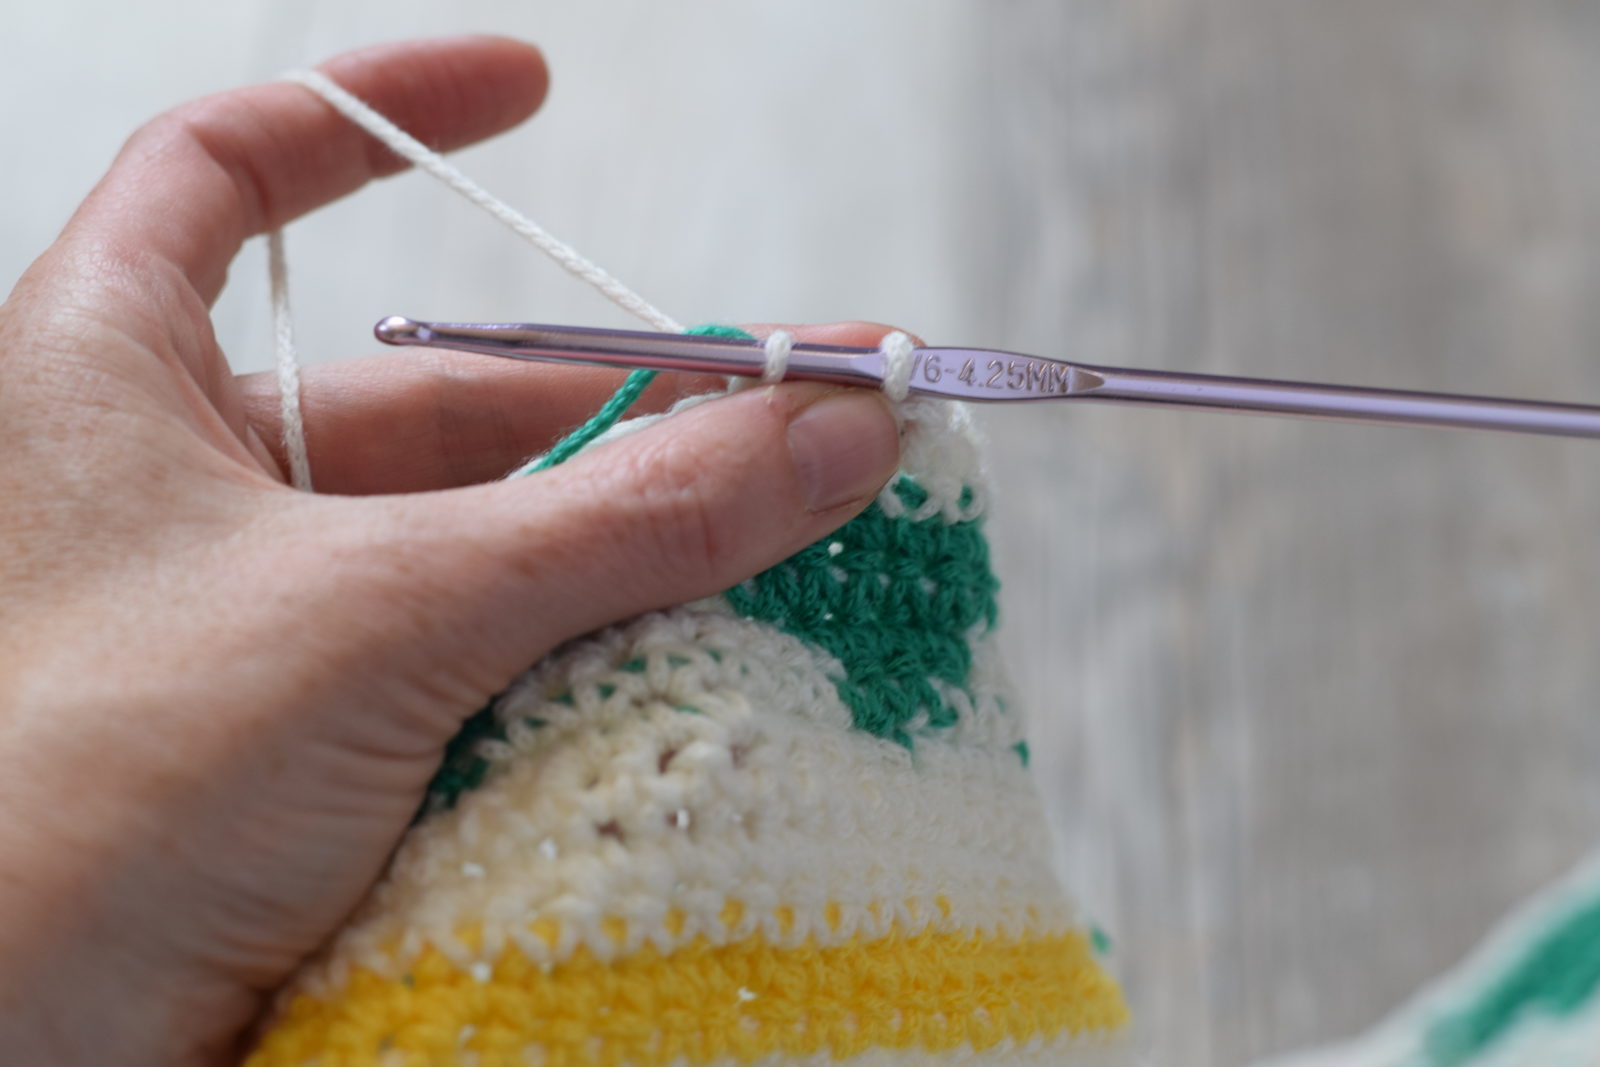
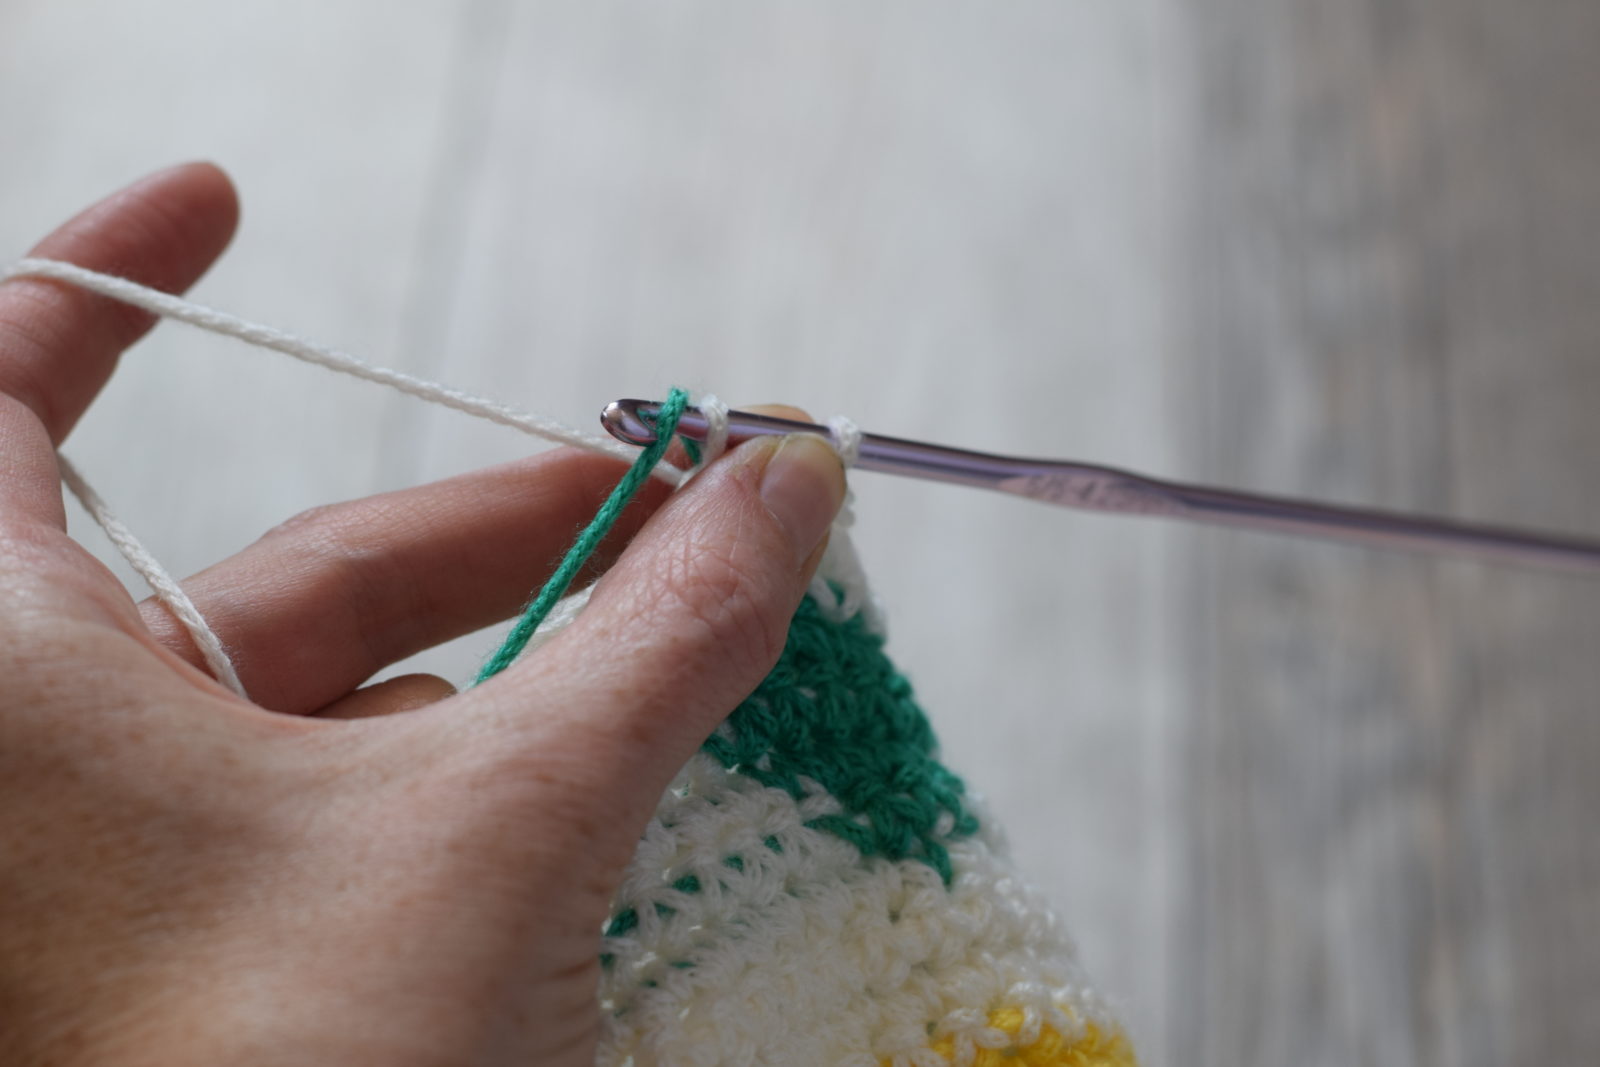
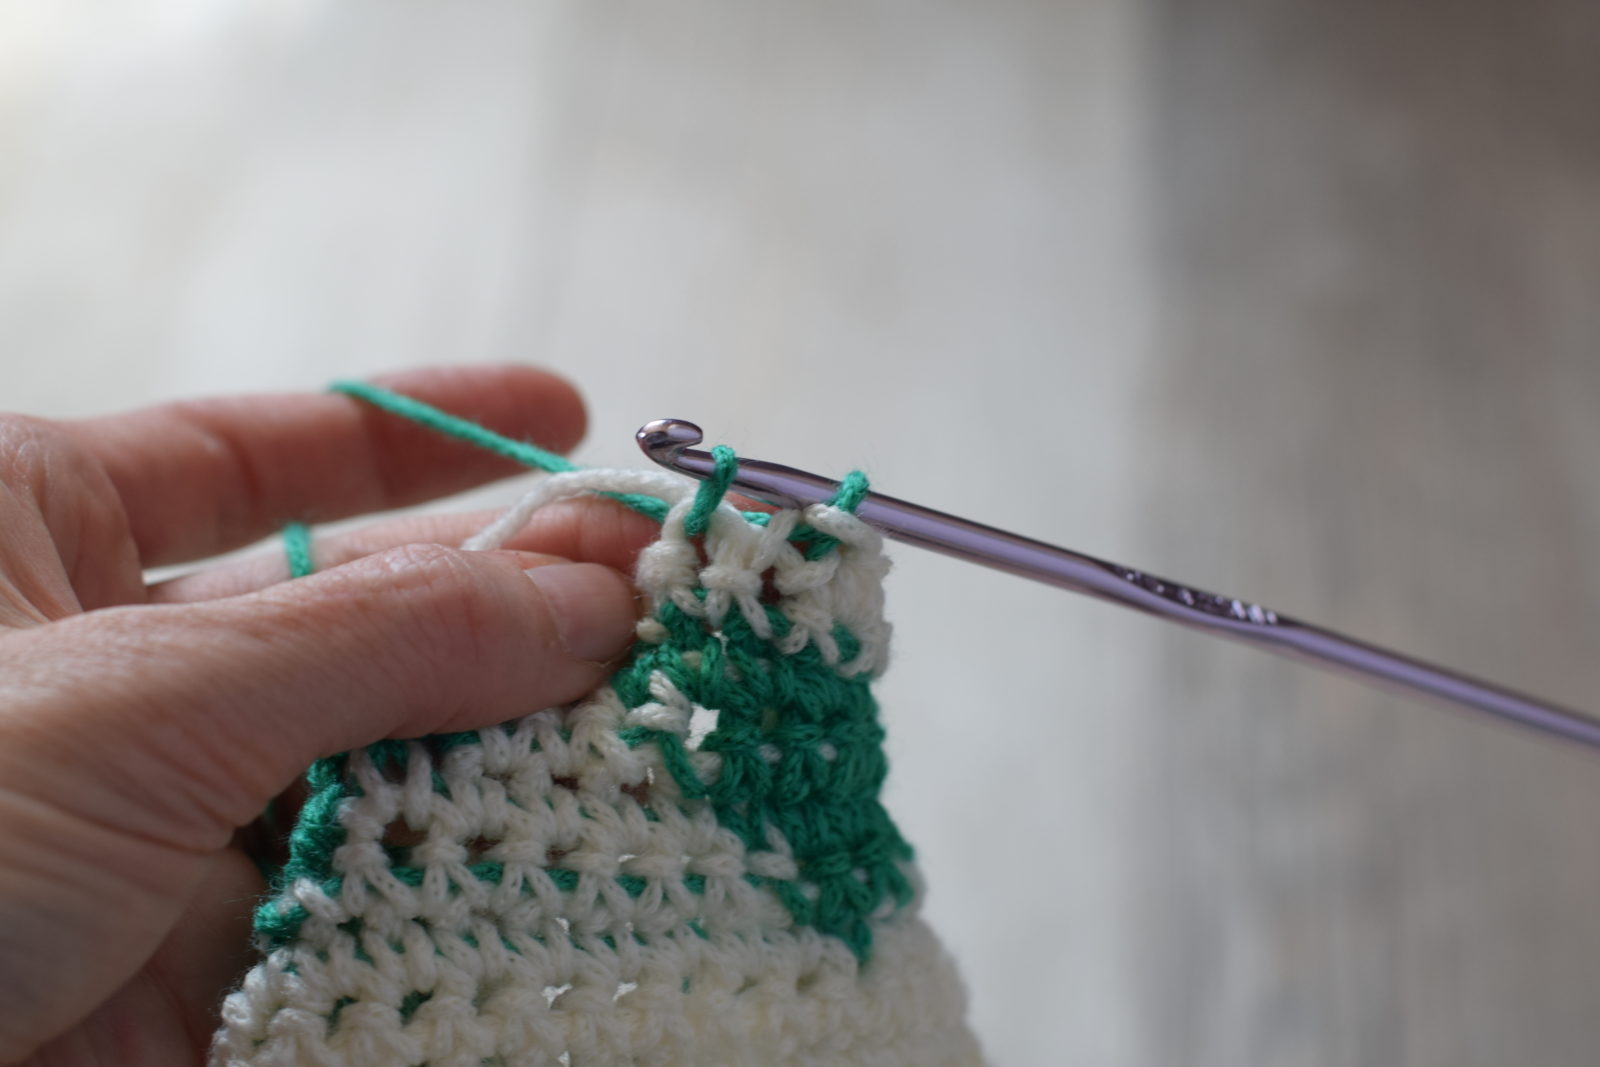
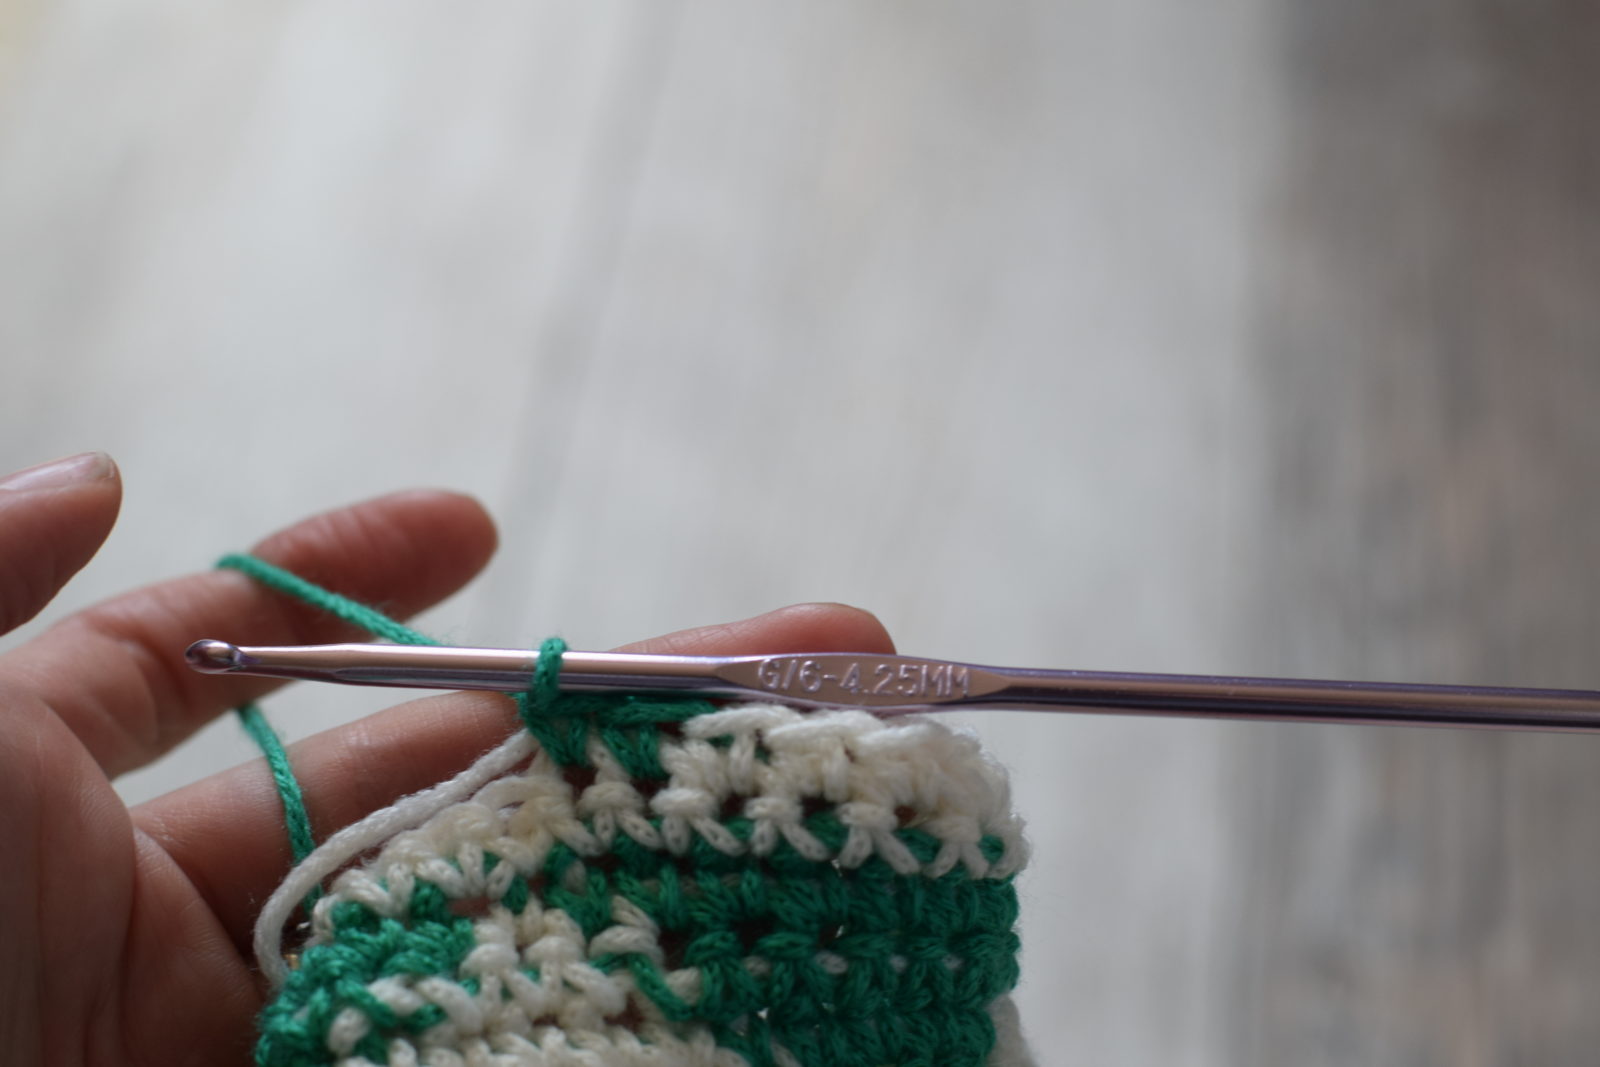
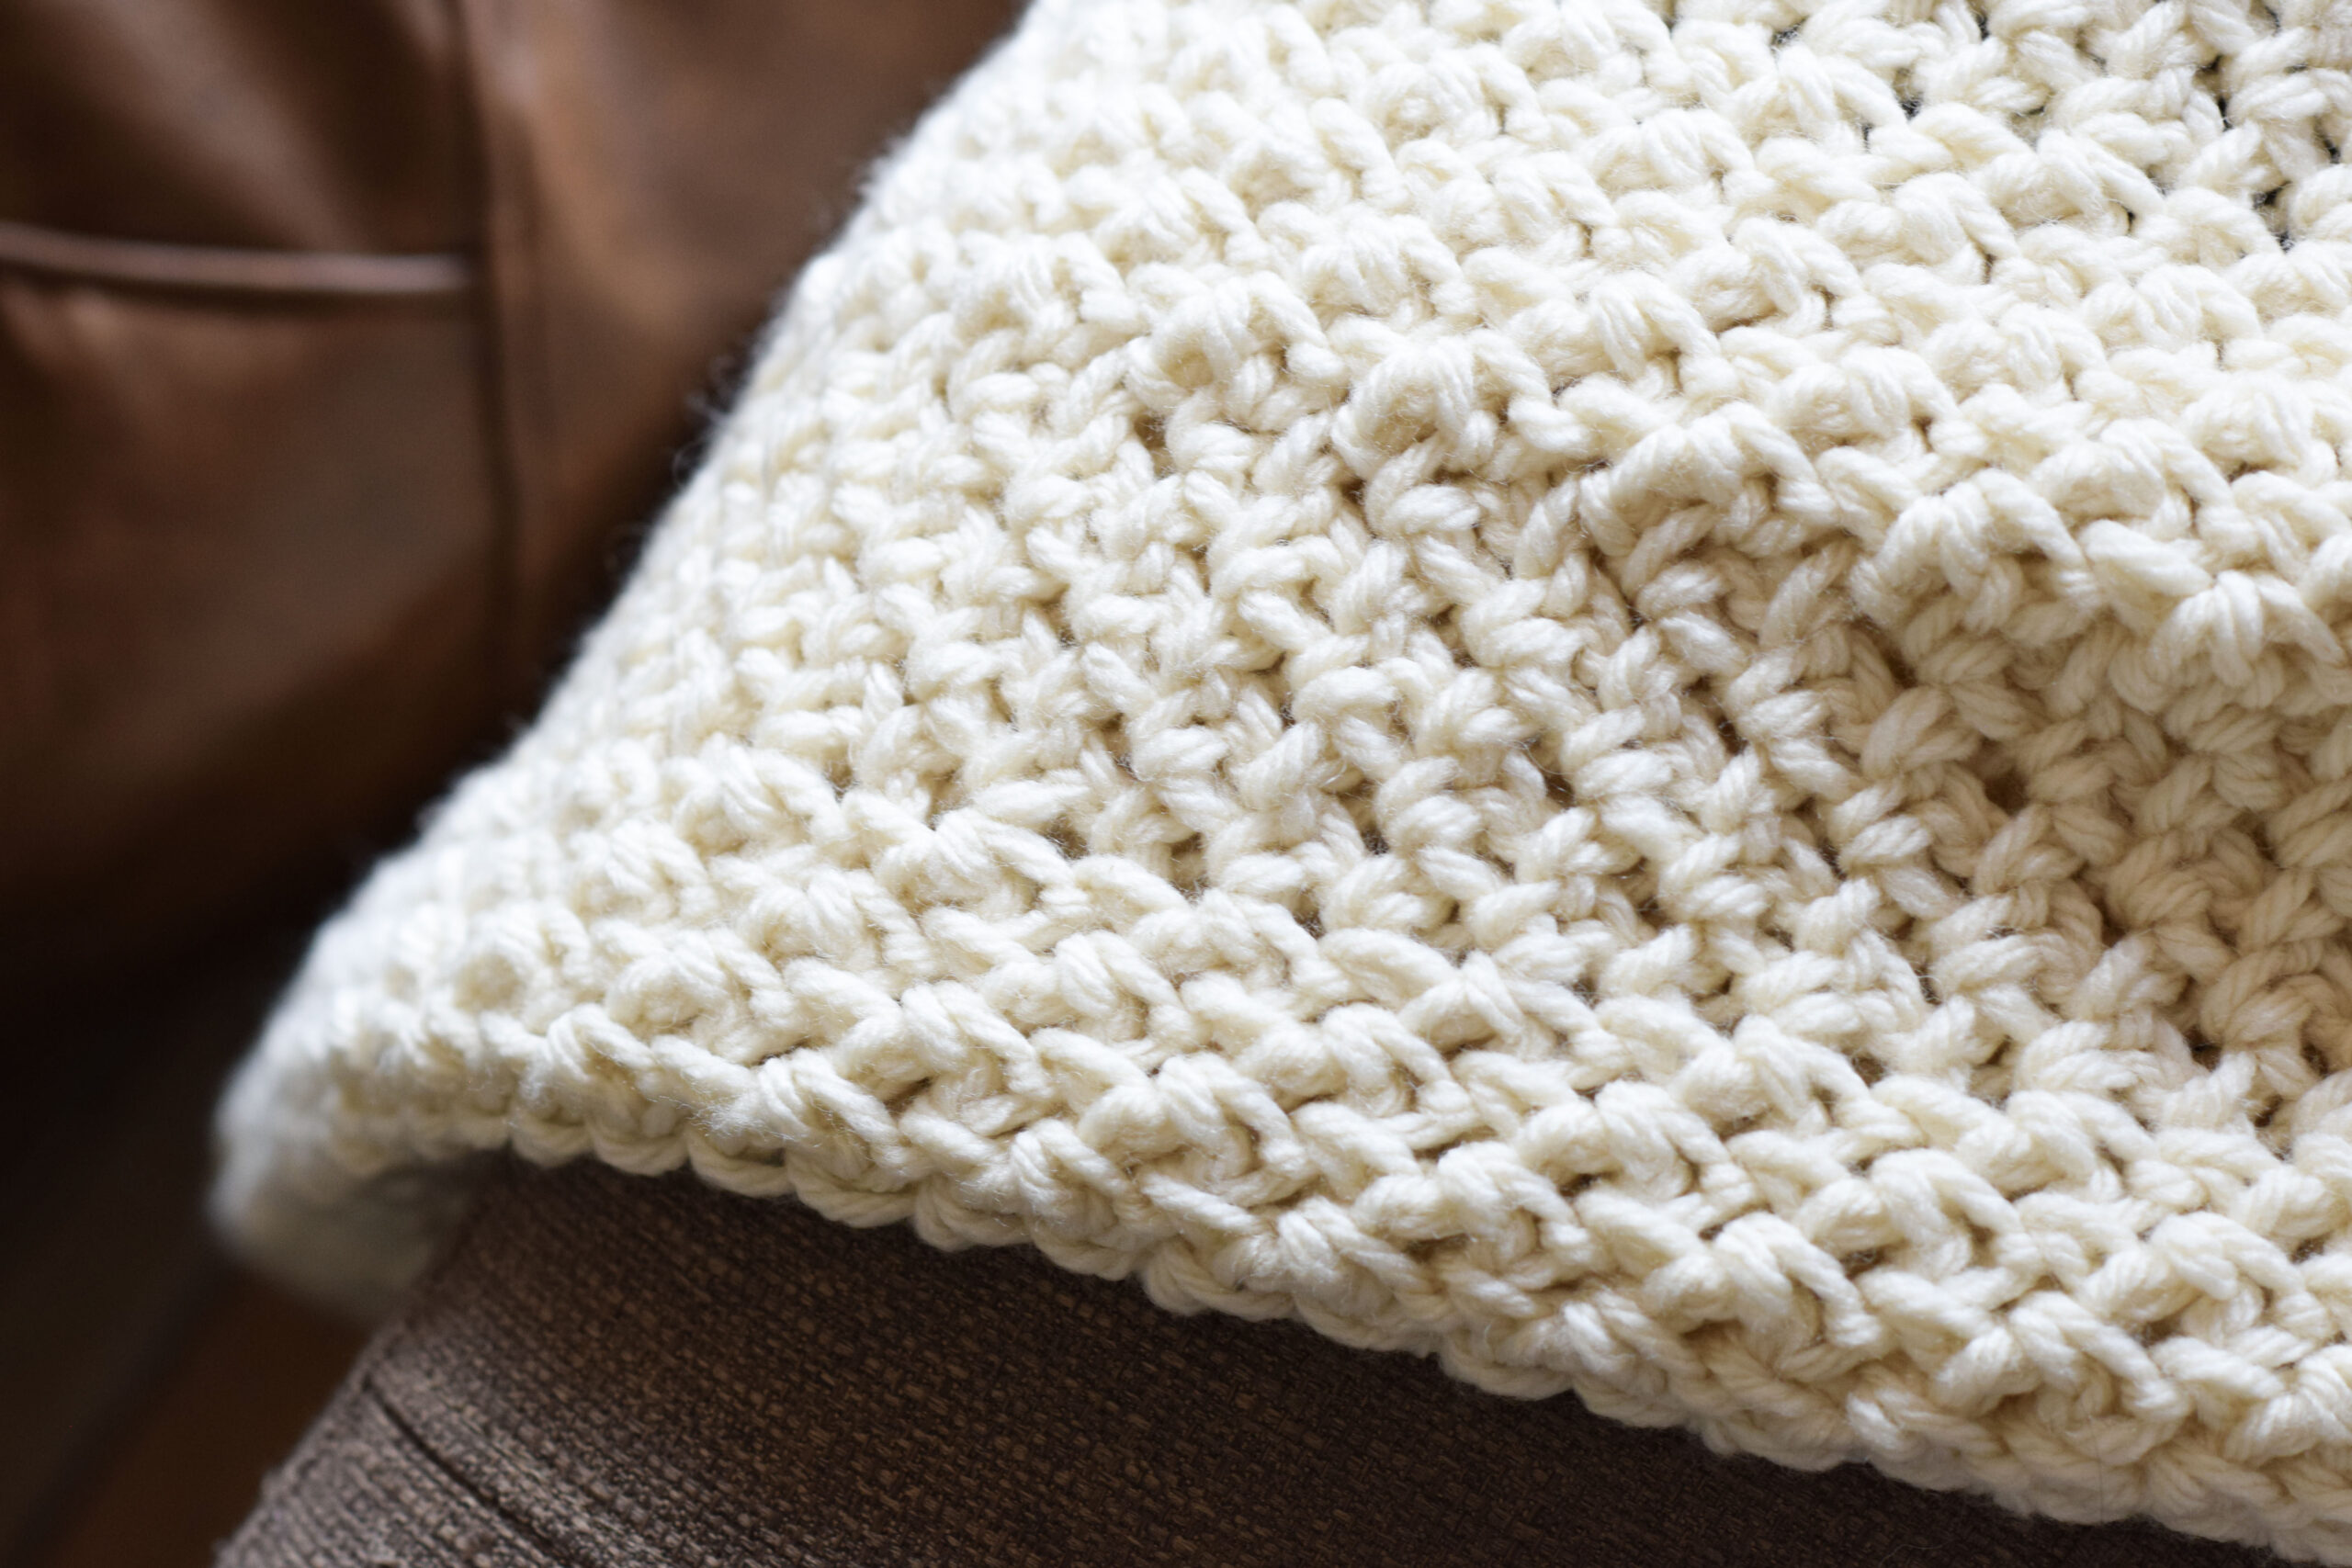
The method I used for the Modern Campy Blanket was so simple, and is simply crocheting as normal while carrying a secondary color. You still turn at the end of each row as with regular crochet and there’s no complicated crocheting in reverse. Simply pick up the color needed for the indicated stitch, and crochet around the color that isn’t in use. Start carrying the yarn for a color change a few stitches before the change. This way you’re ready to pick up the color when it’s time.
When working something flat like this blanket, start the color at the beginning of the row. You will then carry it to the next row if that same color is to be used again. Pull the carried yarn slightly as you go to make sure it’s not getting bunched up. You want it to lay nice and flat inside of your crochet work.
You will often work from a graph like this:

Each square represents a stitch. Work back and forth as normal, following the graph pattern.
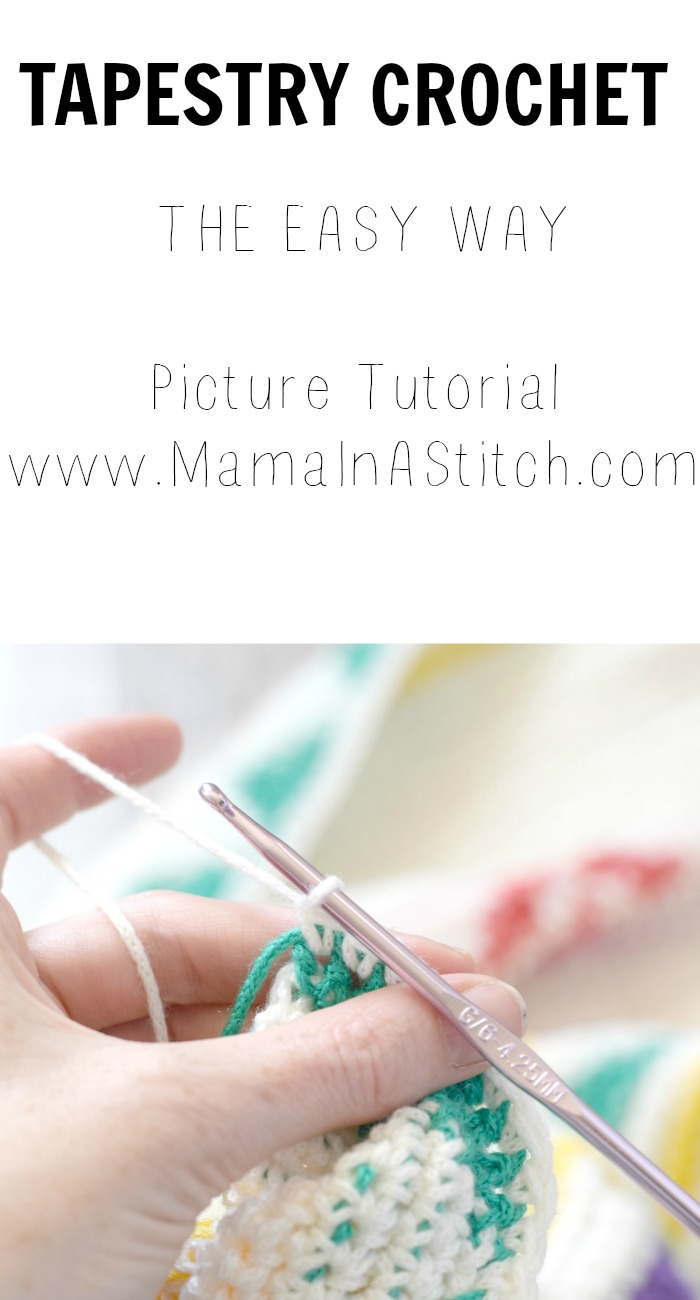
See the picture tutorial below:
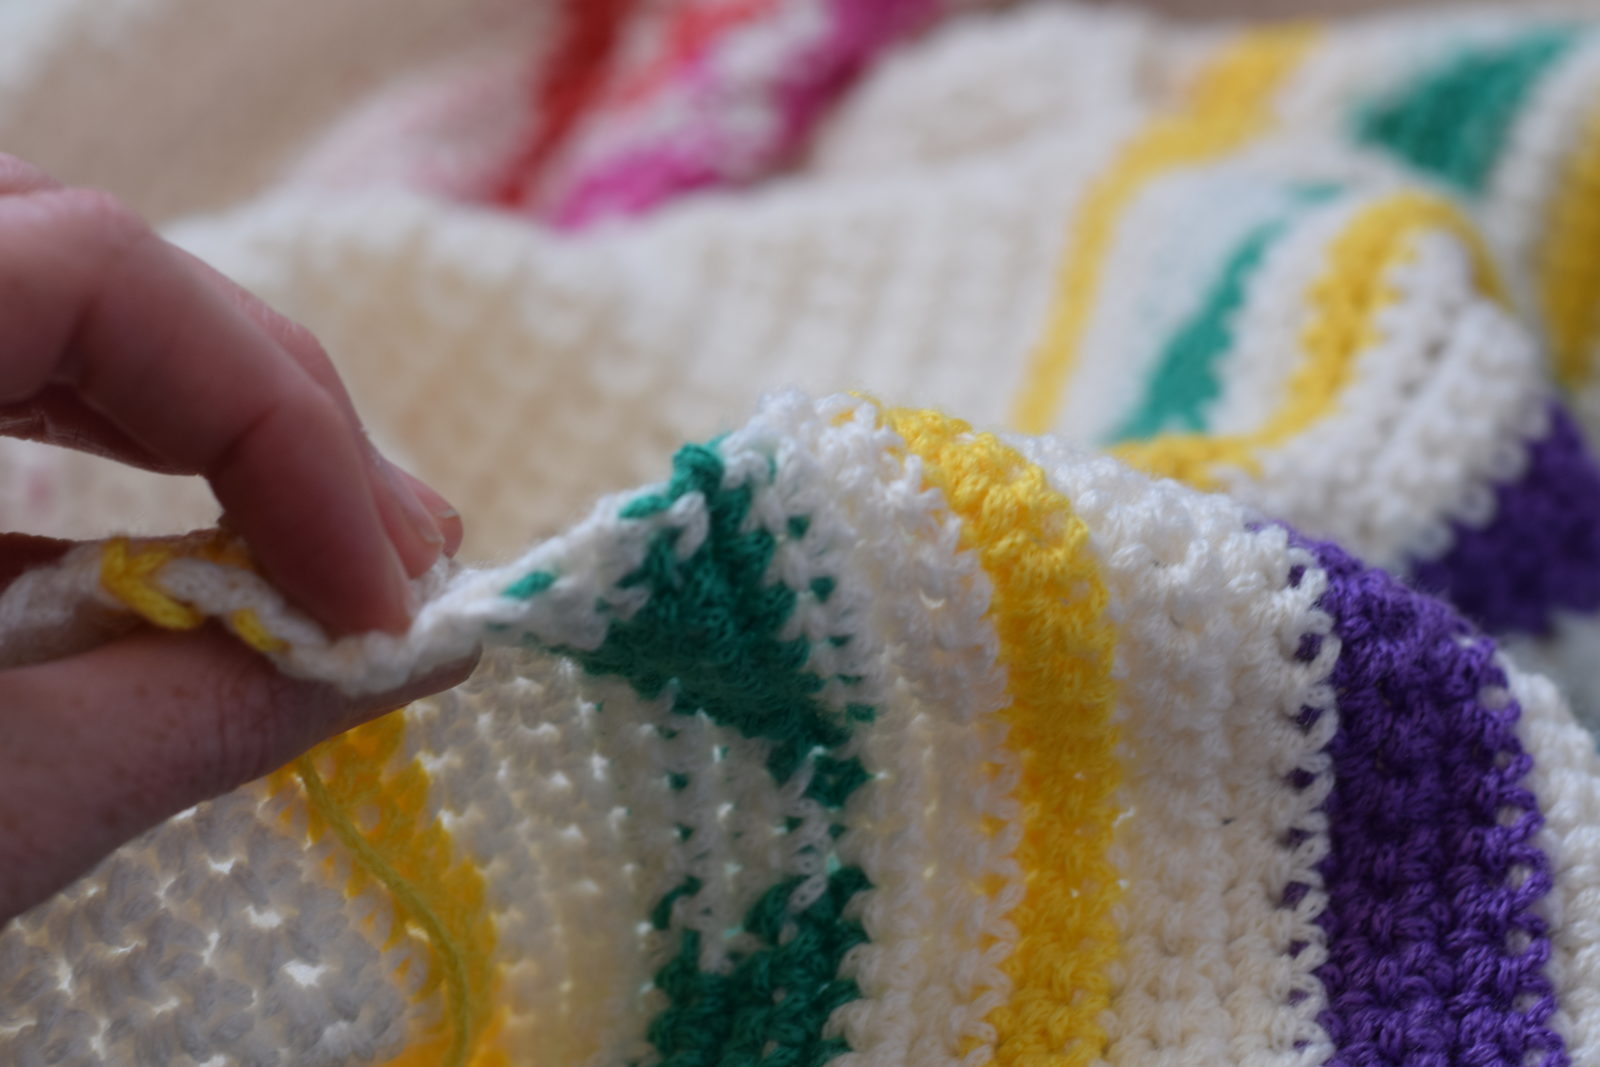
Some people would describe the shapes to be a bit muddy with this method, and this can be prevented by crocheting in reverse or backwards. Essentially, you would follow the graph as normal, but would never “turn” your work. At the end of the row, you simply crochet back, staying on the front side of the blanket or project. This will keep your picture crisper. I believe for a small project, I would happily do this, but for a larger project, I just don’t have the patience to crochet in reverse. If you like the idea of a crisper image and you’ve got better patience than myself, go for it!
Here is an incredible site with all the information you’ll ever want on tapestry crochet that covers a lot more about crocheting in reverse. www.tapestrycrochet.com
Tapestry Crochet in the Round
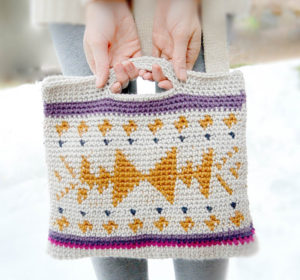
I started doing tapestry crochet in the round before I tried it flat as it seemed easier to me. This video from Moogly Blog HERE taught me exactly how it is done. I used this method for both tapestry crochet bags that I’ve made. The nice thing with tapestry crochet in the round is that you get a crisp picture without having to crochet backwards. When you crochet in the round you are always on the right side of the work thus keeping the picture on the front side. This keeps the picture nice and clean! The only issue is that it will lean a bit, but there are ways to correct this too. However, sticking with my “keep it simple” theme, I just deal with the lean and blocking helps take it a way a bit.

So what do you think, would you like to give tapestry crochet a try?
Have you ever used bobbins? I only ask because I recently did a panel for an afghan using the method you described in your blog. When I started it I was at a Sit and Stitch social held at Michaels Crafts, which is hosted by the yarn instructor, she showed me a video about bobbins to get your lines even cleaner. I’m actually excited to see someone doing it the way you demonstrated as it’s the only way I could figure out how to do my project. I put a Purple Heart in the middle of an off white square. I didn’t carry the purple through the whole project, but I did carry the off white throughout the entire heart. So im excited to know your opinions on the two methods as you have much more experience then me. I would be happy to send you a picture of what I did. I am not done with the whole project as I took a break to work on something else, but it’s based off a Lion Brand USA pattern of 9 panels where 4 of then are blue and off white and 5 were to be red and off white. I changed the center panel to be off white with the Purple Heart as a gift for my father to honor his service. I am planning on putting the pattern out there with the graph for the heart with pictures when I am done as everyone who has heard about this afghan has asked me for it for others who have served in the USA military.
I also want to say I love your blog and I always take time to read every email and post you make.
Hi Dee!
Thank you for sharing your experience with tapestry crochet. Actually, I should have mentioned the use of bobbins in this post. I’ve read about it, but never actually tried it! Such a nice way to not have to carry the yarn through from end to end. I definitely don’t have more experience than you at this! It’s just me learning through the internet and trying to figure out the easiest and best ways to do it. How awesome that you are doing the purple heart in honor of your father’s service. Such a great idea and I’m sure many people will enjoy your graph and idea. Thank you so much for taking the time to write and also for the kind words about my blog. I just love hearing from readers like yourself.
I am planning on doing a miniture. Oriental prayer rug Will this information be useful for that. Also do bobbin s work