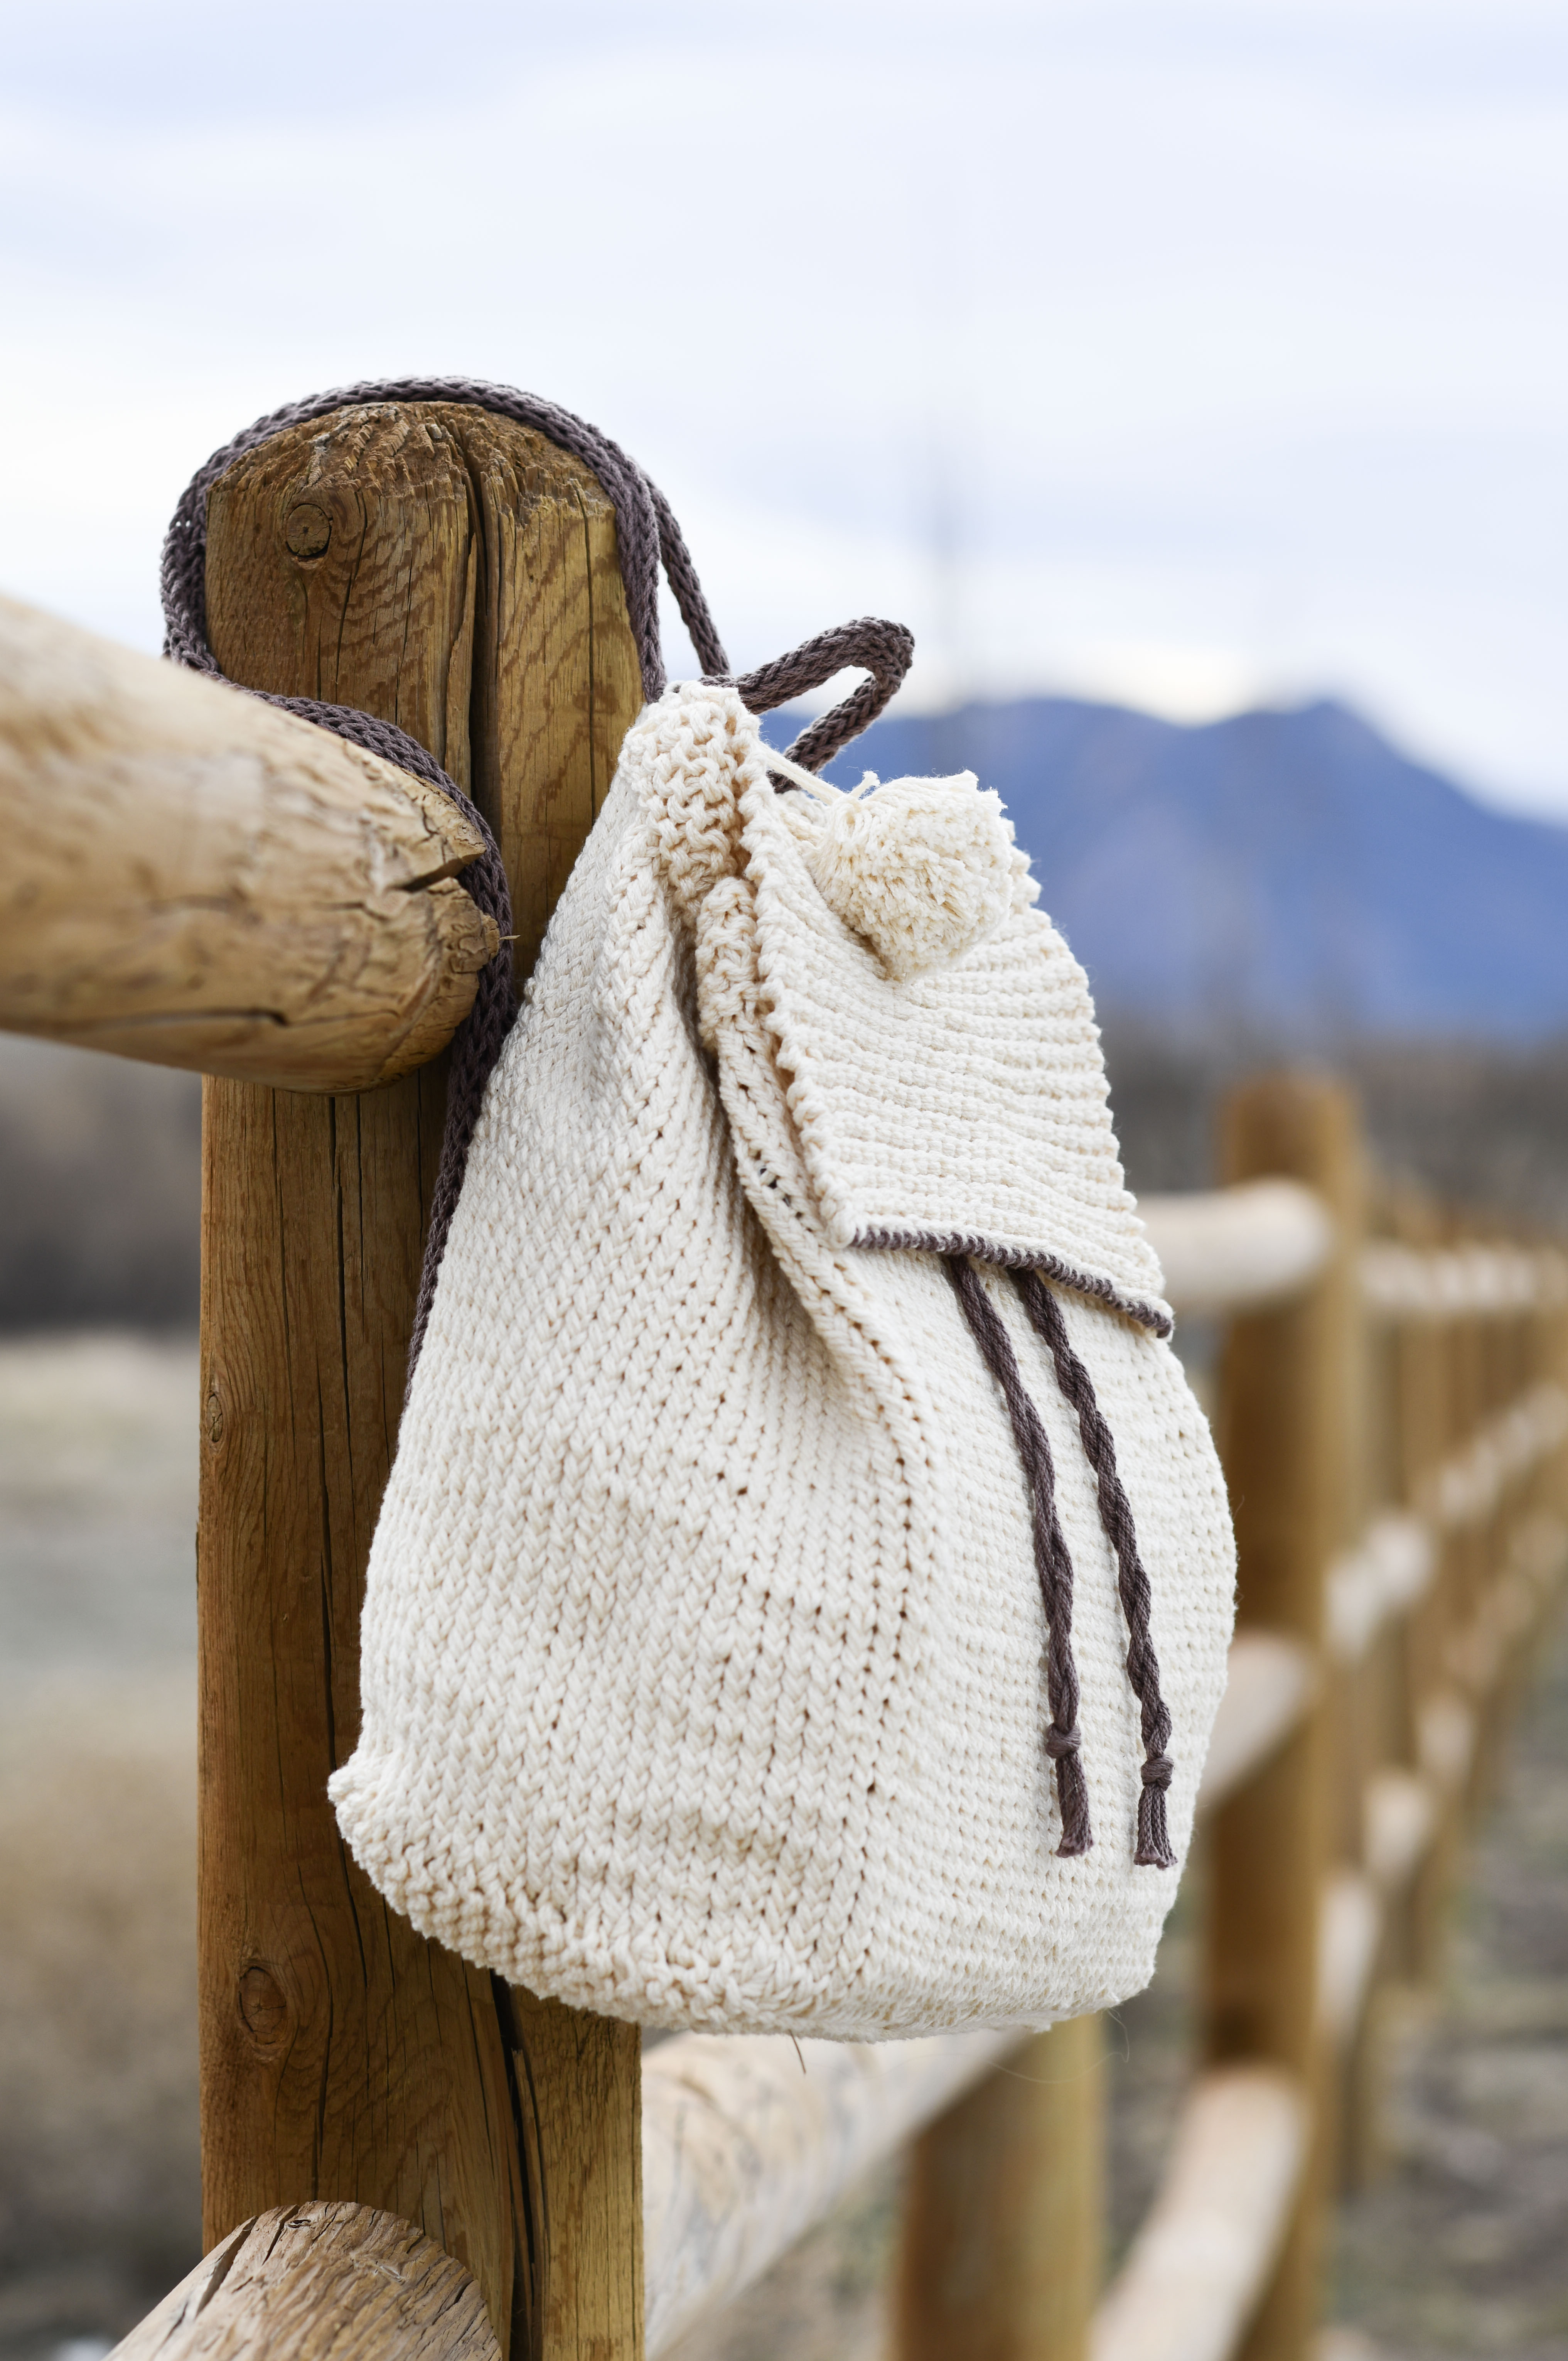
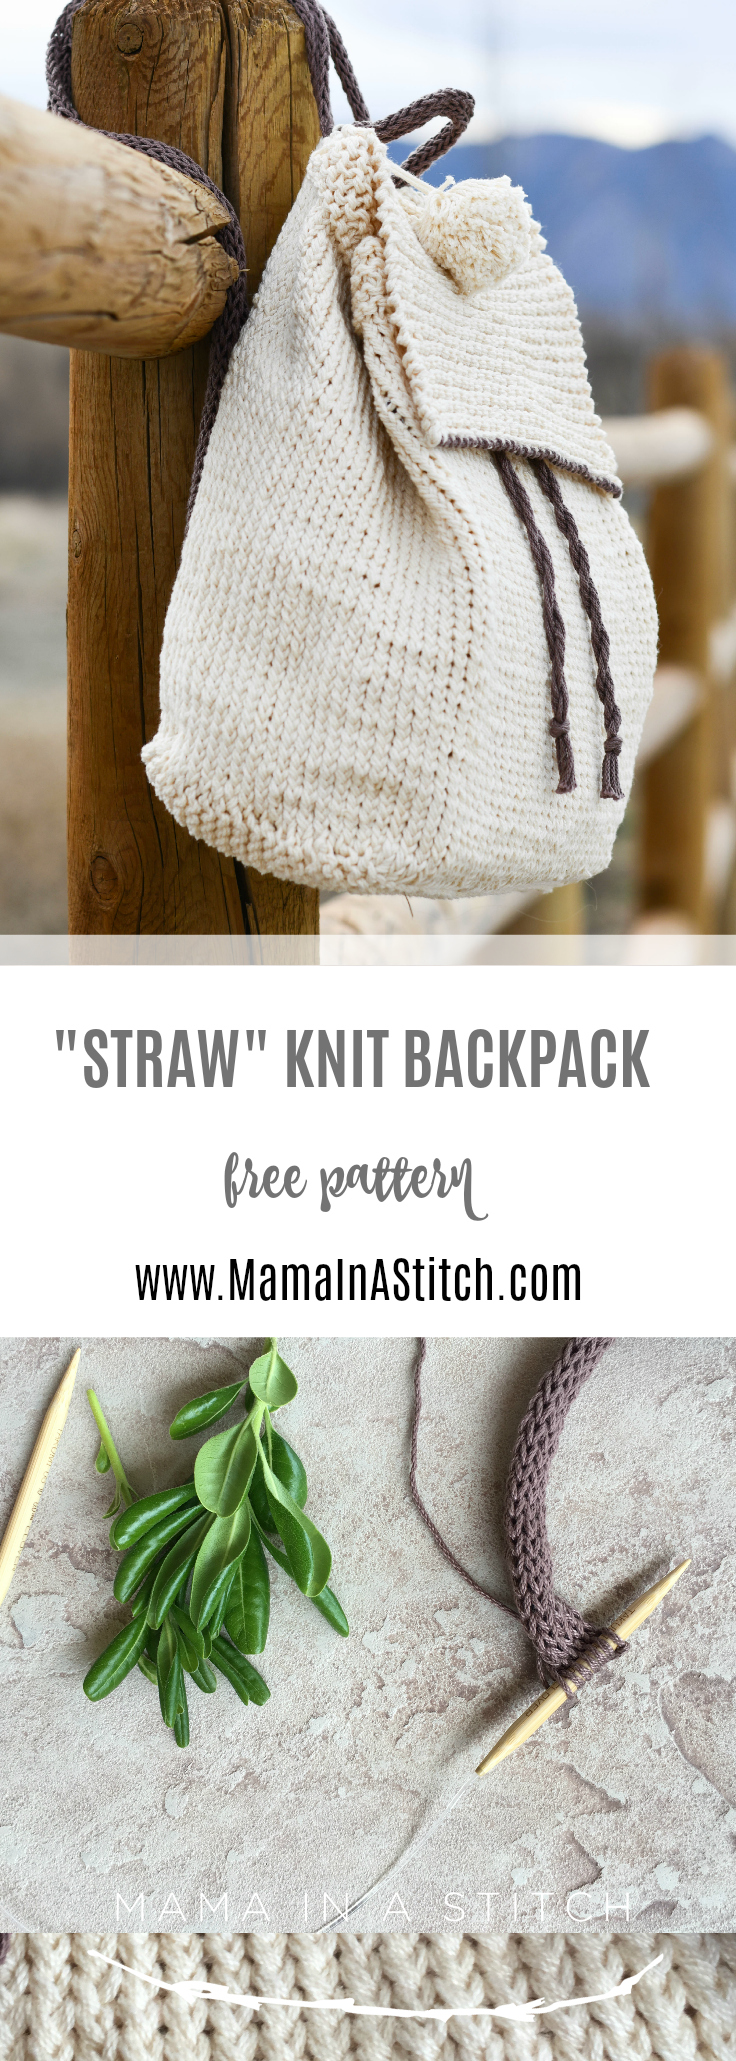
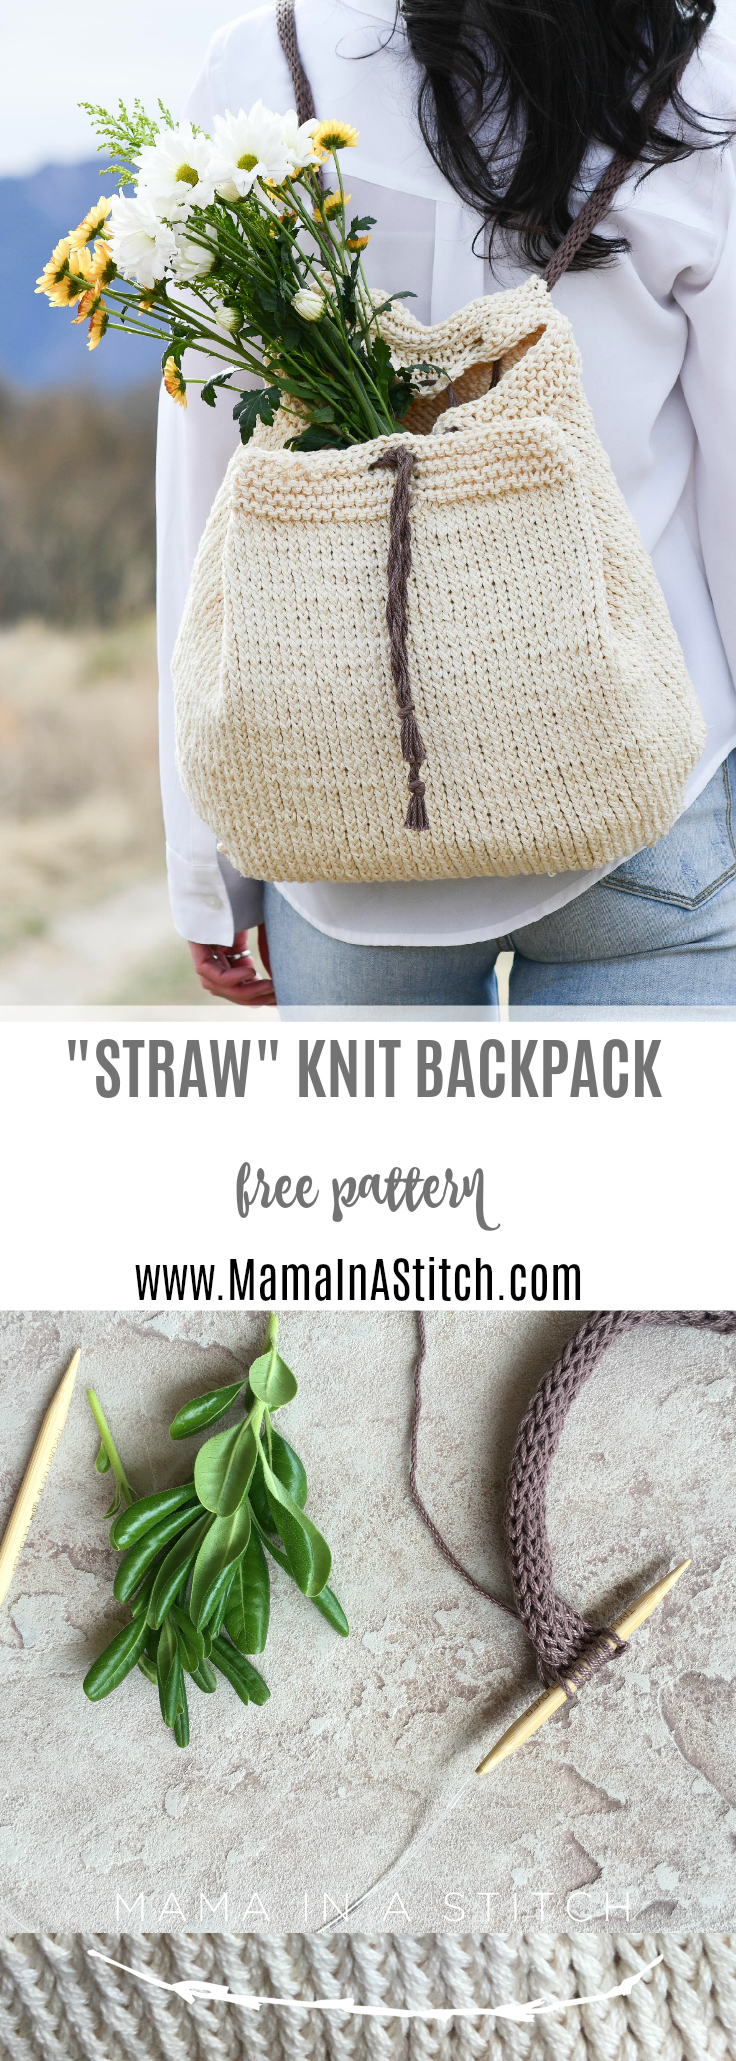
Straw-Like Easy Backpack Free Knitting Pattern
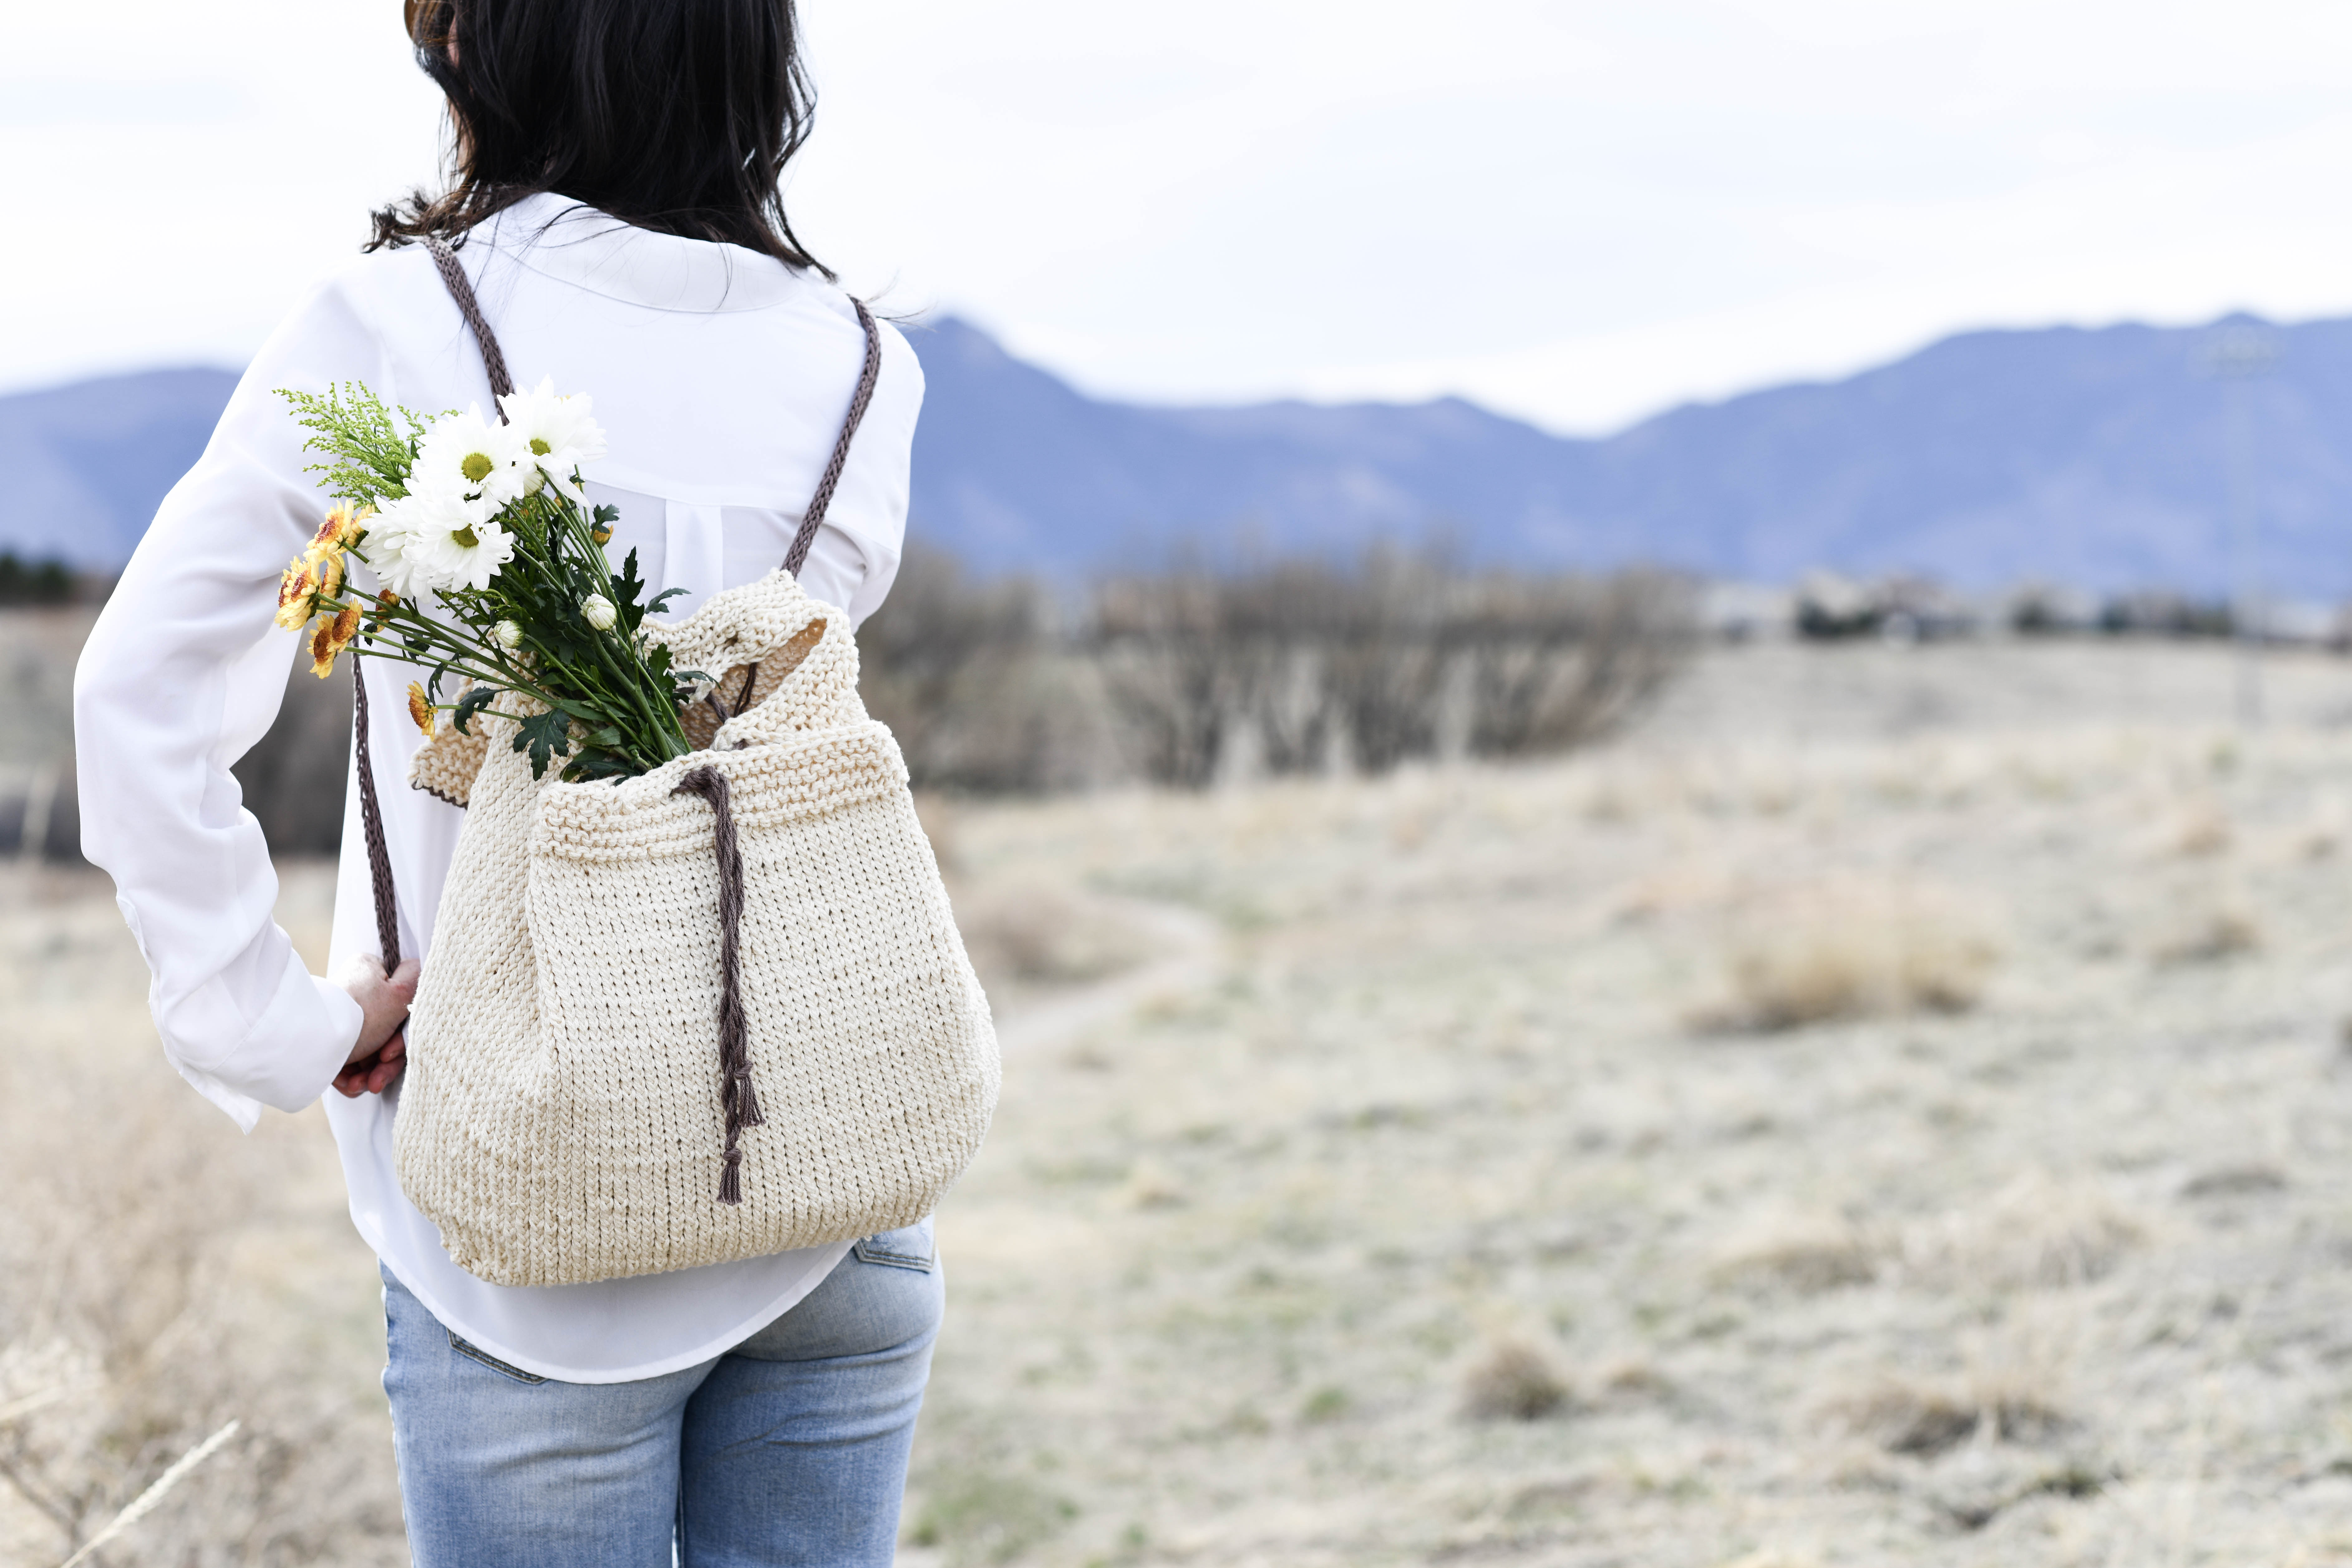
Today’s knitting pattern is a simple, beautiful cotton stitch backpack! It’s an easy pattern that’s really light and practical for spring and summer outings.
As usual, you can find the free pattern below, the ad-free printable version in my Etsy shop here, or the kit from Lion Brand Yarn here! 🙂
Backpacks are timeless, and despite that, they’ve become especially trendy in the last couple of years. In fact, I’ve seen some amazing crocheted backpacks over the last year. Unfortunately, it’s a bit more difficult to find knit versions.

Creating My Own Knit Backpack Pattern
That’s why I decided to create my own pattern. My first instinct was to crochet this bag, but I’m really happy with how it turned out as a knit backpack.
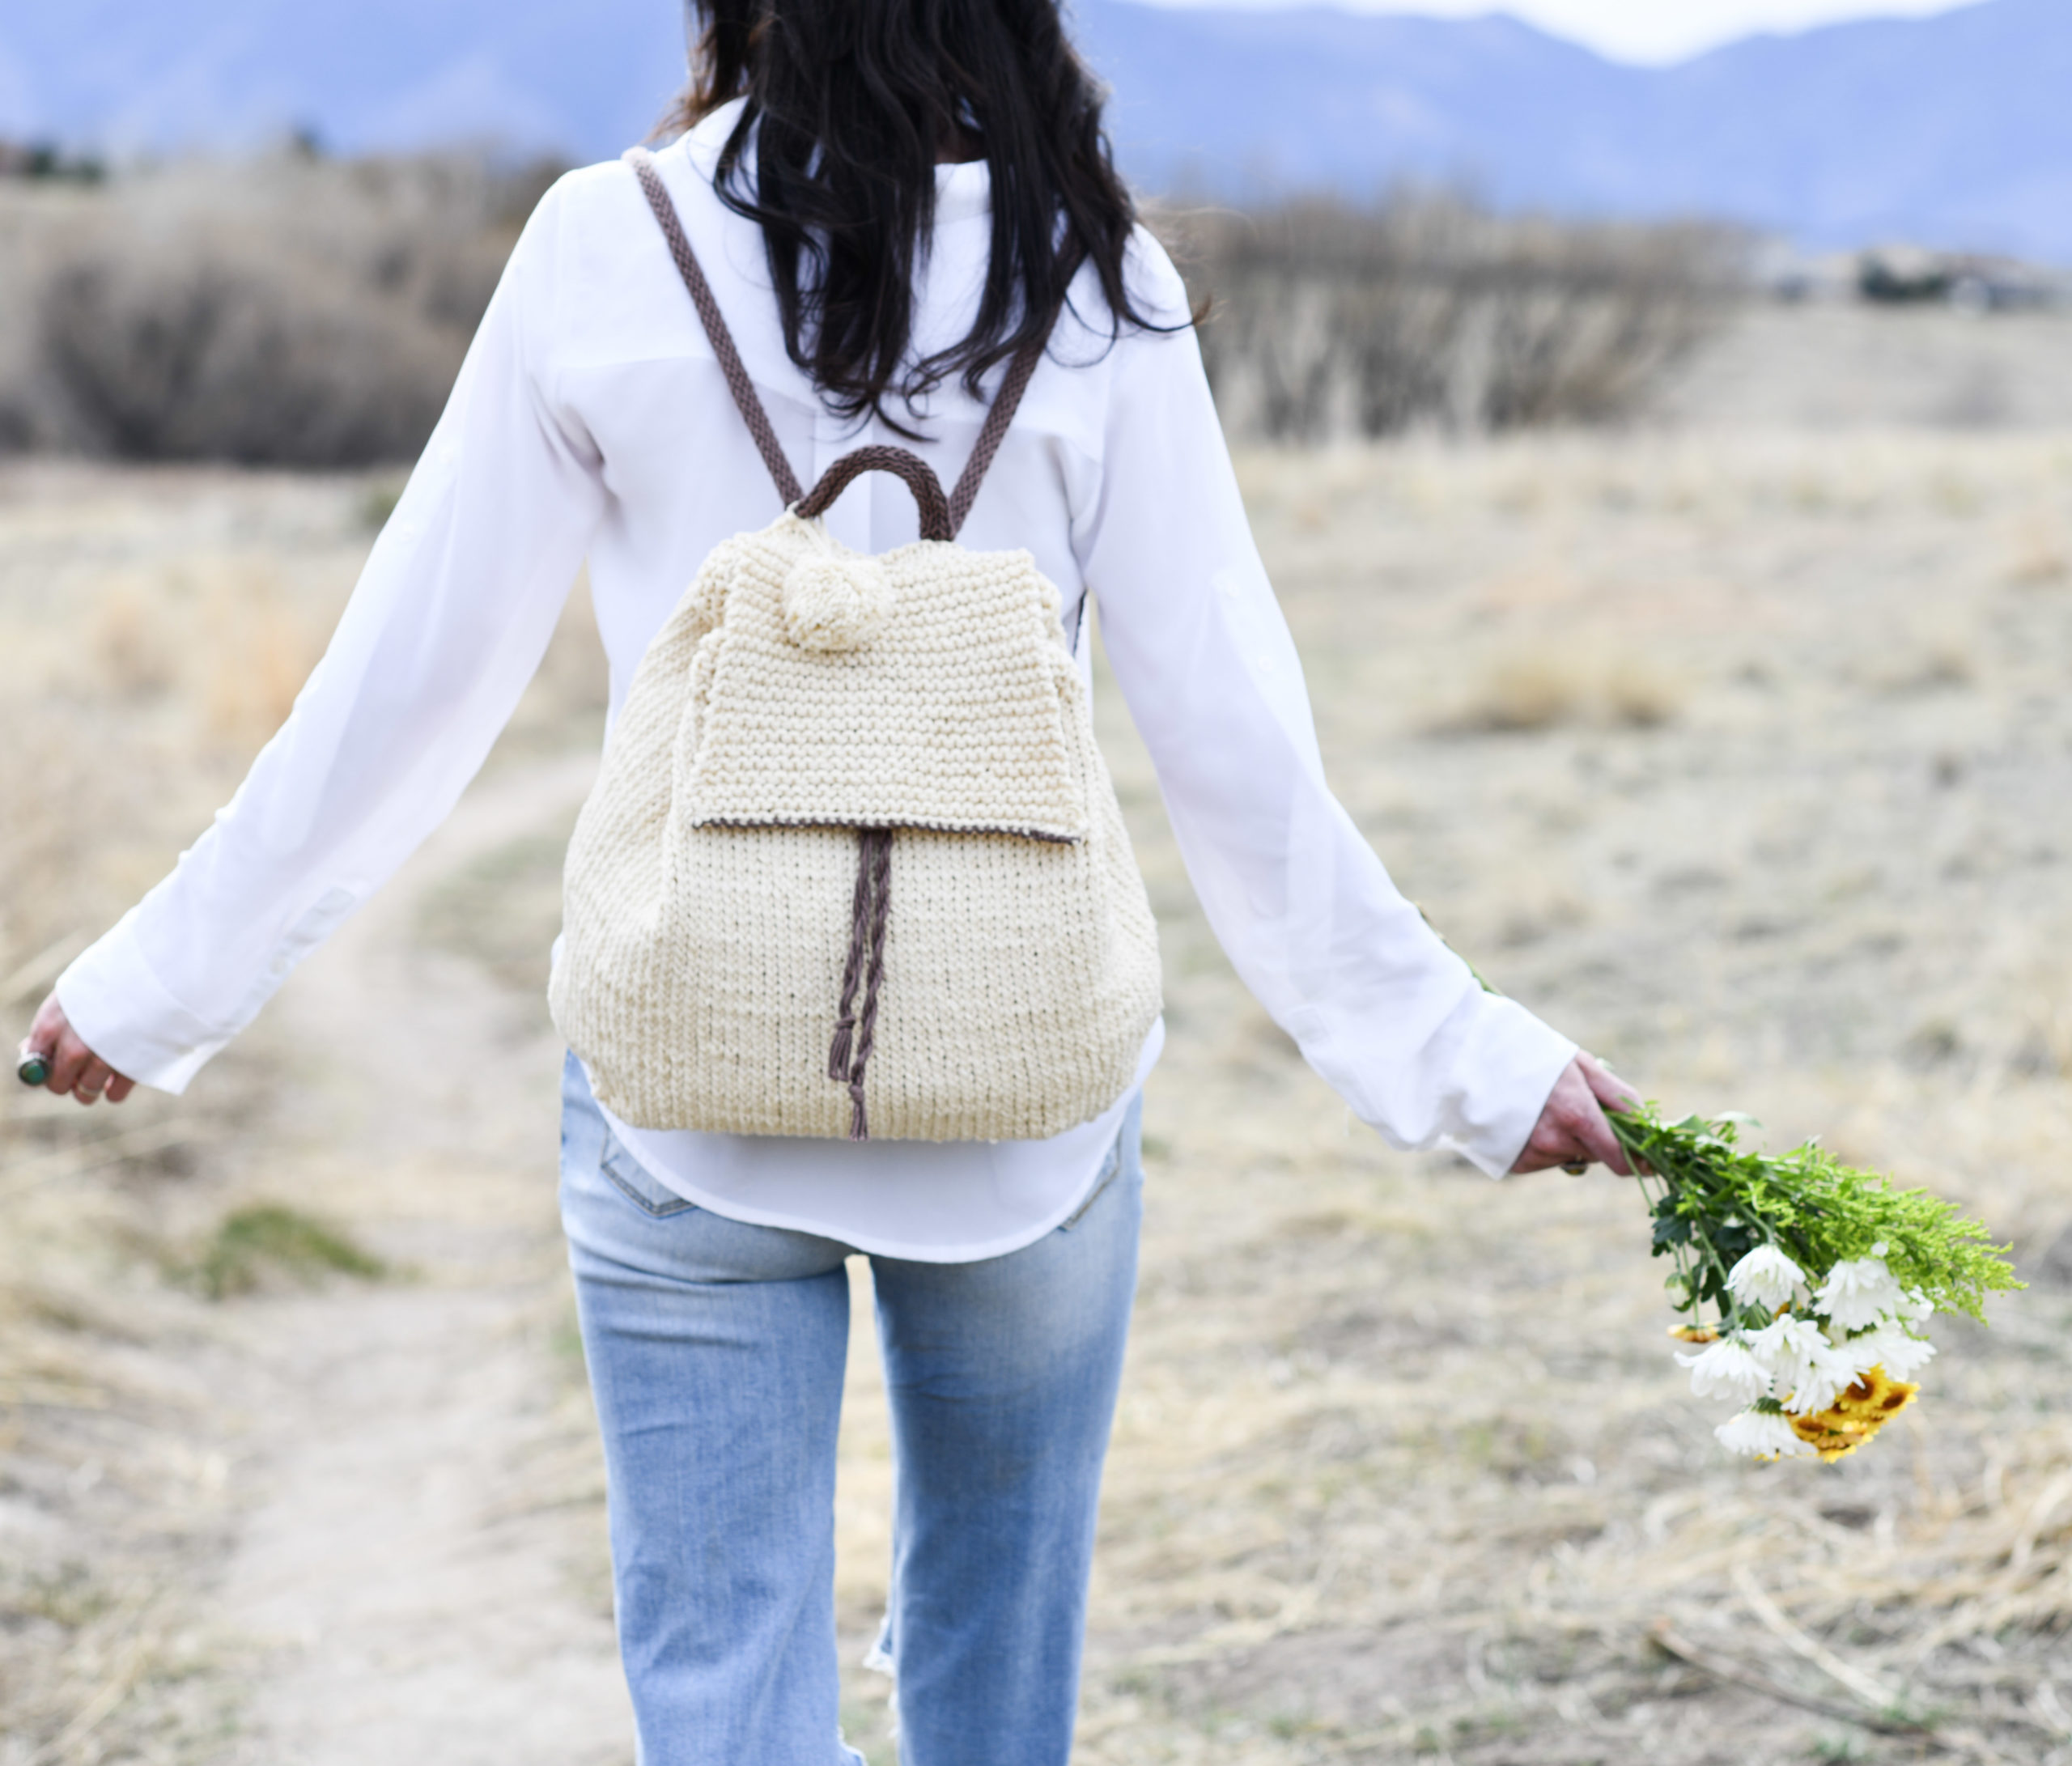
A knit backpack like this one is great for carrying my paperback book, water bottle, and wallet to the park with my daughter. It’s just so fun to use, and it’s keeping me right on-trend – hehe!
Fun fact: If you use the same yarn that I did, it almost appears that the knitted backpack is made of straw. I love that!
If you love summer bags, make sure you check out my Summer Circle Bag, too!

How To Make A Knit Backpack
I’m going over the entire process for making this project step-by-step. If you would like, you can buy an ad-free printable version in my Etsy shop here or the kit from Lion Brand Yarn here!
Free Backpack Pattern Description
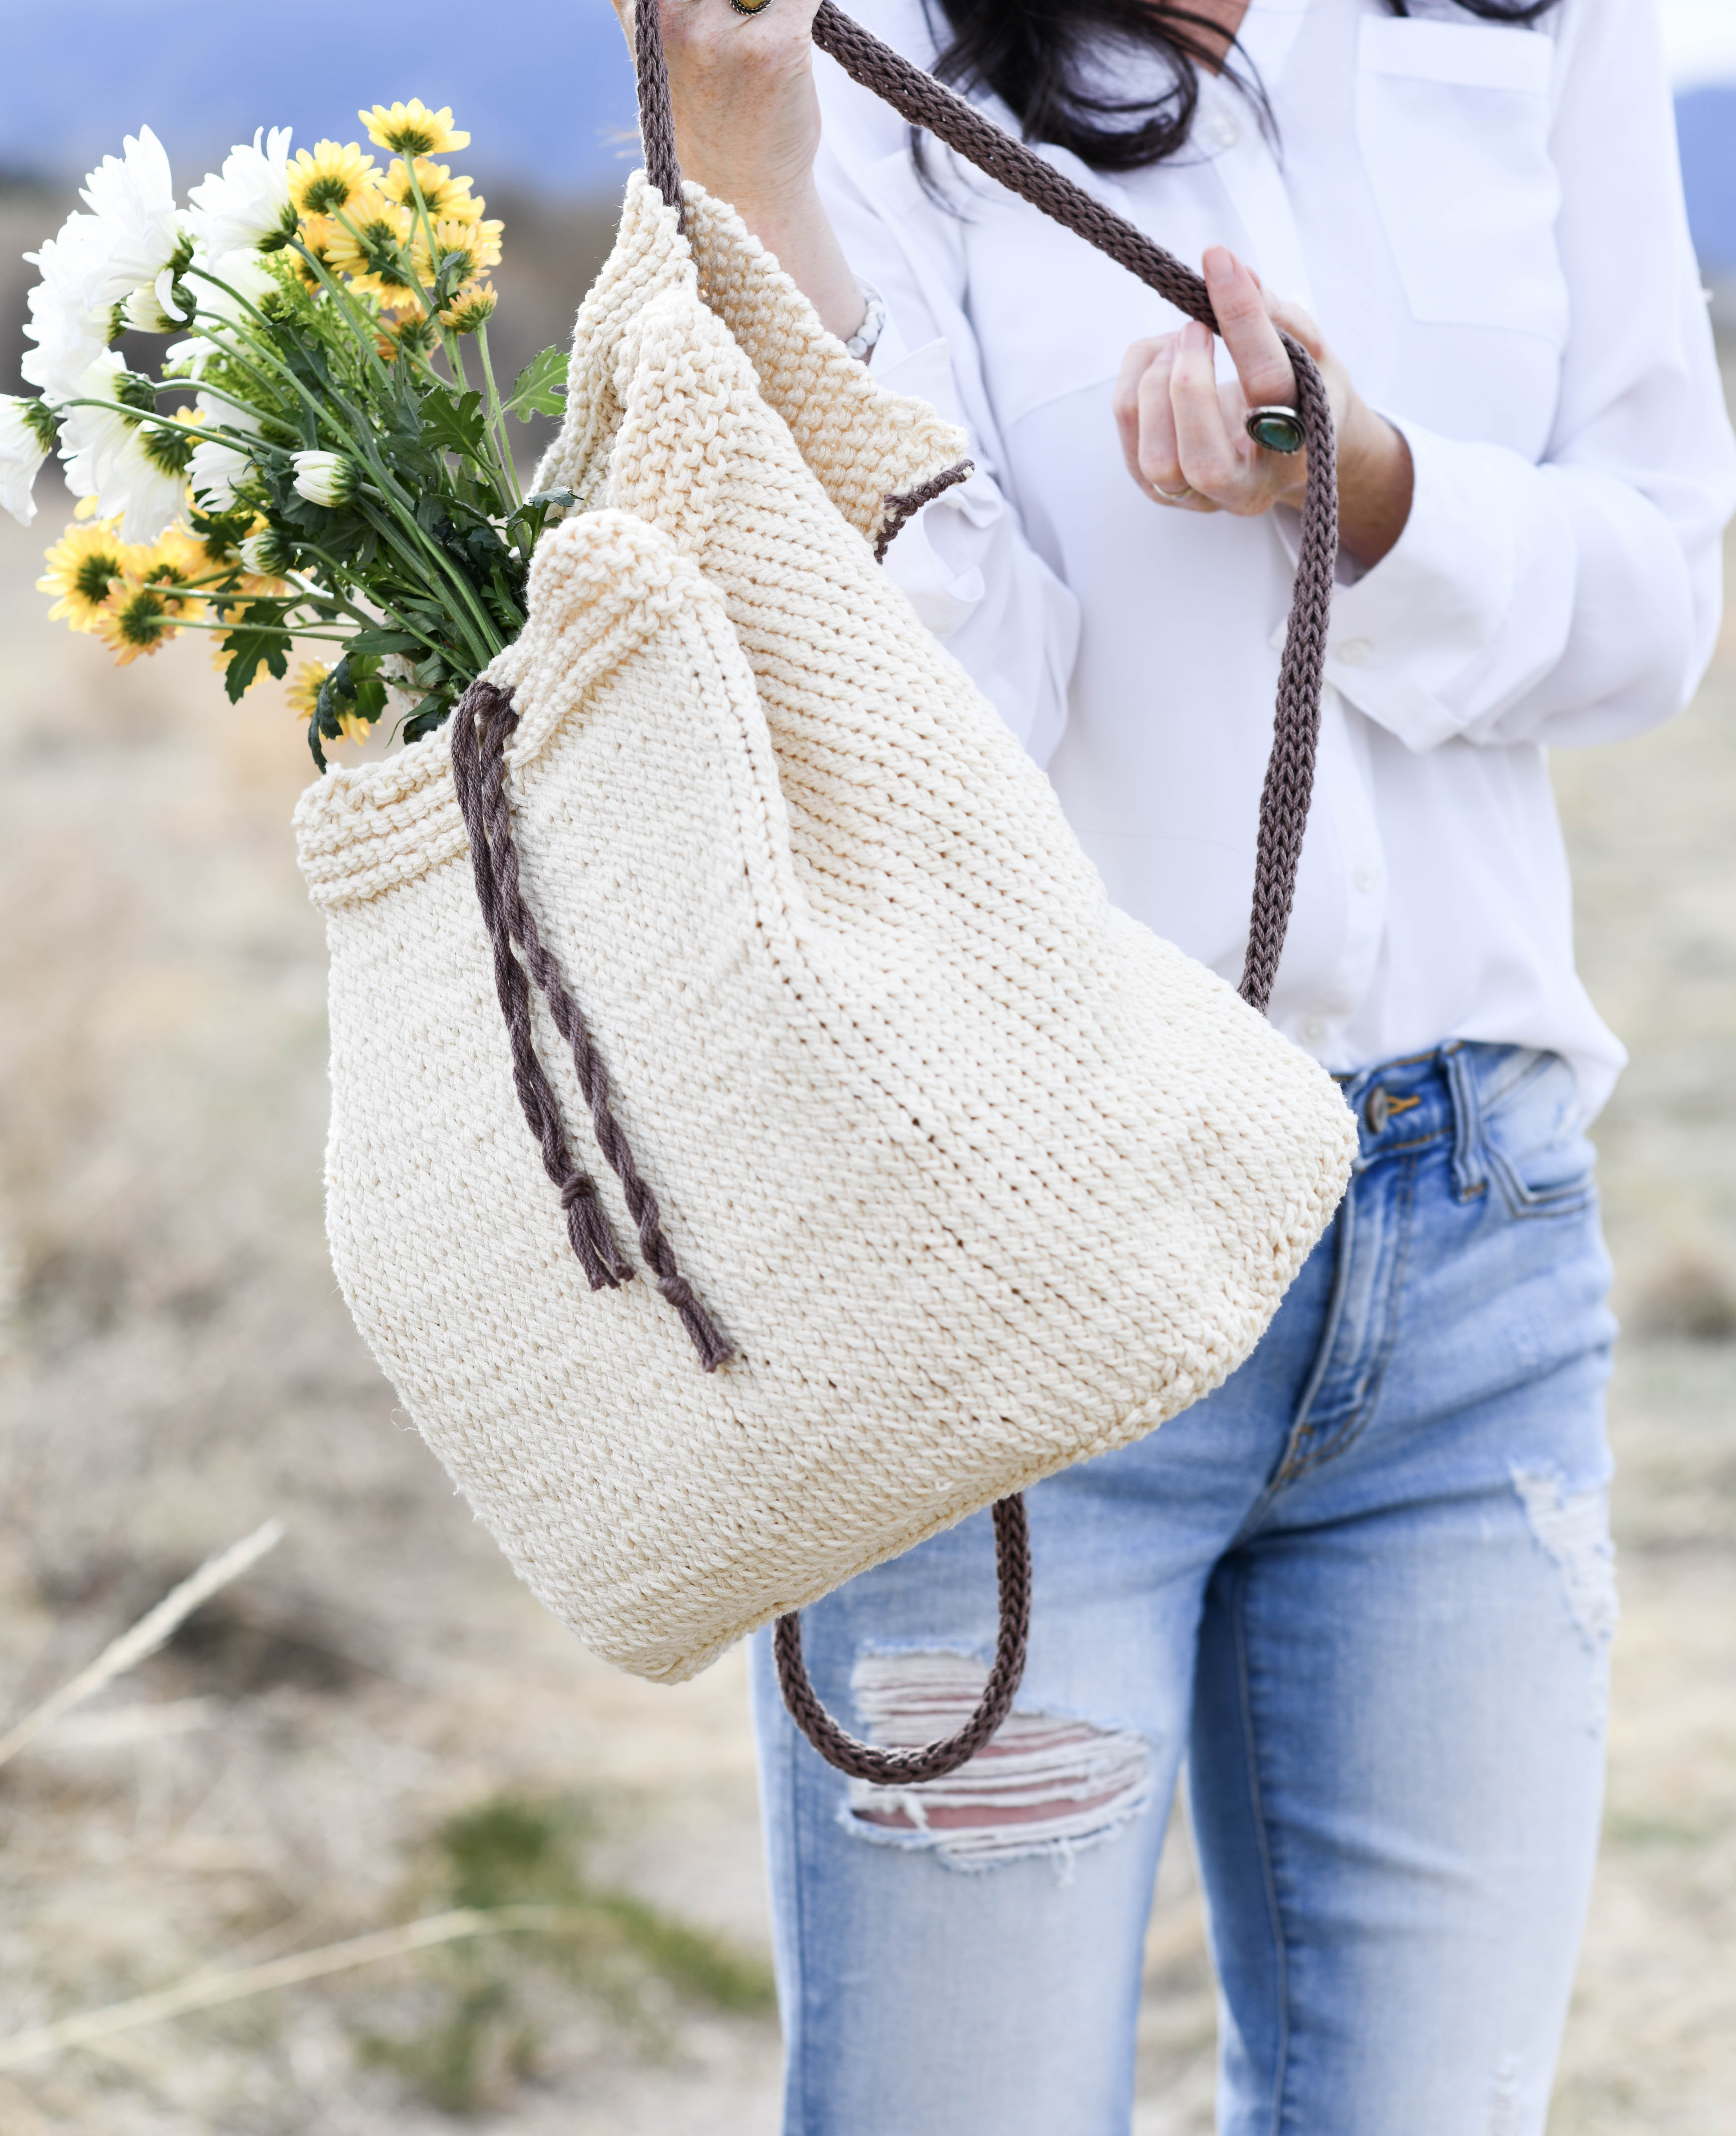
This backpack was inspired by the gorgeous straw bags that are so popular in the warm summer months. It’s not only easy to knit, but it’s also right on trend and makes a great accessory for everyday use. The tight, knit stitches make it durable, and the mercerized cotton is cool and breathable.
Materials You’ll Need For This Stitch Backpack Project
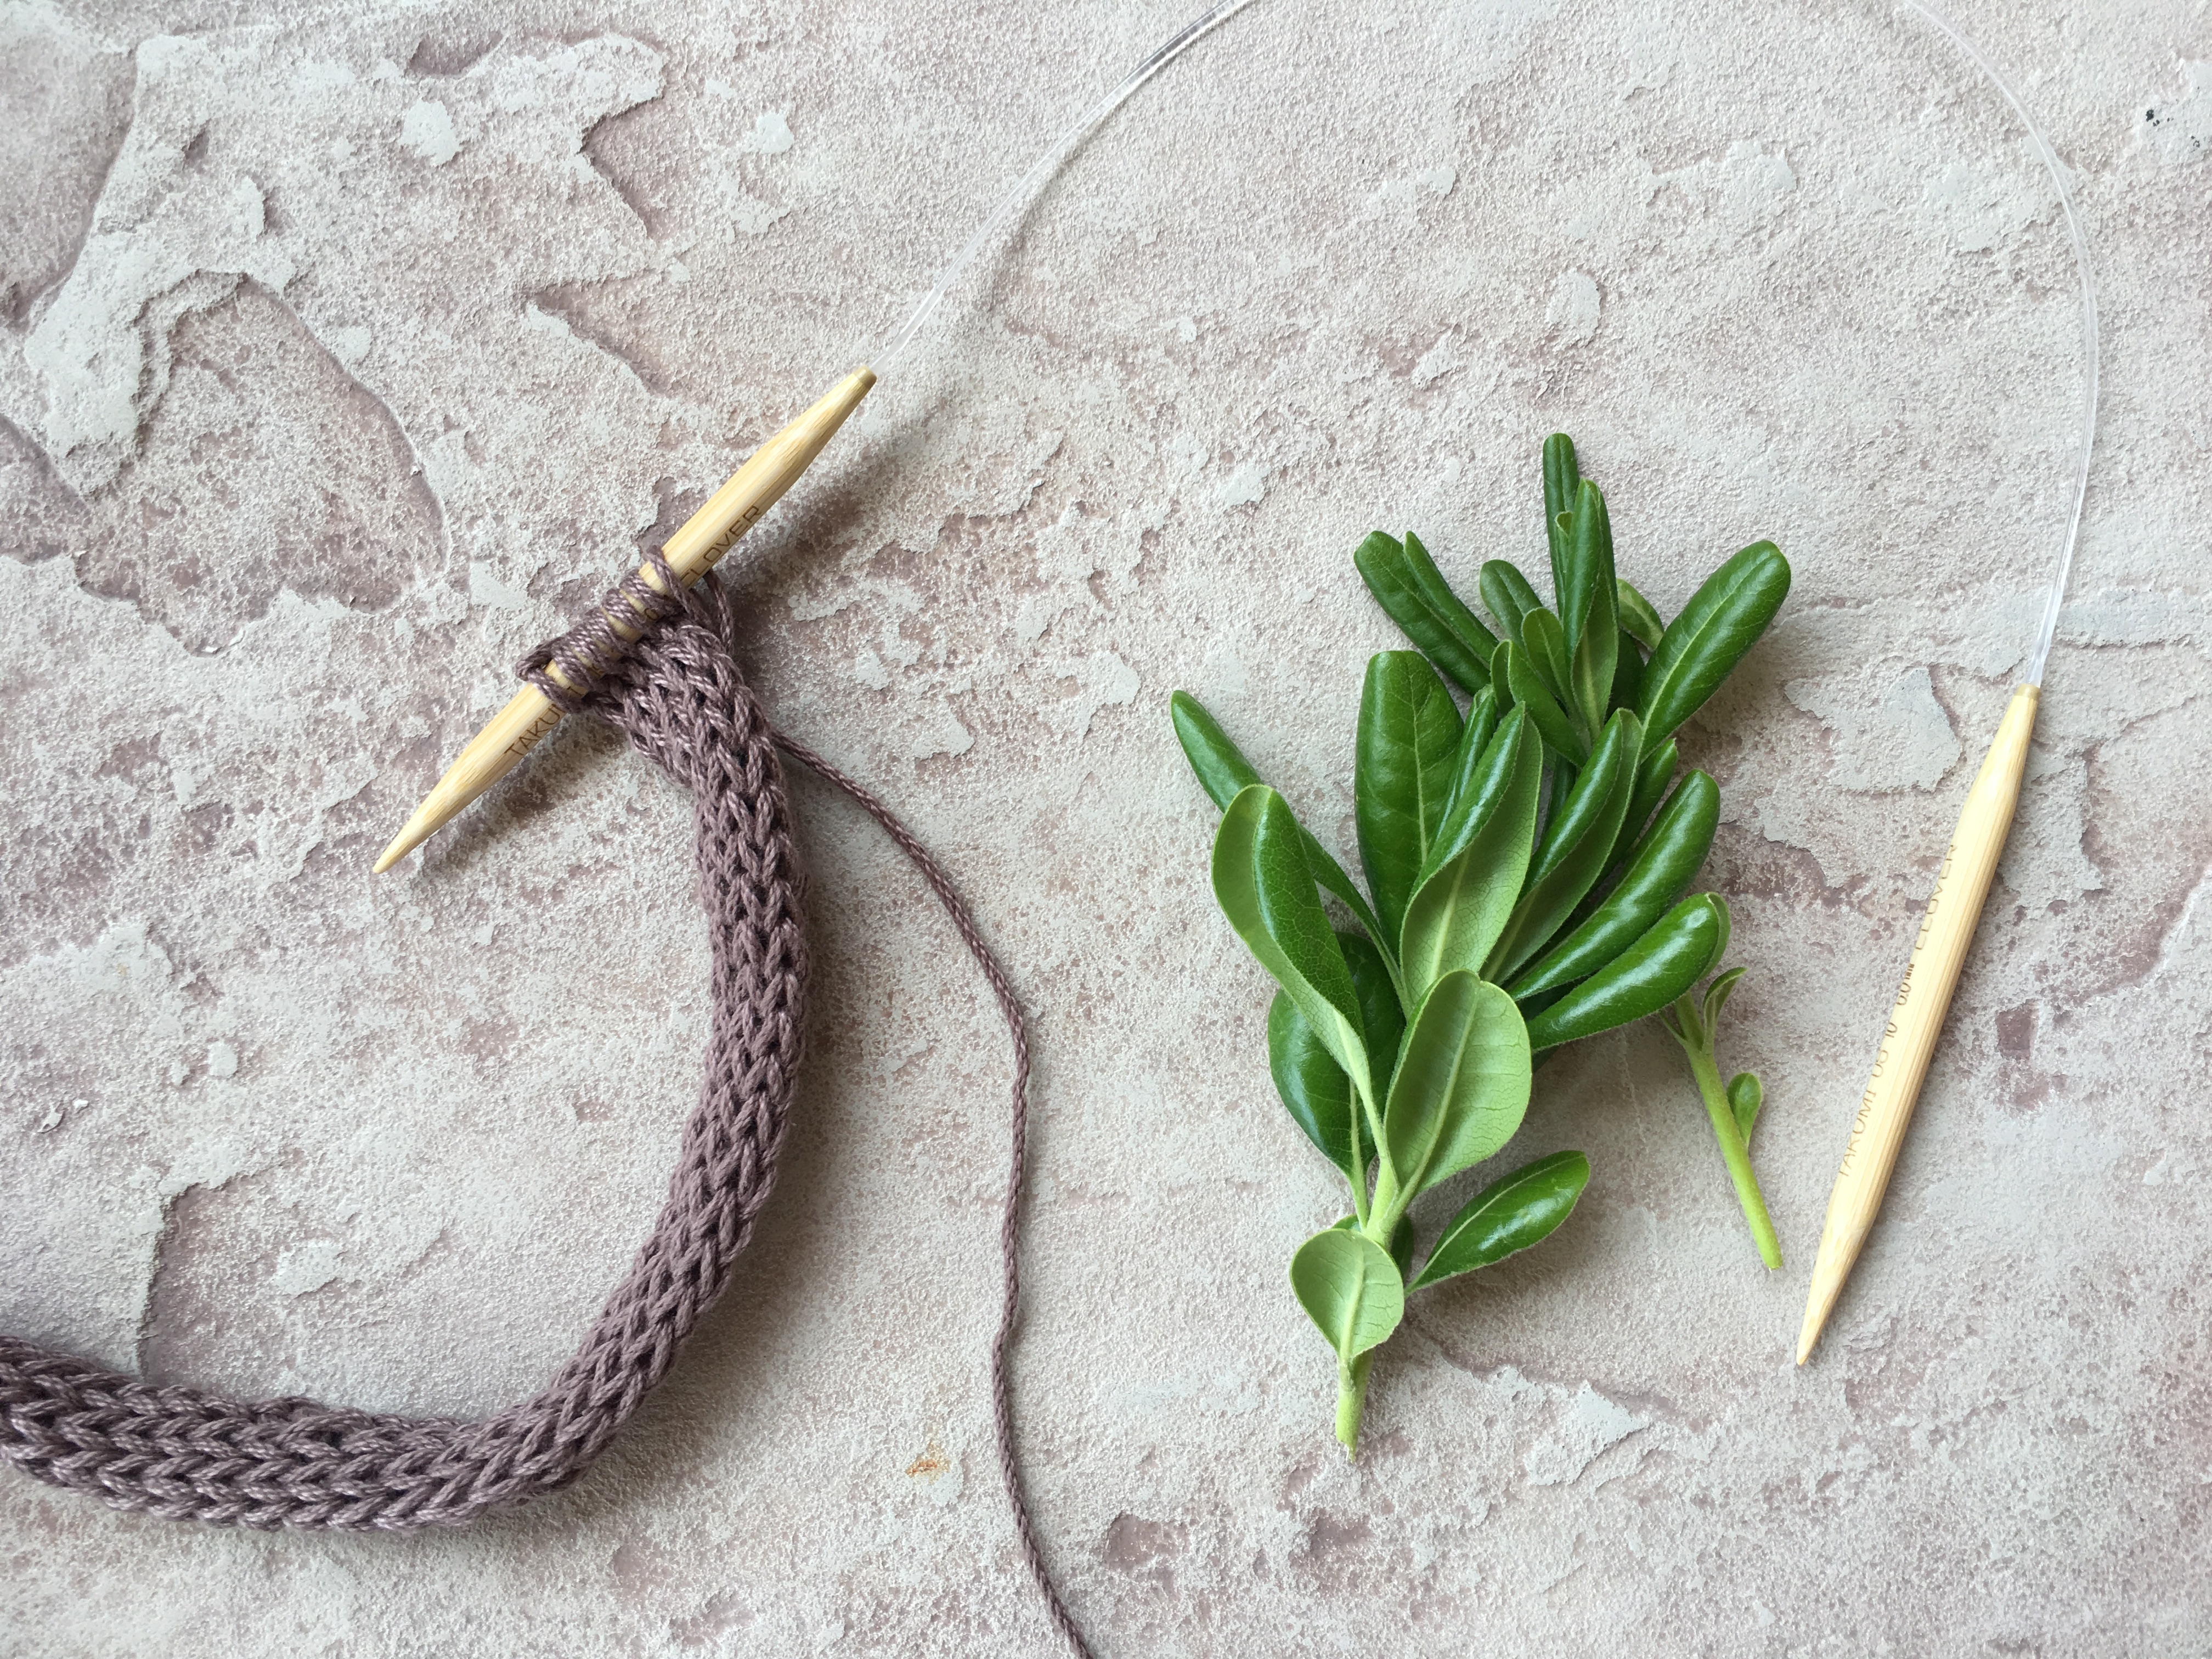
- US Size 10, 6.0 mm 16” Circular Knitting Needles (here)
- 4 Skeins Lion Brand Yarn 24/7 Cotton in Ecru 100 g/skein (Find the yarn HERE or the Straw Backpack Kit HERE)
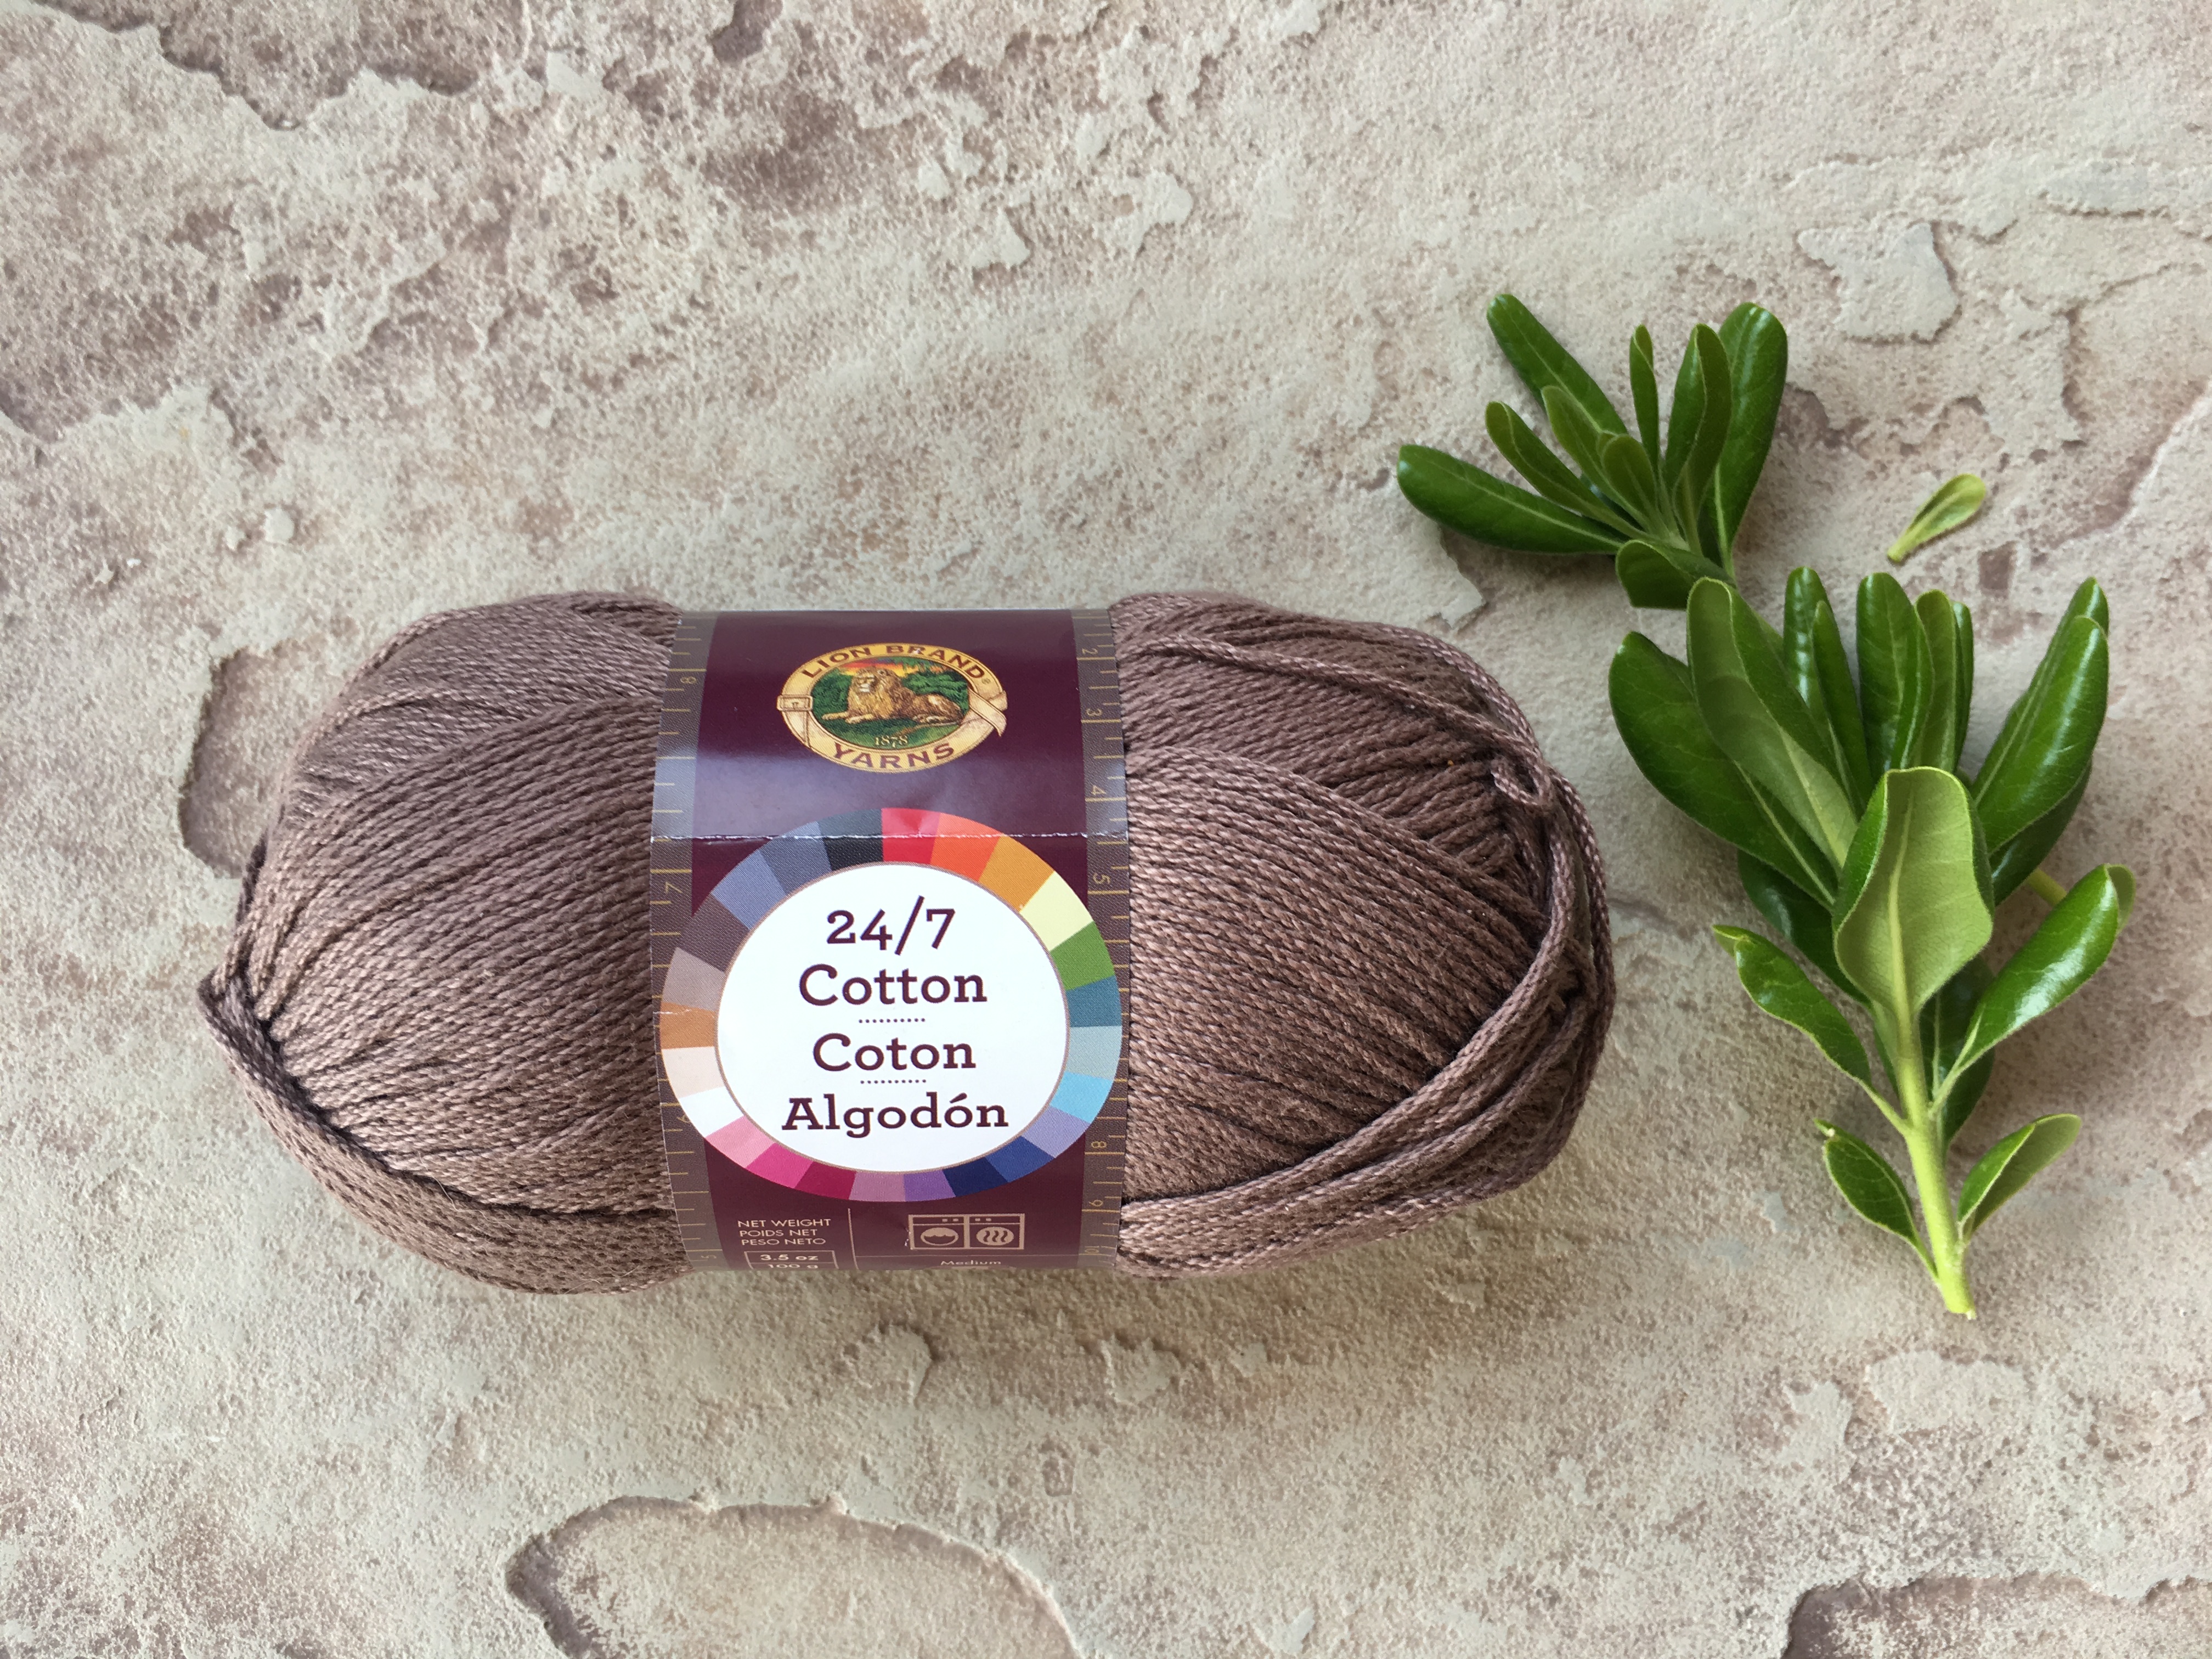
- 1 Skein Lion Brand Yarn 24/7 Cotton in Café Au Lait 100 g/skein
- Pattern uses about 40 grams of Café Au Lait and 385 grams of Ecru
- Stitch Markers (optional)
- Scissors
- Tapestry Needle
Gauge
14 ½ stitches and 18 rows in 4” x 4”
Size
15” wide x 15.5” tall x 5” deep
Abbreviations (US) & Skills:
k – knit
p – purl
st – stitch
K tbl – knit through the back loop stitch
KFB – knit front and back increase (Knit the stitch on your main needle. Before taking it off the needle, insert the working needle into the backside of the loop and knit it through the back loop. Next, take the stitch off the needle.)
Pattern Notes
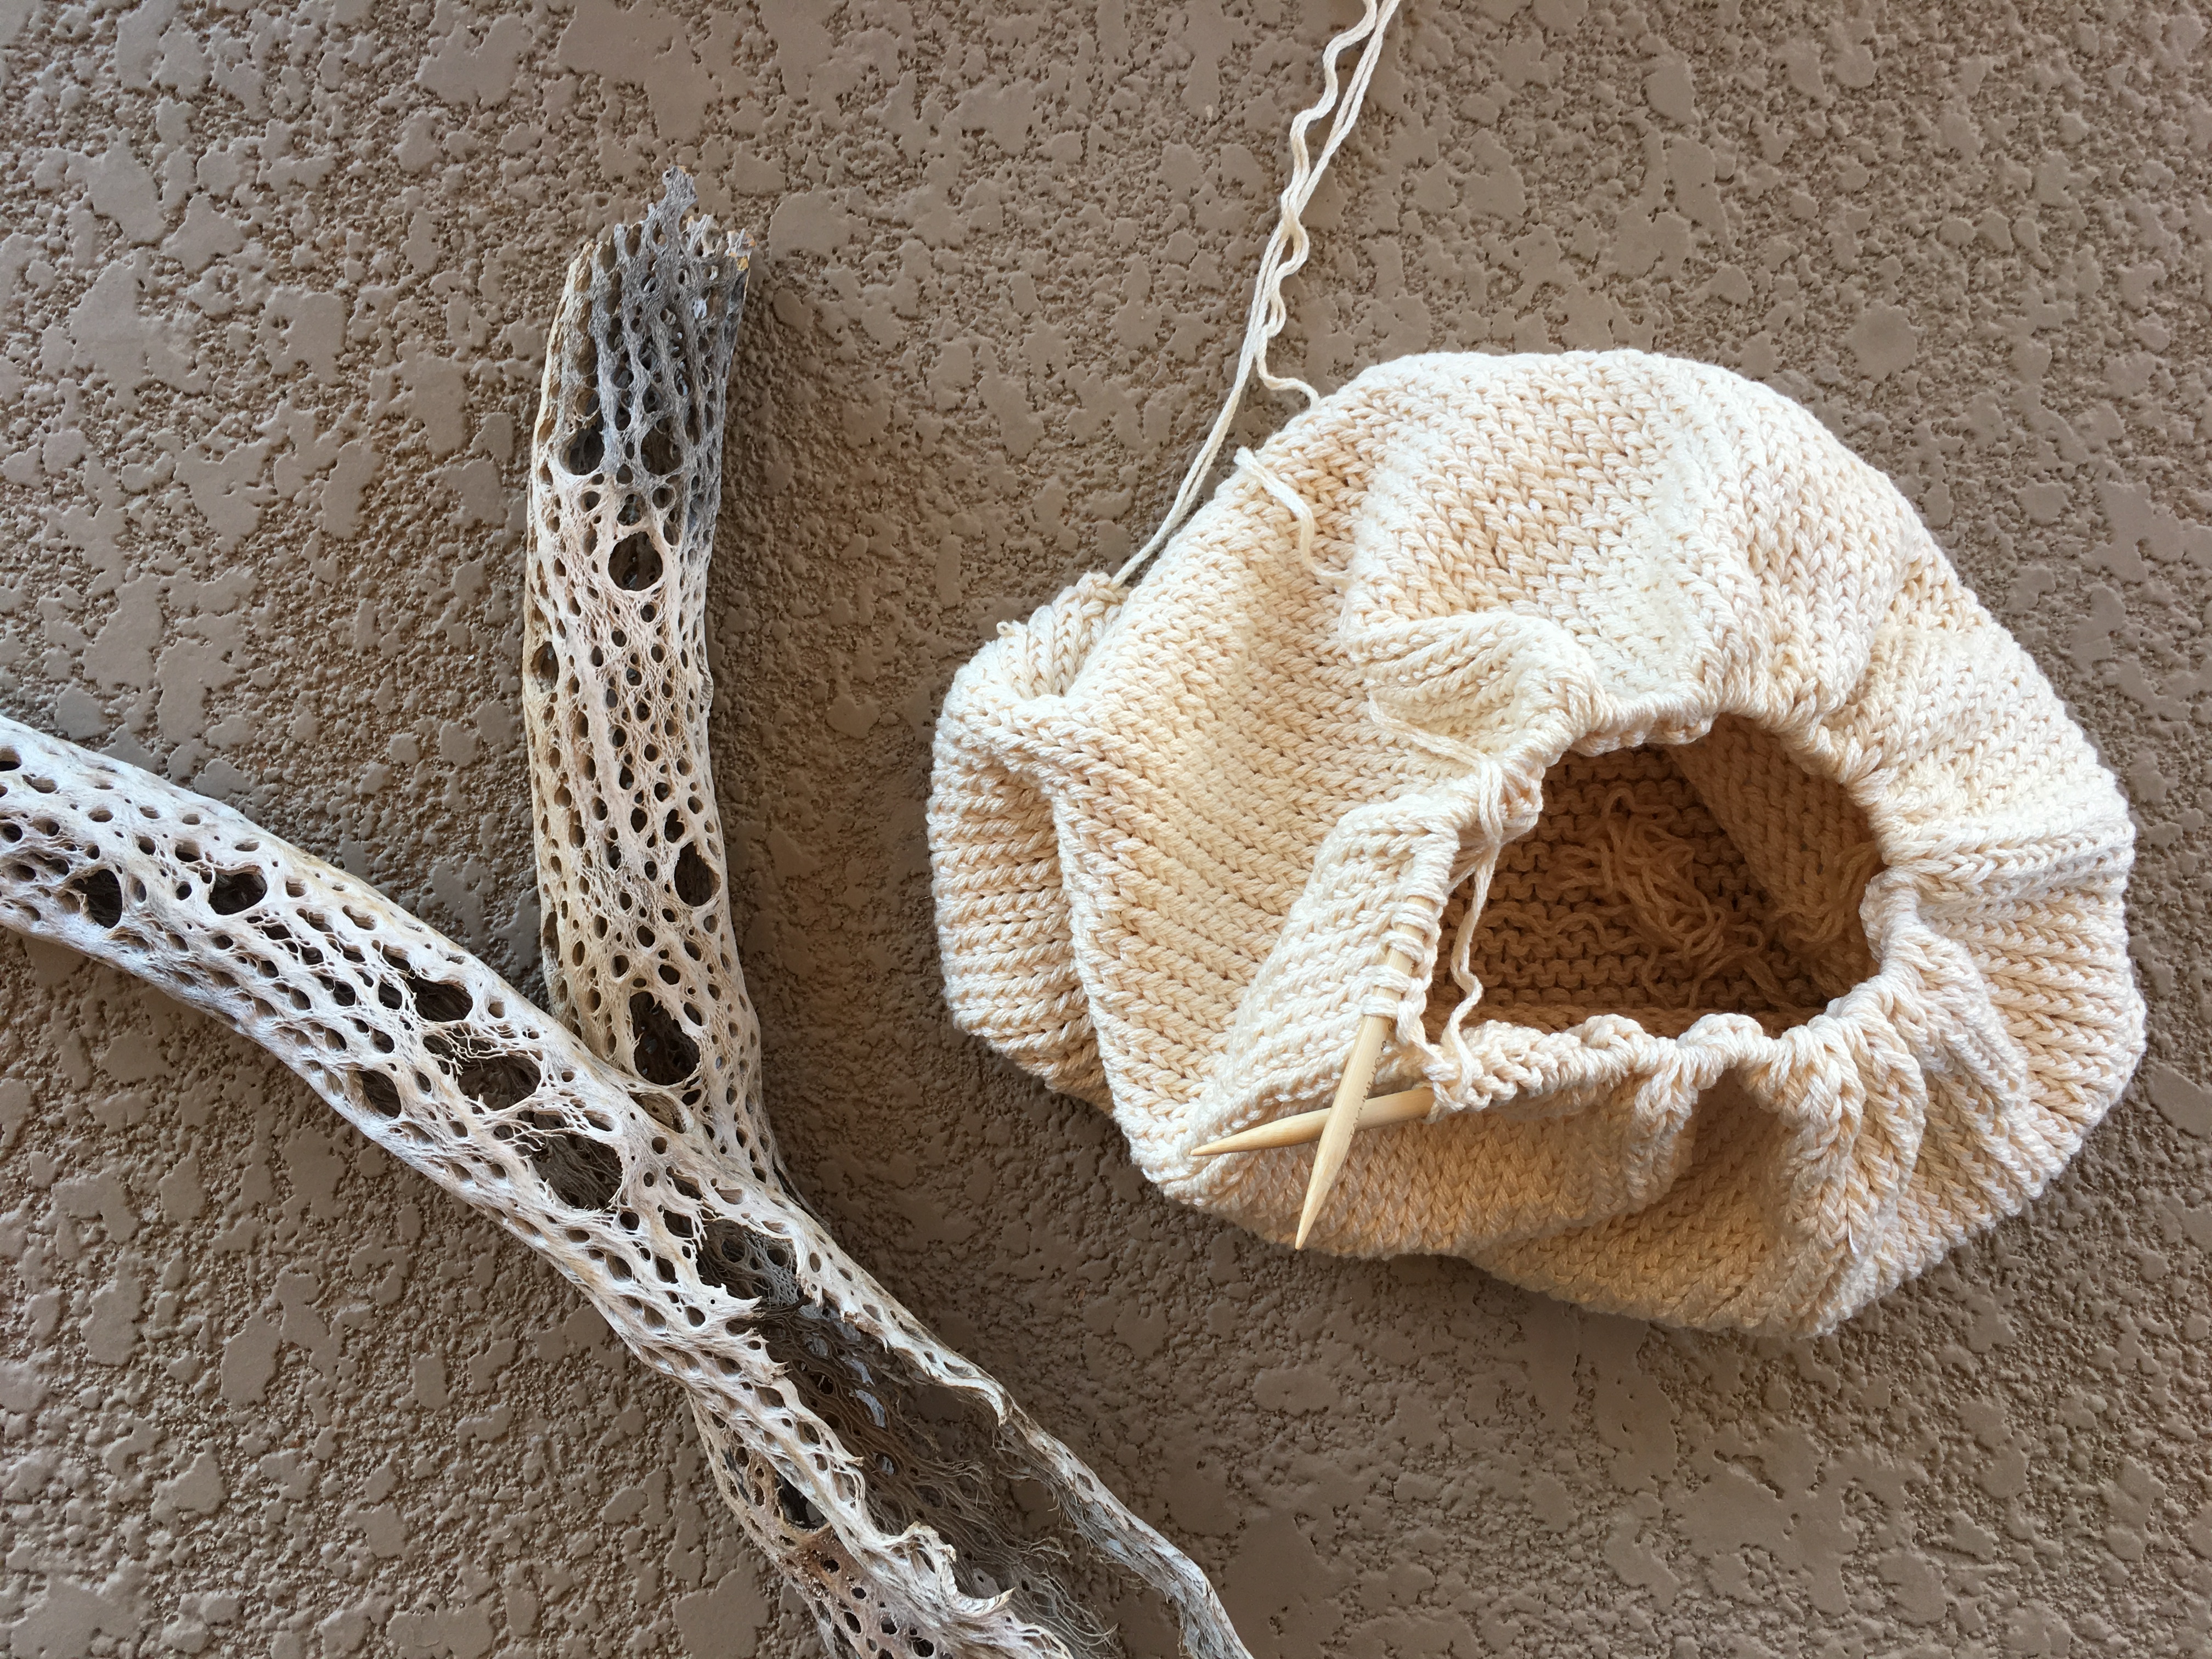
The entire bag is knit while holding two strands of yarn together. You will begin this backpack by knitting a flat base in rows. Next, you will pick up stitches evenly around the base and knit in the round, working through the back loop for the remainder of the backpack.
Lastly, you will knit an I-cord for the straps and knit a flap for the top. These are then sewn onto the bag to finish.
Stitch Backpack Easy Knitting Pattern
You’ll first knit a simple base and then pick up stitches to knit in the round for the majority of the pattern. This is the super easy part where you get to zone out by the pool and just knit away!
Later, you’ll knit the flap and make the straps and drawstring. It was so much fun to make an i-cord for the straps. If you’ve never tried knitting an i-cord, I think you’ll enjoy it!
Backpack Base
(reminder: the entire backpack is knit while holding two strands of yarn together)
- While holding two strands of Ecru yarn together, cast on 42 stitches
- Row 1 Knit each st across the row (42)
- Rows 2 – 34 Repeat row 1
- Next, you will continue to the Backpack Main Body
stitch Backpack Main Body
- Pick up stitches evenly around the base (42 stitches on each long side, and 18 stitches on each short side for a total of 120 around)
- Join to knit in the round
- Knit through the back loop stitch (K tbl) in each stitch around, working in continuous rounds for approximately 50 rounds. Place a stitch marker at the beginning of your round if needed.
(Note: Working through the back loop will twist the stitches, and this is intended to achieve the look pictured. If you prefer the look of regular stockinette, simply knit normally around.)
Upper Edge
- You will now finish the upper edge with garter stitch
- Row 1 Purl each st around
- Row 2 Knit each st around
- Repeat rows 1 and 2, in that order, for 6 more rounds.
- Cast off and weave in ends
Backpack Strap
- For the strap, you will knit an I-cord. Follow the directions below. You may also find many terrific online tutorials on how to knit an I-cord by conducting a simple search. This is a 7 stitch I-cord.
- Using your circular knitting needles and with the Café Au Lait, cast on 7 stitches (hold just one strand of yarn for the strap)
- Row 1 Knit each st across the row
- Next, slide your work to the opposite end of your needles. Do not turn. You will then knit, tightening the first stitch of the row and knitting each of the next six stitches.
- Repeat this pattern, by knitting each stitch across the row and then sliding the work to the opposite end to knit again.
- Continue until the I-cord is approximately 42” long, cast off and weave in ends
Upper Flap
- While holding two strands of Ecru yarn together, cast on 28 stitches
- Row 1: Knit each st across the row (28)
- Rows 2 – 34: Repeat row 1 by knitting each st across the row
- Row 35: KFB, k each st across the row to last st, KFB in last st (30)
- Row 36: Knit each st across the row (30)
- Row 37: KFB, k each st across the row to the last st, KFB in last st (32)
- Row 38: Knit each st across the row (32)
- Row 39: KFB, k each st across the row to the last st, KFB (34)
- Row 40: K each st across the row (34)
- Cast off and weave in the ends.
Drawstring Cord
- With Café Au Lait, cut eight strands of yarn approximately 76 inches long.
- Tie them and/or secure them at the end to something like a desk or a chair.
- Begin to twist them and continue twisting. Once they begin to twist on themselves, continue until you’ve reached your desired look. Tie the end together and remove the secured end as well, ensuring both ends are tied with a knot. Cut the ends and trim so they are even.
How To Assemble Your Knit Backpack
I think you’ll find the construction of the bag to be quite straightforward. Here’s how I did it:
Backpack Strap
- Fold strap in half. Mark the center with a stitch marker or a length of yarn.
- Attach one end of the strap to the lower right back side of the backpack with a whip stitch, and the other end of the strap to the lower right side. Enforce the durability of the strap by sewing more stitches.
- Next, attach the upper part of the strap on each side as pictured, ensuring that your middle stitch marker stays centered.
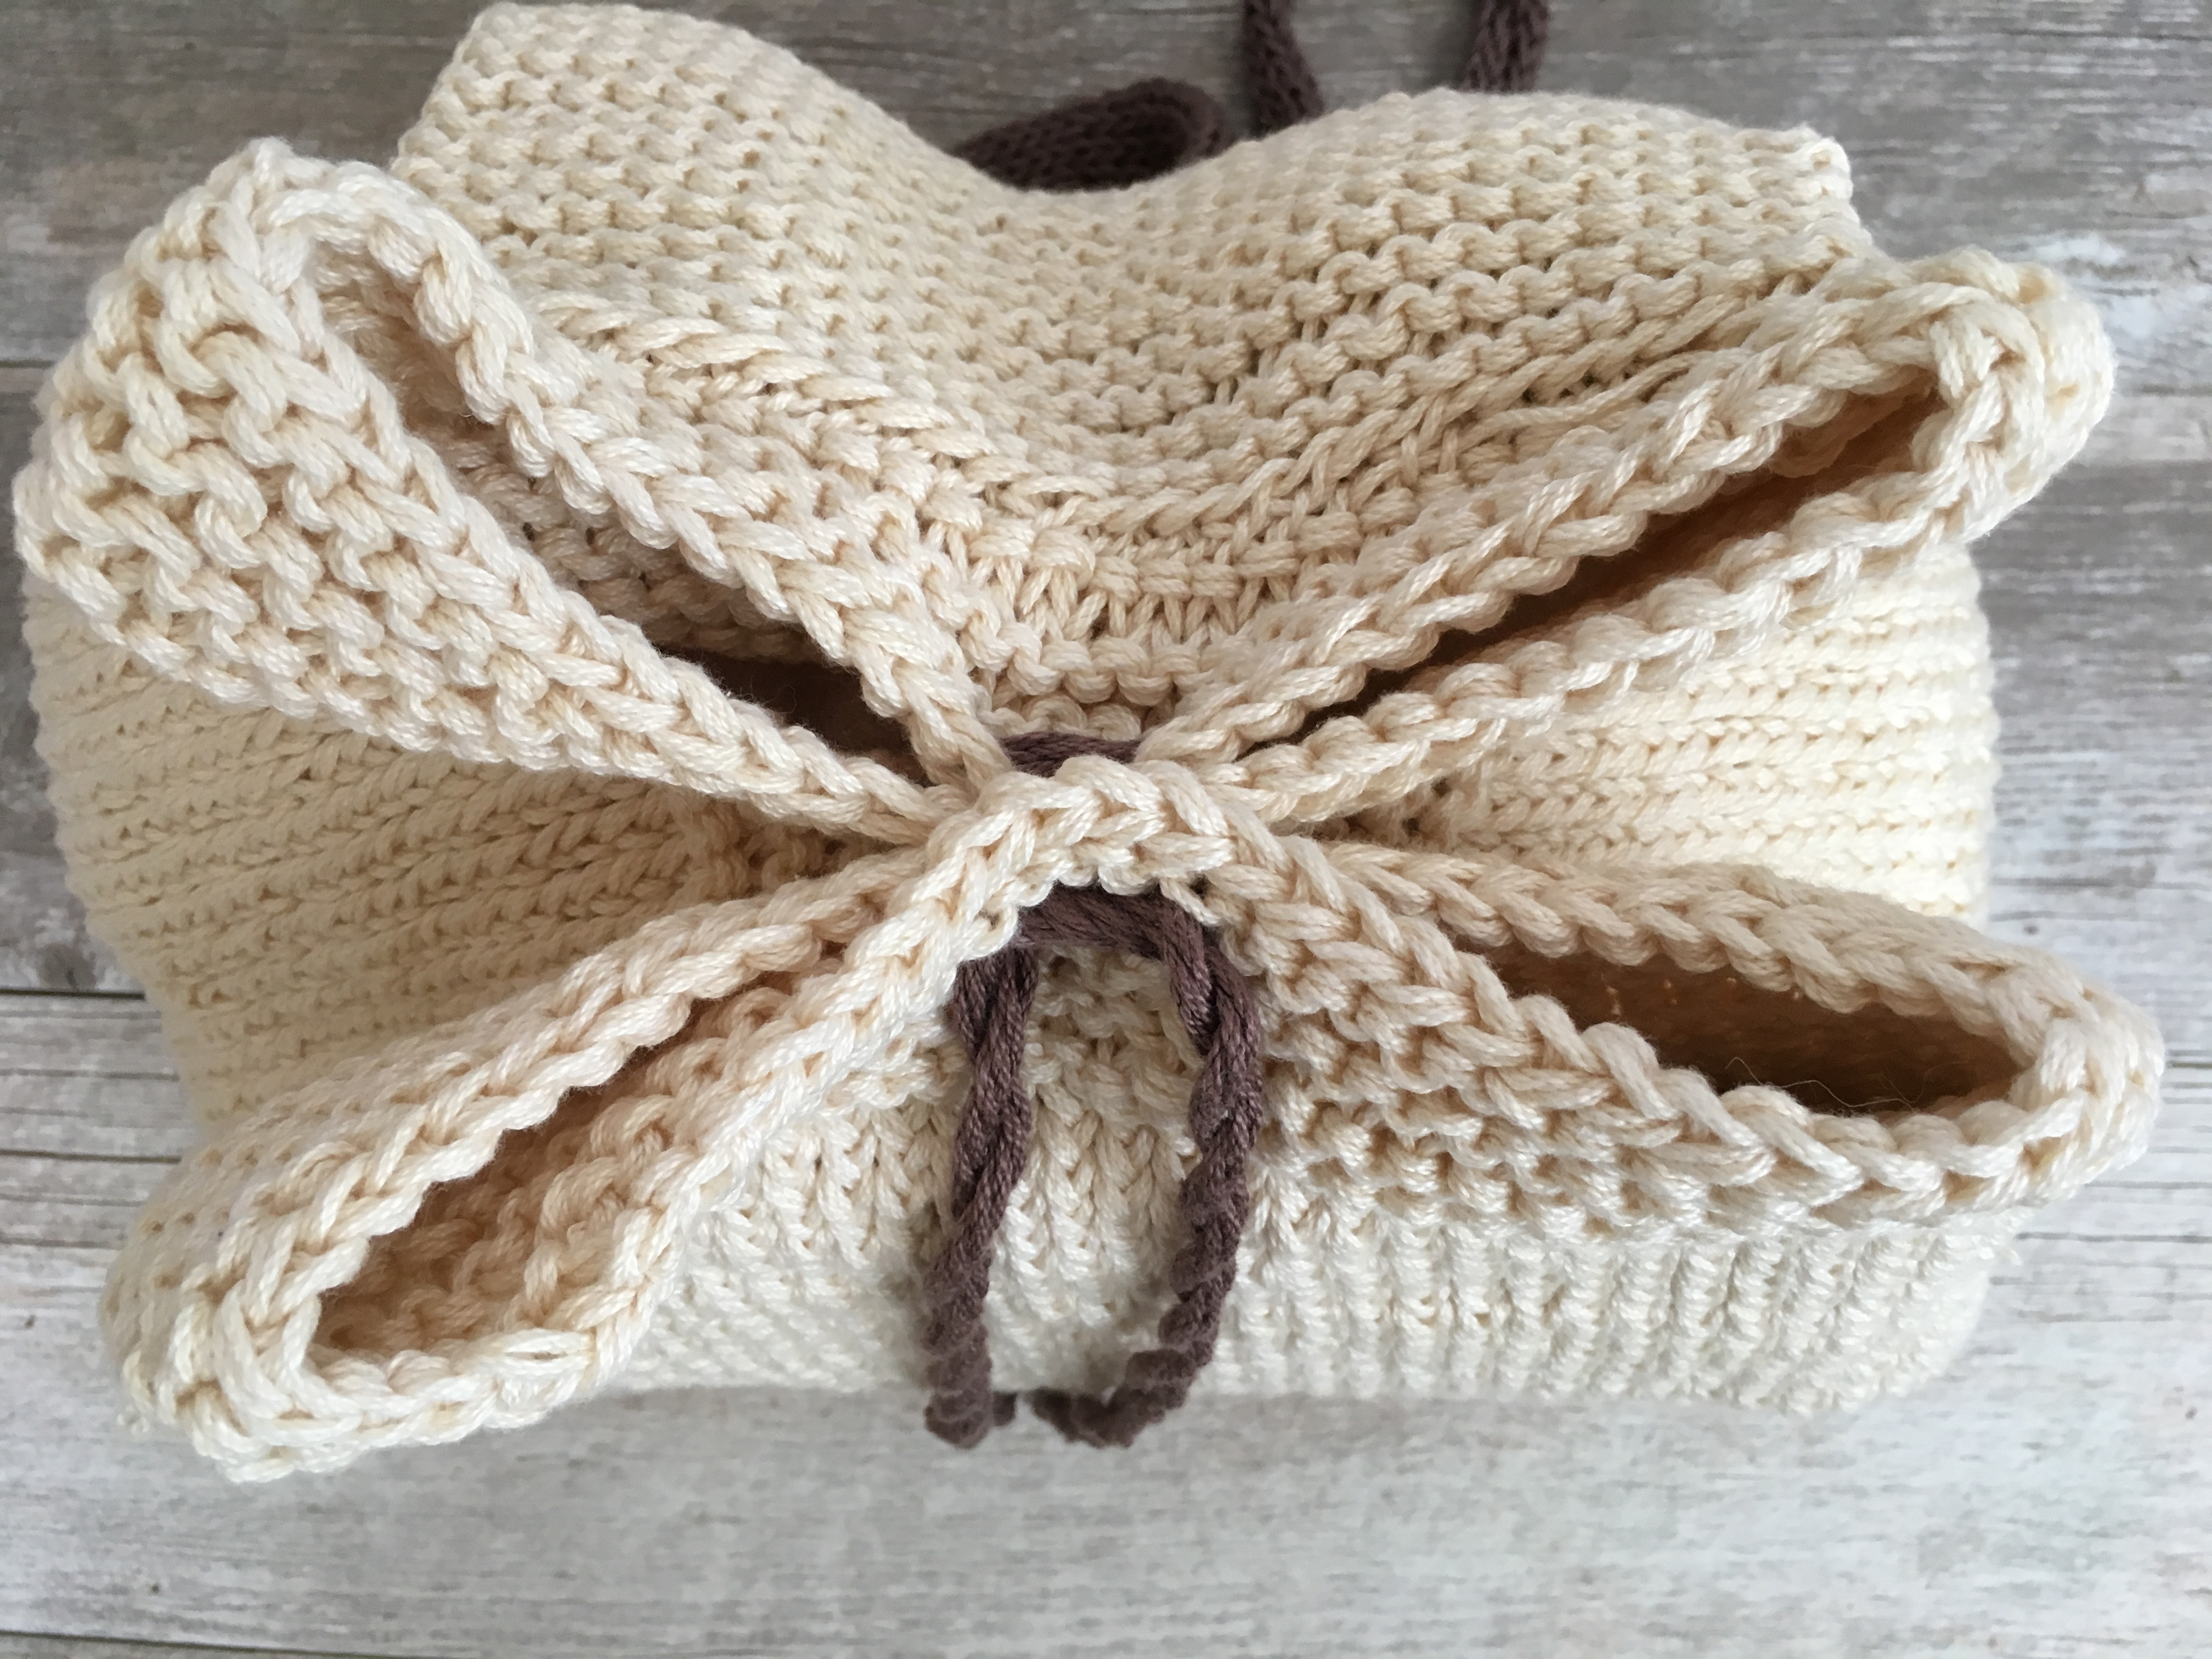
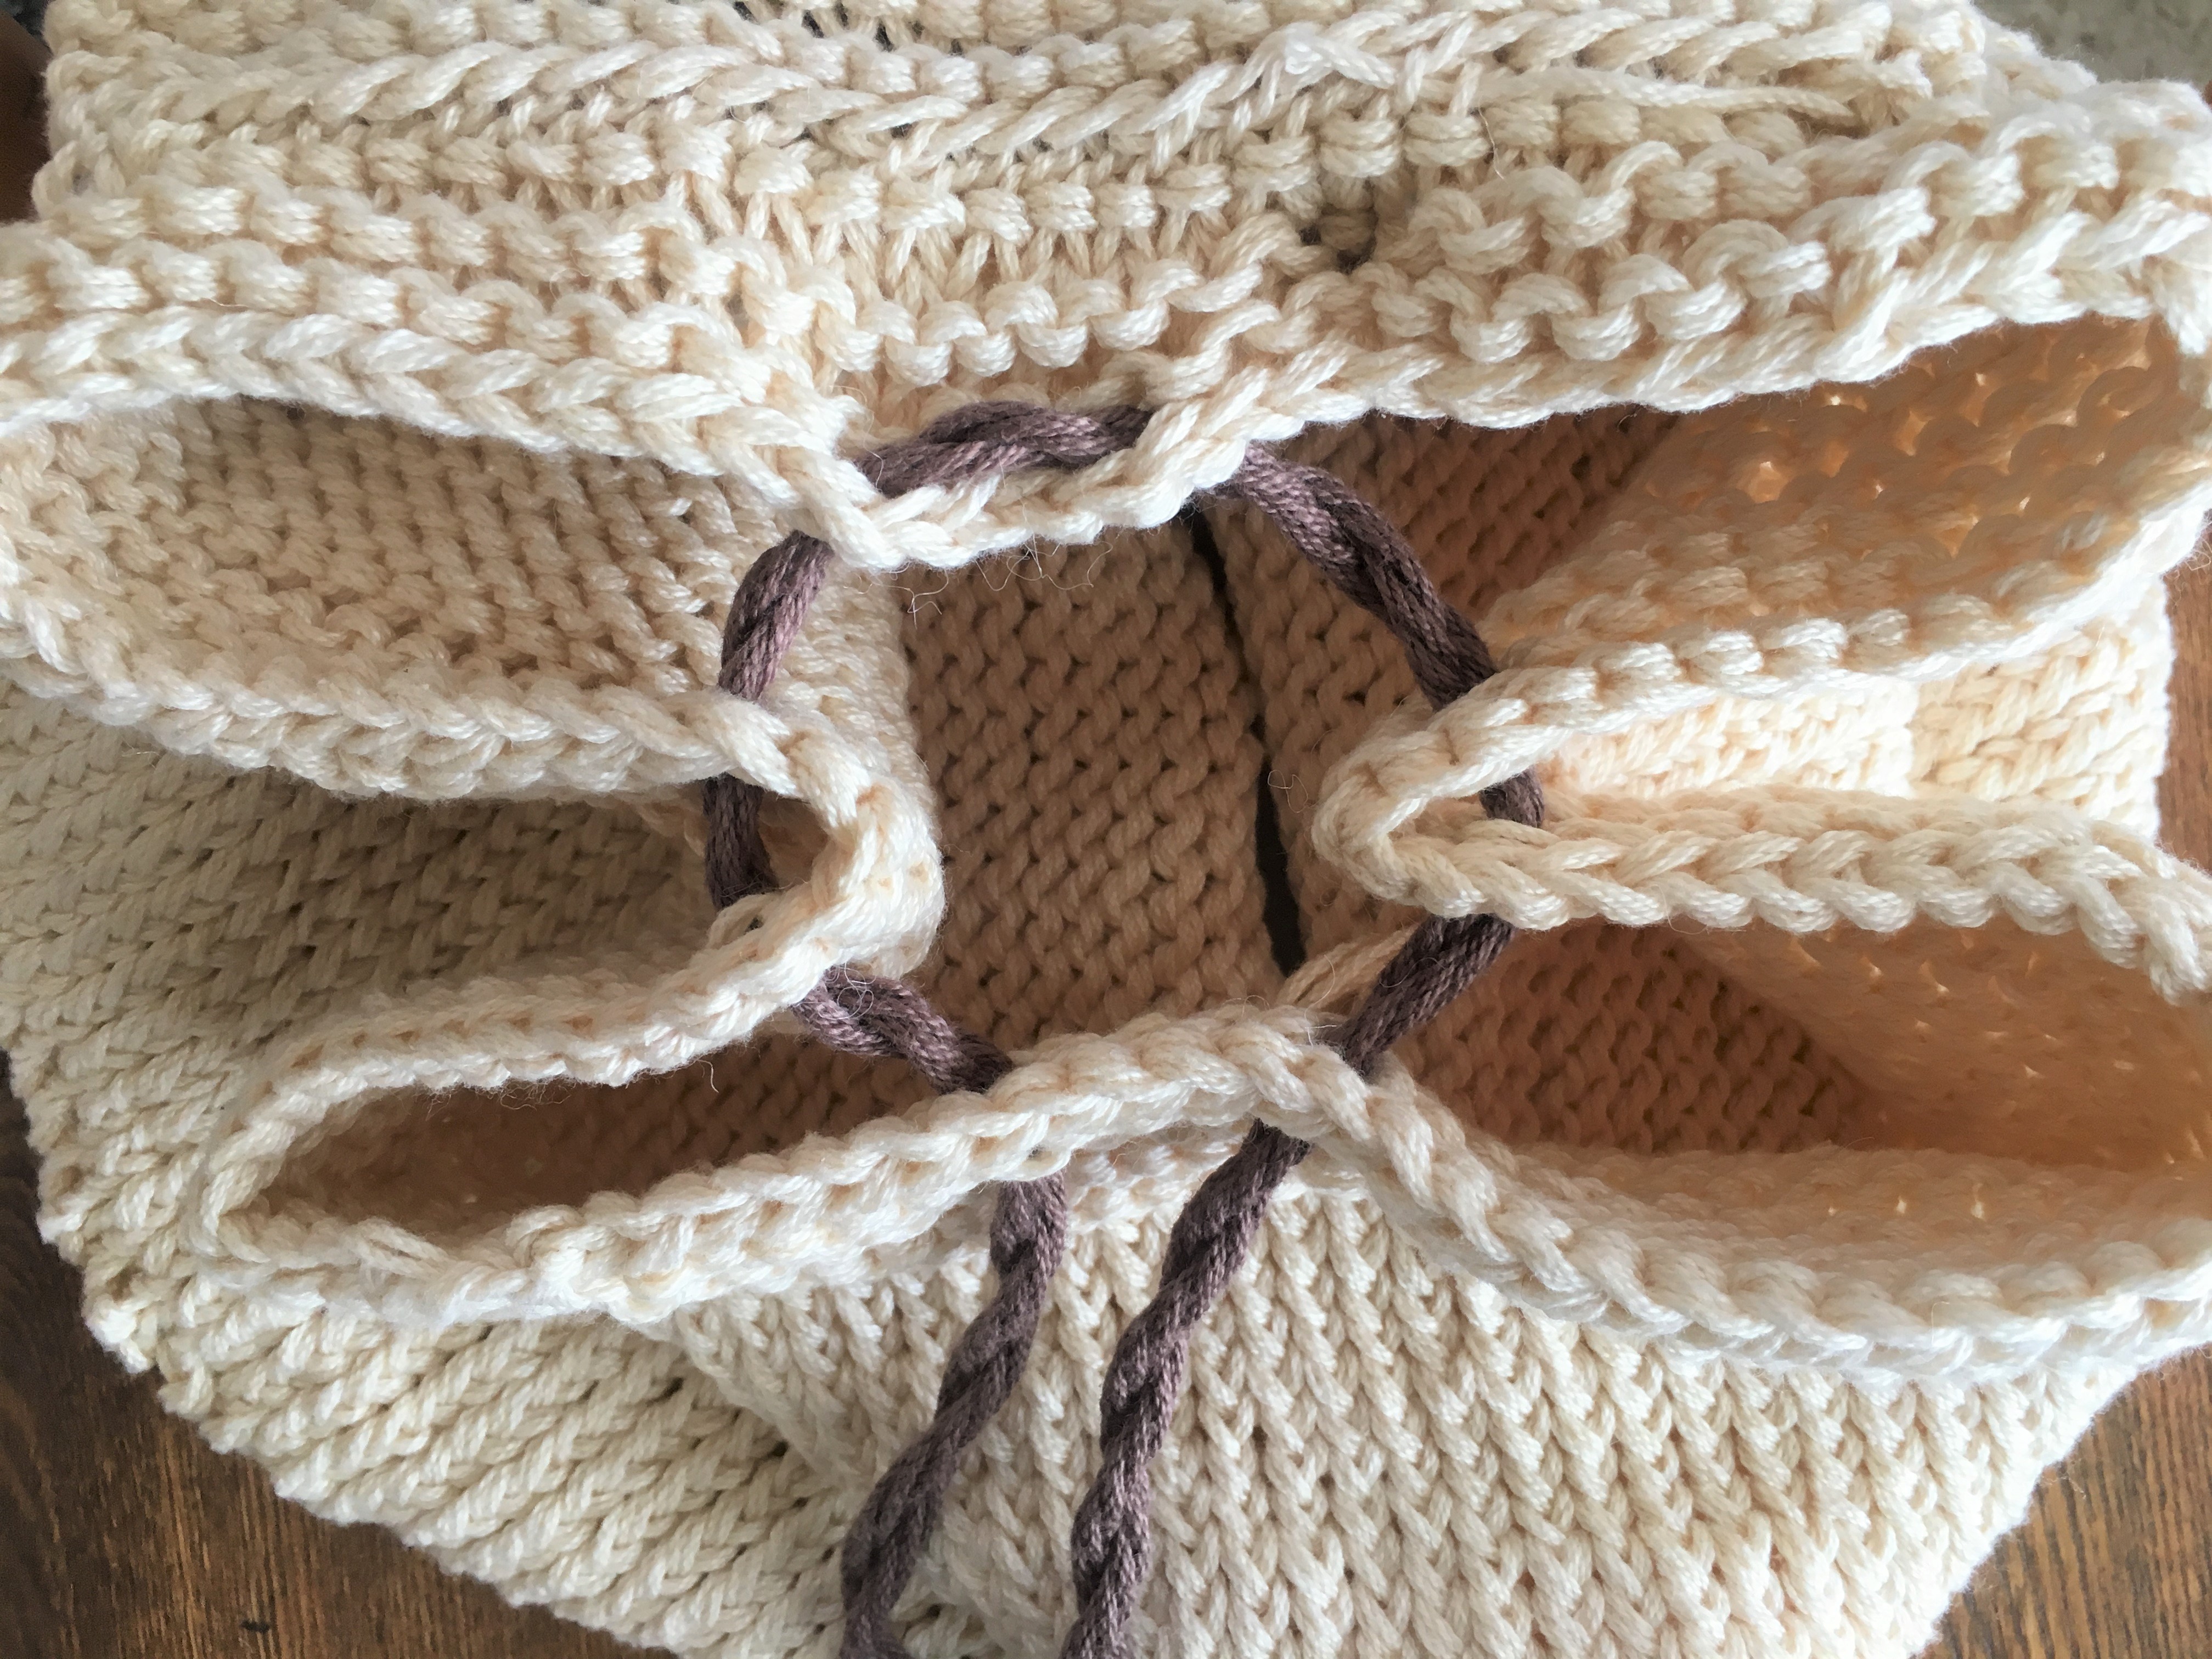
Drawstring Cord
Fold the sides of the backpack inward as pictured. Next, pull the drawstring through the stitches along the top of the backpack as pictured below, working through each layer of fabric. There was no need to knit small holes for the drawstring cord as it will fit through the stitch work.
Attach Upper Flap
Place the narrow end of the flap just below the drawstring cord on the outside of the backpack. Whip stitch seam the upper flap to the backpack, ensuring that it’s centered.
Final Details for stitch backpack
Whip stitch along the wide edge of the upper flap using your tapestry needle and a length of Café Au Lait yarn. First, work from right to left and then work back over the edge again, whip stitching from left to right to create this contrast detail.
Tie off and weave in the ends. Make poms or tassels as desired and attach them to the bag for an on-trend look.

Optional
To make your backpack even sturdier, you may cut out a piece of cardboard from a shoebox or from elsewhere, making it the same size as your base. Place it in the base of the bag. You may even choose to wrap the cardboard in fabric (attach it with fabric glue for an easy way to maintain a polished look). In addition, you may line the backpack with a sturdy fabric to increase durability and to maintain shape.
I added a cardboard base to my bag!
Stitch Backpack Project Notes
- While you don’t need to line it with fabric, I would highly recommend that you consider lining it to add extra durability.
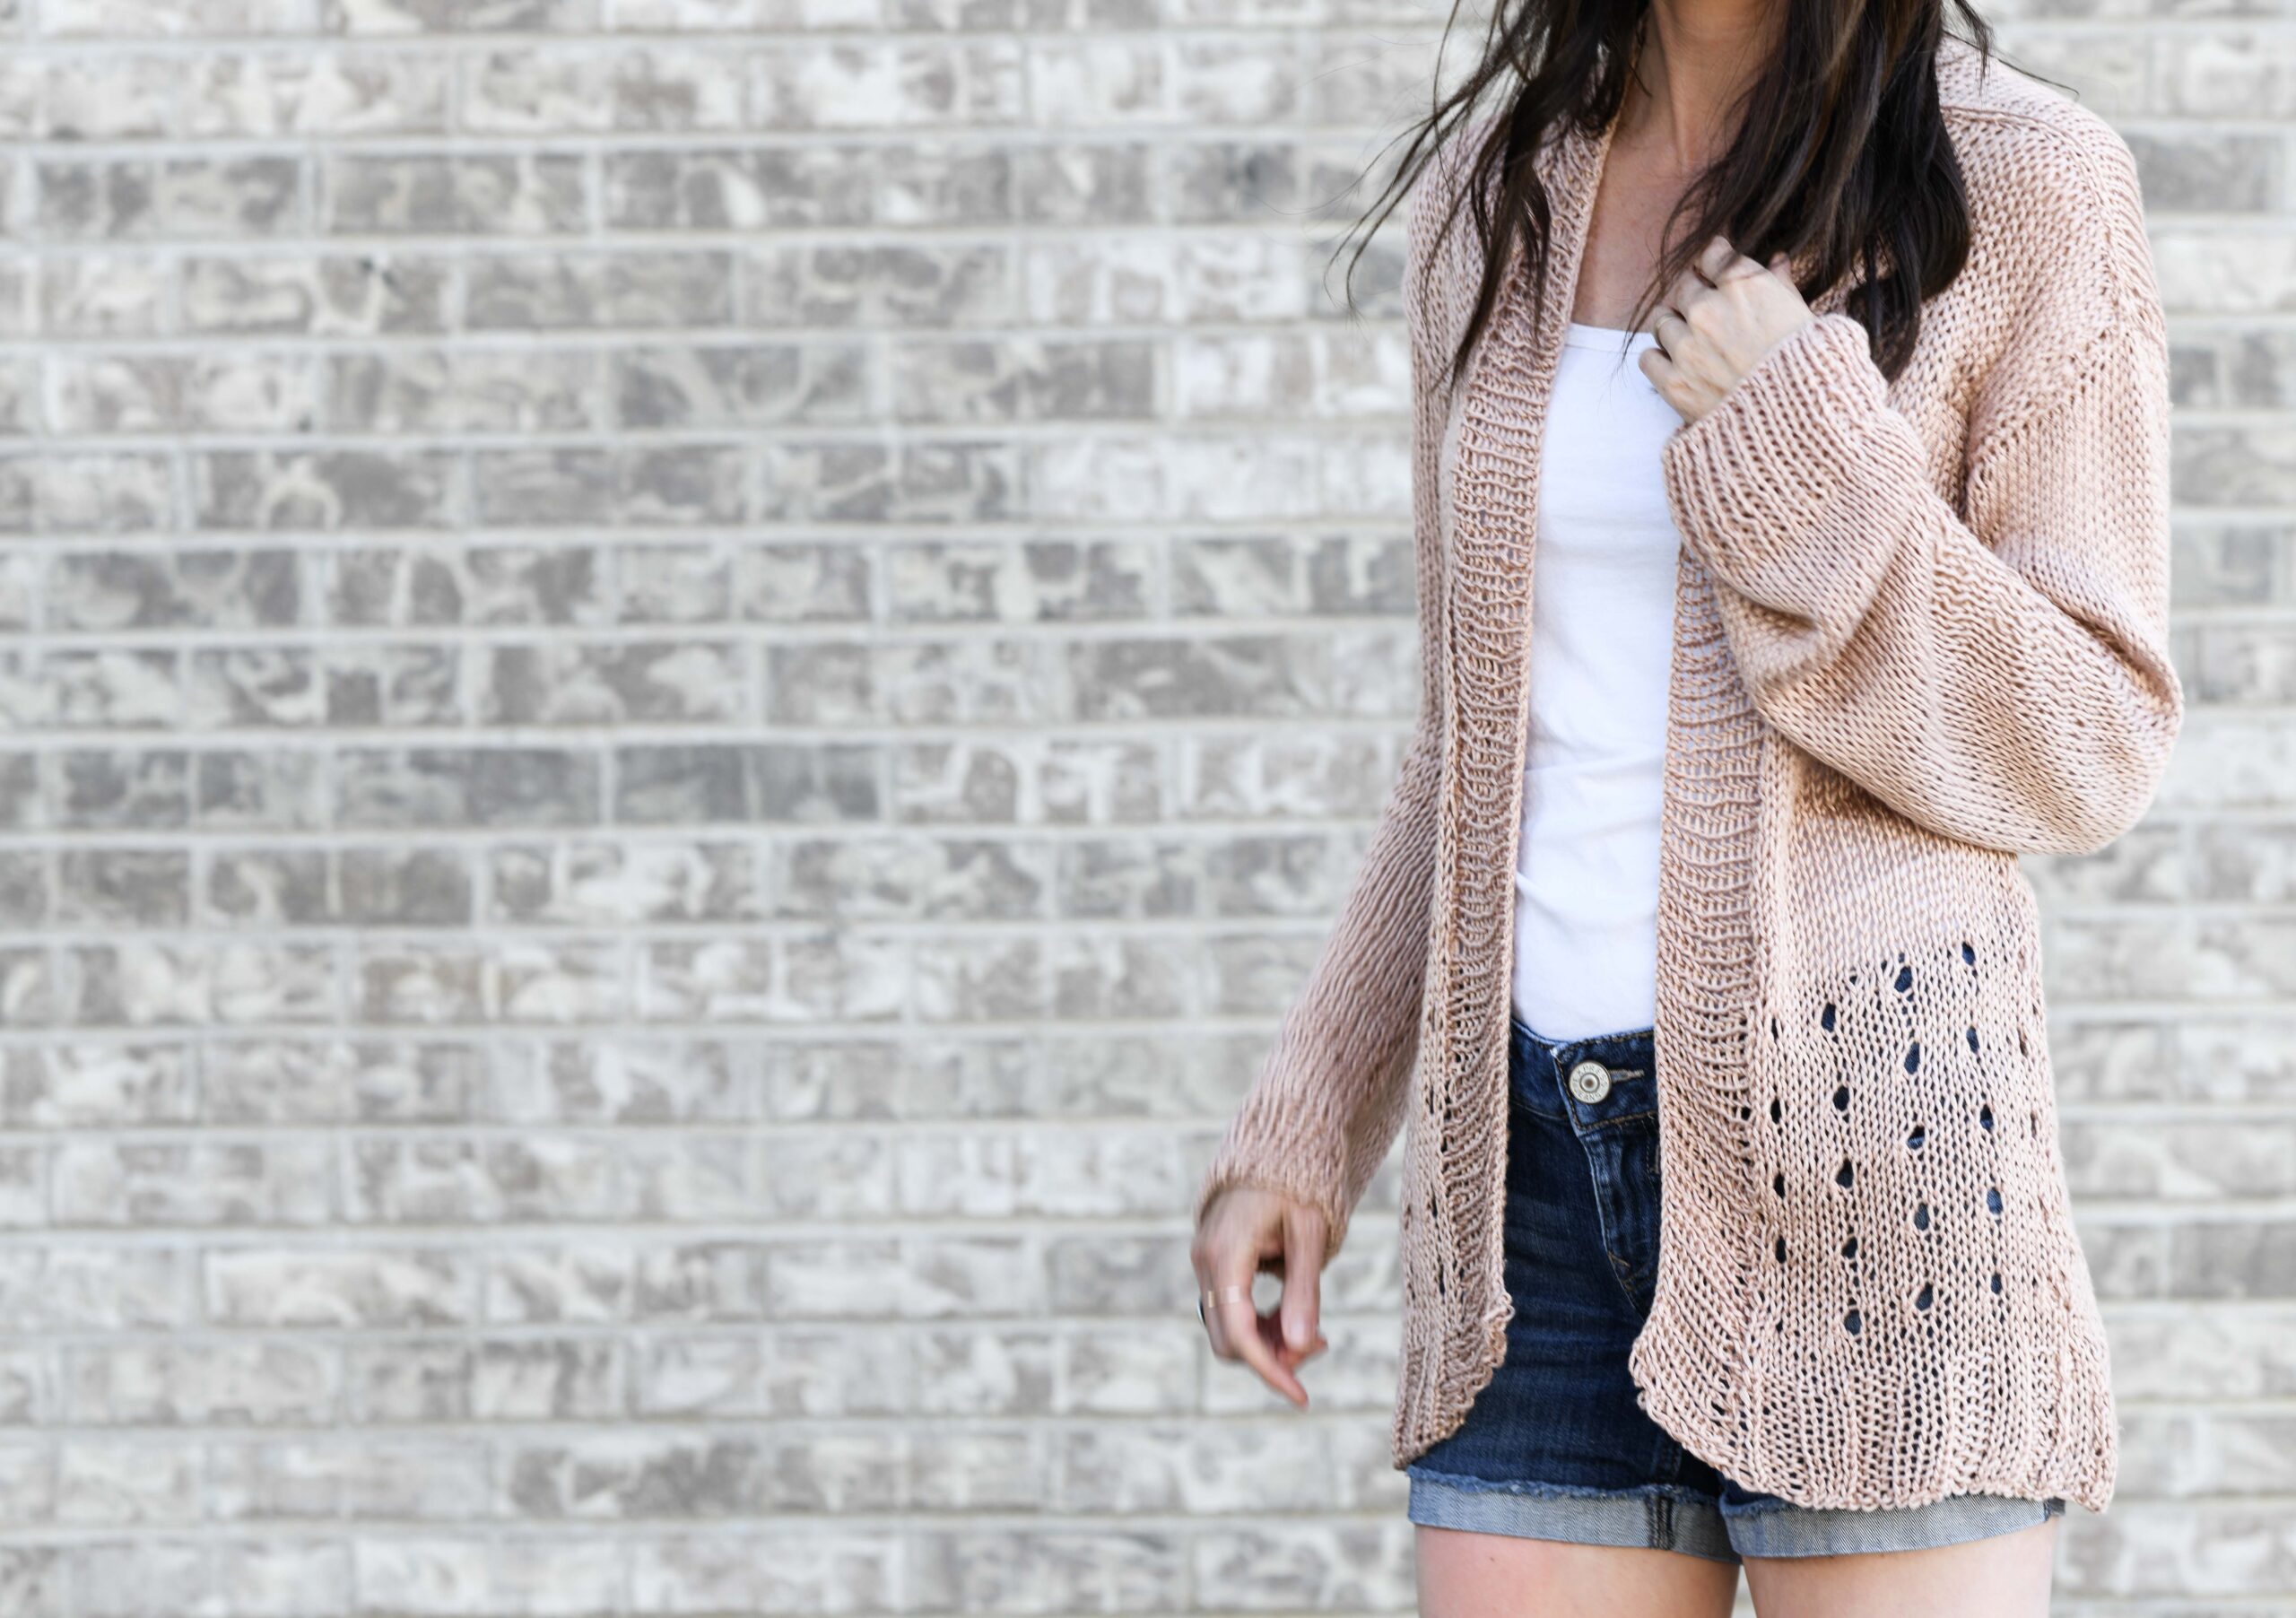
- The Lion Brand 24/7 Cotton that I used for this bag is a summertime favorite of mine. It’s extremely durable and has a slight sheen as it’s a mercerized cotton. I like it best for home decor, place mats and for bags like this knit backpack. You might also remember that I used it in my Easy Drop Stitch Kimono Knitting Pattern and my Caribe Bag Pattern (HERE). It feels very high quality and nothing beats using cotton during the hot months (or if you live in a warm climate).
FAQs
Naturally, with a project like this one, I would expect that you might have a few questions. Check below to see if the answer to your question is already there.
How do you clean a knit bag?
When cleaning knit and crochet items, I don’t always throw them in the washing machine. With something like this, I’d likely hand wash it if possible. Here’s how:
- Add a couple of drops of mild laundry detergent to a bowl of cold water.
- Soak a clean cloth in the water and squeeze out the excess water.
- Gently rub the damp cloth over your handbag, removing dirt and grime.
- Rinse the soap out of your cloth and wipe down your bag to remove any soap residue.

How do you clean the liner?
Pull the liner out to the outside of the bag. If it’s removable, you can remove it and toss it into the wash. However, most liners are not. If yours isn’t, do this:
- Capture and remove dust and crumbs with a lint roller.
- Use your vacuum fabric brush attachment to remove anything else that you can.
- If you have stains in the liner, follow the same process listed above for cleaning a knit bag to clean your non-removable liner.
That’s it! I know that at first glance, this bag pattern looks long and complicated, but it’s really much easier than it first appears! If you’re itching to get your hands on a cute knit stitch backpack, I encourage you to give this pattern a try! Don’t forget that you can grab the ad-free printable version in my Etsy shop, or the kit from Lion Brand Yarn!
I hope you enjoyed my version of a “Straw” Knit Backpack!! Happiest knitting to you. 🙂
XO,
Jessica

More Bag Patterns You May Enjoy
- Farmers Market Tote Bag Knitting Pattern
- Aspen Mountain Knit Bag Pattern
- Mohave Slouchy Tote Bag Knitting Pattern
- Caribe Big Crocheted Bag Pattern
- Mandala Crocheted Blanket Bag Pattern
This post was sponsored by Lion Brand Yarn. All opinions are 100% my own (even the silly ones).
Such a pretty and practical backpack. I love the pictures in this pattern, incl you modelling your backpack in the beautiful landscape.
Would this be a good project for someone who has never knit before? If not, can you recommend one – I really want to learn to knit!
Great design. Nora is adorable! Totally get what you mean about feeling like you have a newborn. We adopted a precious pup three weeks ago. We were told he was 7-1/2 weeks old but when we checked the calendar he was barely six weeks old. He’ll be nine weeks old tomorrow and he keeps ya busy! He’s a Chihuahua mix named Chuck Bass and a total spitfire!!
I crochet so I thought I’d just take a peek and see Nora. Is she hiding in the backpack? Someone said how cute she is but I can’t find the photo…I think I might be missing her somewhere! I love the backpack. Recently I was looking at some crocheted ones and can’t make up my mind whether to give it a go. I love the way yours looks with the cotton yarn and I mostly use cotton. If I make one I will definitely use your idea about covering some cardboard with material. Great idea!
I am a little confused on the beginning of the project. So it’s needed like a square initially but then you go around the perimeter of the square and pick up stitches and it in the round? Thank you so much for clarifying this!
This is a beautiful and simple project that looks gorgeous when finished,similar to ones seen in boutique stores that sell items by select crafts persons.thank you for a beautiful pattern and great explained direction that made making it a joy.
is there an alternate yarn—my michaels and joanns doesn’t carry it in store. wondered if there’s a cotton substitute.
Hi Jamie! The nice thing about this particular cotton is that it is a bit stiff. Some cottons are quite drapey and soft. If you find a good kitchen cotton, I believe that could work! Something like a Lily Sugar N Cream.
After knitting the base and before picking up stitches, so you bind off or just pick up stitches on three sides? How does the knit stitch differ from K tbl?
I like this pattern very much! I’m finishing my backpack now and am confused by one part of the Assembly Instructions. The second sentence of the Backpack Strap section says, “Attach one end of the strap to the lower right back side of backpack……and the other end of the strap to the lower right side.” It seems like the other end of the strap should be attached to the lower left back side, not right side. The pattern photo doesn’t show this, but the photo of the upper part of the back strap seems to suggest that the strap goes down to both sides of the back. Can you please comment or clarify? Thanks.
Is there a video on picking up stitches like in the pattern
I’m currently making 3 of these for my grand daughters.. I love this pattern.. I am using 100% cotton yarn. I have worked designs into each one that shows each girls personality.. Thanks so much for sharing this lovely pattern.
Hello Jessica,
I have the same question Sara posed on May 21, 2019. When you’ve finished knitting row 34 do you bind off and then pick up stitches on all four sides of the base or do you leave those 42 stitches on the needle and pick up stitches on the remaining three sides?
Thanks for the clarification.
You don’t have to bind off – you can simply pick up stitches around the remaining portion of the base. 🙂
That’s so wonderful! What lucky girls. And you’re welcome for the pattern – I’m thrilled you like it!
I am confused by one part of the assembly Instructions. The second sentence of the Backpack Strap section says, “Attach one end of the strap to the lower right back side of backpack……and the other end of the strap to the lower right side.” It seems like the other end of the strap should be attached to the lower left back side, not right side. The pattern photo doesn’t show this, but the photo of the upper part of the back strap seems to suggest that the strap goes down to both sides of the back. Can you please comment or clarify? Thanks.
Beautiful back pack. I would like to add leather straps however. Have you tried that?
I agree with Jill Cook. The photo does not show the entire side of the backpack with strap attached. I am trying to assemble mine but am confused.
I was delighted with the 4 back packs I made to present to my 4 granddaughters at a family gathering.
Wow! Four! That’s amazing. 🙂