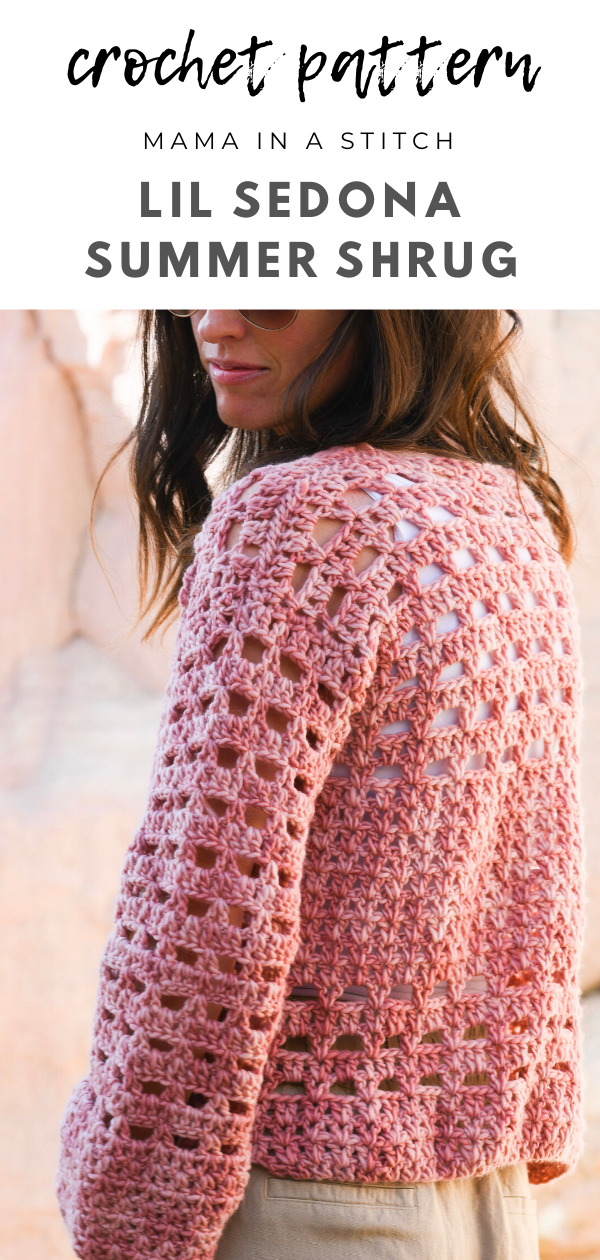
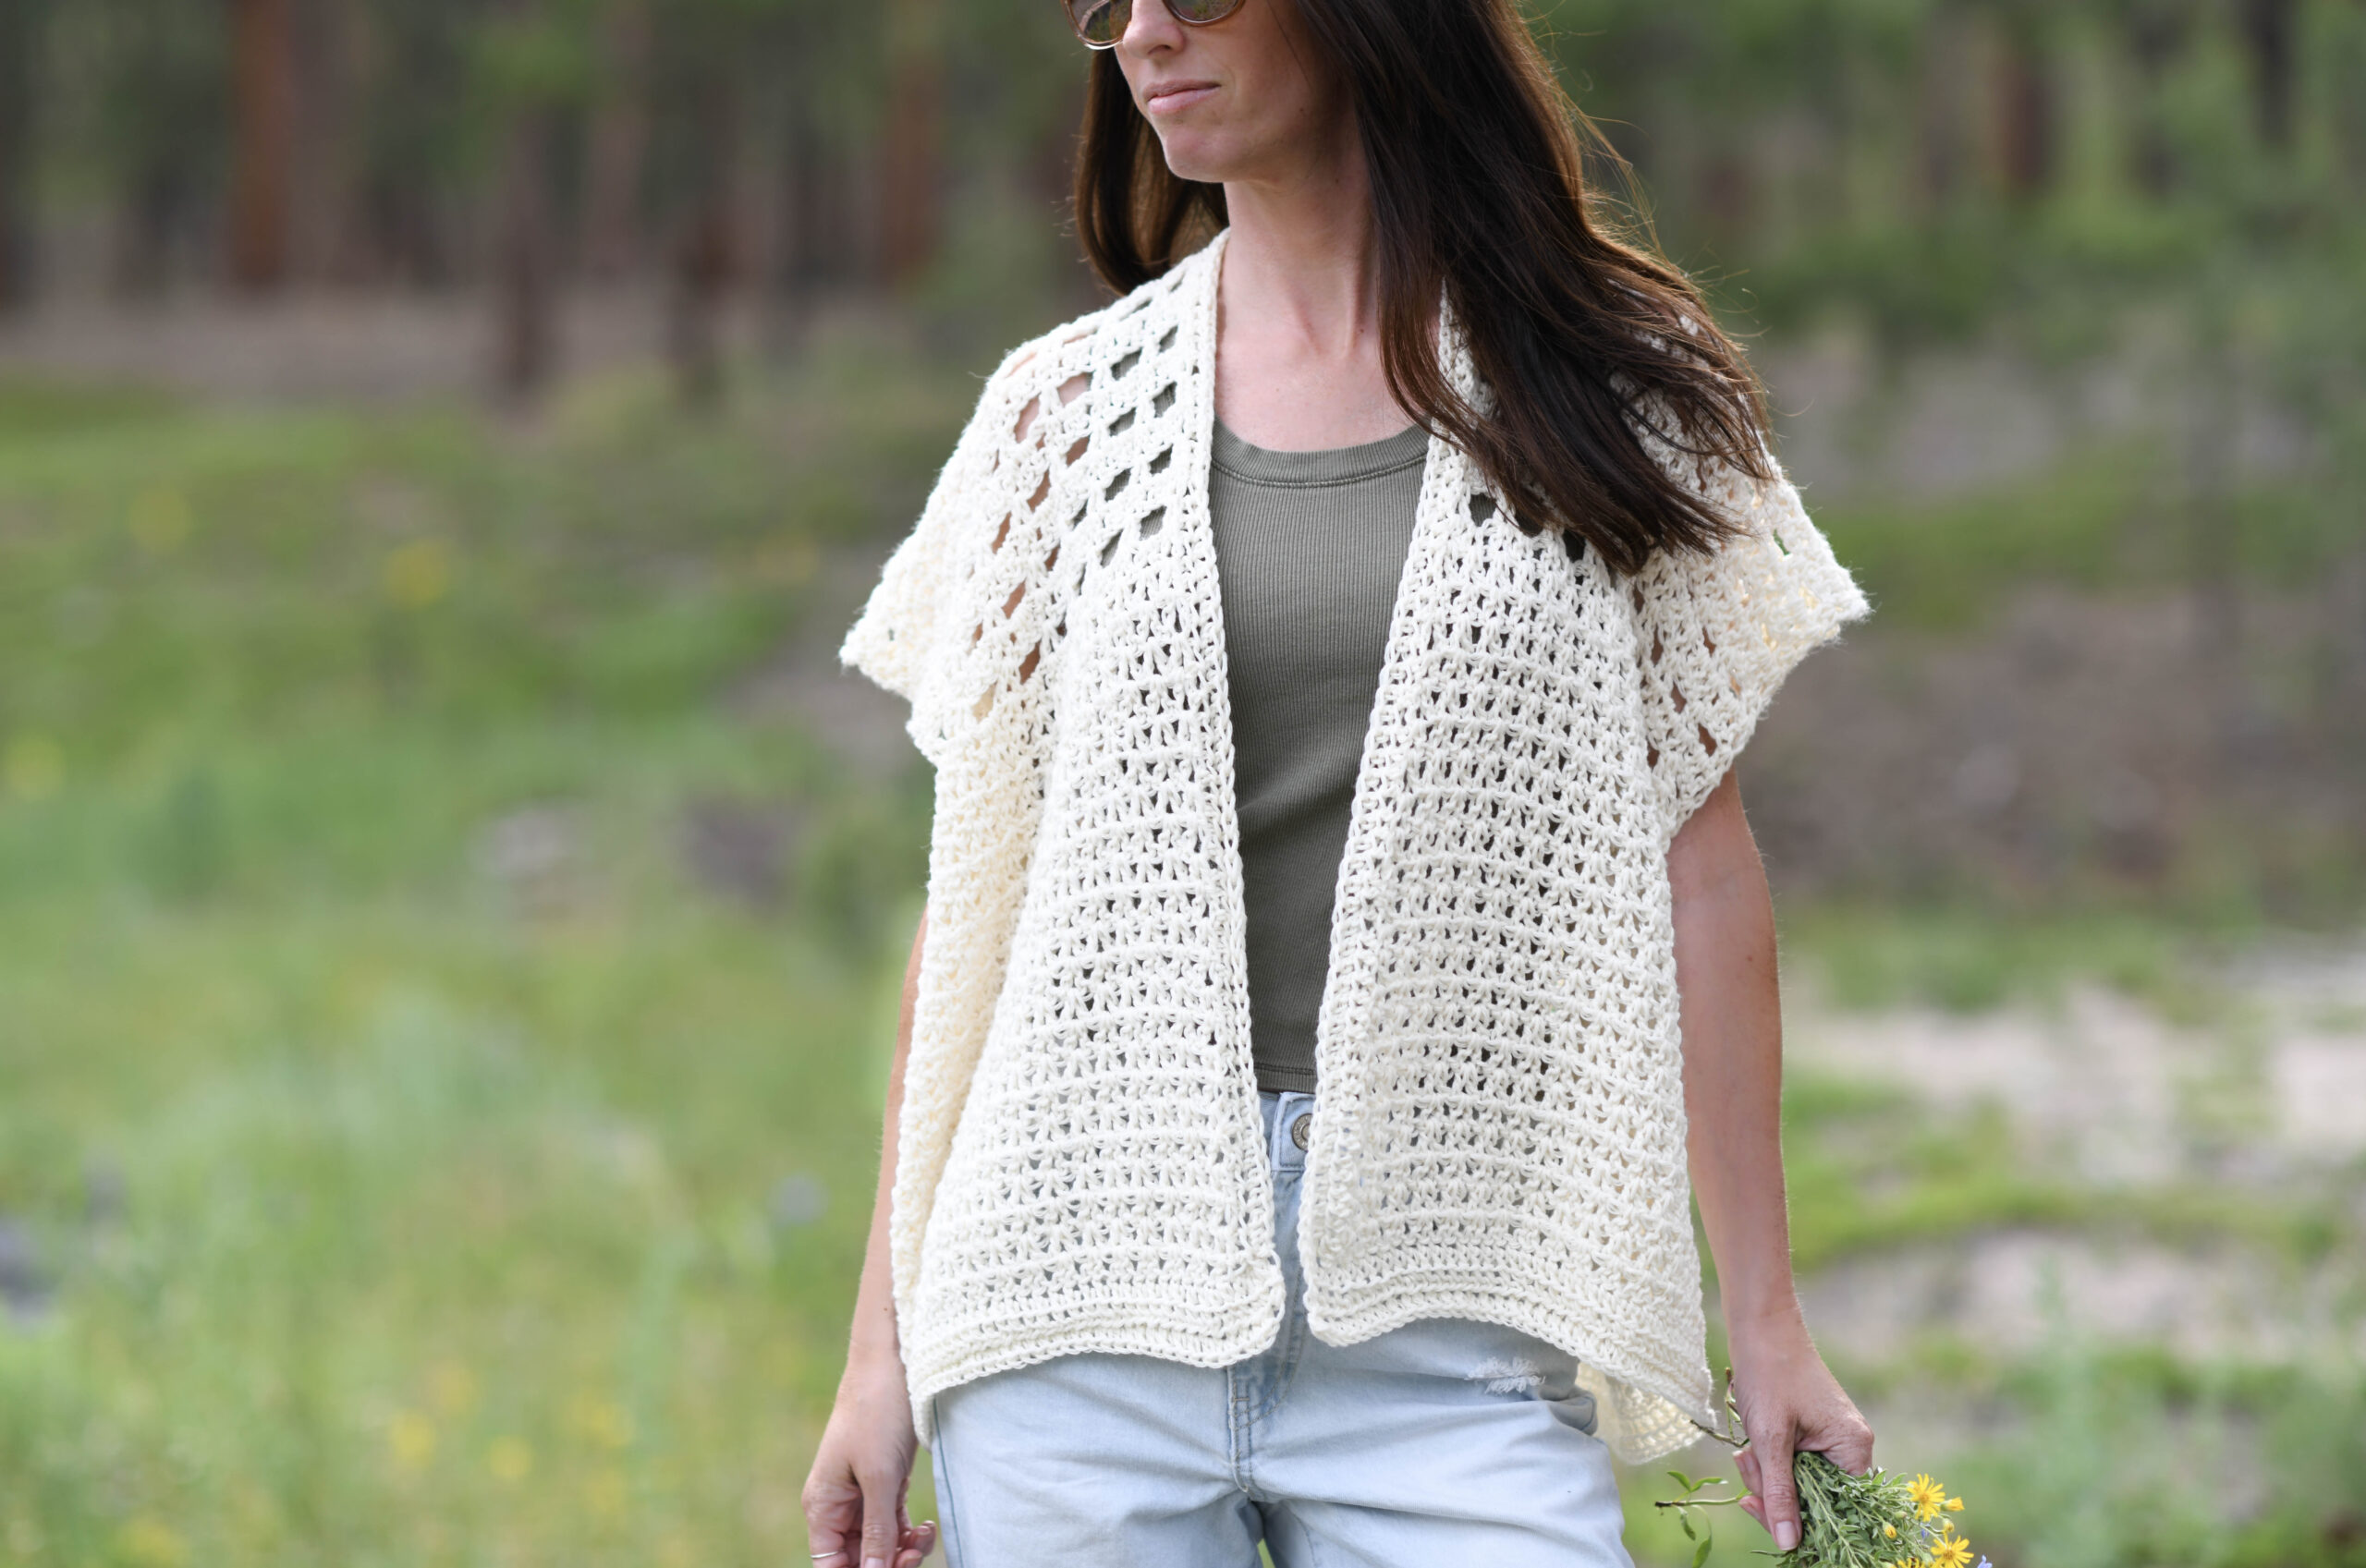
Lil Sedona Shrug Crochet Pattern
Today’s free crochet pattern is a boho inspired, open-work shrug! There’s no difficult increasing or decreasing throughout the pattern and it’s created with simple shapes. This makes it a fun one to try for a newbie garment maker. I used a stunning yarn called Preciosa from WeCrochet (part of Knit Picks). Check out the free pattern below, or you may purchase the printable from my Etsy shop HERE!
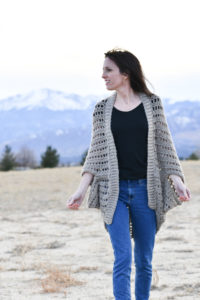
I asked many of you on Instagram what you thought I should make with this beautiful yarn when I received it. In my little poll, the “cardigan” option won, though many of you thought a shawl or wrap would be nice too. I went ahead with the shrug/cardigan idea and thank you for the help! While I think that I’ve made even easier shrugs (The Summer Fun Shrug HERE), this one’s still simple!
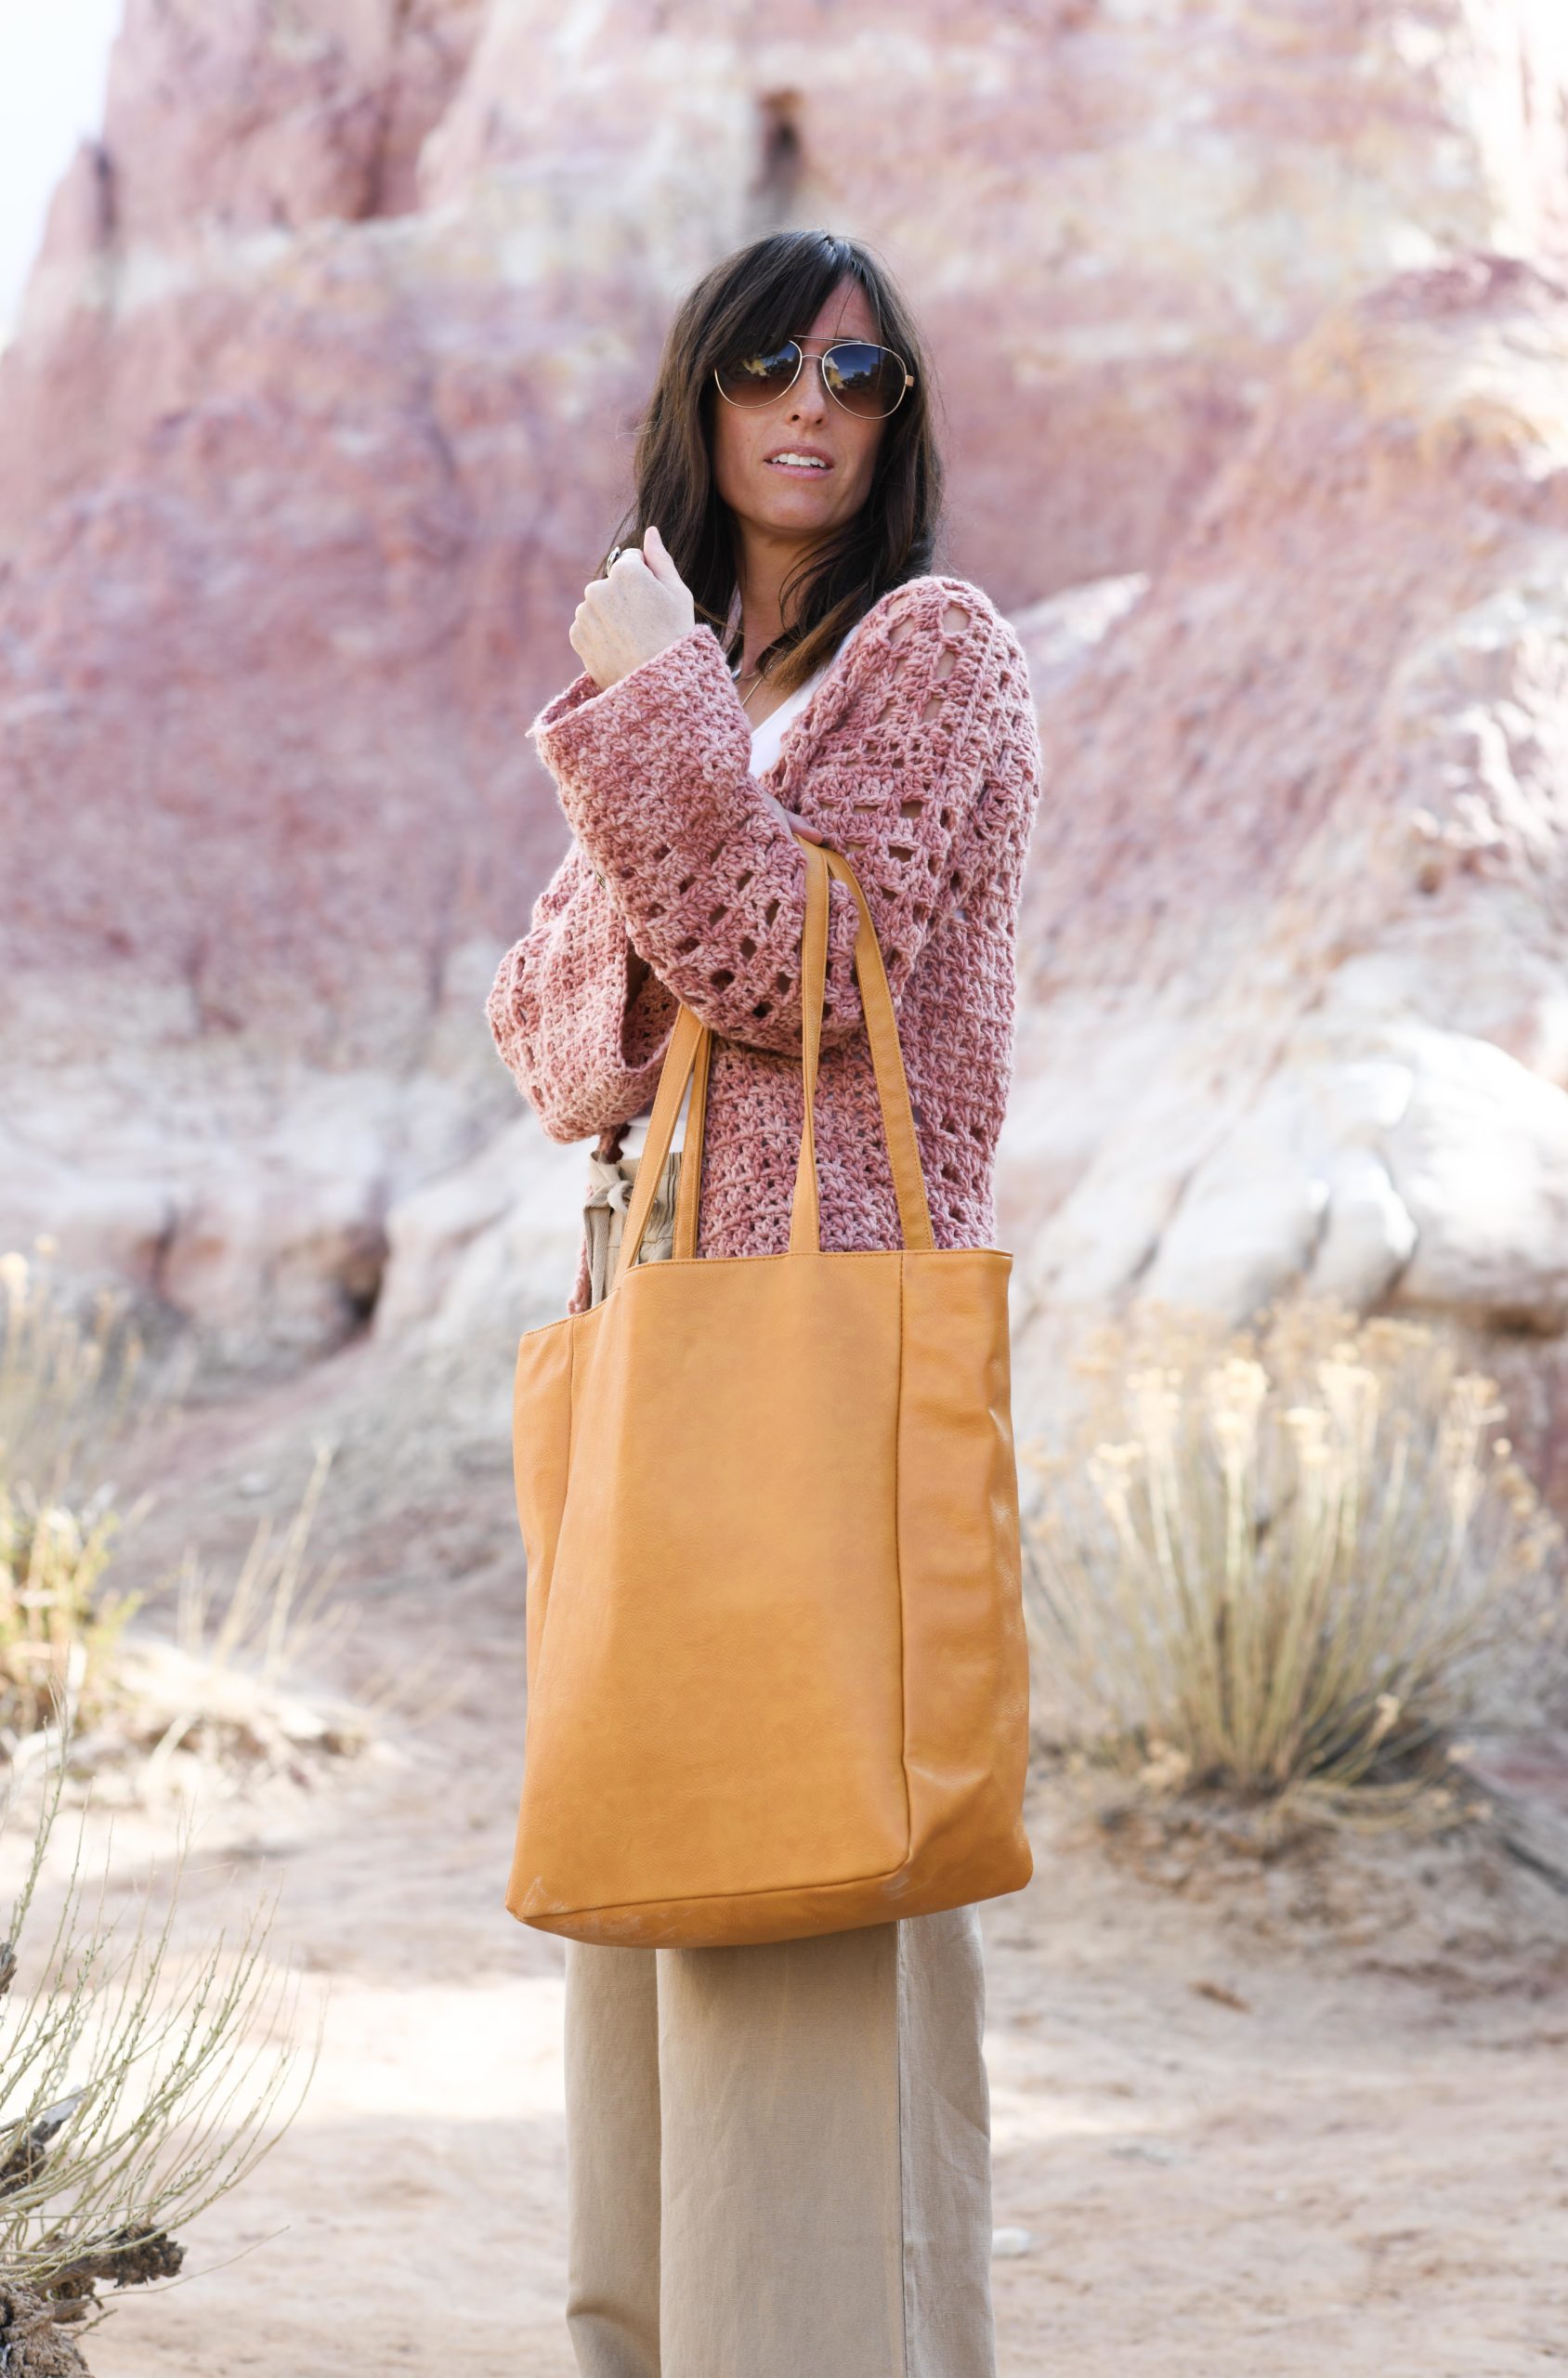
Above: Love the yarn (here) but also loooovve this big, oversized TOTE! WeCrochet sent it my way, and it’s perfect for hauling projects around. The cutest thing is that the inside lining has little crochet hooks printed all over it! You can see this awesome bag for sale on their site HERE. (The color of my bag is “Saffron”. It appears to be more yellow on their site, but it’s a lovely camel tone as you see above)
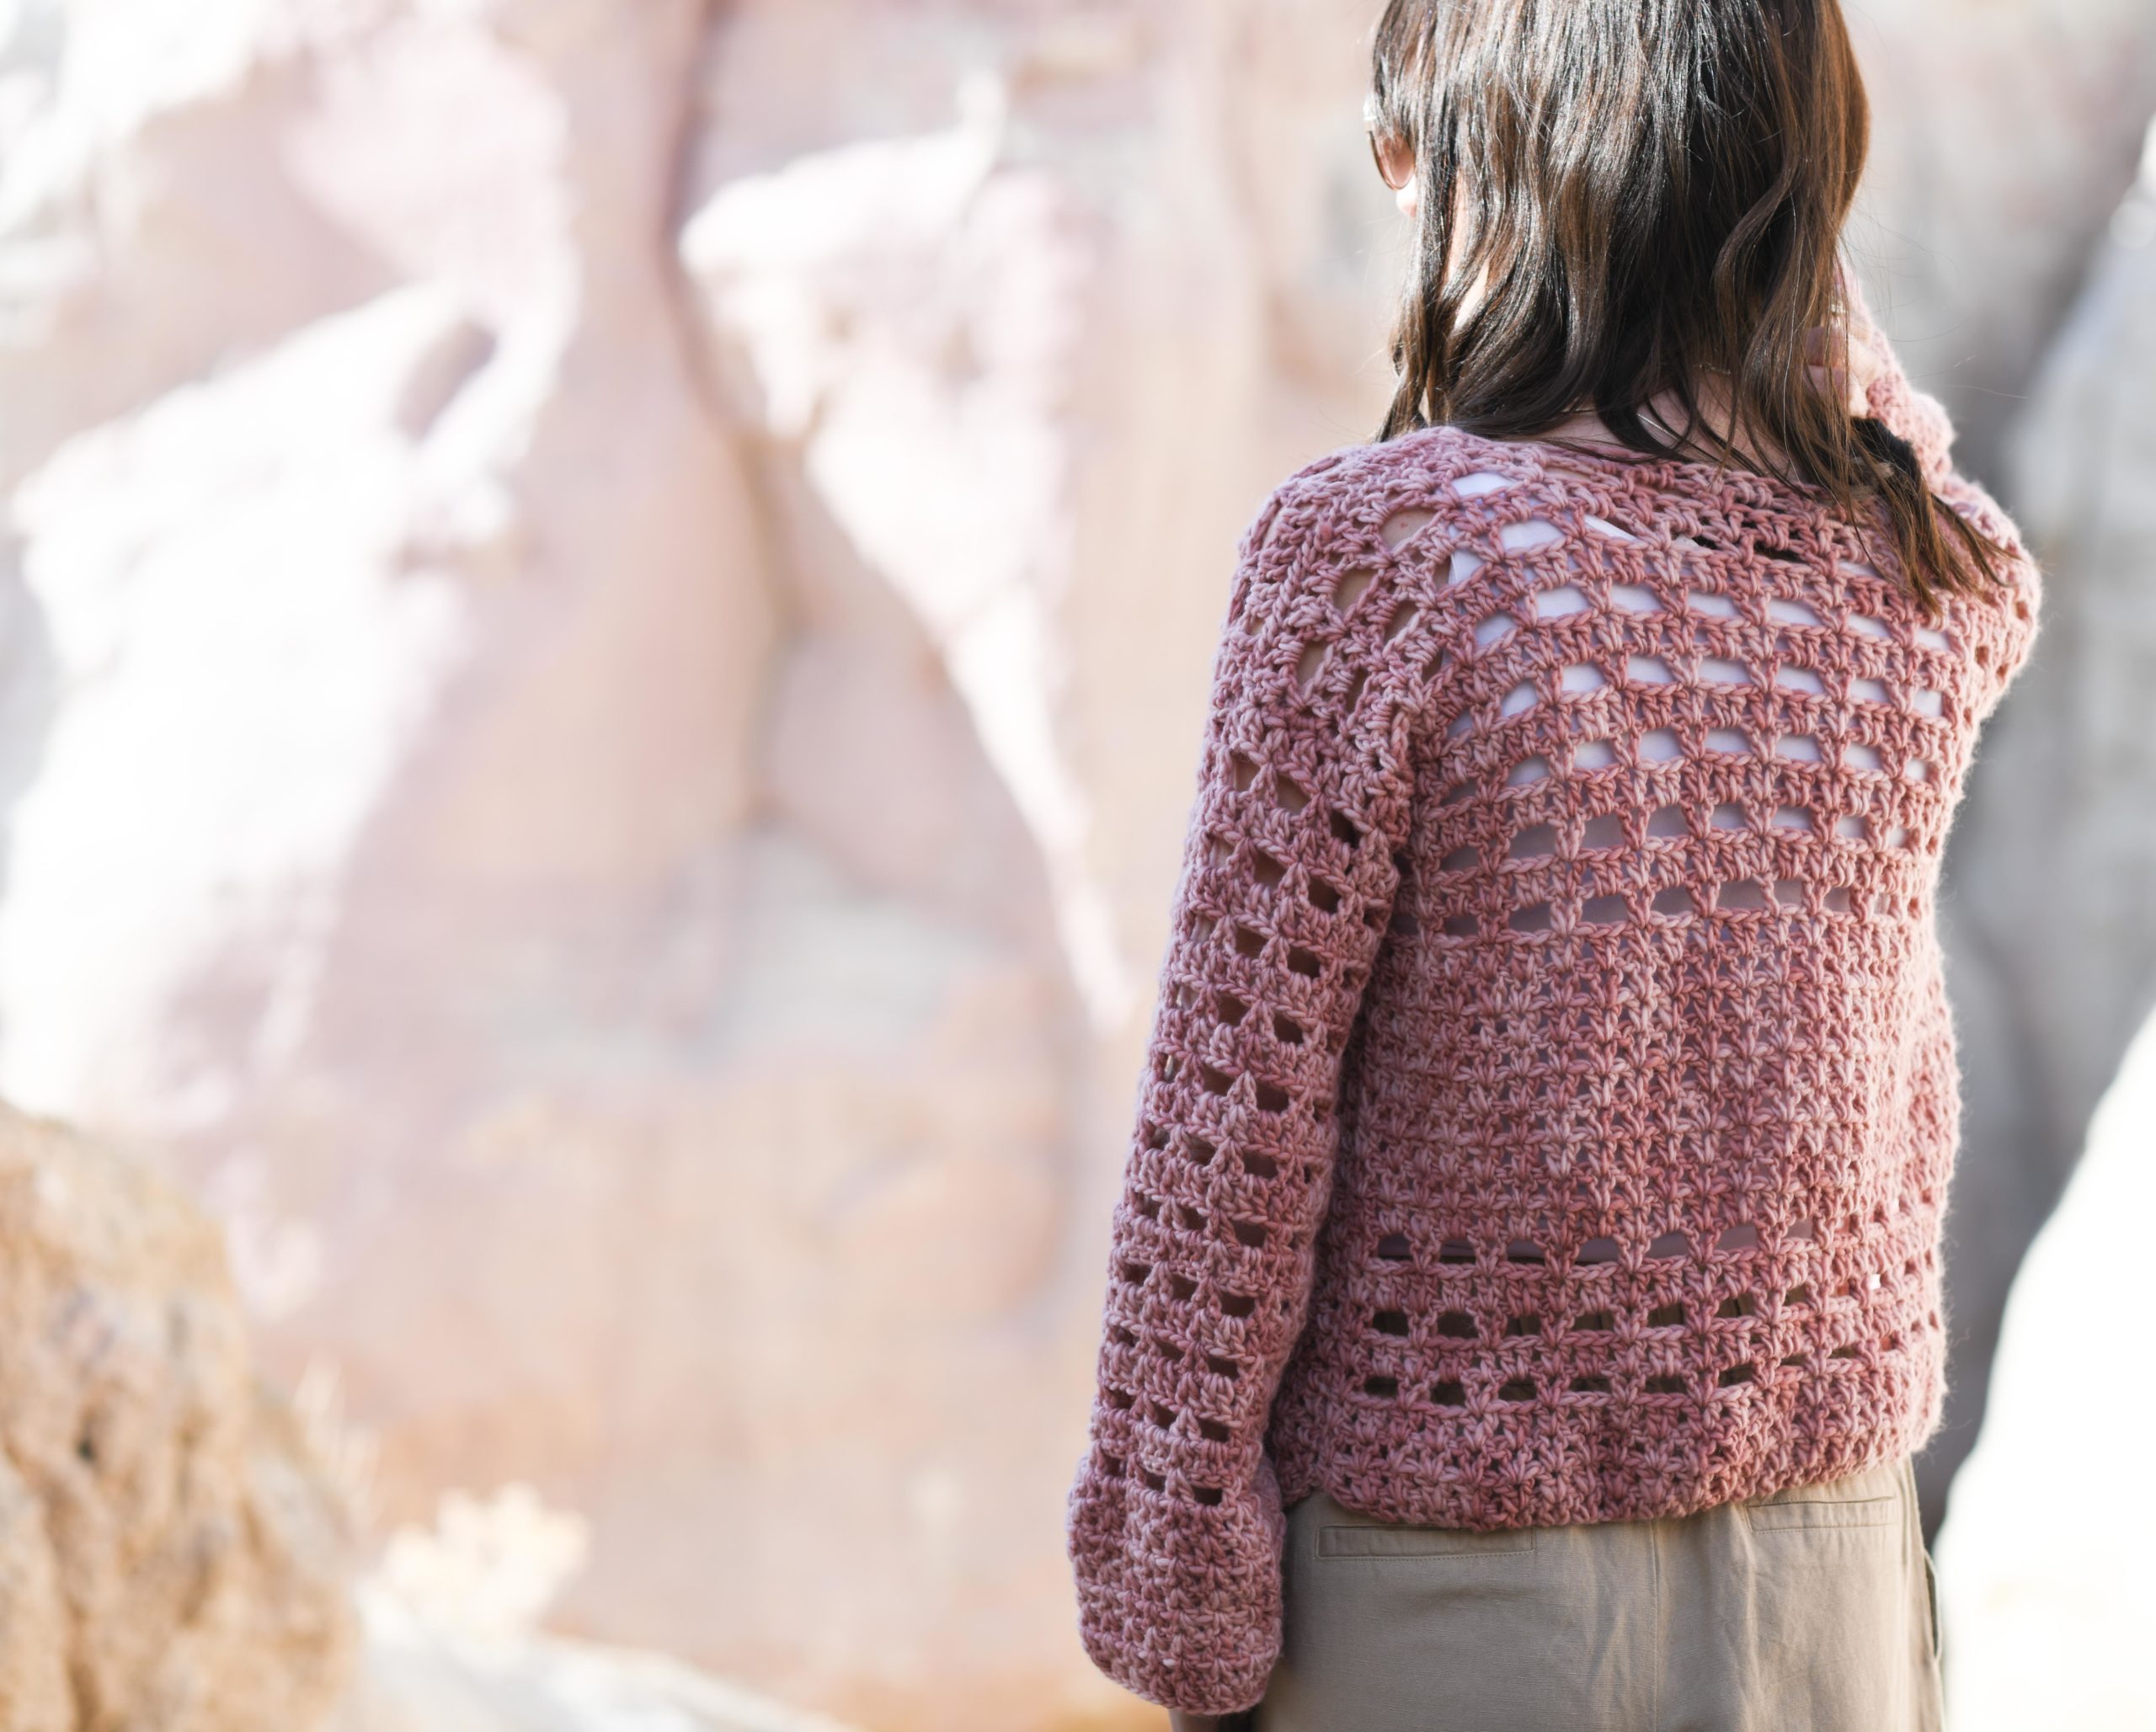
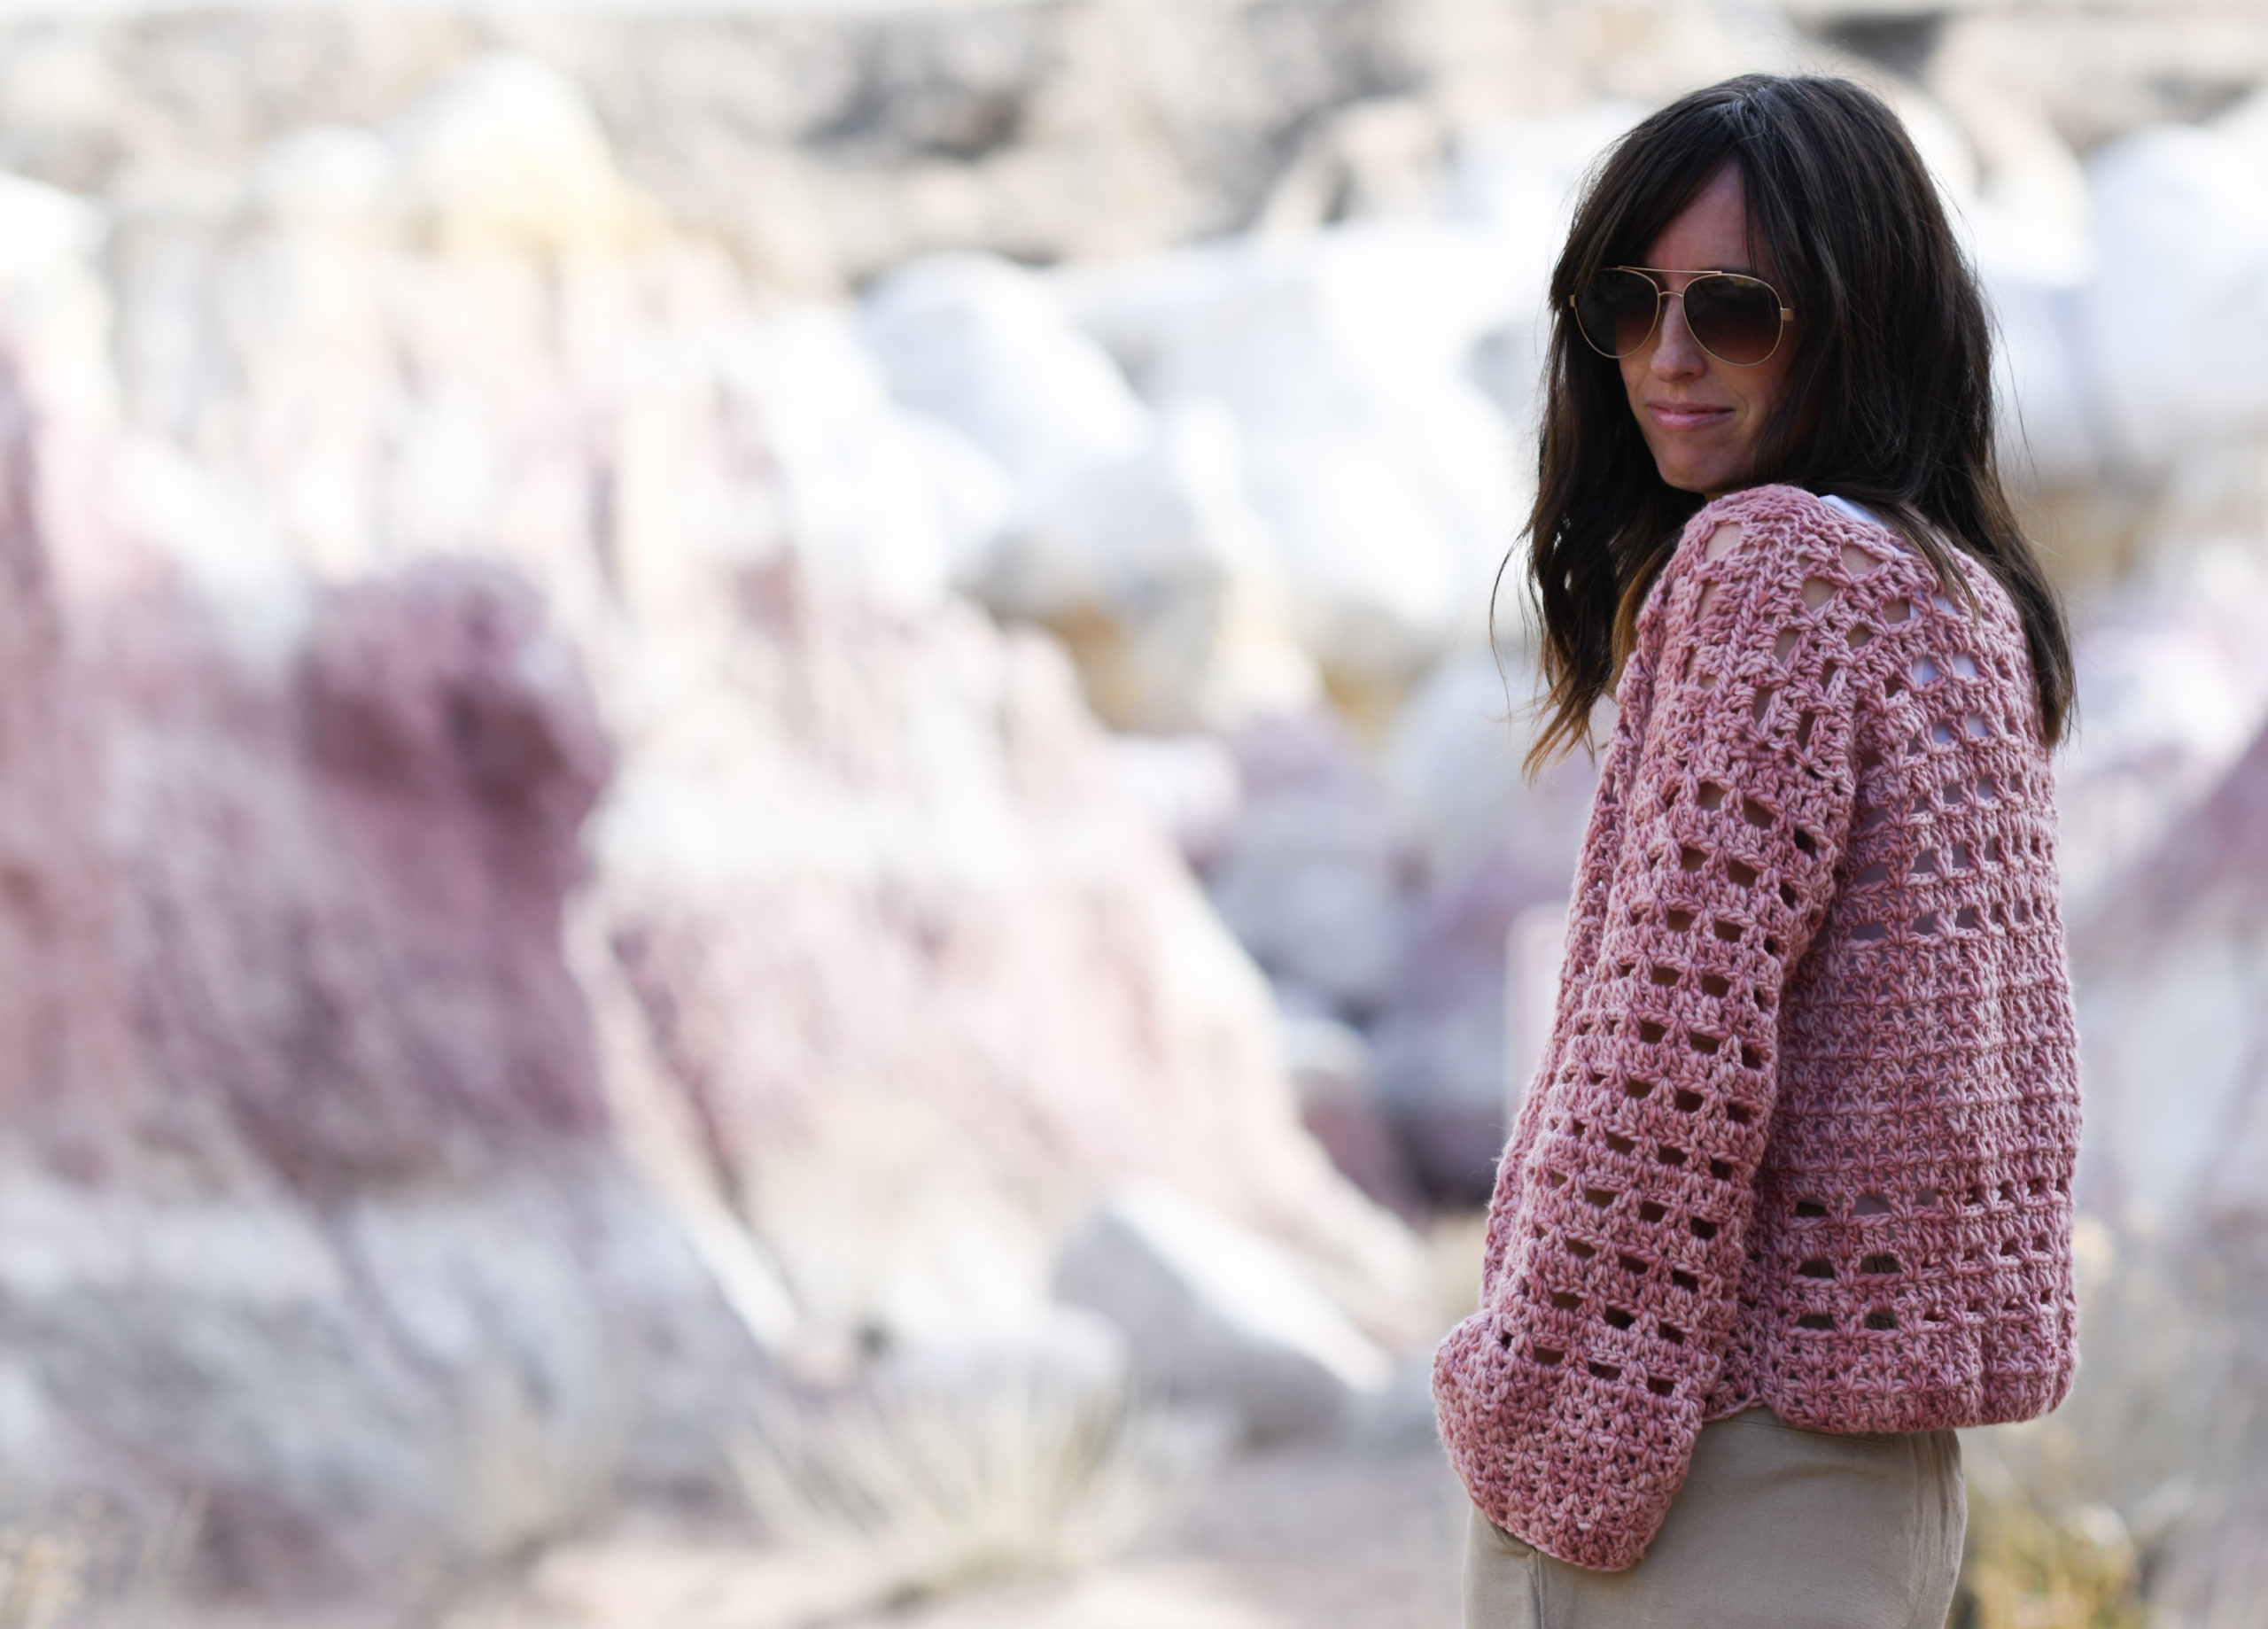
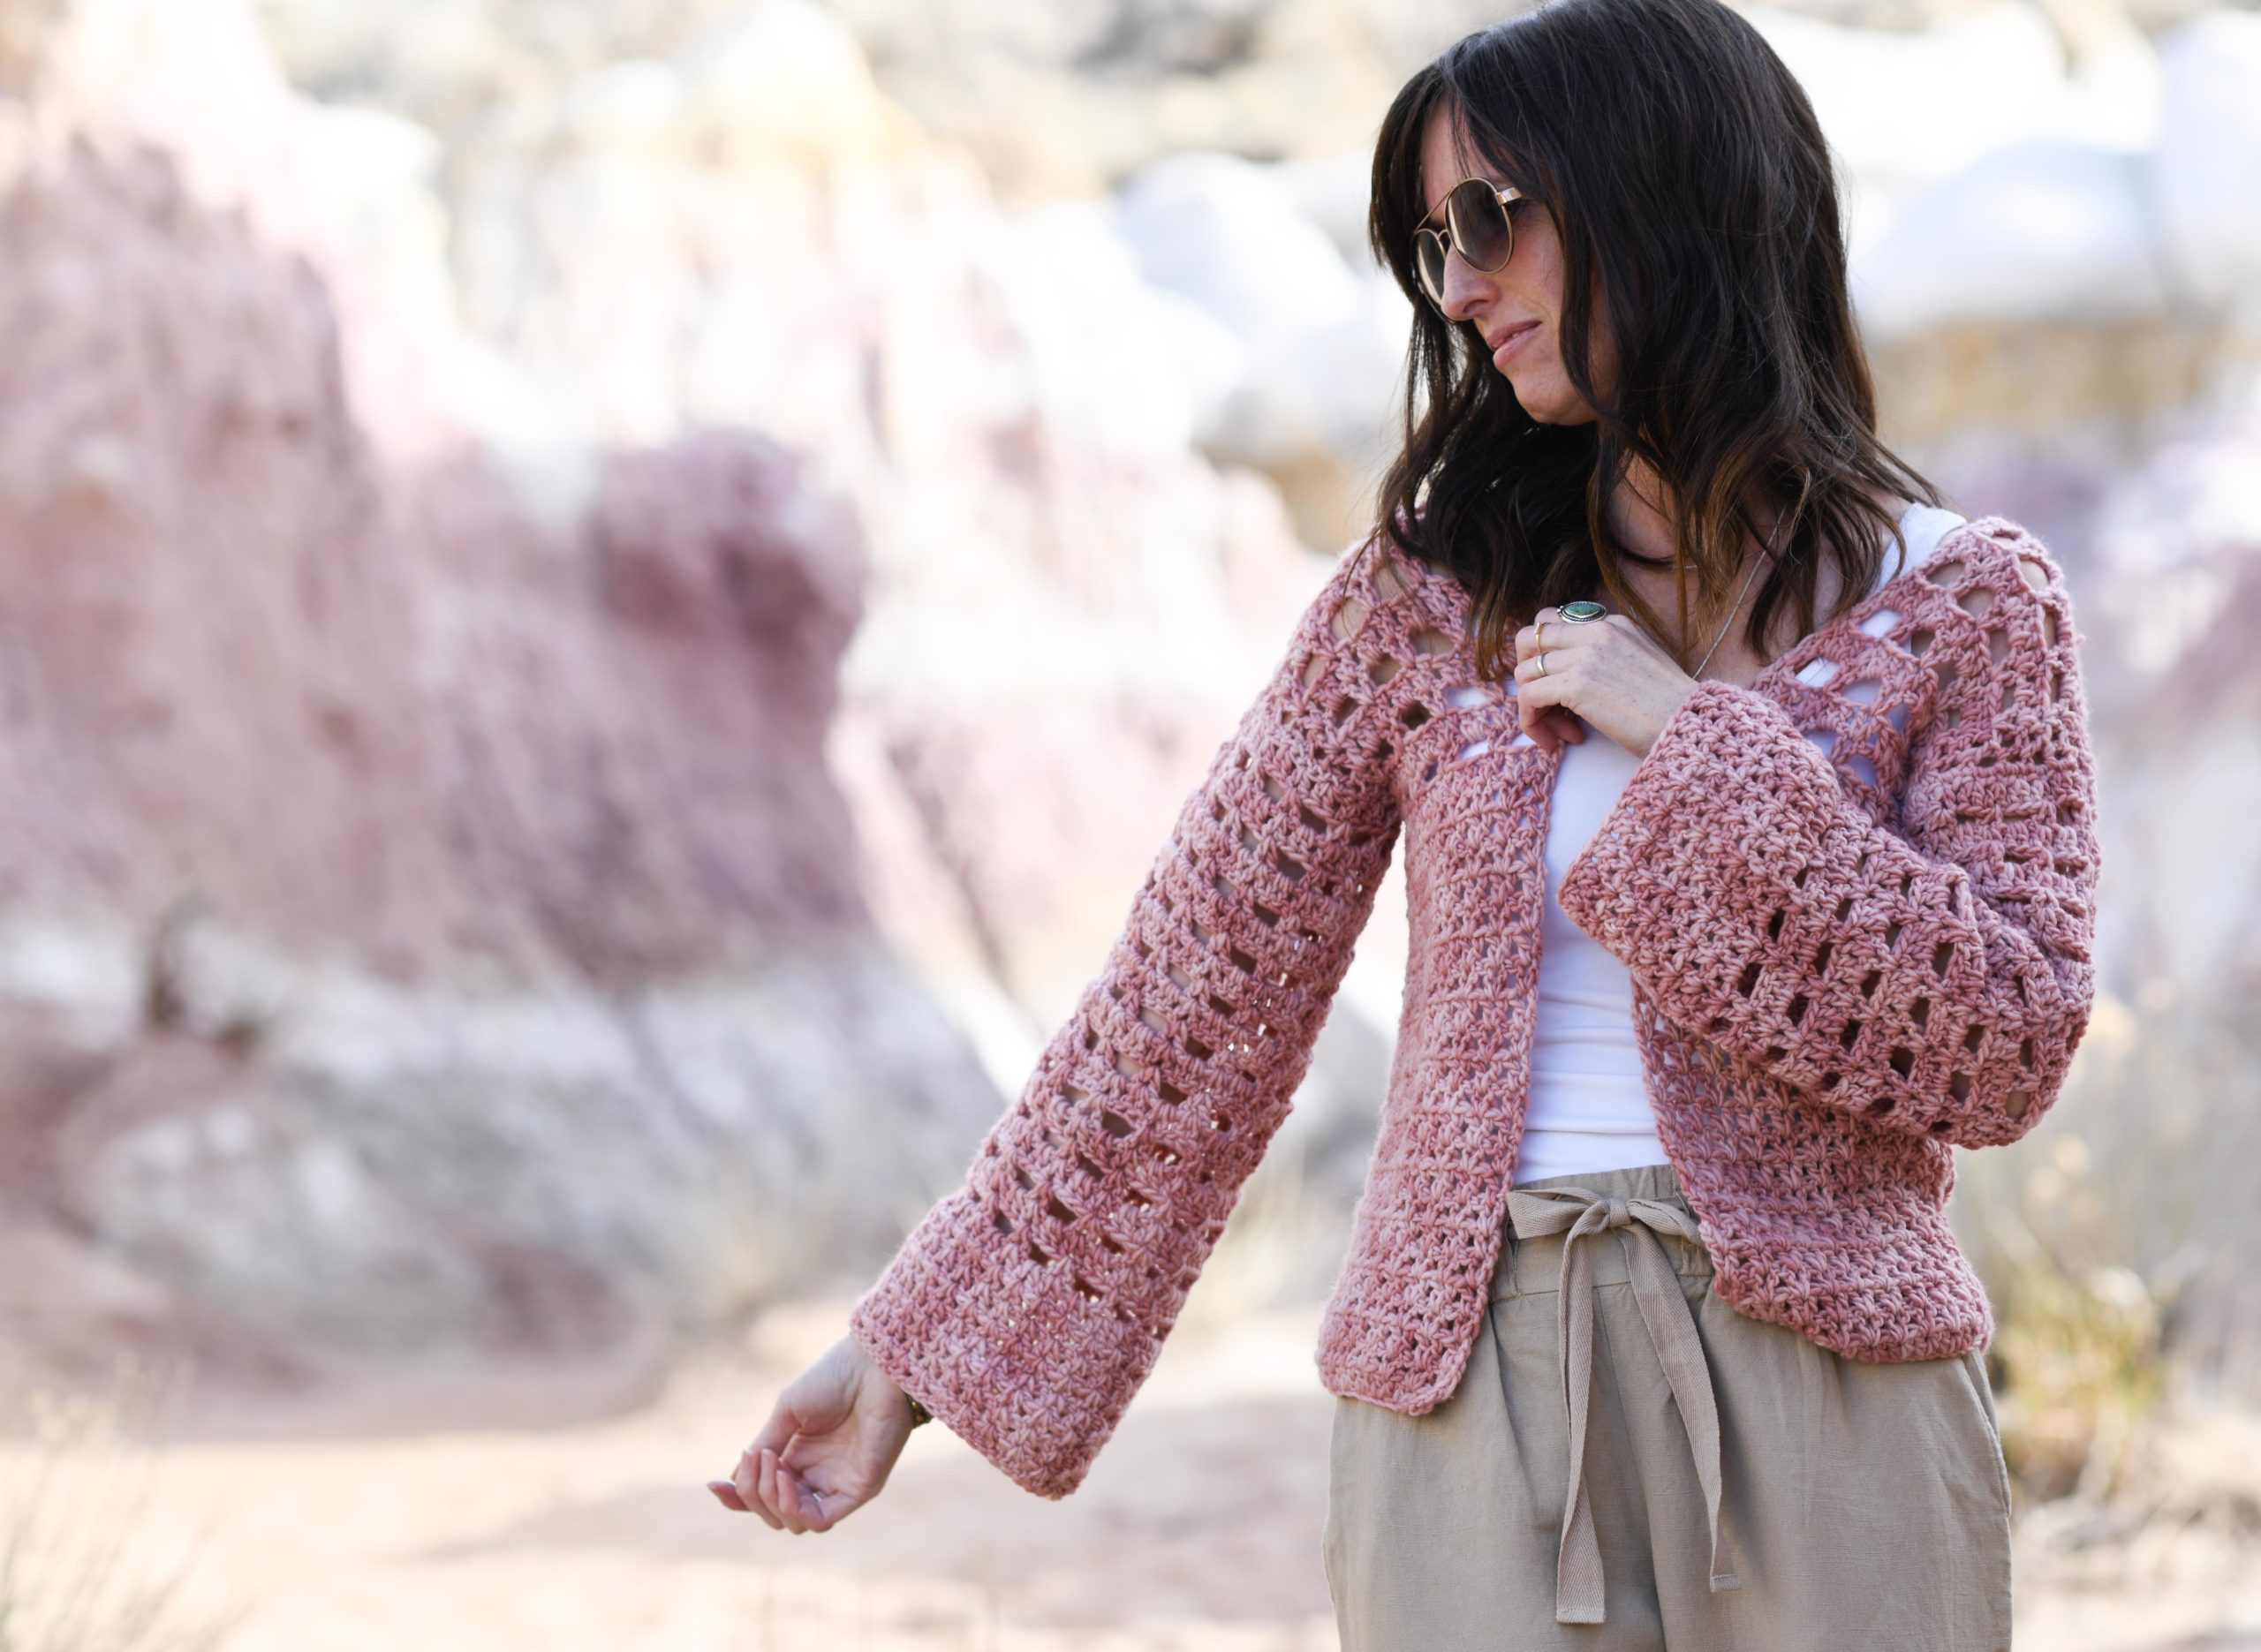
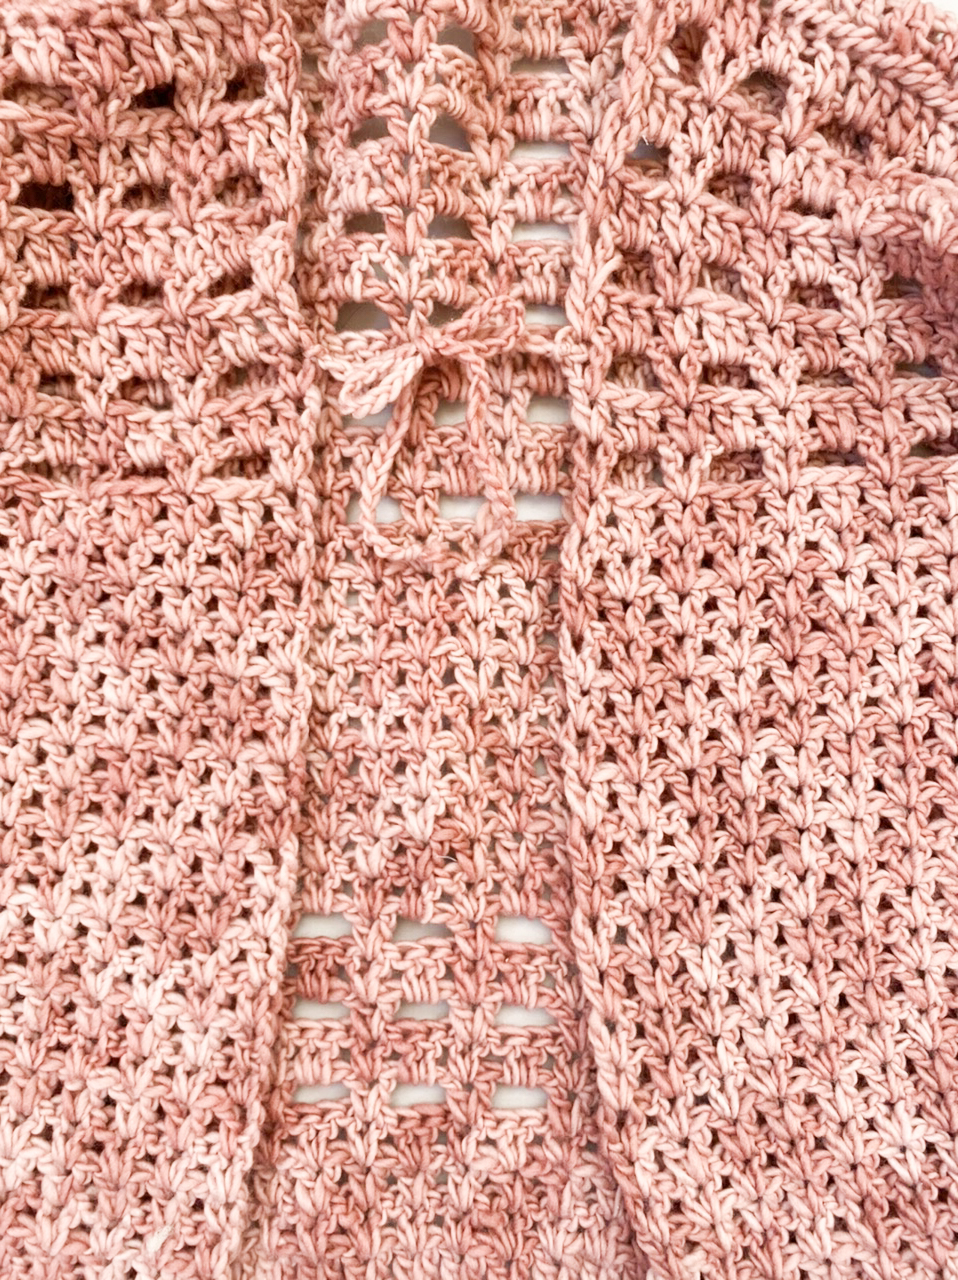
Back to the pattern….much of it uses double crochet clusters, which are quite easy. You’ll also skip stitches to create the open stitchwork that you see on the sleeves and much of the body. Since we are heading into the summer months, I wanted to make sure it was airy and light, even with the wool yarn. As I mentioned earlier, there’s no shaping, so as long as you understand the stithes, you’re good to go! I ended up adding a tie closure to the front after we took these pics as I found it to be more comfortable this way (see the pic at the end of the blog post).
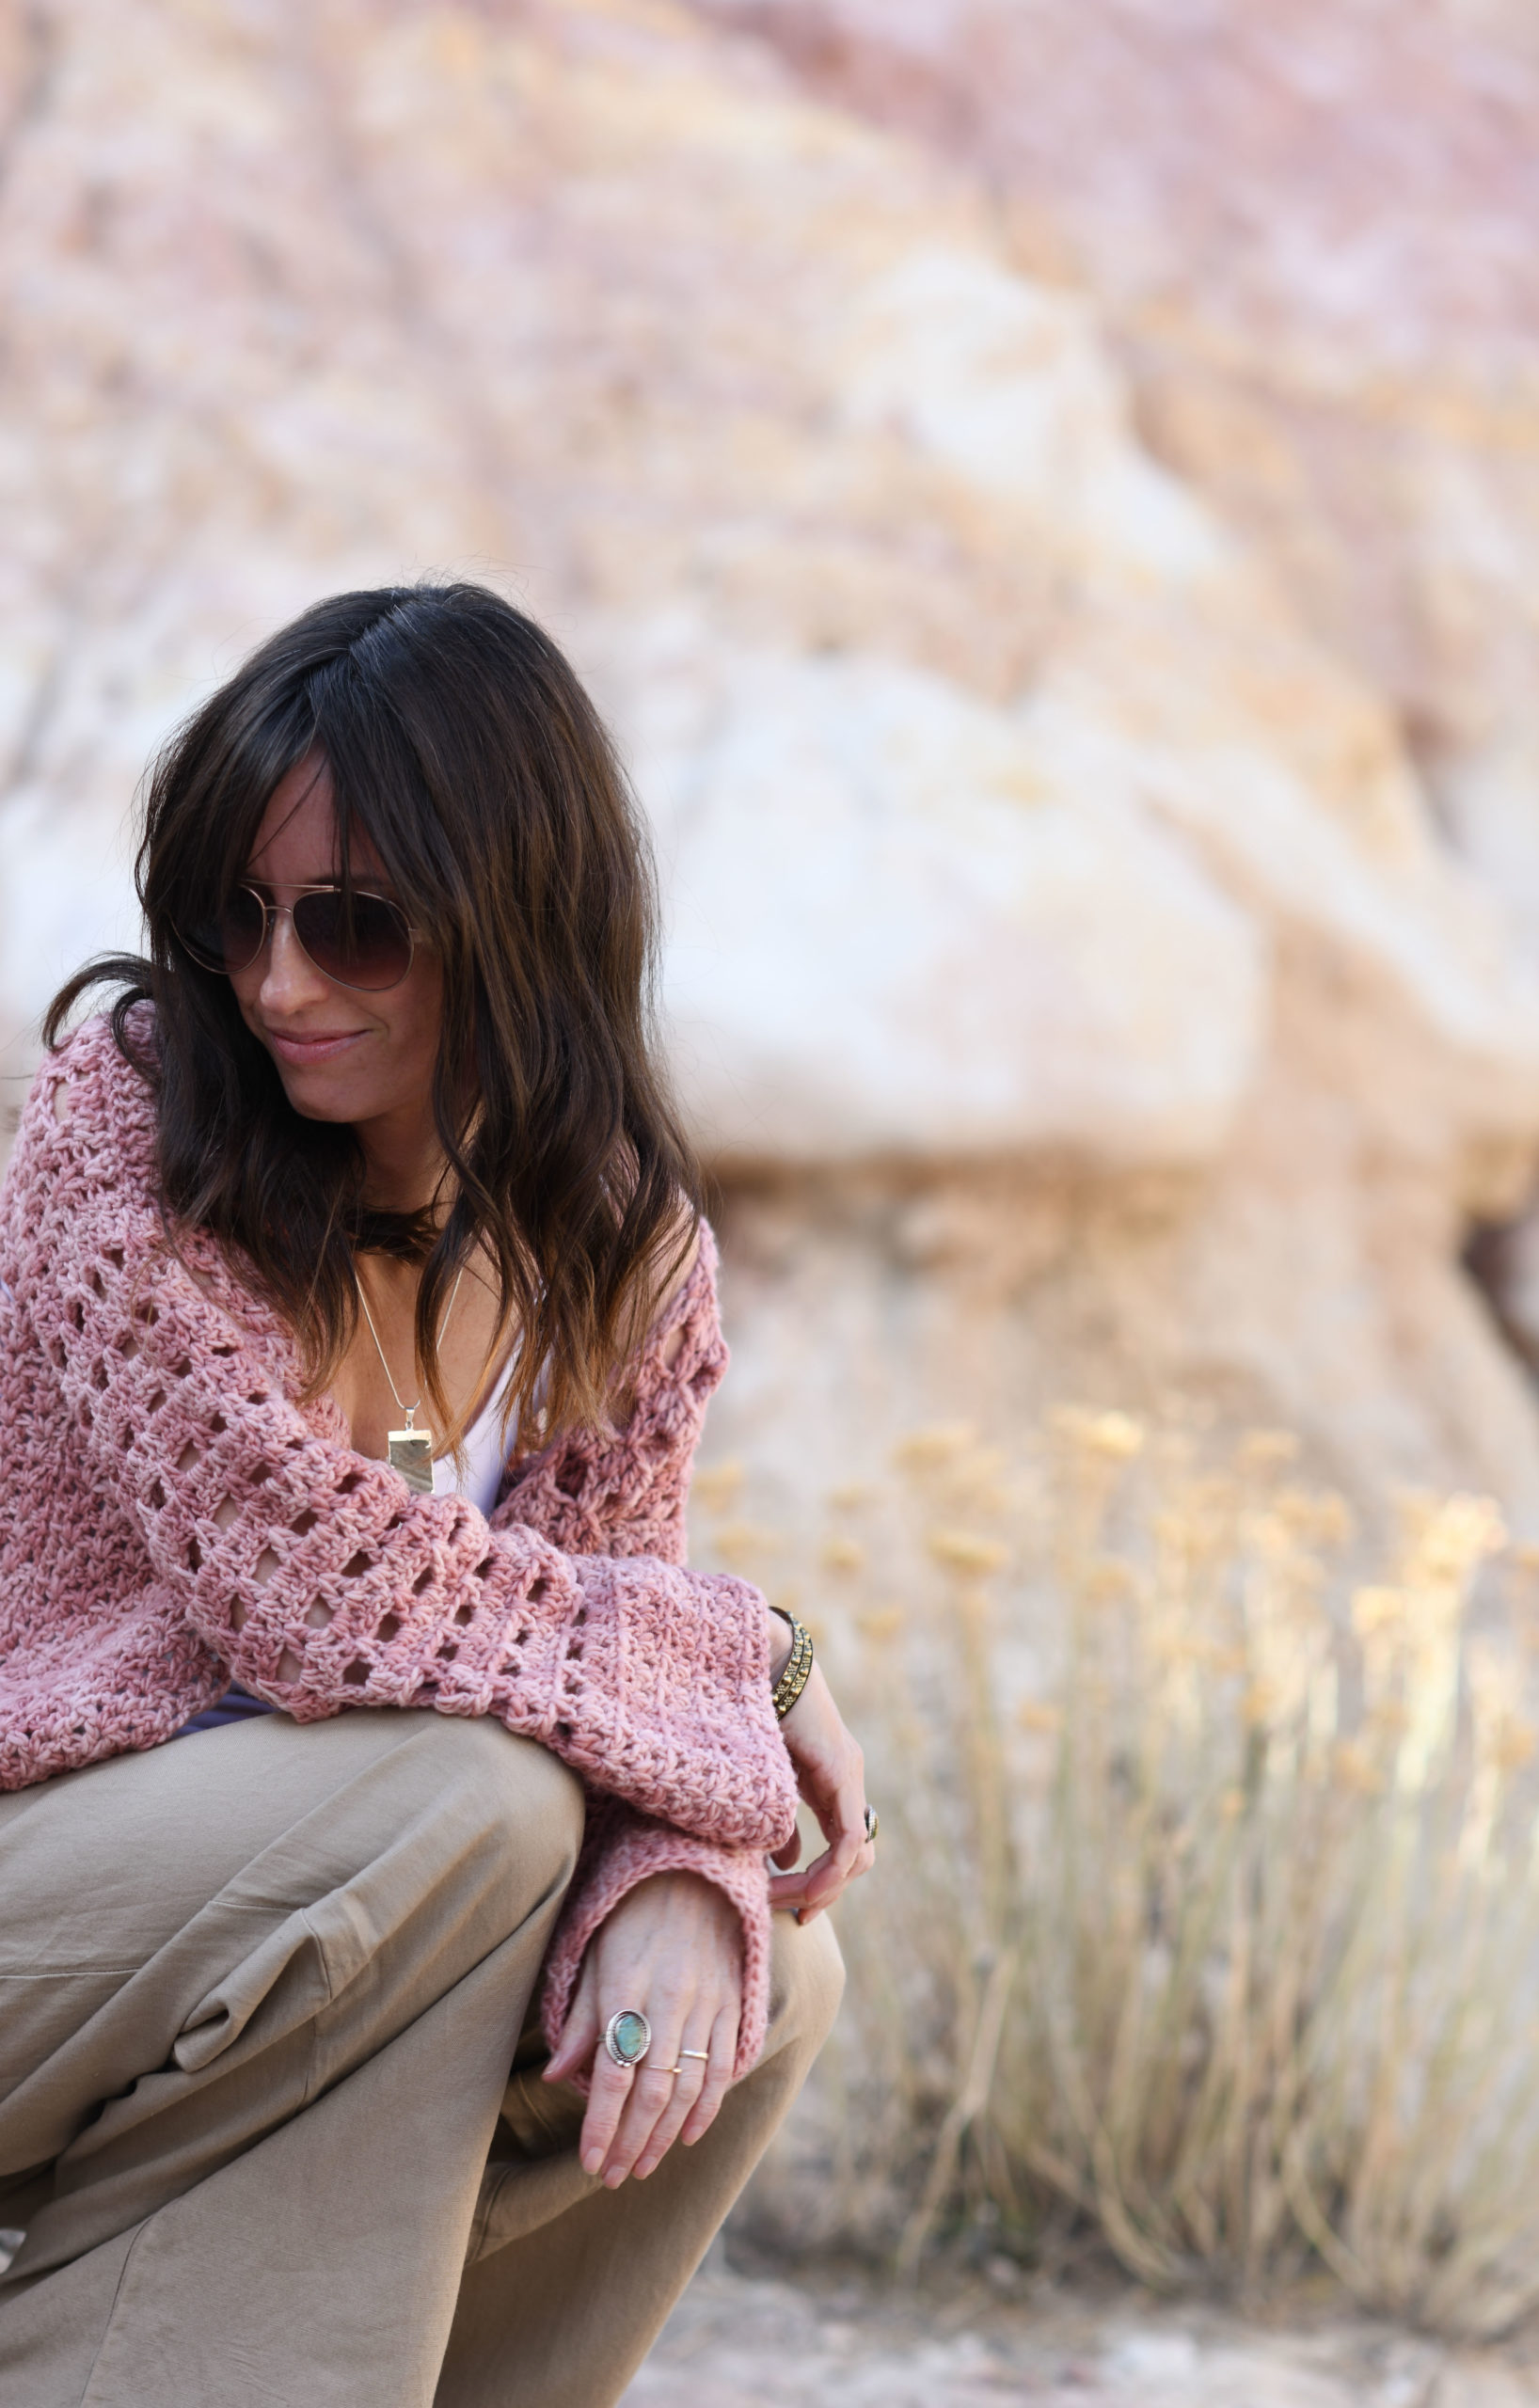
One of the things keeping my family sane during this time is getting outdoors. We took Sunday to head the the Paint Mines here in Colorado to get some sun, fresh air, and take some photos with my latest projects. It did us so much good! Isn’t it a unique location? The rocks and hills are stunning with the mauves, golds and cream color tones blending into one another.
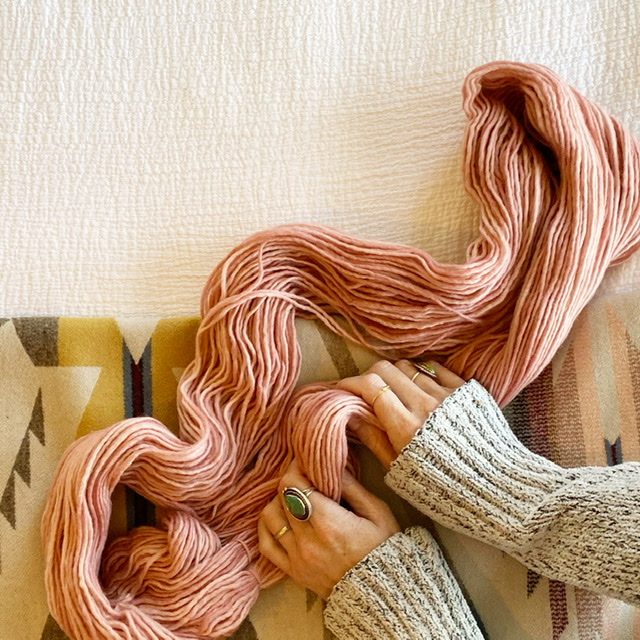
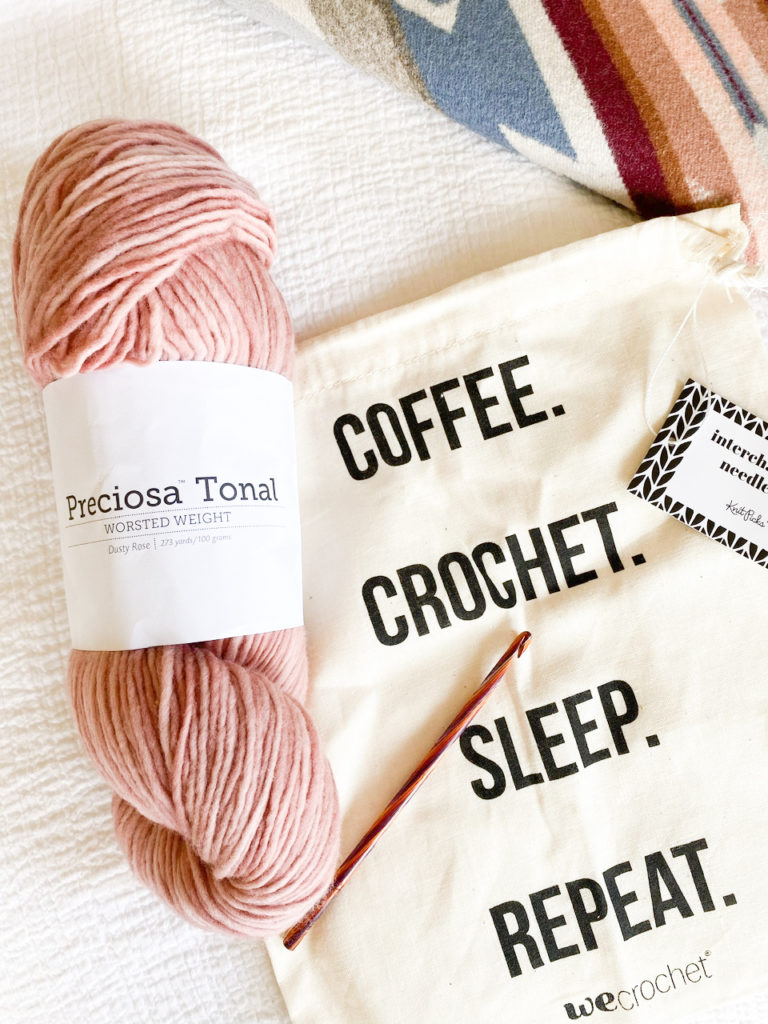
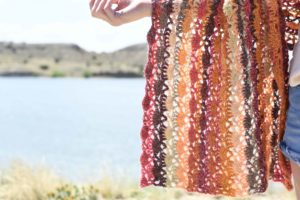
And, can we talk about this yarn again for a minute? THE COLOR! It’s a special yarn, and pricier than many I use, but if you’re making a special project – this is a total, complete, winner. And while I love this color tone, there are several pretty options to choose from. It was so amazing to work with. I was concerned it might shed, as so many wools with this texture do, but it didn’t shed at all.
It’s also got that hand spun look to it that’s super popular right now. So even though it’s a #4 worsted weight, I’d say it’s a bit like a thick & thin. I really can’t recommend it highly enough for a special project that you might have in mind! And yes, WeCrochet is taking yarn orders and still shipping at this current time.
Below: There it is – a skein of Preciosa Tonal (here)
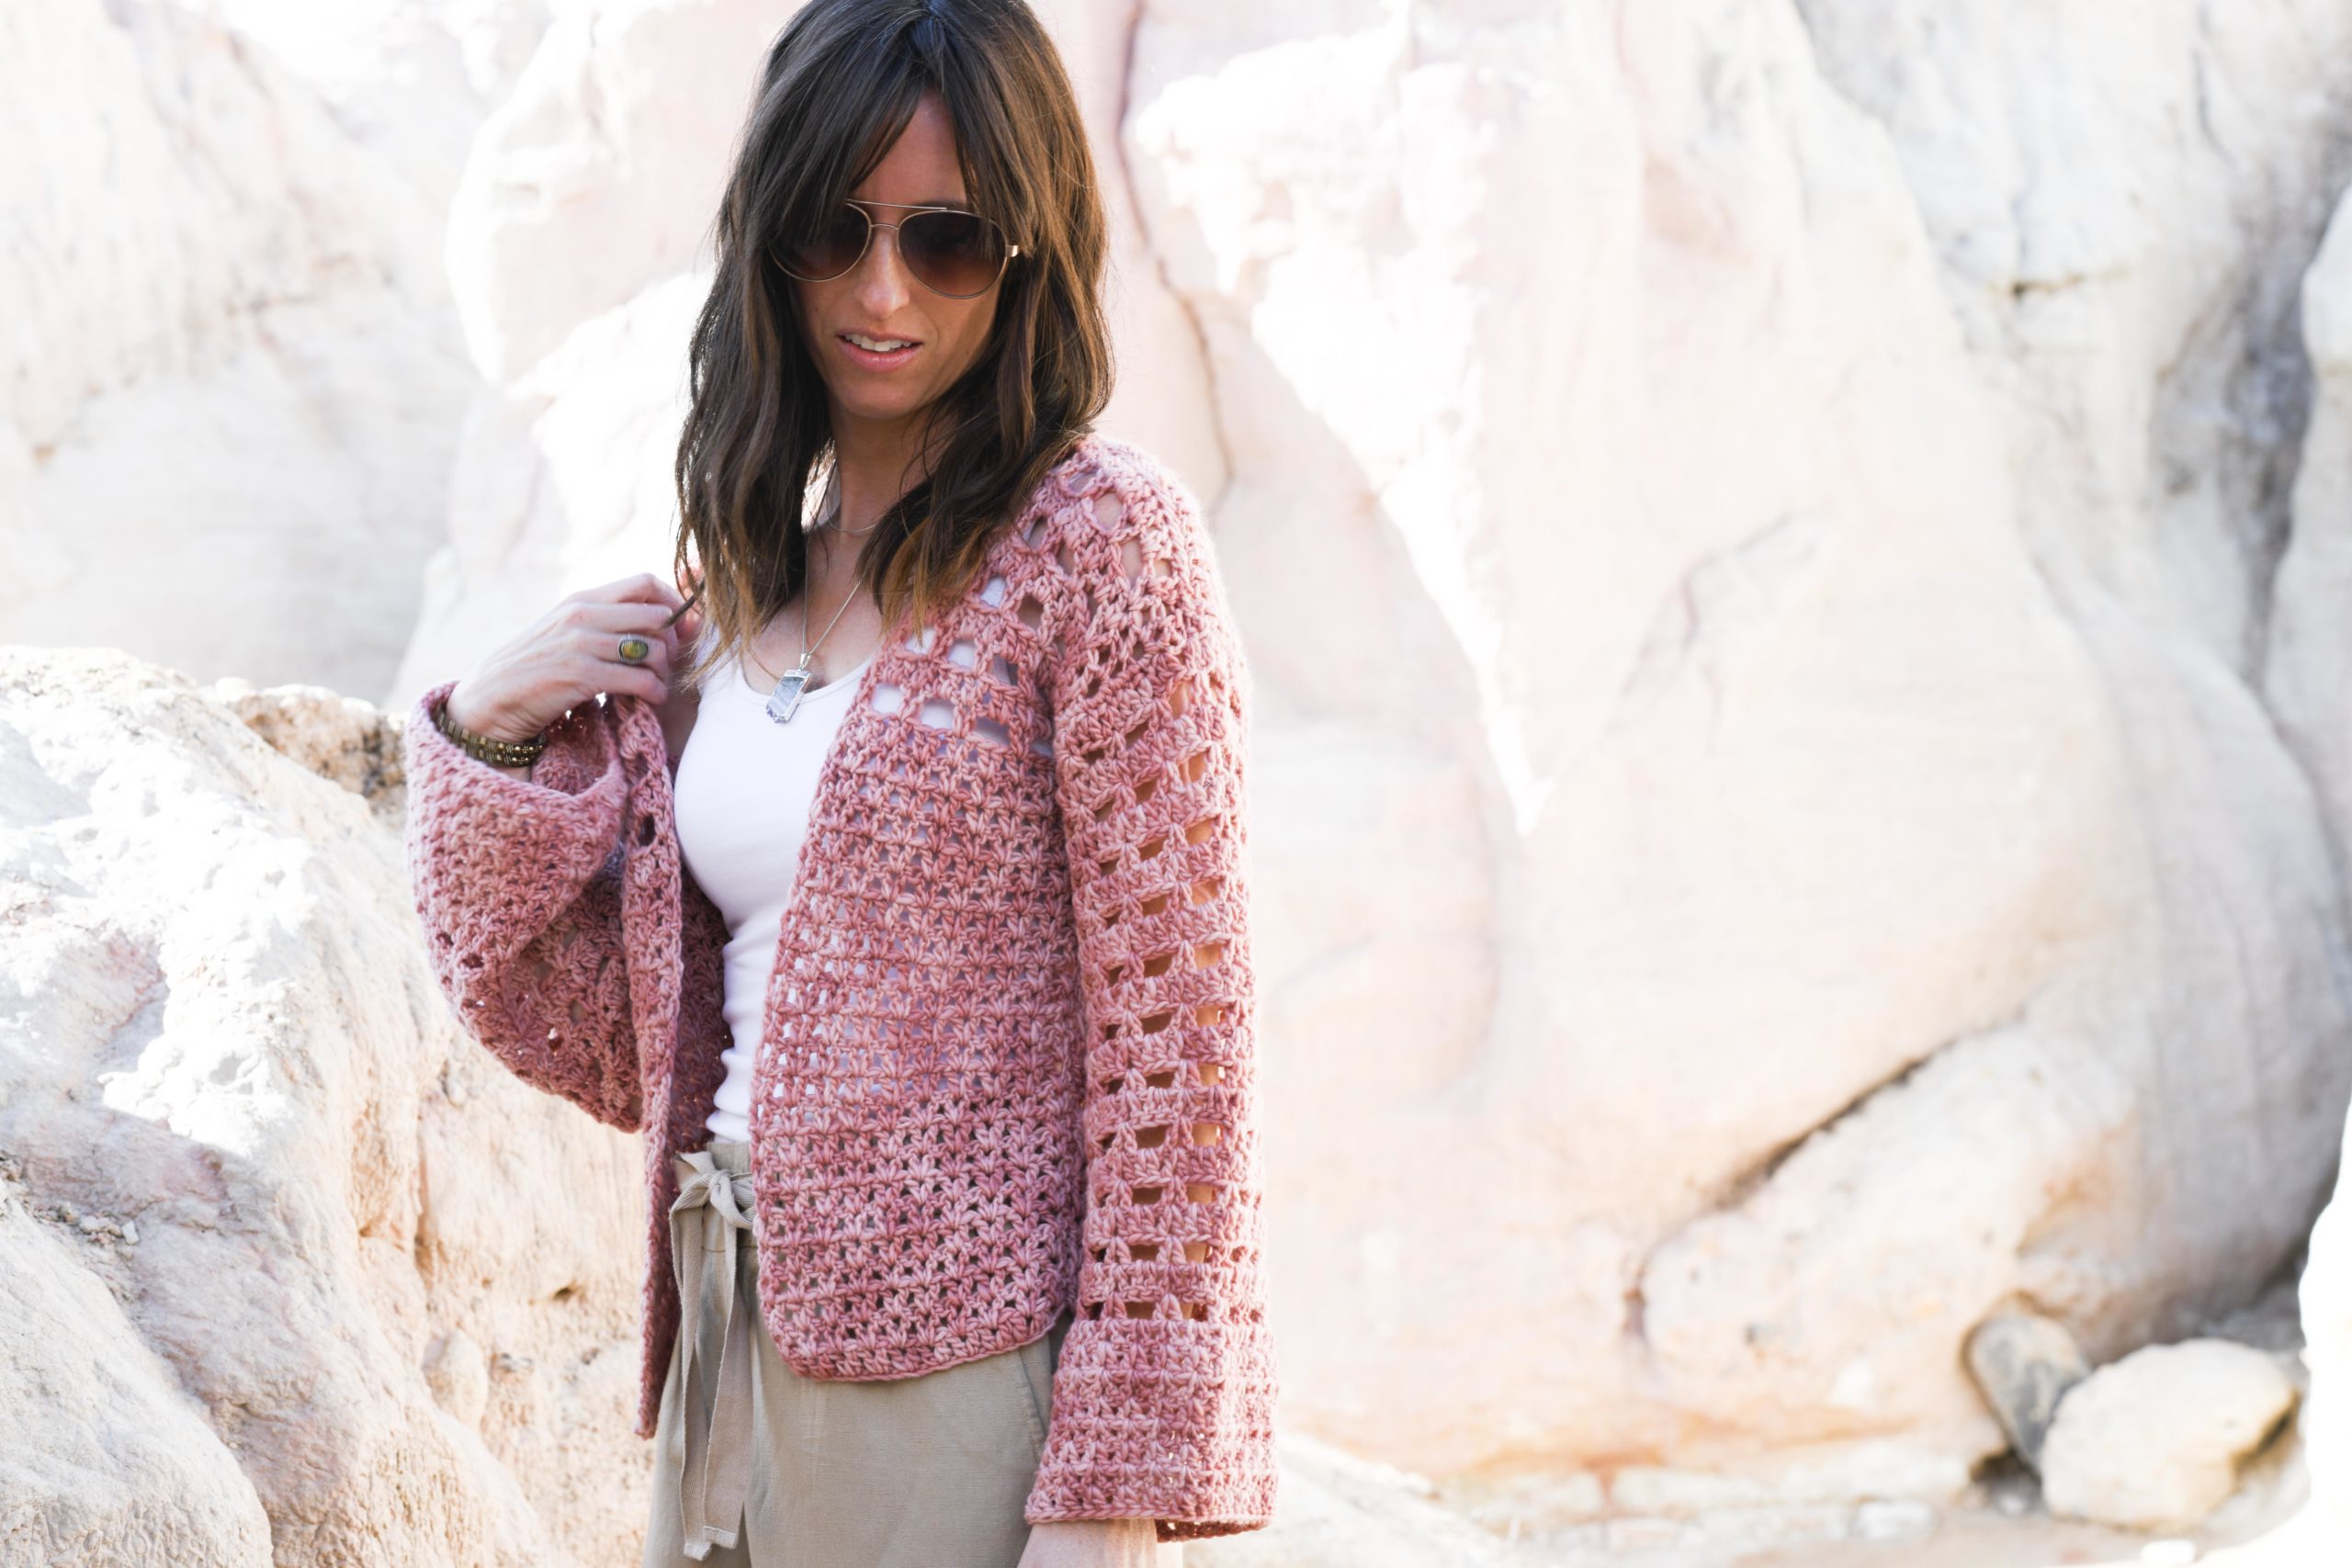
Oh! I also ended up adding a tie closure to the front as the nature of this shrug was loose on the shoulders, so this helped secure it better when worn. You could be creative and do more than one tie, or use a button. Add a collar border if you’d like…..the possibilities are endless. 🙂
Alright! Shall we get to the pattern?!
UPDATE!! Please note that the stitch count might be slightly off on a couple of sizes. Make this only if you feel comfortable with that!! And making adjustments accordingly!!!
You can also see the free pattern below:
Description:
Toss this boho shrug over your shoulders all summer long! This beginner crocheted piece is beautiful, airy and functional. Featuring a slightly cropped length, wide arms and open stitching, it look great with a tank or tee. Pair it with high rise jeans or a long skirt. Open stitching makes it breezy for the warmer months, but perfectly acceptable for fall as well. A cute tie in the front finishes it off and keeps it secure!
Skill Level:
Beginner +
Materials:
US Size J, 6.0 mm Crochet Hook
4 (4, 5, 5) We Crochet Preciosa Tonal Dusty Rose Worsted Weight Yarn HERE (100 g/skein)
Pattern uses approximately 320 g (370 g, 430 g, 498 g)
(Note: if you sub yarns, be sure to check your gauge!)
Measuring Tape
Tapestry Needle
Scissors
Sizes:
XSmall, Small, Medium, Large
Please follow the key throughout the pattern according to the
size you are crocheting:
XS (S, M, L)
Bust Circumference:
XS – 38”
S – 42”
M – 46”
L – 50”
Length:
XS – 20”
S – 21”
M– 22”
L -23”
Sleeves Measurements:
Length: All sizes approximately 18”
Approximate width of sleeve: 6.5” (7.5”,8.5”, 9.5”)
Schematic:
Please note, schematic is for sizing references. Sleeves are the same width for the length of the sleeve. Schematic is not true to sleeve shape as there is no shaping or decreasing.

Abbreviations & Skills:
ch – chain
dc – double crochet
sk – skip
sk st – skip stitch
2 dc cl – double crochet cluster (2 dc in one st)
sp – space
st – stitch
sts – stitches
Gauge:
Approximately 6 dc clusters (total of 12 sts) & 7 rows in 4” x 4”
Notes:
This shrug is crocheted by making one rectangular back panel and two rectangular front panels which are seamed together at the shoulders and sides. Sleeves are worked in joined rows and are crocheted onto the sweater at the arm openings. There is no increasing or decreasing in this pattern. The shrug rests loosely on the shoulders. The tie closure in front will hold the shrug in place on the shoulders. You may add length to the shrug by simply crocheting for more rows when making the front and back panels (keep yarn needs in mind).
2dc cl is worked between the 2dc of the 2dc cl in the previous row in this pattern.
Pattern Instructions
Back Panel of Cardigan
Ch 58 (64, 70, 76)
Row 1 Dc in 4th ch from hook (1st dc cl made), *sk st, dc cl in next st; repeat from * across the row 56 ( 62, 68, 74) sts
Row 2 Ch 3 (counts as dc st here and throughout pattern) turn, dc in last dc cl sp of previous row (dc cl made), *dc cl in next dc cl sp; repeat from * across the row 56 ( 62, 68, 74) sts
Rows 3 – 4 Repeat row 2
Row 5 Ch 3, turn, dc in last dc cl sp of previous row, *ch 2, sk next dc cl, dc cl in next dc cl sp; repeat from * across to last st of row, dc cl in last dc cl sp.
Row 6 Ch 3, turn, dc in dc cl sp (dc cluster made), *dc cl in next dc cl sp, 2dc in ch 2 sp; repeat from * across the row to last dc cl, dc cl in last dc cl sp.
Rows 7 – 10 Repeat rows 5 & 6 two more times in that order
Rows 11 – 18 Repeat row 2
Rows 19 – 32 Repeat rows 5 & 6
Size XS, tie off, weave in ends.
For other sizes, repeat rows 5 & 6 an additional 0 (1, 2, 3) times. You will work an additional 0(2, 4, 6) rows to finish the final repeat
You may choose to crochet more rows to add length to your shrug (keep yarn needs in mind and remember to add length to the front panels as well)
Tie off and weave in ends!
Front Panels (make 2)
Ch 28 (30, 32, 34)
Row 1 Dc in 4th ch from hook (1st dc cl made), *sk st, dc cl in next st; repeat from * across the row 24 (26, 28, 30) sts total
Row 2 Ch 3 (counts as dc st here and throughout pattern) turn, dc in last dc cl sp of previous row (dc cl made), *dc cl in next dc cl sp; repeat from * across the row
Rows 2 – 22 Repeat row 2
Row 23 Ch 3, turn, dc in last dc cl sp of previous row, *ch 2, sk next dc cl, dc cl in next dc cl sp; repeat from * across to last st of row, dc cl in last dc cl sp.
Row 24 Ch 3, turn, dc in dc cl sp, *dc cl in next dc cl sp, 2dc in ch 2 sp; repeat from * across the row to last dc cl, dc cl in last dc cl sp.
Row 25 – 32 Repeat rows 23 & 24
Size XS, tie off and weave in ends.
For other sizes, repeat rows 23 & 24 0 (1, 2, 3) more times. You will work an additional 0 (2, 4, 6) rows to finish the final repeat
Assembly & Sleeves
Place two front panels directly on top of back panel, aligning outer edges and leaving space in the middle for neck opening.
Shoulders
Using your preferred seaming method, sew the shoulders along the top on each side.
Seam Sides and Create Arm Openings
Using your preferred seaming method, sew up each side from the bottom-up. Leave arm openings that are approximately 6.5” (7.5”,8.5”, 9.5”) wide.
(Wait to tie off the seam to the arm opening in case adjustments need to be made to make it a bit wider or smaller when starting the sleeves in the next section)
Sleeves
Sleeves are crocheted in joined rows or turned rounds. You will sl st to join and then turn as if to work a row.
Mark the first stitch of each row if necessary to help you know where the row begins!
Attach yarn to bottom of arm opening.
Row 1 Sc evenly around arm opening working 44 (48, 52, 56)
Row 2 Ch 3 (counts as st here and throughout pattern) dc in same st (dc cl made), *sk st, dc cl in next st; repeat from * around, sl st to join in top of beg ch 3.
Row 3 Ch 3, turn, dc in dc cl sp (dc cl made), *ch 2, sk dc cl, dc cl in next dc cl; repeat round to last dc cl sp, ch 2, sl st to join in top of beg ch 3.
Row 4 Ch 3, turn, dc in dc cl sp (dc cl made), *dc cl in ch 2, dc cl in next dc cl sp; repeat from * around, sl st to join in top of beg ch 3.
Rows 5 – 25 Repeat rows 3 & 4, in that order
Row 26 Repeat row 4
Rows 27 – 33 Ch 3 (counts as st here and throughout pattern), turn, dc in same dc cl sp (dc cl made), *sk st, dc cl in next st; repeat from * around, sl st to join in top of beg ch 3.
(At this point, you might want to try on your shrug to check the length of the sleeves. Simply crochet more rows to make it longer if desired.)
Tie off and weave in ends!
Repeat above instructions for second sleeve.
Optional:
Block to shape and size as desired.
Create front closure ties:
Crochet two simple chains with the chain stitch. Secure one to each side of the upper front panels of the cardigan. Tie when worn to secure your shrug!
Below: See the tie closure? You can make more that one if you’d like, too! Feel free to be creative.
Also, you can make this your own by crocheting a collar or extra details on the sleeve cuffs.
Enjoy!
Hope you liked this project, my friends! And let’s all get outside more often this summer!
XO,
Jessica
Thank you to WeCrochet for sponsoring this post! All opinions are 100% my own.
If you liked this, you might also like:
Summer Fun Shrug Crochet Pattern & Video Tutorial
Isla Scalloped Wrap Crochet Pattern
This pattern looks amazing. Thanks for all you beautiful work.
Although this is a Beginner+pattern it would be very helpful if there was a short tutorial video to get started with the double crochet cluster stitch – at least for the first couple of rows to get started. Thank you.
So happy you like it. Thank you!
Hi Jennifer!
Thanks for the suggestion! I guess it’s more for “beginners” that are comfortable with pattern reading and I should clarify that. The Summer Fun Shrug that I link to in this blog post is definitely more true beginner friendly (and it also includes the video tutorial that you’re looking for.) Hope this helps and thanks again!
Absolutely love the Sedona shrug however for the life of me I can’t seem to crochet. Sure wish a knitted pattern was available.
Always so grateful for your generosity in sharing such beautiful patterns for us all to enjoy. It truly is appreciated. Thank you very much!
I wish this came in a 3x size.
Can’t wait to get my yarn! Love this!
Thank you Jessica. I did look at the Summer Fun Shrug and video. I plan on doing that one. I am a visual learner LOL!
I must have this shrug! I’ll make it in a tonal merino yarn in my stash. The pictures are lovely. The colors are amazing. I’m going to visit Paint Mines virtually.
Mila
Hi there. Just wanted to check blowback is done. When sewing shoulder seams do you leave couple of inches in neck side unstitched
Can you tell me the what the back size is by itself instead of all 3 together.
Thanks
Debra
Jessica, I have made a few of your patterns and love them! I made several heirloom crochet afghans in different color combinations; some for gifts. Also, I recently finished the velvet bomber cardigan and my husband is very impressed with it. I used Lion Brand (Heartland) variegated blue yarn. For my husband to make comments to people about it is definitely something I take note of! He also requested an afghan last year which surprised me! I am looking at the Sedona shrug and can’t wait to get some yarn. The pattern is just my style, and it looks so practical for Florida summers. Thank you for your free patterns. I take note of yours immediately when I see another one.
Jessica, I have also made two of the wraps (bias) as well. I forgot to mention them! I made the blue and khaki one first and loved it so much; then I did an all black one. Many compliments and so practical for Florida!
Ahhh I’m so honored, Cheryl!! Thanks so much for letting me know how much you’re enjoying the patterns!