Easiest Classic Knit Top Pattern
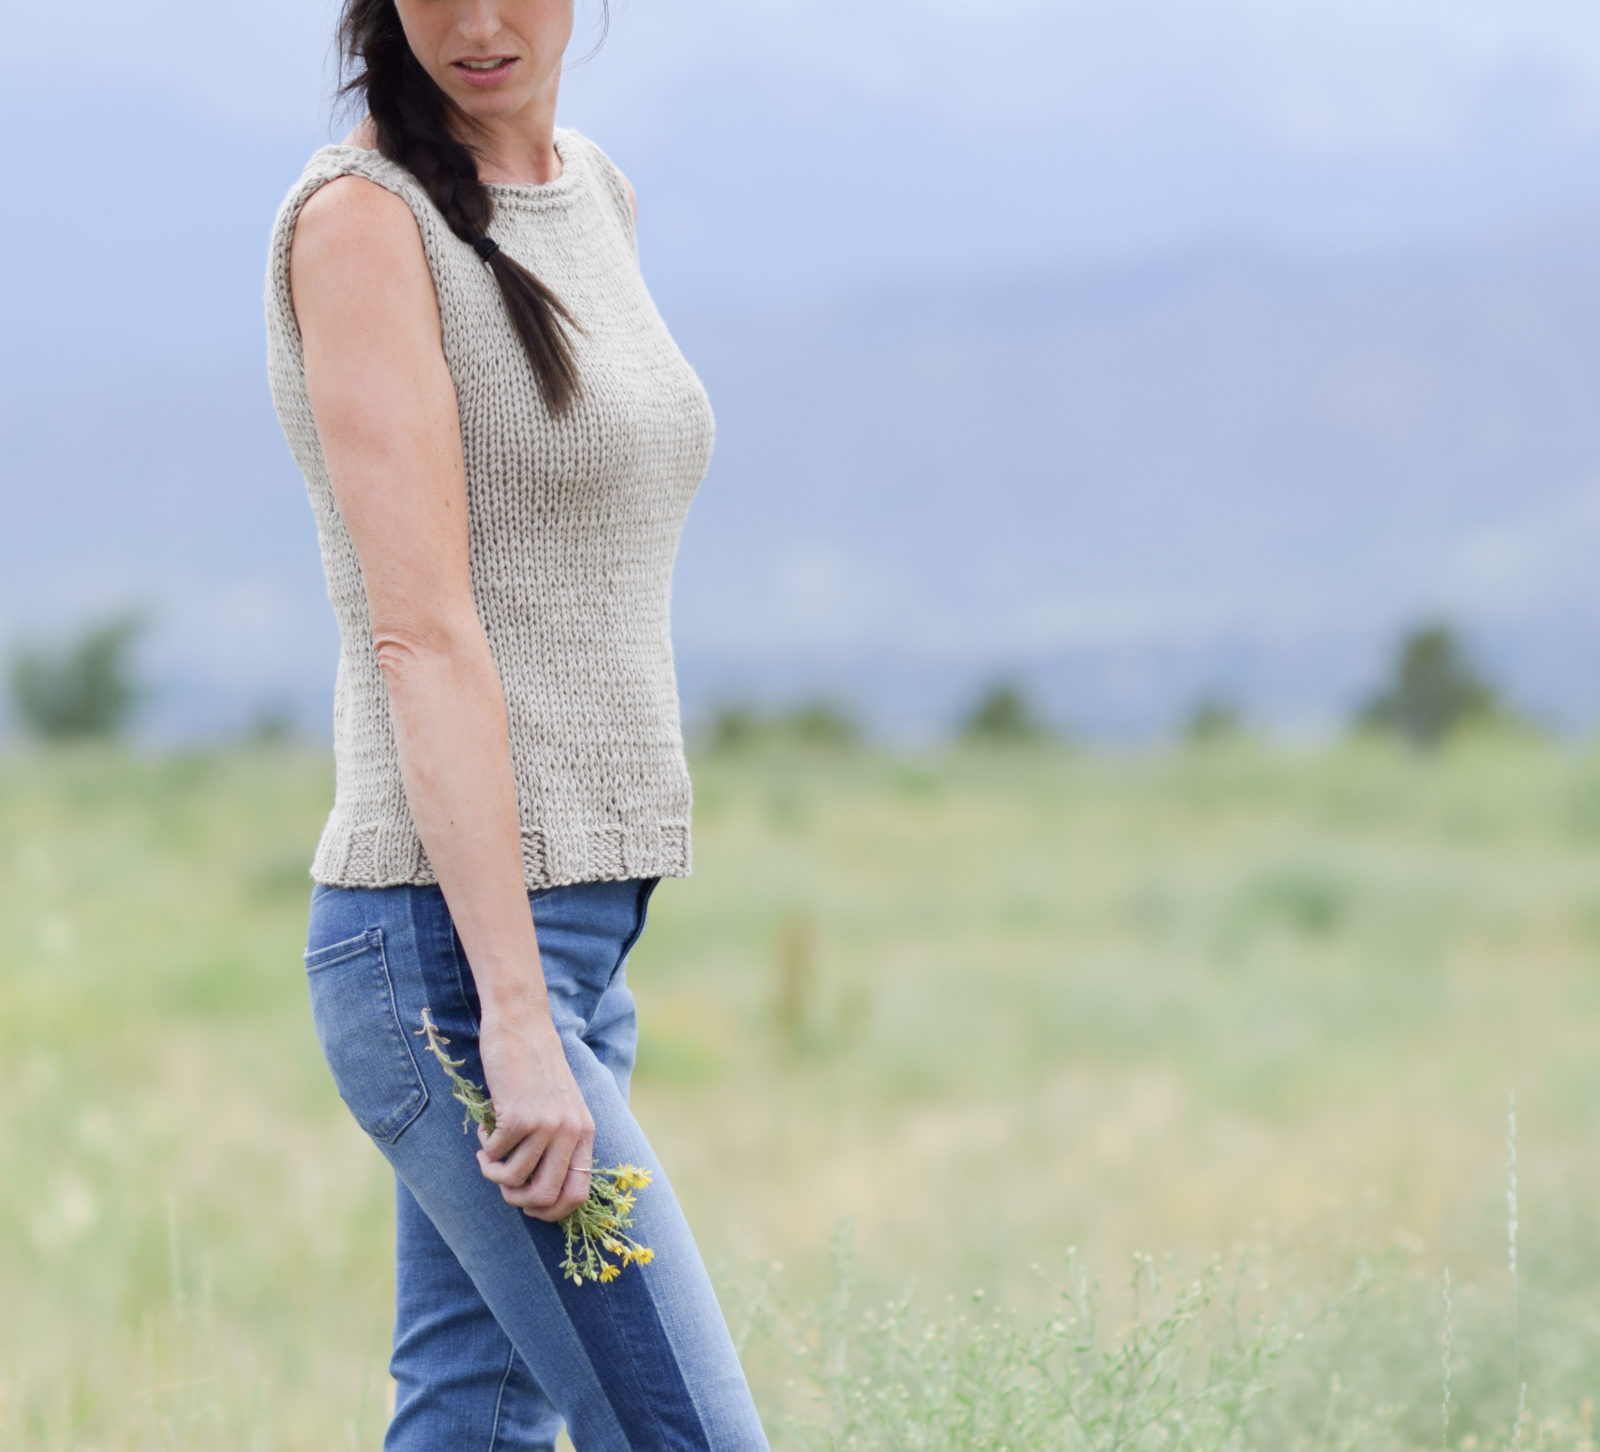
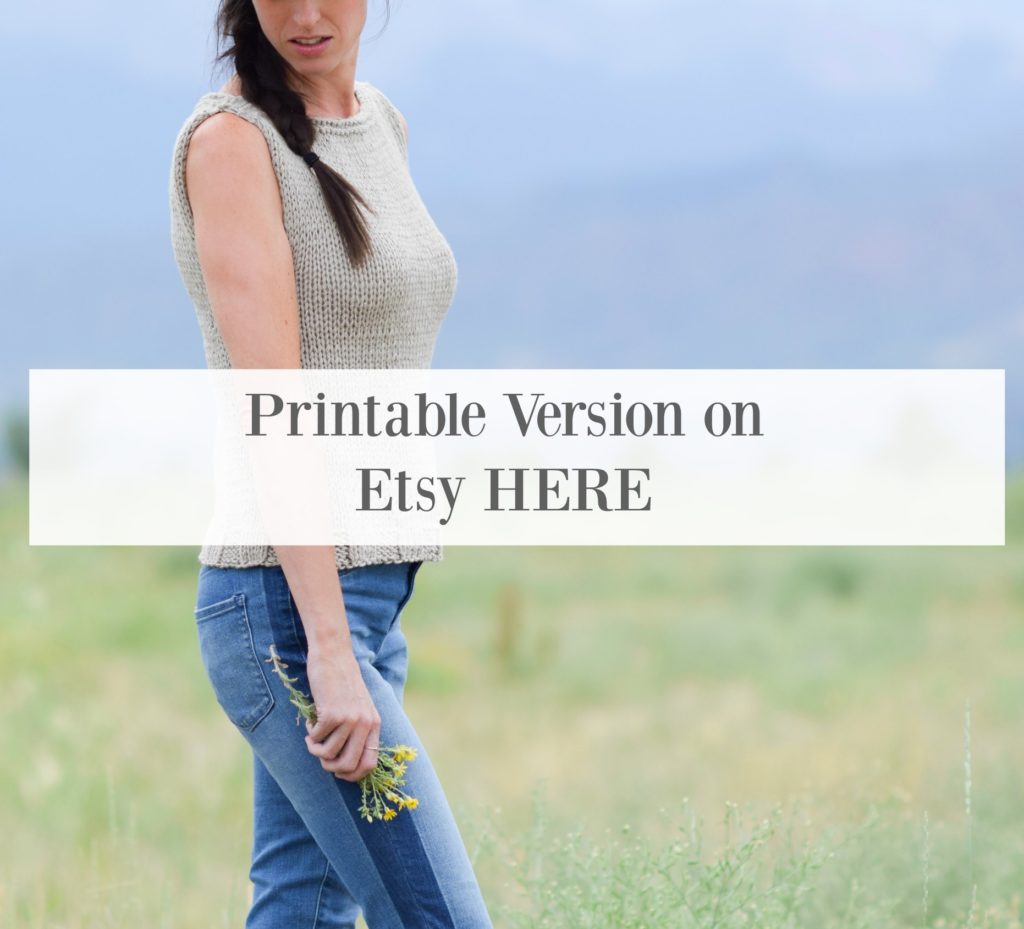
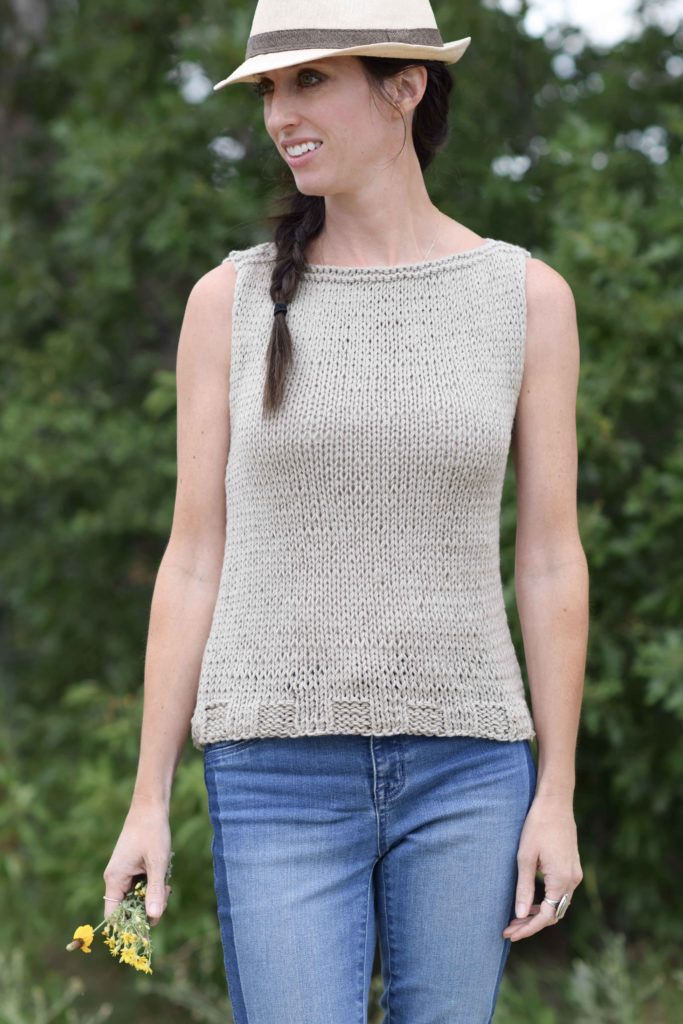
I have so enjoyed sharing the Summer Vacation Knit Top, the Little Black Tank and now this “Easiest Classic” knit sleeveless top made with Lion Brand Super Wash Merino yarn. While the other two knitting patterns feature mesh, this one is probably the most versatile as it’s almost completely done in stockinette and has a cut that’s appropriate for the office or the weekends. One of the first patterns that I shared on the blog was for fingerless mitts, knit flat. The main reason that I came up with that pattern was because I had searched extensively for a beginner fingerless glove pattern that didn’t have any shaping or complicated knitting. This top uses that same concept – a simple pattern that doesn’t use anything but newbie stitches yet it creates a piece that you’re proud to wear or gift. I hope that this top is fun for a new beginner and also for someone who wants to make a classic top with little to no brain power. 🙂 So scroll down to find the free pattern below (as usual), or you can purchase the yarn and kit from Lion Brand HERE, or the ad-free printable version for sale in my Etsy shop HERE.
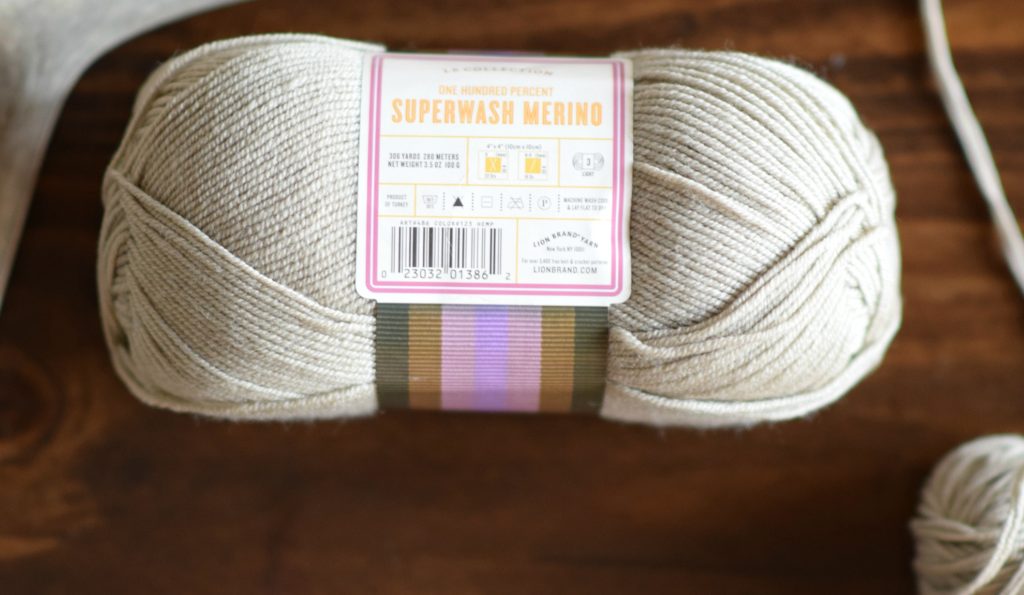
This was the first time that I’ve used the Lion Brand Colletion Superwash Merino yarn and it was so yummy! The yarn was so soft especially for being 100% wool and it was such a pleasure to work with. We deserve to treat ourselves to a special yarn every now and then, don’t you think? I’m going to say that I’m pretty picky when it comes to wool as I don’t want anything with even a hint of the itchies. He-he! This had no itchies and since it’s a light weight yarn it was perfect to work with on warm summer days. The best part of all about this yarn is that it’s washable! You’re not going to make a felted mess if you wash your knit top (not that I know what it’s like to felt a favorite sweater in the wash or anything – ugh). While I most often use chunky and super bulky yarns, I definitely plan to use this again and I highly recommend it.
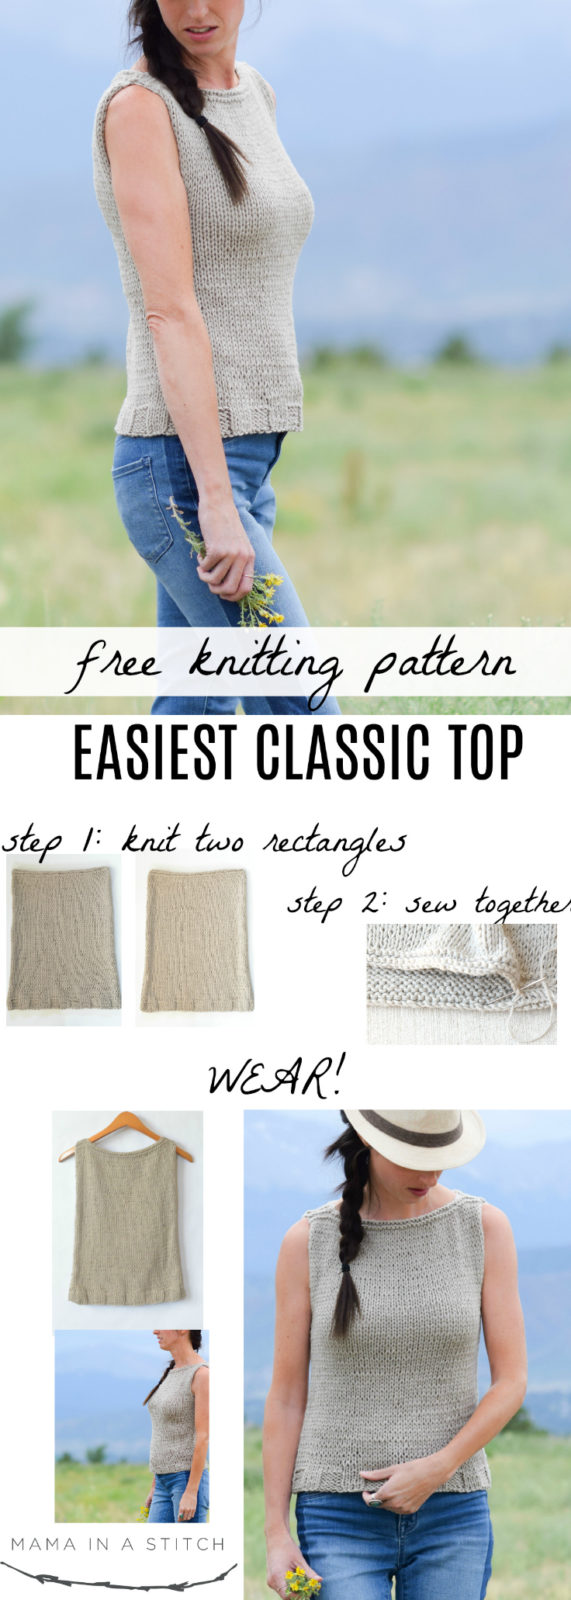
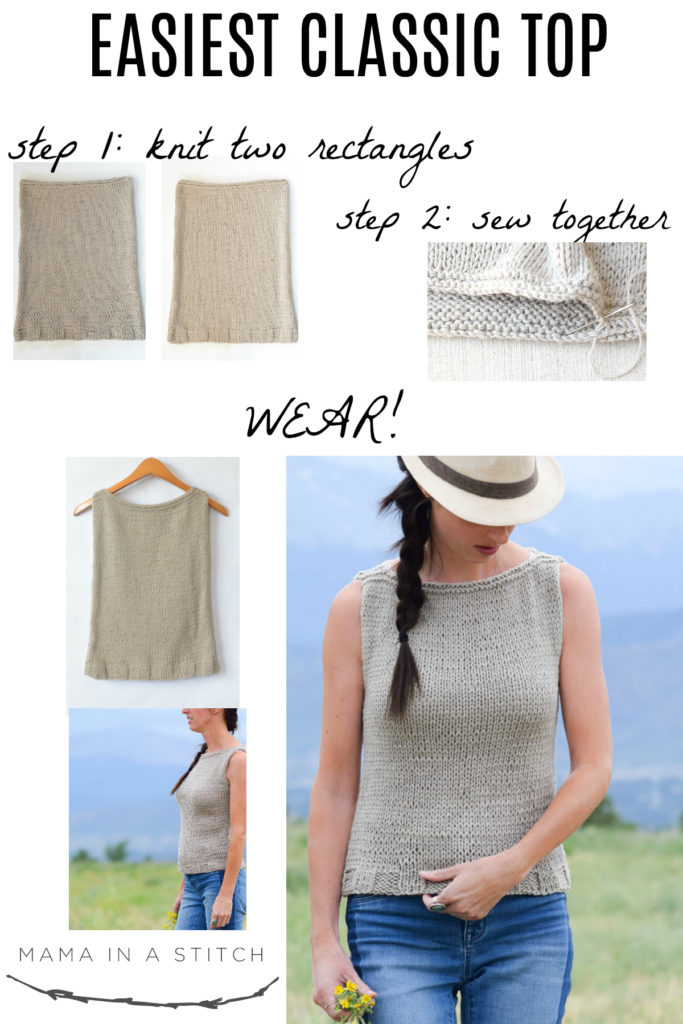
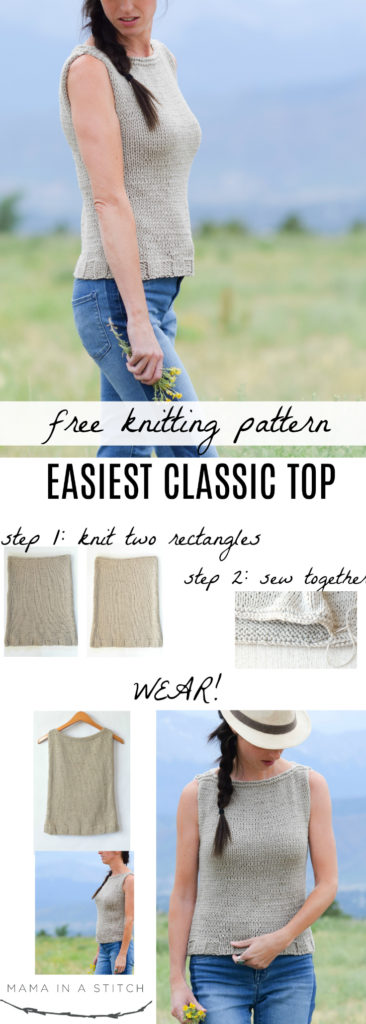
This top is knit flat (most beginners are more comfortable with that), but if you’re experienced it would be pretty easy to adjust the pattern to knit it in the round. Holding two strands of yarn together, you will simply knit two rectangles. Starting at the bottom, you will create a wide rib pattern and then move into knitting the stockinette stitch and finishing with a bit of garter stitch. You don’t always have to make a hat or scarf for your first few projects. 😉
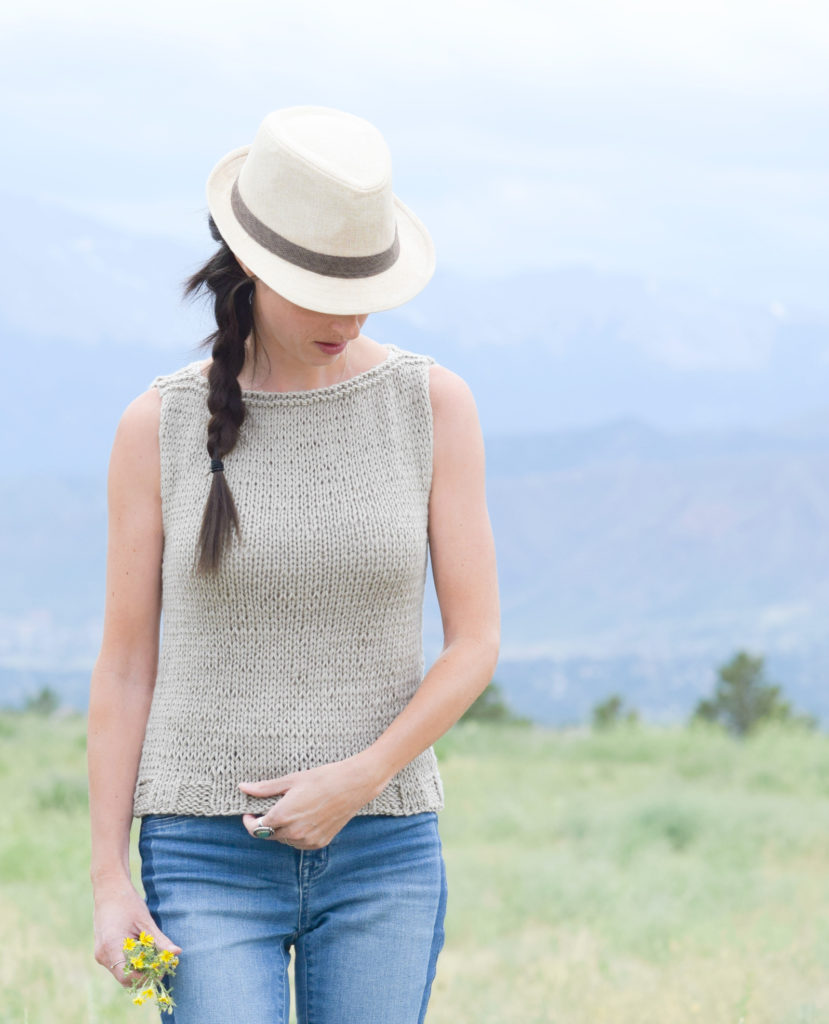
This beginner knit top will take you from work, to the movies and off to your weekend getaway. Pair this top with a blazer for the office, or wear it with jeans or shorts for a casual day out. A true classic for summer, fall and beyond. The lightweight, natural yarn gives it a great feel and a high end look. By holding two strands of yarn together and using size 11 needles, the top works up fairly quickly and has no difficult shaping. If you can knit and purl, you can do this! Proof that knitting something beautiful and functional is possible for complete beginners.
So scroll down for the FREE pattern below or you may choose to purchase the ad-free, printable version on Etsy HERE. Thanks so much for your support!
You will need:
US Size 11, 8.0 mm knitting needles
2 (X-Small), 4 (Small), 4 (Medium), 4 (Large) skeins of Lion Brand Collection Superwash Merino in Hemp Light #3 yarn, 306 yards & 100 grams/skein (Pattern uses: XS 174 g, S 203 g, M 260 g, L 295 g – it is made holding two strands together throughout the pattern and therefore uses two skeins at a time. (For the S, M, L sizes, using 3 skeins is possible if you split the skein and hand wind into two balls) Lion Brand yarn & pattern kit HERE
Scissors
Tapestry Needle to weave in ends and sew the seams
Skill Level:
Beginner
Skills & Abbreviations:
k- knit
p – purl
Please follow this key, noting the number of stitches for your size throughout the pattern.
(XS, S, M, L)
XS – Extra Small
S – Small
M- Medium
L- Large
Gauge:
Approximately 3.5 stitches per inch and 3 ¾ rows per inch (Check your gauge to ensure correct sizing & consider measuring your piece after a several rows)
Top Measurements:
Around Bust Measurements:
Extra Small: Approximately 28”
Small: Approximately 33”
Medium: Approximately 37”
Large: Approximately 42” around
Upper neck to bottom of edge shirt:
Extra Small & Small: Approximately 19”
Medium & Large: Approximately 22”
*This is not a long shirt. Increase the length as preferred by simply adding more rows of stockinette stitch equally to each panel
Notes:
This top is knit flat in two pieces and seamed up the sides and at the shoulders to finish. Essentially you will be knitting two rectangles and then sewing them together to create the shirt. In addition, you will hold two strands of yarn together for the entire pattern. You should be familiar with the super easy mattress stitch seaming method in order to seam the sides at the end of the pattern (there are many tutorials for this method that can be found through a simple online search).
Easiest Classic Top Pattern
Front Panel:
Hold two strands of yarn together for entire pattern
Cast On (52, 60, 68, 76)
Bottom Ribbing:
Row 1 K4, p4 across row (ending with a k4)
Row 2 P4, k4 across row (ending with a p4)
Rows 3 – 6 Repeat rows 1 & 2
Stockinette Body Portion: (You will now knit the stockinette stitch)
Row 7 Knit each stitch across row
Row 8 Purl each stitch across row
(XS, S) Row 9 – 62 or until desired length is reached, repeat rows 7 & 8
Row 63 – 66 Knit across each row
Cast off, weave in ends
(M, L) Row 9 – 74 or until desired length is reached, repeat rows 7 & 8
Rows 75 – 78 Knit across each row
Cast off, weave in ends
Back Panel:
Follow same pattern as front panel until row 7. Then follow pattern below (stockinette stitch):
Row 7 Purl each stitch across the row
Row 8 Knit each stitch across the row
(XS, S) Row 9 – 62 or until desired length is reached, repeat rows 7 & 8
Row 63 – 66 Knit across each row
Cast off, weave in ends
(M, L) Row 9 – 74 or until desired length is reached, repeat rows 7 & 8
Rows 75 – 78 Knit across each row
Cast off, weave in ends
Block both panels as needed.
Seam Front & Back Panels Together
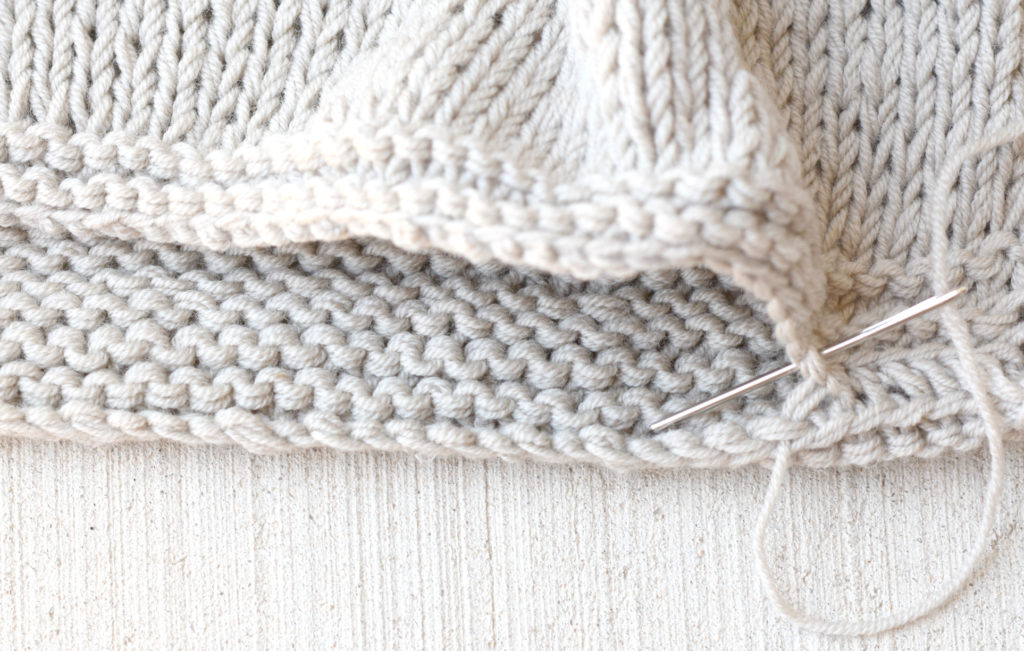
Place panels one on top of the other with the right sides (knit sides) facing out. With a length of yarn and your tapestry needle, whip stitch seam the shoulders, working from the outside inward approximately 2” inches on each side. You may make the neck opening smaller or larger as you prefer.
Above: using a simple whip stitch to seam the shoulders.
Next, seam up each side using a simple whip stitch in the ribbed section and a mattress stitch seam for the stockinette portion of the top leaving holes for the arms. Tie off and weave in ends. As pictured, the arm holes are 7” inches long (size extra small), however, you may make them as large or small as you’d like. Now you can wear it!
What do you think? Can a beginner make this top? Hope so!
XO,
Jessica
Thank you to Lion Brand Yarn for sponsoring this post. All opinions are 100% my own.

You’re so pretty! And I just adore all of your designs.
Janelle
Aww thank you girl! I try to put on a little make-up and not wear yoga pants when we take these photos! So glad you like my designs and thank you for all of your support!
Hi there. LOVE this pattern but never been a fan of seaming. Any suggestions on how to do this in the round?
Oh, thank you for asking that. I would love to be able to knit it without having to so it up at the end. And thank you so much for this beautiful pattern! This is a great blessing!
I love this pattern! Thanks for sharing it 🙂
Aww – I’m so glad! You’re welcome!
I am in awe of your patterns! You seem like such a busy woman, where do you find the time? I am currently knitting the little black top of yours as my summer project and look forward to starting this! Thank you so much for sharing your creations!
Thanks for sharing the pattern your awesome. Are you usung to strands of yarn together for drape? Would the pattern eork up allot differently if I used 1 strand of yarn? I was thinking it would be to warm for summer sleeveless top.
hey sweetie… Andrea from Boise… I look so forward to your posts… You are just a ray of sunshine… Love this new pattern and the flexibility of being informal and formal, whatever the case maybe… You are just amazing and so generous to share your creations… You go girl! Take care and God bless
Thanks sweetie this is so cute. Love your emails and the share factors. Bless you
Thank you so much for sharing this with us. I plan to start on it this weekend!
I’m happy to share – you’re so welcome! I hope you enjoy making it this weekend – let me know if you have any questions!
Hi Jessica, I was so excited about this one when I saw the pics…then I read further and realized it is a knit pattern. Any chance you have something very similar (simple for first time apparel makers) in a crochet pattern in the archives? My level is intermediate to advanced crochet-er. I can make scarves, hats, pillows, flower appliques, you name it. But when it comes to tops I always get screwy with the patterns. I do know how to knit in a super basic way but I do not enjoy knitting as much as crochet. Anyhow, love the look of this and the sounds of it – sounds nice and simple. Let me know if you have anything similar in crochet and if not I just may struggle my way through knitting it. thanks!!
Hi Bita,
Sorry for the delay! I don’t really have crocheted top here on the blog that is similar. I should think of coming up with one at some point. I hear you about getting screwed up with top patterns. They can get tricky! Mine never do (or at least haven’t yet) because I don’t like counting stitches and doing complicated shaping. I hope you can find a top that you’d like to make or that I can come up with one that you will like at some point. 🙂 Thanks for reaching out!
I love your poncho and love the fact that it is free. Unfortunatinately, I don’t know how to crochet. It may be easy, but it is all Greek to me!! Any chance of you doing a knitting pattern? I know you can’t just whip one up, but if you could in the future,
those of us that have knitted all of our lives would really appreciate it. You don’t know how frustrating it is to see all the beautiful crocheted items that people do. It’s like they are saying, “Ha Ha, we can do this and you can’t, and we are not going to tell you how!!” Thank you.
Hi!! Thank you Gwen for your kind words. I’ve got a knit version in the works since I had several requests. Thank you for asking!
Good Evening,
I have a lot of PLYMOUTH GALWAY WORSTED WEIGHT YARN and I wanted to know if that could be used.
How many skeins and what size needles?
Thanks so much.
Hi Rita!
I replied to your message on FB. Hopefully it gives you some idea of what you can do!
Can I use a worsted or bulky weight yarn instead of holding 2 strands of #3 yarns together?
You can try with a worsted weight, but be sure you knit a swatch to be sure the gauge is right! That can really make a difference in sizing. 🙂
Such a beautiful pattern that doesn’t intimidate me! Thank you!! Can you make it using one strand of worsted or is it better to use #3? What size did you make for yourself? Trying to decide between a size S and M. I’m right in between the S and M. 🙂
Hi Amy! I did a small and I typically wear a size small or extra small top. You can try one strand of worsted weight, but work up a gauge swatch to make sure that the sizing will come out right. 😉
This is beautiful! Thank you for sharing! I don’t knit (yet!) but I wonder if I could crochet something similar… hmm…
I’m sure that you could crochet something very similar. 🙂
Hallo
Love the top.
Can you perhaps give an indication of the number of stitches I need to cast on to fit a bust of 124cm?
Thank you
I am just now starting this using a worsted weight ( LB Heartland) yarn and I went down to size 10 needles. I think it’ll work. Thanks so much Jessica for another cute, easy and stylish pattern!
Finished my top and it came out great! I followed the pattern instructions for medium size. I used some Heartland stash yarn and used 10.5 needles, not 10 as stated in my previous comment, since I used a thicker yarn. My front piece length after I cast off was only 18 inches, way too short. In order to lengthen it I winged a crocheted section and added an additional 5 inches above the cast off for a total of 23 inches. For the back panel I did 18 extra rows of stockinette to get 23 inches. The other deviation from the pattern was I made 6 rows of a contrasting color (front and back) to create a stripe under the bust. My main color was Cuyahoga Valley and the contrasting stripe was in Mount Rainier. I really like the look of the crochet/knit combo! I will wear this top a lot, so cute and comfortable!
So awesome! I’m so happy to hear that you like how it turned out. Love the idea of a contrast color too. Thanks so much for sharing your insight with us!!
My front and back panel sides are curling up because of stockinette stitch what to do ?
Once you seam them together it won’t matter. 🙂
Could you help me please with alternative yarns? Complete newbie here, I have itch-phobia & would love to make this in something more ‘cotton’ feeling, hope that makes sense, I promise I’ll get less dumb as time goes on! ♥
Hi Jessica
I’m in bonnie Scotland and have now knitted two of these gorgeous tops…one in a purple shade and one in teal…thank you for sharing this pattern…I’ve just recently started knitting again….I’m so glad I found you
So wonderful to hear! You’re welcome and thank you for the kind words!
Bonjour, je découvre votre site. J’aime beaucoup. Je ne parle pas anglais mais avec le traducteur je comprend plus ou moins.
Ok, how do I adjust for knit in the round so I do not have to fool with seams? I have been knitting for years … made many cowls, scarves, hats, jewelry, ponchos, etc. and even wrote a few patterns…but I have never knit a sweater and this looks simple enough for me to try. Thanks so much for posting your beautiful patterns and TFS your creativity!!
Hi!
You would just follow the pattern, but join in to knit in the round, casting on enough stitches for the front and back. Then, you’d work only knit stitches to create the stockinette portion. When knitting flat, it alternates knit and purl. Knitting in the round, you simply “knit” to get stockinette. Hope this helps!
Jessica,
I am such a fan of your patterns and I will be ordering yarn for this pattern soon. As I am someone who does not enjoy long stretches of purling, I was planning on substituting the stockinette stitch with the stamen stitch. That being said, the back part of the pattern has you starting with a purl row and continuing back and forth. In my case, using stamen stitch for both sides would I just make both front and back the same, no change??
Hi! I’ve actually never personally worked the stamen stitch! I’ll have to try.But the pattern is the same for the front and back panels, so as long as you work some ribbing at the bottom and work your stitch, you should be good to go! Thanks so much for the kind words about my patterns. 🙂 Means a lot! Have a great day!
I’d like to knit the easiest classic knit top, but cannot find the merino wool here in Bobcaygeon Ontario. Is there another type of wool that I could use? Suggestions?
Live your patterns
Thank you, Pam!
I am 80 years young and I love your crochet patterns of which Ihave made several.Thankyou for keeping,them easy enough and so innovative…You have all the smarts girl!!!!love from Canada….Dawn Jacot
Ahhh, thanks Dawn for making my day!