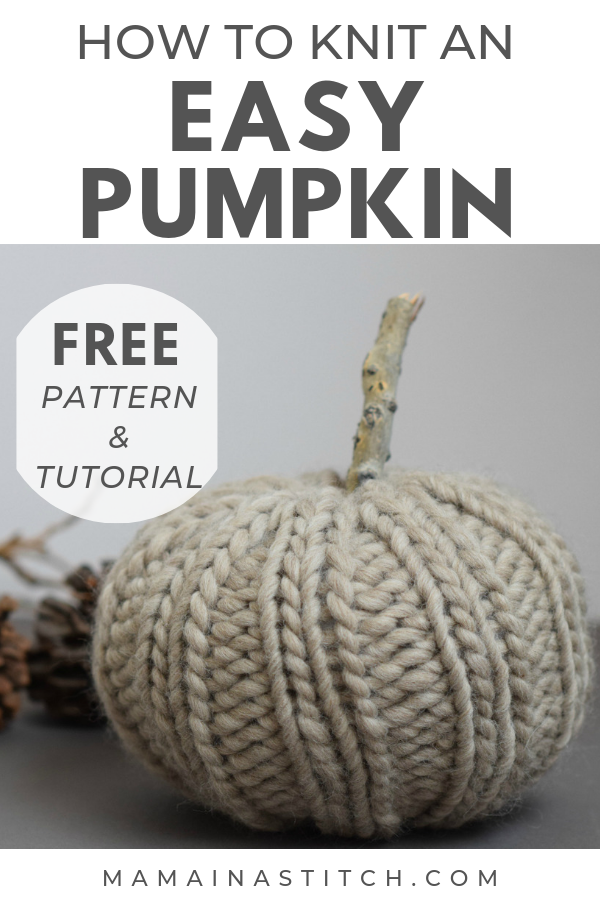
Chunky Pumpkin Free Knitting Pattern
It’s that time of year my friends – knit pumpkin time! This is one of my favorite, simple knit pumpkin patterns and it makes the prettiest fall decor. If you can knit and purl, you can easily make this pumpkin.
After sharing my crocheted pumpkin pattern, many of you contacted me wanting the knit version. This knitting pattern is simple enough for beginners and it creates the perfectly sized table pumpkin.
I made mine in under two hours, so they work up relatively quickly and they make for a great stash buster. It uses less than a skein of yarn!
I’ll show you how to knit this pumpkin in no time!
What Yarn Do I Use To Knit A Pumpkin?
You are going to use any super bulky #6 yarn that you have on hand! Yay! Or you can go buy some. You don’t need to twist my arm to go to the yarn store. Lol
For my pumpkin, I used the beautiful Cascade Magnum yarn. I absolutely love the Cascade Magnum yarns not only because they look and feel high quality, but their color options are incredible!
My pumpkin’s made with the Doeskin Heather color (here). I had some sitting in my stash. You can be creative and use any super bulky yarn that you have, in any color that you like! A less expensive option would be to use Lion Brand’s Wool Ease Thick & Quick (here).
If you make one, I’d love to see it on Instagram or Facebook – just tag me @mamainastitch. Some of you have already shown me your crochet versions and they’re gorgeous!
Like I mentioned earlier, this really is beginner friendly. You only need to know how to knit and purl, and work in the round.
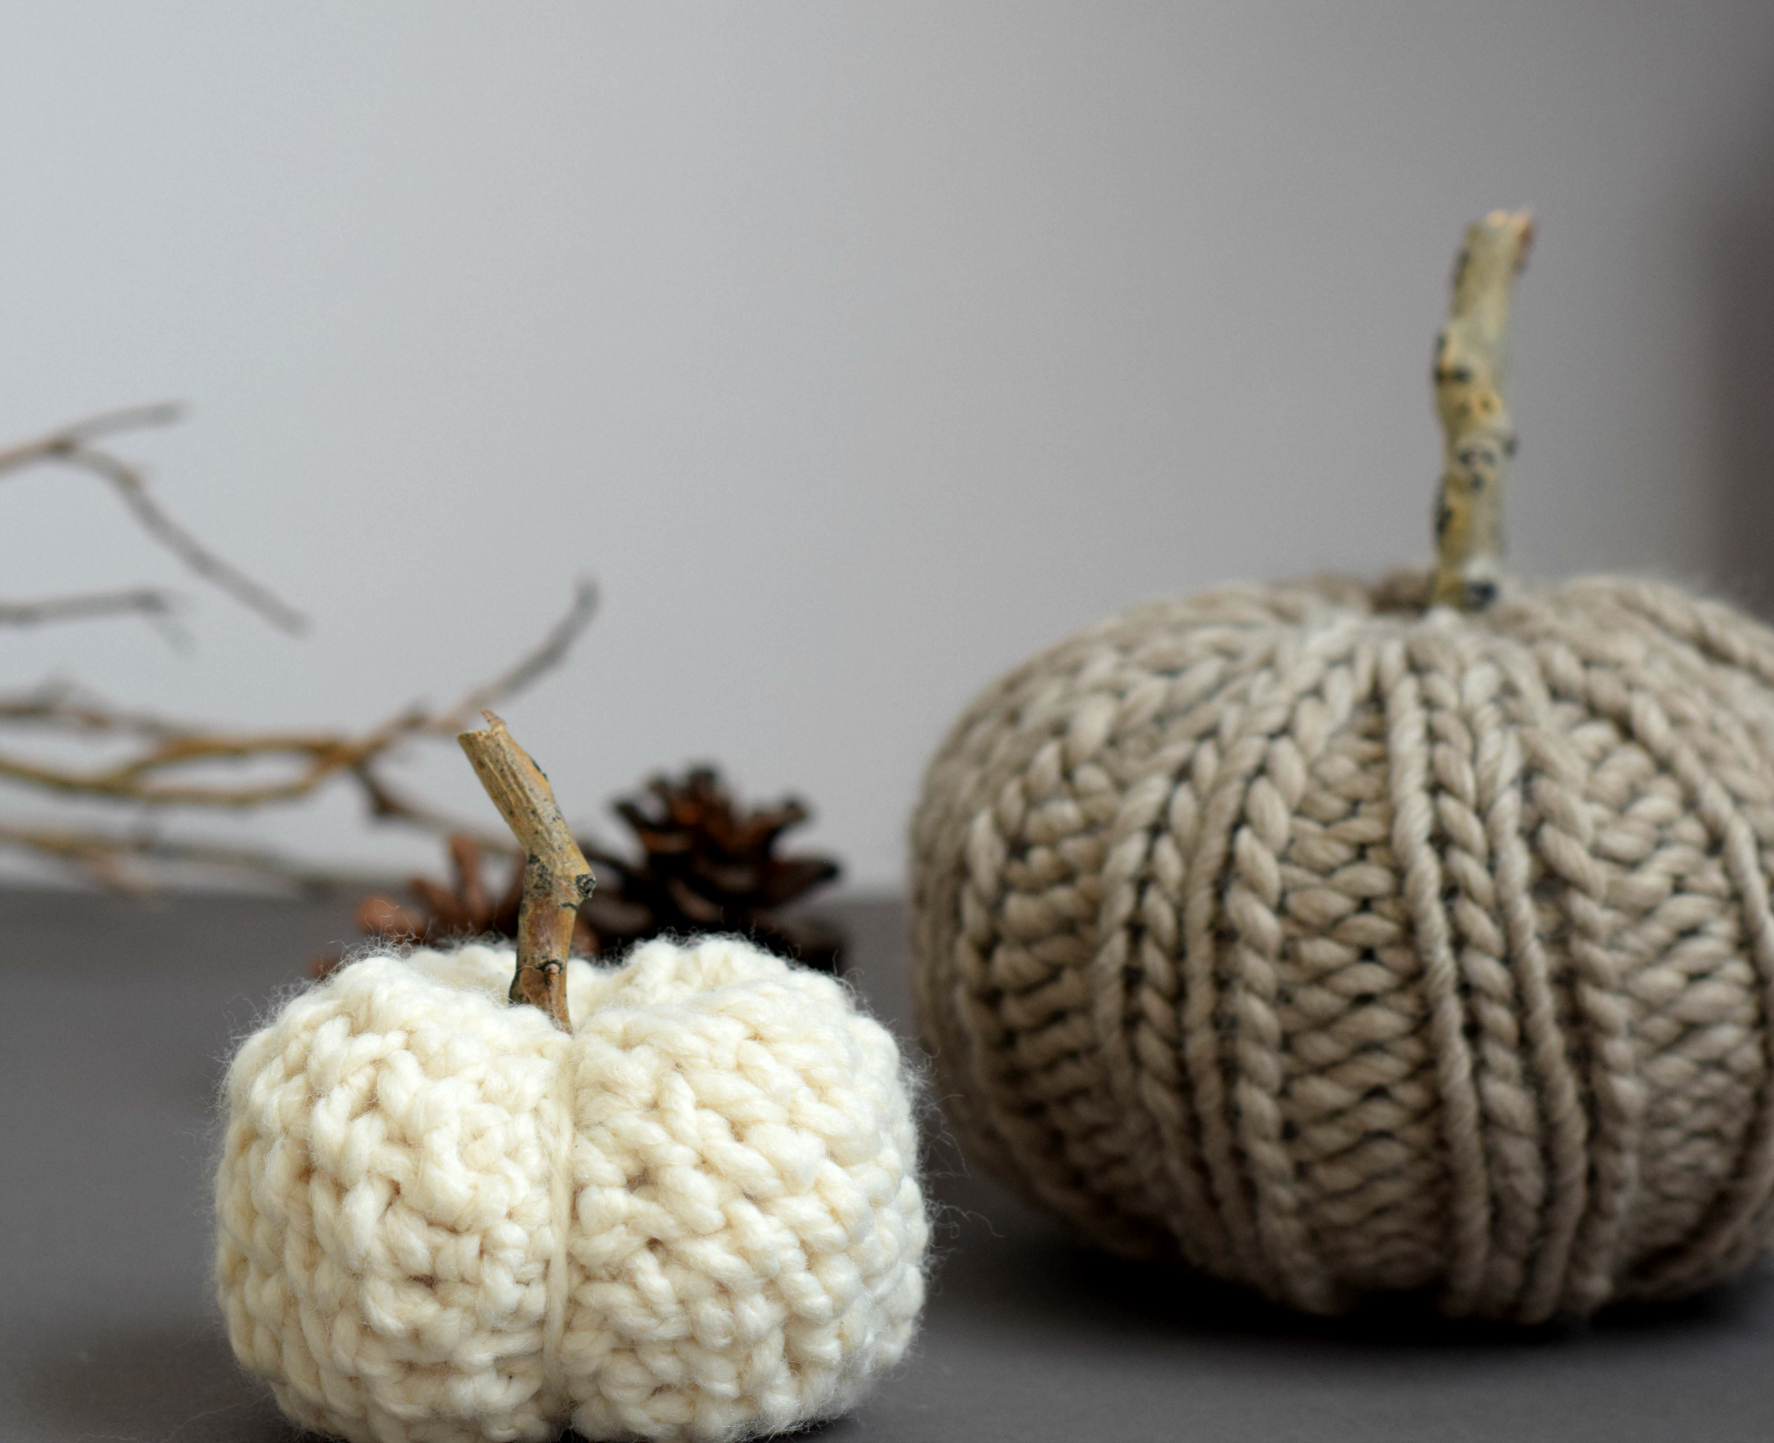
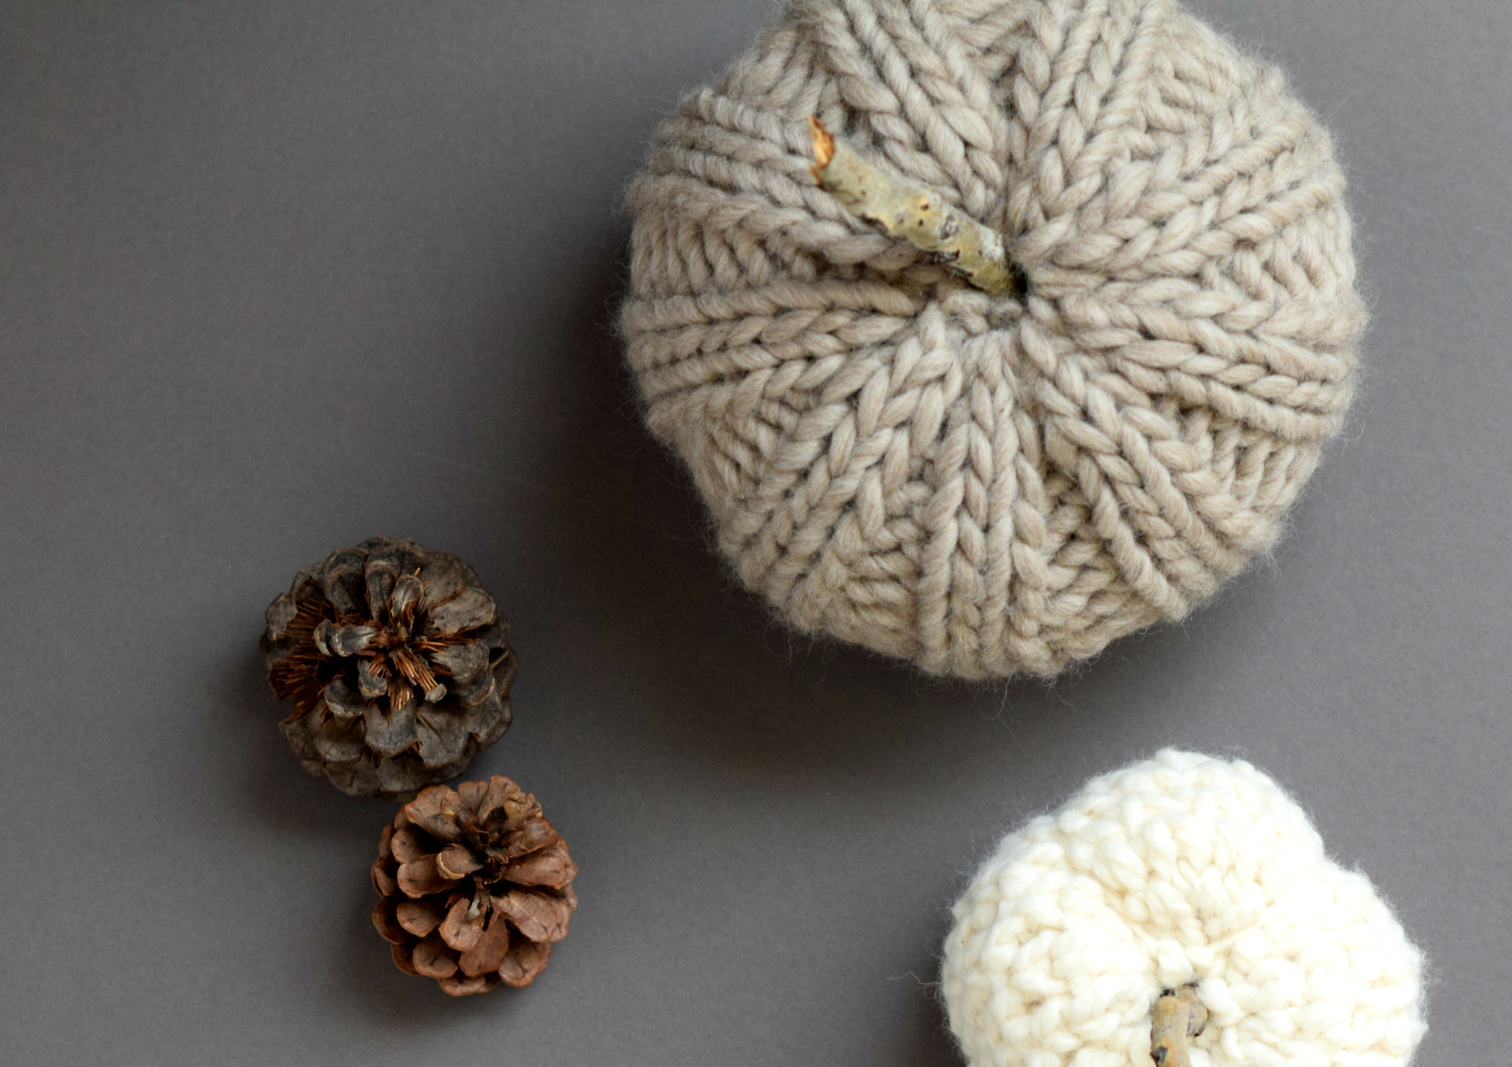
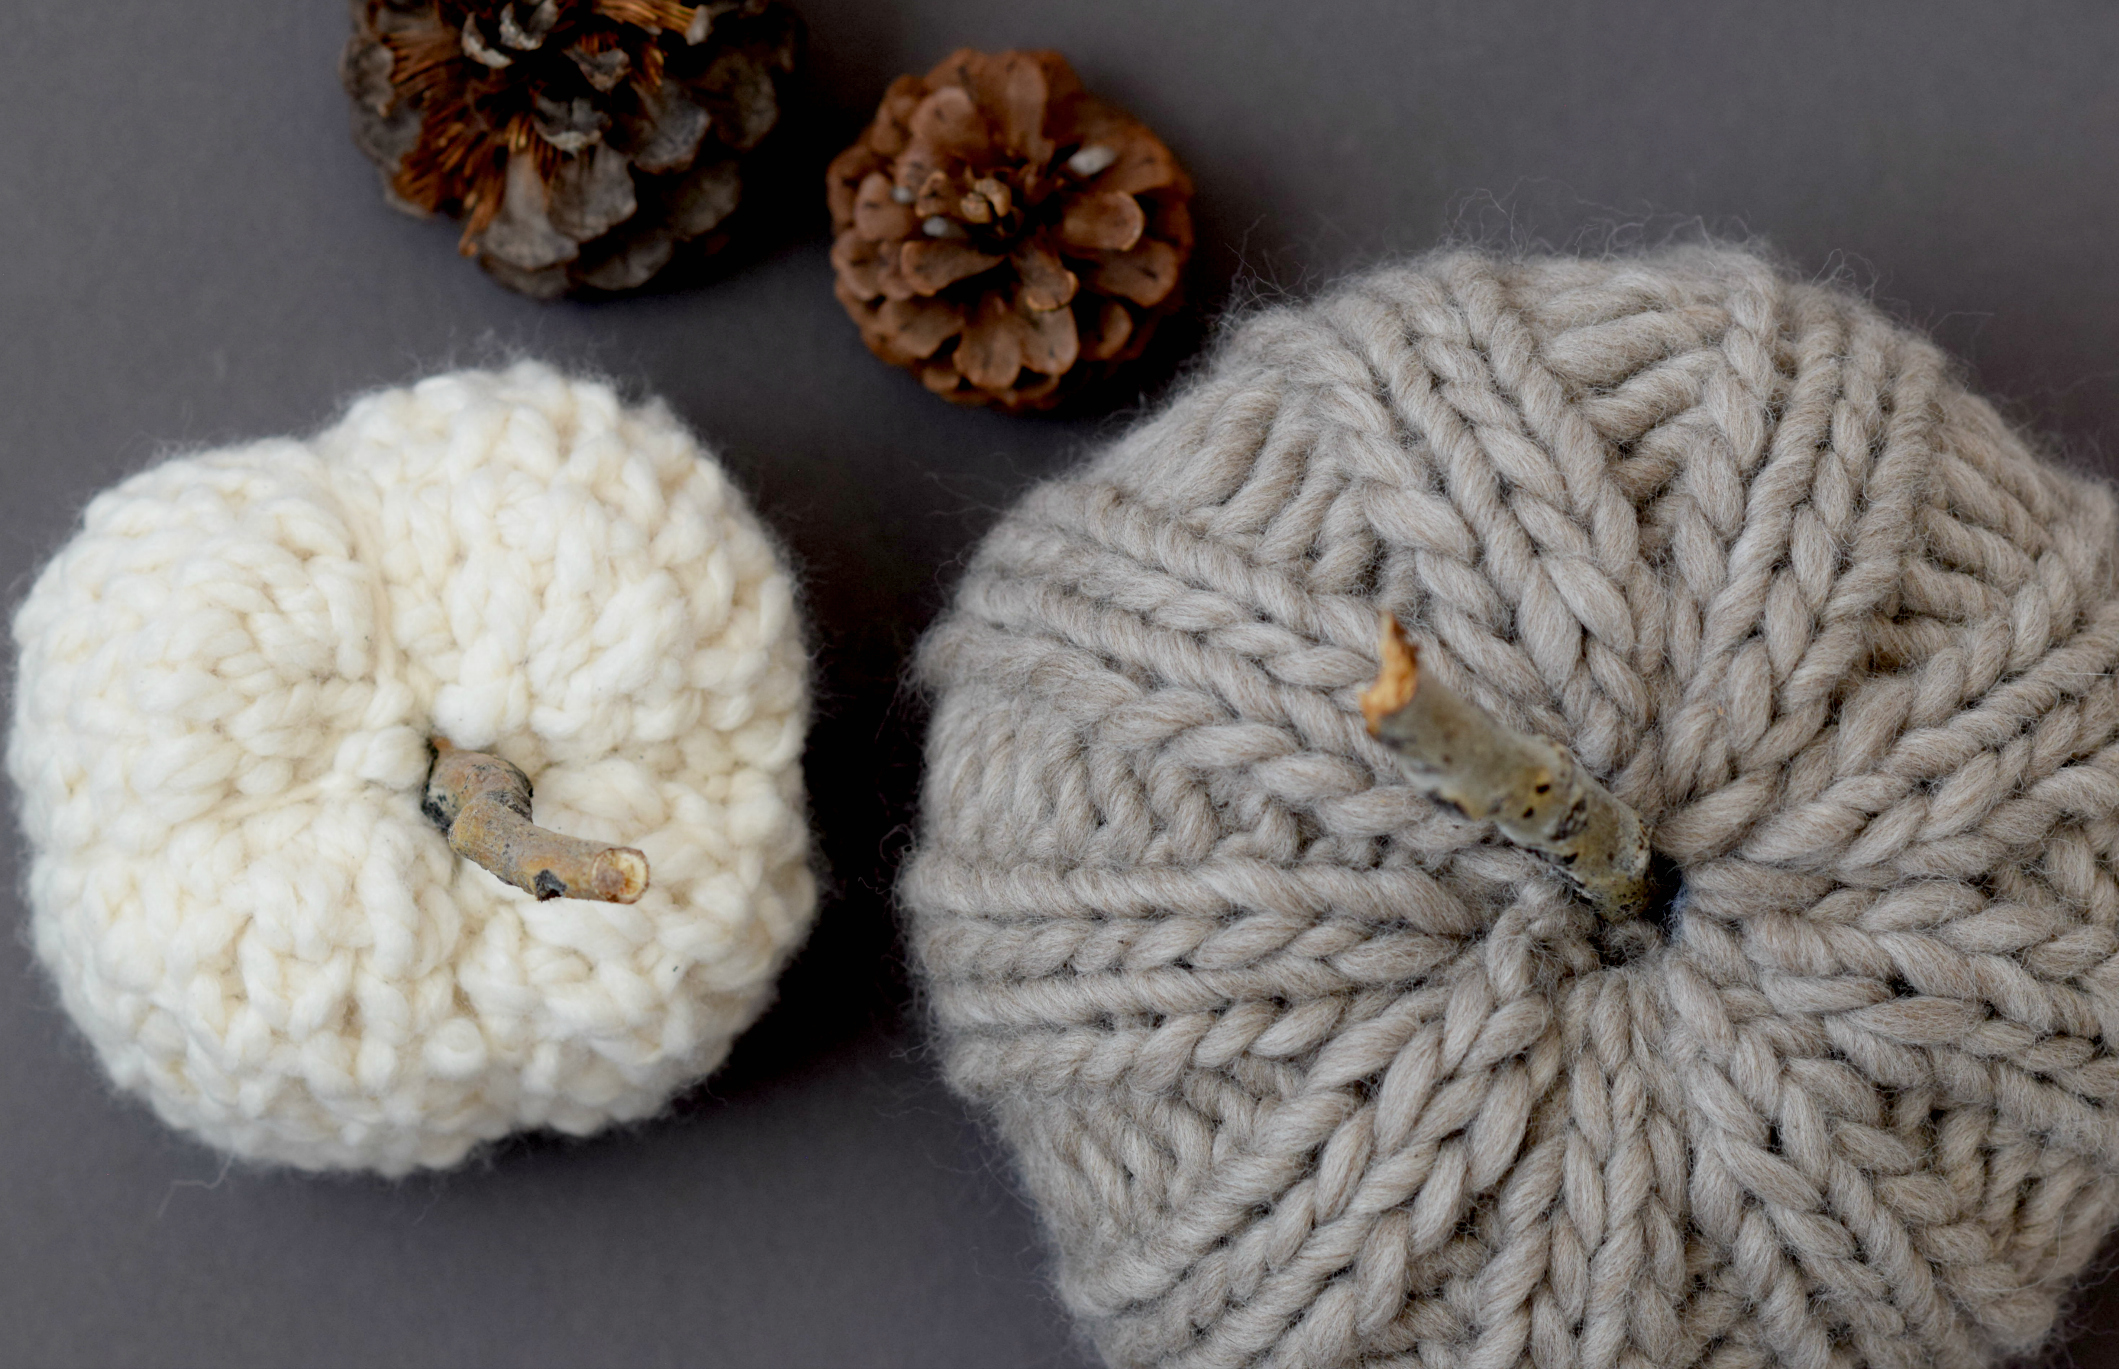
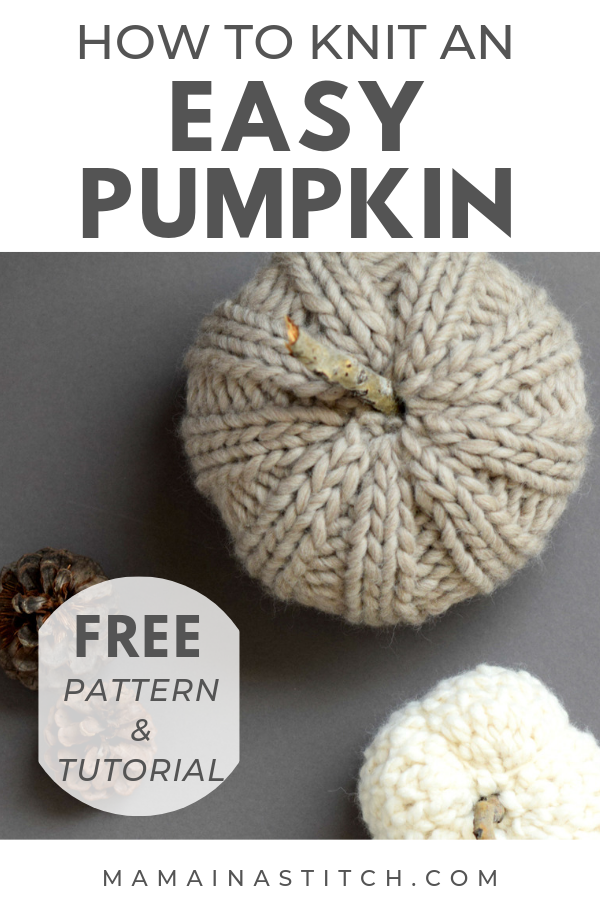
Above: If you’re going to display the pumpkins, make more than one. They look cute when they are huddled with two or more. The white one is my crocheted version (here).
You can use these knit pumpkins as center pieces, entry way displays, hostess gifts, and more! You can even mix them in with your real pumpkins from the super market. Feel free to be creative!
Scroll down to see the full picture tutorial on how to knit this easy pumpkin, and also check out the written pattern below!
Let’s get to it!
You’ll find the free pattern below, or you can purchase the ad-free, printable version from my Etsy shop HERE. 🙂
Description:
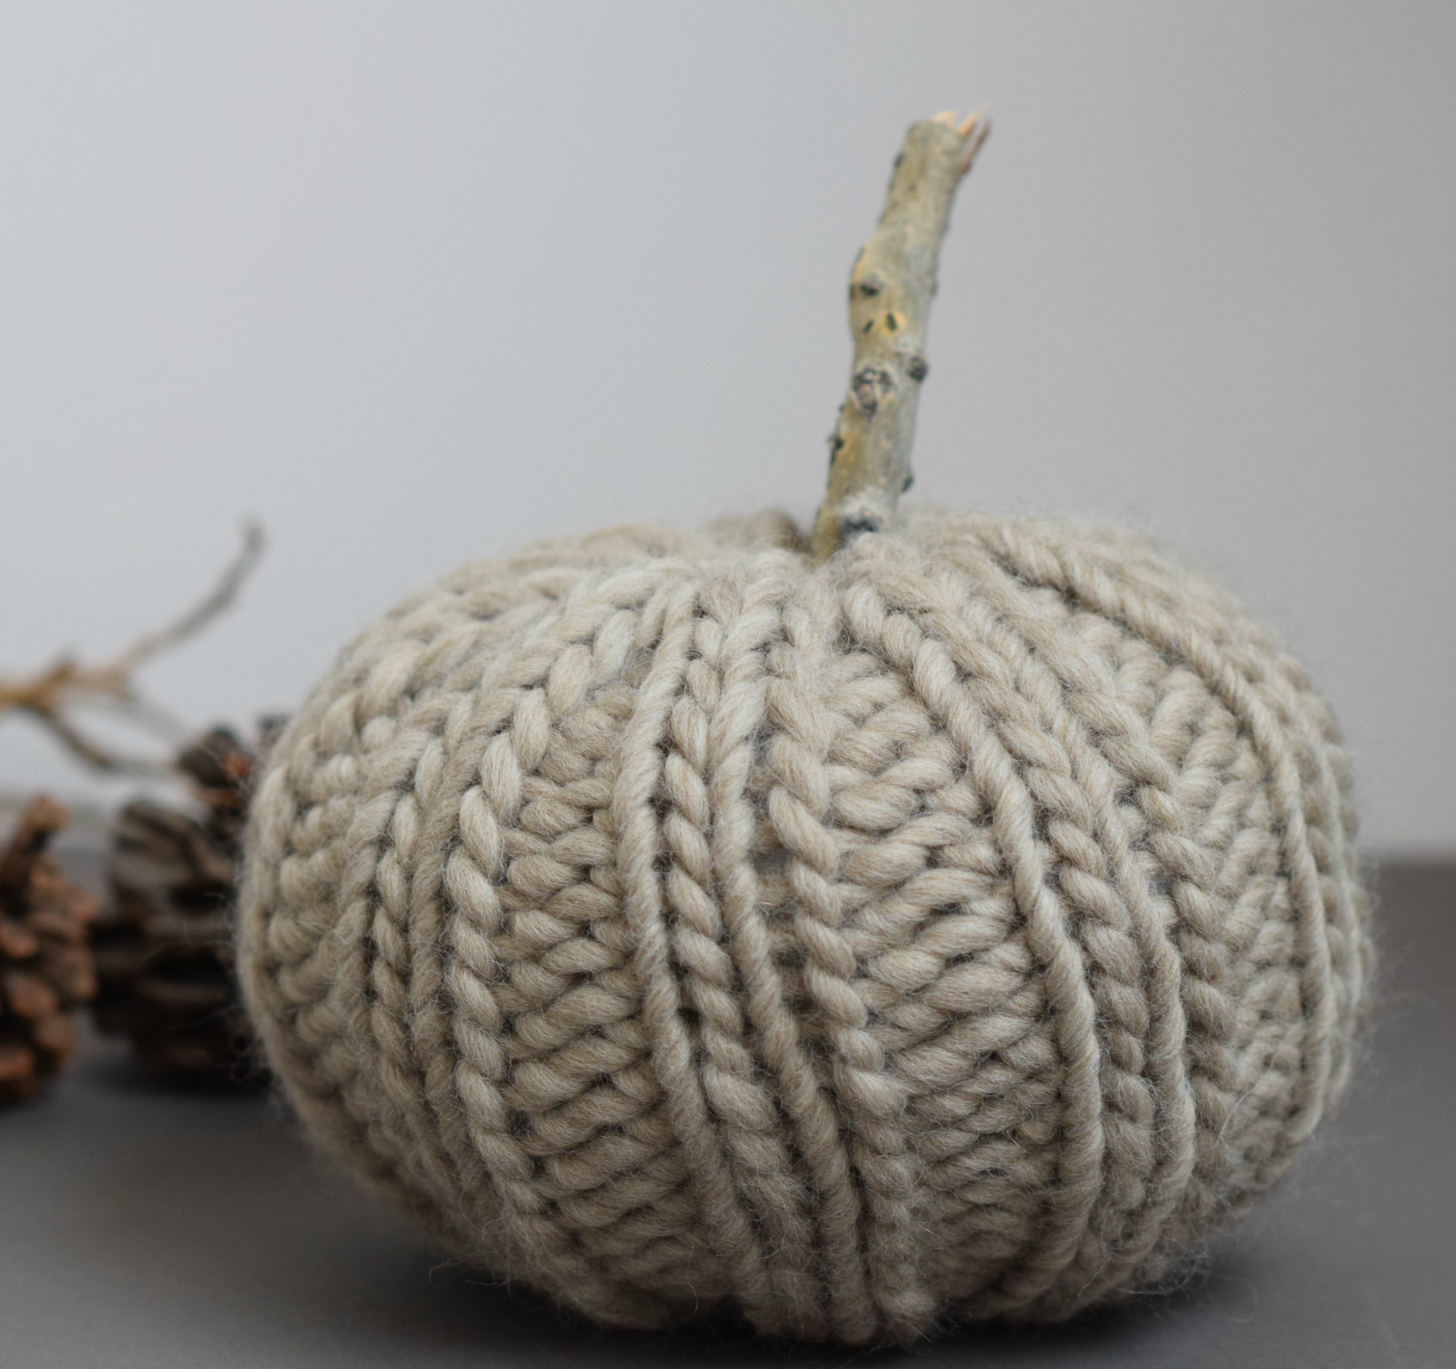
This chunky pumpkin works up quickly with large, circular knitting needles and super bulky yarn! It’s easy enough for beginners and has a rustic, store-bought look. The color possibilities are endless and you can be creative with the fun little stem. They work great as last-minute fall gifts, or to use as décor in your own home.
Materials:
- US Size 15, 16” circular knitting needles
- 1 skein Cascade Magnum in Doeskin Heather or comparable #6 Super Bulky Yarn (Pattern uses less than a skein)
- Poly-fil or preferred stuffing
- Stick for the stem
- Scissors
- Tapestry Needle
Skill Level: Beginner
Size: Approximately 7.5” wide x 5” high
Gauge: Not important for this pattern
Notes:
This pumpkin is knit in the round on circular knitting needles. There’s no shaping and the simple rib stitch pattern is easy enough for anyone who knows how to knit and purl. Feel free to knit for more rows to make it taller or knit fewer rows to make it shorter!
Abbreviations (US) & Skills:
k – knit
p – purl
sts – stitches
Chunky Quick Knit Pumpkin Pattern
Cast on 36 stitches, join to knit in the round (If you are having trouble joining in the round because it’s tight, you can cast on 40 and get the same result)
Round 1 *k2p2, repeat from * around (36 sts)
Rounds 2 – 24 Repeat round 1 (36 sts)
Next, cut the yarn, leaving a long tail. Using your tapestry needle, pull the tail through each stitch on the needle. Cinch it closed and tie off. Stuff pumpkin with poly-fil as desired. Next, with a length of yarn and the tapestry needle, sew the bottom of the tube closed and weave in ends. To create more shaping, you may also choose to pull the tail from the center top through the bottom of the pumpkin. Tie to the bottom of the pumpkin in order to give it a pumpkin shape.
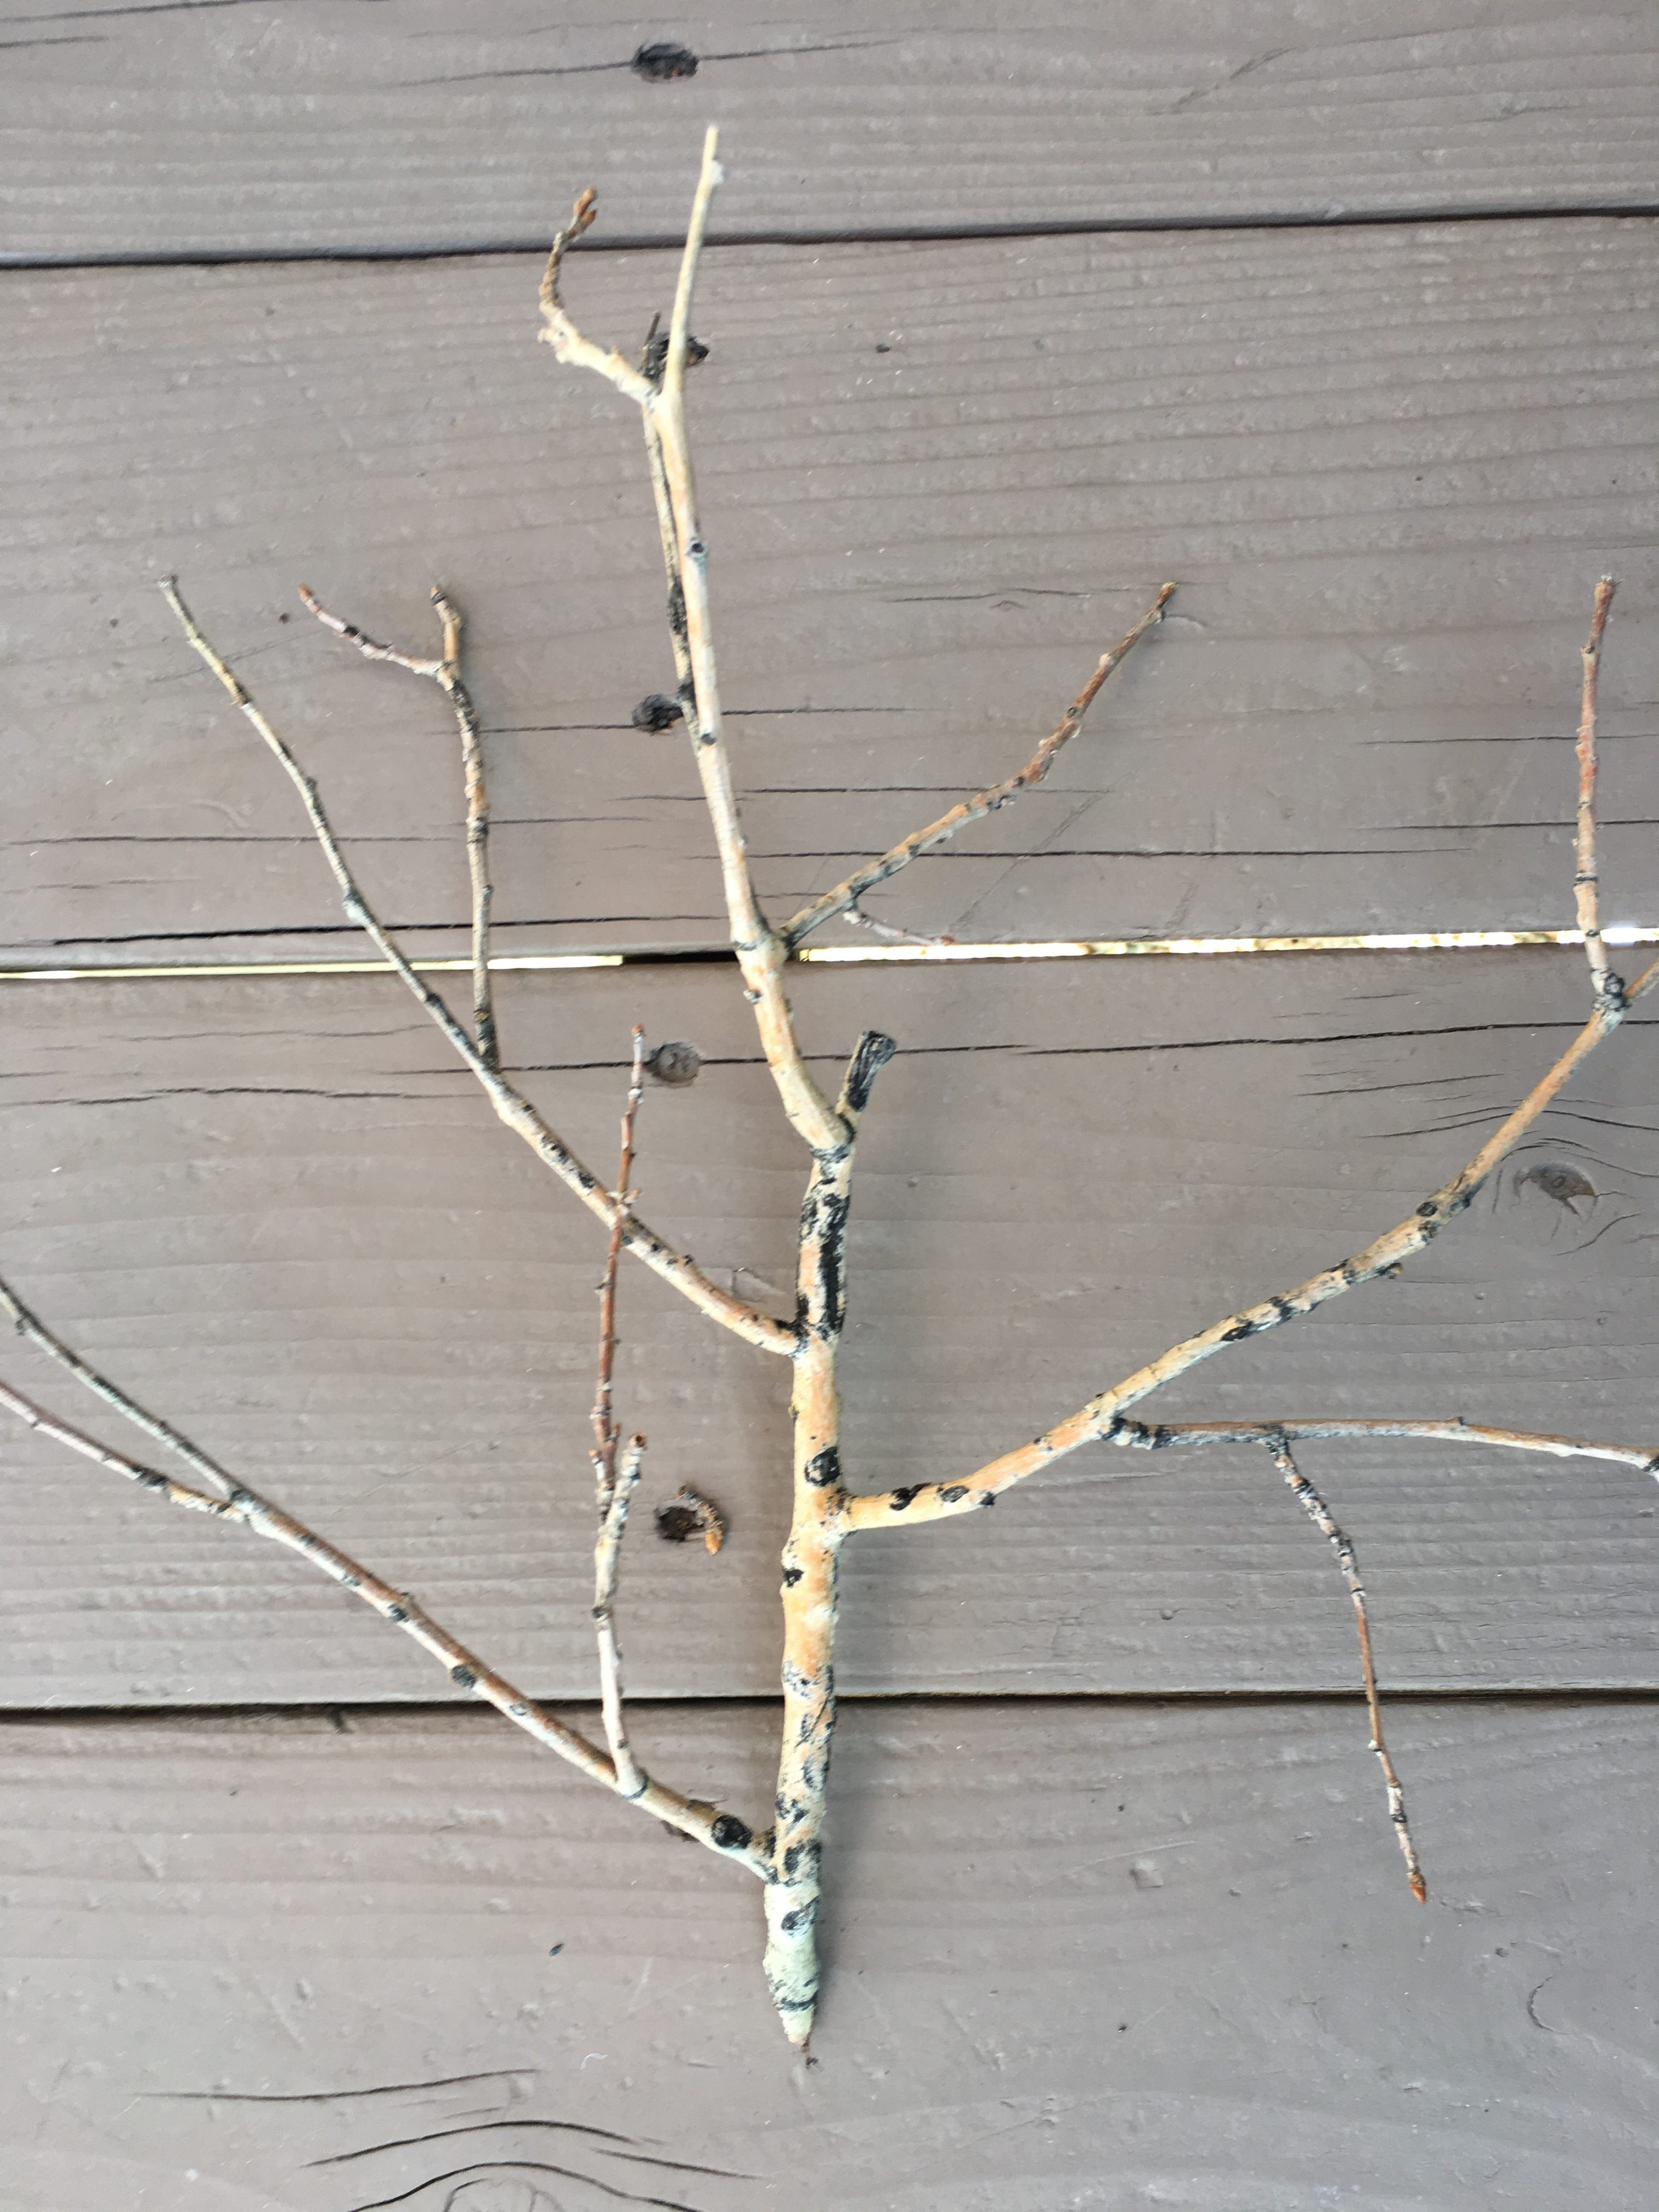
Be creative with the stem! Use part of branch, stick or crochet an i-cord to put in the top.
How To Knit A Pumpkin Step By Step Picture Tutorial
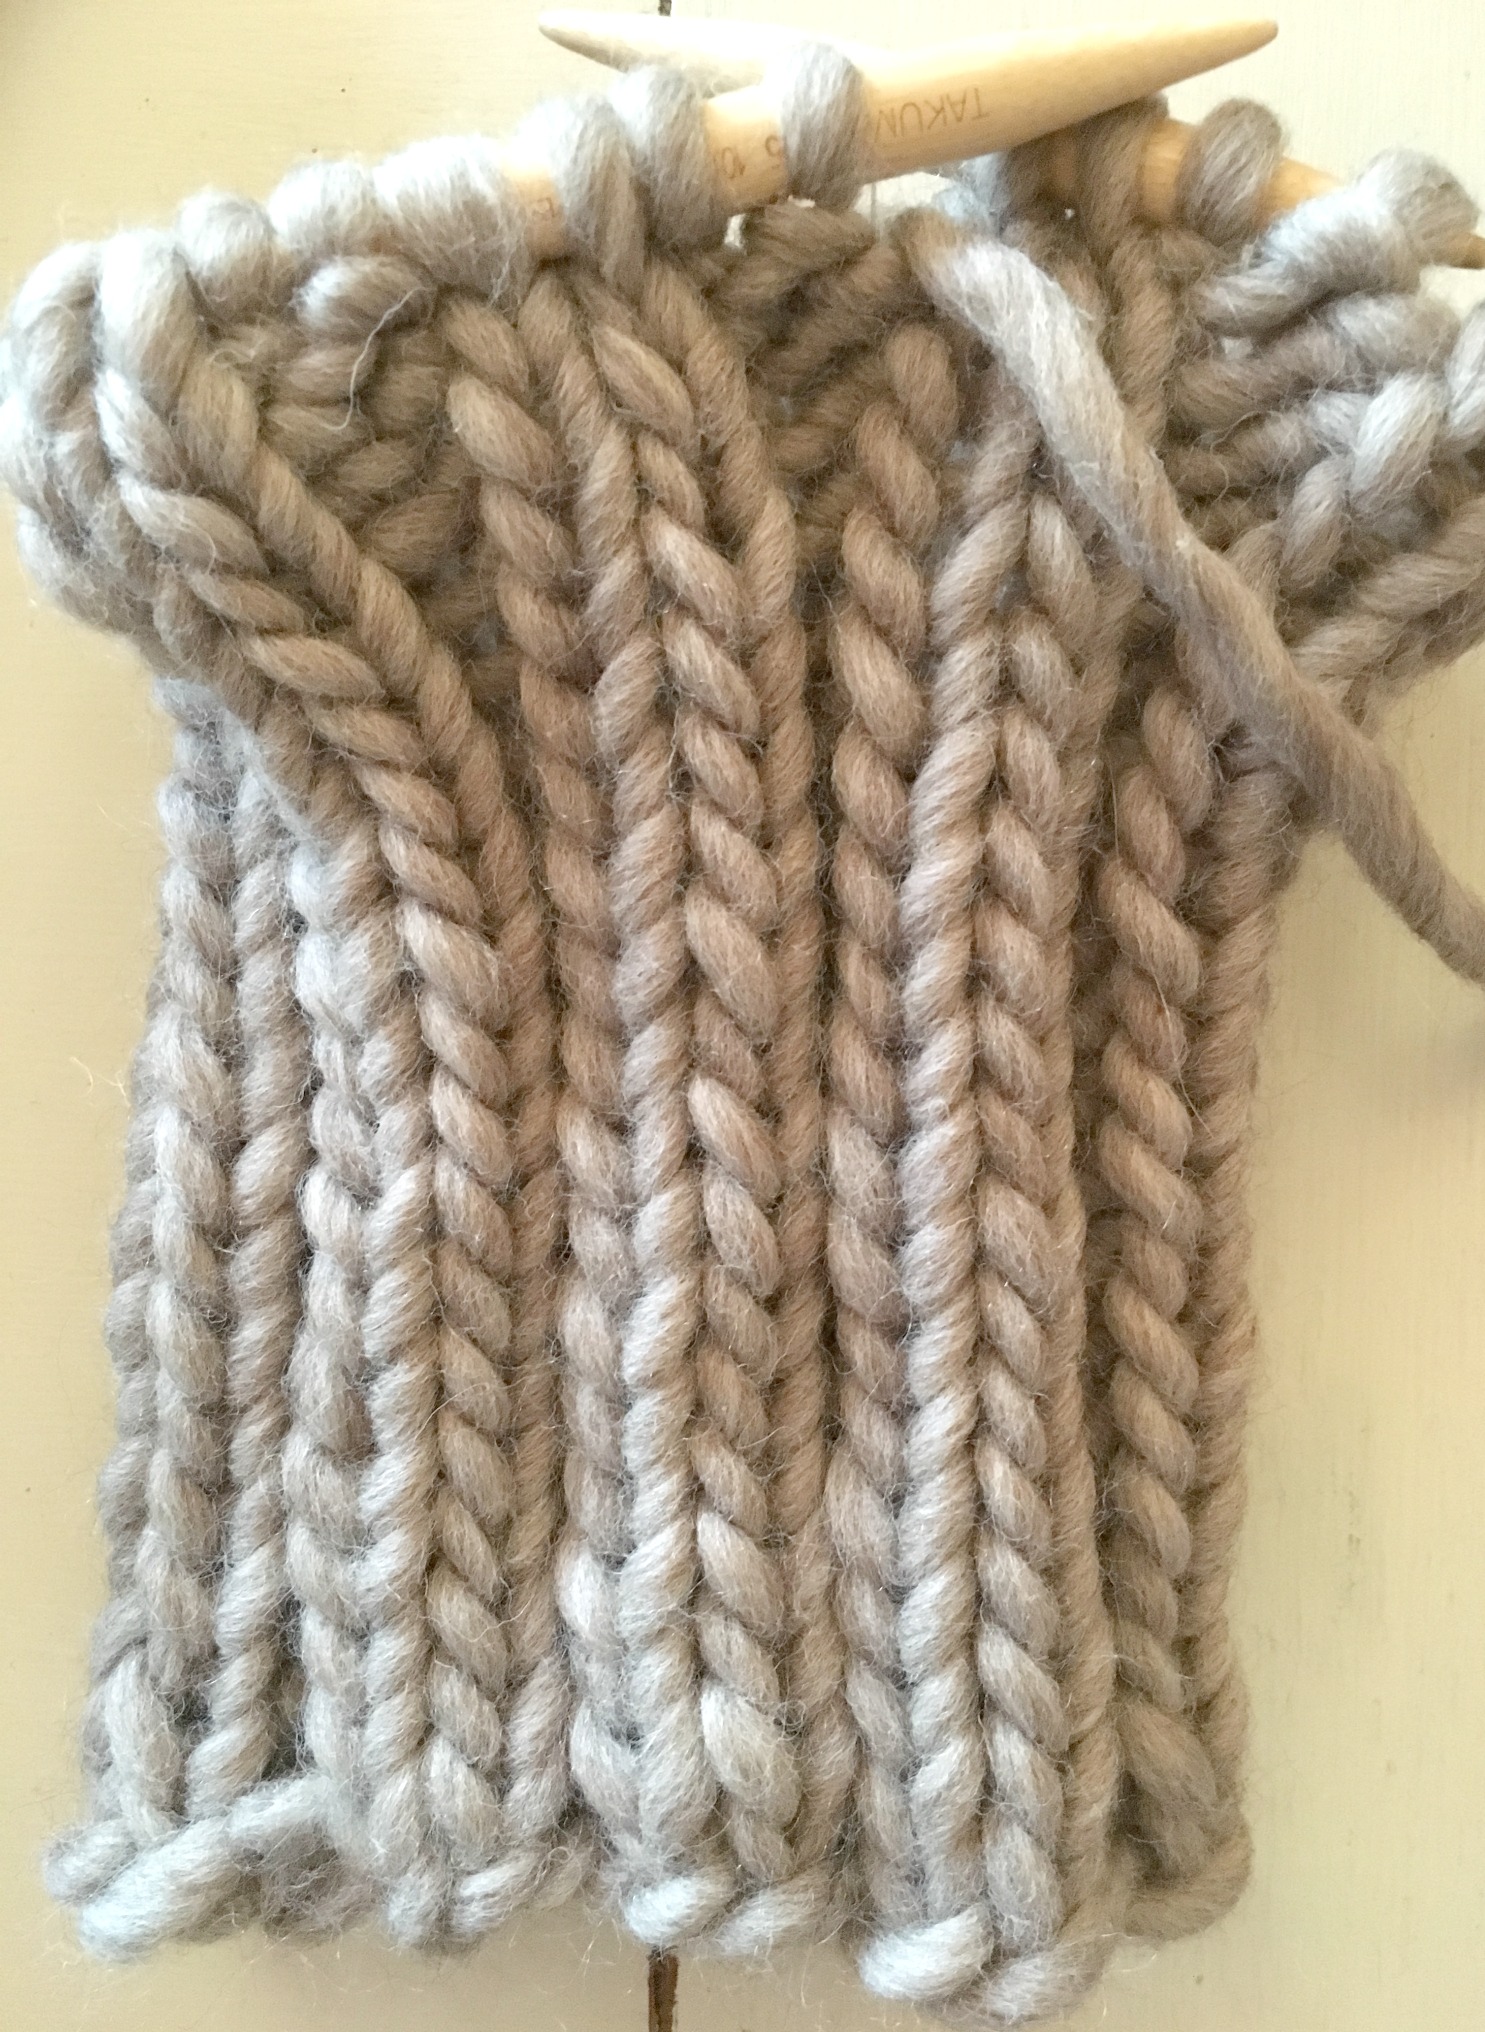
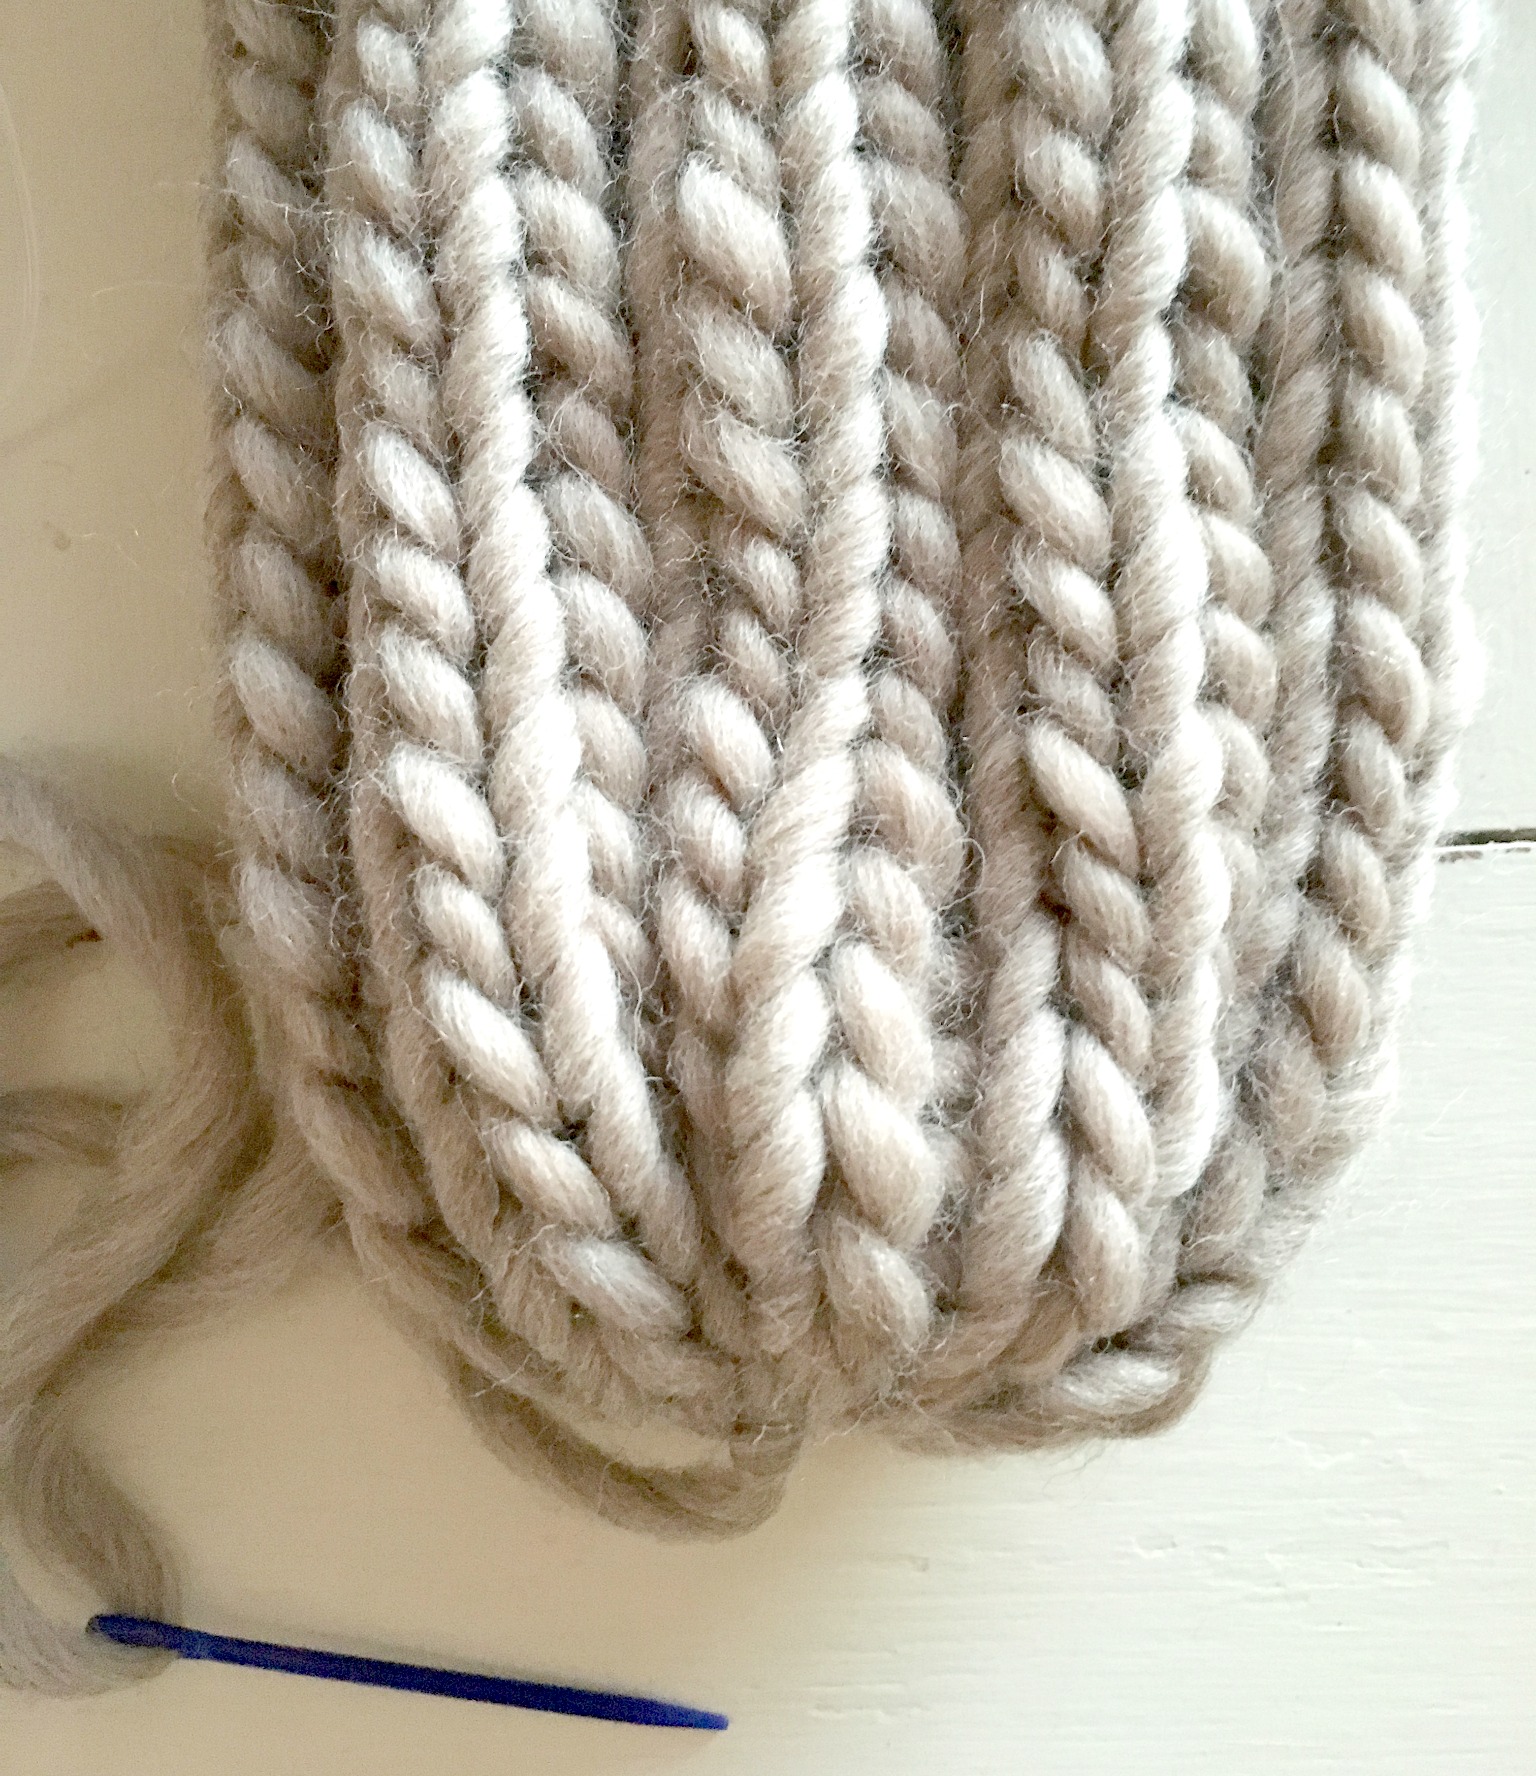
Below: Knit a rib stitch, following the pattern to create a tube.
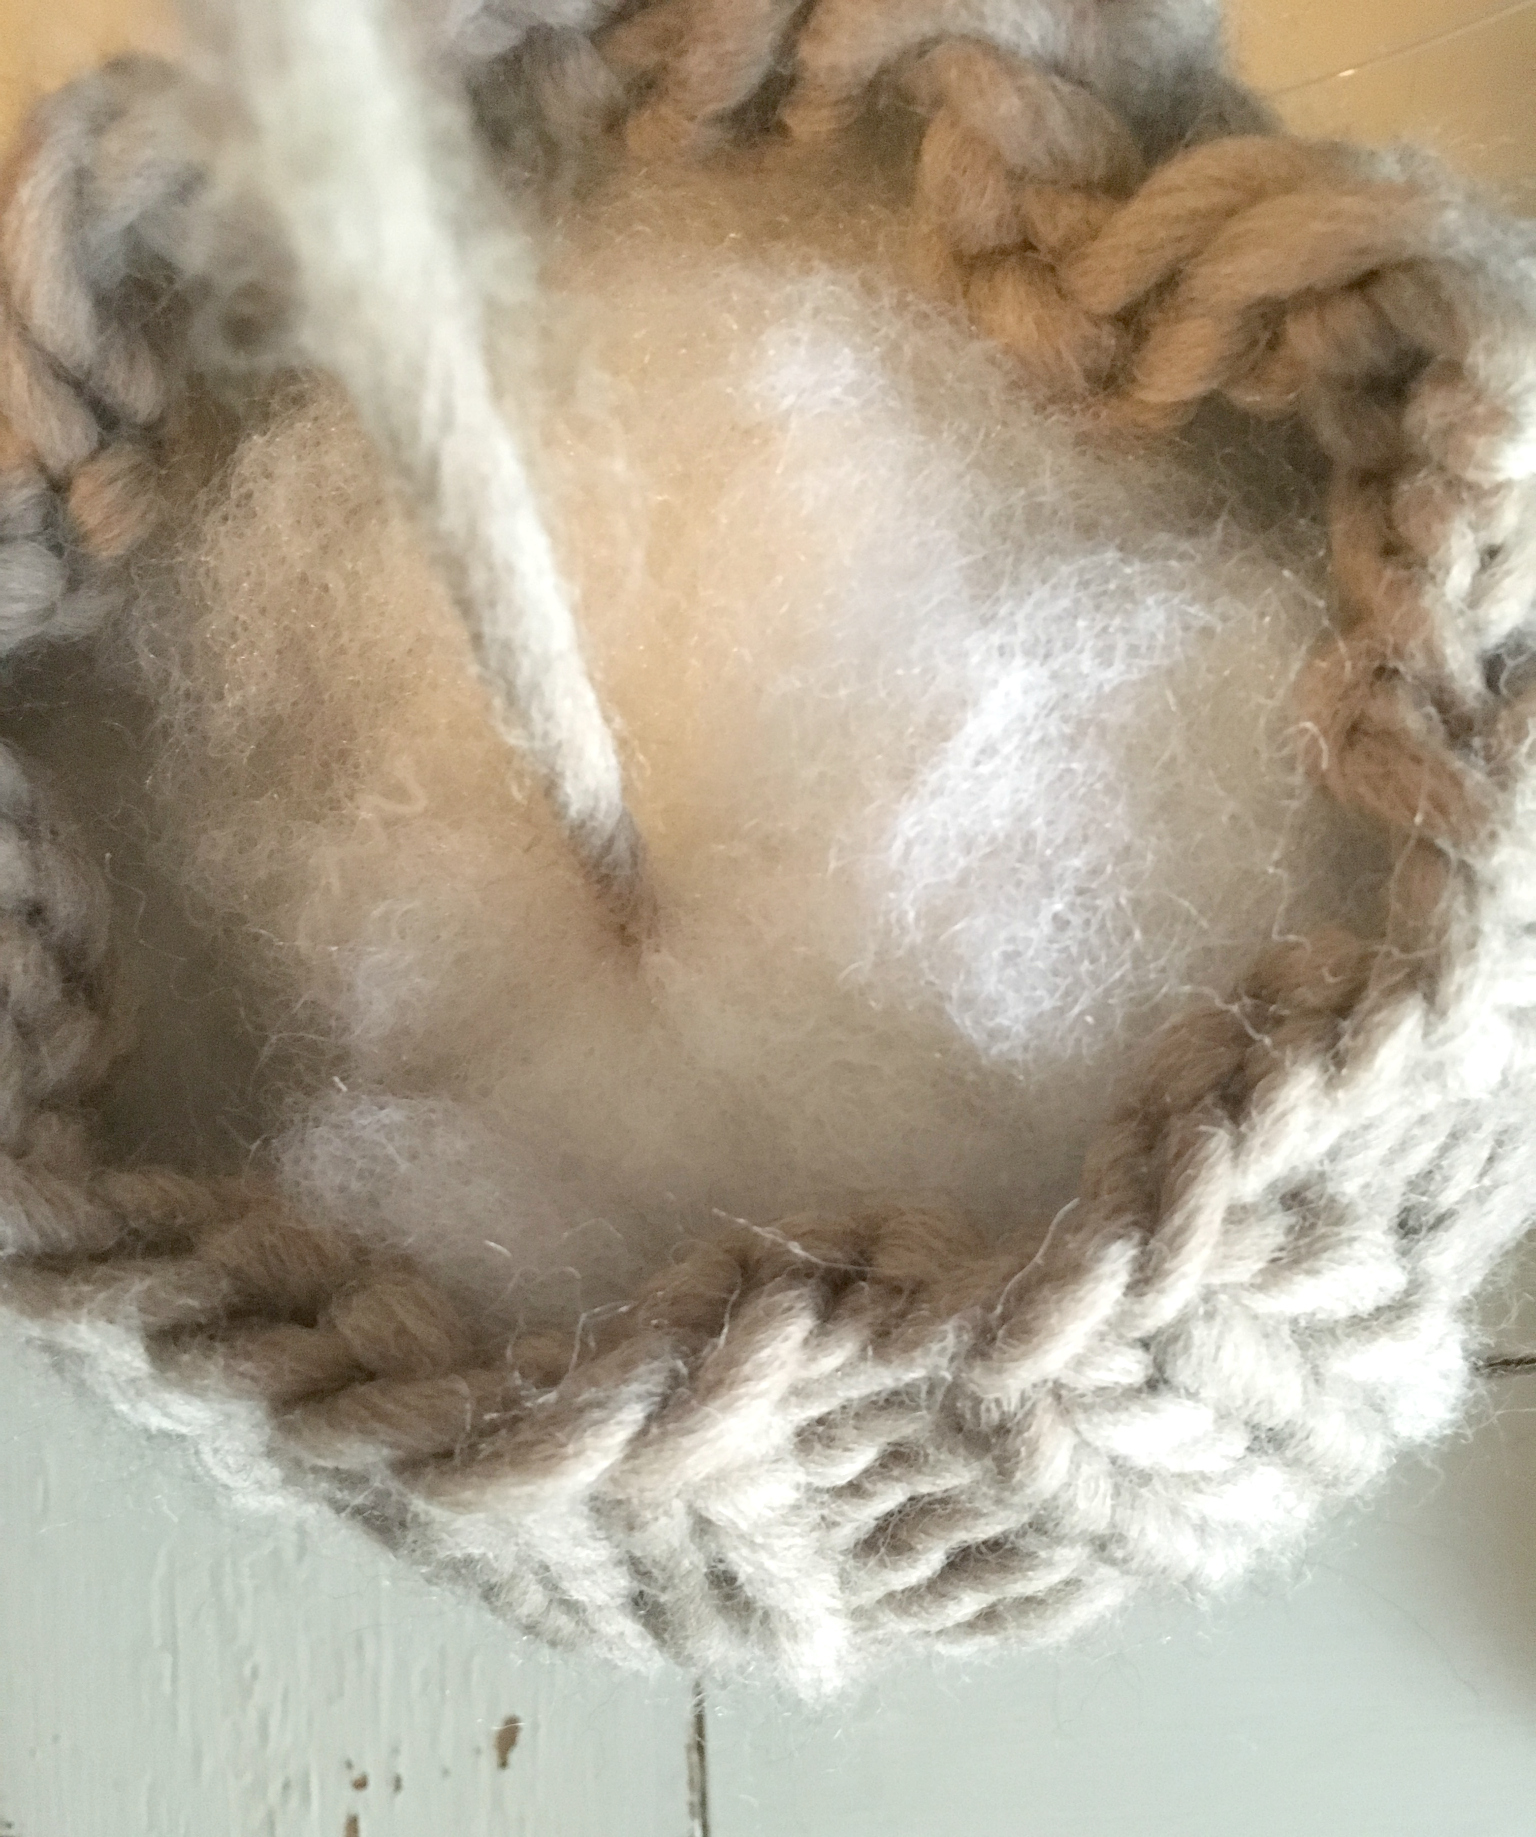
Next, cinch the top closed (I’ve flipped it so the top is now the bottom) to prepare to stuff!
Last, stuff and pull yarn through to close off the bottom and shape.
Below: Just like with my crocheted pumpkin, I used a dead Aspen Tree branch for the stem.
And that’s it!
Isn’t that simple! And if you’re checking this out, wishing you knew how to knit, definitely go follow my video tutorial here so you can make all the things (and all the pumpkins)
Hope you enjoy making pumpkins this fall! Have you knit pumpkins before? I’d love to hear what you think!
Mamas Maker Members get all of the patterns as ad-free, printable downloads! If you’re a member or would like to be one, check it out HERE.
XO,
Jessica
Oh! And I also added this pattern to Ravelry HERE!

How do u close off the top after u stuff ?
How do you attach the wood stem or do you just stick through the center?
Just stick it through the center. Thank you for asking!
So Cute! I can’t wait to cast on. Thanks for a such a easy fun pattern ; )
Thanks so much for the cutest patterns ever! I love all you share and love your pictures and references to Colorado! I have lived in Lakewood for 40 years and raised my children hiking and camping our mountains. One quick question – I would like to use your crochet and knit patterns to create pumpkins for our church fundraiser. All that I sell I am donating back to the children’s program. May I use your patterns for this? Include a tag with your website for the patterns? I have never done this before so I wanted to make sure to do the right thing and give credit where it is due. And get permission! 🙂
Hi Julie!! So nice to hear from another Colorado gal! You definitely can sell anything made with my patterns. I just ask that if done online, you refer to my site. Have fun and I’m so happy you will use them for a good cause!
Ahhh you’re welcome!
I’m wondering also. It says to pull the yarn through, but that wouldn’t close off the top.
Hi! You will sew the top closed with a whip stitch and cinch it tightly. Tie a knot and weave it in. I hope this helps!
Thank you so much for making this pattern available! I haven’t knit for years, but you’ve inspired me to make some of these cute pumpkins for my home!
Hi Kim! That’s so awesome to hear! I hope you enjoy making them and let me know if you have any questions!
This would make a cute floor pouf if larger. Thoughts on this?
Thanks
My knitted pumpkin came out gorgeous and I’m new at knitting. Thank you so much for such a lovely , easy and well written pattern Oh, I am a crocheter and also made the crochet version.
So great to hear!
Not sure what I’m doing wrong…I bought size 15, 16″ circular needles. I did cast on the 36 sts, but when I try to join the stitches, the cord appears too long for the stitches to join, even if I try to stretch the stitches as far as I can…please help, I’m using Lion Brand’s Wool Ease Thick and Quick. Thank you!
Oh wow, really? You can also cast on 40 if that helps and you will have the same result! I didn’t have an issue as you can see in the photos so I’m not sure what might be going on there!
Which method do you use to join the stitches? Can’t wait to display these pumpkins! Thanks for another fun pattern.
Hi Jessica,
I just wanted to thank you for sharing this pattern…..
I love the look of it! It is a very easy and simple pattern from other ones I’ve come across in the past.
Thanks again for sharing
I, too cant wait to knit this cute pumpkin. But I am also having issues with just 36 stitches. I went ahead and co 40.
What method do you use to join the stitches?
thanks so much!
So happy you like this one, Donna! Thanks for your kind words. 🙂
I just love this pattern! It is so easy to follow. I have knitted twelve so far…some for a good cause, some for friends, and even some for me. I always know that I will be thrilled with any of your patterns. Thanks you!
How amazing that you’ve made 12 of these! Thanks for the kind words about my patterns. 🙂
I saw a similar knitted pumpkin at an apple orchard. I took a picture, and was determined to make it. I was thrilled to find your pattern. It turned out great! It was also quick and easy. I’ve already received requests to make for others. Thanks!
Yay! So happy my pattern worked well for you. How fun that you saw a similar pumpkin version at an apple orchard. You’re welcome and thanks so much for taking the time to comment!
I am a new knitter so bear with my question! I am to bind off leave long tail draw up tight to close; stuff it; put needle through center and then use that thread to also close the other end. Is that correct?
Can anyone help me with my question? Ready to finish my pumpkin. Thanks
It doesn’t say to bind off, you just thread the long tail through the same way you would bind up the top of a hat.