Mod T-Shirt Knitting Pattern
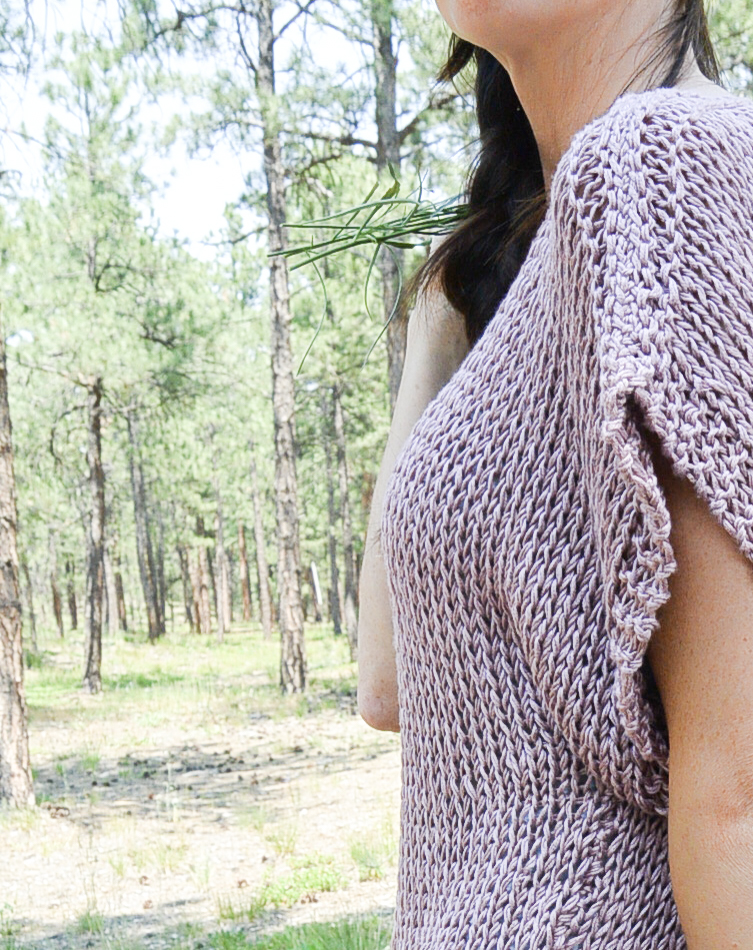
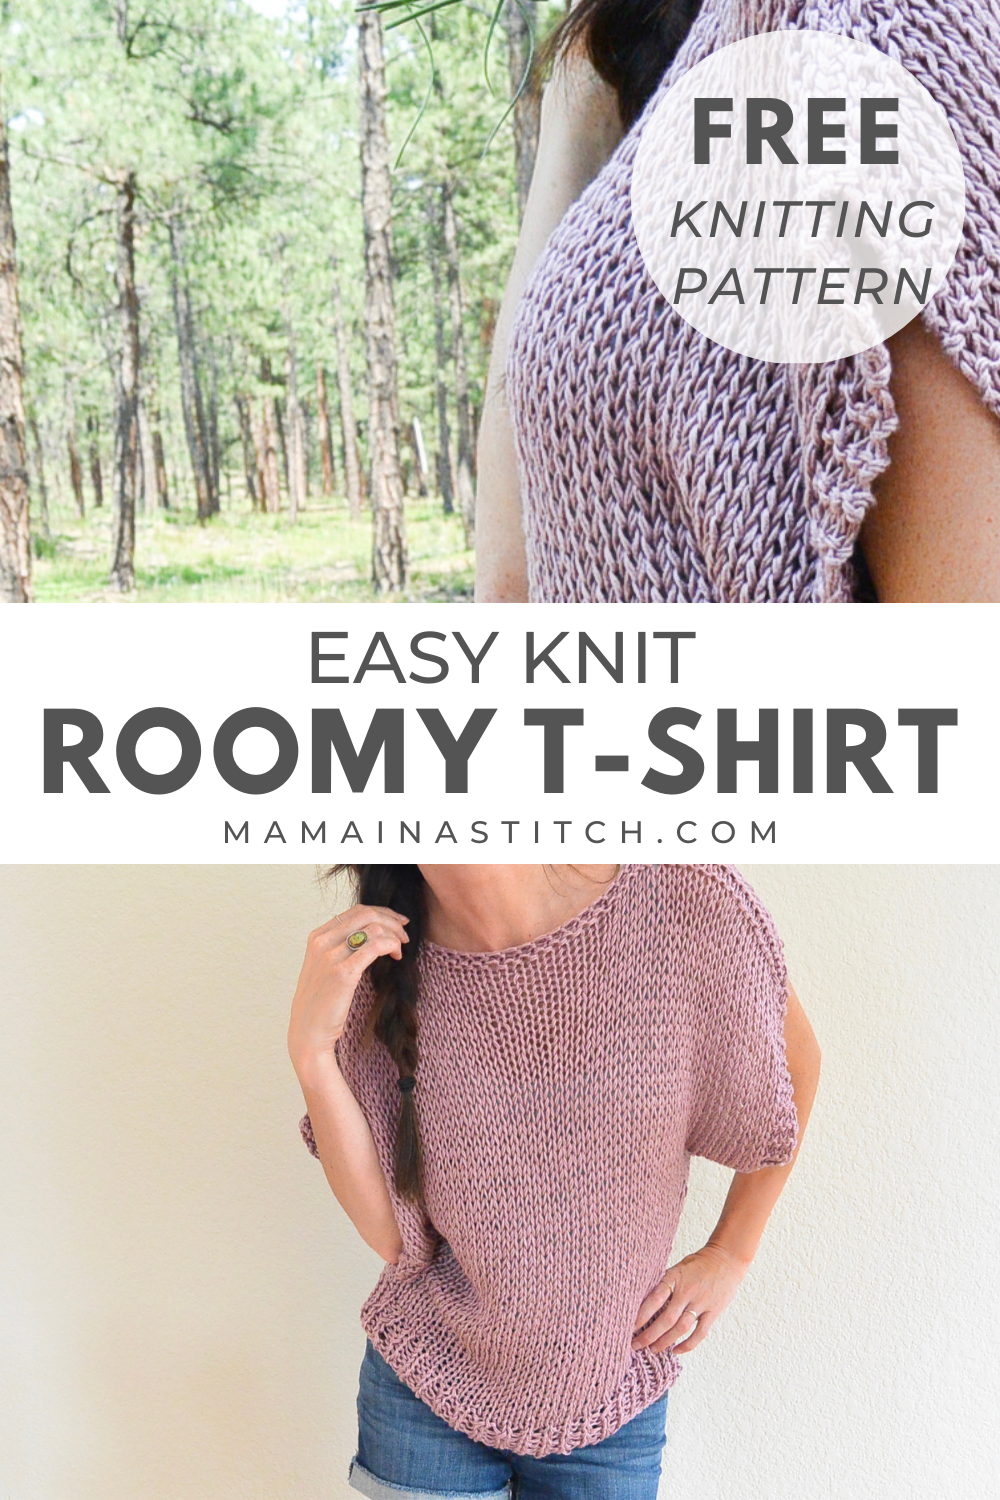
Cool, breezy, comfy, and stylish, this quick-to-make short sleeve top has just the right amount of arm coverage and the length is completely customizable. Yay! As usual, you can check out the free pattern below, or you can find the ad-free printable for purchase in my Etsy shop HERE.
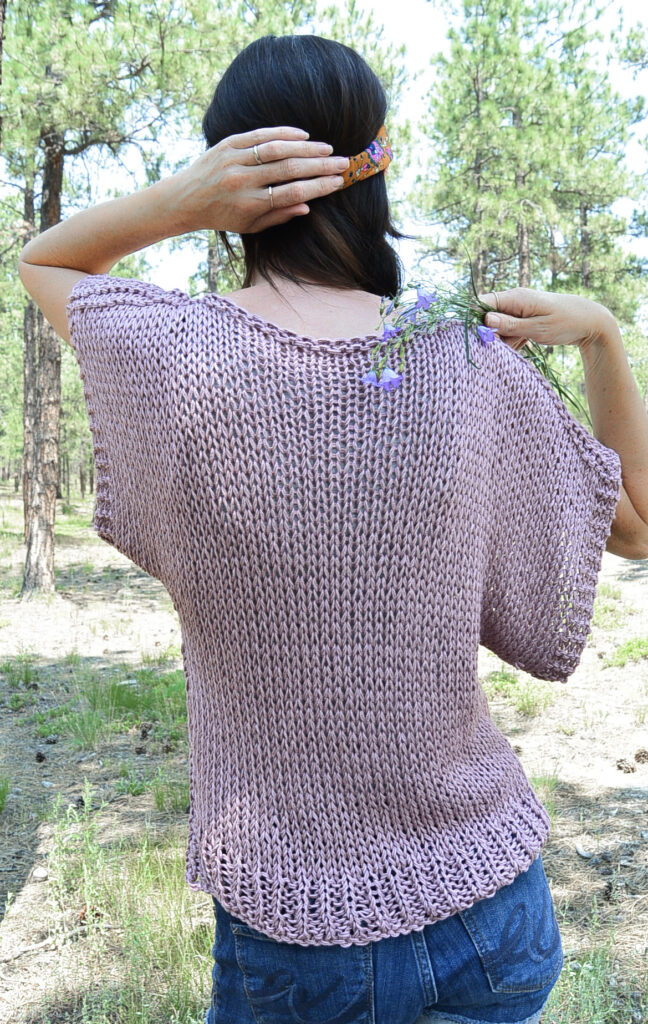
It’s so much fun to FINALLY share this project with you guys because I designed it months and months ago. I simply couldn’t nail down the time to photograph it. Enter my nine year old daughter/photographer. 🙂 Being that we are already halfway through summer, I figured I’d better share it stat!
This thing is SOOOO comfy, and it is simple and fast to make. The inspiration came from my Easy Knit Boxy T-Shirt Pattern from years ago, but I made some modifications that many of you have requested over the years.
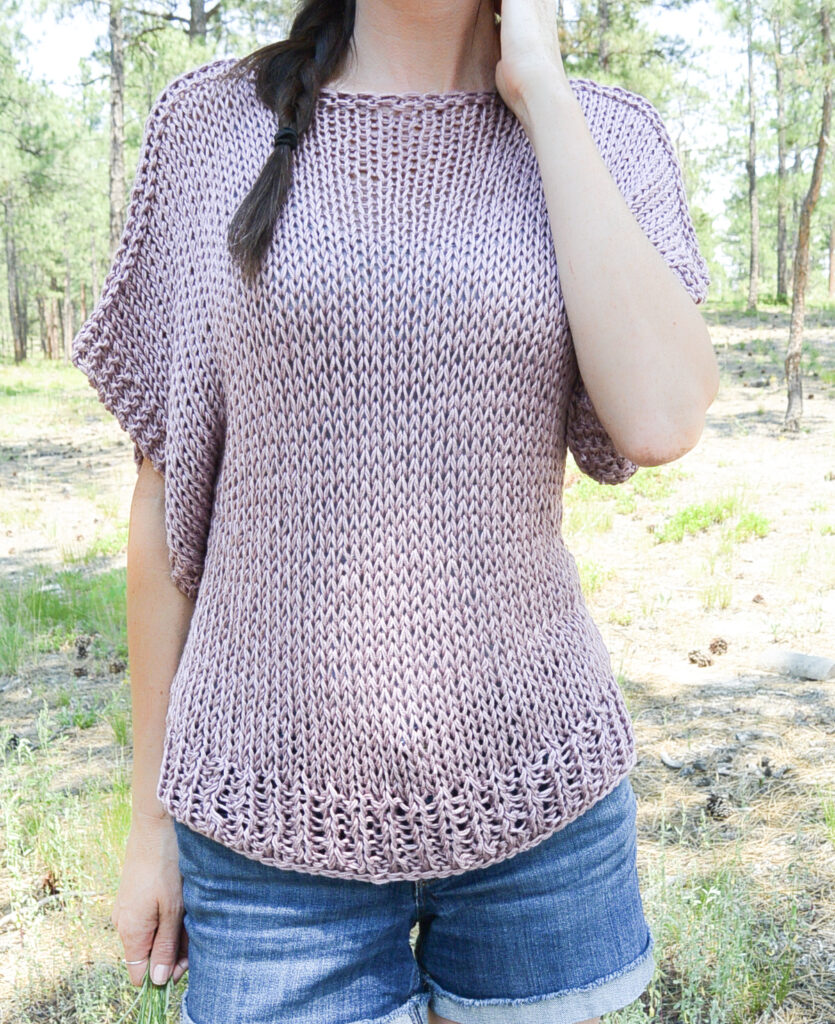
Many of you have mentioned that you want summer tops, but would like some coverage on your arms. This t-shirt does the trick! My Boxy T-Shirt had a longer back panel than front panel, but this shirt is more modern with the same length on front and back. I also made the sleeves a shorter on this Mod version so it has a more updated, modern look.
You can use any light #3 yarn that you like, but I chose to use up my stash of Lion Brand Truboo for this design. Do you remember my Verano Longline Cardigan? I had enough yarn leftover from that sweater to knit up this shirt. It doesn’t use a whole lot of yarn (another plus)!
There are many ways to knit a simple short sleeve shirt, but this is the easiest in my opinion (and definitely the most beginner friendly). Reason being – no knitting in the round. You only need to knit and purl, which are the beginner stitches that we all learn first.
You will knit two panels and seam them together at the sides and shoulders. Done and done.
Ready to get started?
As usual, you can find the free pattern below, or you can purchase the ad-free printable in my Etsy shop HERE.
Mod Knit T-Shirt Short Sleeve Knitting Pattern
If you want a pretty knit t-shirt, this is it! Made with an ultra-soft and light bamboo yarn, this top feels great on the skin and is super pretty. There’s no difficult shaping and no need to know how to knit in the round. It works up quickly by holding two strands of yarn together and knitting on large needles. Get ready to make this comfy tee that can be enjoyed in the summer and fall!
Modeled on a size small. Pattern includes instructions for S, M, L, XL.
Materials:
US Size 15, 10.0 mm, 24”-36” Circular Knitting Needles (you may use long straight needles if you’re making a size small)
3 (4,5,6) Lion Brand Yarn Truboo Light #3 100 g/skein
Pattern uses approximately 290 (349, 414, 490) g
Scissors
Measuring Tape
Tapestry Needle
Abbreviations and Skills needed:
cast on
k- knit
p – purl
RS -right side
WS – wrong side
Gauge:
Approximately 10 1/2 stitches and approximately 12 rows in 4” x 4”
Measurements (approximate):
Bust Circumference (size of finished sweater)
Small 32” inches
Medium 36” inches
Large 40” inches
XL 44” inches
Length:
S – 19”
M – 21”
L – 23”
XL – 25”
Notes:
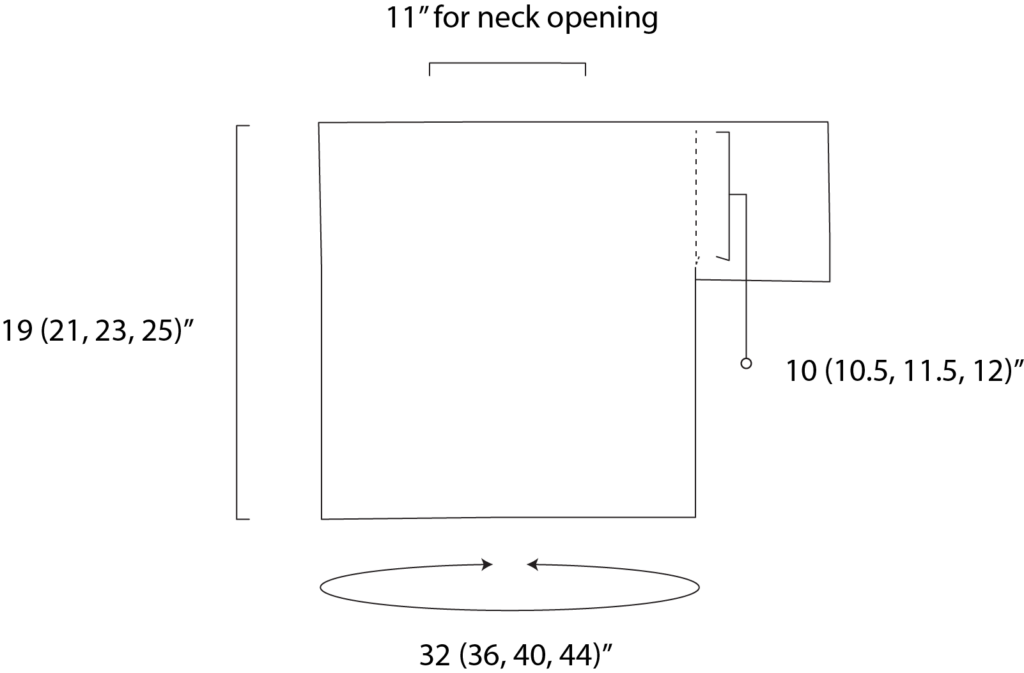
This entire sweater t-shirt is knit flat. It is made by knitting two panels, one for the front and one for the back (see schematic). Each of the panels are worked from the top down. The fabric on this sweater is loose and very stretchy. This makes it super comfy! Keep this in mind and consider wet blocking if needed.
This sweater is knit by holding two strands of yarn together at the same time.
You will follow the key throughout the pattern according to which size that you are knitting. Have fun!
Mod Knit T-Shirt Panel Pattern
(Make 2)
Follow the key for your size S (M, L, XL)
Holding two strands of yarn together, CO 68 (74, 80, 86) stitches
Row 1- 3 Knit across row
Once you’ve knit for three rows, you will begin the stockinette portion.
Stockinette Upper Sweater and Sleeve Portion:
Row 1 (RS): Knit Across row
Row 2 (WS): K4, purl across, knit last 4 stitches of row
Repeat rows 1 and 2 for a total of 30 (32, 34, 36) rows
Once you’ve finished these rows, you will bind off for the sleeves.
Sleeve Bind Off
To create the bottom of the sleeve, you will cast off stitches from each end.
Bind off the first 11 stitches of the row (all sizes). You will continue to then knit or purl across depending on which side you are working. If you ended on (WS) or purl row, you will now knit across. If you ended on the (RS) or knit row, purl across the row for 46 (52, 58, 64) stitches. Finally, bind off the last 11 stitches (all sizes). Tie off and cut your yarn.
Next, you will pick up the yarn to continue knitting the next section.
Mid to bottom portion
Pick up your yarn and knit in stockinette stitch.
If you ended on (WS) or purl row, you will now knit across. If you ended on the (RS) or knit row, begin by purling across the next row. Alternate these knit and purl rows until piece measures approximately 16.5” (18.5”, 20.5”, 22.5”).
Bottom Ribbed Cuff
Row 1 (RS): K1,p1 across
Repeat row 1, working a 1 x 1 rib for 2.5” inches (all sizes)
Tie off and weave in all ends
Repeat the pattern above in order to make the second panel of your top. You will then seam them together.
Seaming:
Seam up sides:
Place panels together with right sides out.
With a length of yarn and your tapestry needle, seam up each side using the mattress stitch seam. Seam up each side and continue to seam under each arm.
Seam along top of sweater:
Seam the shoulders of the sweater with a simple whip stitch or your preferred method, leaving a space in the center for your head and neckline (approximately 11”). You may create shorter seams to have an off the shoulder look, or you may make your seams longer for a smaller neckline. Weave in all ends and you’re done!

Schematic:
What do you think of this simple top? Wouldn’t it be fun to see in a bright color?
Hope you enjoy knitting this (or whatever project is on your needles)!
XO
Jessica
Do you crochet and wish you could knit this? You can see my blog post and video on how to knit HERE.

Please consider making your patterns size inclusive. Beautiful tshirt!