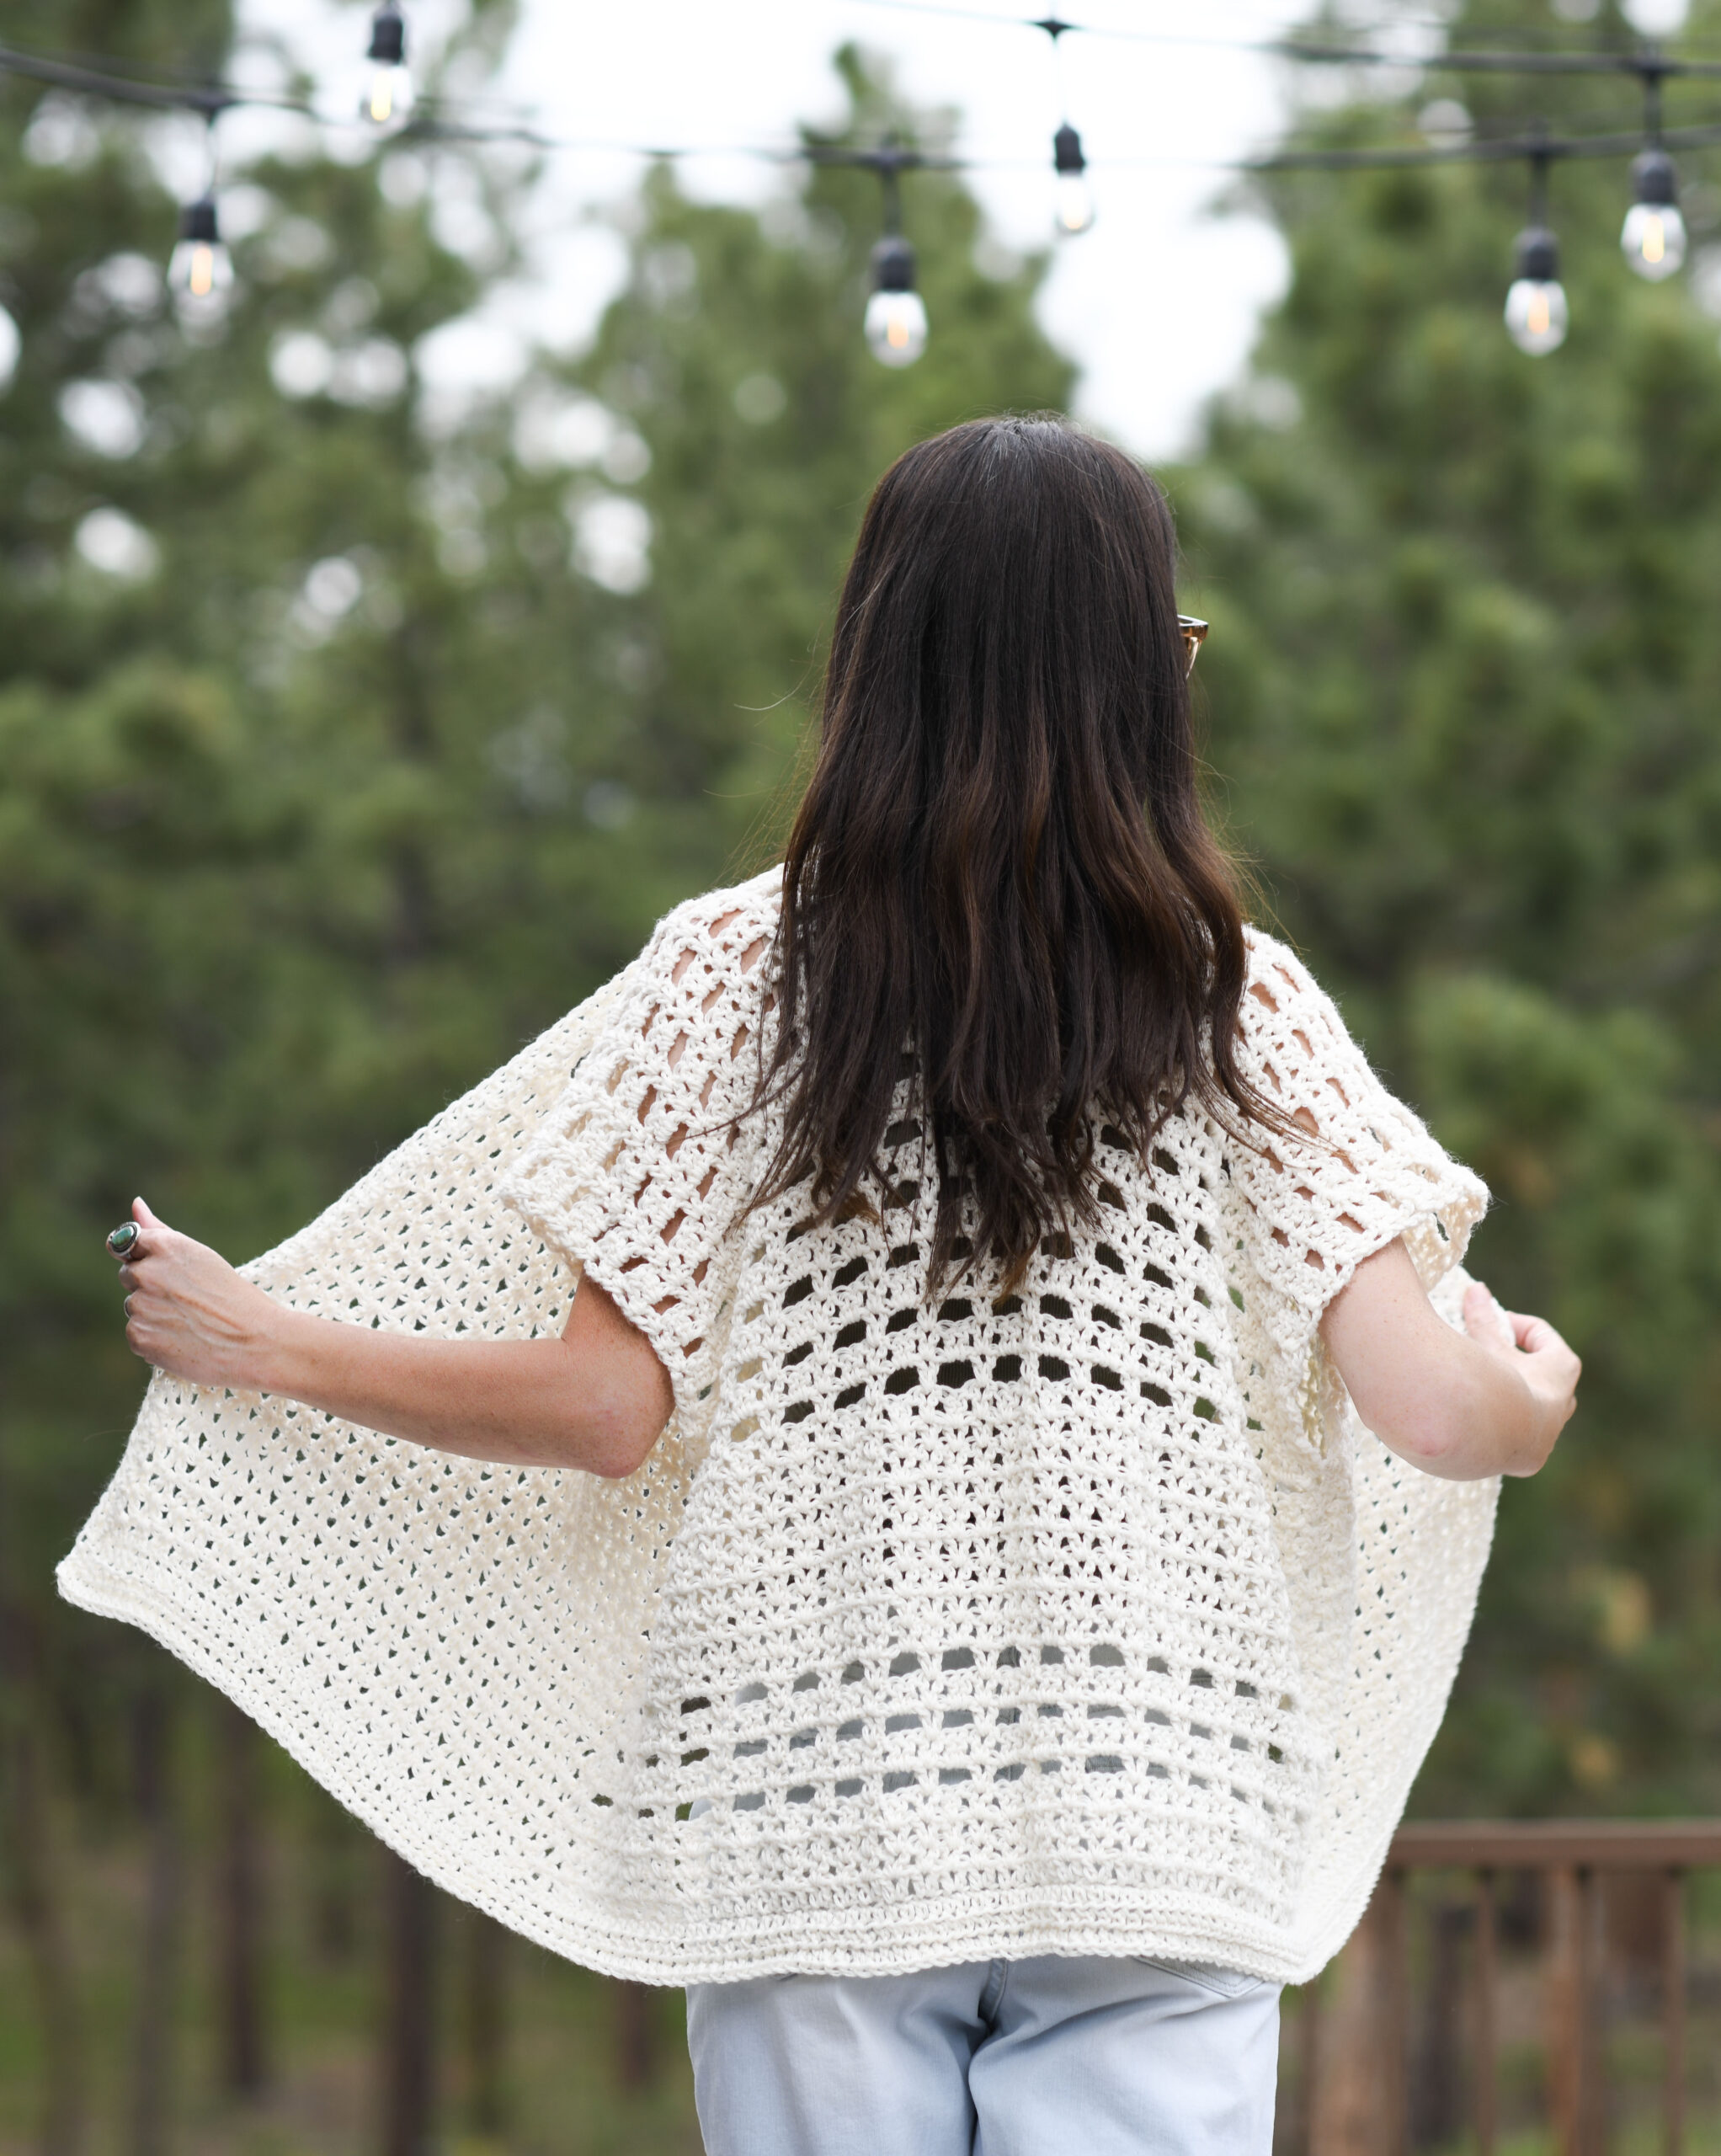
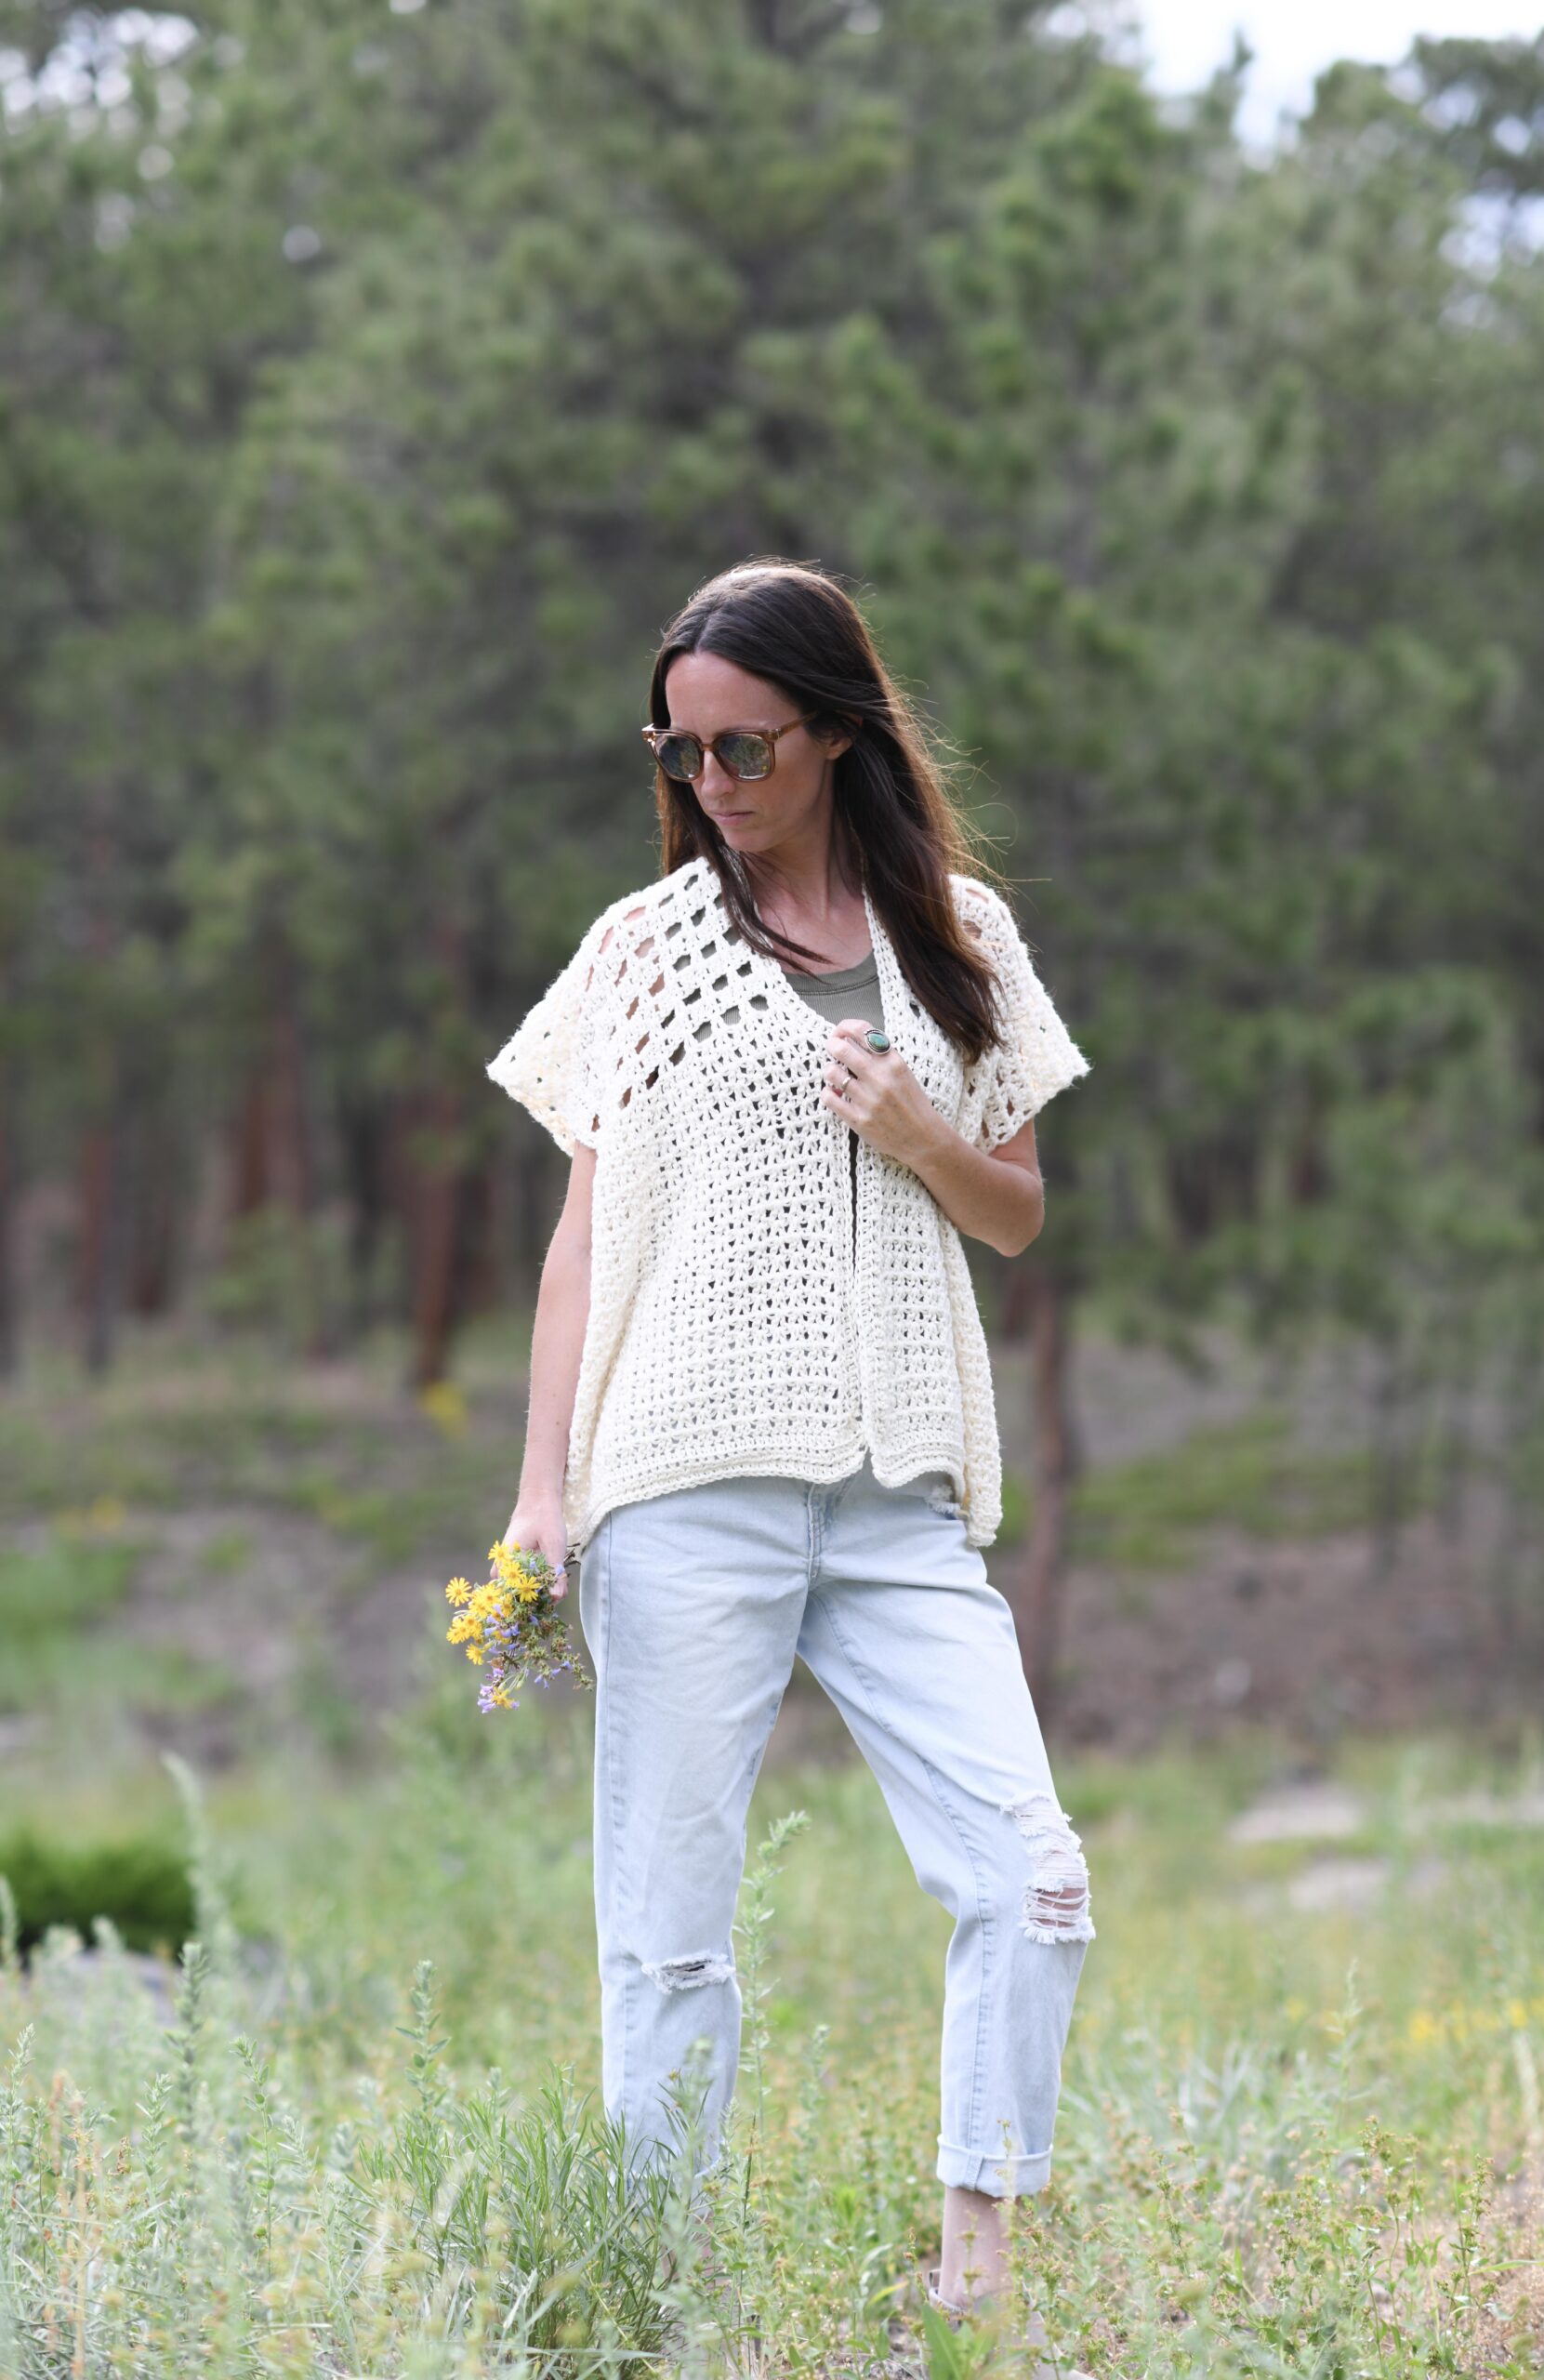
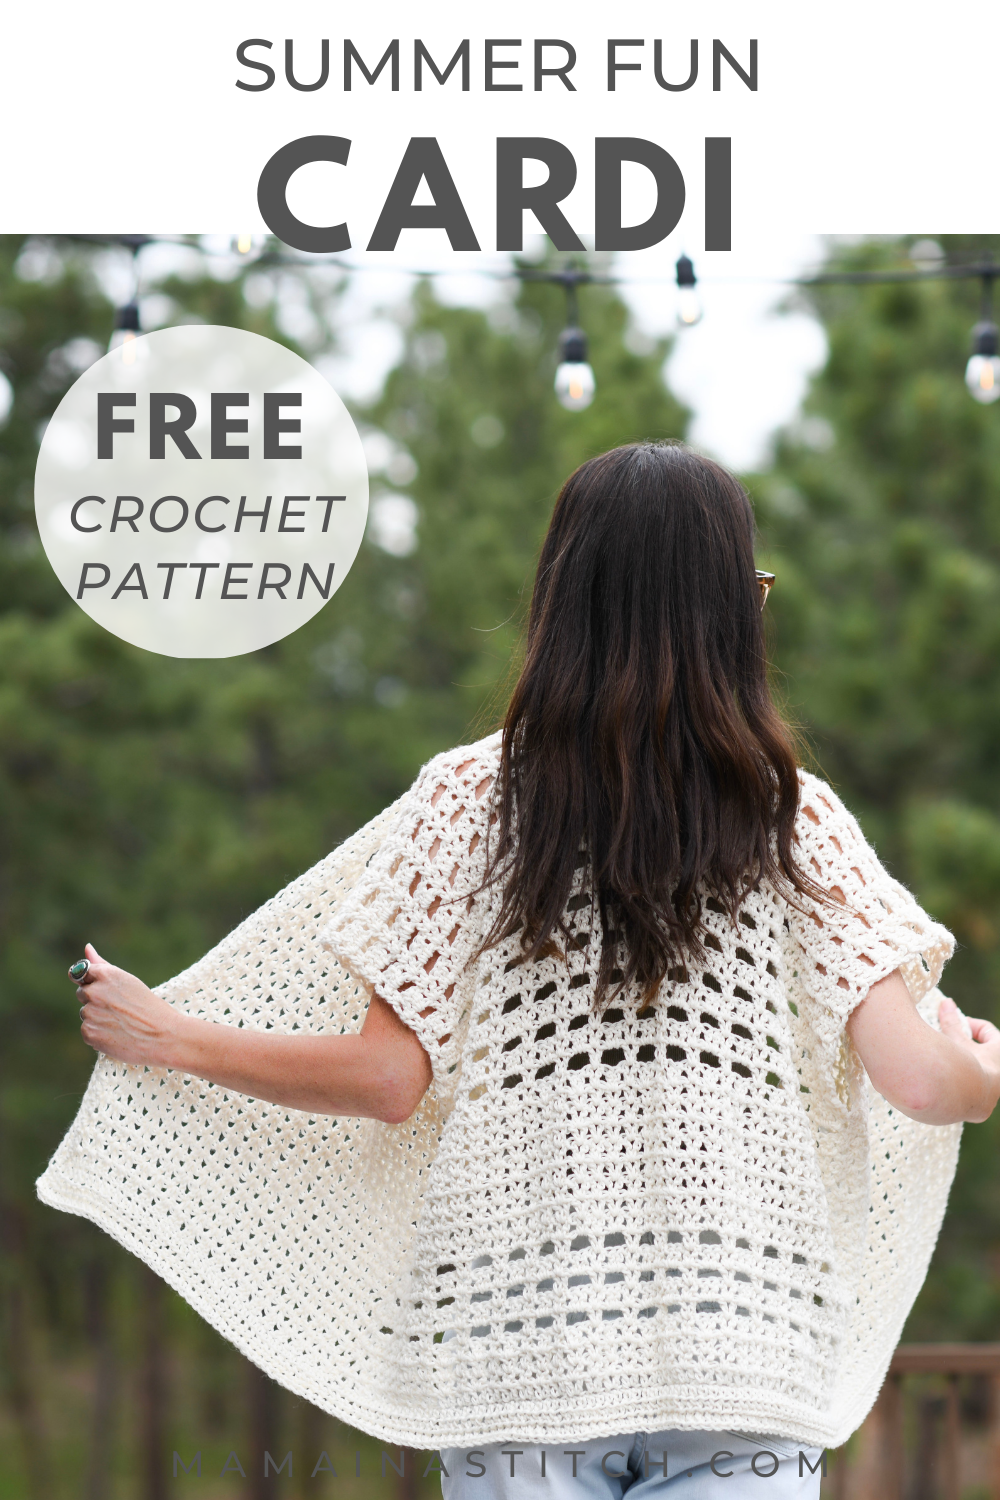
Summer Cardigan Crochet Pattern
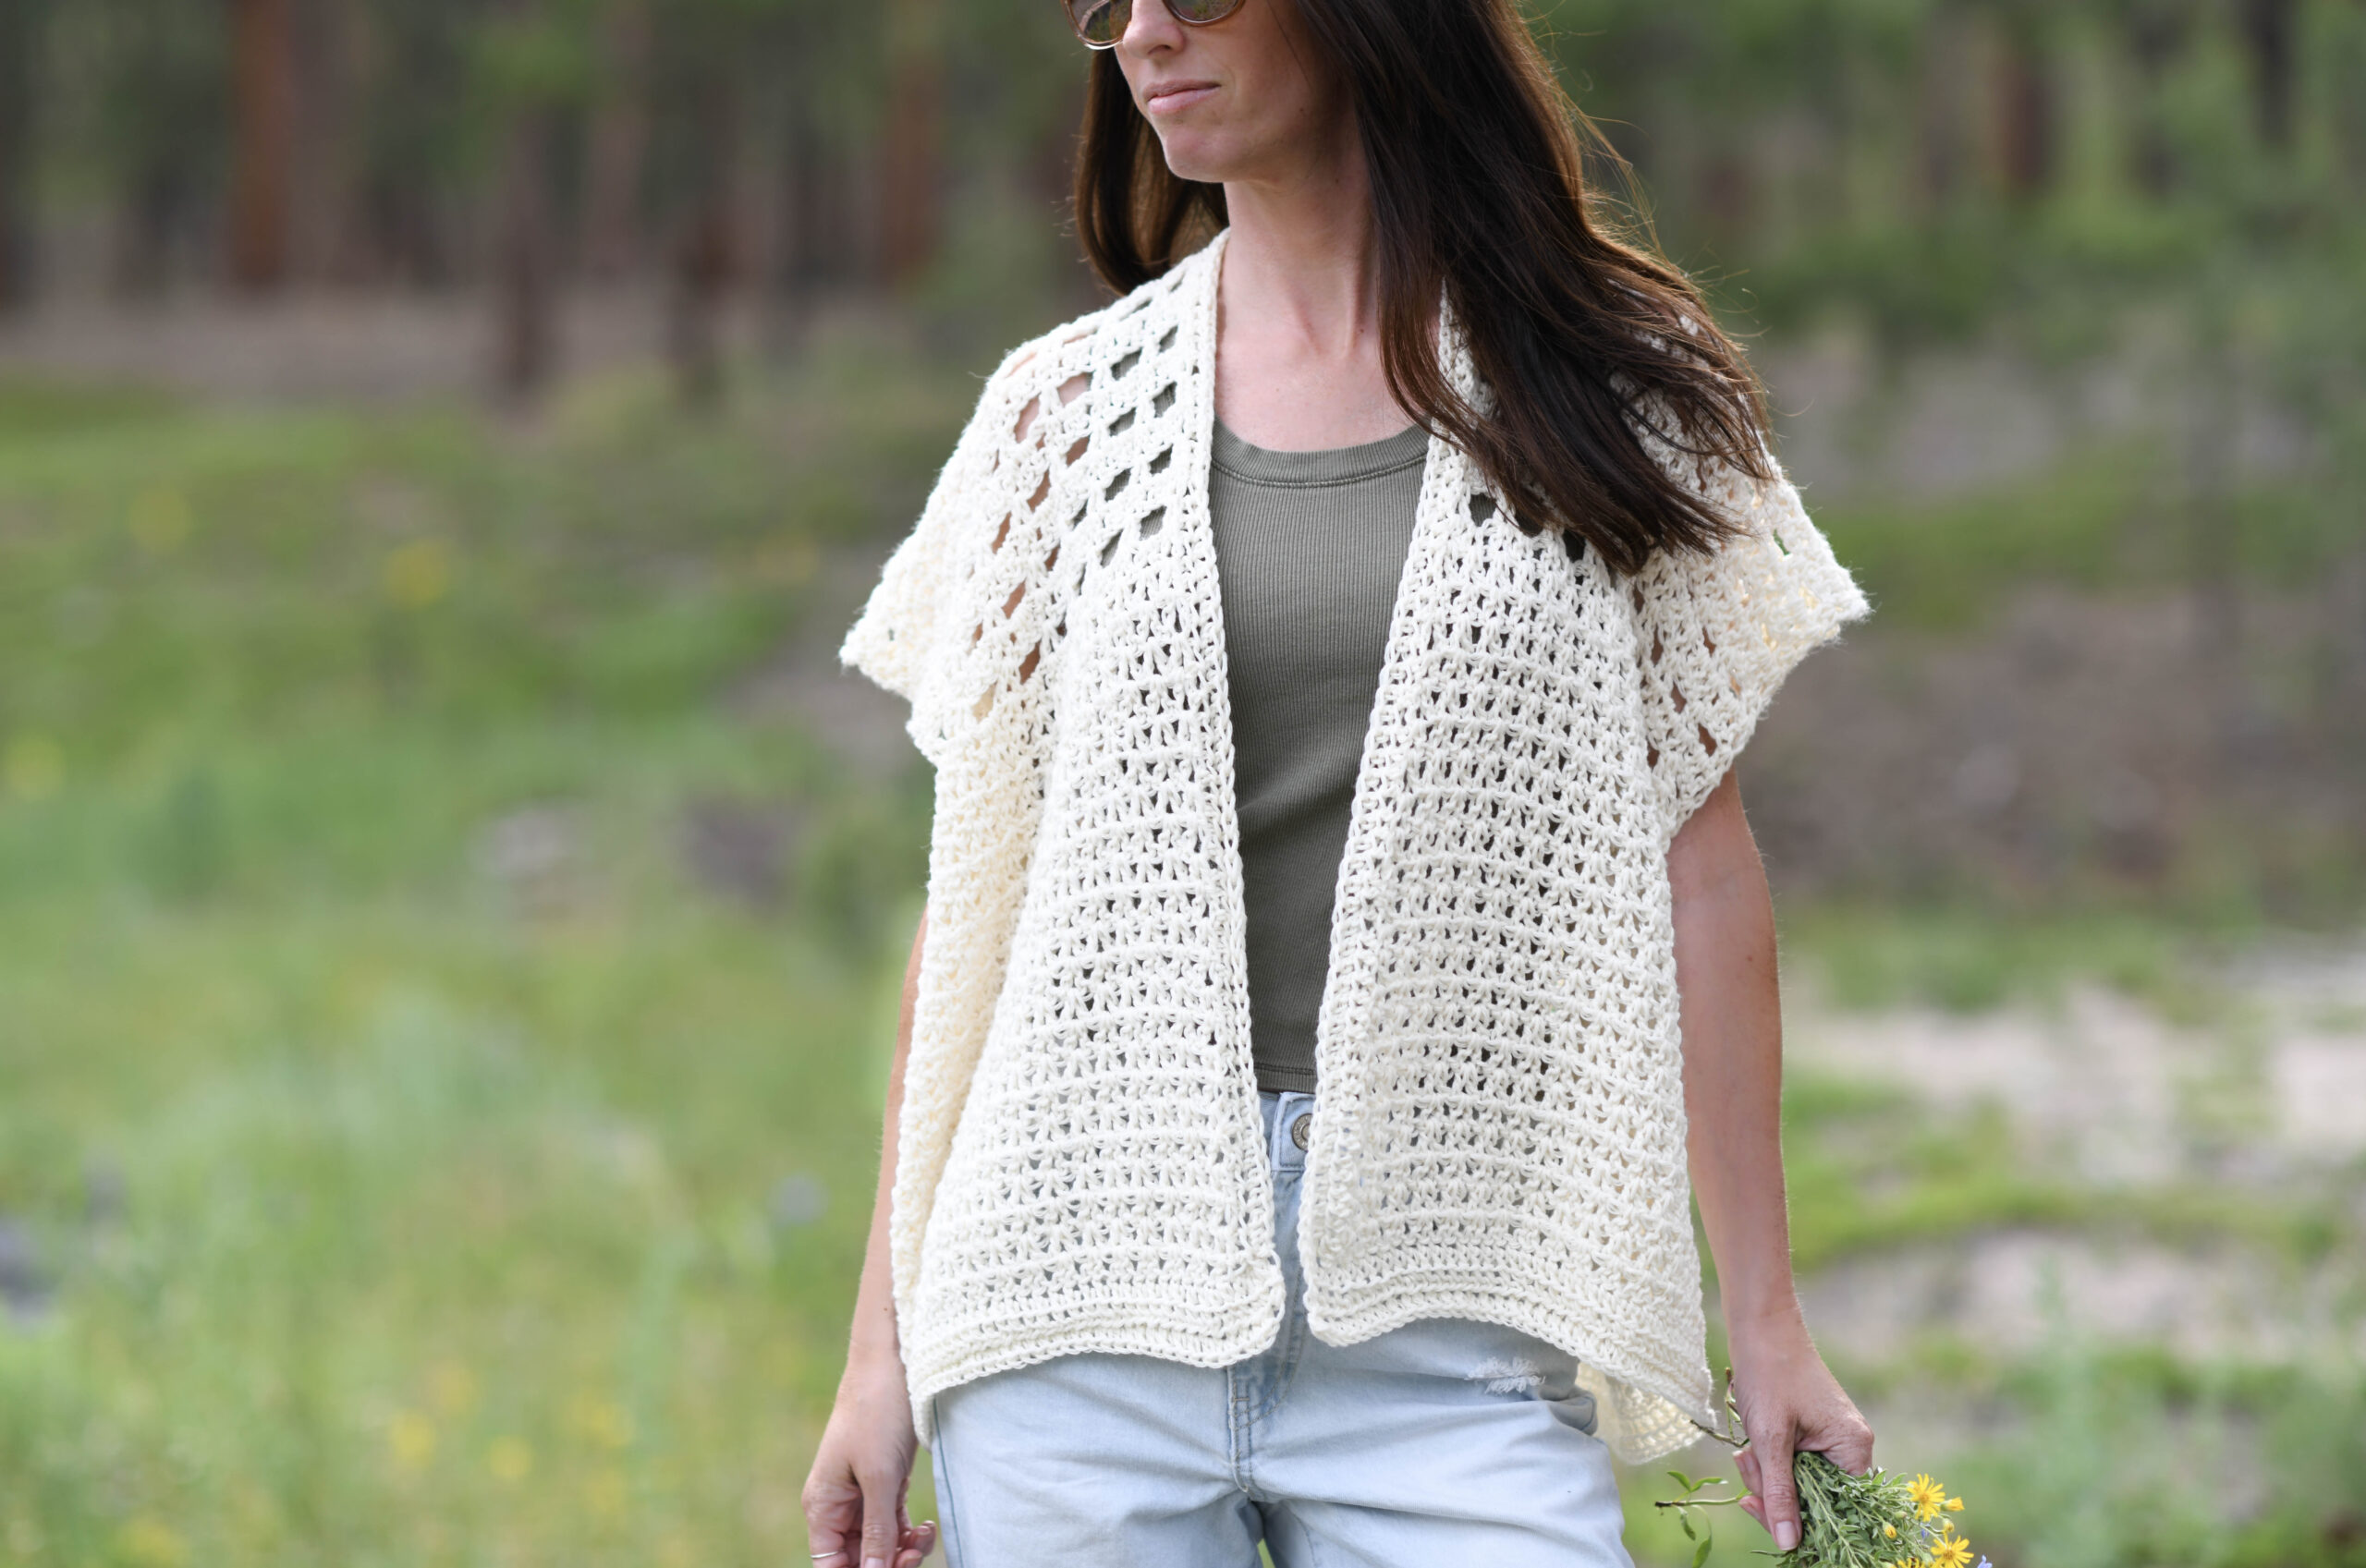
This “Summer Fun Cardi” crochet pattern is so fun to make and is super airy and light! You can see the free pattern below (scroll down), or you may choose to purchase the printable version from Etsy HERE.
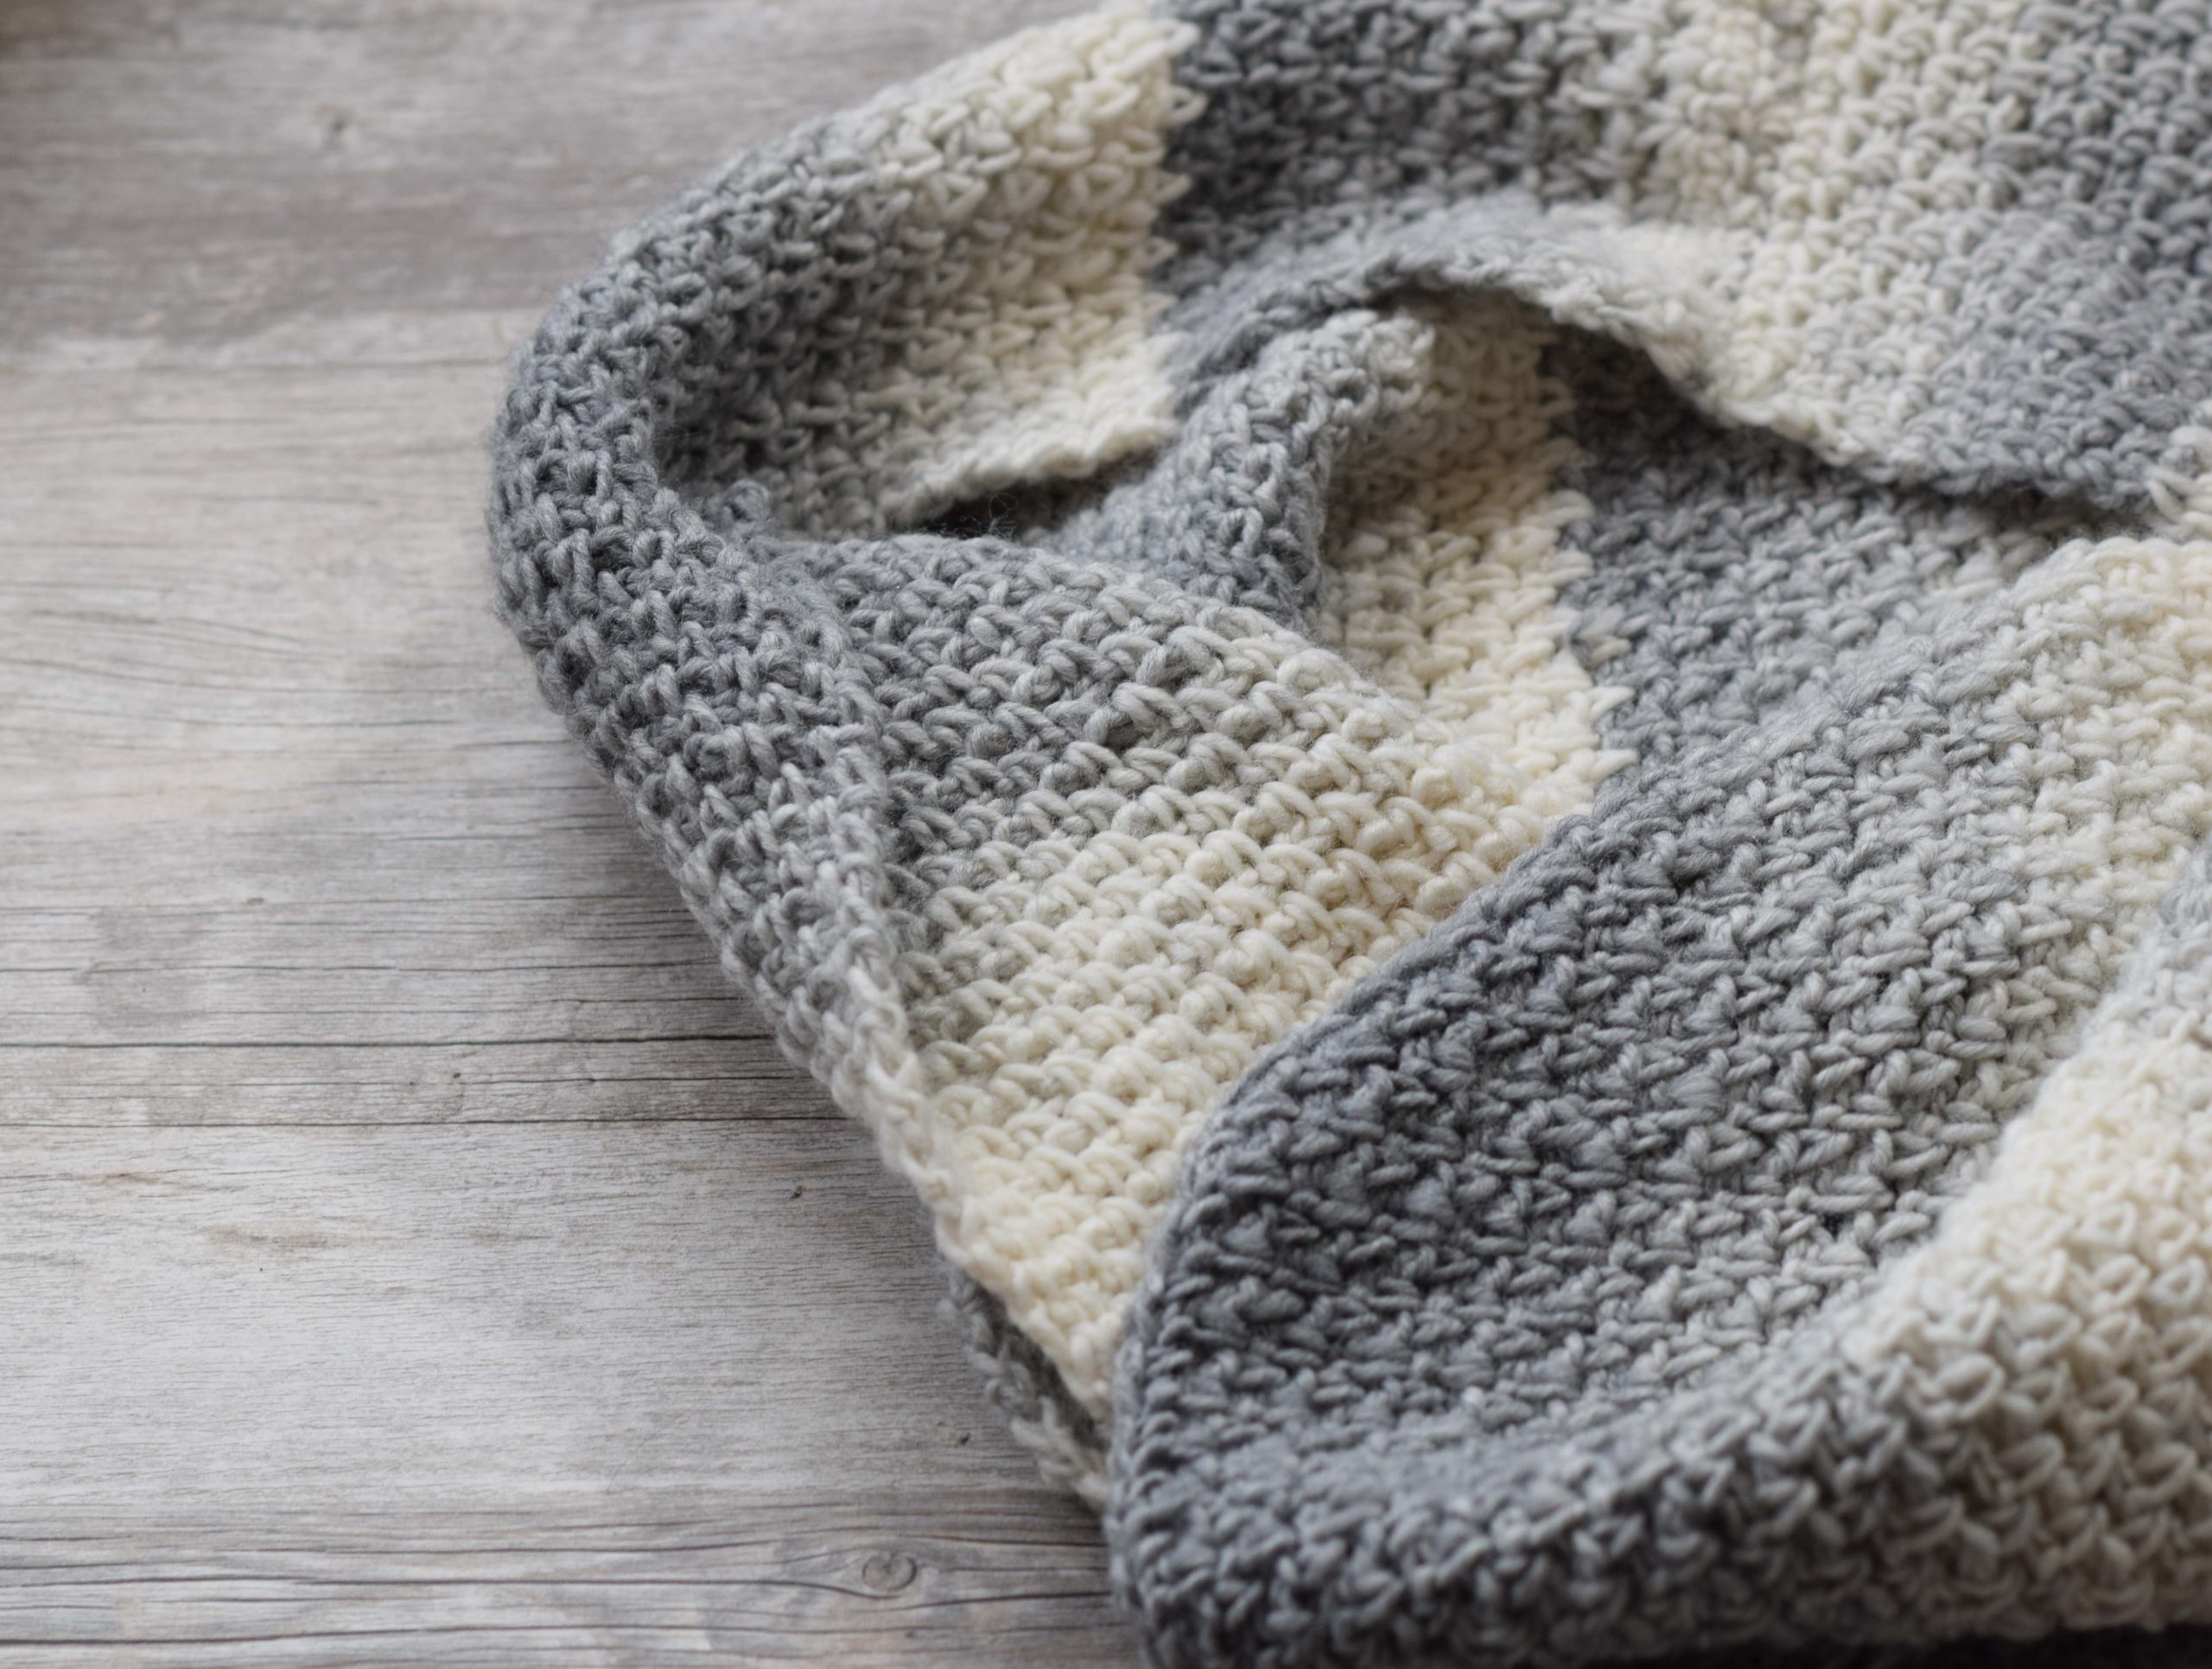
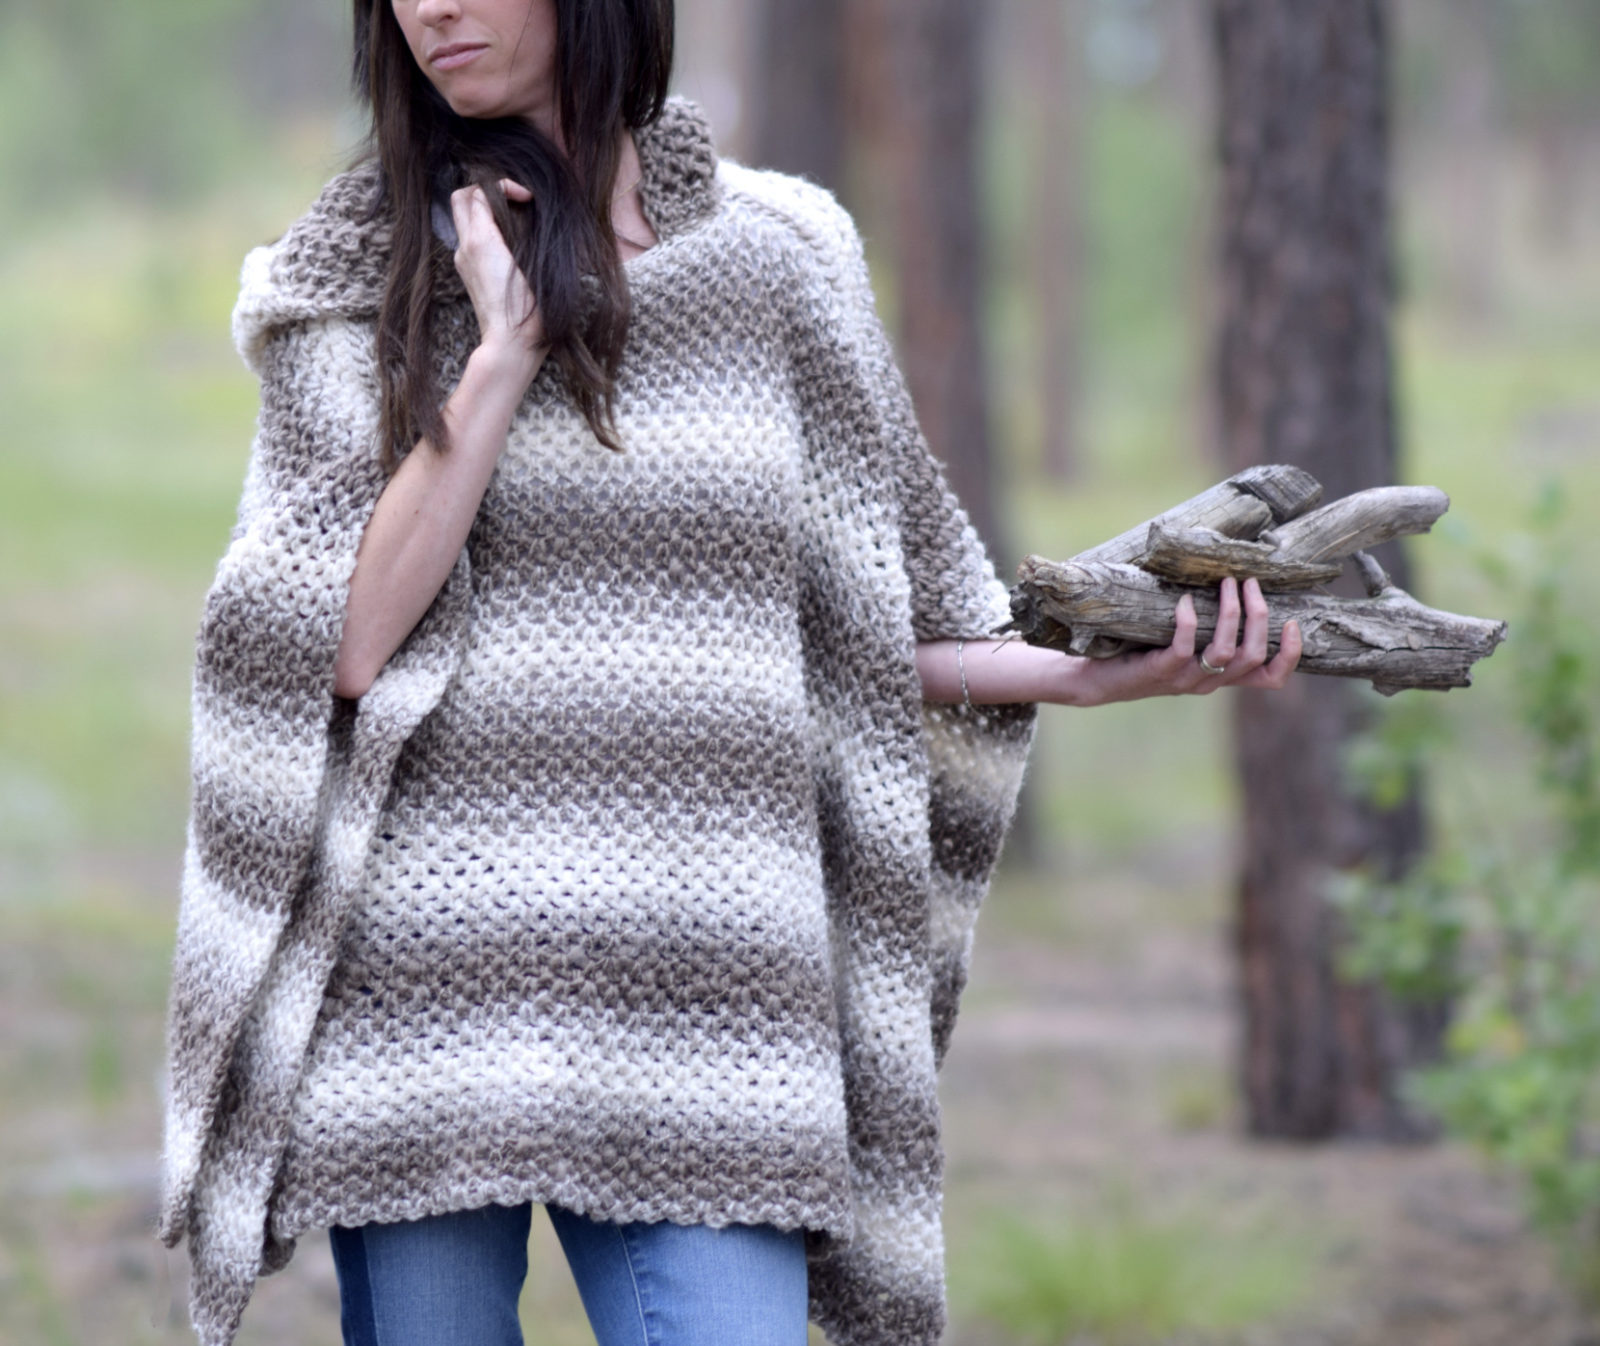
It’s pretty neat to design summer and spring tops because this time of year lends itself to lace, cotton yarns, and light projects. If you love lighter weight yarns, this is definitely your time of year! I love a good chunky yarn, but it is nice to work with something different now and then. 🙂 And when I see open stitchwork like this, I too love a light yarn!
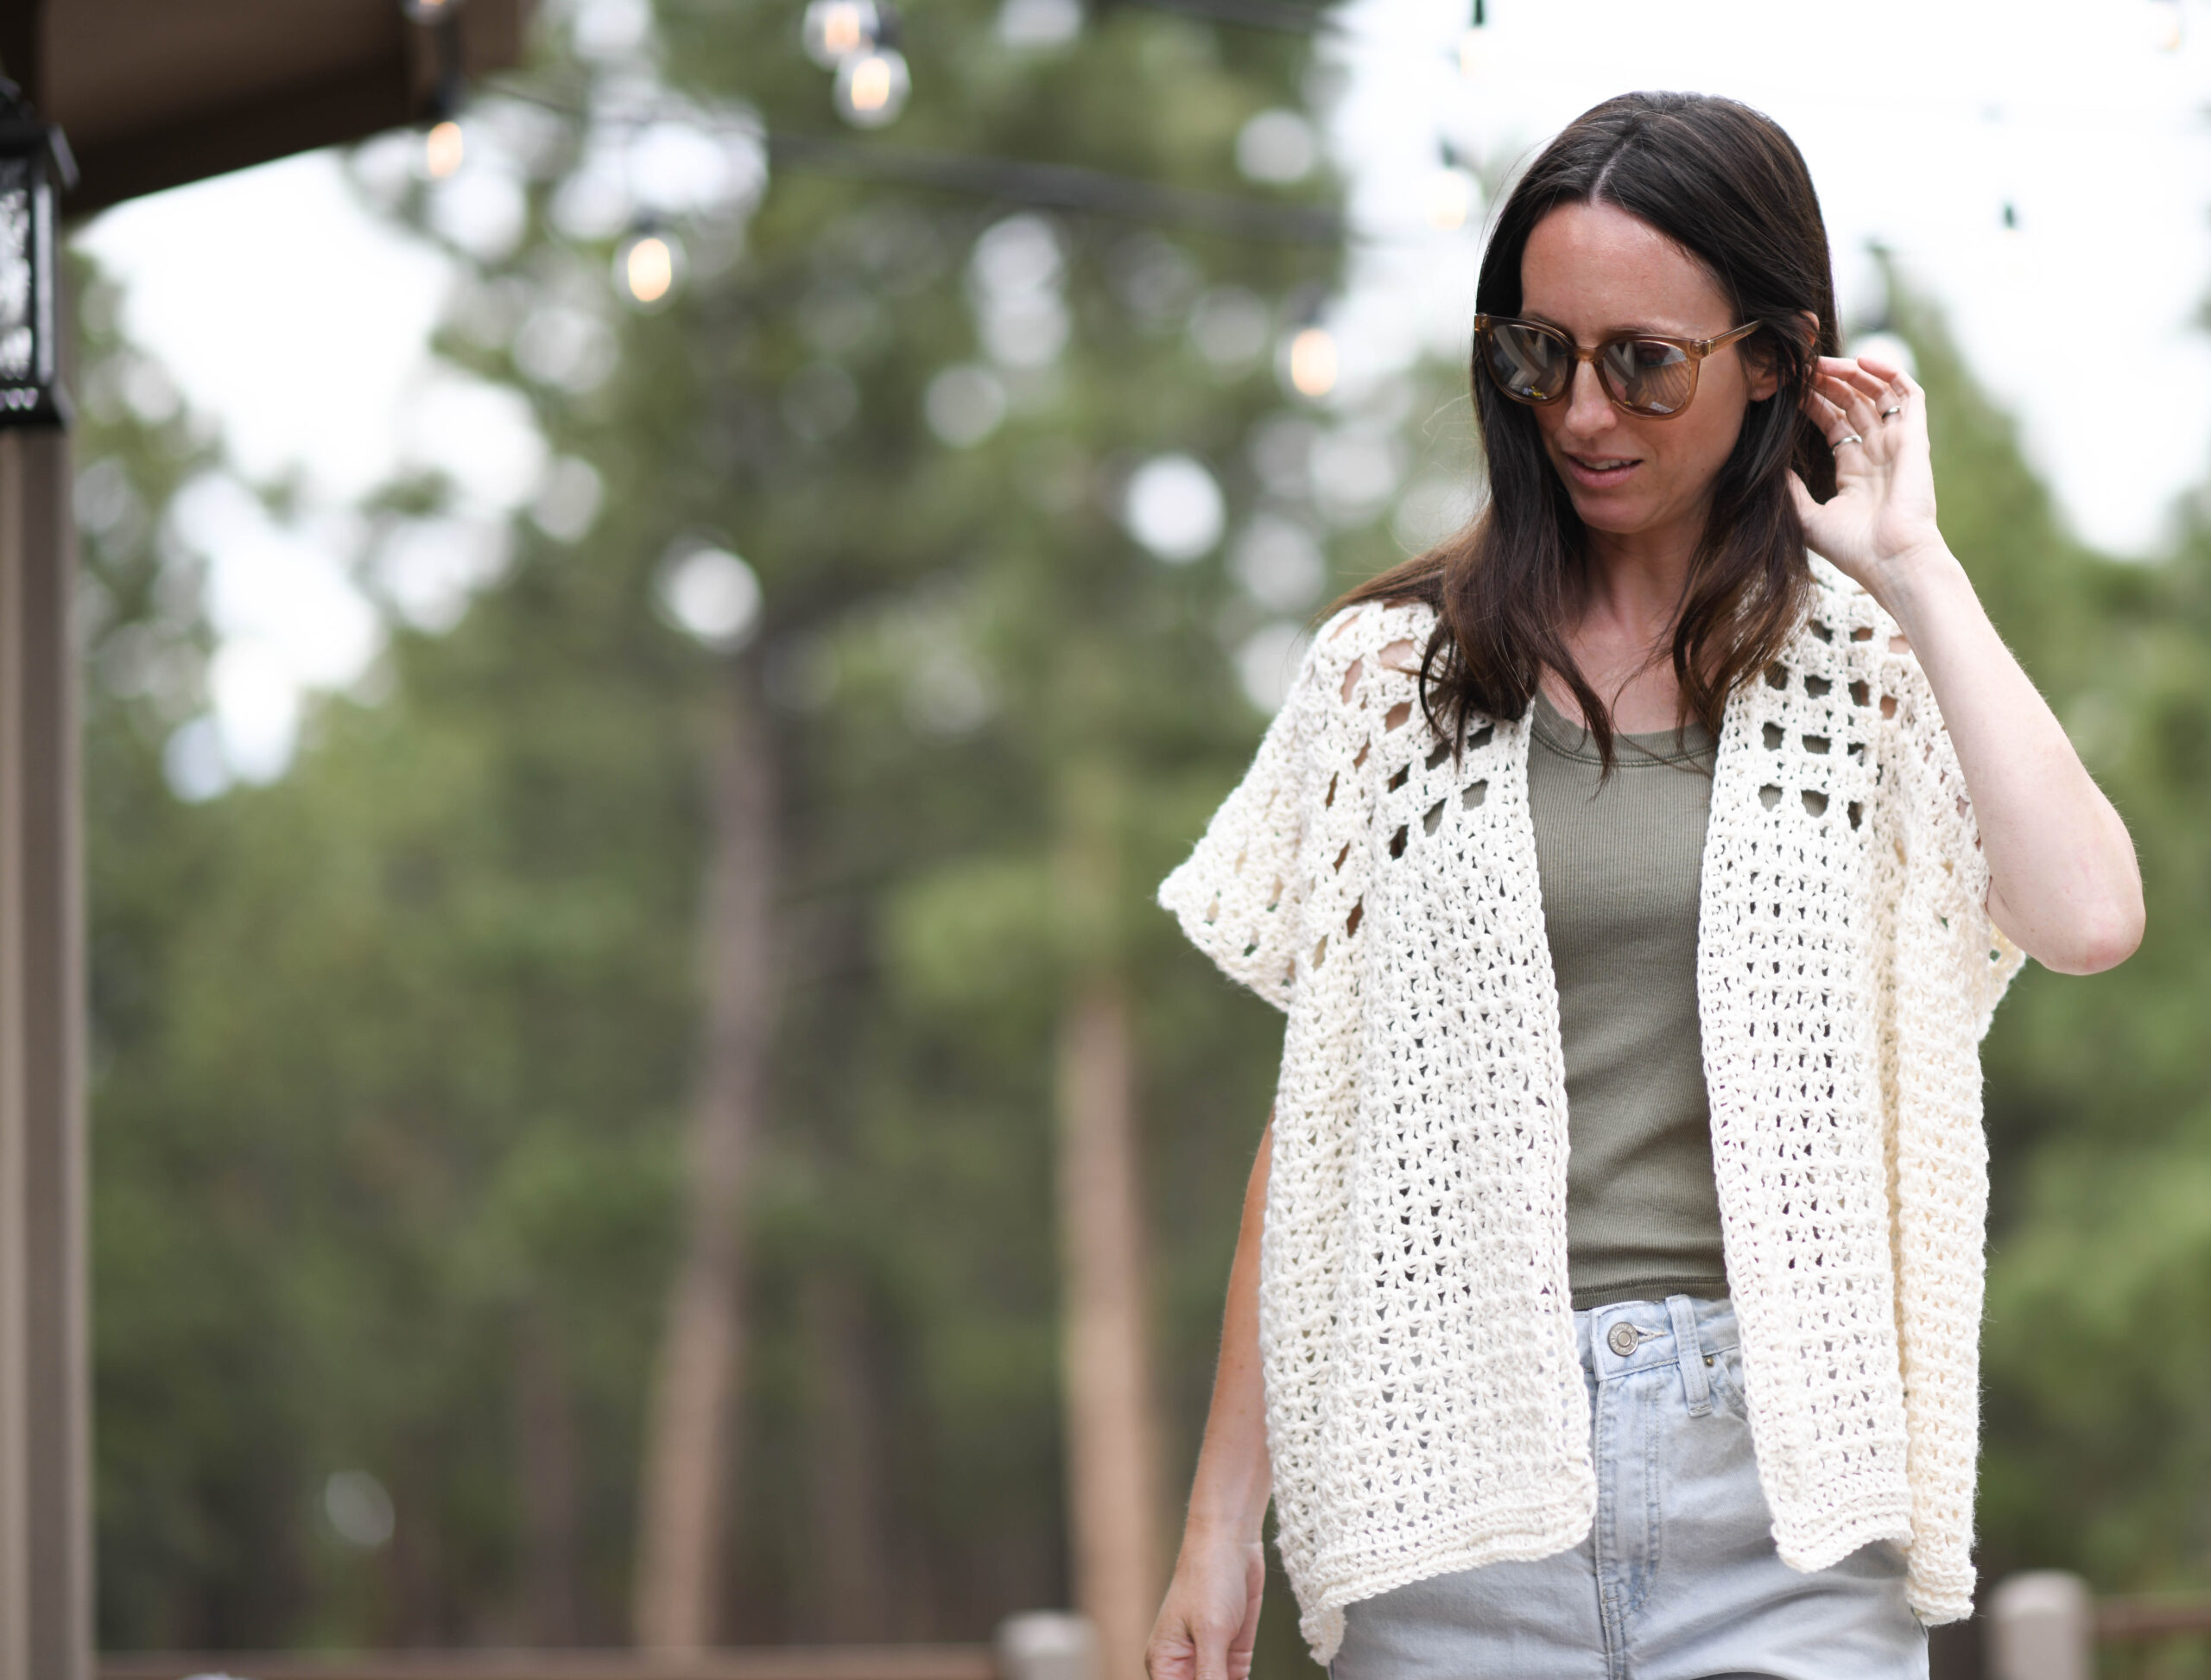
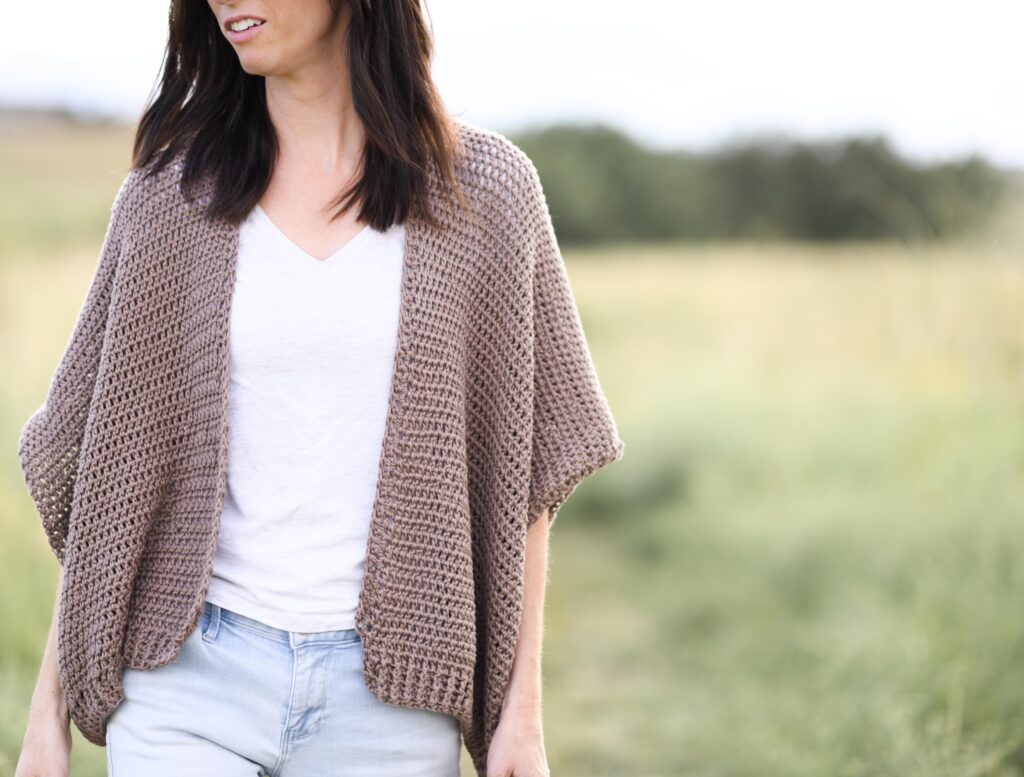
One of the things I enjoy about this summer cardigan, is that the basic shape STILL happens to be on trend. There is literally no difficult shaping with this cardi, so once you get the pattern down, it’s super easy. The roomy, boxy fit makes it a great beach or pool cover up too.
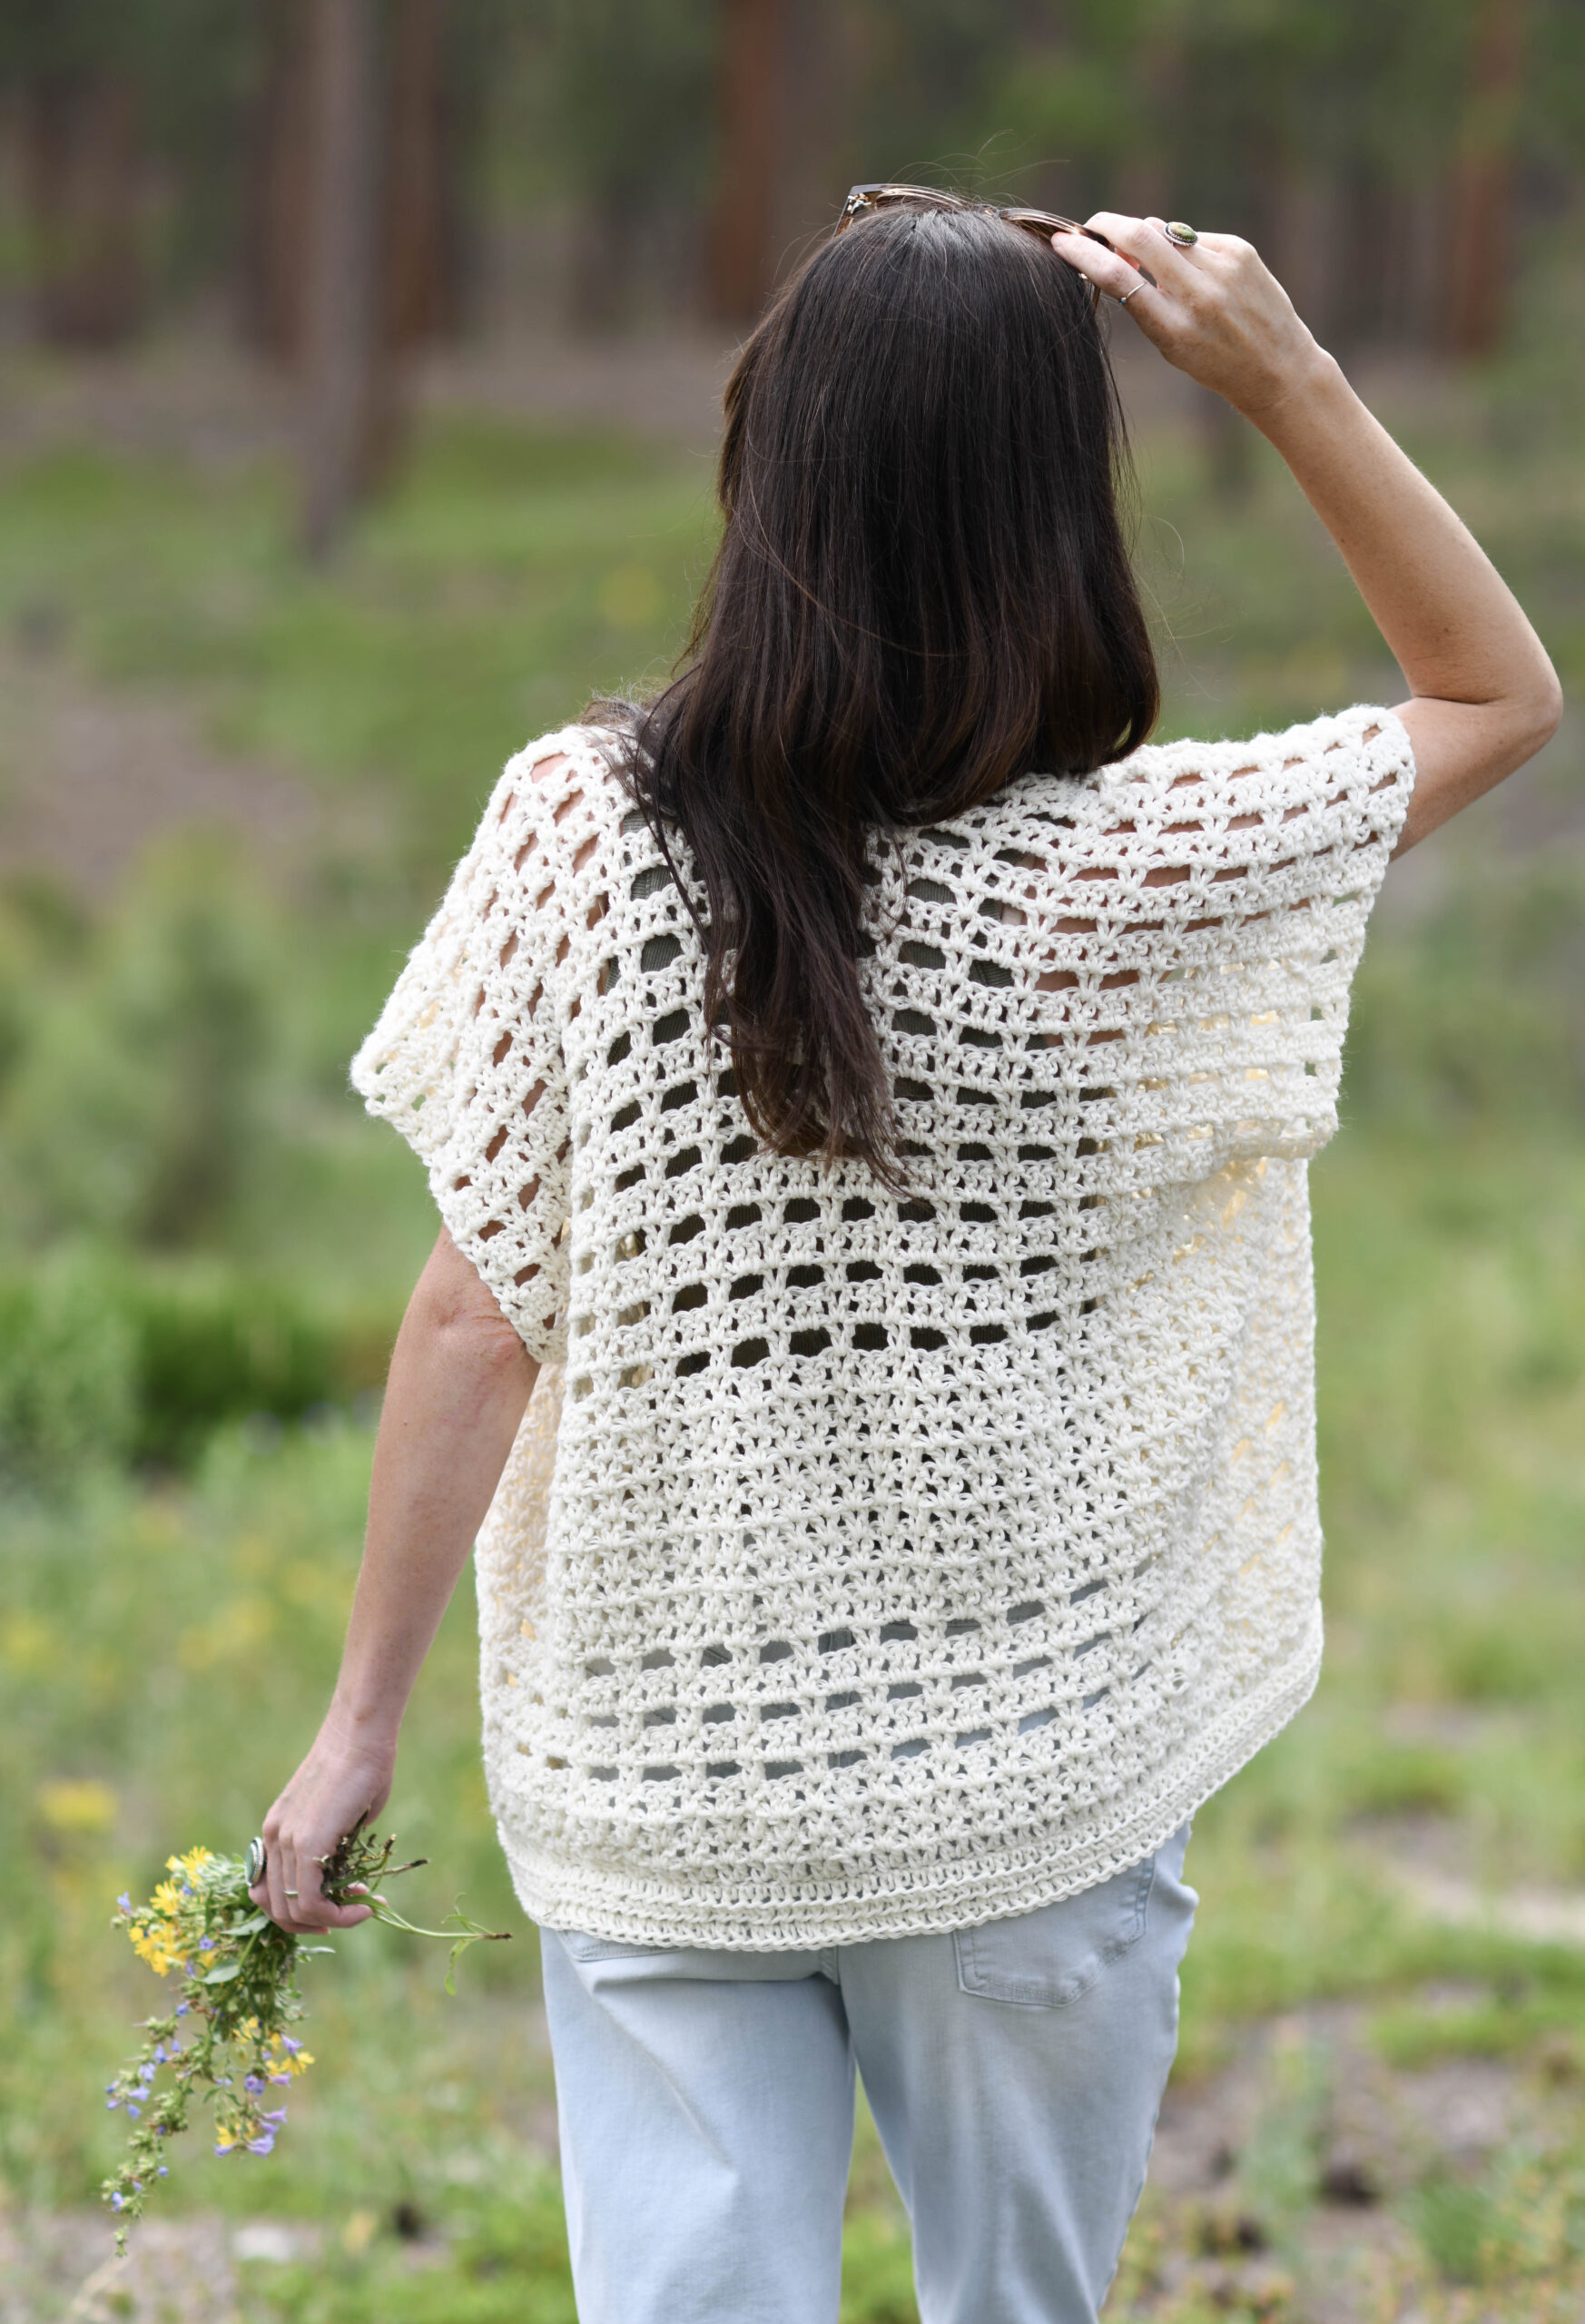
The big, airy stitches on this top really make it pop in my opinion. You might remember my Lil Sedona Shrug Crochet Pattern, which had this similar stitch pattern. If my Lil Sedona Shrug and Breckenridge Topper had a child, this would be it. Ha! A perfect blend of the two stitch patterns and shapes for summer.
Many of you have mentioned that you like summer shirts, but you want your arms to have some coverage. This one has you covered. 🙂
The other great thing about the “Summer Fun Cardigan” is that it’s easy to haul around. Once you’ve finished making it, it’s super simple to roll up and put in your suitcase or bag for the cool evenings or air conditioned restaurant.
Are you tired of me using the cream color? Haha! I can’t help it! If you saw my house and bedroom, you’d see I can’t get enough of this color. It’s comfy, cozy, light, and goes with everything. BUT, can you imagine how cute this would be in a bright, summery color? Those of you who are great with colors – you can be daring and make this in a super fun summer shade.
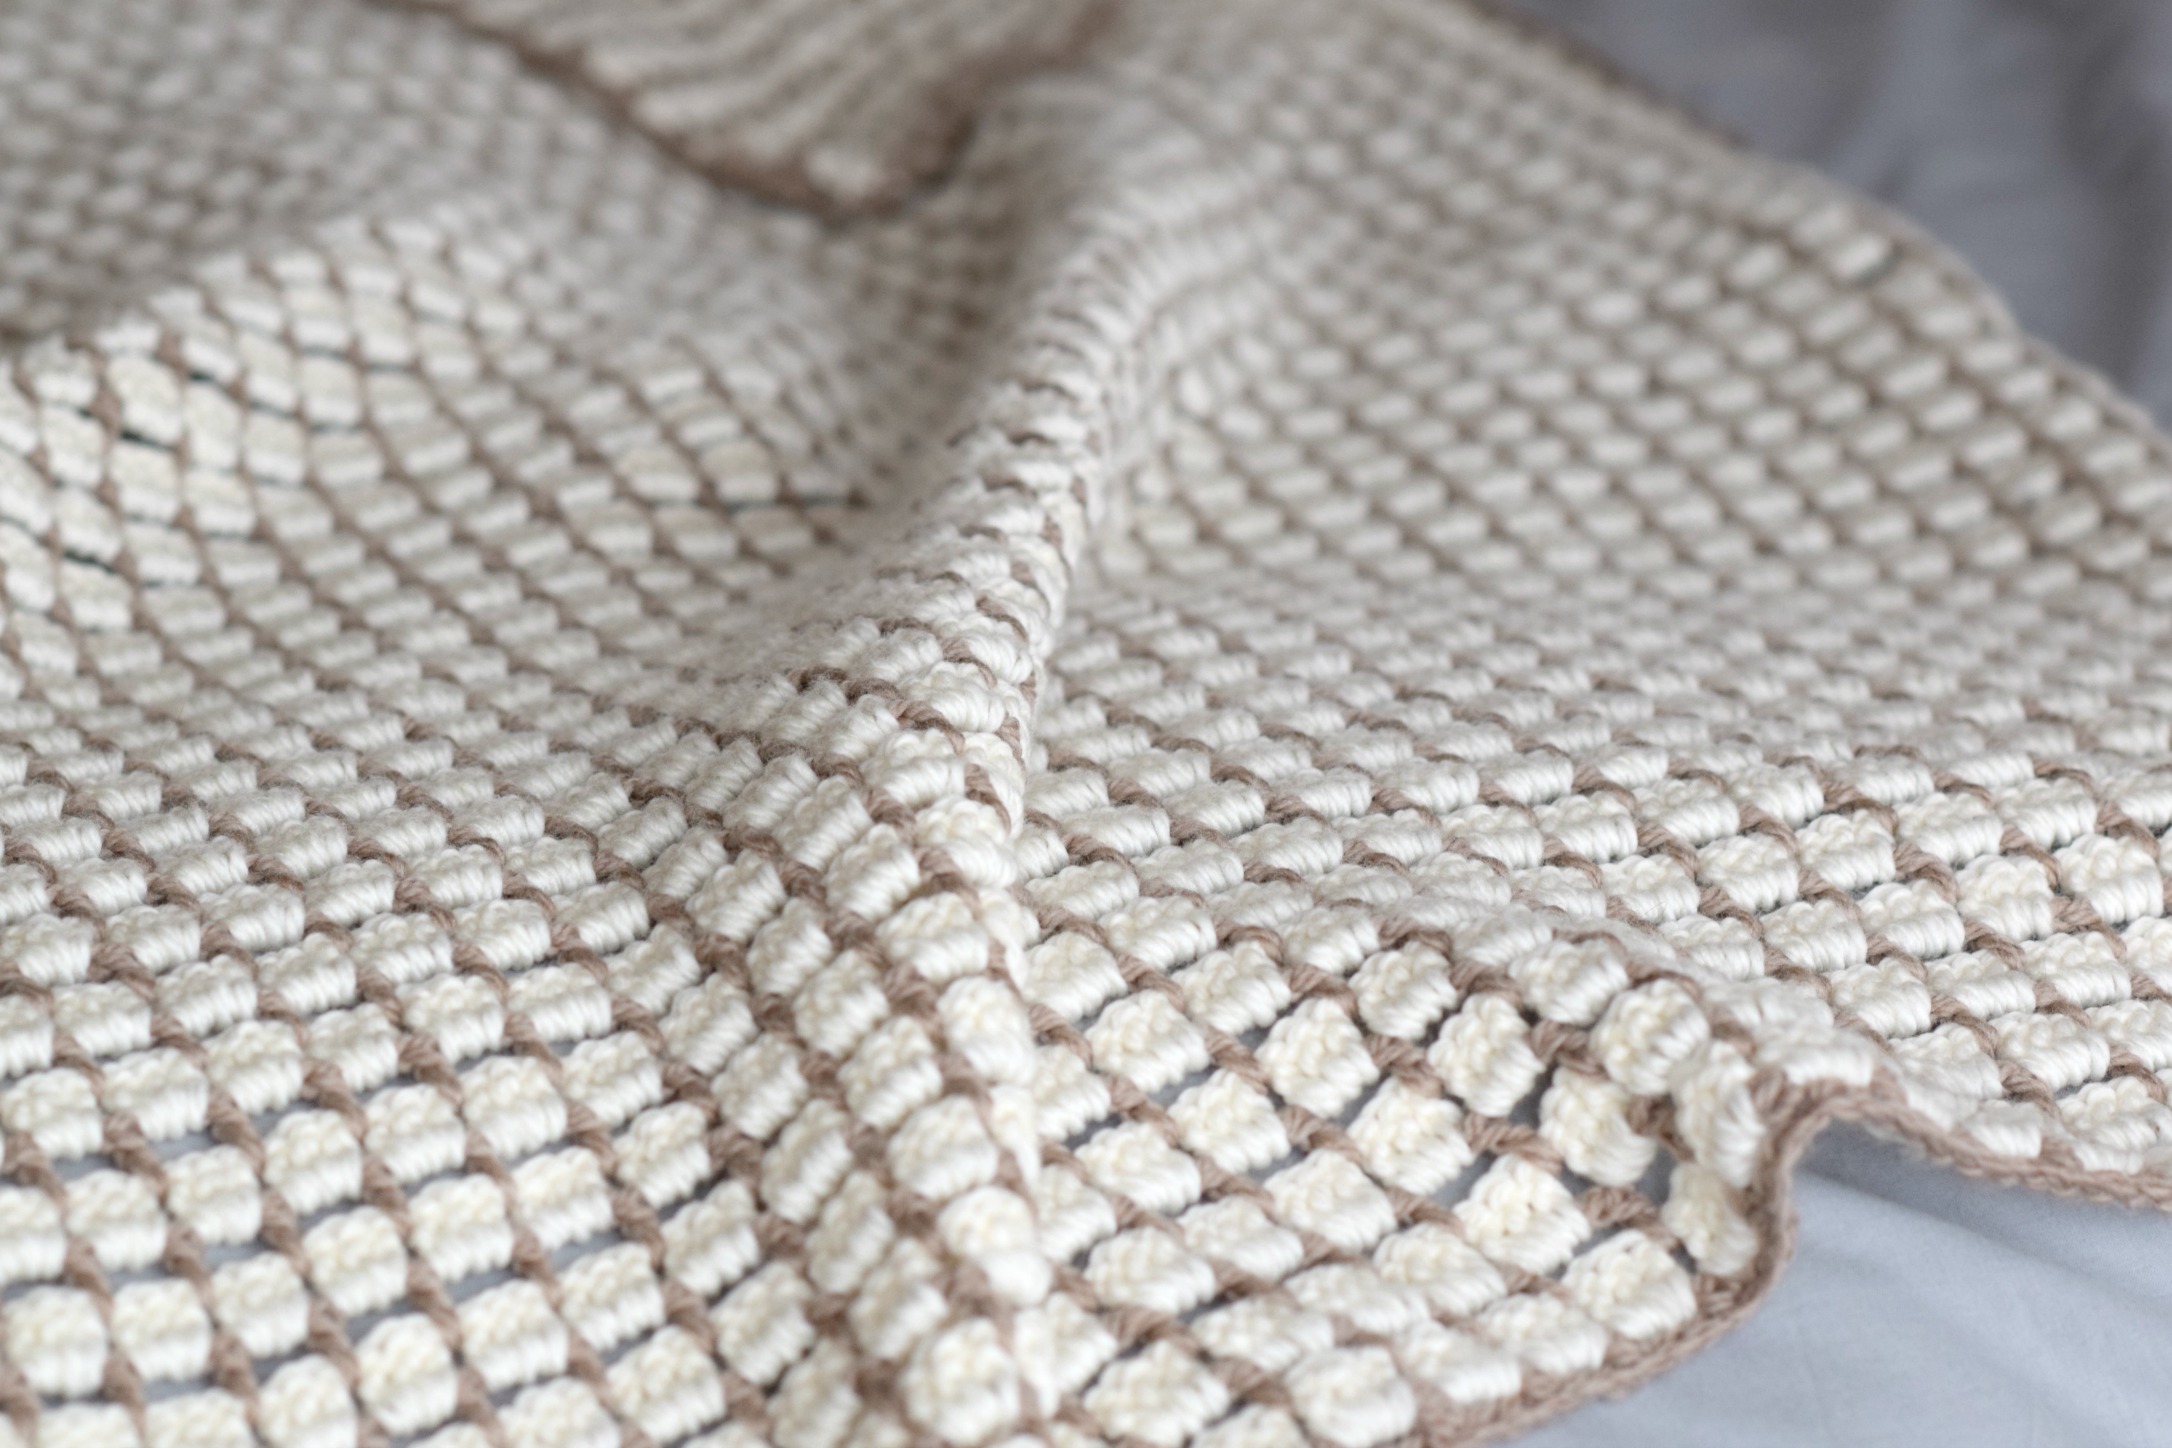
And did I mention Comfy Cotton still tops my list for summer yarns? It’s not splitty, it stays on the hook or needles, and it’s soft on the skin. It’s become a go-to for me. (See the Cottage Blanket Crochet Pattern or the Breckenridge Knit Topper Pattern HERE).
How do we crochet this summer cardigan?
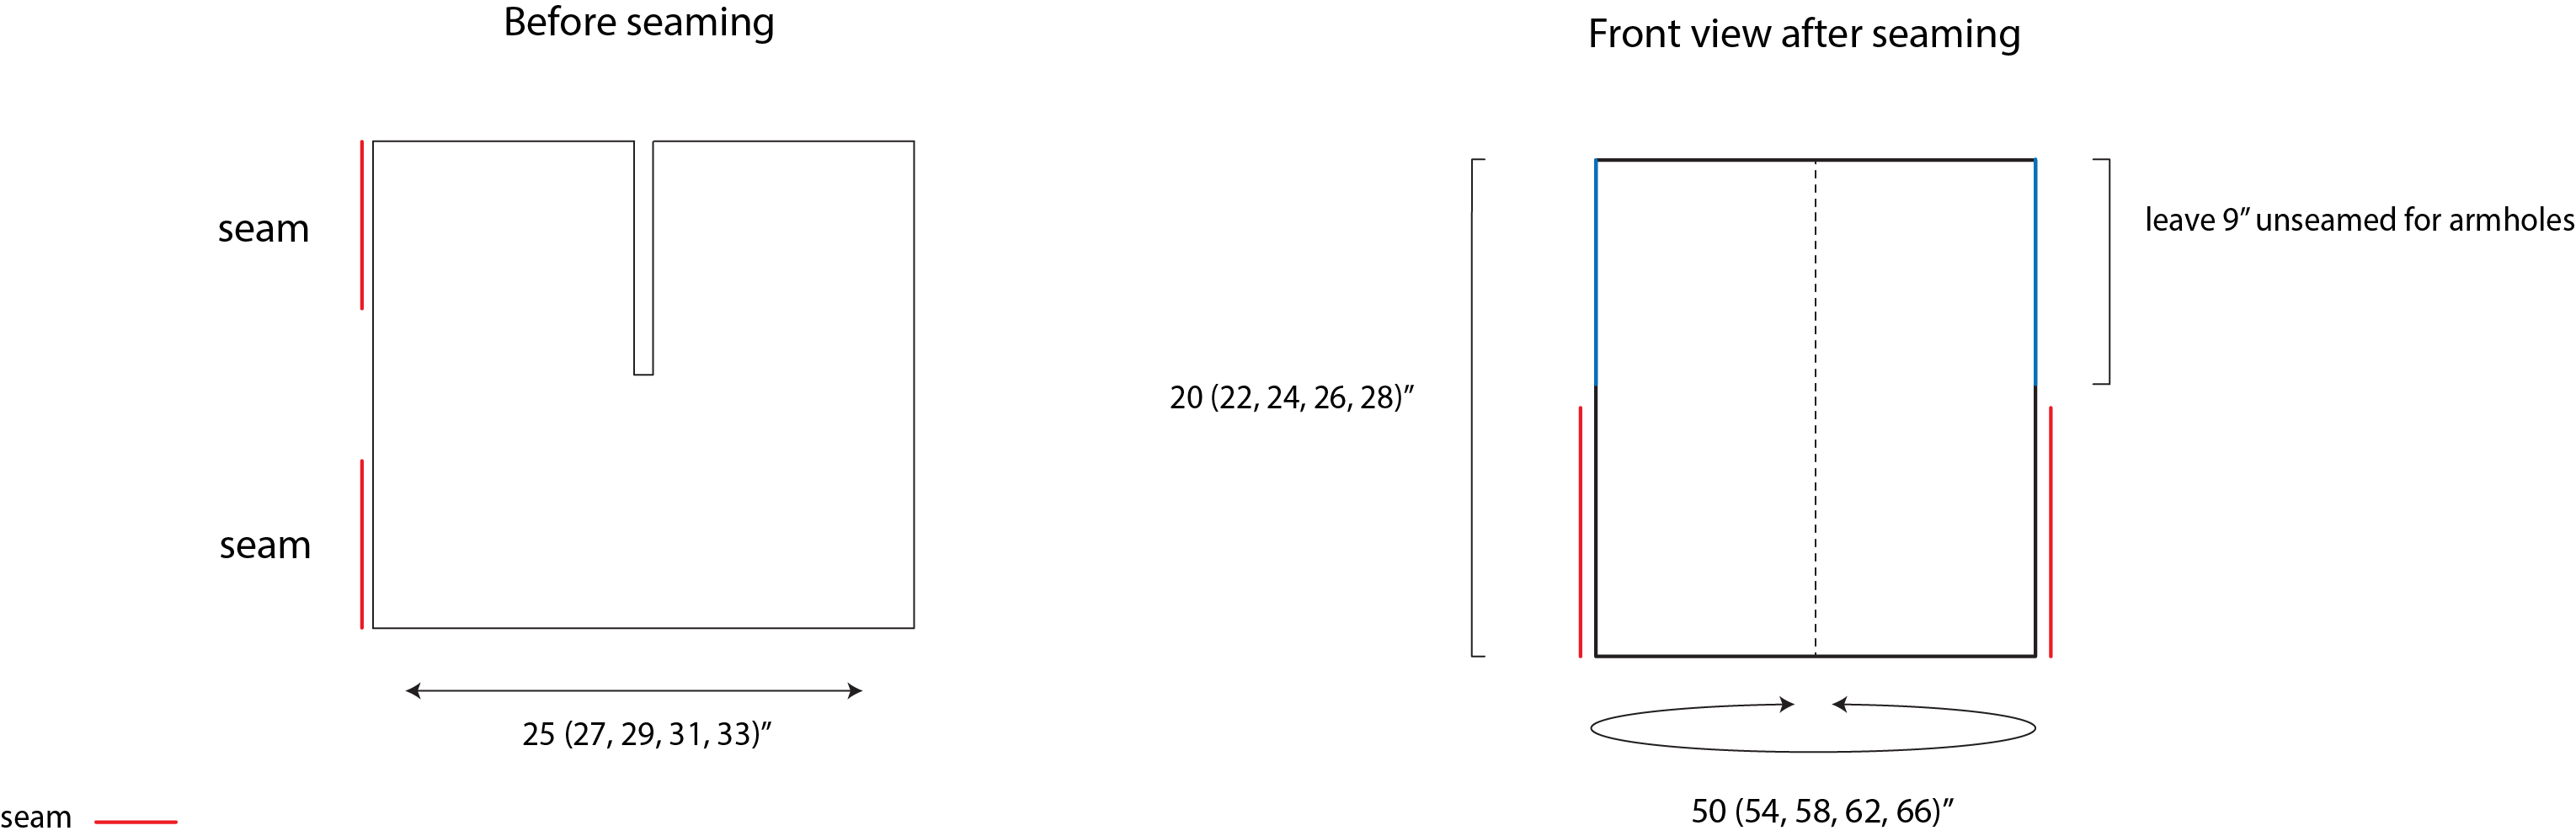
It’s so easy! You will start with a a chain and work the stitch pattern and you make a rectangular back panel. Next you will split the stitches evenly to work two front panels, from the top down. You will then fold the two panels down, seam the sides, and boom! You’ve got a cardigan. See the schematics below to get a better visual on how it’s made.
Is it easy to crochet?
This isn’t my easiest pattern ever, but if you are comfortable counting stitches and working into spaces, you should be good to go! I’d say it’s easy/intermediate. It’s not for beginners because it will likely be frustrating for a total newbie. 🙂 Just practice counting, double crochet stitches and a few clusters, and come on back here!
So should we hop to it?
The free pattern’s below, or you may choose to purchase the ad-free printable on Etsy HERE.
Mamas Maker Members, grab your printable version from the member library HERE.
Pattern Description: An oversized, comfy, kimono style cardigan that will take you from summer days to starry nights. Made with a light weight yarn, this “throw on and go” piece is light and easy to make. With an understated boho vibe, the lace is just enough to keep you interested while still being simple and fun to crochet. A bonus is that it’s made in one piece and seamed at the sides.
Skill Level: Intermediate
Materials:
US Size J, 6.0 mm crochet hook
2 (3, 3, 4) Lion Brand Yarn Comfy Cotton light weight #3 yarn in Whipped Cream 200 g/skein
Pattern uses approximately 375 g (429 g, 522 g, 604 g)
Measuring Tape
Tapestry Needle
Scissors
Sizes:
Small, Medium, Large, XL
Please follow the key throughout the pattern according to the size you are crocheting:
S (M, L, XL)
Bust Circumference (approximate finished measurements):
(note there is positive ease-model is wearing size small with 32” bust and 5’5”)
S – 50”
M – 54”
L – 58”
XL – 62”
Length (approximate):
S – 20”
M – 22”
L – 24”
XL – 26”
Abbreviations & Skills:
ch – chain
dc – double crochet
sk – skip
sk st – skip stitch
dc cl or 2dc cl – double crochet cluster (2 dc in one st)
sp – space
st – stitch
sts – stitches
Note that the dc cl in worked in between the 2 dc cl of previous row.
Gauge:
Approximately 6 dc clusters (total of 12 sts) & 7 rows in 4” x 4”
Notes:
This topper is worked in one piece and seamed. You will crochet a back panel from the bottom up, then split the stitches for the neck opening and continue working for the two front panels, from the top down. The panels are then folded down and the sides are seamed to finish (see schematic for further visual assistance on how it looks).
Summer Fun Cardi Crochet Pattern Instructions
Back Panel
Ch 76 (84, 92, 100)
Row 1 Dc in 4th ch from hook (1st dc cl made), *sk st, dc cl in next st; repeat from * across the row 74 (82, 90, 98) sts
Row 2 Ch 3 (counts as dc st here and throughout pattern) turn, dc in last dc cl sp of previous row (dc cl made), *dc cl in next dc cl sp; repeat from * across the row 74 (82, 90, 98) sts
Rows 3 – 4 Repeat row 2
Row 5 Ch 3, turn, dc in last dc cl sp of previous row, *ch 2, sk next dc cl, dc cl in next dc cl sp; repeat from * across the row.
Row 6 Ch 3, turn, dc in dc cl sp (dc cluster made), *2dc in ch2 sp, dc cl in next dc cl sp; repeat from * across the row.
Rows 7 – 10 Repeat rows 5 & 6 two more times in that order
Rows 11 – 18 Repeat row 2
Rows 19 – 36 Repeat rows 5 & 6
Size S, continue to front panel section.
For other sizes, repeat rows 5 & 6 an additional 0 (1, 2, 3) times. You will work an additional 0 (2, 4, 6) rows to finish the final repeat.
You may choose to crochet more rows to add length to your shrug (keep yarn needs in mind and remember to add length to the front panels as well)
Next, you will split the stitches to work two separate front panels.
*Note: If you have difficulty splitting the panels, you may choose to make separate front panels and seam them to the back panel. Your panels will be slightly narrower, but you will achieve the same look. Chain 36 (40, 44, 48) and follow the pattern for the Back Panel in order to make your front panels (make 2).
If you choose to split the stitches in order to avoid seaming, continue to crochet…
Front Panel (You will be working a set amount of stitches on each side to form the two separate front panels). Each panel is worked over half of the stitches. See schematics at the end of the pattern for help with visualizing how it will look.
Rows 1 – 14 (16, 18, 20) Repeat rows 5 – 6 working across 38 (42, 46, 50) stitches only (place stitch marker if necessary)
Next, repeat row 2 until front panel is as long as back panel.
Tie off and weave in ends.
Repeat Front Panel pattern to make second front panel starting in the same stitch as the LAST stitch of the first front panel (on small 38th st for example) This is important for the stitch count to turn out correctly!
Assemble & Seam
Fold front panels down over back panel. Using a simple whip stitch seam, sew up the sides leaving a generous space (about 9”) for the arm openings. If you’ve made separate back and front panels, seam at the shoulders and sides.
Collar
Pick up yarn at lower bottom corner of front panel. Work two rows of half double crochet through the front loop along the entire collar. Work from one end, all the way around the neck to the other corner of the second front panel.
Lower Edging
Pick up yarn and work three rows of half double crochet through the front loop along the entire lower edge of the topper.
Tie off and weave in all ends! Enjoy!
Schematic:
I hope you liked this summery project, my friends. 🙂 It’s a great time of year to get outdoors with our yarn and our loved ones.
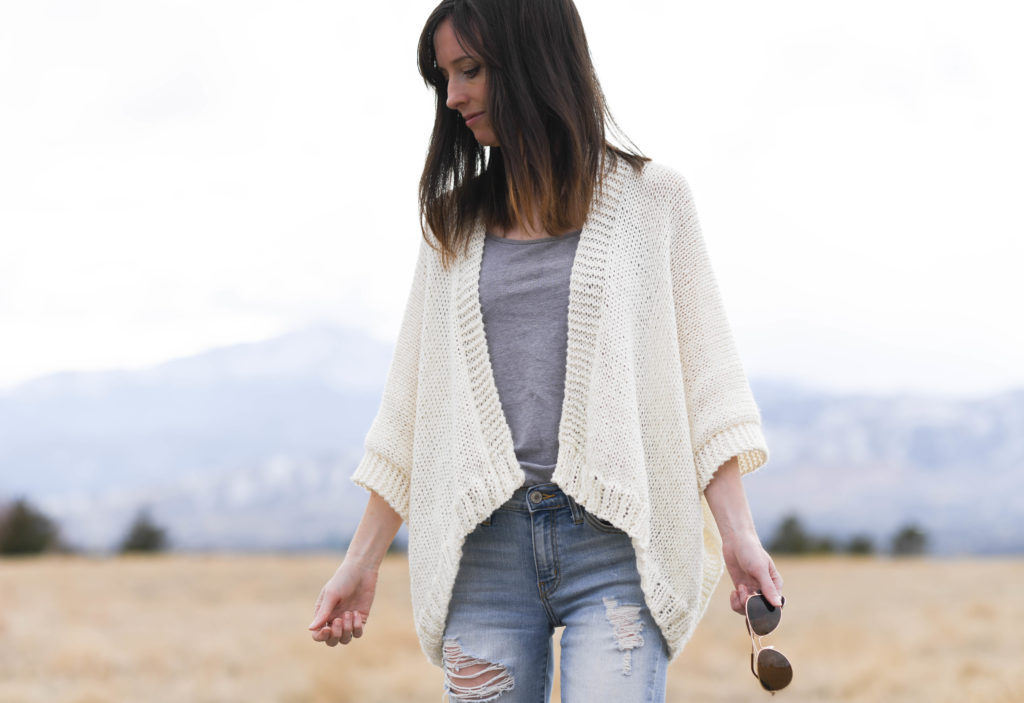
By the way, if this one looks a little too intimidating, you can check out my Vail Topper here. It’s a lot simpler!
Have a great week!
XO,
Jessica