How To Knit the Horizontal Herringbone Stitch
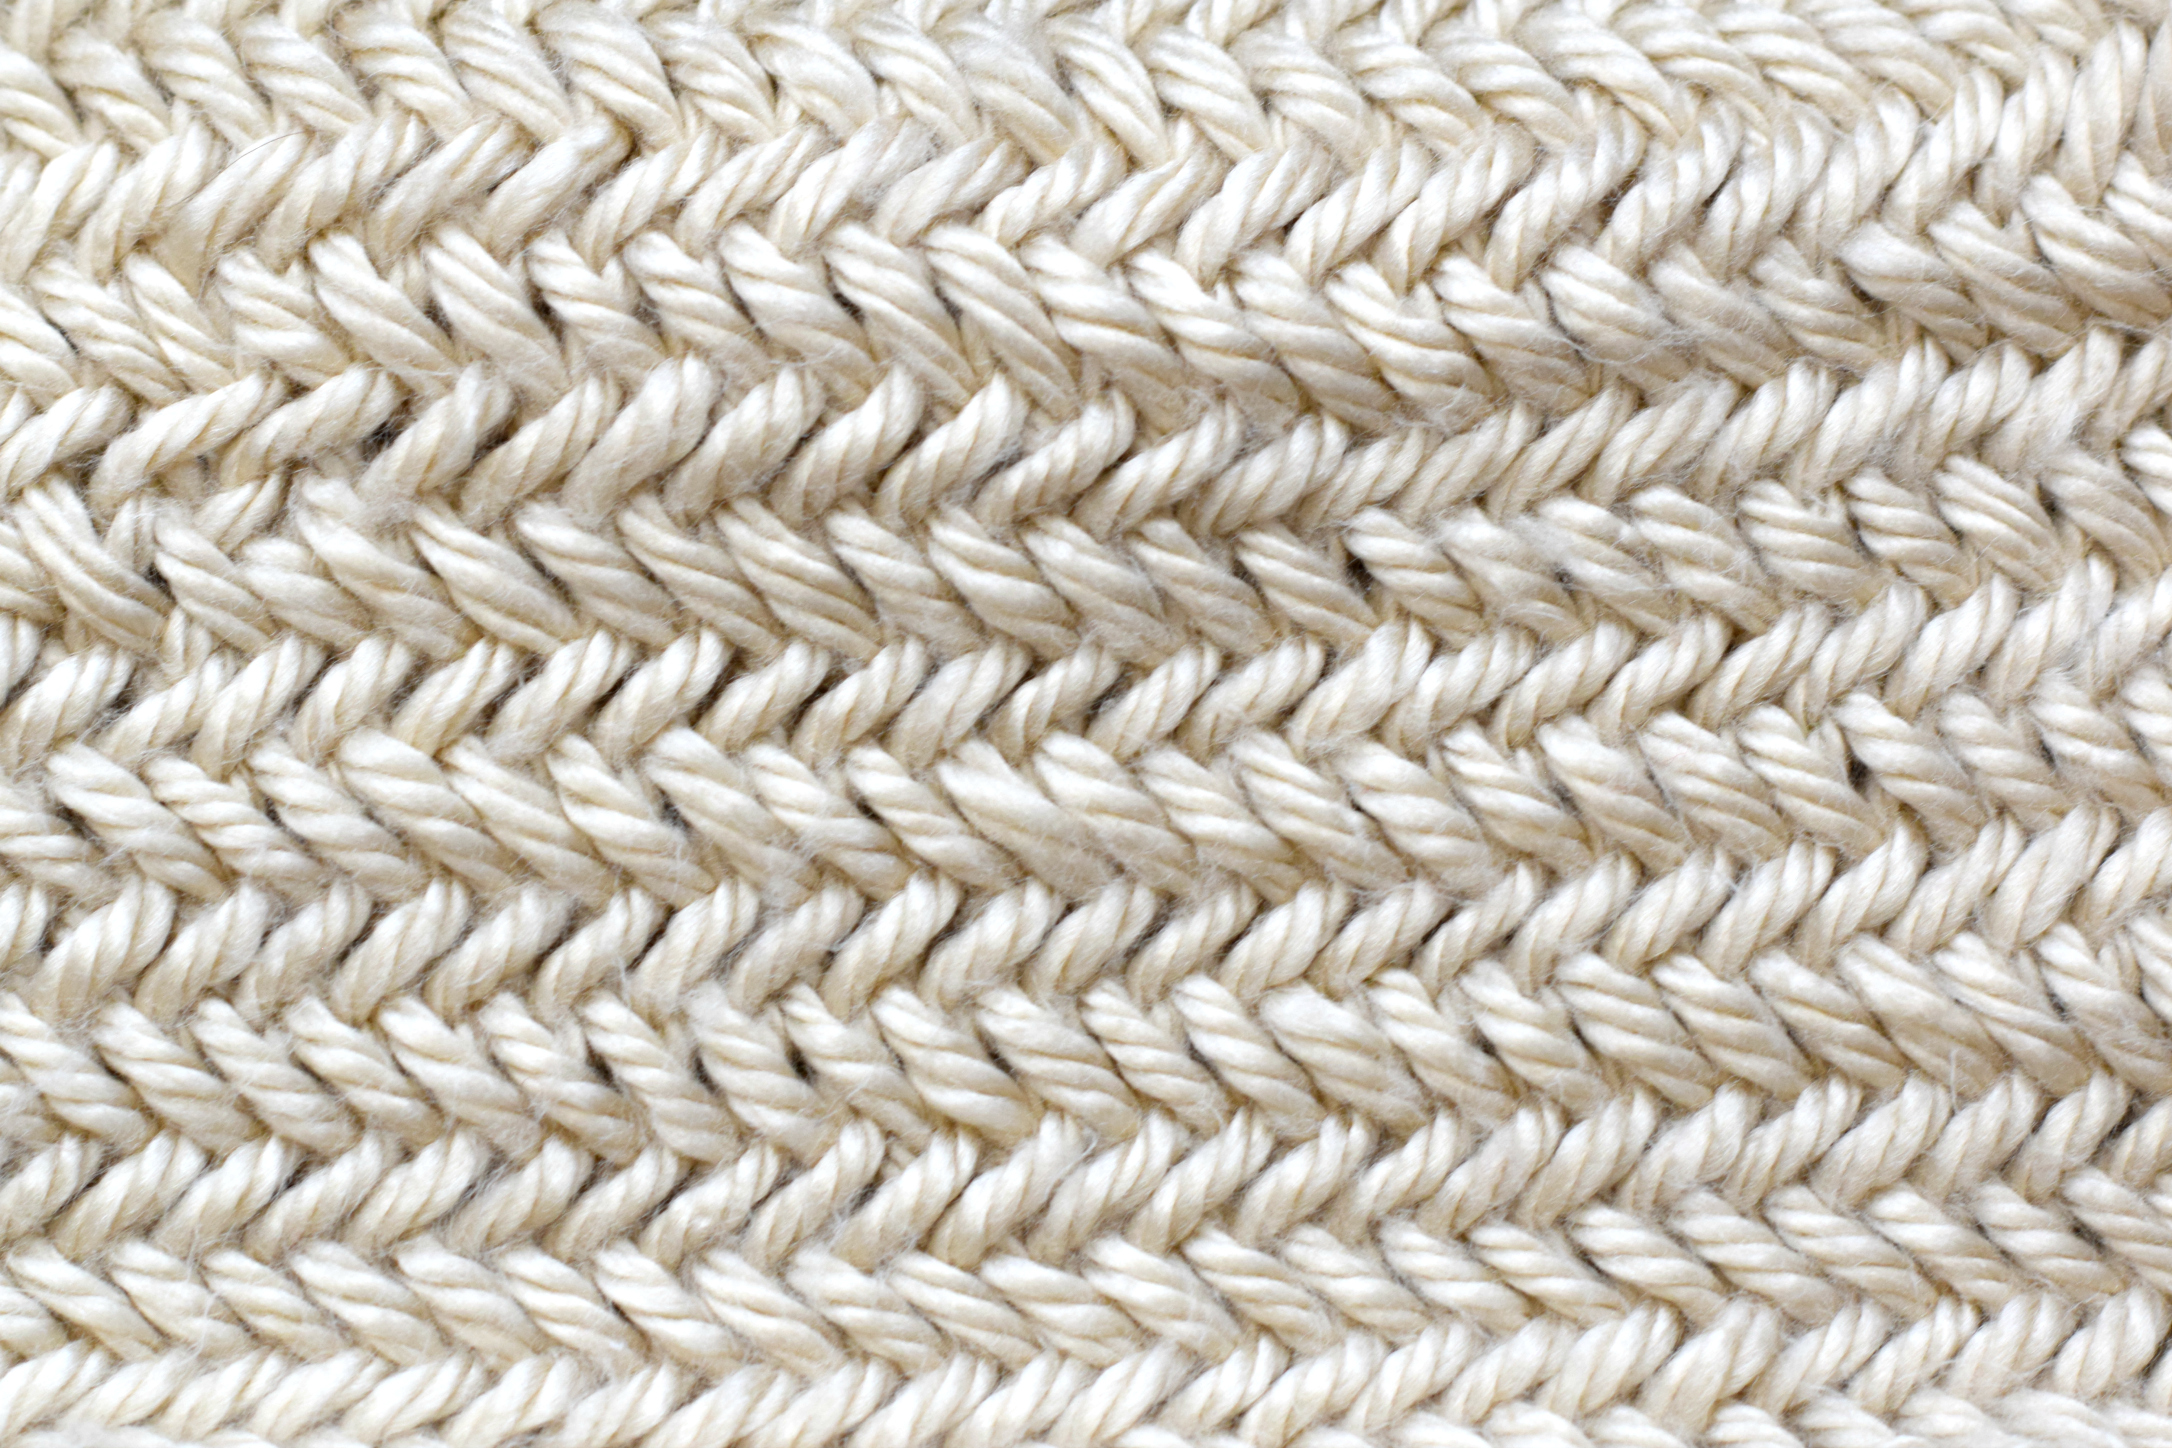
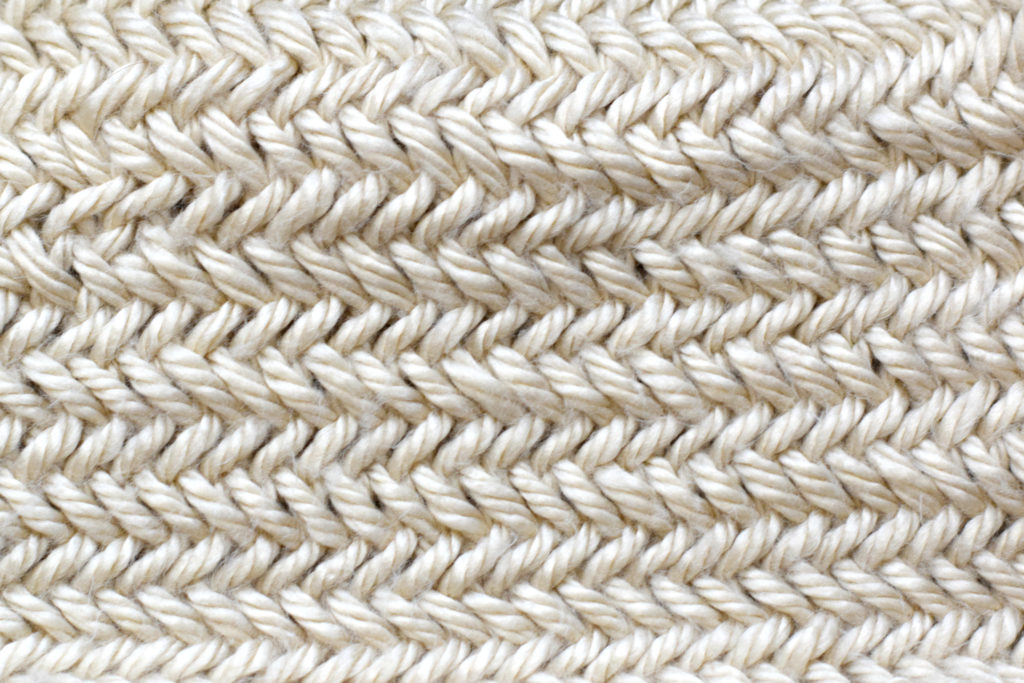
Hi friends! I’ve knit a beautiful herringbone stitch in the past, but was excited to find a simpler method! You can also find an easy bag pattern (here) on the blog so that you can practice this stitch while making something fun and useful. 🙂
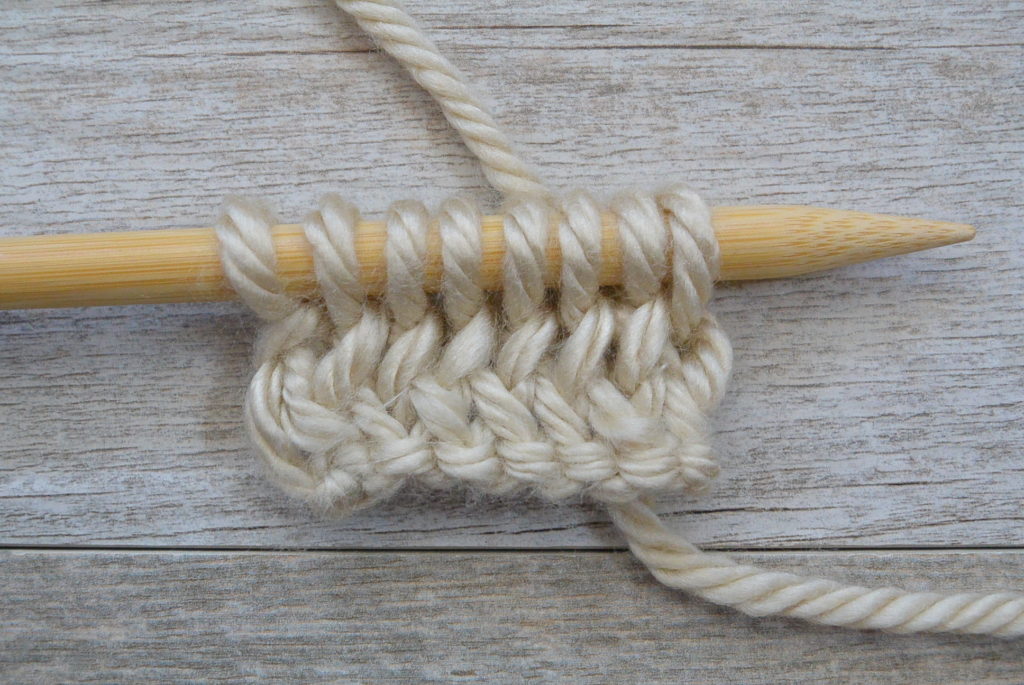
For this stitch pattern, you can use any yarn and corresponding needles. And about the needles – you might want to go up a size or two to make it a bit easier to knit. This stitch tends to become tight, so a little extra room with the needles can help. It makes a very thick fabric, so I’d avoid getting too super duper bulky, but I’ve used super bulky yarn here and enjoyed it! The stitch itself looks quite complicated but it’s pretty simple. It may be a challenge when you drop a stitch or make a mistake, but otherwise it’s very straight forward and uses easy knit stitches. If you’ve never done the slip, slip knit, you’ll find it to be a breeze. You can see how it’s done (and see how to make the entire horizontal herringbone stitch) in the video from New Stitch A Day. It’s a two row repeat so it’s fairly easy to memorize once you’re a few rows in. So let’s get started! I’ll show you a few pictures, and then get into the specific pattern details. 🙂
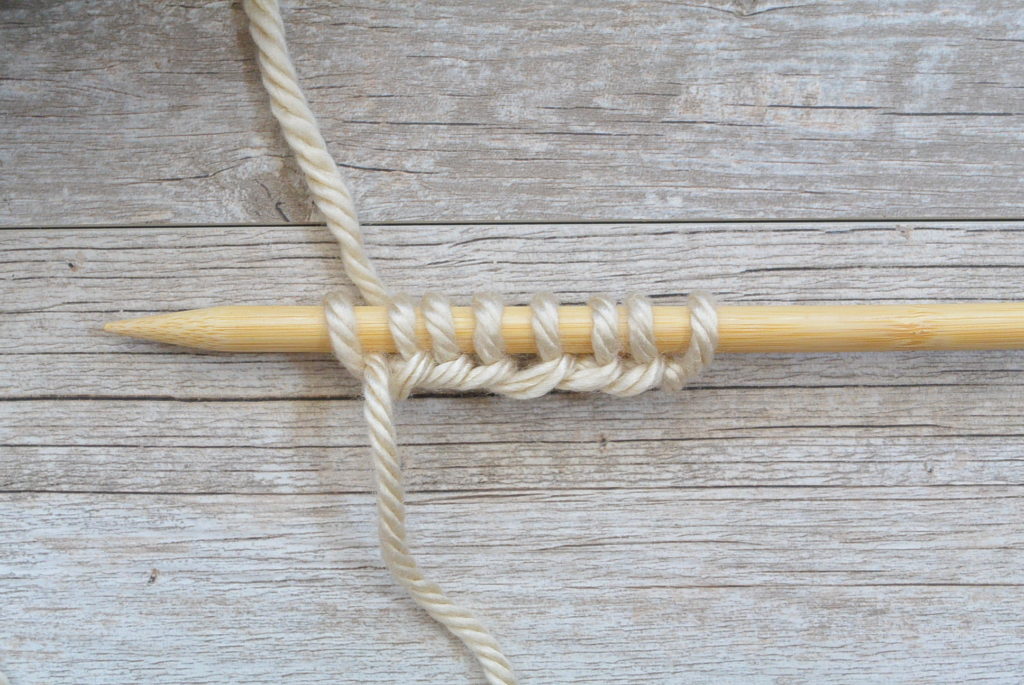
Step 1 Cast On Stitches (Multiple of 2)
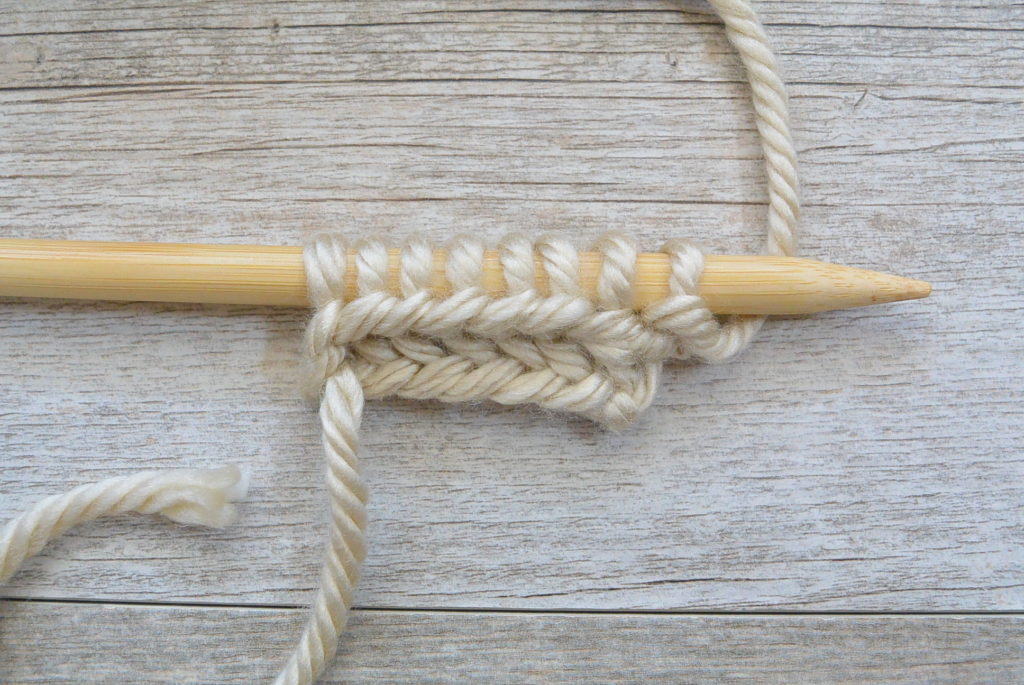
Step 2 Follow the row 1 pattern, you will slip slip knit across the row while leaving the first stitch on your needle each time
Step 3 Follow the pattern for row 2 where you purl two together across the row while dropping the first stitch only off your needle each time (this one is sooo easy)
Skills & Abbreviations:
knit – knit
Ssk – slip slip knit
p2tog – purl two together
Horizontal Herringbone Stitch Pattern
(For this swatch, I’m using Lion Brand Hometown USA Super Bulky Yarn (HERE) and US Size 13 needles. Please note, for the bag pattern I used larger needles.)
Cast On Stitches (keep a multiple of 2)
Row 1: *Ssk, drop the first stitch off your needle, repeat from * to last st, knit.
Row 2: *P2tog, drop only the first stitch off your needle, repeat from * to last st, purl.
Repeat rows 1 and 2 as long as you’d like.
Cast off and weave in ends.
Like I mentioned earlier, New Stitch A Day has a great tutorial using this same method HERE. You can find several online tutorials showing how to make the herringbone stitch, and it’s interesting to see the variations! Like I said, I find this to be the easiest.
I used this stitch when designing this fun little bag pattern! (You can see it here)
I’d love to hear what you think about this stitch!
XO
Jessica
If you liked this, you might also like:






Jessica, I want to let you know how talented I think you are, you explain things so well and your pictures are helpful also. I have read your blog and used your patterns since I learned to crochet five years ago and knit about nine months ago. Just wanted to say this and thank you for helping me learn so much. Sincerely, Pam
Hi Pam! Congrats on learning to knit recently and thank you so much for taking the time to write to me here! Your kind words mean so much to me. You’re welcome and it is truly my pleasure to write on my blog and meet sweet people like you. Thanks Pam.
You sure are a fantastic designer. I love All your knitting projects although I have yet to do one. The photos are also gorgeous. I so look forward to viewing your beautiful designs. Thank you for giving me something to look forward to. Liz
Ahh you’re welcome Liz! And thank you so much. You made my day.
Jessica I love the pattern but fairly new to knitting and it’s easier for me to understand the steps if I see them visually. Is it possible for you to make a tutorial video? I would love to try this project and would so appreciate it! It is beautiful. Thanks for possibly considering it!
Hi Sandra! So sorry but I don’t think I’ll get the chance to make a video for this one. I’m trying to do more video in the future though!
Hello, I love all of your creations!
When you ask for this, do you slip knit wise or purl wise?
Thank you so much!
Pretty design for everyone. It looks so beautiful and attractive.