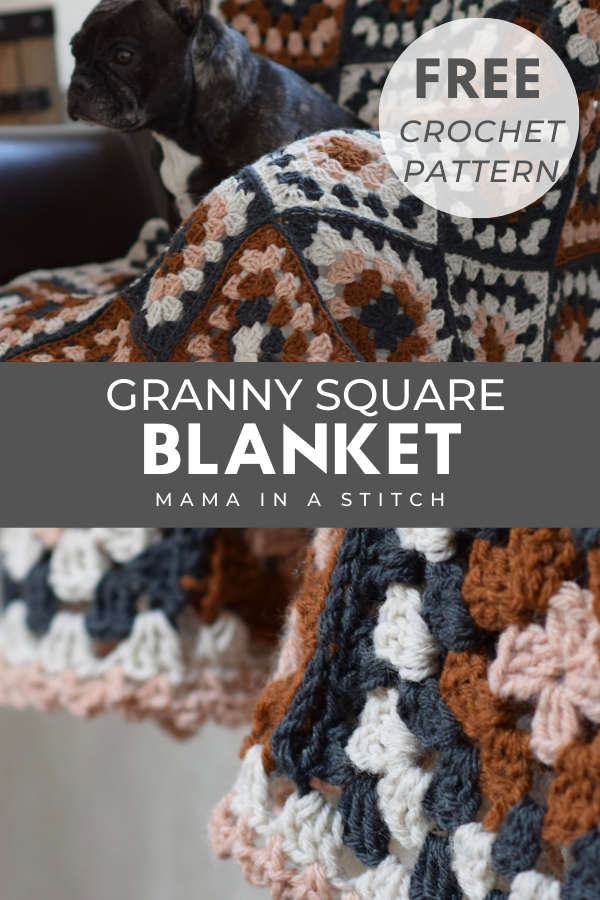
Granny Square Blanket Pattern
Introducing the Nora Granny Square Throw Blanket pattern! This is a great go-to pattern for you to make your own, unique granny square blanket. (And yes, it’s name is inspired by Nora, our frenchie pictured in the photo!)
Granny squares are very easy to crochet, and they are perfect to take on-the-go. I’m going to tell you how to make this one, and it’s super easy to customize with your fave colors and sizing. You can see the full free pattern below, or you may purchase the ad-free, printable version HERE, or the kit from Lion Brand HERE. 🙂
It’s been so much fun as a crocheter to see granny squares become so wildly popular over the last year. They are on everything from sweaters, to blankets, to hats at Target, and more. Good thing for us, we can make our own!
How Do I Crochet A Granny Square Blanket?
You’ll see the written pattern below, but in a nutshell, you’ll make several granny squares and seam them together.
If you’ve never crocheted a granny square, you can also take a look at my picture tutorial HERE. While the pattern shows you how to make a hotpad, the concept is the same for the granny squares in this pattern.
You can also find many tutorials for classic granny squares on YouTube if you need a better visual. Once you have it down, hop back here to make this blanket.
The granny squares that I made for this blanket are classic squares, and some of the simplest out there. (Think Roseanne’s blanket on the couch, or Jason Momoa’s vest – lol)
What Yarn Do I Use for this Granny Square Blanket Pattern?
For this Nora Blanket, you will use any worsted weight yarn that you’d like. I love Lion Brand Wool Ease, so I’ve used that for my blanket. The color options are really nice, and the yarn has a high quality look and feel. I know there are a lot of folks who can’t use wool, and that’s totally fine. You can substitute any worsted weight yarn that you like, whether it be acrylic, cotton, or otherwise.
Okay, let’s hop to this fun filled pattern!
Remember that you can purchase the ad-free, printable version from my Etsy shop HERE if you’d like! Scroll down if you want to see the full free pattern here on the blog.
Description:
A modern take on the classic granny square blanket, this on-trend throw makes for a fun and beautiful project! Completely customizable, pick your favorite four colors, and crochet away. Each square is worked in a simple five round pattern, then seamed to finish. Because it’s worked in individual squares, it’s an ideal project to take on-the-go as you get back to travelling this year! Available in two size options, a lapghan or larger throw blanket option.
Materials:
Convenient Kit Available from Lion Brand HERE
3 (4) Lion Brand Wool Ease in Flint 197 yds/85 grams per skein
2 (3) Lion Brand Wool Ease in Umber
2 (3)Lion Brand Wool Ease in Canyon Sunset
3 (3)Lion Brand Wool Ease in Linen
Pattern uses approximately 620 g (830 g)
US size J 6.0 mm crochet hook
Scissors
Tapestry needle to weave in ends
Size (approximate):
Two Options
Lapghan/Small Throw 43” x 43”
Larger Throw 43” x 57”
Follow the key and instructions for the size you are making, with the smaller size listed first and the larger size in parenthesis.
Gauge:
One 5 round square, following the pattern measures approximately 7” x 7”.
Pattern Notes:
You’ll crochet 36(48) granny squares that are worked separately and then seamed together following the instructions in the Assembly section. The squares are crocheted in joined rounds. Do not turn at the end of each round. To change colors, tie off, and join the new color in a corner.
Abbreviations (US) & Skills:
ch – chain
ch sp – chain space
st – stitch
dc – double crochet
rep – repeat
rnd – round
sl st – slip stitch
Nora Granny Square Throw Blanket Pattern
Make the indicated number of squares for each color option for the size you are making, which will be 36(48) squares total.
Square #1: Make 10 (12) Rnd 1 Linen, Rnd 2 Flint, Rnd 3 Umber, Rnd 4 Canyon Sunset, Rnd 5 Umber
Square #2: Make 9 (12) Rnd 1 Flint, Rnd 2 Umber, Rnd 3 Canyon Sunset, Rnd 4 Linen, Rnd 5 Flint
Square #3: Make 8 (12) Rnd 1 Umber, Rnd 2 Canyon Sunset, Rnd 3 Linen, Rnd 4 Flint, Rnd 5 Linen
Square #4: Make 9 (12) Rnd 1 Canyon Sunset, Rnd 2 Umber, Rnd 3 Flint, Rnd 4 Linen, Rnd 5 Flint
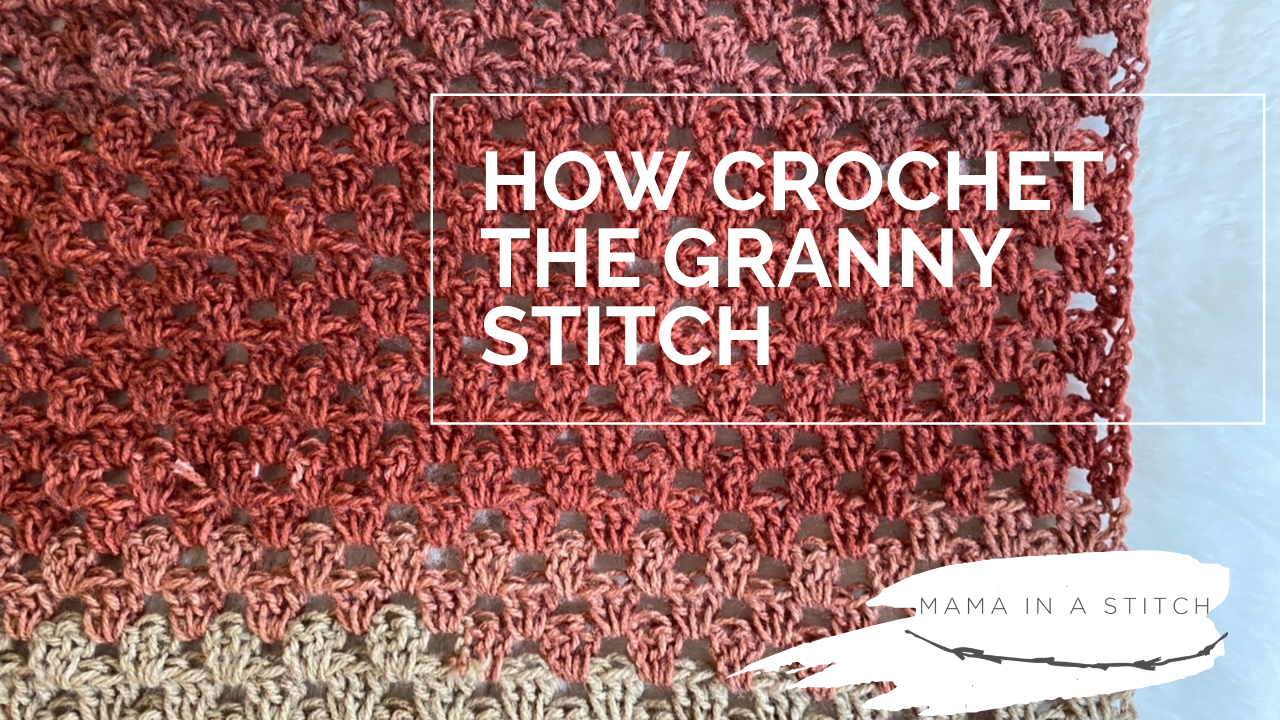
Granny Squares Pattern
Ch 3, join with sl st to form a ring.
Rnd 1 Ch 3 (counts as dc), 2 dc in ring, *ch 2, 3 dc in ring, repeat from * 3 times, ch 2; join with sl st in top of beg ch-3. (12 dc and 4 ch-2 sps in this rnd) Tie off.
Rnd 2 Join next color in any ch-2 sp of Rnd 1, ch 3 (counts as dc), (2 dc, ch 2, 3 dc) in same ch-2 sp (first corner made), * ch 1, (3 dc, ch 2, 3 dc) in next ch-2 sp (corner made); rep from * 2 more times, ch 1; join with sl st in top of beg ch-3. Tie off.
Rnd 3 Join next color in any corner ch-2 sp of Rnd 2, ch 3, (2 dc, ch 2, 3 dc) in same ch-2 sp, ch 1, 3 dc in next ch-1 sp, * ch 1, (3 dc, ch 2, 3 dc) in next corner ch-2 sp, ch 1, 3 dc in next ch-1 sp; rep from * 2 more times, ch 1, join with sl st in top of beg ch-3. Tie off.
Rnd 4 Join next color in any corner ch-2 sp of Rnd 3, ch 3, (2 dc, ch 2, 3 dc) in same ch-2 sp, [ch 1, 3 dc in next ch-1 sp] twice, * ch 1, (3 dc, ch 2, 3 dc) in next corner ch-2 sp, [ch 1, 3 dc in next ch-1 sp] twice; rep from * 2 more times, ch 1; join with sl st in top of beg ch-3. Tie off.
Rnd 5: Join next color in any corner ch 2-sp of Rnd 4, ch 3, (2 dc, ch2, 3dc) in same ch-2sp, [ch1, 3dc in next ch-1 sp] three times, *ch 1, (3 dc, ch 2, 3dc) in next corner ch-2 sp, [ch 1, 3 dc in next ch-1 sp] three times; rep from * 2 more times, ch 1; join with a sl st in top of beg ch-3.
Tie off.
Weave in all those ends!
Assembly
Seam squares together in the order pictured below (on the following page) using a flat slip stitch seam (or preferred seam). Hint: Lay them out in the correct order before seaming to ensure you’ve made the correct number of each square and it works out correctly!
Finish with an optional border around entire blanket with preferred color yarn. To work border pictured, work (3dc, ch 2, 3dc) in each corner space of blanket and *ch 1, then 3dc in each sp around.
Picot Edging (Optional)
Work edging along top and bottom edges of blanket.
Pick up preferred yarn color in corner of blanket with right side up.
*Ch3, single crochet into 3rd ch from hook, skip a stitch, single crochet into next stitch.
Repeat this pattern from * across the edge. If you end up with an extra stitch at the end, simply make a single crochet into that stitch. Tie off and weave in ends.
If you love granny squares, you might also like these granny square projects:
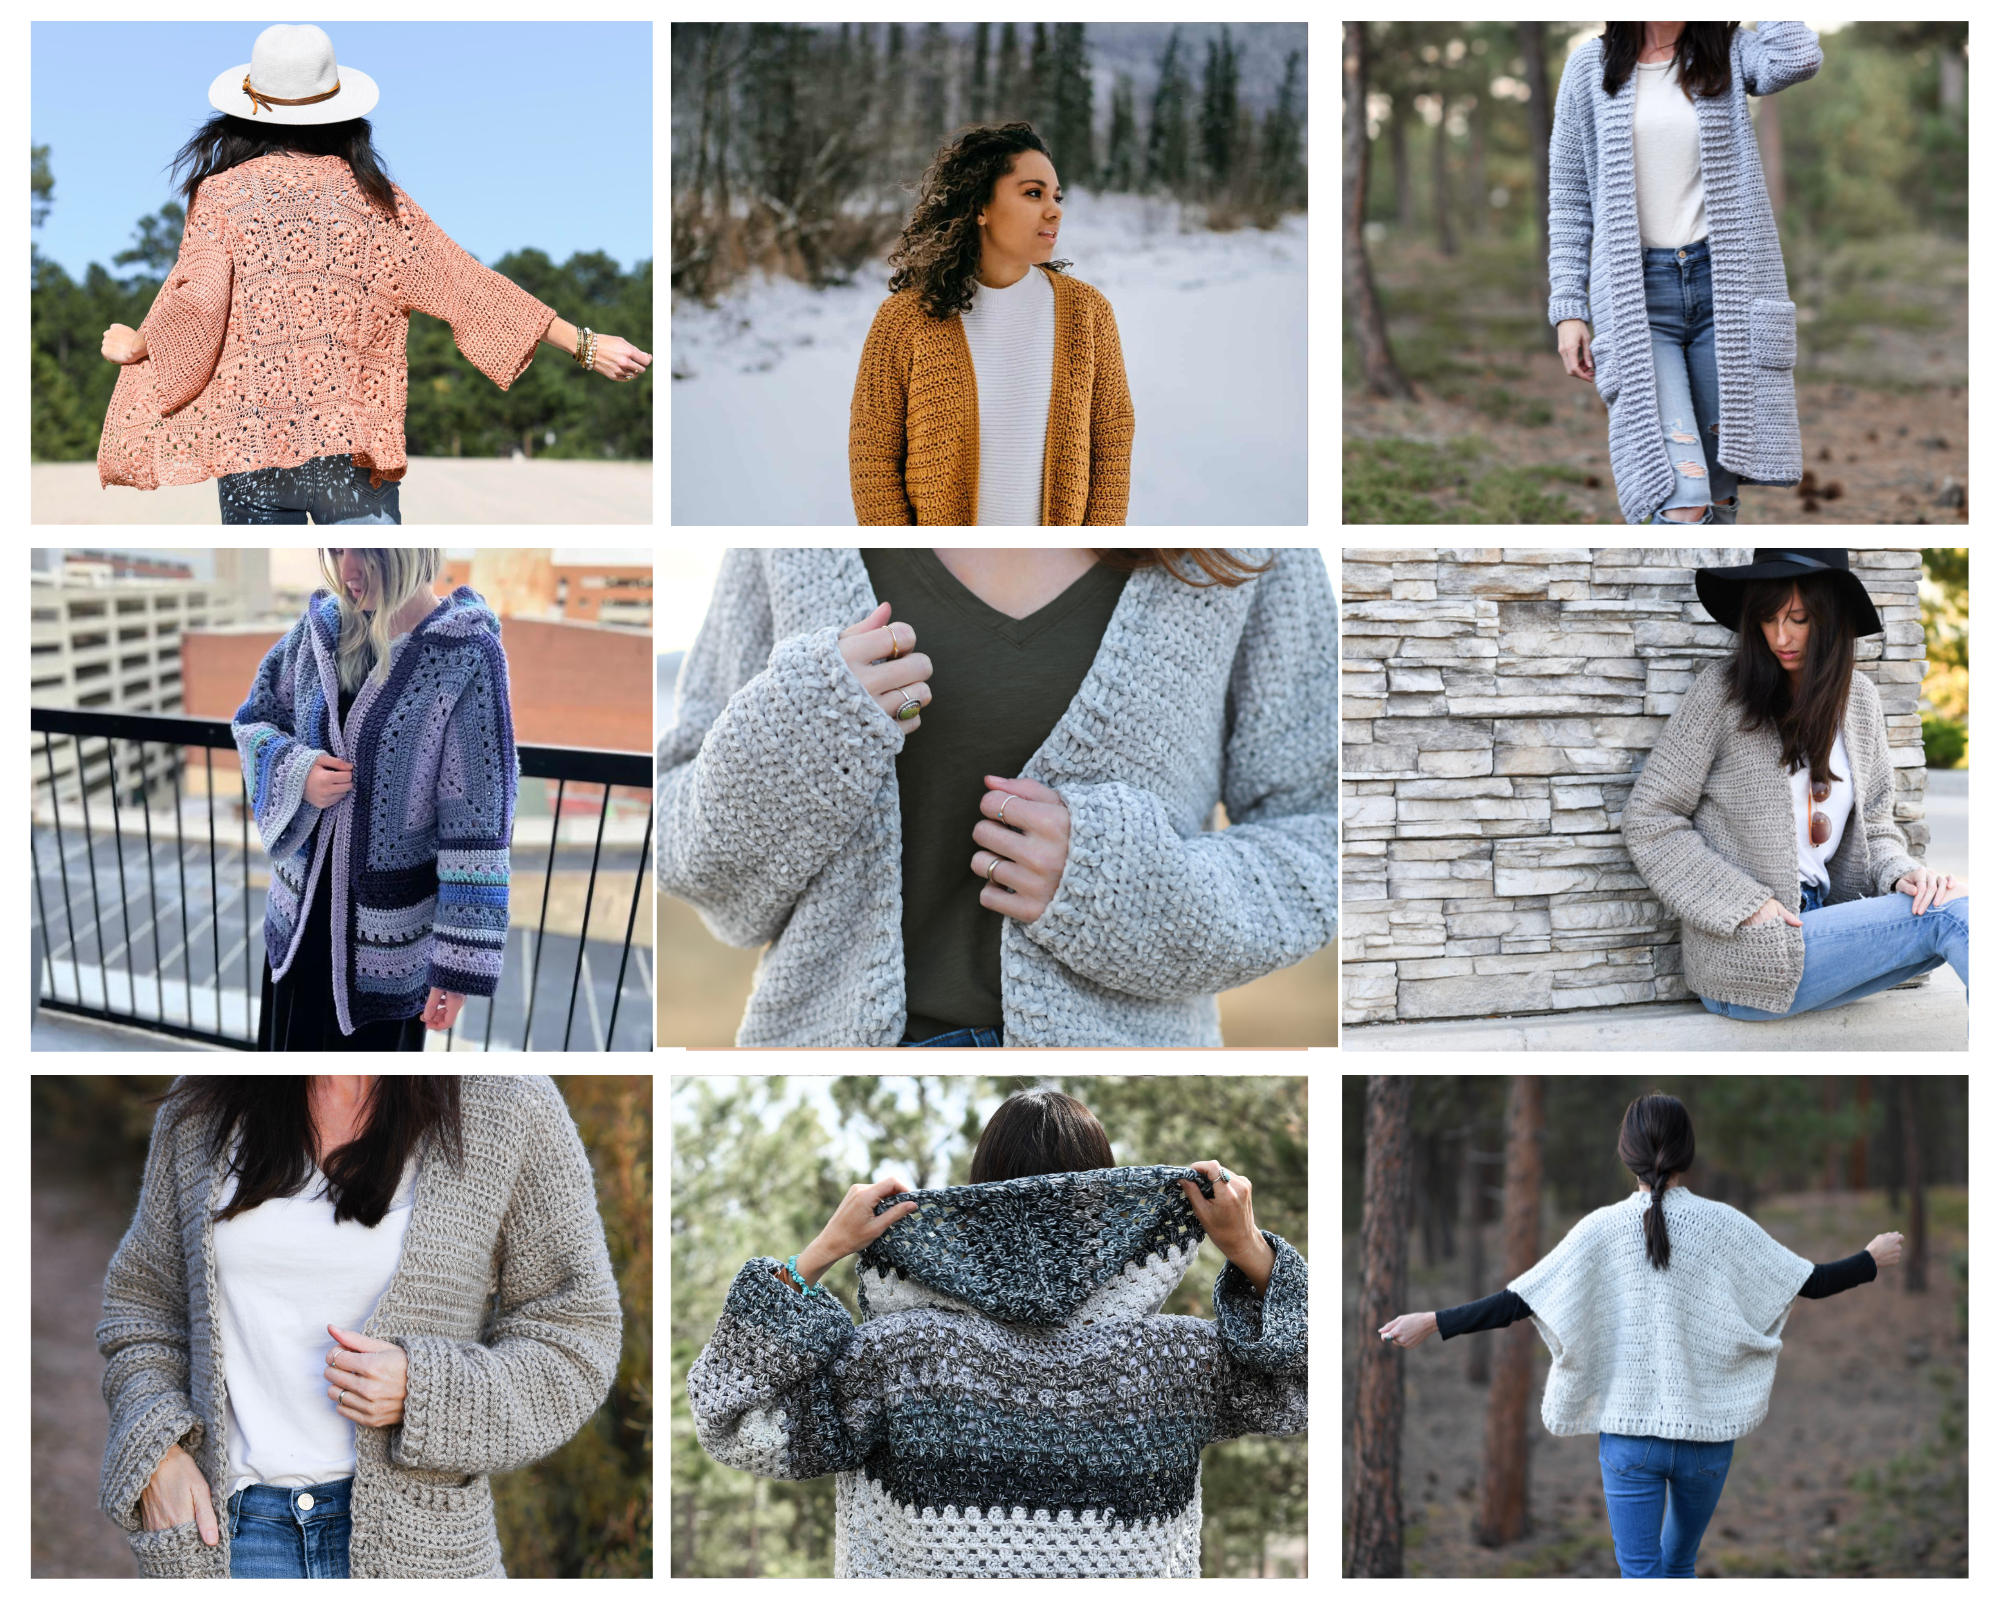
- Granny Square Vest Pattern
- Granny Square Cardigan Pattern
- Granny Square Hot Pad
- Sunny Blooms Flower Blanket Crochet Pattern
- How To Crochet A Flower Granny Square
I hope you liked this granny square blanket! It was a lot of fun to work on such a vintage, classic type of design. And it’s also a fun to name it offer my little baby Nora bulldog. 🙂
Can’t wait to hear if you make one, and what colors you go with!
XO,
Jessica
This post sponsored by Lion Brand Yarn. All opinions are 100% my own.
I have made many granny square blankets. I like to turn after each round to that the blanket doesn’t have an obvious front and back. I have also crocheted the squares together on both sides; tried blanket stitch, other joining methods and find the crocheting on both sides holds up the best.
I am thinking of making a temperature blanket for my granddaughter — I will pick her birth year. I will make each square 7 rounds – Sunday will be the centers out to Saturday. I will line up the 52 weeks and then make solid ones to fill in the size. Thinking of a twin size.
Wow…..that is the most beautiful granny square blanket ever! Color choices beautiful also. If I didn’t have so much hand arthritis I’d make it myself and come to think of it….I just may try….thanks for your creativity.