How To Knit the Easiest Baby Blankie – Luxe Blankie Knitting Pattern
Hey friends! While this concept is simple, please read this entire blog post before beginning. You also may need to knit 2 rows of knit stitches, just before the decrease in the center so that it doesn’t turn out into a kite shape. I don’t advise this for new beginners.
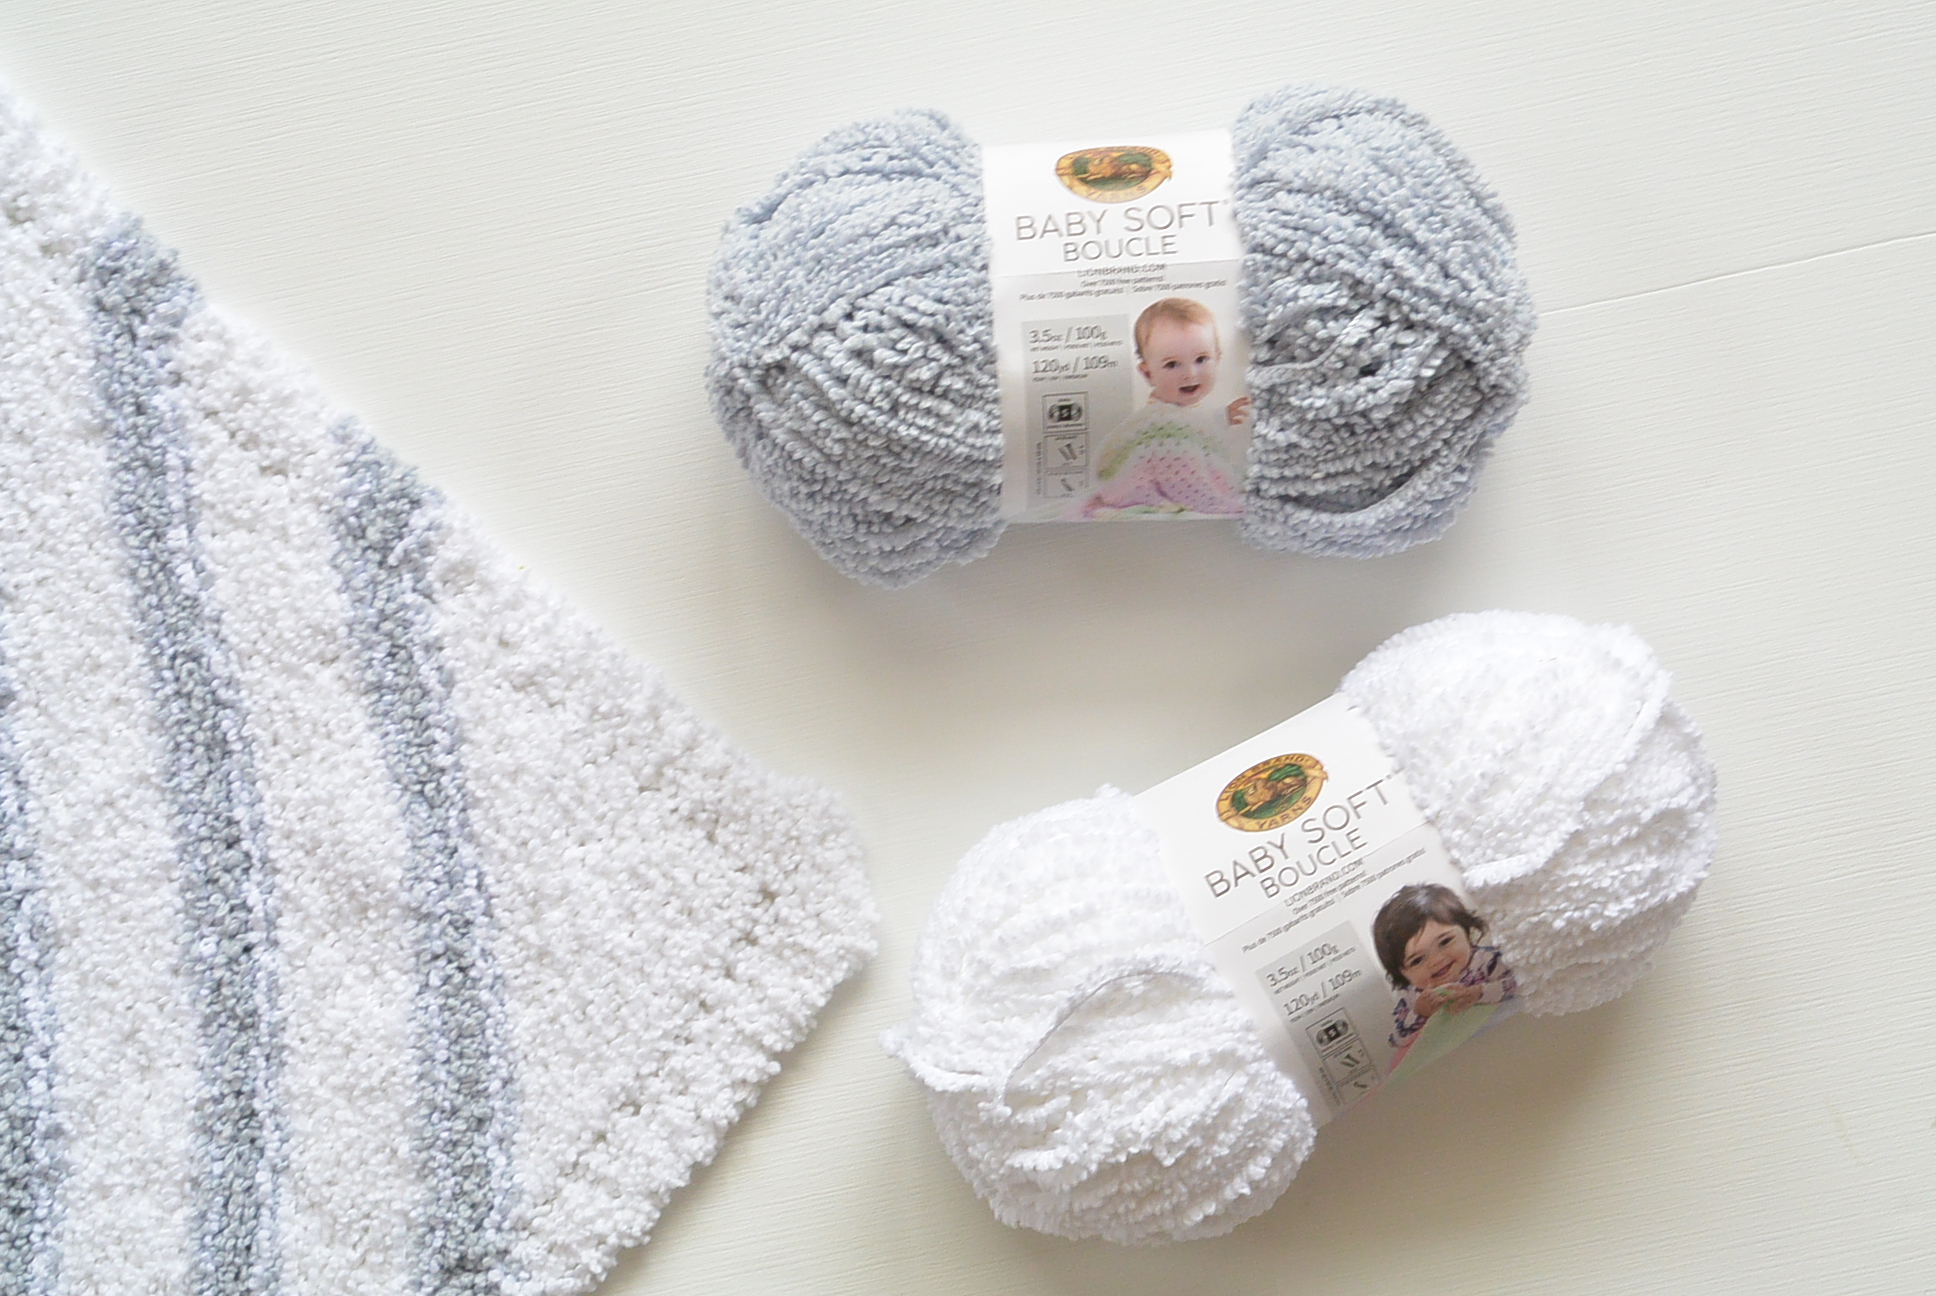
Today I wanted to share this super simple pattern for a baby blankie! You only need to know the most basic knit stitch and simple increasing and decreasing. I’ve made a YouTube video (link below) and included a few photos to give you some extra help as well. For this project, I used Lion Brand Baby Boucle Yarn which is a fairly new yarn and it’s incredibly soft and luxurious! Hence the name for this particular blanket the “Luxe” Baby Blankie. My blanket is made with white and grey so it’s completely gender neutral and will be appreciated by most mama’s to be as grey is the “it” color these days. 🙂 However, it would also be precious with pink stripes or even a pale green. Lion Brand has made it into a kit and they have amazing color options for this blankie that you can see here. The pretty little border happens effortlessly and the entire thing works up without you having to think too hard. It’s perfect for zoning out while Netflixing or hanging out by the pool. Scroll down for the free pattern below, or you can purchase the Luxe Blankie Kit from Lion Brand HERE.
![]()
![]()
![]()
When knit, the fabric almost looks like terrycloth, doesn’t it? I wish you could reach through the screen and feel how soft and squishy it is. When my daughter was a baby, my favorite blanket had the very same feel but it wasn’t hand made. There’s no doubt this would have been my fave when she was a baby. It’s just soooo soft and sweet.
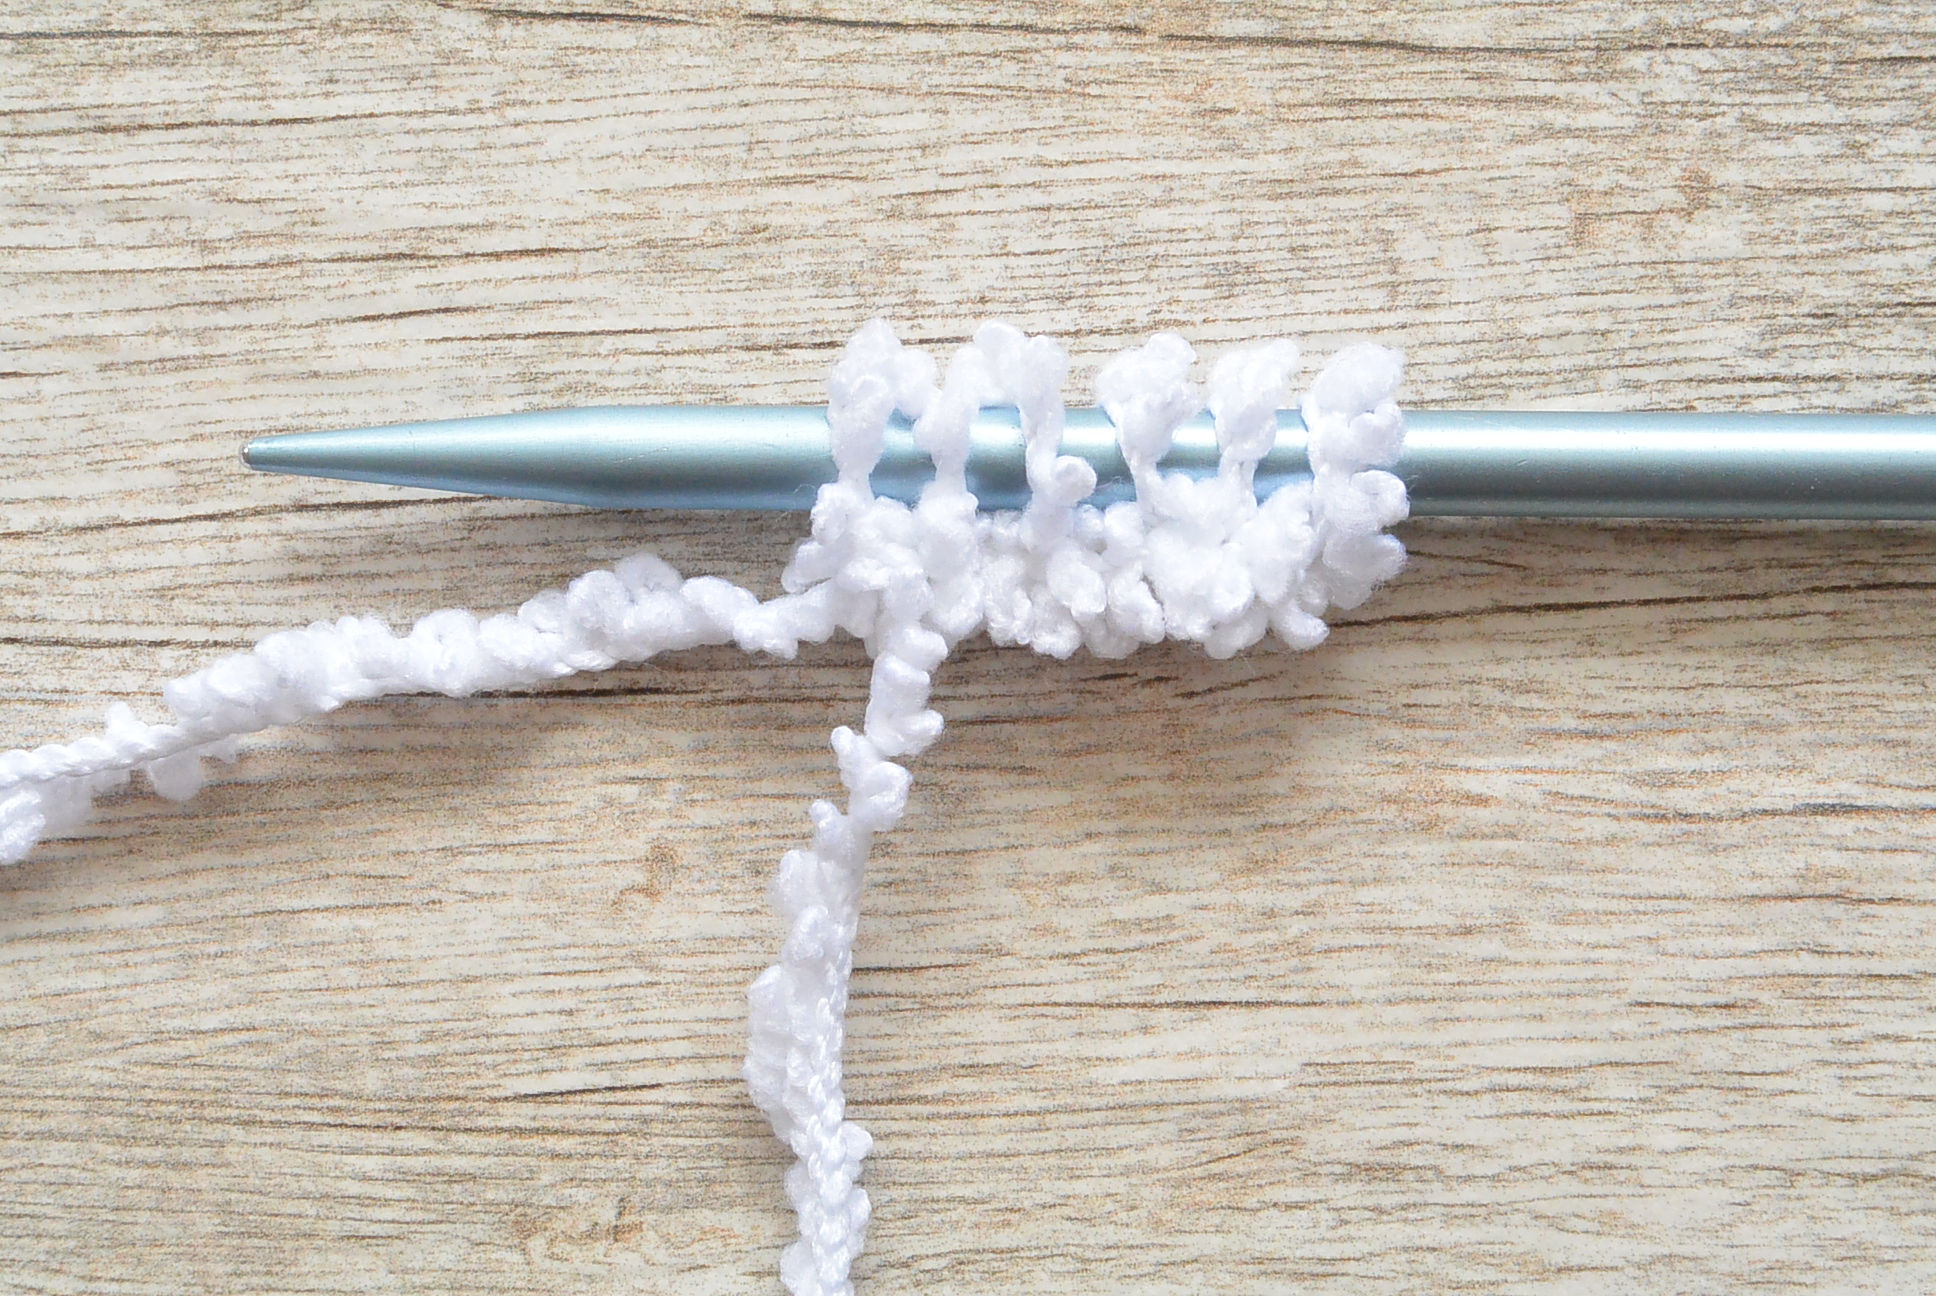
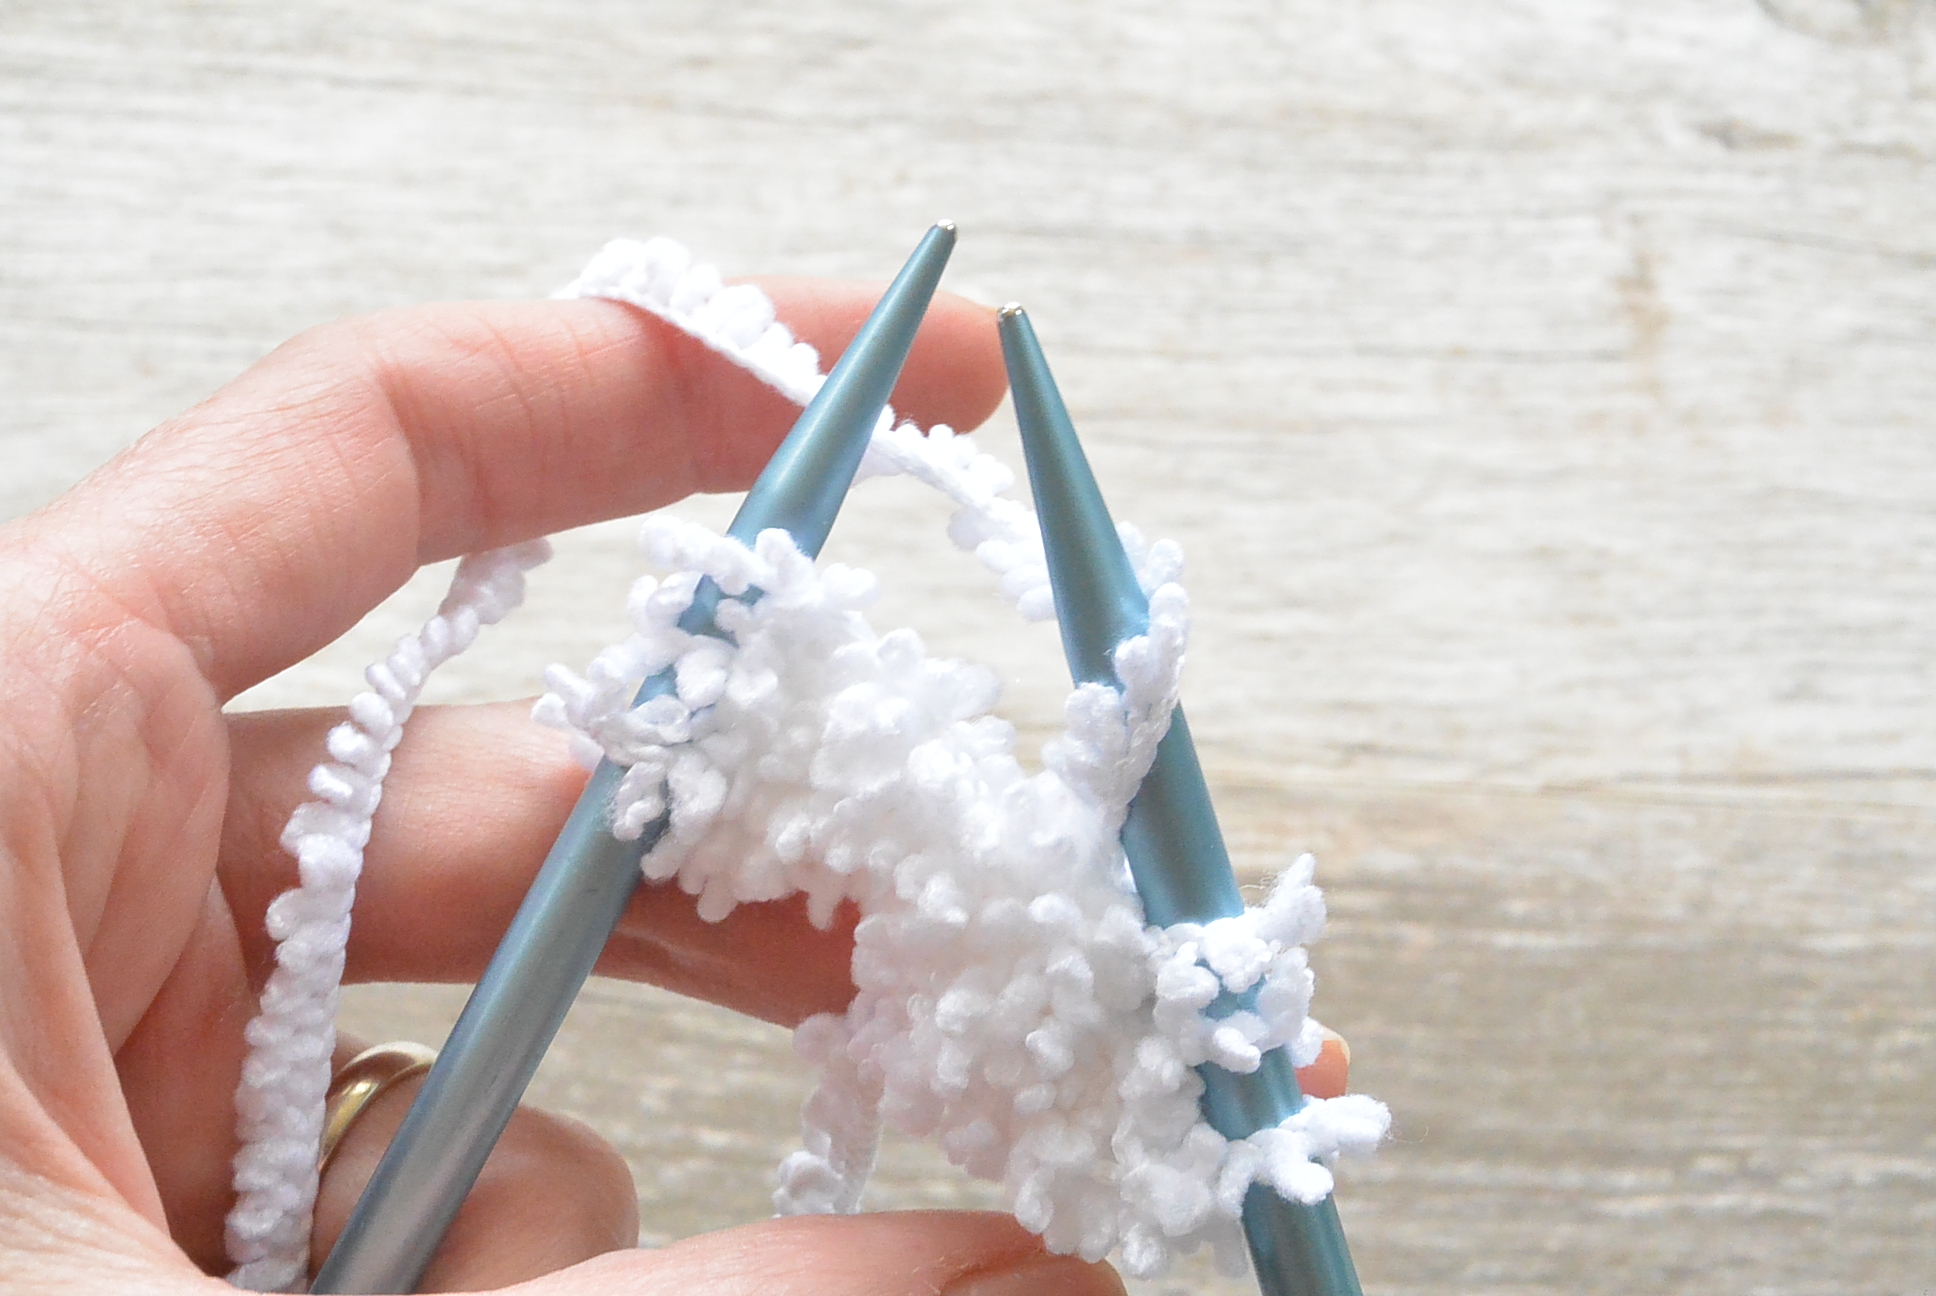
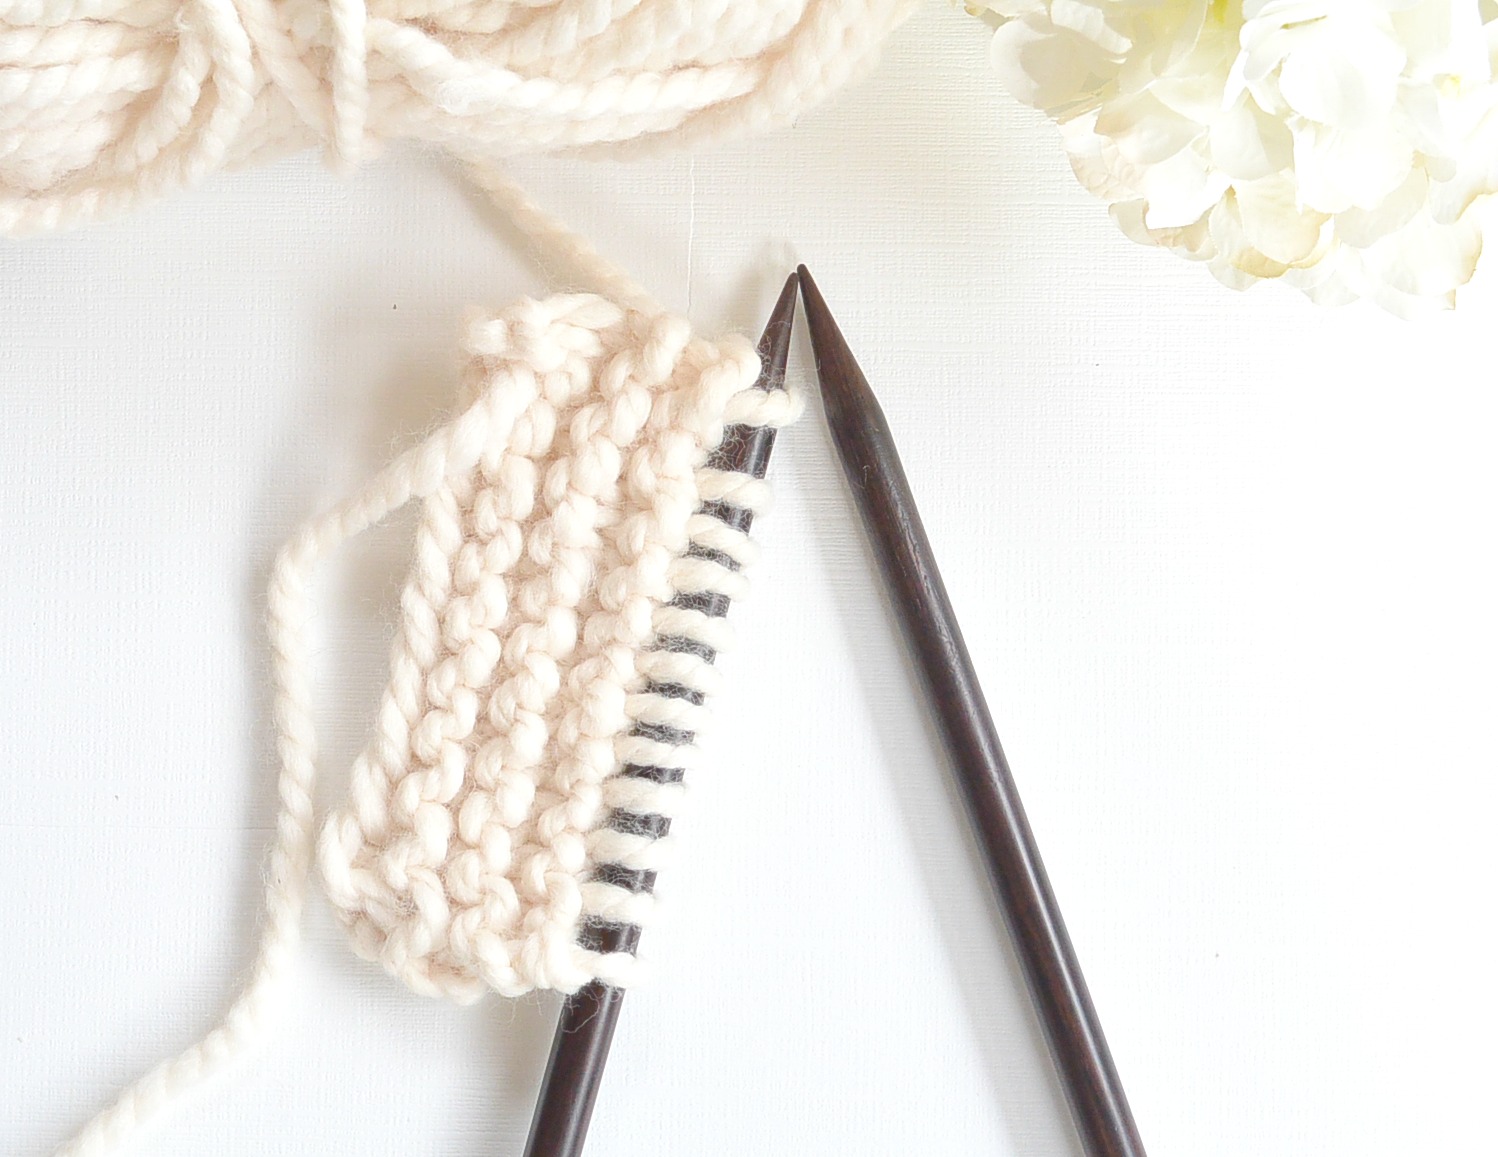
So how is it made? Basically, you will be knitting from one corner, and increasing to the center, then you will decrease until you reach the opposite corner. It’s the classic diagonal knitting method that you often see used for dishcloths. If you look at the photo below, I’m about to cast off at the final corner. You will cast on six stitches, work a few rows, then you will work yarn overs to increase each row. Color changes are made just a few times to add the simple striping and after that, it’s completely mindless as you work to the center. Once you reach the center, you will begin your decreases until the end. I chose to not work stripes throughout the blanket, but you certainly can make more than me! I just wanted to keep it simple and avoid tons of ends to weave in. Plus, I like the look of the minimal striping as it adds some color but doesn’t take over the blankie.
I’ve made a YouTube video on how this is made and you can check out the video tutorial by clicking HERE!
![]()
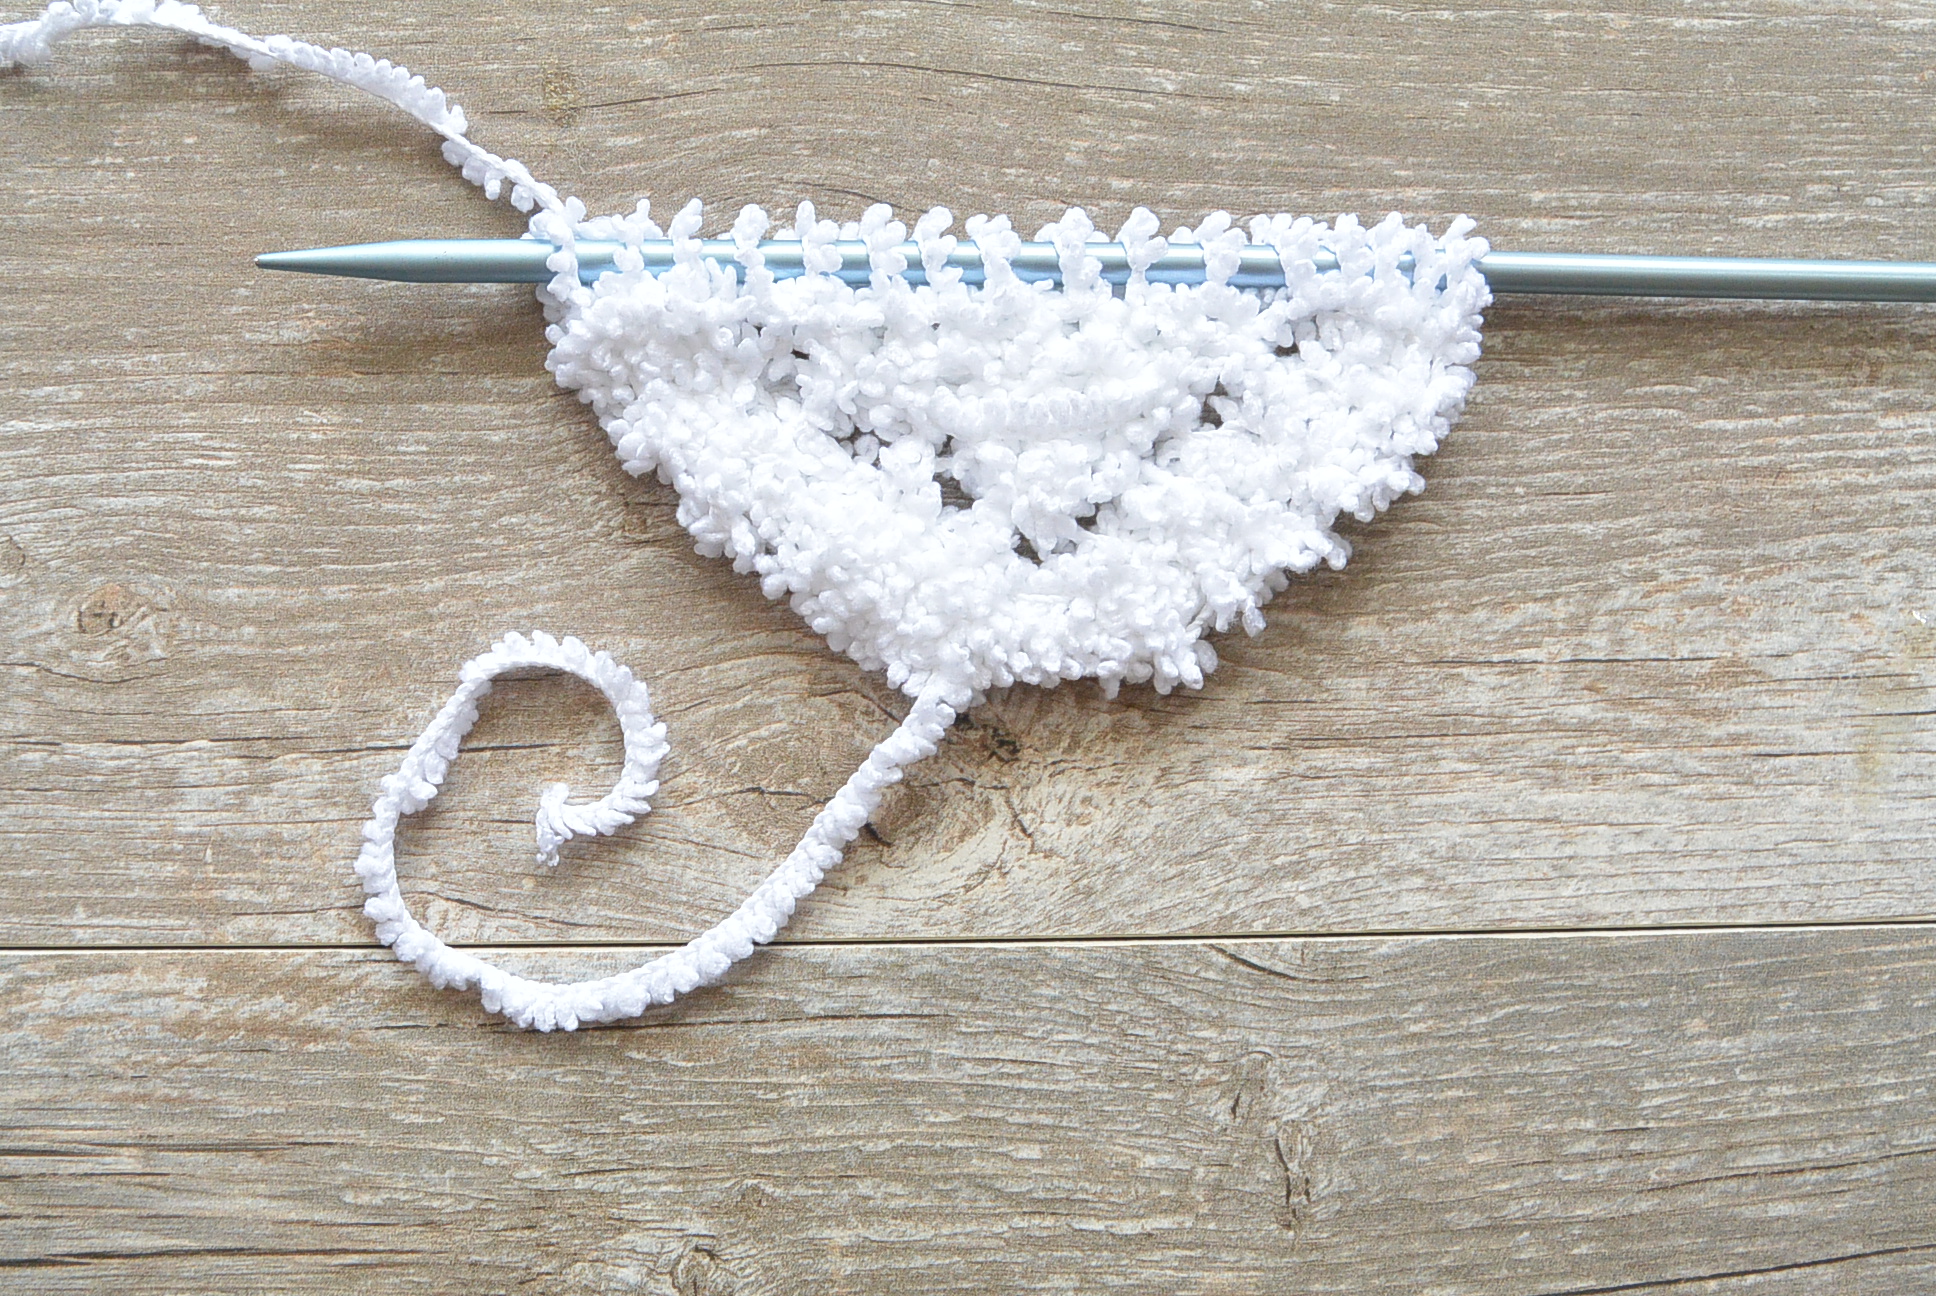
Please note that this pattern will often require blocking as written and may need additional attention to turn into a square shape. Sometimes, folks will come out with more of a pointed bottom corner where the decrease was happening, making it look more like a kite than a square. This is due to the nature of the stitches in the decrease section. There is a great article here from KnitASquare.com on how to modify this basic type of pattern so that it turns out more square shaped without having to block. Please take note of this before committing to making this pattern!
Pattern Description: With an incredibly soft, luxurious look and feel, this blankie is sure to be treasured by both mama and baby. The neutral modest grey striping will compliment any décor and is perfect whether it’s for a boy or girl. This is a beginner friendly pattern as you only need to know the knit stitch as well as simple increasing and decreasing. This could possibly be the softest blankie ever!
Skill Level: Easy +
Materials:
US Size 10, 6.0 mm 29” Circular Knitting Needles
4 Skeins Lion Brand Baby Soft Boucle in White (Blankie Kit HERE or just the yarn HERE and the colors are precious!)
1 Skein Lion Brand Baby Soft Boucle in Grey (Pattern uses approximately 380 g of yarn)
Scissors
Tapestry Needle
Gauge: Not important for this pattern
Dimensions (approximate):
31” X 31”
Abbreviations:
k – knit
yo – yarn over
k2tog – knit two together (decrease)
Notes: This beginner friendly baby blanket is worked diagonally, starting at the corner. You will begin with three stitches on your needle and increase to the center making color changes for the stripes. Next, you will decrease while following the pattern for the second half of the blanket. Odd numbered rows are the right side of the blanket & color changes are made on the right side throughout the pattern. You’ll find just a couple of simple stitch pattern repeats which make it quite easy. Feel free to be creative by using the extra yarn to add pom-poms or playful tassels to the corners.
Each row increases by one stitch in the increase section and decreases by one stitch in the decrease section if you’re counting!
Pattern Instructions
First Half of Blanket – Increase Section
CO 6 stitches
Row 1 – 3 Knit each stitch across the row (6)
Row 4 K3, yo, k each st across the row (7)
Rows 5 – 24 Repeat the stitch pattern from row 4
Repeat the stitch pattern from row 4 for the remainder of this Increase Section making color changes as indicated below *note that there is an increase by one stitch in each row if you are counting stitches
Change to color Grey
Row 25 – 28 Repeat row 4 with Grey
Change color to White
Row 29 – 40 Repeat row 4 with White
Change to color Grey
Row 41-44 Repear row 4 with the Grey color
Change to color White
Row 45 – 56 Repeat row 4 with White
Change to color Grey
Row 57-60 Repeat row 4 with the Grey color
Change to color White
Row 61-72 Repeat row 4 with White
Change to color Grey
Row 73-76 Repeat row 4 with Grey
Change to color White
Repeat the row 4 stitch pattern until there are approximately 129 stitches on your needle, or until the blanket is the width that you like, then you will move onto the Second Half – Decrease Section.
Second Half – Decrease Section (in this section, you are decreasing by one stitch in each row if you are counting)
Row 1 Knit 2, k2tog, yo, k2tog, knit each stitch across the row
Repeat row 1 until there are 6 stitches left on your needle.
Knit each stitch across the row for the final three rows.
Cast off and weave in all ends.
![]()
Now snuggle that super soft blankie! Enjoy!
-Jessica
Love knitting blankets?! You might also like:
![]()
Endless Cables Knit Blanket Pattern
![]()
Thank you to Lion Brand Yarn for sponsoring this blog post! All opinions are 100% my own.
Do you have this pattern for a chrochet blanket
I don’t have this as a crochet blanket, but one of my favorite easy crochet blankie patterns is this one: https://www.mamainastitch.com/simple-crocheted-blanket-go-pattern/
First, Happy Mother’s Day Jessica!
Second, another gorgeous blanket!!! I saw the comment about the crochet version. Is it even possible to crochet this look?
I can’t knit to save my life. I’ve tried, I’m left handed so it’s difficult to find tutorials but I even purchased a “left handed tutorial” and still can’t get it right. Lol! Anyways beautiful as usual! I want to make one so bad that I might even try again but the last time I almost poked my eyes out with the needles on purpose from sheer frustration haha
Aww thanks Jess! That’s gotta be tough being a leftie and trying to find some good tutorials! Of course crochet will always have a slightly different look than knitting, no matter what you do in my opinion. However, you could crochet something similar, but it wouldn’t be exactly the same.
Have you tried the continental way of knitting? I am German by birth and people always ask me if I am left-handed because I knit the other way.
I’m an OAP. I’ve got a young friend in wheelchair, paraplegic from menigitis. Would this appropriate for her if I were to increase the size of the pattern accordingly?
I love this pattern! The corners on mine are all curled a little and I was wondering if you have any suggestions for flattening them out. Does your finished blanket come out flat or do you block it? Thank you!
Hi Sara! Hmmm, my corners weren’t curled so I’m not sure what’s going on with that. You might want to try blocking it for sure!
Would I be able to use a 26 in. Long, size 10 circular needle ? Or is the 29 in. Crucial?
Thanks!
26 should work just fine!
I love this blanket! Could you substitute Pipsqueek yarn?
I’ve never actually used Pipsqueek but I assume it’s similar and could be a sub!
Hi, just was wondering for the increase section, K3 yo k each stitch across the row. Do you mean as you increase k3 and yo k3 yo repeated as you increase or do you only yo after the first k3
Hi Crystal, You only yarn over after the knit 3. Hope this helps!
This might be a silly question but can you use straight needles instead? I haven’t knit in years but I want to try again! Thanks 🙂
The only reason you can’t do it on straights is because there are too many stitches and they would fall off your needles. 😉
Loved knitting this blanket! Soft, easy, and pretty. Hides any mistakes I made!
Definitely a favorite!
My blanket came out as a diamond. Is it supposed to be square? I thought it would be square or rectangle. What did I do wrong? Too many rows?
I LOVE this blanket, but mine also came out shaped like a diamond
Hi Evelyn,
Thanks so much for your feedback.
I’ve just added some info about this now in the blog post. There’s a way to modify it so it doesn’t come out like a diamond and I’ve linked to a site that’s helpful with that! Otherwise a good blocking should take care of it. Hope this helps in the future!
could I use this pattern and just keep going to make it into an afghan?
Could I make this into a bigger size blanket? I’m not sure how many stitches i would do, but this would be a super cool throw blanket also!
I made this blanket for a baby gift and was extremely disappointed when it didn’t come out square. It looked fine until the end where the last corner was longer and more pointed than the other three corners. So sad ☹️
Oh no! Thanks for letting me know Catherine! It seems this is happening and I need to figure out the issue!
Hi Catherine,
I’m so very sorry! I’ve realized from doing more digging that this often happens with the decrease section. Even if all stitch counts are correct, it can turn out with a longer look to the end. You can remedy this with some really good blocking! There’s also a way to knit a square with it turning out more square without blocking. This variation can be found here: http://knit-a-square.com/free-knitting-pattern-diagonal-square/
Again, I wish I would have caught this issue ahead of time and made a note on the importance of needing to block. Hopefully this will help folks in the future who want to make it. If you’ve still got the blanket, I hope you’re able to block it!
Hi. I’m confused about the decrease row. It says to k1. K2 tog yo k2 tog. Then knit each stitch across row. It seems like you are decreasing 2 stitches in the decrease row and only increasing 1 stitch in the increase row. Increase row says k3 yo and knit across row. I am not a proficient knitter so maybe I am not getting this. I have only been knitting 2 tog. Once. I didn’t see the other k2 tog. Do I have to take it apart to when I started decreasing? It’s looking really big. Can you straighten me out.? Thanks. Irene
Hi Irene!
You’re increasing one stitch in the increase and decreasing one stitch in the decrease. If you look at the decrease row, you k2tog and then Yarn Over. So you just increased. So then when you k2tog again, you are mow decreasing again and cancelling out that last increase, and therefore decreased by only that one stitch from the first k2tog. Confusing right? But does that help?
So you count your cast on stitches as row 1?
Hi! I read the Knitasquare.com technique you recommended before I start this blanket. I’m confused about how to incorporate that into your pattern, or are you suggesting to use their instructions instead of your pattern? I really like the decorative edge detail of your pattern and was hoping to use it. Thank you!