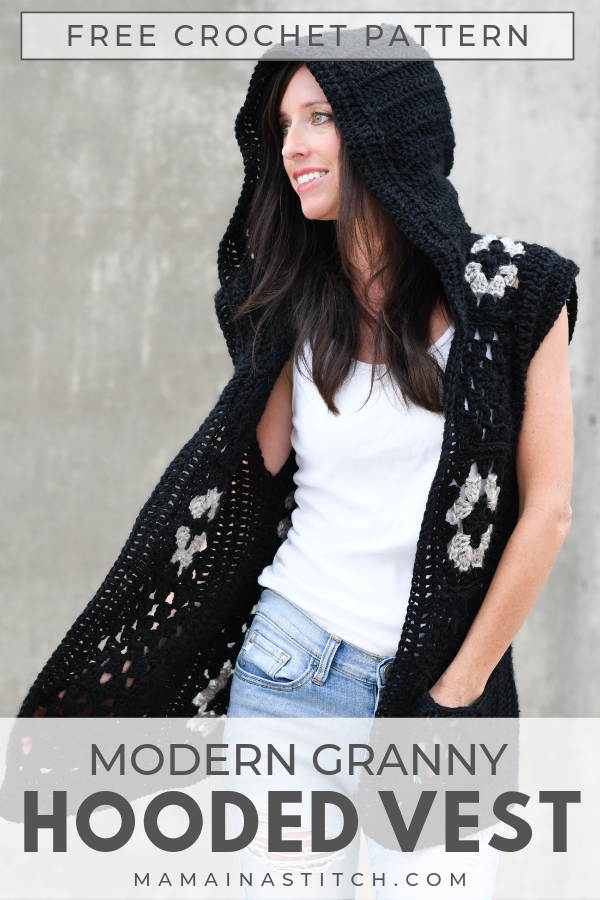
Hooded Granny Square Vest Crochet Pattern
Scroll down to see the free pattern, or you may choose to purchase the kit from Lion Brand Yarn HERE or the printable pattern from Etsy HERE.
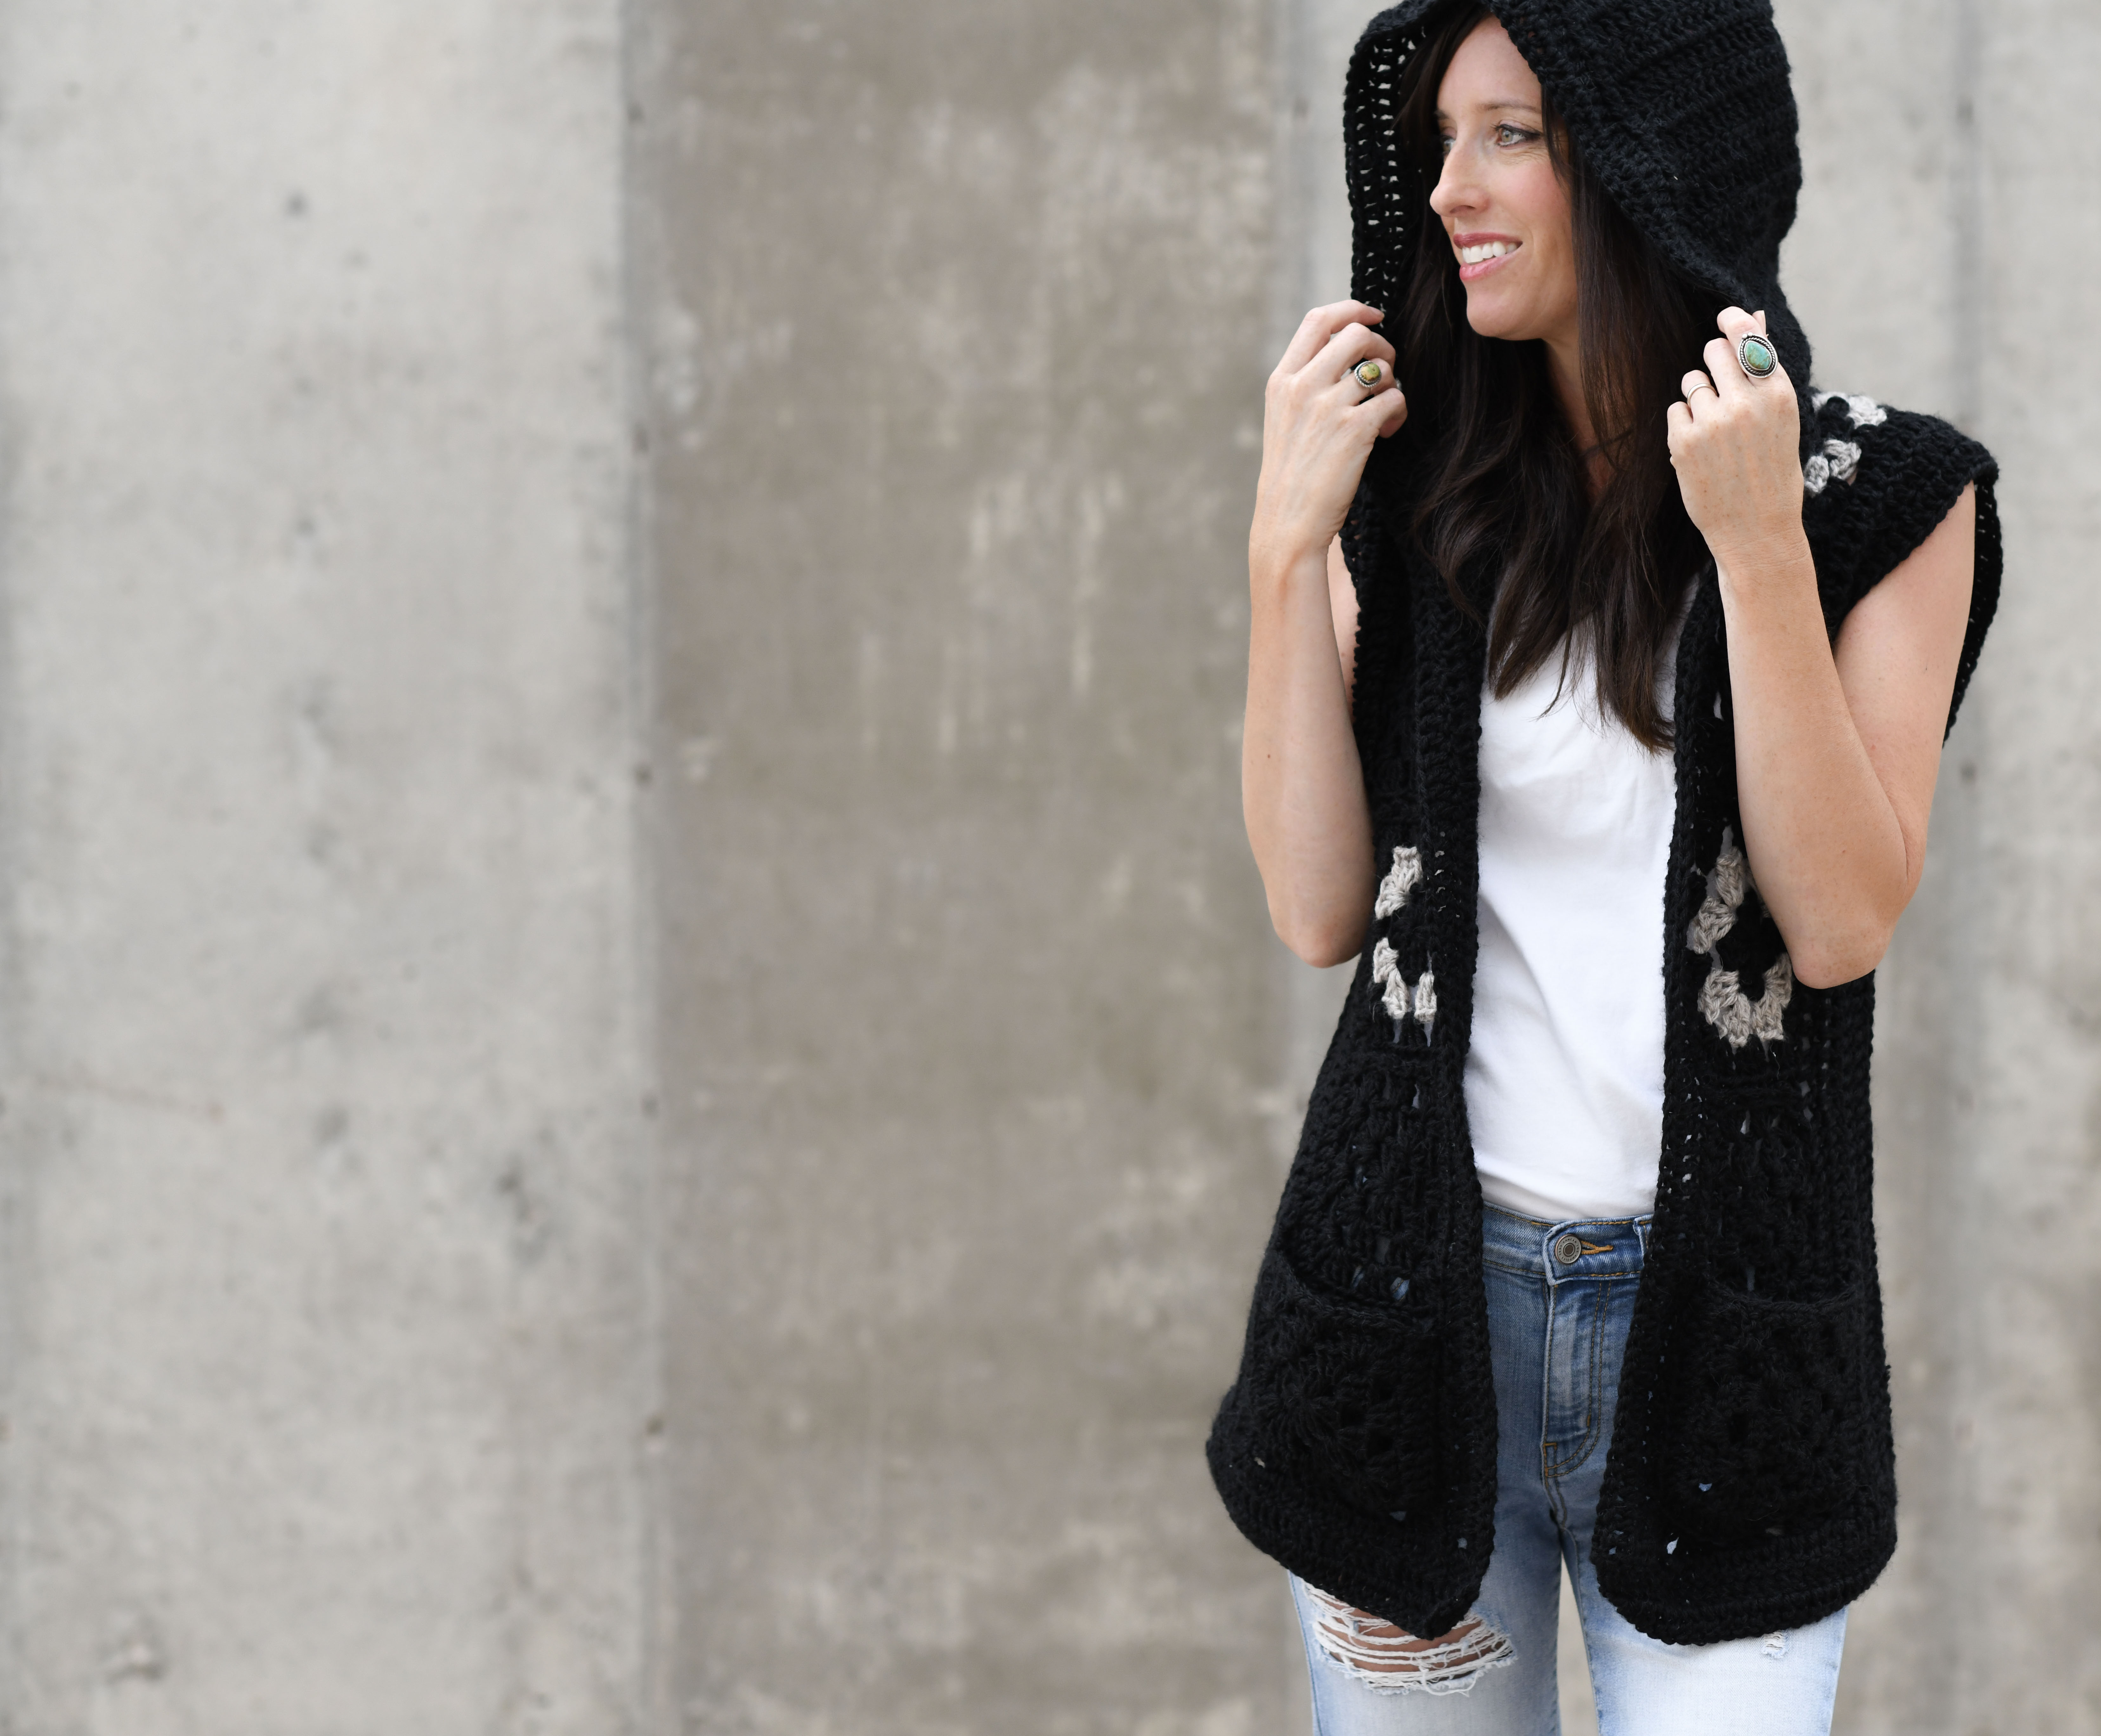
This crocheted granny vest is my first fall garment of the season and I’m so pleased with how it turned out!
One of the most popular patterns on my blog last year was the Arlo Granny Cardigan. It was also made with neutral colors and simple shapes, but I’m really appreciating the hooded style on this one. It was fun to see so many granny sweaters in store windows this past year in New York City! I love how this vintage crochet style has made a come back.
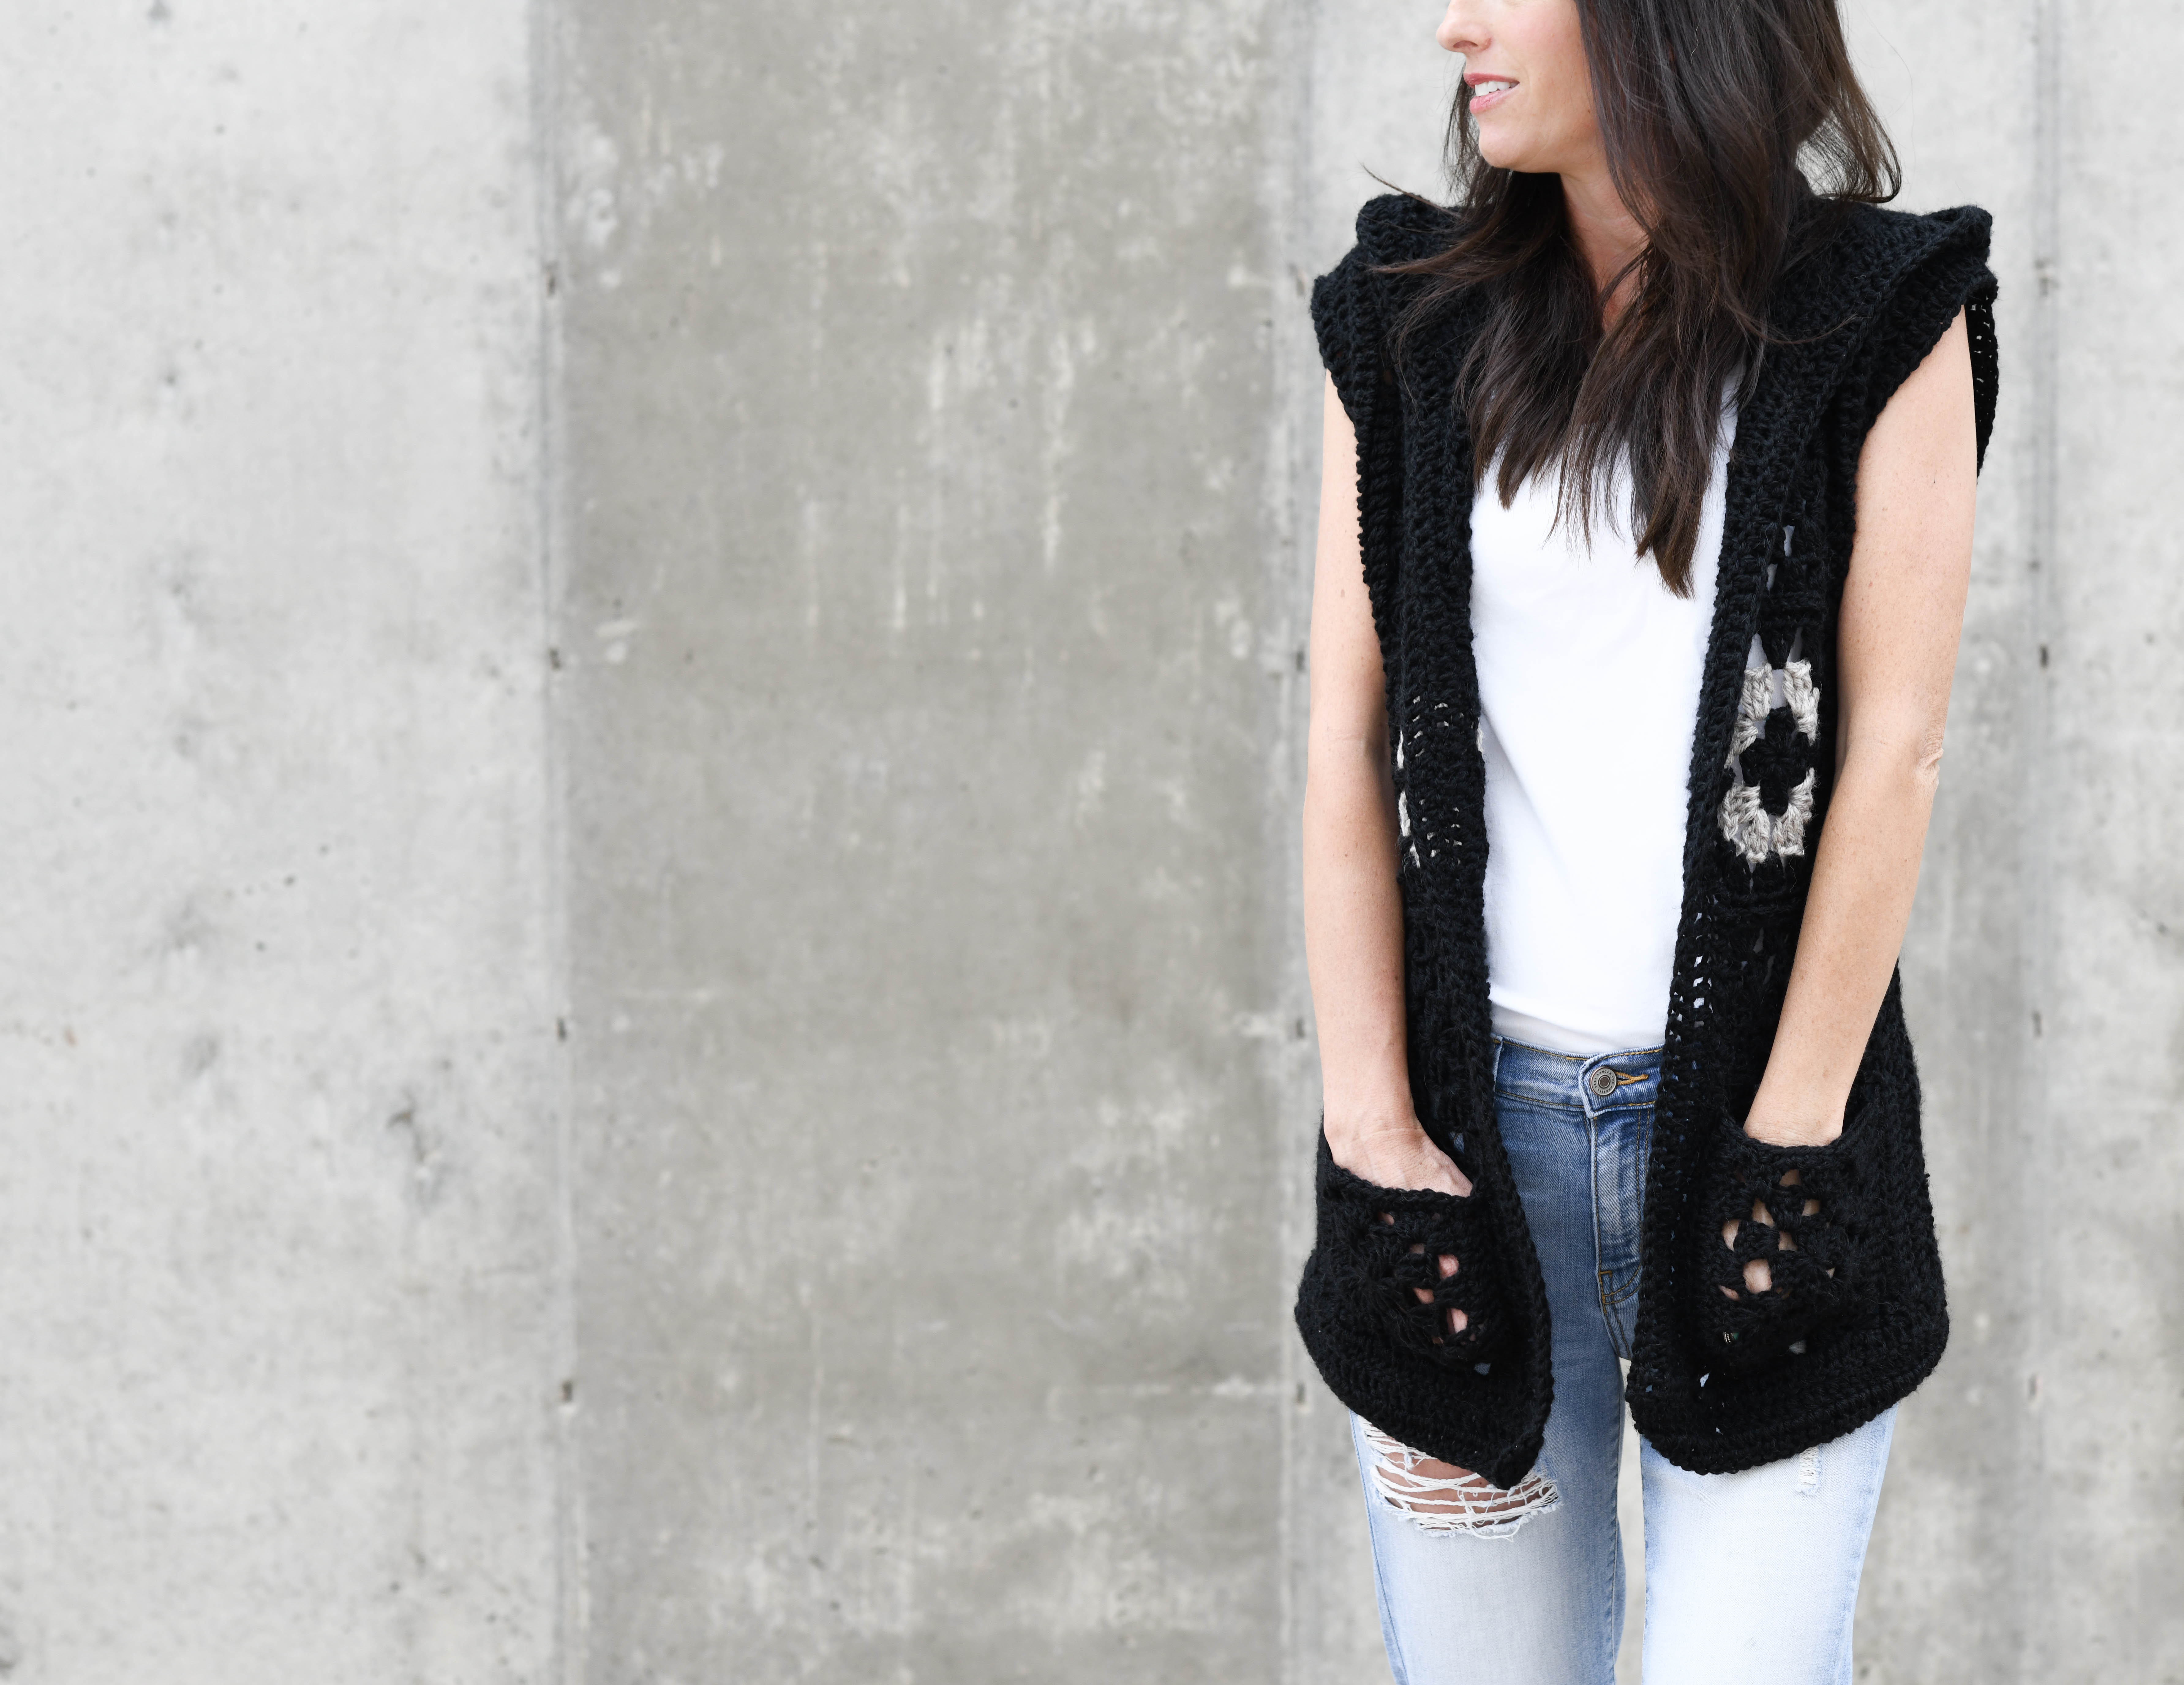
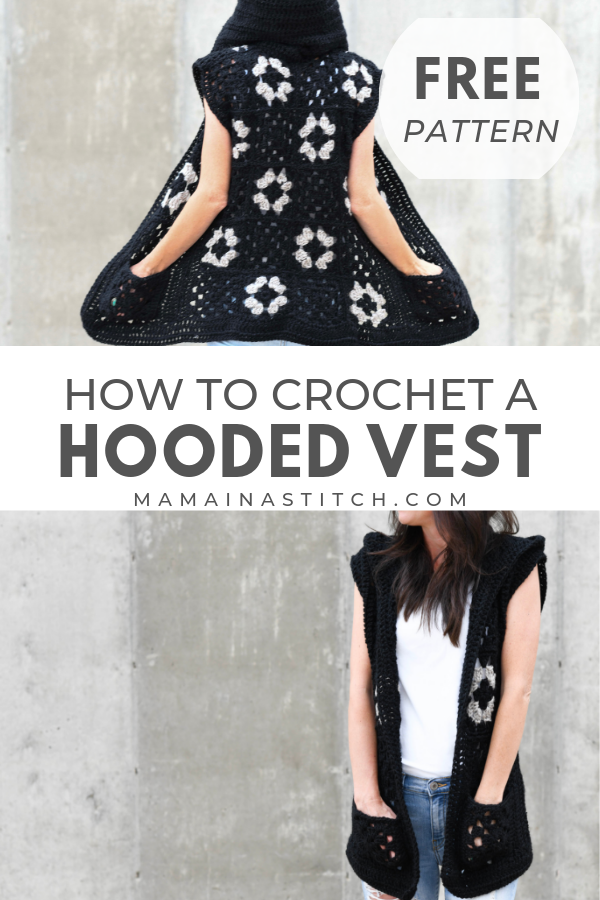
This vest is made up of several squares crocheted from the classic granny pattern and it features cozy pockets and a hood. I love that it can be layered over short or long sleeves. The black and tan contrast is bold yet totally wearable and not too “busy”. However, if you love color, you can rock this in some amazing tones! This is a stash buster at it’s best. Lion Brand is offering the kit in several pretty color options (here). And, like most of my patterns, the entire hoodie’s made up of simple shapes.
When trying to decide on a yarn for this hoodie, I knew I wanted something warm and soft. The Touch Of Alpaca yarn is super practical and the look and feel is high quality so it was the winner. The color choices are also really lovely, so feel free to have some fun with color! Black is a super popular color to wear, but I often avoid crocheting and knitting with it because it can be hard to see the stitches. However, because of the simple stitch patterns, it’s really not hard to work with in this case! Promise! You just have to make sure to use a good lighting if working at night or in dark spaces. Anyone else love wearing black?

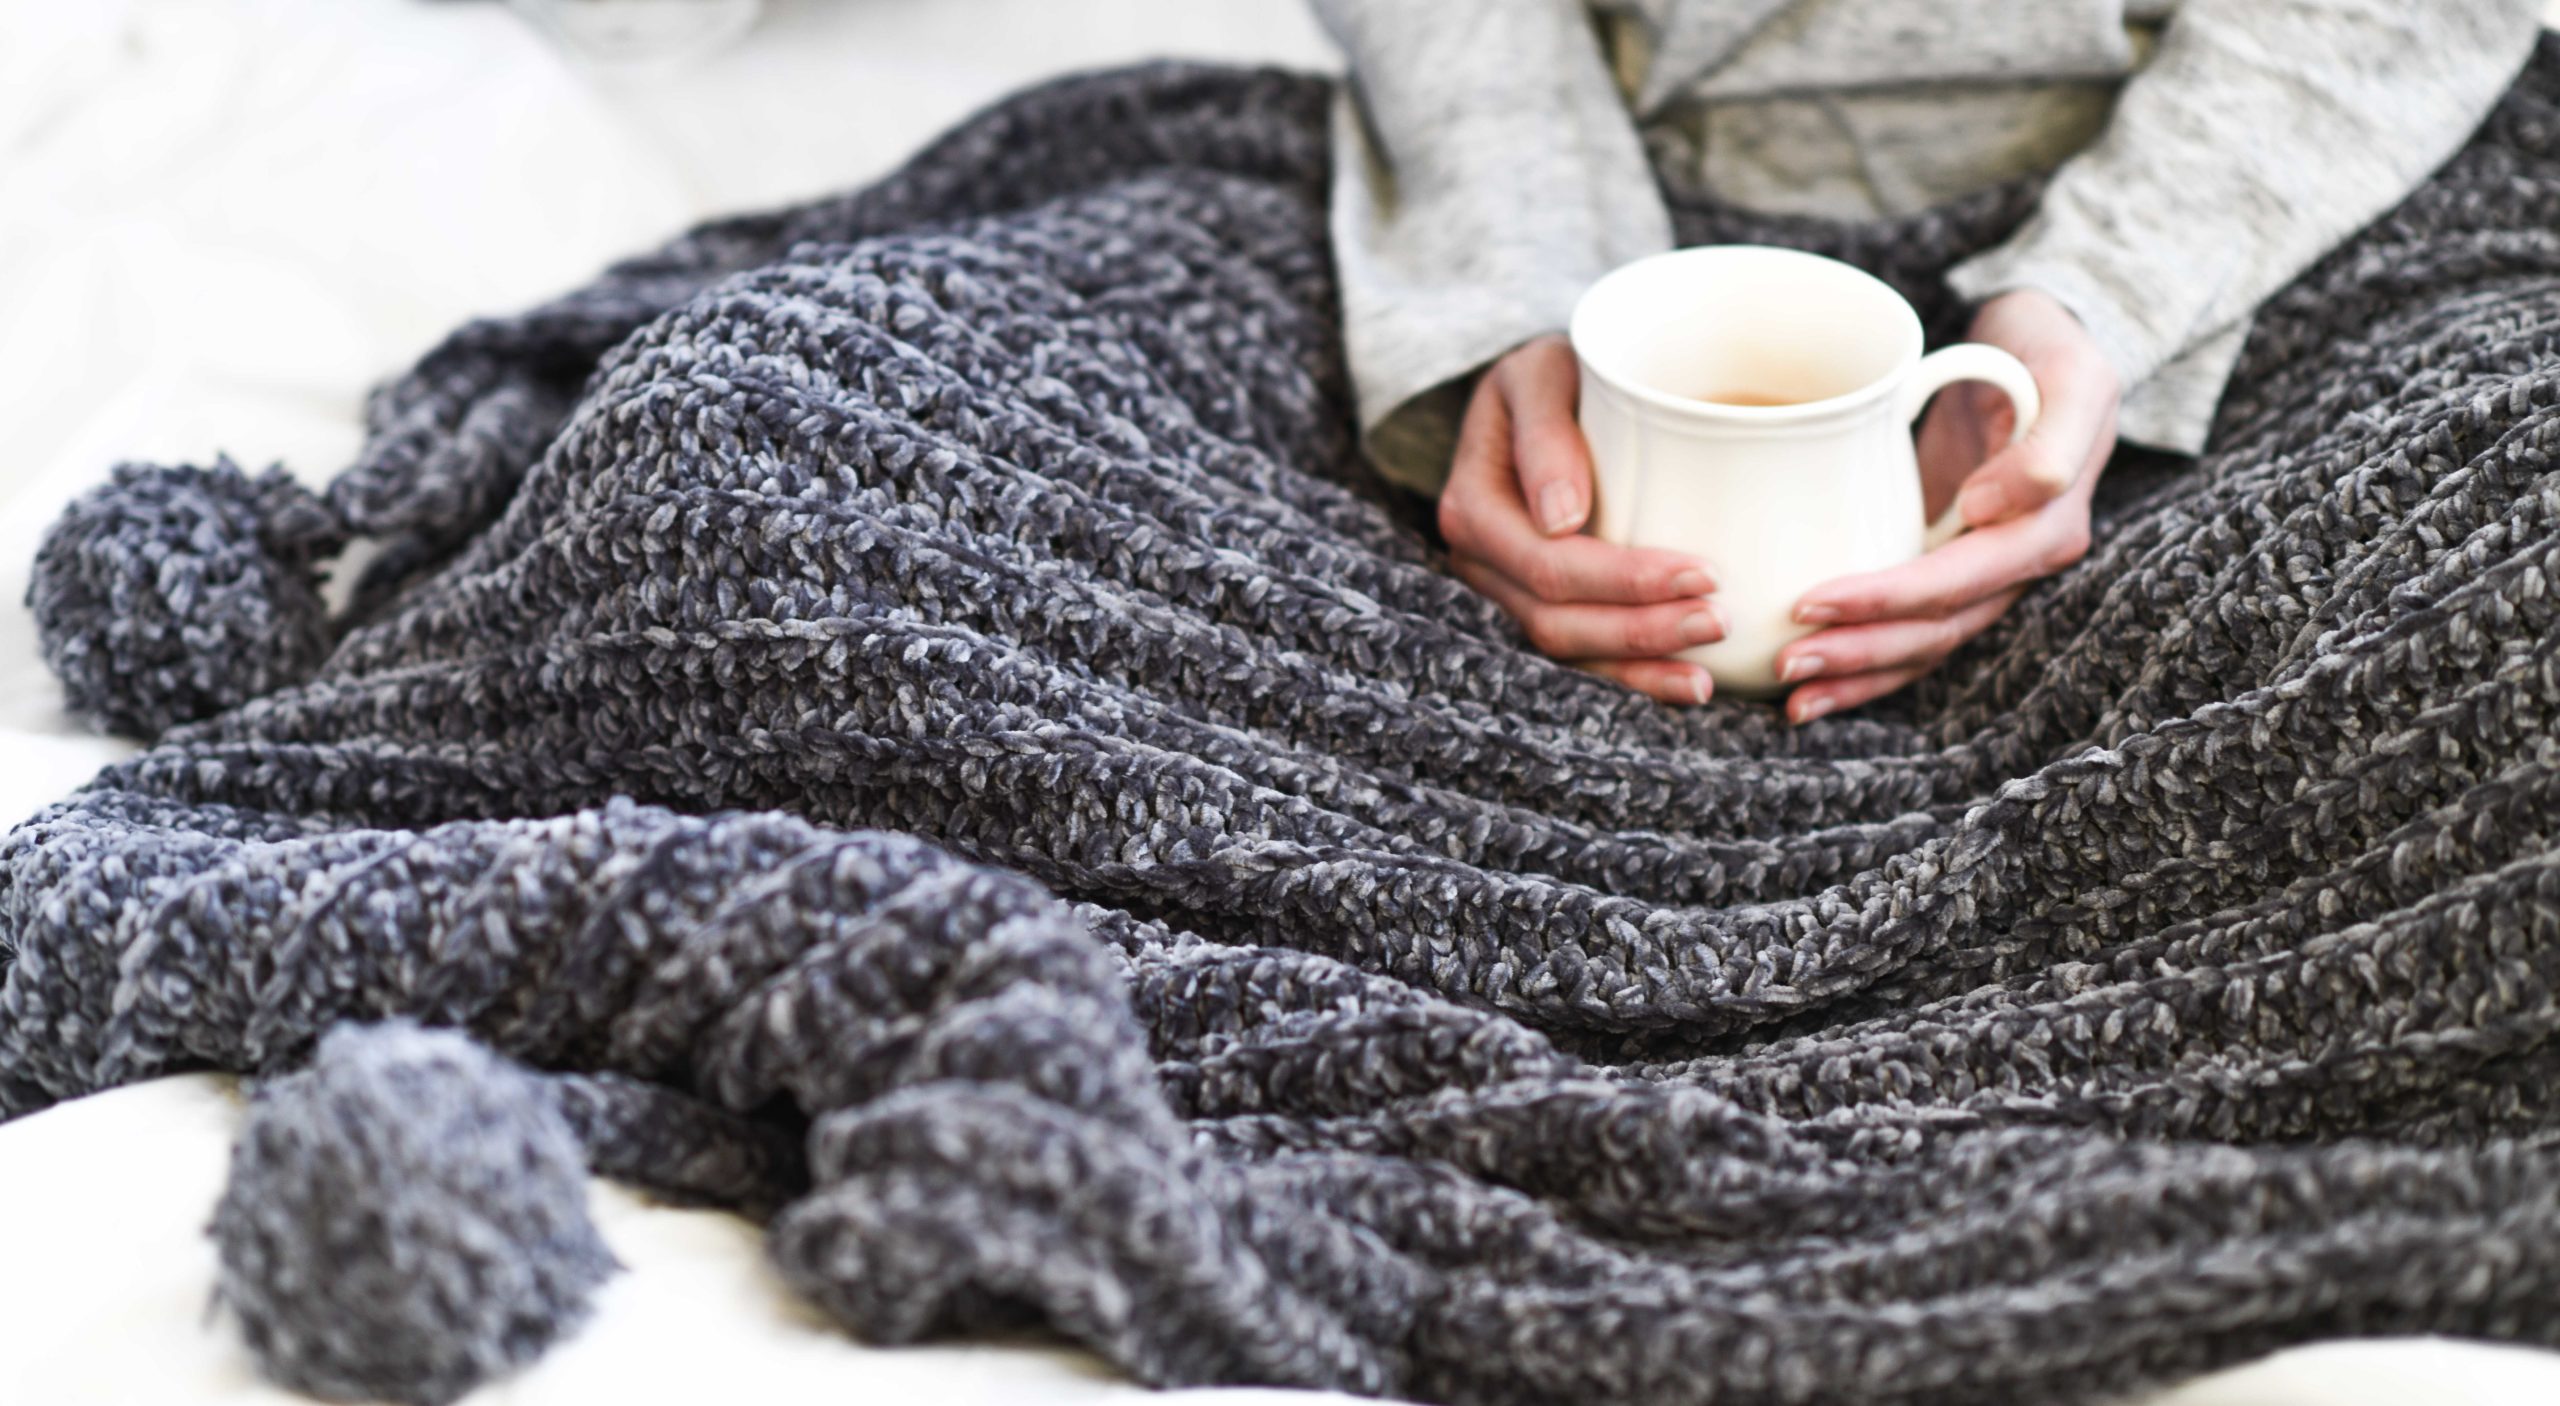
It’s fall, friends – let’s grab a cup of coffee, cozy up and get to this perfectly autumn pattern! OH! And if you’ve never worked basic granny squares before, you might want to take a look at my Modern Granny Square Hot Pad Pattern (HERE) which has a step by step picture tutorial on classic granny squares. This might give you a feel of what you’ll be doing with the vest.
Description:
This vintage inspired vest features classic granny squares and an on-trend design. Comfy as can be, the alpaca blend yarn is both soft and warm while the hood will keep you perfectly cozy. An awesome layering piece for fall and winter alike.
Materials:
US Size I, 5.25 hook
5 (5,6,6,7) skeins Lion Brand Touch of Alpaca Yarn in Black (100g) Kit Available in Four Color Options HERE
1 skein Lion Brand Touch of Alpaca Yarn in Taupe (100 g)
Pattern uses approximately 417g (465 g, 509 g, 556 g, 603 g)
Scissors
Tapestry Needle
Skill Level: Easy +
Sizes: Five sizes available. Small, Medium, Large, XL, XXL. Follow key throughout the pattern, with smallest size first and other sizes in parentheses.
Key: S (M, L, XL, XXL)
Bust (approximate): 36” (40”, 44”, 48”, 52”)
Width (approximate): 18” (20”, 22”, 24”, 26”)
Length: Approximately 24 ¾ ”
Gauge: Completed 3 round granny square in pattern measures close to 4.25” x 4.25”
5 ¼ rows & 12 stitches of of double crochet in 4” x 4” swatch
Notes:
This vest is made by crocheting several granny squares and seaming them together. You will then create a back panel and two front panels. These panels are then sewn together, a hood is added, and finishing details are completed. Optional pockets can be added at the end. Check gauge before beginning. Adjust hook size as necessary to obtain correct gauge in order for sizing to turn out correctly.
Abbreviations (US) & Skills:
ch – chain
dc – double crochet
sp – space
sl st – slip stitch
sts – stitches
sc – single crochet
hdc – half double crochet
Hooded Granny Square Vest -Free Crochet Pattern
Granny Square Pattern
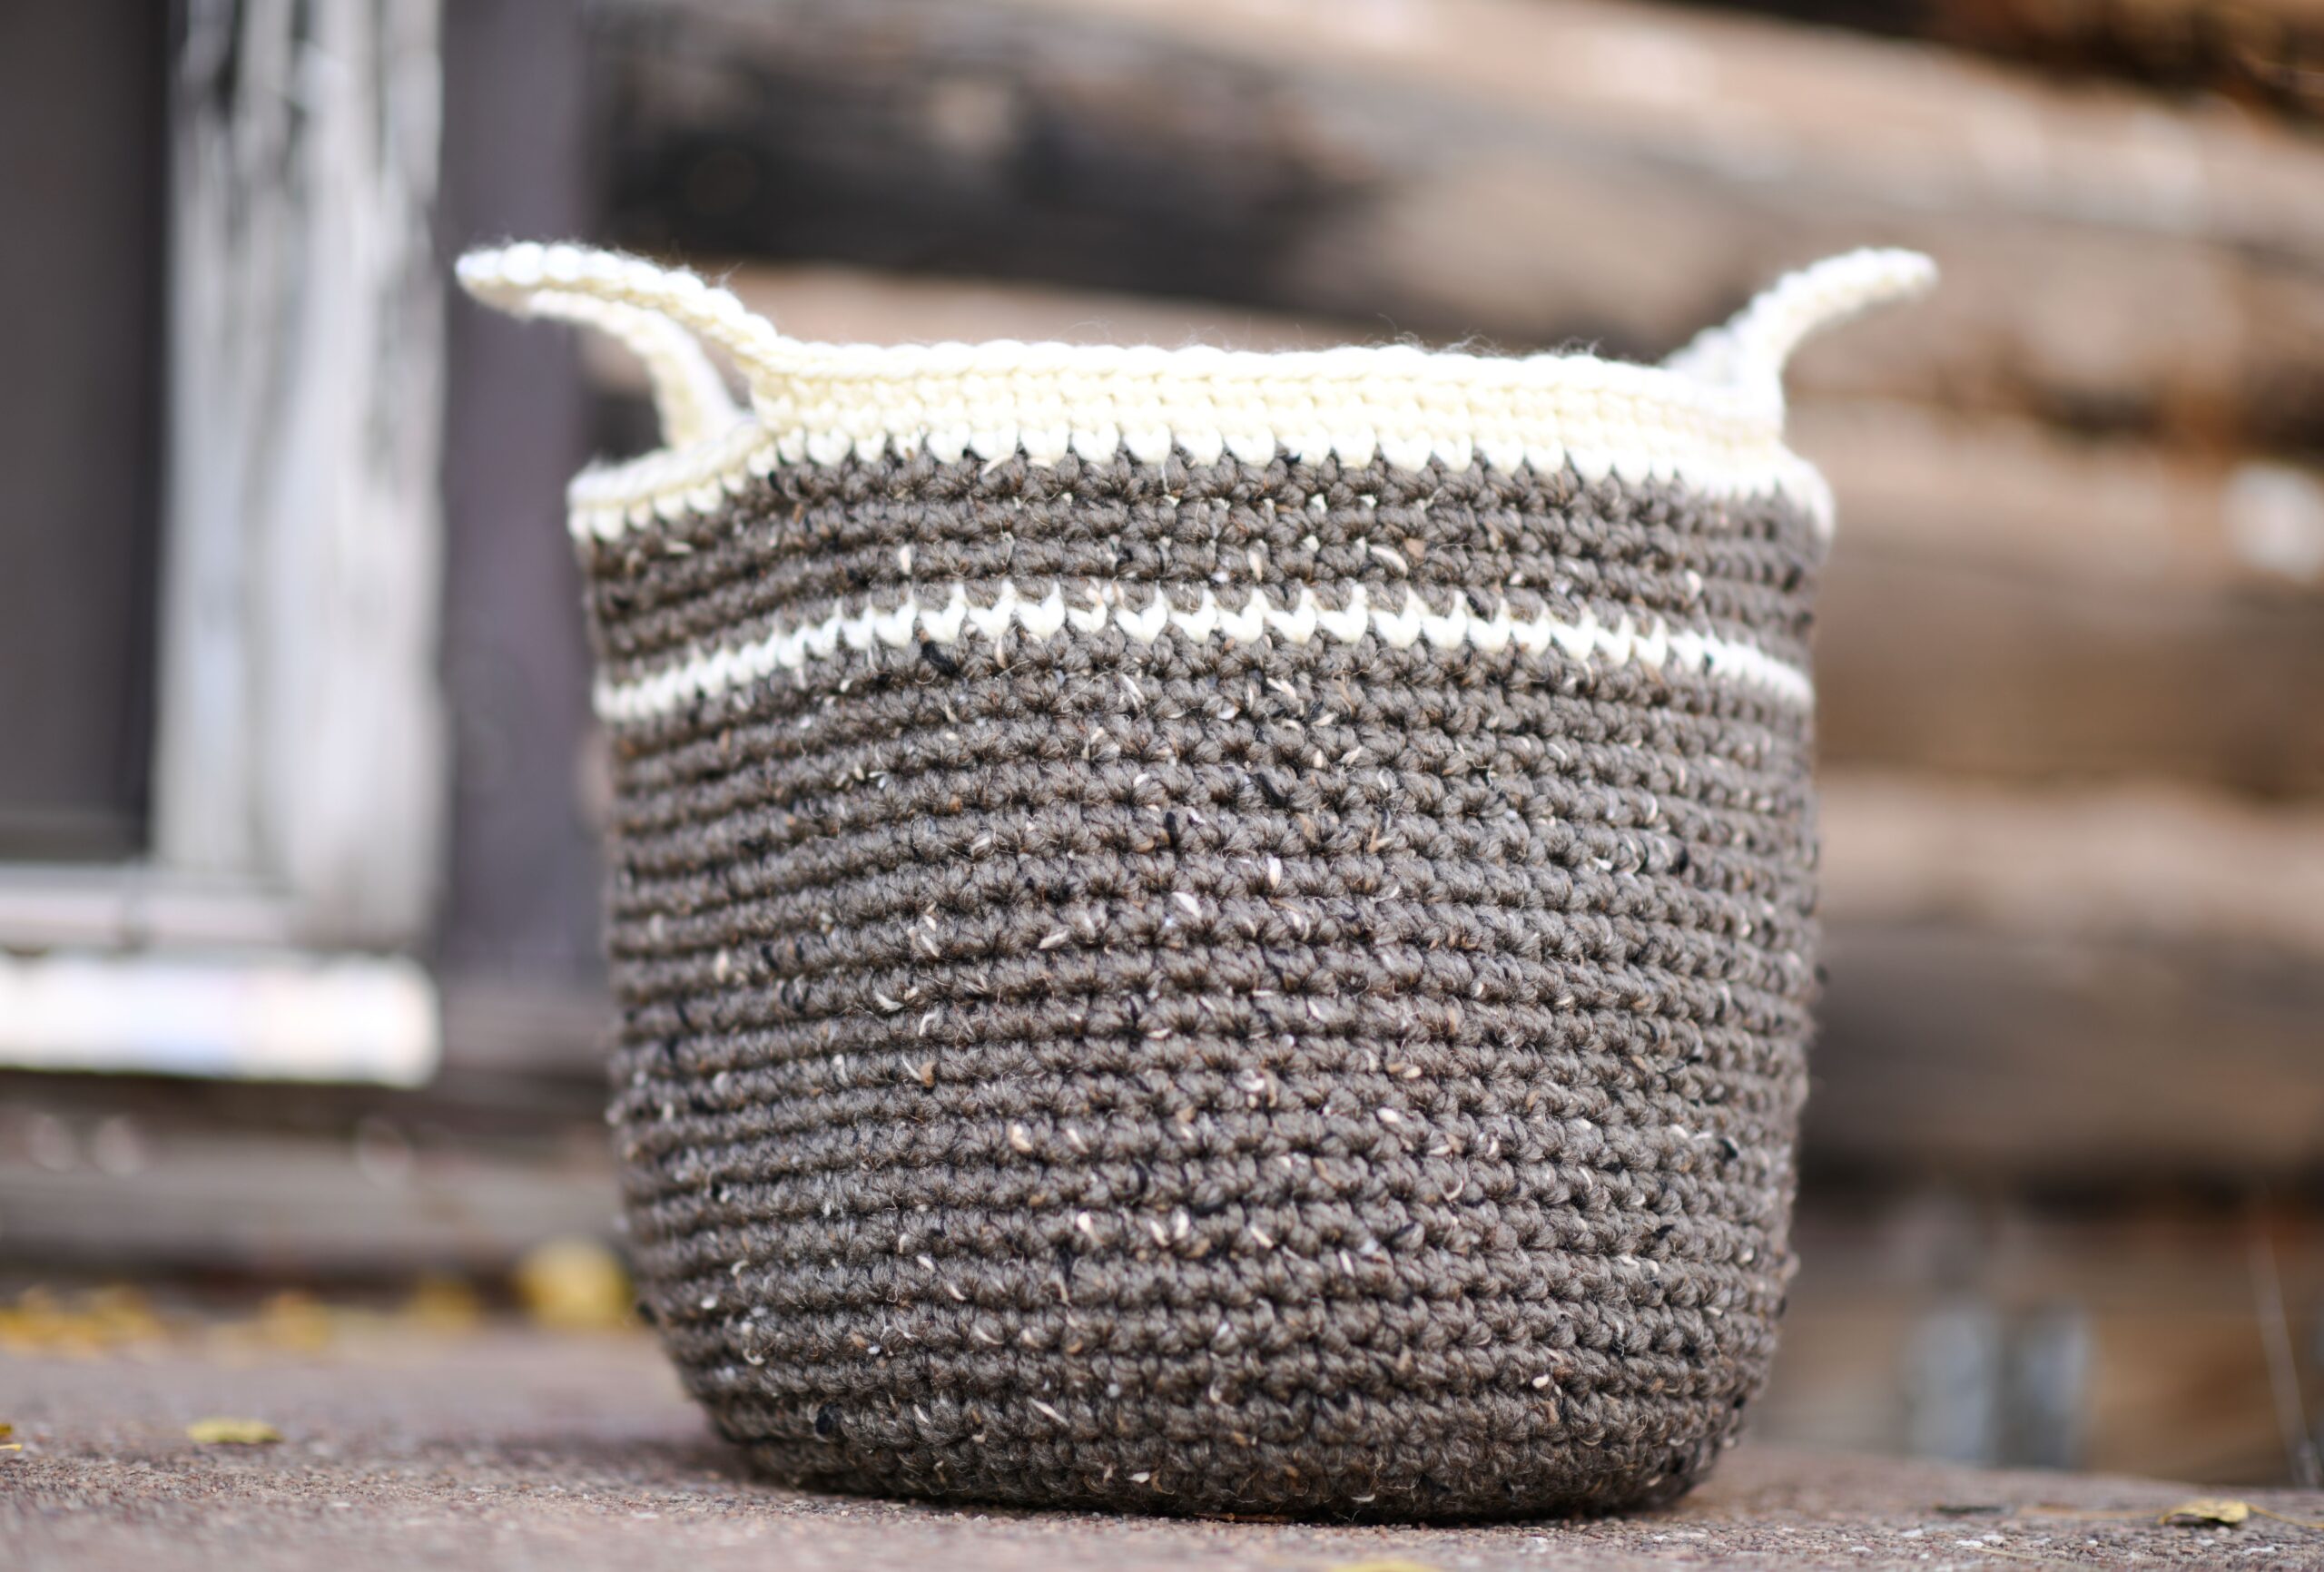
All Sizes: Make 14 Black & Taupe Squares
Use Black on Rounds 1 & 3 and Taupe for Round 2
Make 16 Black Squares
Use Black for all rounds
With Black, ch 4, sl st to join and form a ring
Round 1 Ch 3 (counts as dc st here and throughout pattern), 2 dc in ring, ch 2, *3 dc in ring, ch2; repeat from * 2 more times, sl st to join in top of ch 3. (12 dc sts or 4 sets of 3dc)
Round 2 Ch 3, 2 dc in same ch2 corner sp, *ch1, 3dc in next ch2 corner sp, ch2, 3dc in same corner sp; repeat from * 2 more times around, ch 1, 3 dc in next corner sp, ch 2, sl st in top of 1st st to join. (24 dc sts)
Round 3 Ch 3, 2 dc in same ch2 corner sp, * ch 1, 3dc in next ch1 sp, ch 1, 3dc in ch2 corner sp, ch 2, 3dc in same corner sp; repeat from * around, 2 more times, ch1, 3 dc in next ch1 sp, ch 1, 3 dc in ch2 corner sp, ch 2, sl st in top of 1st st to join.
Tie off and weave in ends.
Back & Front Panels
Back Panel (Make 1)
Alternate granny squares by placing one Black & Taupe square next to a Black Square. Using a flat slip stitch seam or preferred seaming method, seam squares together so the panel measures 5 squares tall by 4 squares wide. Weave in ends.
Sides of Back Panel
Next, attach yarn at upper corner, side of the panel.
Ch 3 (counts as dc)
Next work one row of dc stitches by making a dc in each stitch across, working lengthwise/vertically. Size S, tie off and weave in ends. All other sizes, continue with pattern instructions, making additional rows of dc stitches as indicated.
For each size make 0 (1, 2, 4, 5) more rows of dc stitches. Tie off and weave in ends.
Repeat above “Sides of Back Panel” instructions for opposite side of back panel.
Panel should measure approximately 18” (20”, 22”, 24”, 26”) wide
*Feel free to adjust the pattern for your specific sizing needs. Add more rows of double crochet to the sides of the Back Panel or the side of the Front Panel to make vest wider. Keep yarn needs in mind.
Front Panels (Make 2)
Seam 5 granny squares together vertically to make the front panel. Place a Black & Taupe square at the top, followed by one Black square, followed by another Black & Taupe, and ending with 2 Black squares at the bottom. Weave in all ends.
Side of Front Panels
Next, attach yarn at upper corner, side of the panel.
Ch 3 (counts as dc)
Next dc in each stitch across working lengthwise/vertically.
For each size make 3 (4, 5, 7, 8) more rows of dc stitches. Tie off and weave in ends.
Do not repeat on opposite side as was done with the Back Panel.
Block to shape and size all panels as needed or desired.
Next, place Front Panels on top of Back Panel, with double crochet edges on the outside edges and seam at shoulders.
Next, with your tapestry needle and length of black yarn, seam up each side leaving openings for the arms.
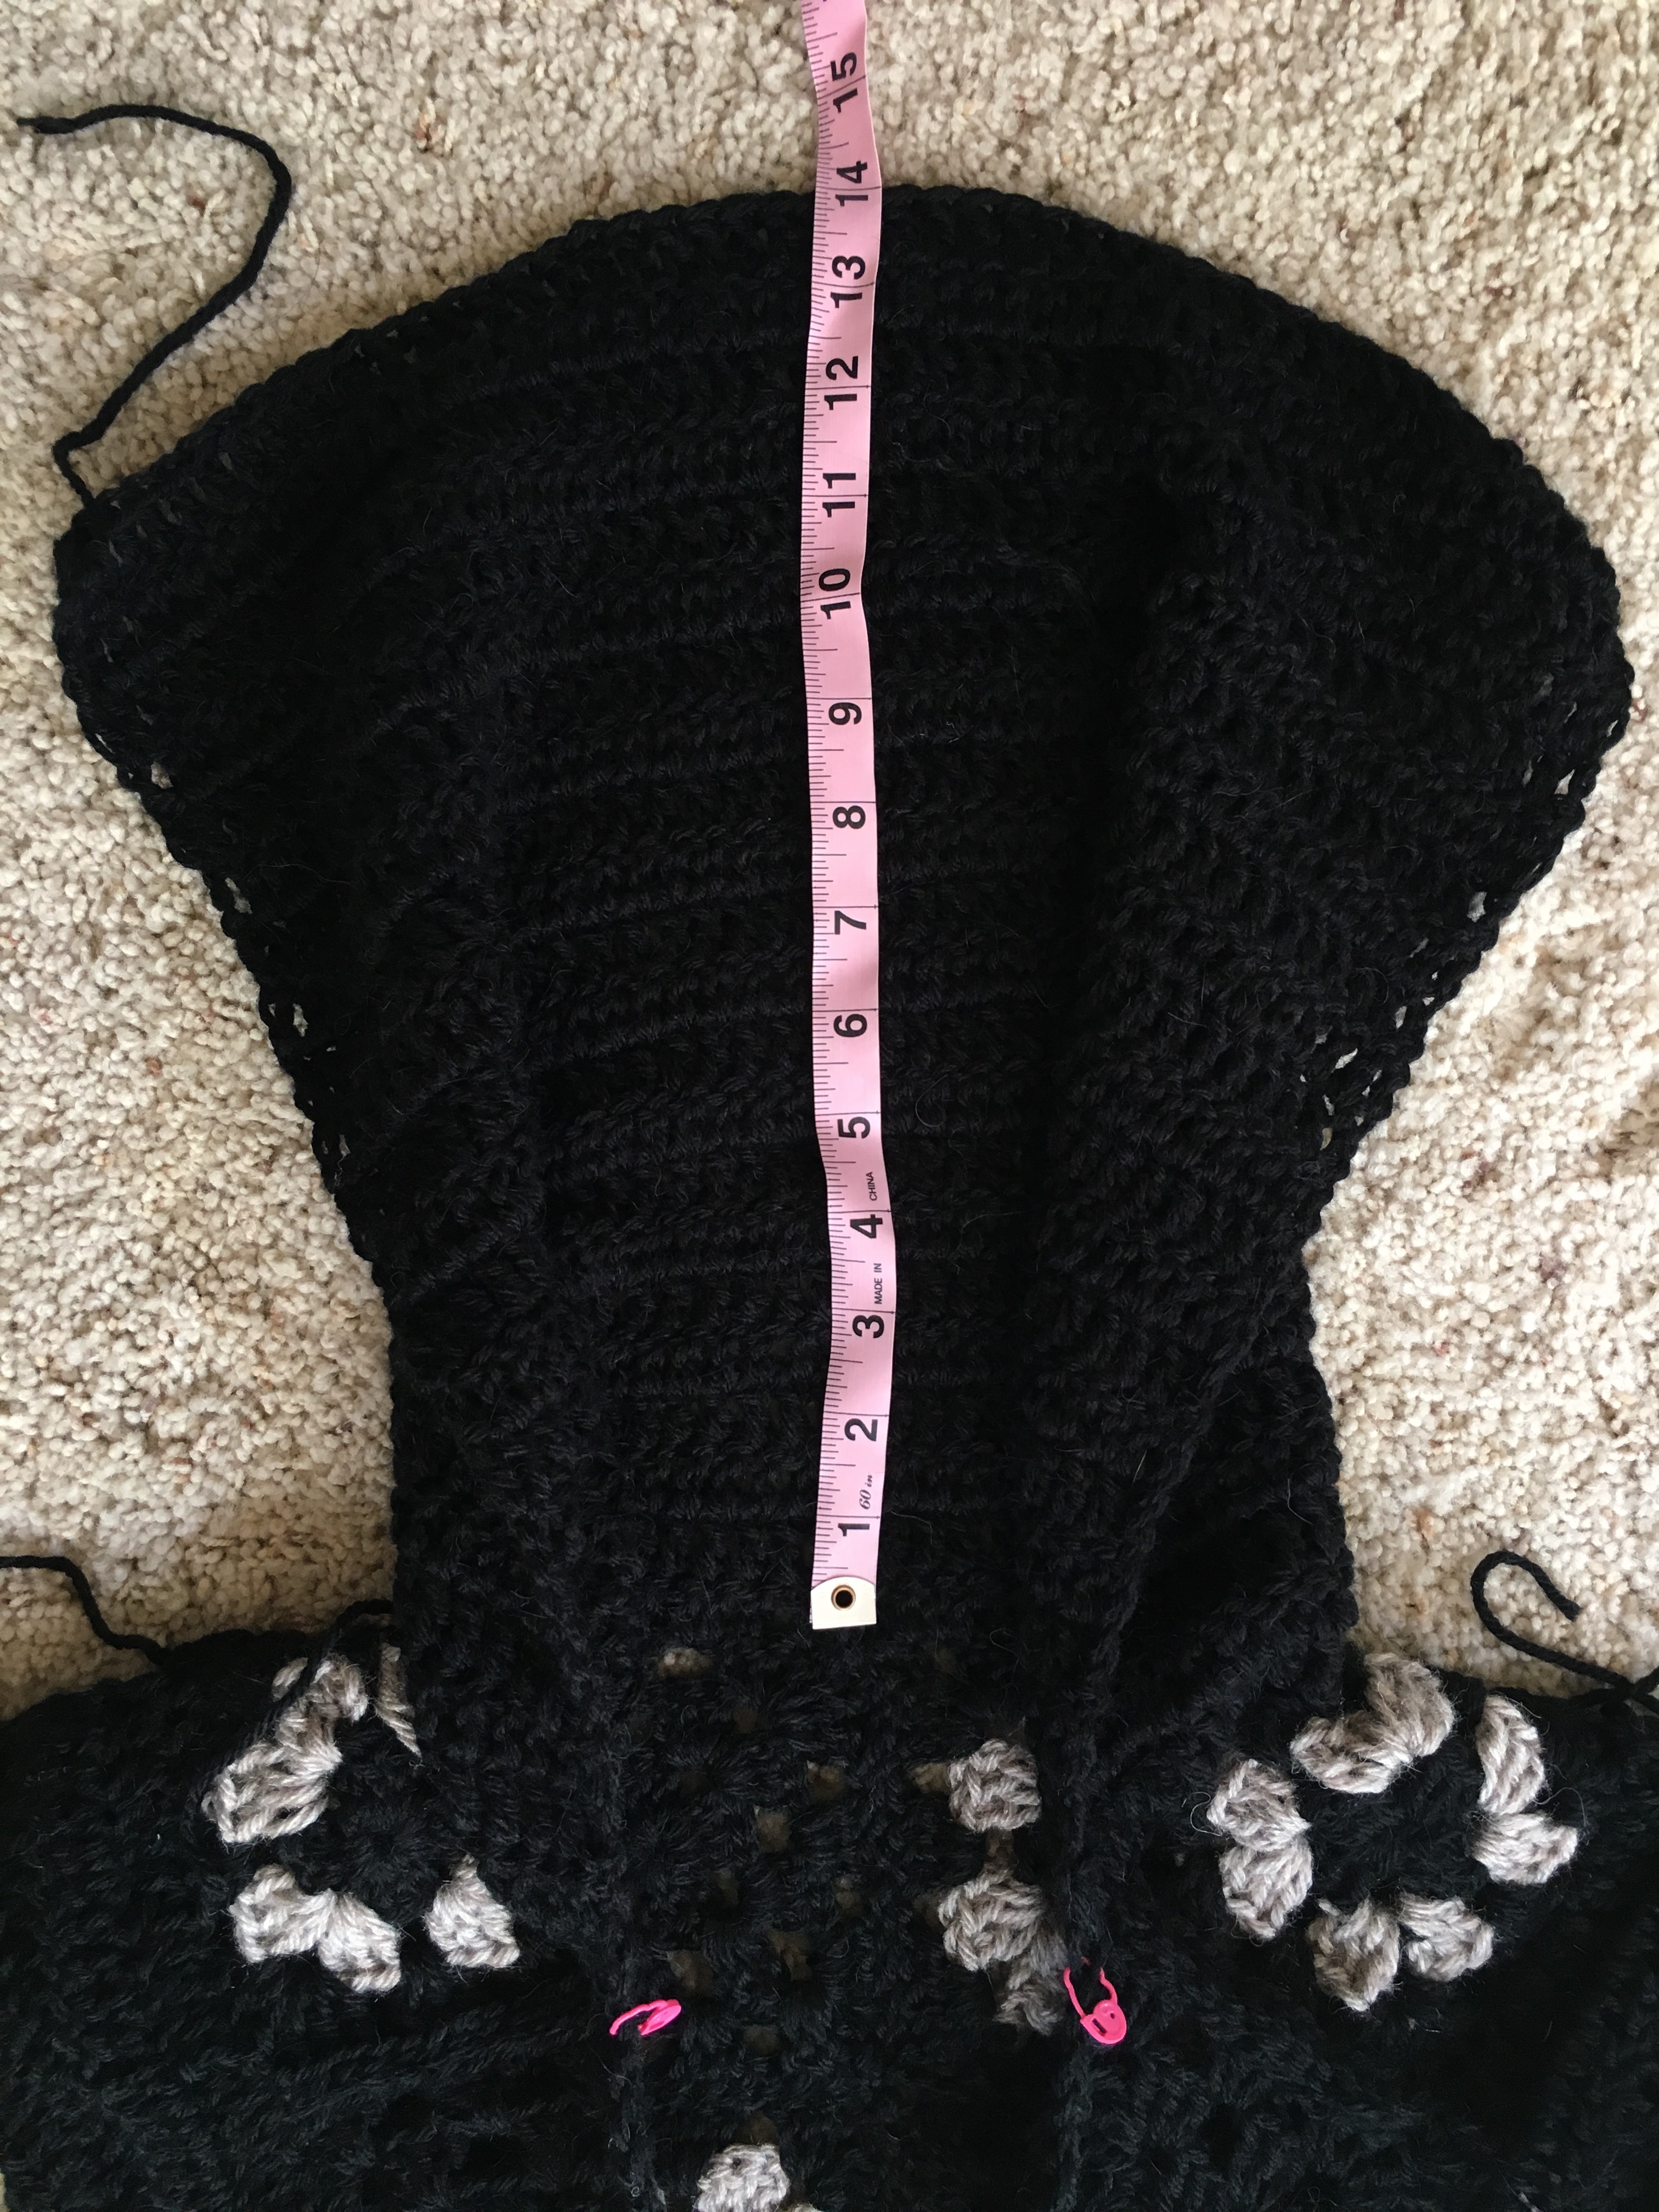
Hood
Place 2 stitch markers, one on each Front Panel inner collar, approximately 4.5” down from shoulder seam. Attach yarn at first marker, ch 3, dc across to opposite stitch marker. Ch 3, turn, dc across. Continue making rows of dc stitches until hood measures approximately 14” tall. Seam top of hood closed. Weave in ends.
Collar
Attach Black yarn at bottom, inner corner of vest. Half double crochet evenly across, working along collar and hood to opposite, bottom corner of vest. Next, work two more rows of double crochet stitches. Tie off and weave in ends.
Bottom Edging
Attach Black yarn to bottom corner of vest. Work dc stitches evenly across the bottom edge. Next, work 2 more rows of dc stitches. Tie off and weave in ends.
Optional Pockets
Create two Black Granny Squares.
Attach yarn to upper corner and work one row of dc stitches evenly around three sides (two sides and bottom of pocket), making three dc sts in each corner. Work one row of sc along top of pocket. Tie off and weave in ends. Repeat this for both squares.
Using the tapestry needle and length of yarn, sew pockets to lower section of front panels leaving the top of each pocket open.
Block vest as desired to shape and size.
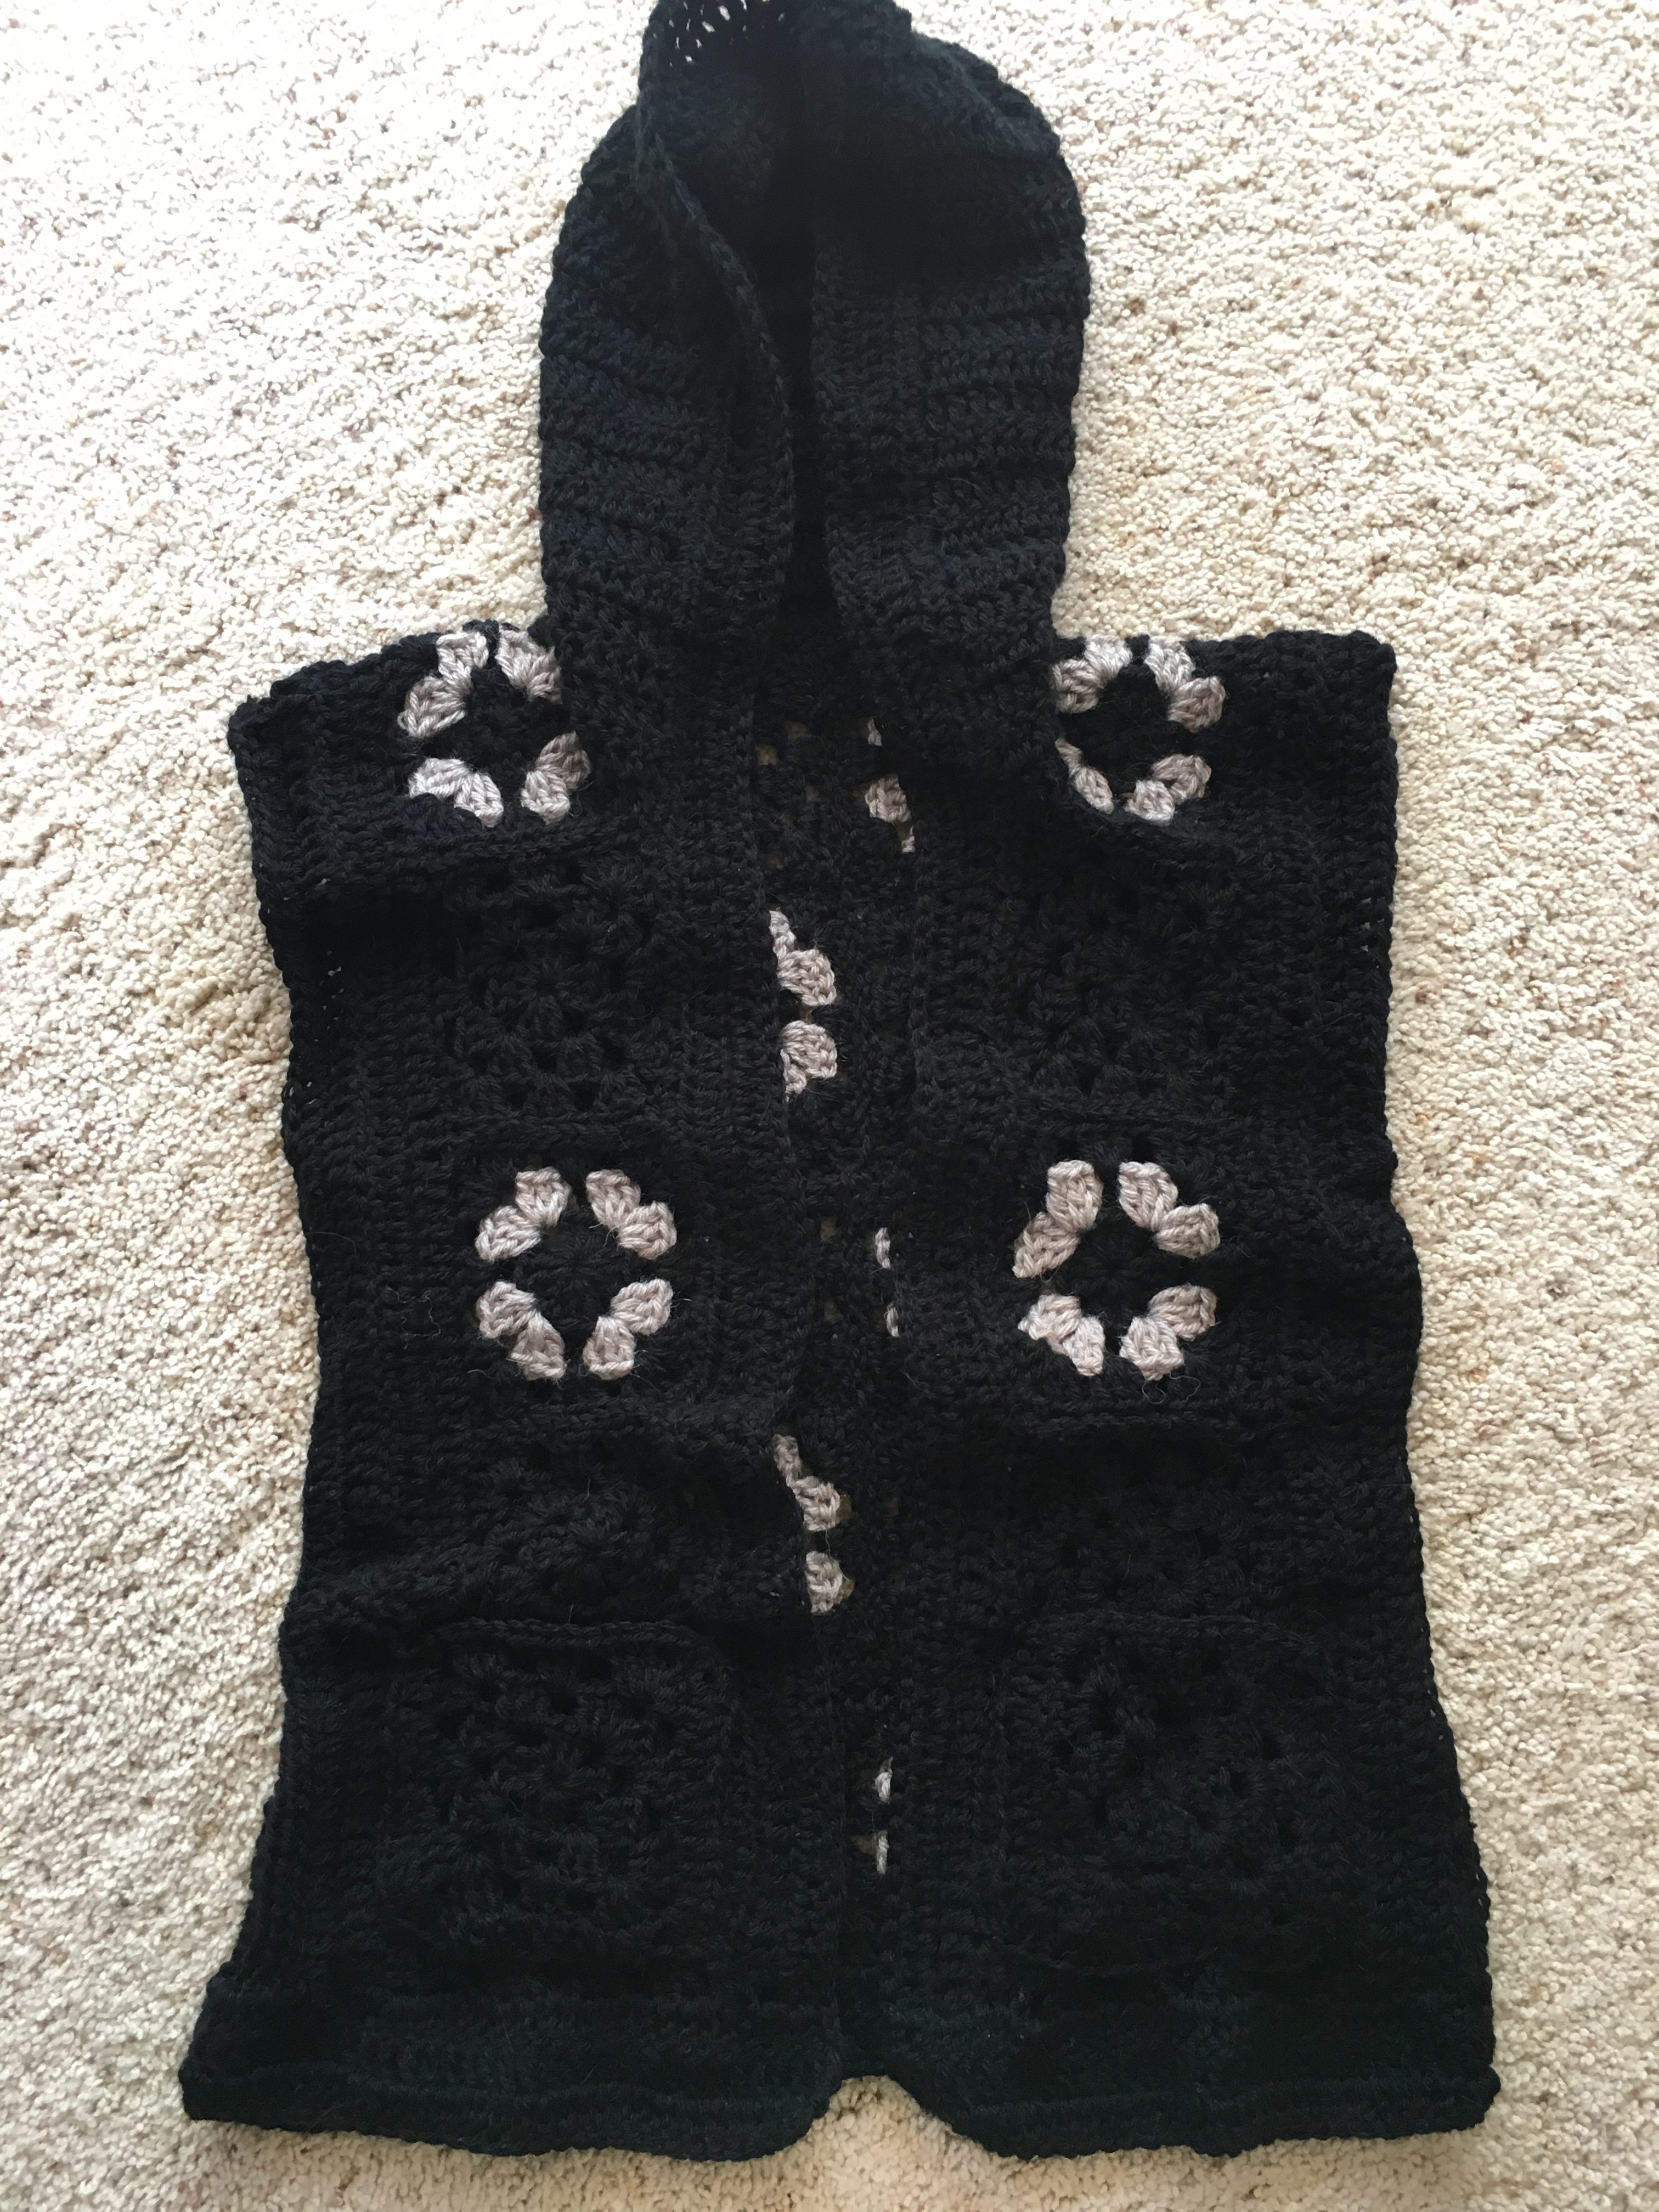
Helpful Photos
Below: The hood is worked in rows and then folded and seamed at the top. Note stitch markers along collar to mark where hood is attached.
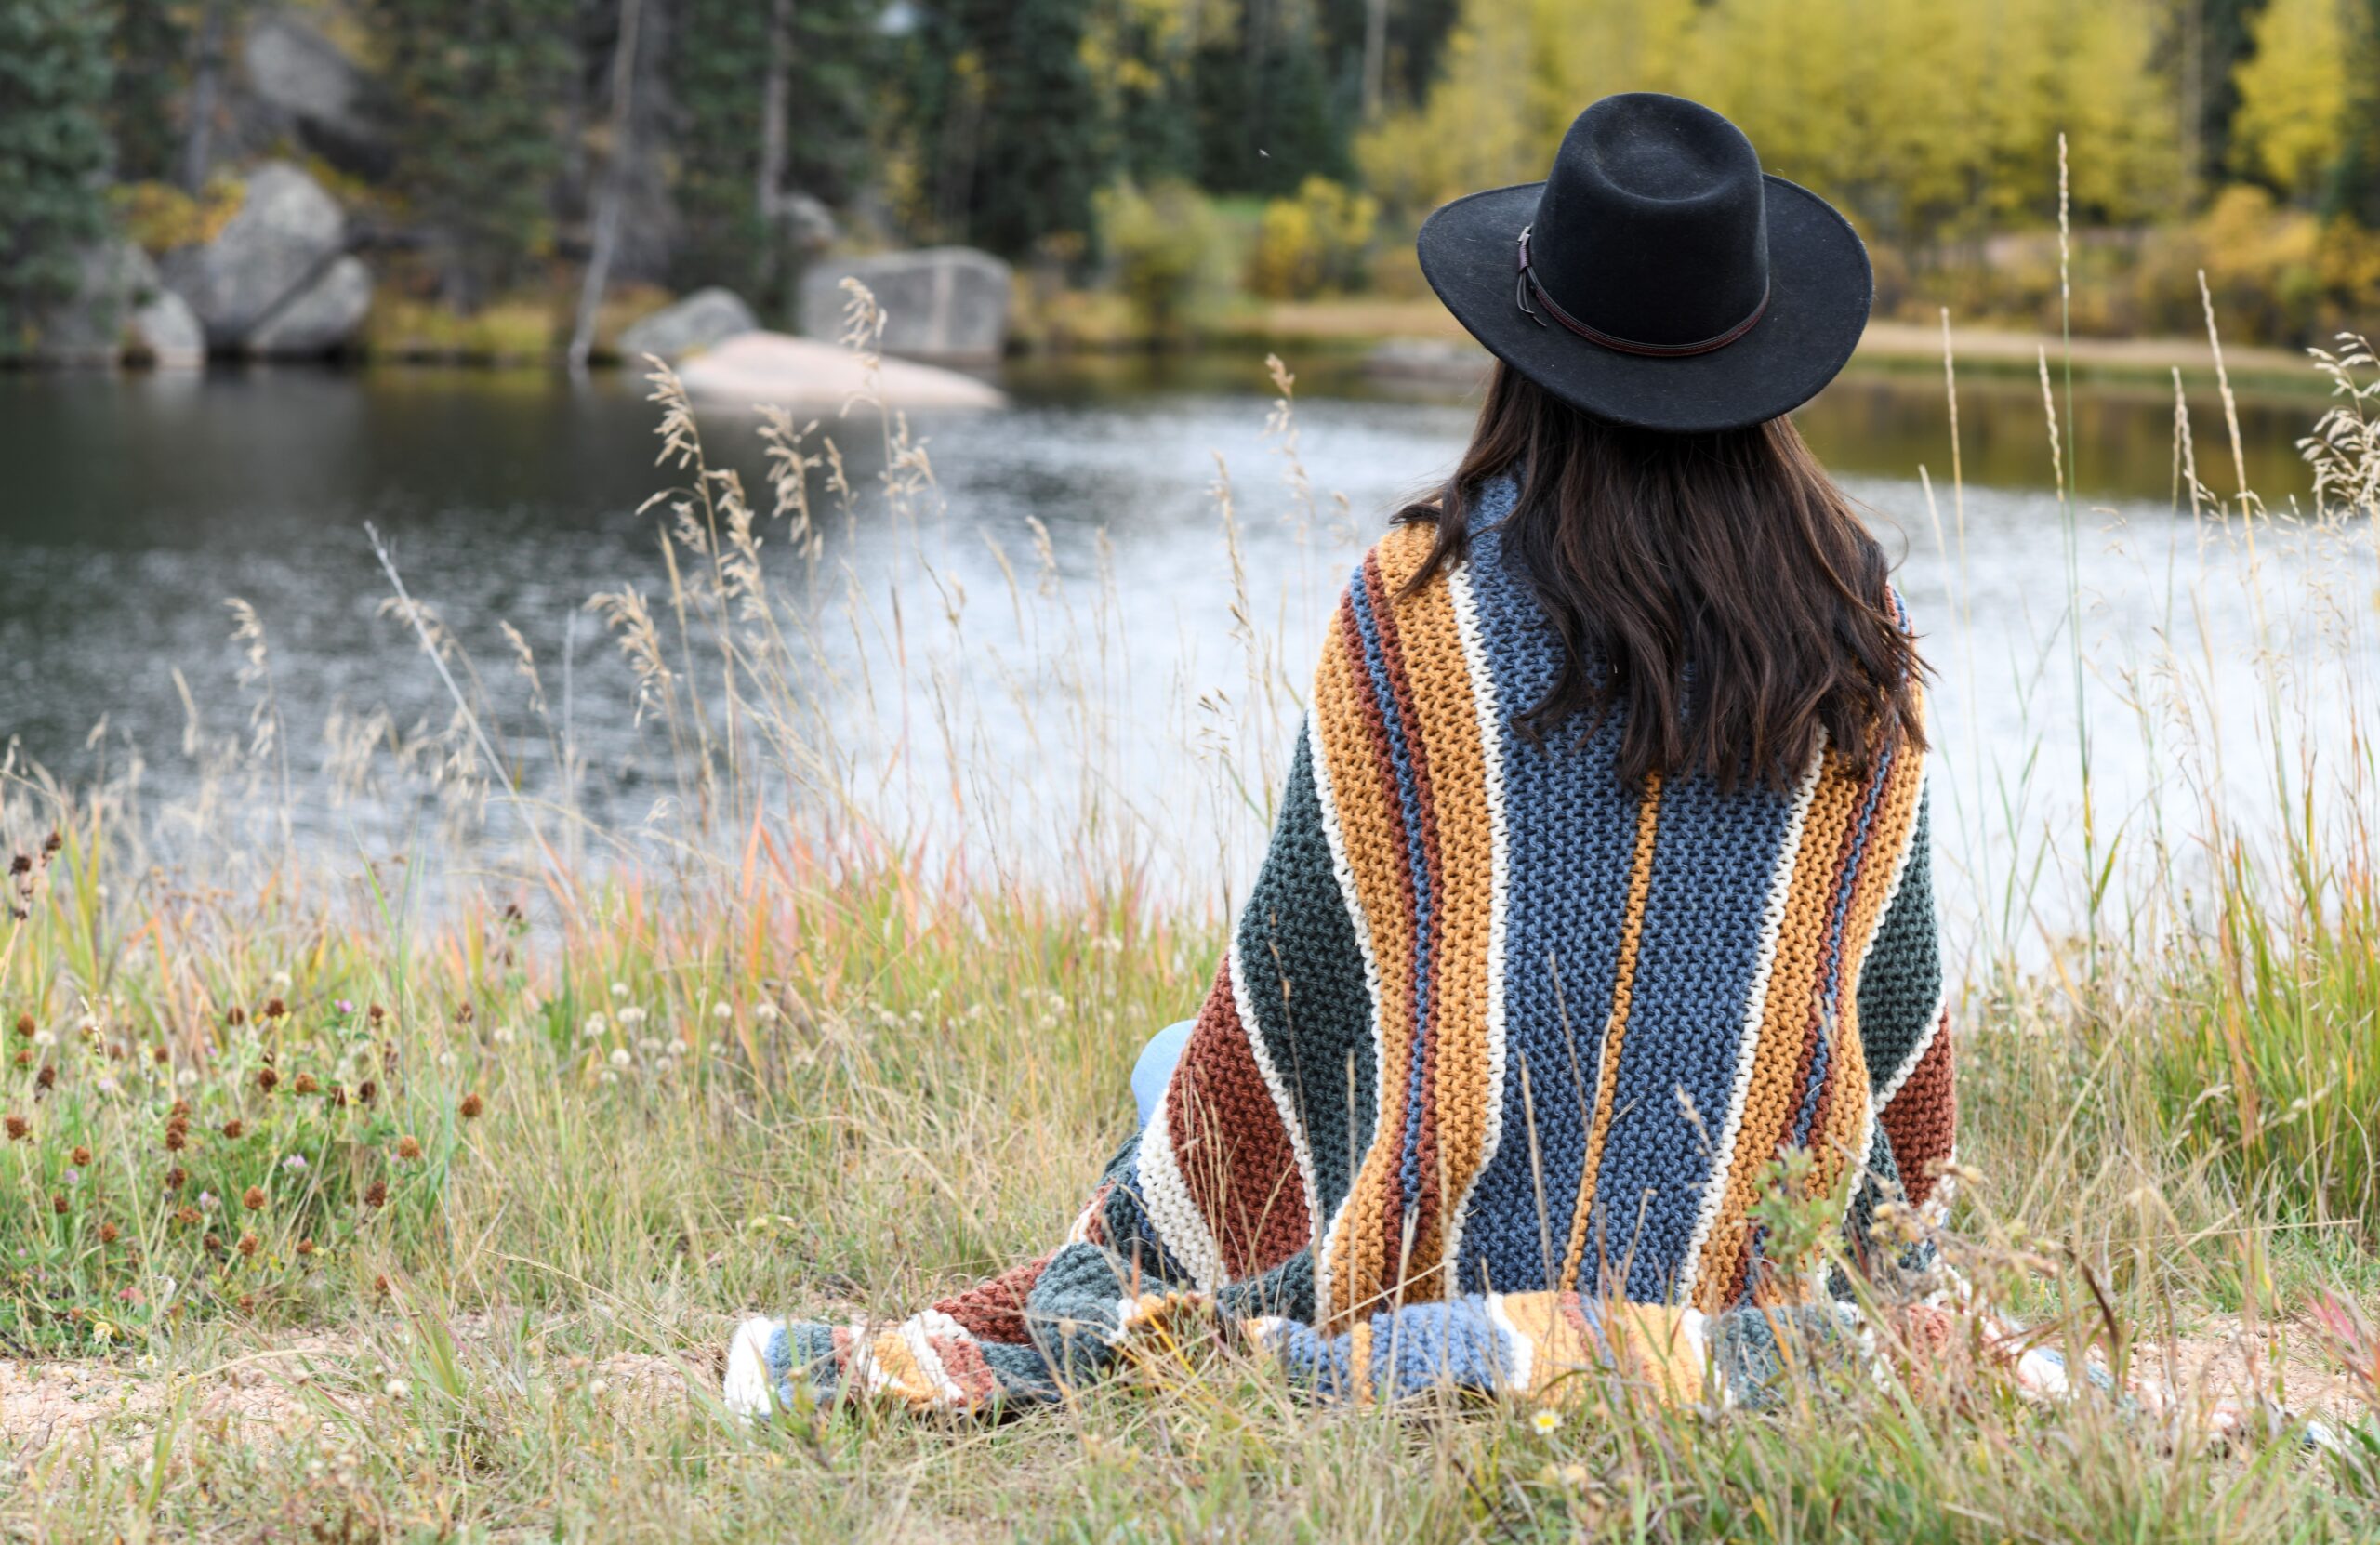
Below: Completed vest causally laid flat. Two front panels are sewn in place and hood is seamed and finished.
Now enjoy your cozy, hooded granny square vest!
I’d love to hear any thoughts in the comments below. Feel free to tag me on Facebook or Instagram as well @mamainastitch!
XO,
Jessica
If you like this, you might also like:
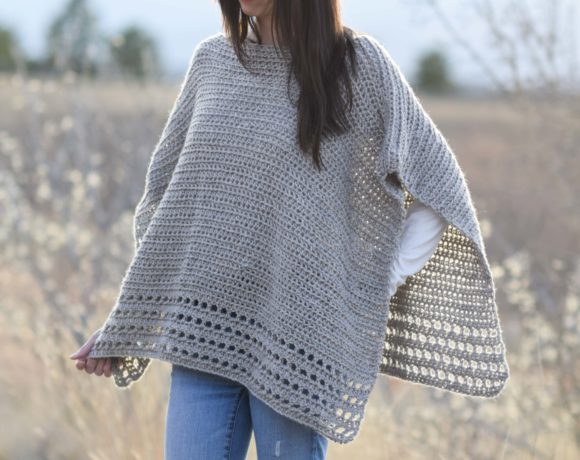
Light Alpaca Poncho Crochet Pattern
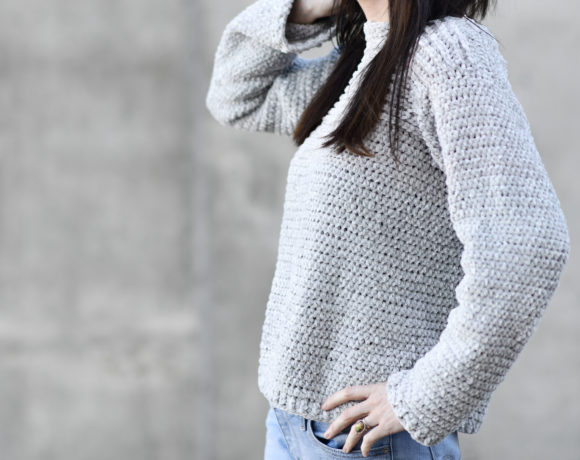
My Velvety Sweater Crochet Pattern
This post was sponsored by Lion Brand Yarn. All opinions are 100% my own.
So cute! Thank you for the pattern. Pinning!
What do I need to do to get a 3x size. I love this granny square vest.
Once again Jessica you’ve done it!!! Beautiful, stunning, practical, timeless and in crochet I so need to find a knitting and crochet club in our new province!!! Could you please stop making things I want to make
Very pretty but as usual, would love for you to do a knit version, please I still have not learn how to crochet. thank you.
I haven’t tackled knit granny squares yet. It seems really difficult to me!
Ahh thanks Amanda! Hope you find a good club in your area!
You’d want to add width to the front and back panels by crocheting more squares or adding more rows to the sides. 🙂
This is fantastic! I just learned in how to crochet in May, and I haven’t tackled a granny square yet. This is so wearable and cuddly for fall, and so I guess it is time to tackle the granny square. Thanks for another fab. Pattern.
This is absolutely beautiful…Love the granny’s and the hood design!!! Thank you so much
I do not think it would be difficult at all. You already have the dimensions, you could knit the squares, or divide them by using garters stitch in between and use eyelets stitch for the squares. The light contrast would be plain knit, and I thing it would be very beautiful. Of course use the same size for the needles. One day I would make it, just need to learn how to do a hood. It is on my bucket list, any hints on how to would be welcomed.
Don`t stop Jess, I look forward to seeing everything you do. My only question is: when do you have tome to do so much. 🙂
I’m excited to crochet this vest. I have never made a granny squars, but I’ll practice first. Thank you for sharing your amazing patterns
I Love this.
I want to make it with many colors.
Can I make this with or without the hood ?
Thanks for such a cute idea .
The finished vest looks great in your chosen colors, but it’s really hard to see detail in the black stitches online.
Hiya, just curious as to how I would go about adding sleeves . My first thought is to crochet extra squares and stitch them together as you have in your ARLO pattern. Do you have any other thoughts? Thanks …/leslie
This vest reminds me of something off the runway. It’s really beautiful and very on trend right now. Thank you so much for your amazing patterns. Your posts are always aesthetic and clean, with gorgeous pics and easy to follow instructions. Please don’t stop! I love how one could get really funky with the colors for this vest too. Options are endless. Could easily add sleeves with more squares, or do some color blocking. Now I need to read your post about gauge as that always keeps me from following patterns properly and in the last 15 years I’ve learned to wing it. I don’t think I can do that with squares. 🙂 sending much love from Los Angeles where it’s definitely not Fall yet. Boo hoo.
Thank you so much! xxx
Hi Jessica. I have made several of your patterns already and love them all. I love this pattern but is there any way you could do a knit version of a vest? I know granny square would be difficult,, but just a knit version of a vest. Would love it. I look forward to your emails all the time,, it brightens my day! Your amazing!! And thank you so much for sharing all your beautiful pattens.
This is so gorgeous and versatile! Thankyou so much for sharing this with us! The free pattern is fantastic and your paid ad free versions are very reasonably priced!
So beautiful and simple as well!!! great,thank you Jessica 🙂
This is such a cute pattern, and super easy to follow. Its perfect for the weather that we’ve had in my area lately. I’m so going to make it. Thank you so much for the fab pattern.
So cute and so on trend! First I thought it was one of those ordinary granny square vests. In this case dotted with taupe grannies all over. Then I saw the frontal view and those black pockets. Wow! You really know how to turn a simple pattern into something special.
So glad you like it and thanks for the kind words about the pricing on my patterns!
I’ll keep a knit vest in mind! So glad that you like it Sue, and thank you for your sweet words!
Love this. I’ve been looking for a granny pattern to try and this is the one. Thanks
Hello Jessica, thank you for the awesome pattern & I love the color combo. I want to make it. I have the same Touch of Alpaca yarn you used & your pattern so now all I have to do is make it.
QUESTIONS: Can you do a quick video on a few parts of the pattern by chance? For example, how you joined the sqaures using the flat slip stitch? It’s hard to see in photos. Also, how did you join the hood? Lastly, how did you start the edging all around the vest? I know how to crochet but I’m a visual learner for this new pattern. Thank you in advance for your consideration.
You know, crochet is actually pretty easy to learn and Jessica’s patterns are pretty easy too. Have a go at it, you’ll love it! I love the lacyness of crochet, the endless amount of different stitches, and once you get good the designs you can create are vast. Crochet rocks!
I’m really excited to make this vest, as it’ll be my first real item of clothing to crochet (not counting scarves). I know it’s very important to test gauge, but so far I haven’t been able to make a 4.25 x 4.25 Granny square. I’ve used hooks sizes I through K and still only manage about 4 x 4 using the exact instructions and yarn. Am I missing something, or it possible I’m that much of an “uptight” crocheter ?