Taos Crochet Throw Pillow & Wool Ease Yarn
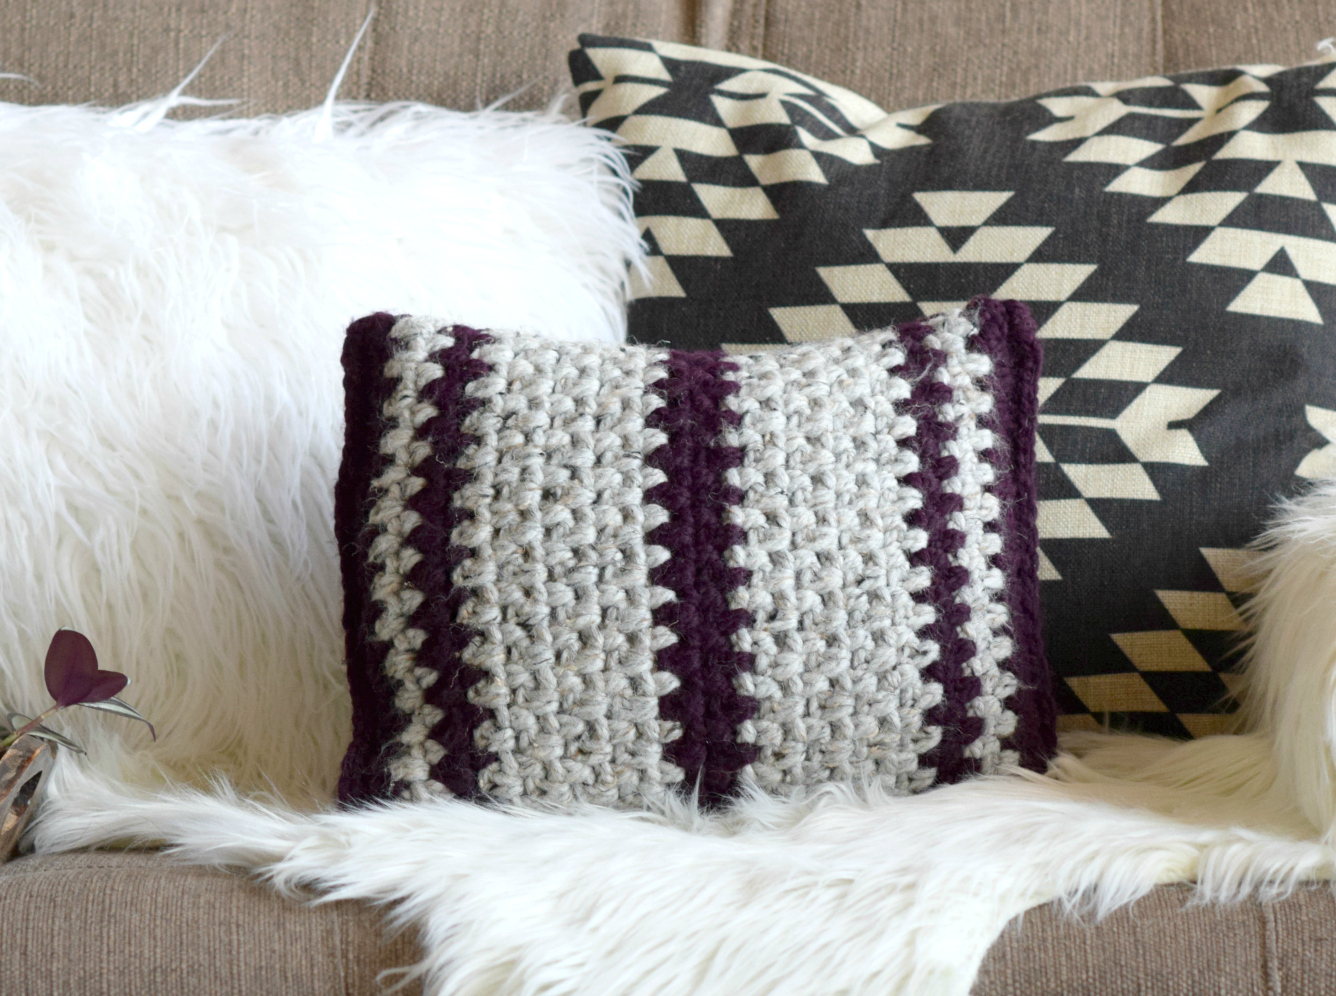
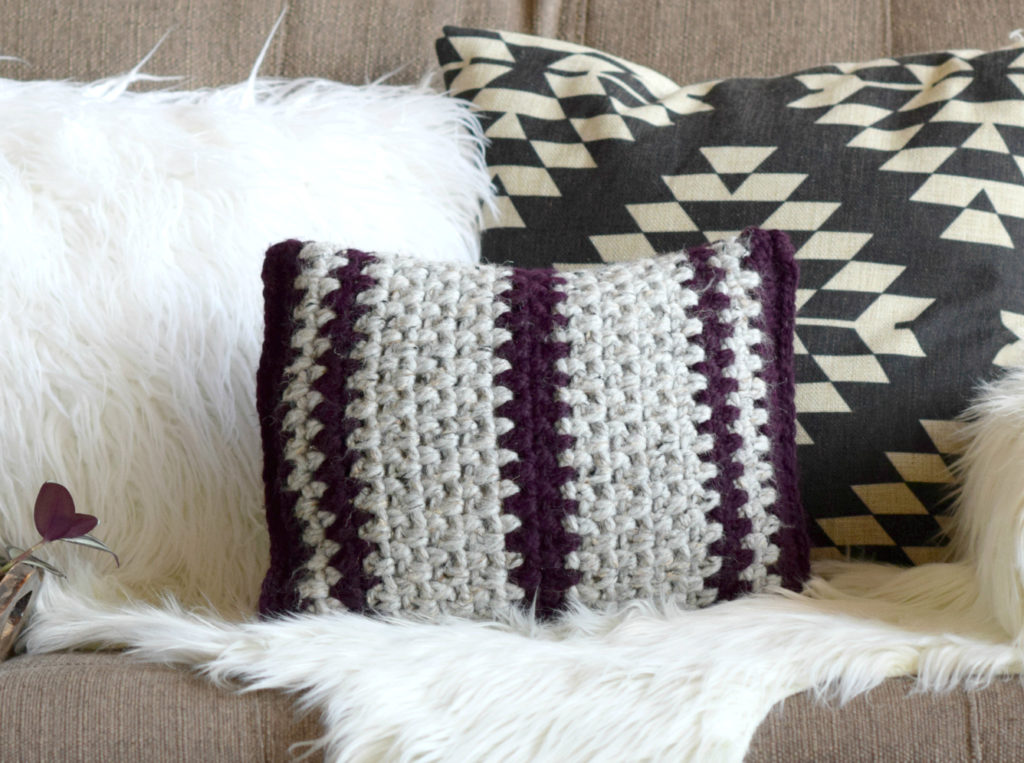
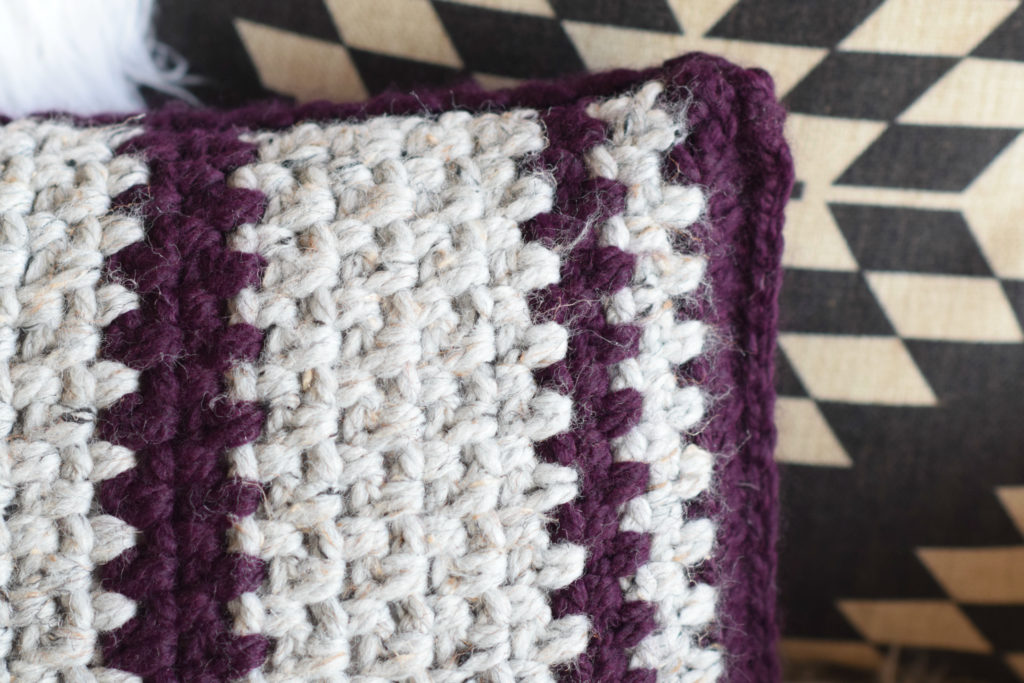
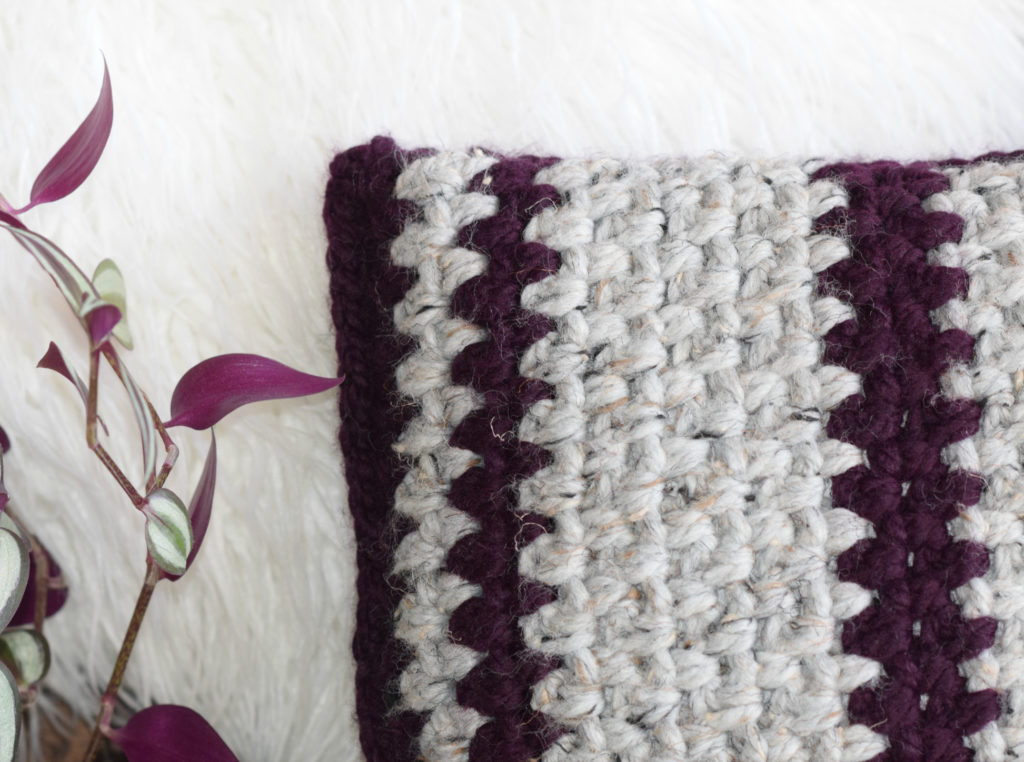
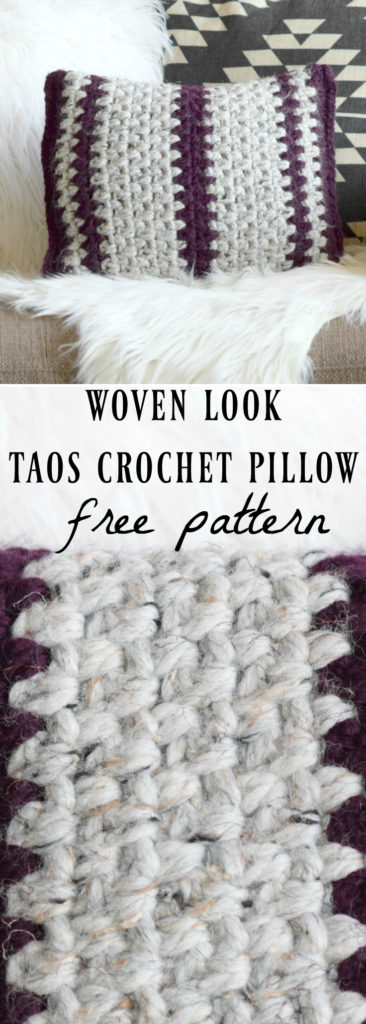
I love how this stitch, paired with the super bulky yarn, give this pillow such great texture and almost a woven look.
Yep it’s July, and while I’m still working on some summer projects my brain is also slowly transitioning to fall crochet and knitting projects. Have you started any of your fall or holiday knitting or crochet yet? (I know, I know…let’s not talk holidays quite yet!) As the seasons change, so changes the yarns that I use. Cottons and “little” yarns are great for this time of year but my ALL TIME favorite yarn to work with happens to be big, bulky, woolly warm yarn. This pillow is made with a fave of mine, Lion Brand Wool Ease Thick & Quick. (More on that in a bit) What yarns are you using this time of year?
The “Taos Pillow” crochet pattern works up quickly and can be made in a multitude of colors. The bold striping reminds me of some of the patterns and beautiful woven textiles I’ve seen in Santa Fe and Taos. This particular pillow uses the colors Eggplant and Grey Marble, but I think it would be striking in black and white or any other bold color combination. Remember, I’m a little scared of color, so this is as bold as it gets for me. 😉 Half the fun is deciding what colors you’d like to use in order to add a pop to your couch, bed or chair. It can be challenging to make a big wool sweater or blanket in the heat of the summer, but a little wool hat, scarf or pillow like this is definitely doable. Undoubtedly, I’ve used more Lion Brand Wool Ease Thick & Quick than any other yarn. Ever. Not only does it work up quickly because it’s a chunky yarn, it’s also machine washable, comes in loads of different colors and is totally affordable (the hubby loves that part – lol).
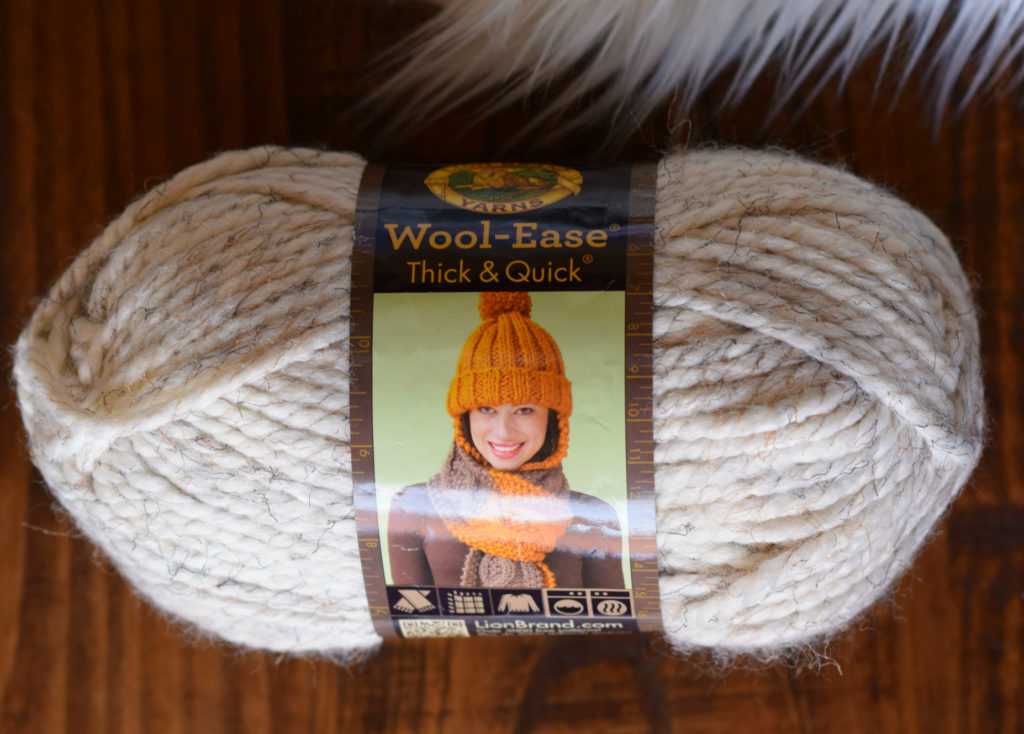
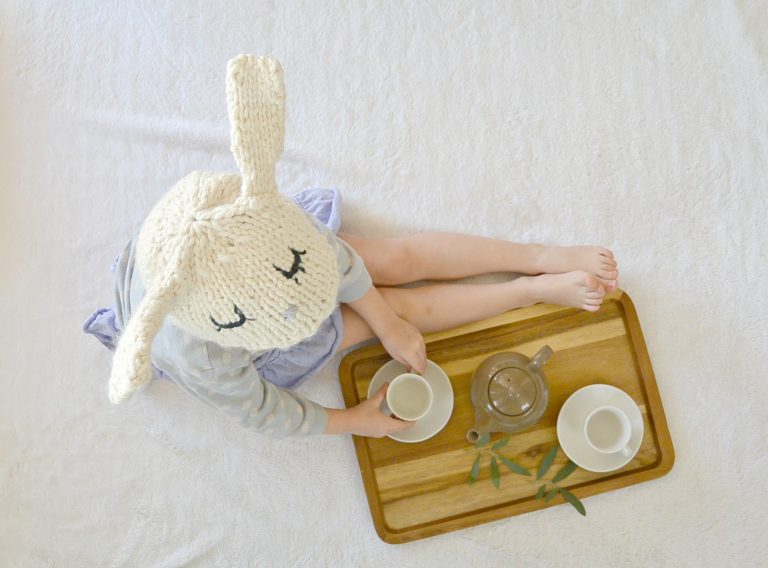
Some of my favorite patterns and projects that I’ve made with this yarn include the Icelandic Throw, Toddler Bunny Hat and the Aspen Knit Bag. You will definitely see more of this yarn in the coming months here on the blog as we head into fall. 😉
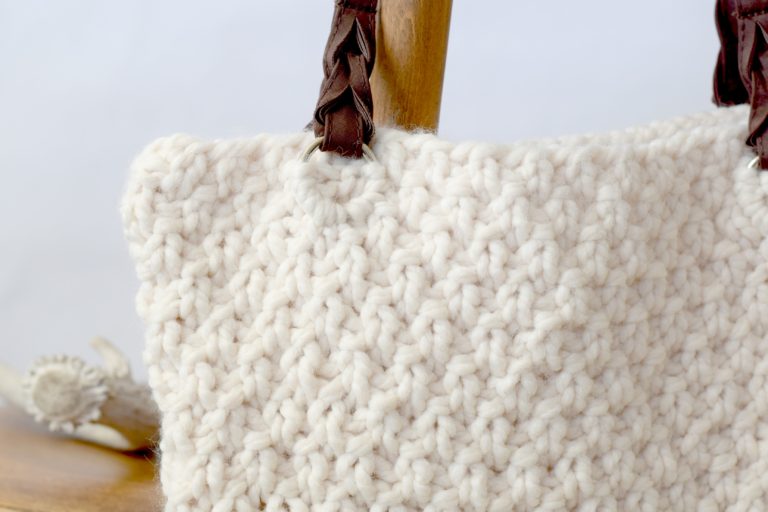
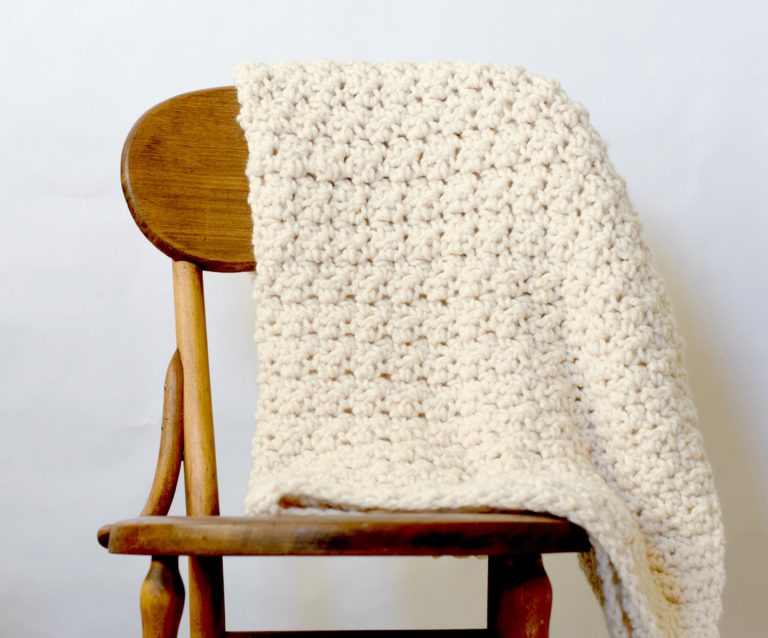
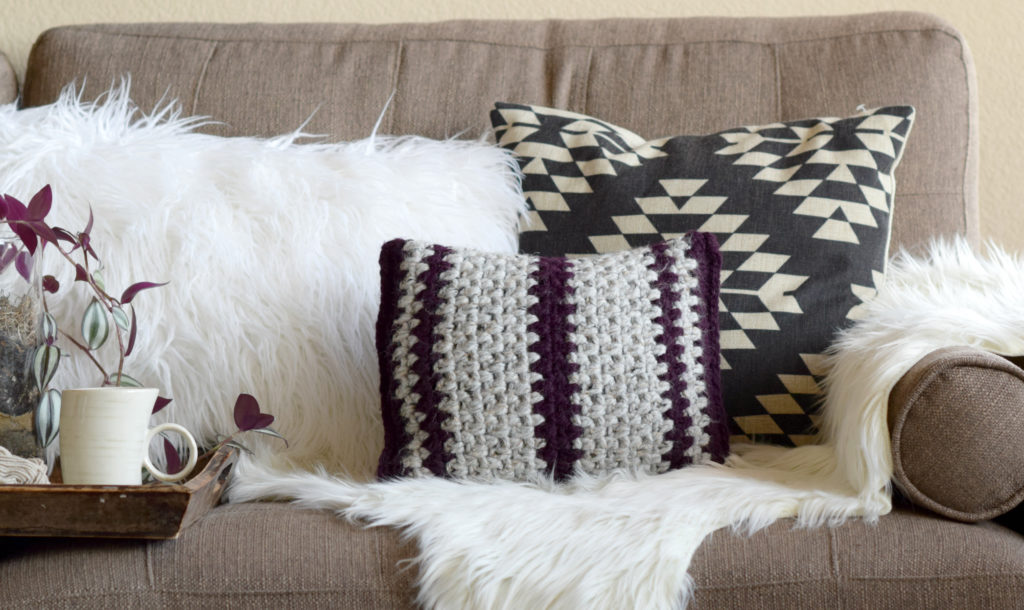
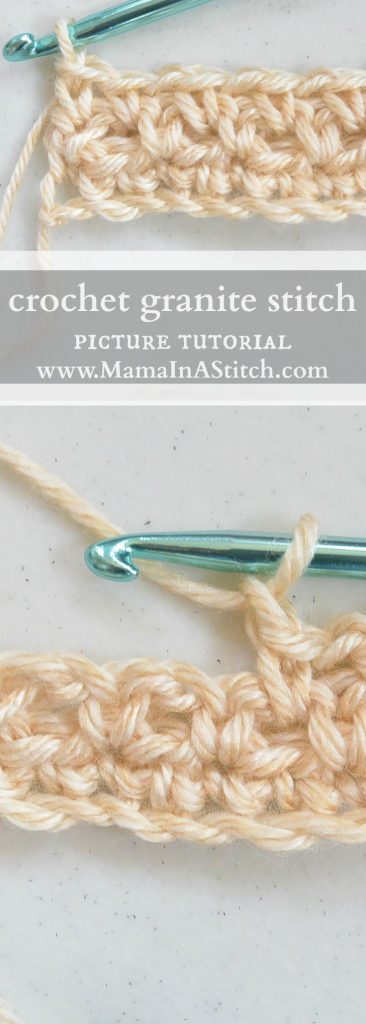
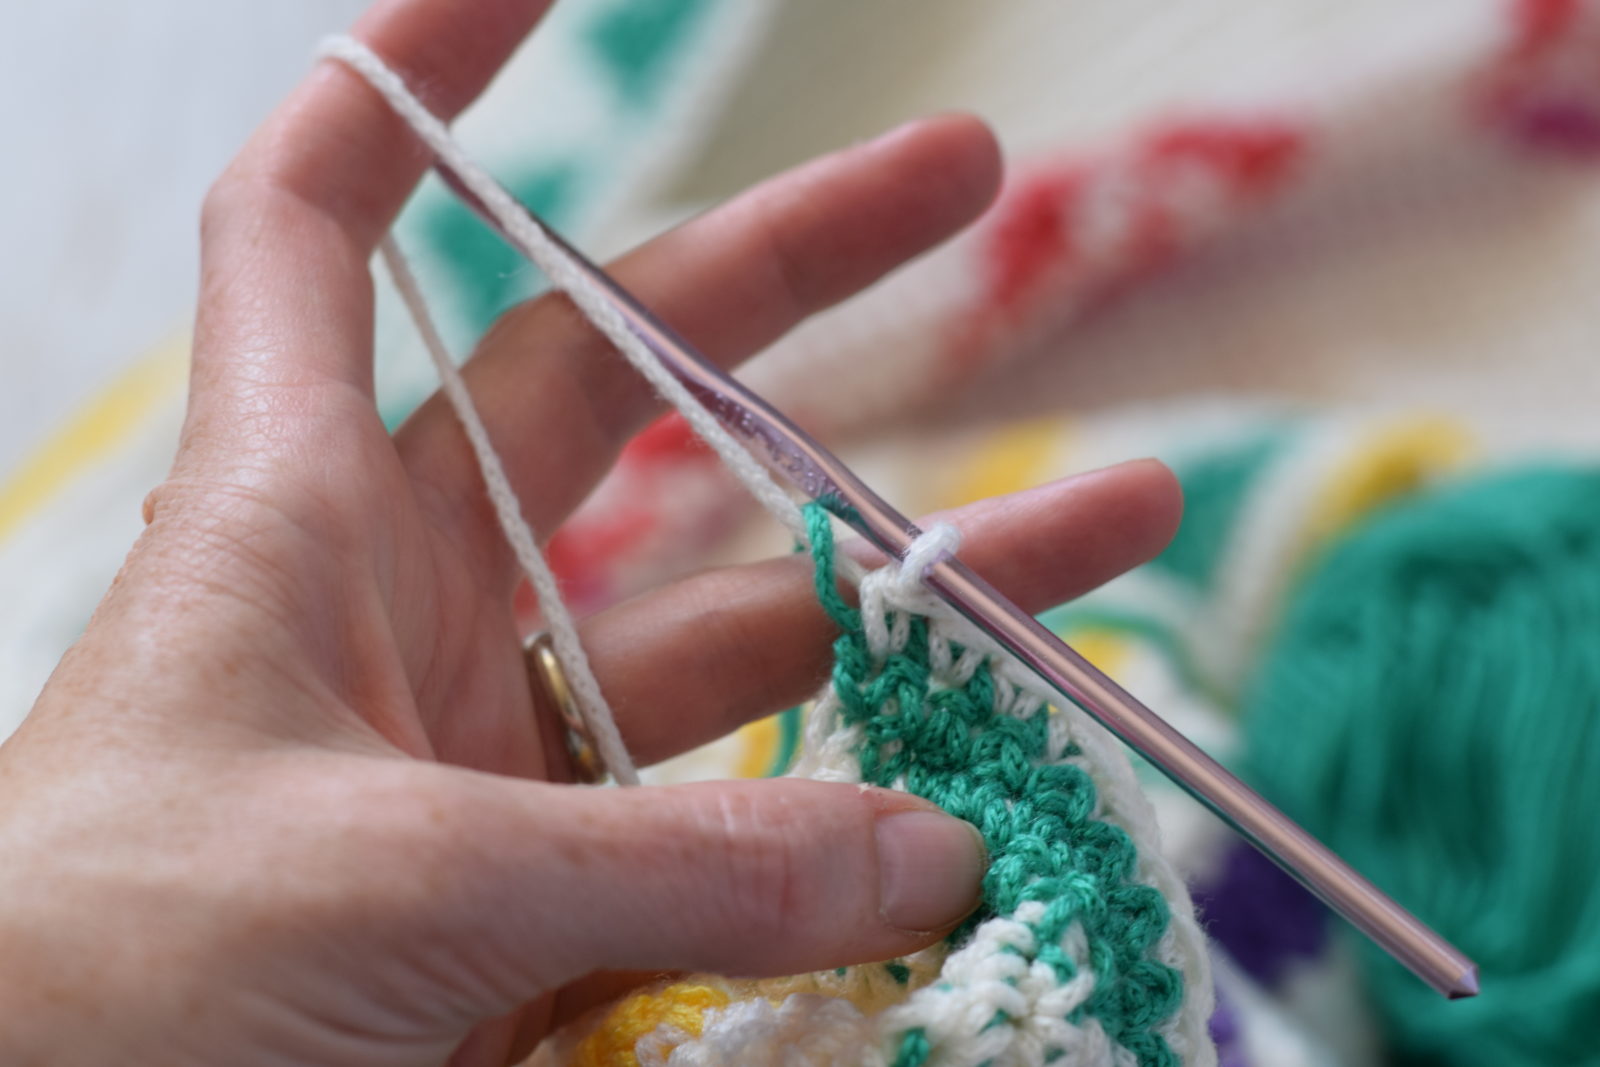
This pillow pattern uses the granite stitch, aka moss stitch, aka linen stitch. He he! You should be comfortable with single crocheting, chaining and working into chain stitches. If you need help with this stitch please see my full picture stitch tutorial here, then scroll down to see the pillow pattern below:
Taos Crochet Throw Pillow Pattern
Pattern Info/Description: This pillow features bold texture and pattern, perfect to add a pop of color or warmth to any space. The wonderful granite stitch gives it a lovely texture, and the stripes make it modern and fitting for a variety of spaces. The thick wool makes it cozy, inviting and stylish. It works up fairly quickly with super bulky yarn and an easy stitch pattern.
Skill Level: Easy +
Size: Approximately 13 inches x 11 inches after seaming (can vary with gauge)
Gauge: 11 stitches and 9 rows = 4″ (10 cm)
Materials: Yarn: Lion Brand Yarn ( 80% Acrylic, 20% Wool, 106 yards) Eggplant #147 (MC) 2 skeins and Grey Marble #154 (CC) 1 skein.
Hook: Size J/10 (6.00 mm)
Notions:
1 12″ x 12″ pillow insert
Abbreviations:
ch – chain
sc – single crochet
sk – skip
st – stitch
Pattern Notes:
This pillow is worked in two pieces and seamed. It is completed using a repeating series of single crochet and chain stitches (the granite or moss stitch).
Pattern:
Front Panel:
With MC, chain 31
Row 1 Sc in the 2nd ch from the hook, *ch 1, skip next st, sc in the next st.* Repeat across until just before final stitch. Sc in the last st, chain 1 and turn.
Row 2: Sc in 1st sc(2nd st from hook), *ch 1, sk next sc, sc in the next st * Repeat from * to * across row until final stitch. Sc in the last sc, drawing up the (CC) Grey Marble yarn to make a color change for next row, chain 1, turn.
Row 3: Sc in 1st sc. (2nd st. from hook), *ch1, sk next sc, sc in the next st.* Repeat from * to * across row until final stitch. Sc in the last sc, chain 1, turn.
Row 4: Repeat row 3, changing colors to (MC) as you finish final stitch of row.
Row 5: Repeat row 3.
Row 6: Repeat row 3, changing color to (CC) as you finish final stitch of row.
Row 7-13 Repeat row 3.
Row 14: Repeat row 3. Change color to (MC) as you finish final stitch of row.
Row 15-16: Repeat row 3.
Row 17: Repeat row 3. Change to (CC) as you finish final stitch of row.
Rows 18-24: Repeat row 3.
Row 25: Repeat row 3. Change to (MC) as you finish final stitch of row.
Row 26: Repeat row 3.
Row 27: Repeat row 3. Change to (CC) as you finish final stitch of row.
Row 28: Repeat row 3.
Row 29: Repeat row 3. Change to (MC) as you finish final stitch of row.
Row 30-31: Repeat row 3. Tie off, and weave in all ends.
Back Panel:
With (MC) Eggplant, chain 31.
Row 1: Sc in the 2nd ch from the hook., ch 1., skip next st, sc in the next st. Repeat across until just before last stitch. Sc in the last st. Chain 1 and turn.
Row 2: Sc in 1st sc. (2nd st from hook), * ch. 1, sk next sc, sc in the next st*. Repeat from * to * across row until final stitch. Sc in the last sc.
Row 3-31: Repeat row 2. Tie off, and weave in all ends.
Seaming and Assembly:
Line up both panels with right sides together (the fabric is reversible so either side is fine). Along the sides that contain grey (top and bottom of stripes), attach (MC) yarn, and slip stitch seam across each side separately. Tie off and weave in ends.
Turn pillow cover right side out.
Attach yarn to corner of one open side, and single crochet seam up the length of side. Tie off, and weave in ends.
Place 12″x12″ pillow insert evenly inside of pillow cover. Be sure to fill the corners well with the insert.
Attach yarn to corner, and single crochet seam final side closed. Tie off and weave in ends.
That’s all there is to this easy little pillow pattern! While I tend to make a lot of items that you can wear, it is nice to change things up every now and then. I hope that your summer is going well and I’d love to hear what you’re making this time of year. While I’m excited that fall will be here before we know it, I don’t want to wish away summer as it always goes by too quickly.
Have a lovely day my friends!
XO
Jessica


Thank you! I must say you are my favorite blogger, and thank you for the extra ‘how to’ tutorials
Hi Sylvia,
I really appreciate all of your kind words and support that you’ve always given me. Thank you so much as it means a lot!
That color & stitch combo is gorgeous!