Azul V-Mesh Easy Crochet Poncho Pattern
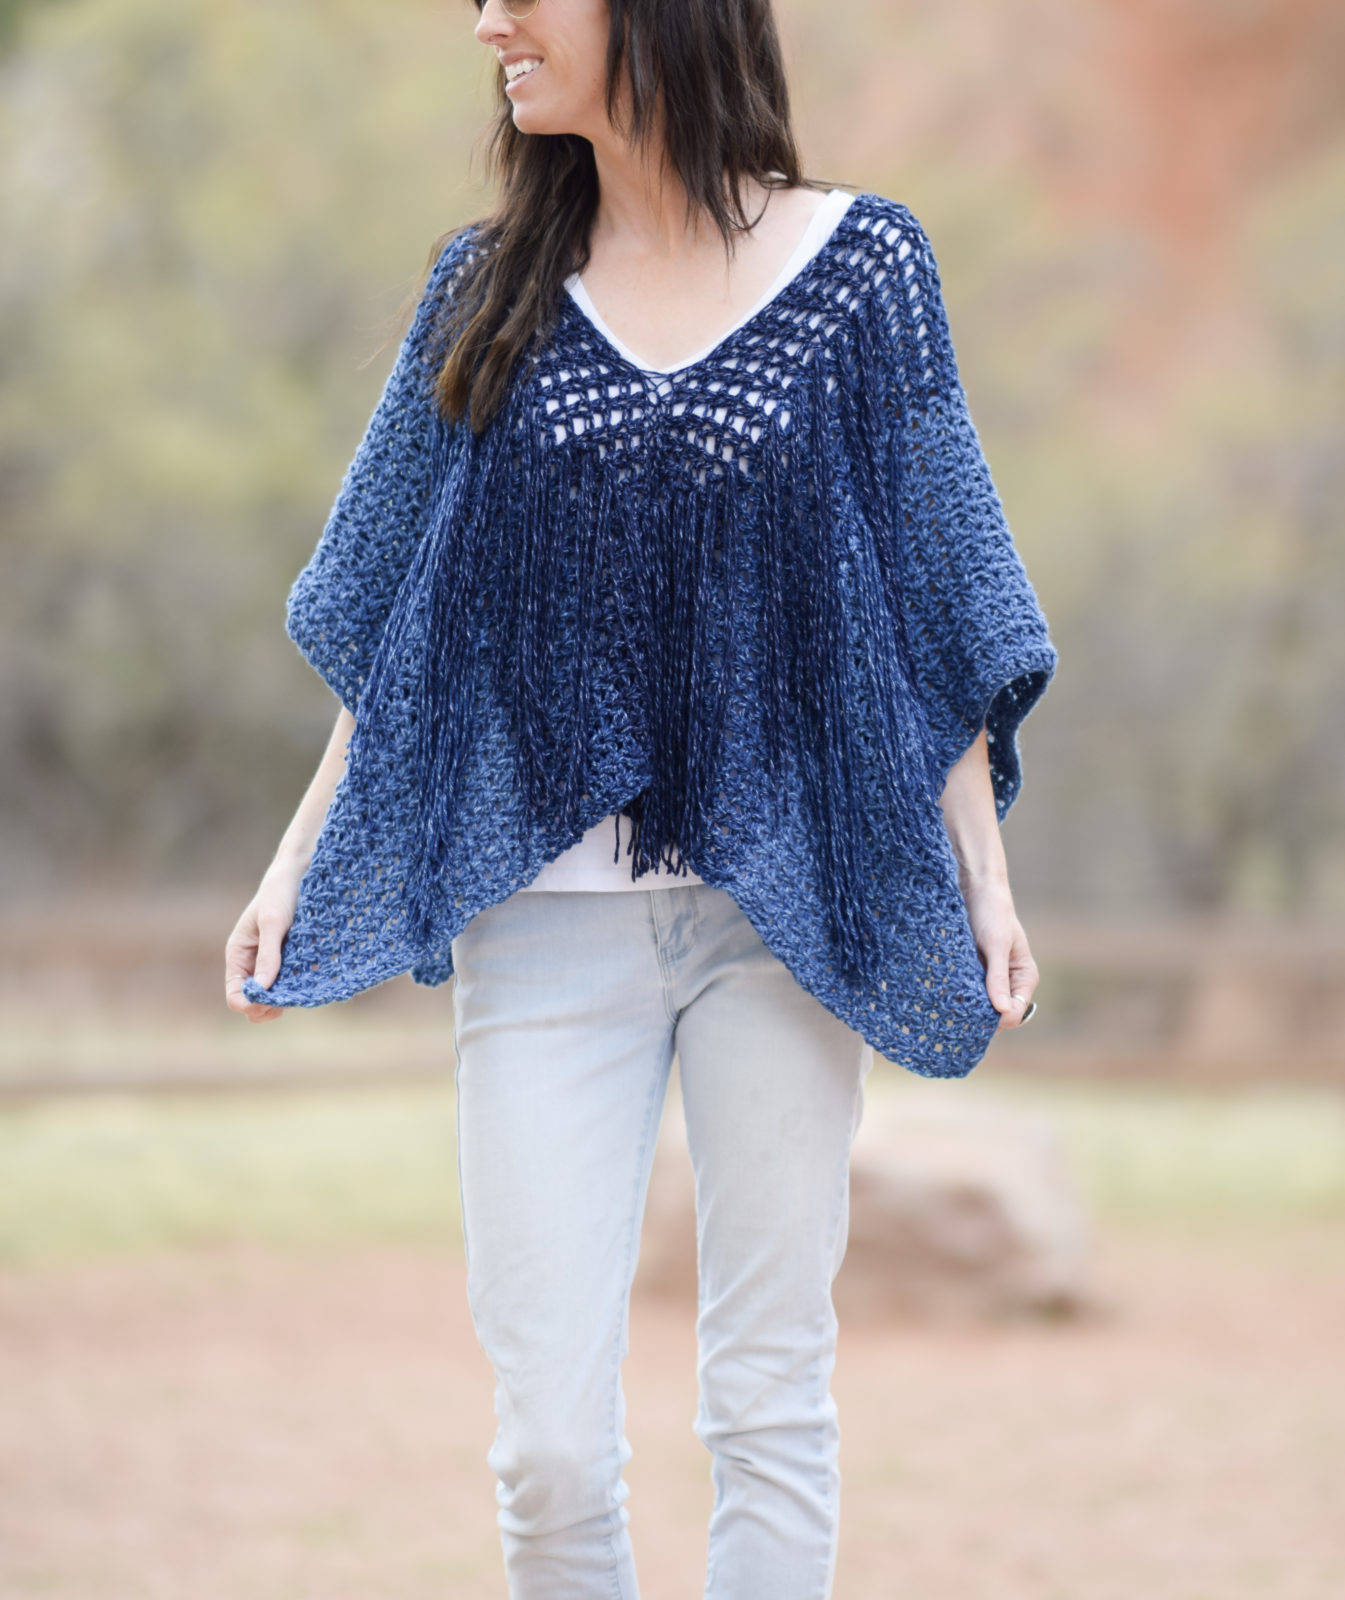
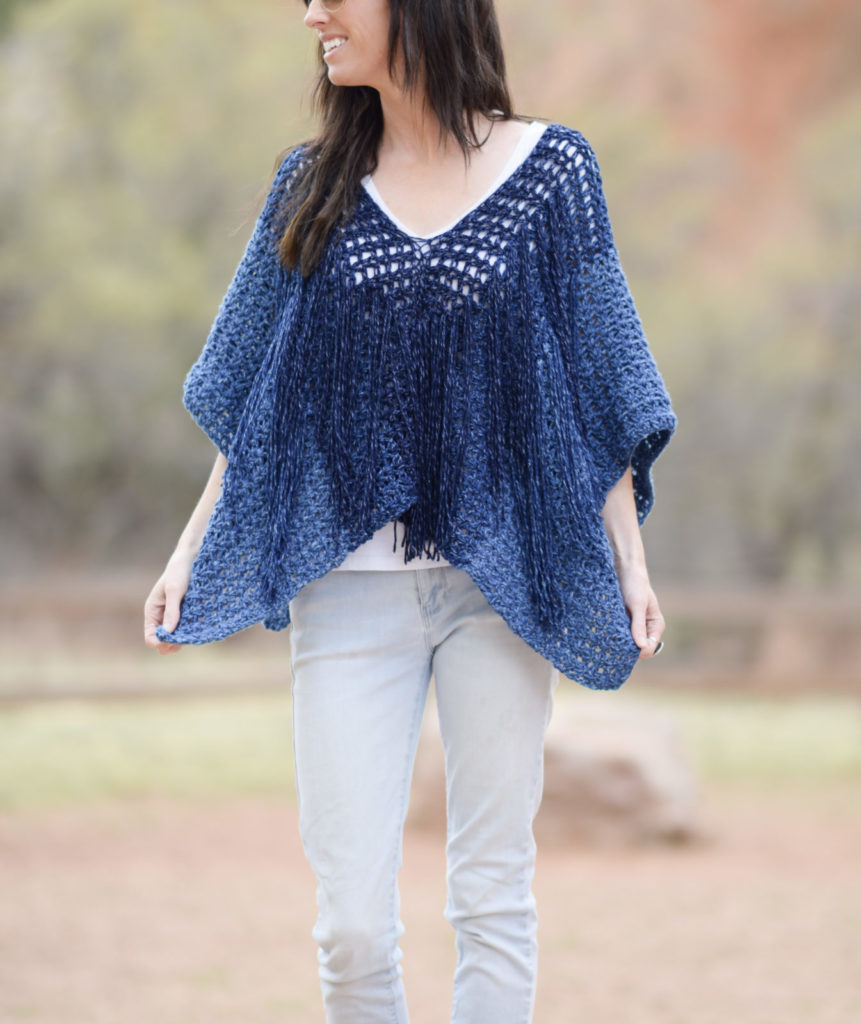
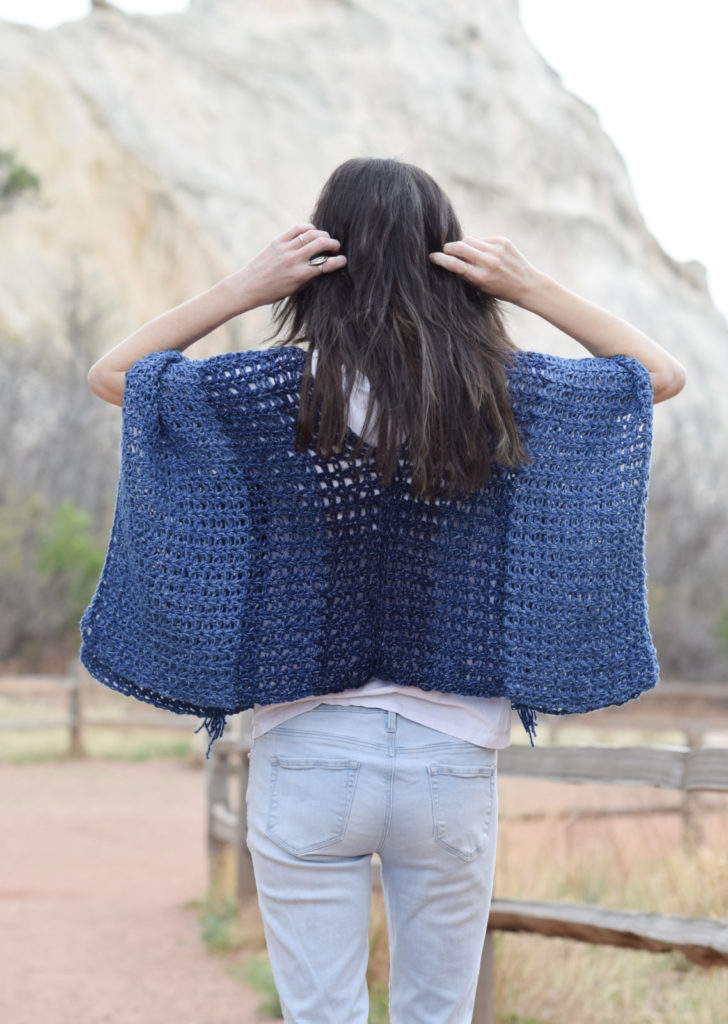
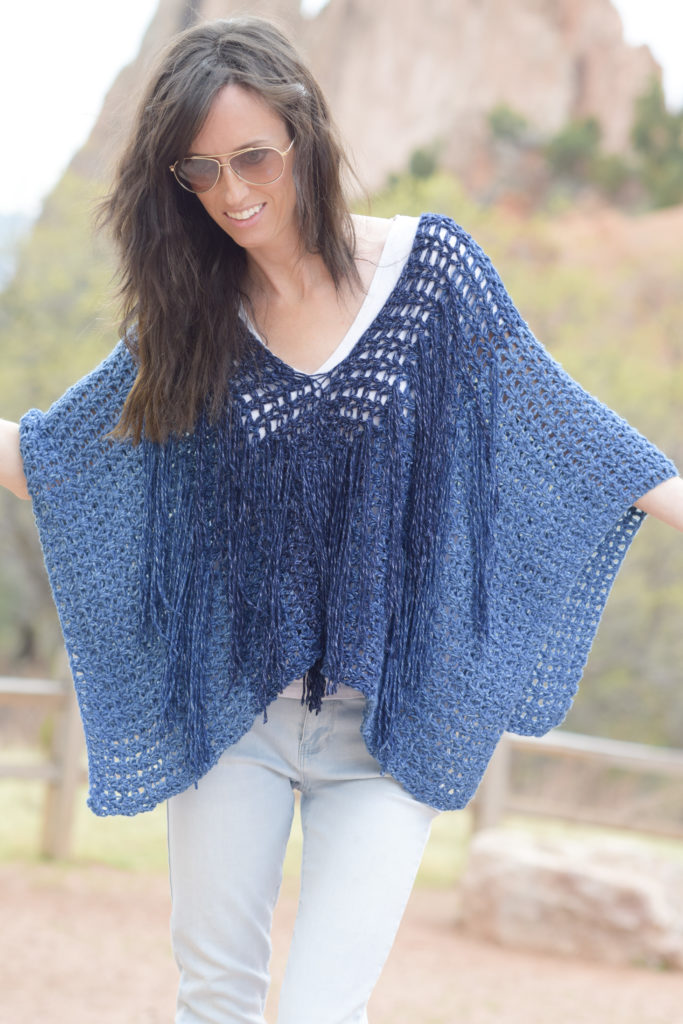
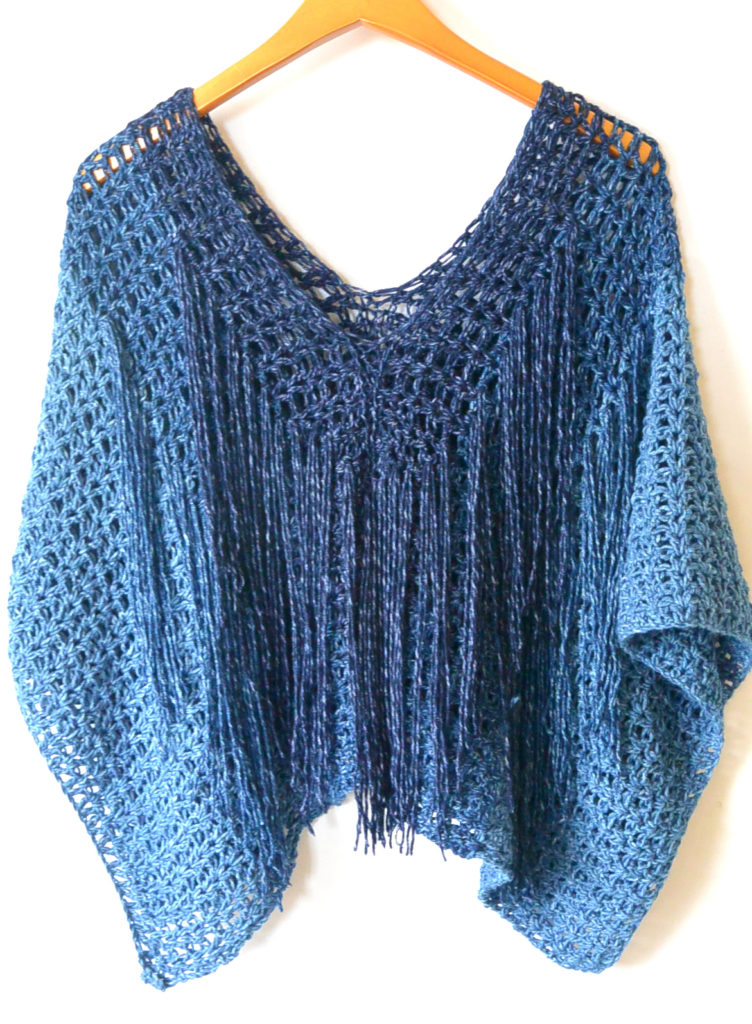
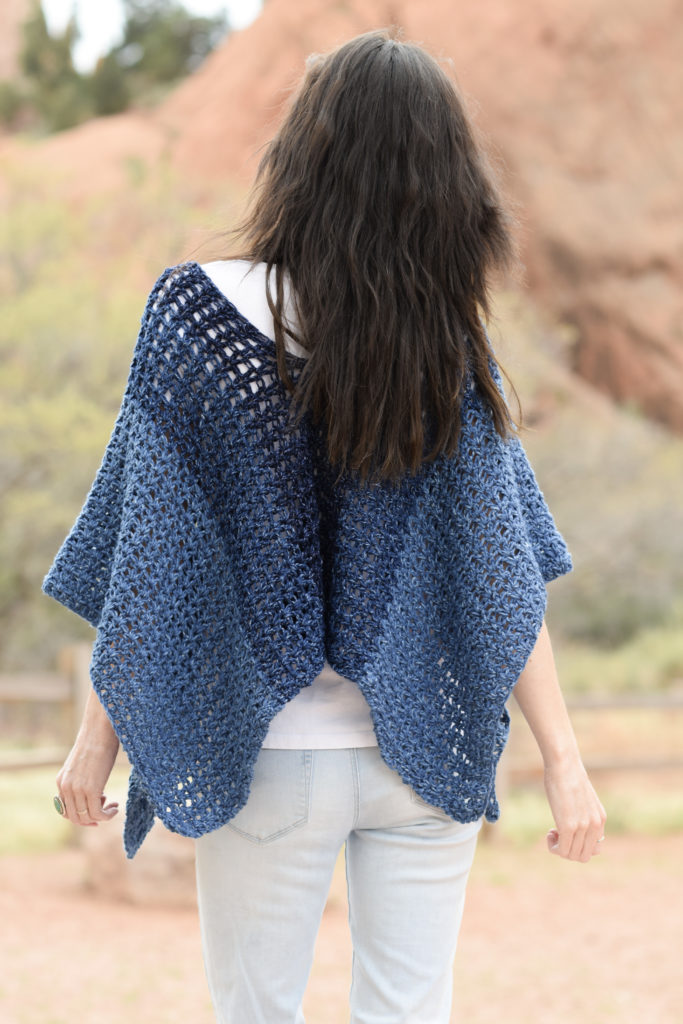
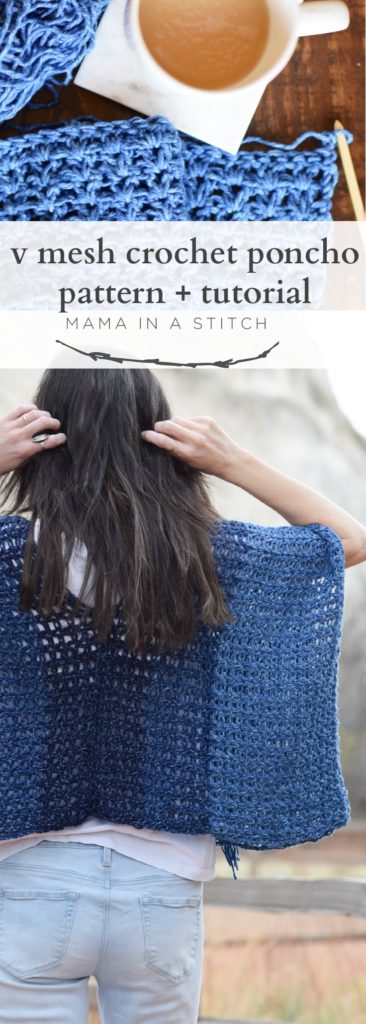
I’ve been working on this “denim” poncho and I’m so happy to be able to share it with you today! It’s SO comfortable. It’s SO easy. It’s also pretty unique and people won’t believe that YOU made it. 😉 My favorite feature about this poncho is that it’s shorter than most. It’s long enough to provide some coverage, but not so long that you get tangled in it when you sit down. I have one poncho in my closet that is super stylish, but it’s somewhat cumbersome to wear because it’s so long. This one just slips right over your head and is quite light and breezy which is nice for this time of year. As usual, I’m sharing the free pattern below, or you can also purchase the entire kit from Lion Brand Yarn! (I’m always honored to get to work with Lion Brand in this way) If you haven’t already guessed, it’s made with their new “Jeans” yarn and if you haven’t tried it, it’s a dream to work with. Apparently I wasn’t the only one who liked the yarn as it has been sold out for a while, but it’s now back in stock. Happy dance!
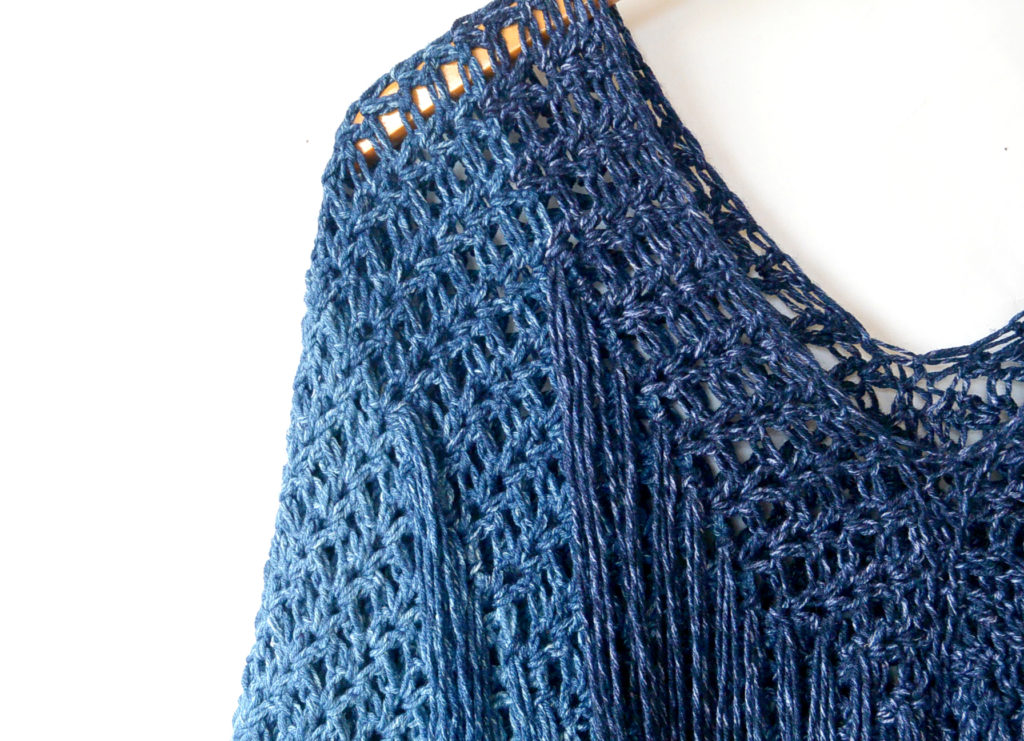
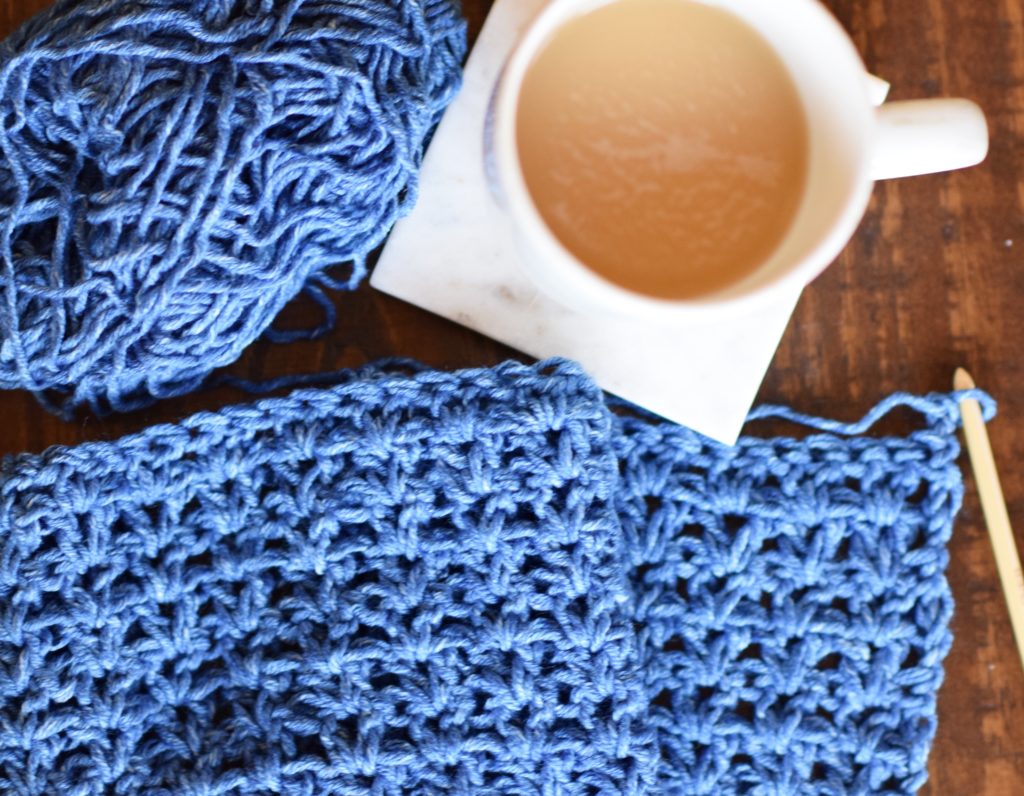
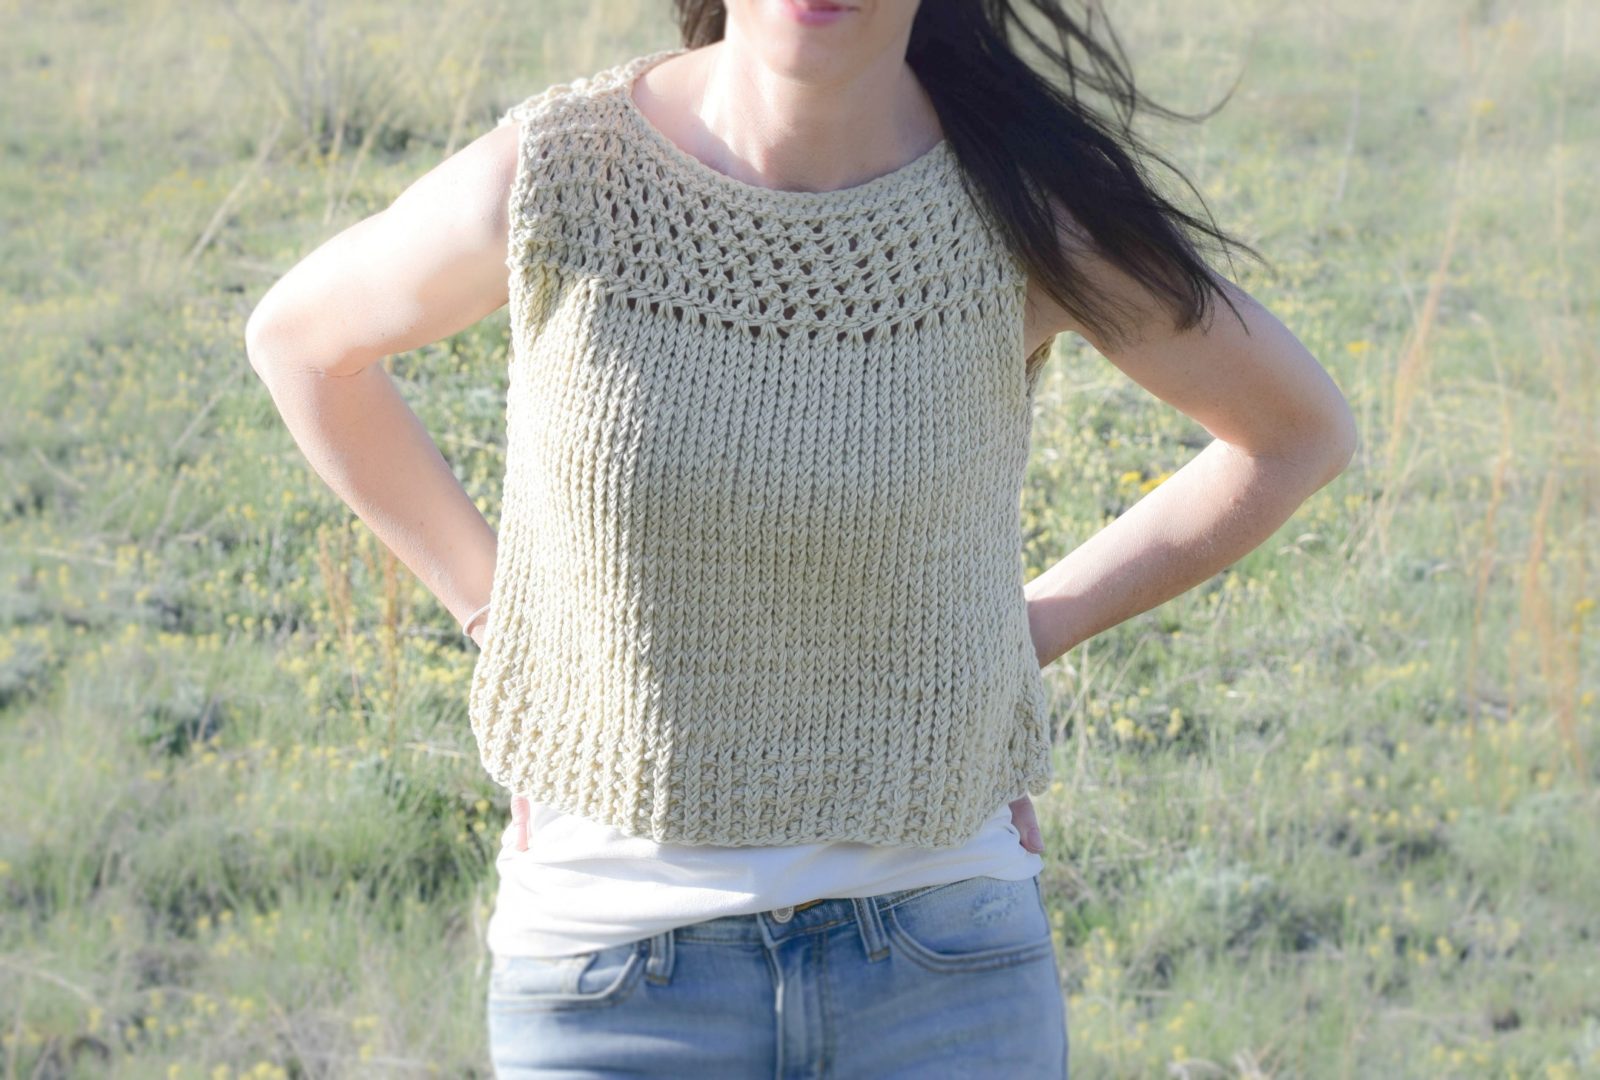
Do you remember when I recently shared my Boxy Knit Jeans T Shirt? That top was also made with the “Faded” color Jeans yarn, but this poncho is done with a variety of colors. It’s entirely made with the v stitch which is just a series of double crochet stitches. I have a full tutorial for the v-stitch here. If you’ve never tried the v-stitch but feel good about your double crochet skills, I think you will love how easily this stitch works up.
My neighbor who is taller than I am (I’m 5’6″) tried this on and it looked awesome on her too!
Here we go!
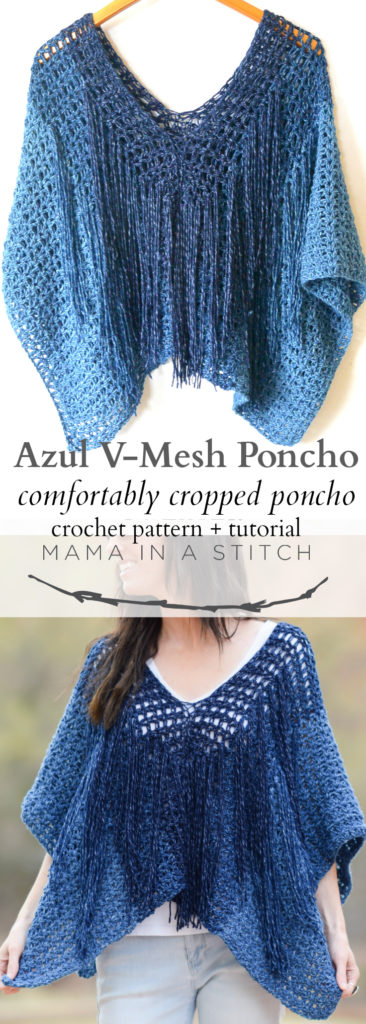
Azul v-Mesh poncho
Comfortably Cropped Poncho
Explanation:
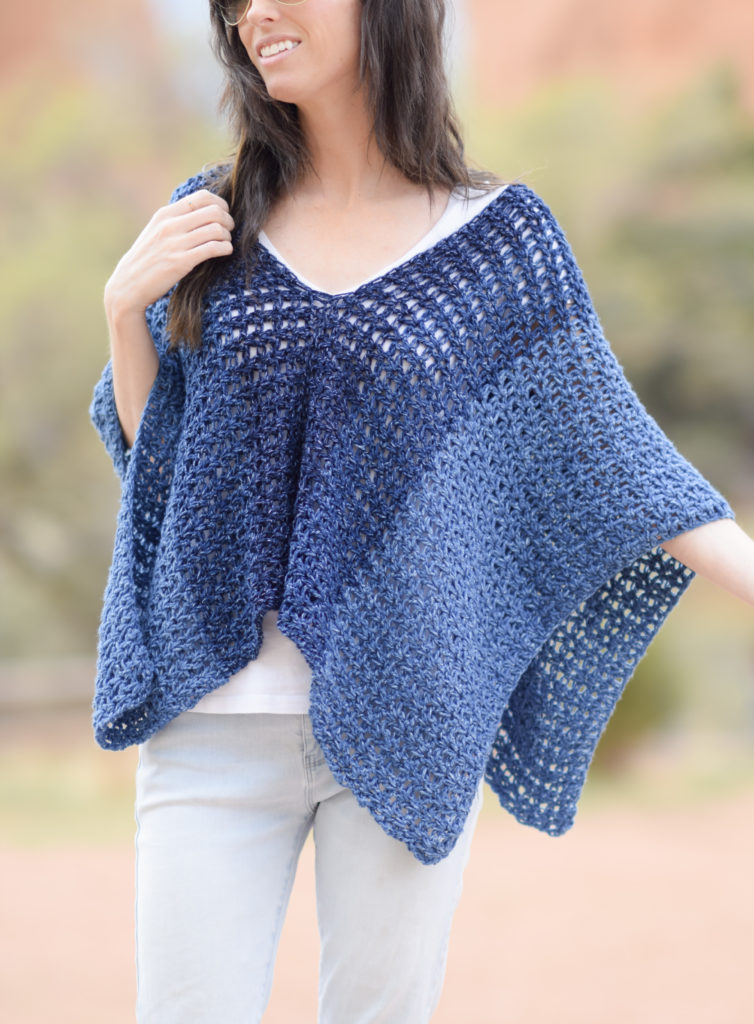
This beautiful ombre poncho is sure to compliment a variety of casual outfits. The pattern is super simple as it’s created with two rectangles that are seamed together. Because it’s not as long as a typical poncho, it’s comfortable and practical for everyday wear and serves the same purpose as a wrap. It’s also light and easy to tote around or pack in a suitcase for vacation! Since it’s made entirely with the v-stitch, the pattern makes for a perfect project to throw in your beach bag or crochet while watching your fave shows. Using a slightly larger crochet hook than what is typically used for worsted weight yarn lends to the open “meshy” feel of the poncho. Add the fringe for a boho flair, or leave it without for a clean, modern look.
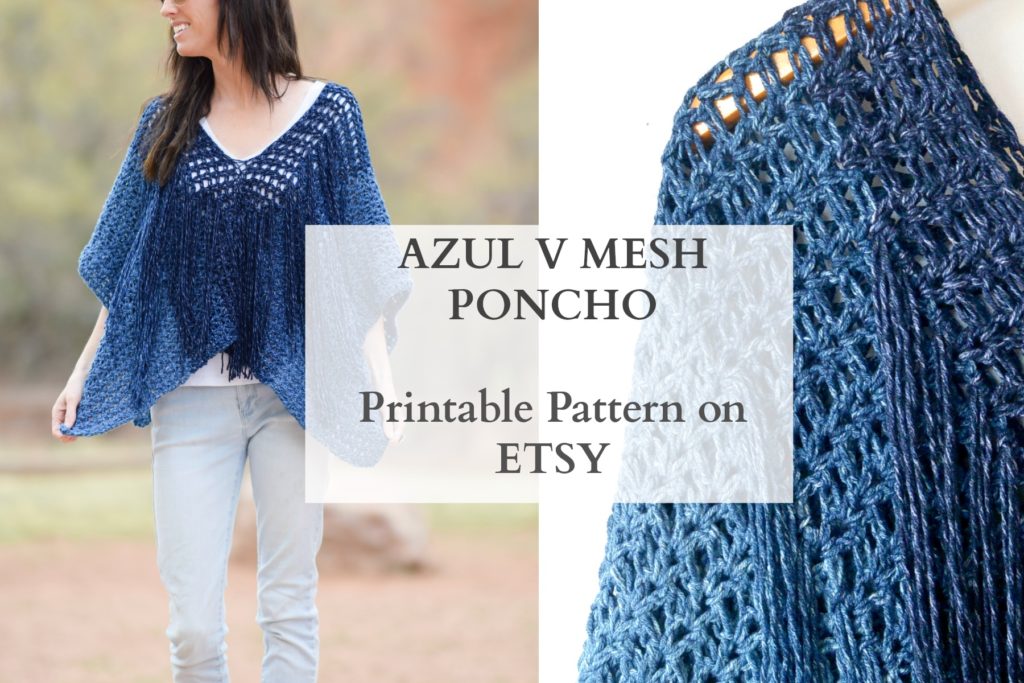
As I often do, you can find an inexpensive ad-free version, printable PDF version of this pattern in my Etsy shop HERE. Otherwise, please scroll down to see the pattern for free!
You will need:
Size J, 6.0 mm crochet hook
4 skeins total of Lion Brand Yarn “Jeans” Worsted weight yarn 100 g 246 yards/skein including 2 skeins Stonewash, 1 skein Classic, 1 skein Brand New (Uses approximately 200g of Stonewash, 92 g of Classic, 72 g of Brand New) ( You may also choose to purchase the kit from Lion Brand HERE )
Scissors
Tapestry Needle to weave in ends
Skill Level:
Easy +
Abbreviations/Skills needed:
*You should know how to make color changes
ch – chain
dc – double crochet
sk – skip
Gauge:
Approximation: Just under 2.5 stitches per inch and just under 2 rows per inch.
Sizes Available:
One size fits all
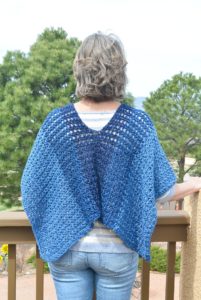
Poncho measures approximately 31” inches across and 18” inches from top to bottom when placed flat on the floor. When worn, the v-neck opens to create a wider fit and the fabric hangs downward at the arms.
Sizing Notes & Suggestions: For best sizing results, check your gauge before beginning and measure after you’ve worked several rows of the pattern. Your piece should be close to 36” inches across to obtain a fit as pictured and to measure 18” from to bottom of poncho once folded and seamed. You can adjust gauge by changing hook sizes or adjusting your tension. The other option is to add more stitches, but be sure to keep an odd stitch count. Blocking at the end may also help with any slight differences in sizing.
Notes:
This pattern uses the v-stitch which is created with double crochet stitches. If you need assistance with learning the v-stitch, you can find a full picture tutorial on the Mama In A Stitch blog at https://www.mamainastitch.com/how-to-crochet-v-stitch-tutorial/
Pattern
Chain 91 with Stonewash
Row 1 2 dc in 5th ch from hook, *skip 1 ch, 2 dc in next ch. Repeat from * across the row. 1 dc in last stitch, ch 3, turn. (88 stitches)
Row 2 Make 2 dc in space below 5th ch from hook (this is the space between the first v shape formed by 2 dc stitches). Make 2 dc in the middle of each dc group across the row. At the end of the row, make 1 dc in the last stitch, which is the turning chain from the previous row. Ch 3, turn. (88 stitches)
Repeat row 2 until your piece measures approximately 9.5” inches tall or you use the entire skein of yarn.
Change color to Classic
Repeat row 2 for 7 rows
Change color to Brand New
Repeat row 2 for 5 rows or until your entire piece (including all other colors) measures approximately 15.5” inches tall. Tie off and weave in ends.
Repeat this pattern one more time in order to make two panels for your poncho. Block if desired or necessary to improve stitch definition. Once you’ve completed two panels move onto the assembly instructions.
Assembly:
Center Seam:
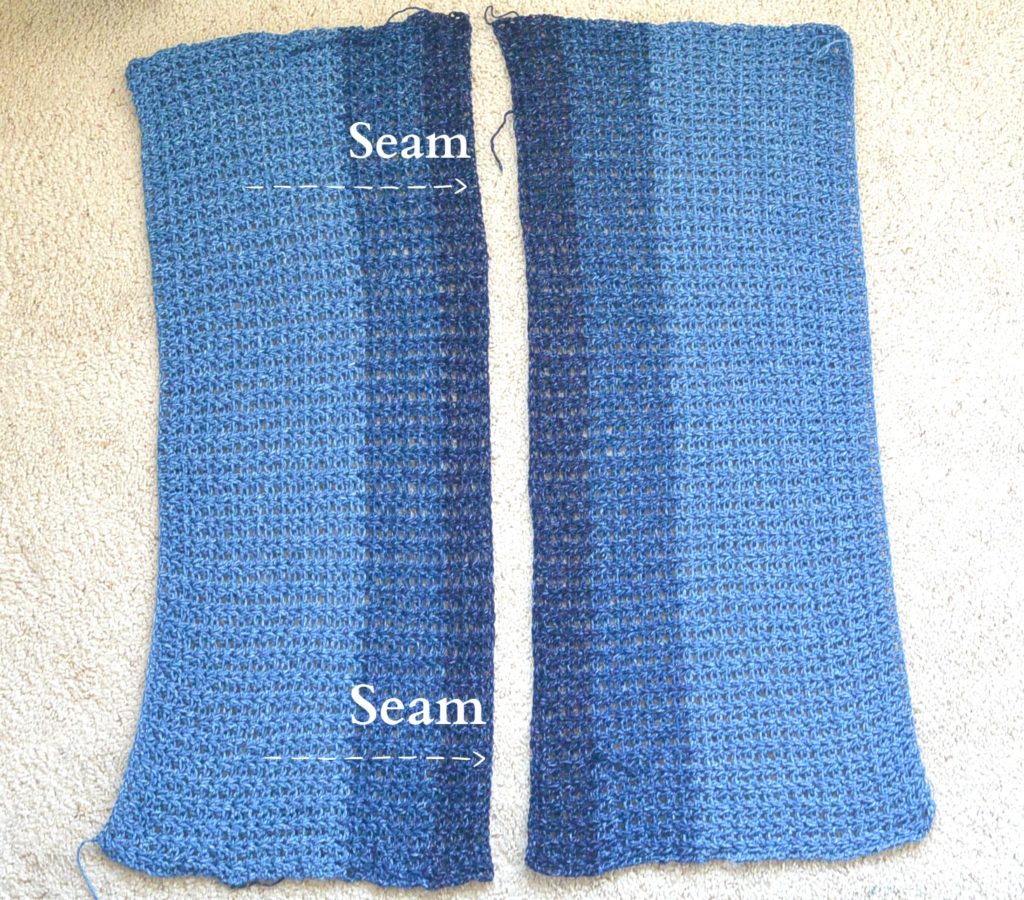
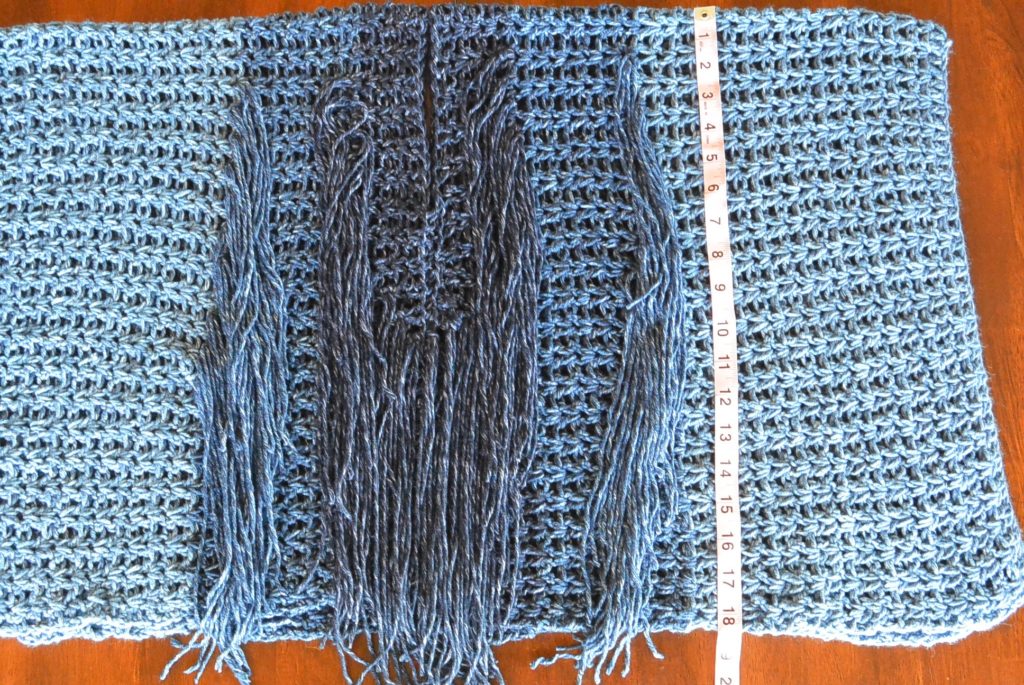
Place both rectangles side by side, with the Brand New color, or darker color on the inside (these were the final rows). With a whip stitch or slip stitch seam, sew the center front panels together from the bottom up and top down, evenly for approximately 11.5” inches. This will leave an opening for your head and neck. The seams may be adjusted to your taste if you’d like to make the head and neck opening larger or smaller.
Above: Two identical rectangles are complete. You will seam evenly from the bottom up and down the center leaving an opening for the head and neck.
Next, fold in half and attach fringe (see how to attach fringe below)
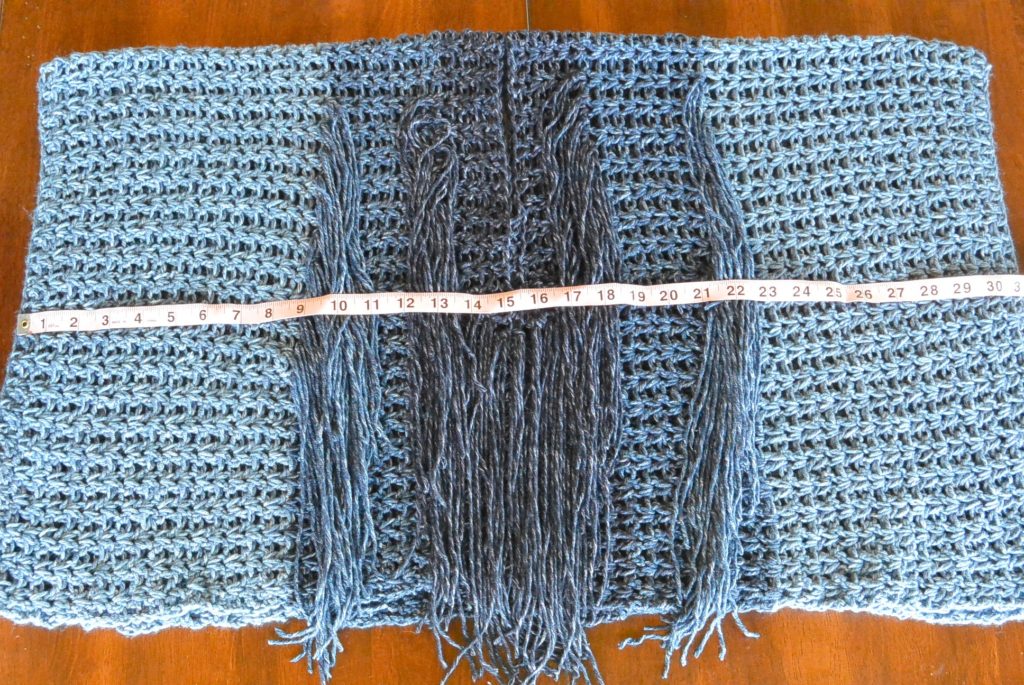
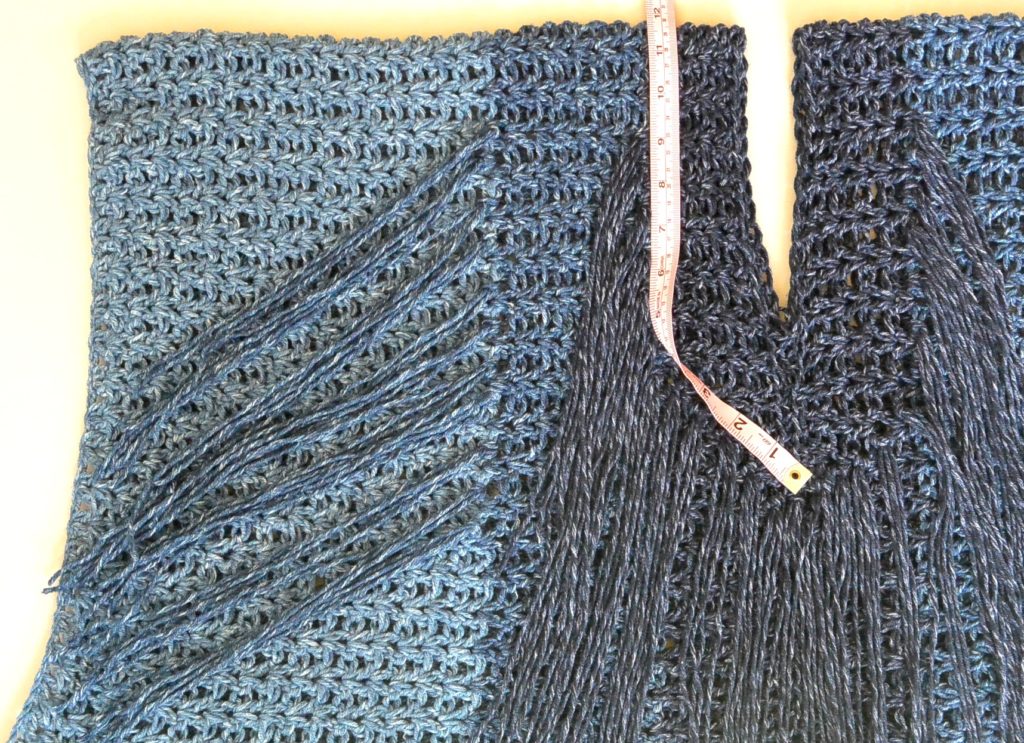
Above: Poncho is seamed and folded in half. Fringe has been added. See instructions on optional fringe below.
Once folded, poncho measures approximately 18” inches from top to bottom
Attaching Fringe Instructions (optional):
With the Classic and Brand New yarn, you will now create fringe for your poncho. For each tassel or set of fringe begin by cutting two strands of yarn approximately 22” inches long. Holding the strands together, fold them in half so the halved sections measure 11” inches. You will begin by placing fringe approximately 3” inches down from the top of the poncho along the color change rows. Place the folded half through the fabric of the poncho and draw the ends through the folded half, pulling tightly to secure. Repeat this, placing fringe along the upper edges of the color change sections of the poncho as pictured. There are approximately 11 sets of Classic color fringe placed along the color change row of the Classic section on each side. The Brand New fringe is placed along the color change row of the Brand New section and then placed inward below the neckline to create a point. Attach fringe equally to each side of the front of your poncho. Trim as needed.
Above: Fringe is added and Brand New color fringe is tapered into the center (following the measuring tape) to create a point.
I hope that you enjoy your new poncho! Happy crocheting!
XO,
Jessica
Thank you to Lion Brand Yarn for sponsoring this post! All opinions are my own of course. 🙂

🙂 AAHHH Gorgeous!! You need to stop, I’m still trying to get other projects of yours done hahaha Love your creations and creativity!! Beautiful Poncho!!
Ha ha! Thanks so much Sandi. I know….I’m so crazy with all this crocheting! I’m so glad that you like the creations. Have a great weekend!
I just love the looks of this poncho. I bought the kit to make it. This is my first time crocheting something where the gauge matters. My 91 stitch chain is only about 25 inches. I pulled it out and tried a 131 stitch chain to reach 36 inches. I completed the first row and it looks like I have 59 stitches at 30 inches long. I hope I’m explaining this clearly. I’m hoping you can help me understand what I need to do to maintain the length. I’m very excited to make this!
Hi Rachael! It’s not a long poncho, but you definitely want it to be long enough. You can try going up a hook size, or starting with a longer initial chain. Simply keep an odd stitch count.
I really like the way you attached the fringe, I think that’s what really sets this pattern apart from others along with it being shorter than most. I have a lovely woven poncho from Mexico that’s really long and great for cool nights, but this pattern will be much better for outings. Being newly married I like that it’s kind of romantic too.
Hi Barbara – Congrats on being newly married! That’s such an exciting time.
I bet your woven poncho is beautiful. Thanks for your kind words about the fringe! I definitely hoped to make it a bit unique with the fringe accent, so I’m glad that you think it works out well. Have a wonderful weekend!
Loving the fringe. As soon as I finish your mod mesh blanket sweater this one will have to be next! I’ll post some pics of it when it is done and this one too! Thank you so much for your inspiration. Your style is right up my ally and I cannot wait to make them all!
Hi Bethany! I’m so glad that you like the fringe. I hope that you enjoy the Mod Mesh Blanket sweater! And thanks so much for taking the time to write me today. Have a great weekend!
Hello! This is absolutely gorgeous! Will you be putting a knit version out? I just can’t grasp crocheting. Oh please! Thank you for your fabulous creations!
Hi Sandy! I always take requests! I don’t have any plans to make a knit version, but I will keep it in mind for sure! I’m so glad that you like the creations and thanks for taking the time to let me know. 🙂
I also only knot and would love a knit version
Love this poncho! I would like to make it longer, how would I do that? Thank you!!
Start with a longer chain for each panel but be sure to keep an odd stitch count…..then follow the pattern as written. 🙂
Please, please ,please a knit version. I have made 7 shawlettes for family members. I would love to outfit them with knitted ponchos.
I’ll keep it in mind for sure! Lucky family members you have! 😉
I love this poncho so much! Looks fantastic in these colors! Hope I can find this yarn locally. I would love to make one of these.
I think it’s currently only online….it is a worsted weight though so you could possibly find a solution locally.
This design is so pretty!! Thank you for sharing it. Do you have a Ravelry account??
Hi Jessica,
You have a unique eye for design. It is very refreshing, and your designs are beautiful. Many of my family and friends enjoy wearing your designs that I’ve crocheted.
I’m hoping to learn to knit from your tutorials as well. I’ve crocheted since a young girl and 50 years later I want to see if you can teach an old girl new tricks.
Many thanks for sharing your inspiration.
Dolores
I crocheted my first poncho when I was in 5th grade (more than 40 years ago). Since then, I have never seen another poncho that I would like to make–all of them look like something that was in style 40 years ago. Until now. You really hit it out of the park with this pattern, Jessica. It’s both classy and fun, simple and stylish. Everyone is right–the fringe is the icing on this lovely cake. Well done, you!! It took 40+ years, but it looks like I’ll make my second poncho!
I simply llve everything about it.
I love this pattern! The yarn is so nice to work with and love the colors!
I came out with 87 stitches on the first row? I took apart and started over and still the same count?????? I decided to keep working on it as I cant figure out what my mistake is. Do you think it will still turn out OK?
Hey Debbie!
As long as you’re coming out with straight edges and keeping the count of 87 for each row, it should be fine!
Thanks for letting me know as well – I’ll double check my count!
I love this poncho. Thank you. How much yarn dud you use all together please? Also how do I make it longer. Thank you so much
Hi Cindy! I’ve listed how much yarn I’ve used in my list of what you’ll need to make it. To make it longer you would need to make your initial chain longer for each panel.
I love this poncho!! Can u explain a little for Row 2 when it says 2dc in space below 5th ch from hook. Is it not the same as the rest of the row as between the V stitch. I am confused!! Thank you!!
I am new to crocheting(last month) and am HOOKED! It was a frustrating start and with only 1 week before my grandaughters christening I accomplished my first Christening blanket and received many compliments. Even though it took me a good 40 hours (due to constant mistakes and tear aparts) I am looking forward to crocheting some of your projects! I don’t know how to read patterns yet and depend on video tutorials-although at times my projects tend to change as I’m going along (decided to crochet a scarf and ended up making a big throw blanket instead). I love the fringe pattern on this poncho and look forward to making one for myself! Your style is my style! Thank you!
How sweet of you to make something so special for your granddaughter! I know how you feel, I didn’t know how to read patterns when I learned to crochet either. I’m so glad you like my style and patterns. Thanks so much for taking the time to reach out to me!
I wished you could consider doing a CAL (Crochet along) for a cute summer kimono or something like that. I would totally participate. Like we could all buy the kit with the yarn and pattern and follow along each week. You’re my favorite blogger and I have been wanting to do a CAL but I like your designs and style ( :
Hey Kati!
I should do a CAL at some point and I thank you for the suggestion!! You’re so sweet! Thank you so much for the kind words as they mean a lot to me. 🙂 I just shared a summer kimono so I hope that it’s easy enough for you to make. Let me know if you have any questions about it at all. Thanks so much again girl!
I just love your patterns and am trying to adapt pattern and measurements to knitting. But your details are so unique. . .any chance a summer knit poncho is coming. . .love your work and have made two knit patterns. .. thanks!
Hey Linda! So glad you’ve liked my patterns and thanks for your kind words! I will certainly keep a knit summer poncho/top in mind!
I have been following you for quite some time and love every one of your patterns! I admire your talent and your carefree spirit. I have been crocheting for years but have stayed away from anything too complicated. Your style of teaching makes it all look so easy and gives us the confidence to feel that we, too, can makes these beautiful items. And we can! I have finished a few of your projects and love them! I also have started a few more and just now found this poncho and have to try it. I have been looking for a poncho pattern for years and didn’t want the traditional triangular looking poncho. Yours is perfect! Plain and simple yet the fringe and the length make it stand out completely! Thanks so much and keep up the fantastic work!
Hi Michele!
Thanks so much for taking the time to comment and for your kind words! Thank you for following me too. 🙂 So glad that you like the poncho and I hope you’re really happy with the end result!