Simple Raglan Cardigan Knitting Pattern
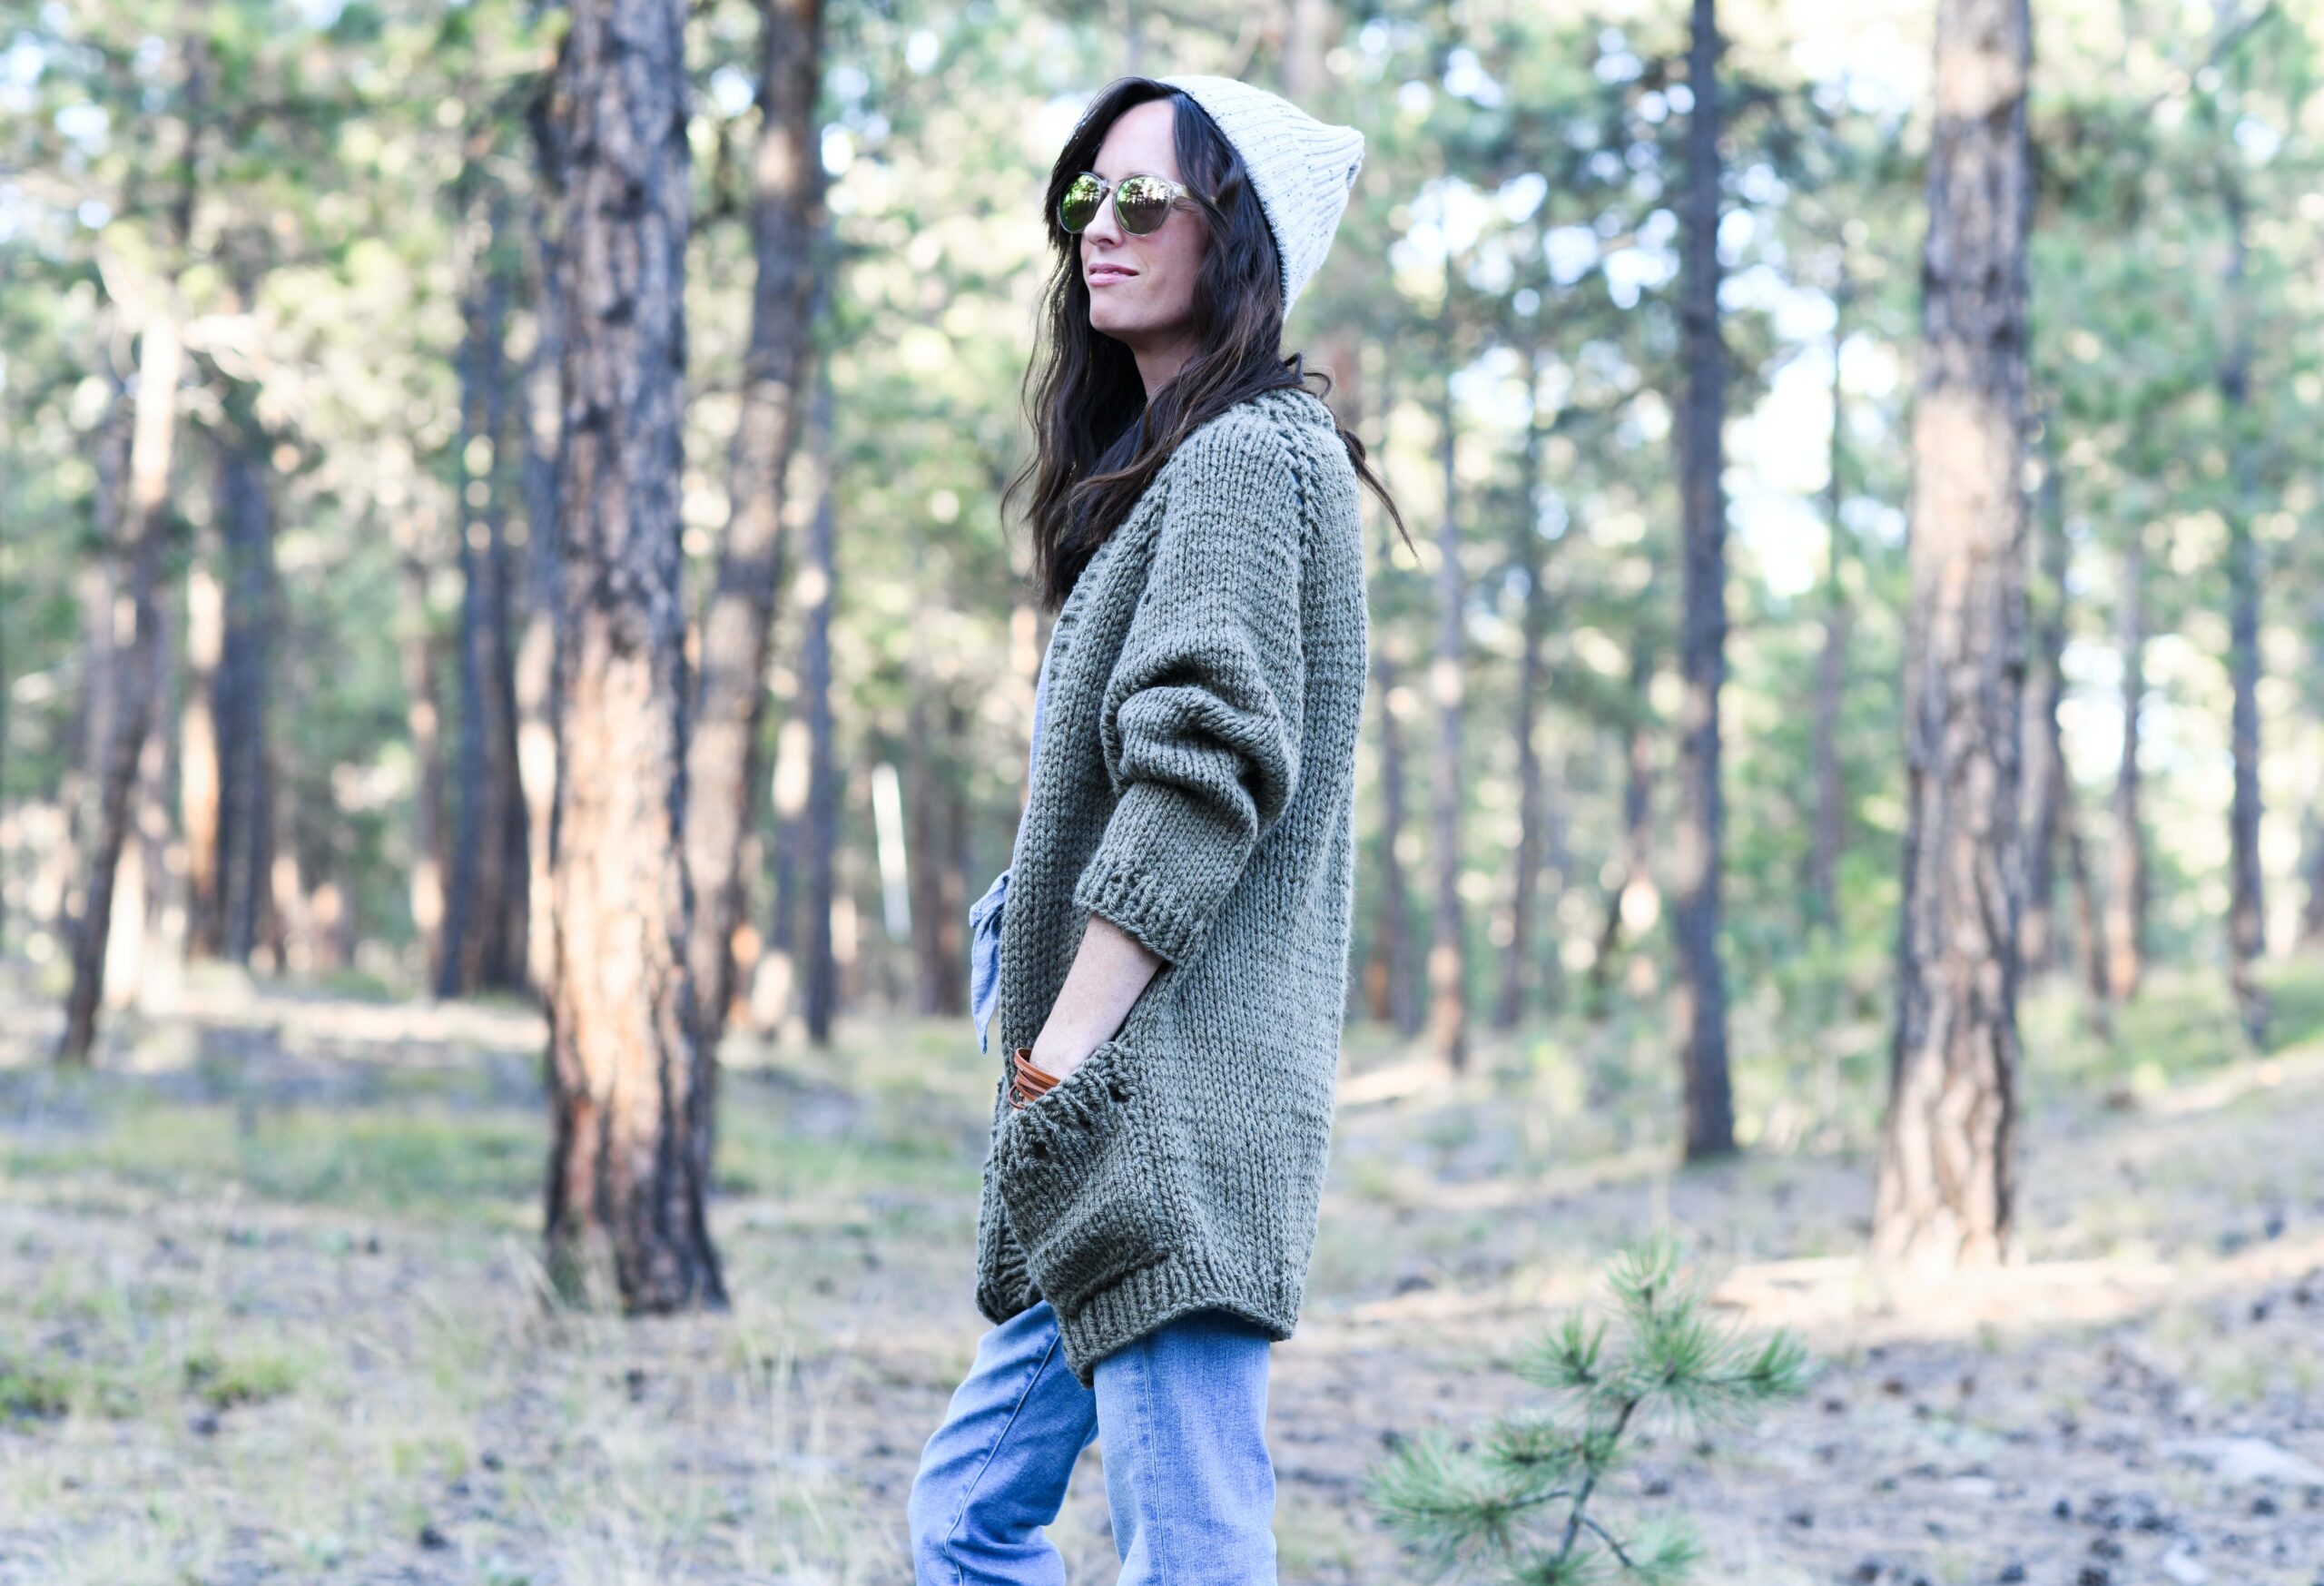
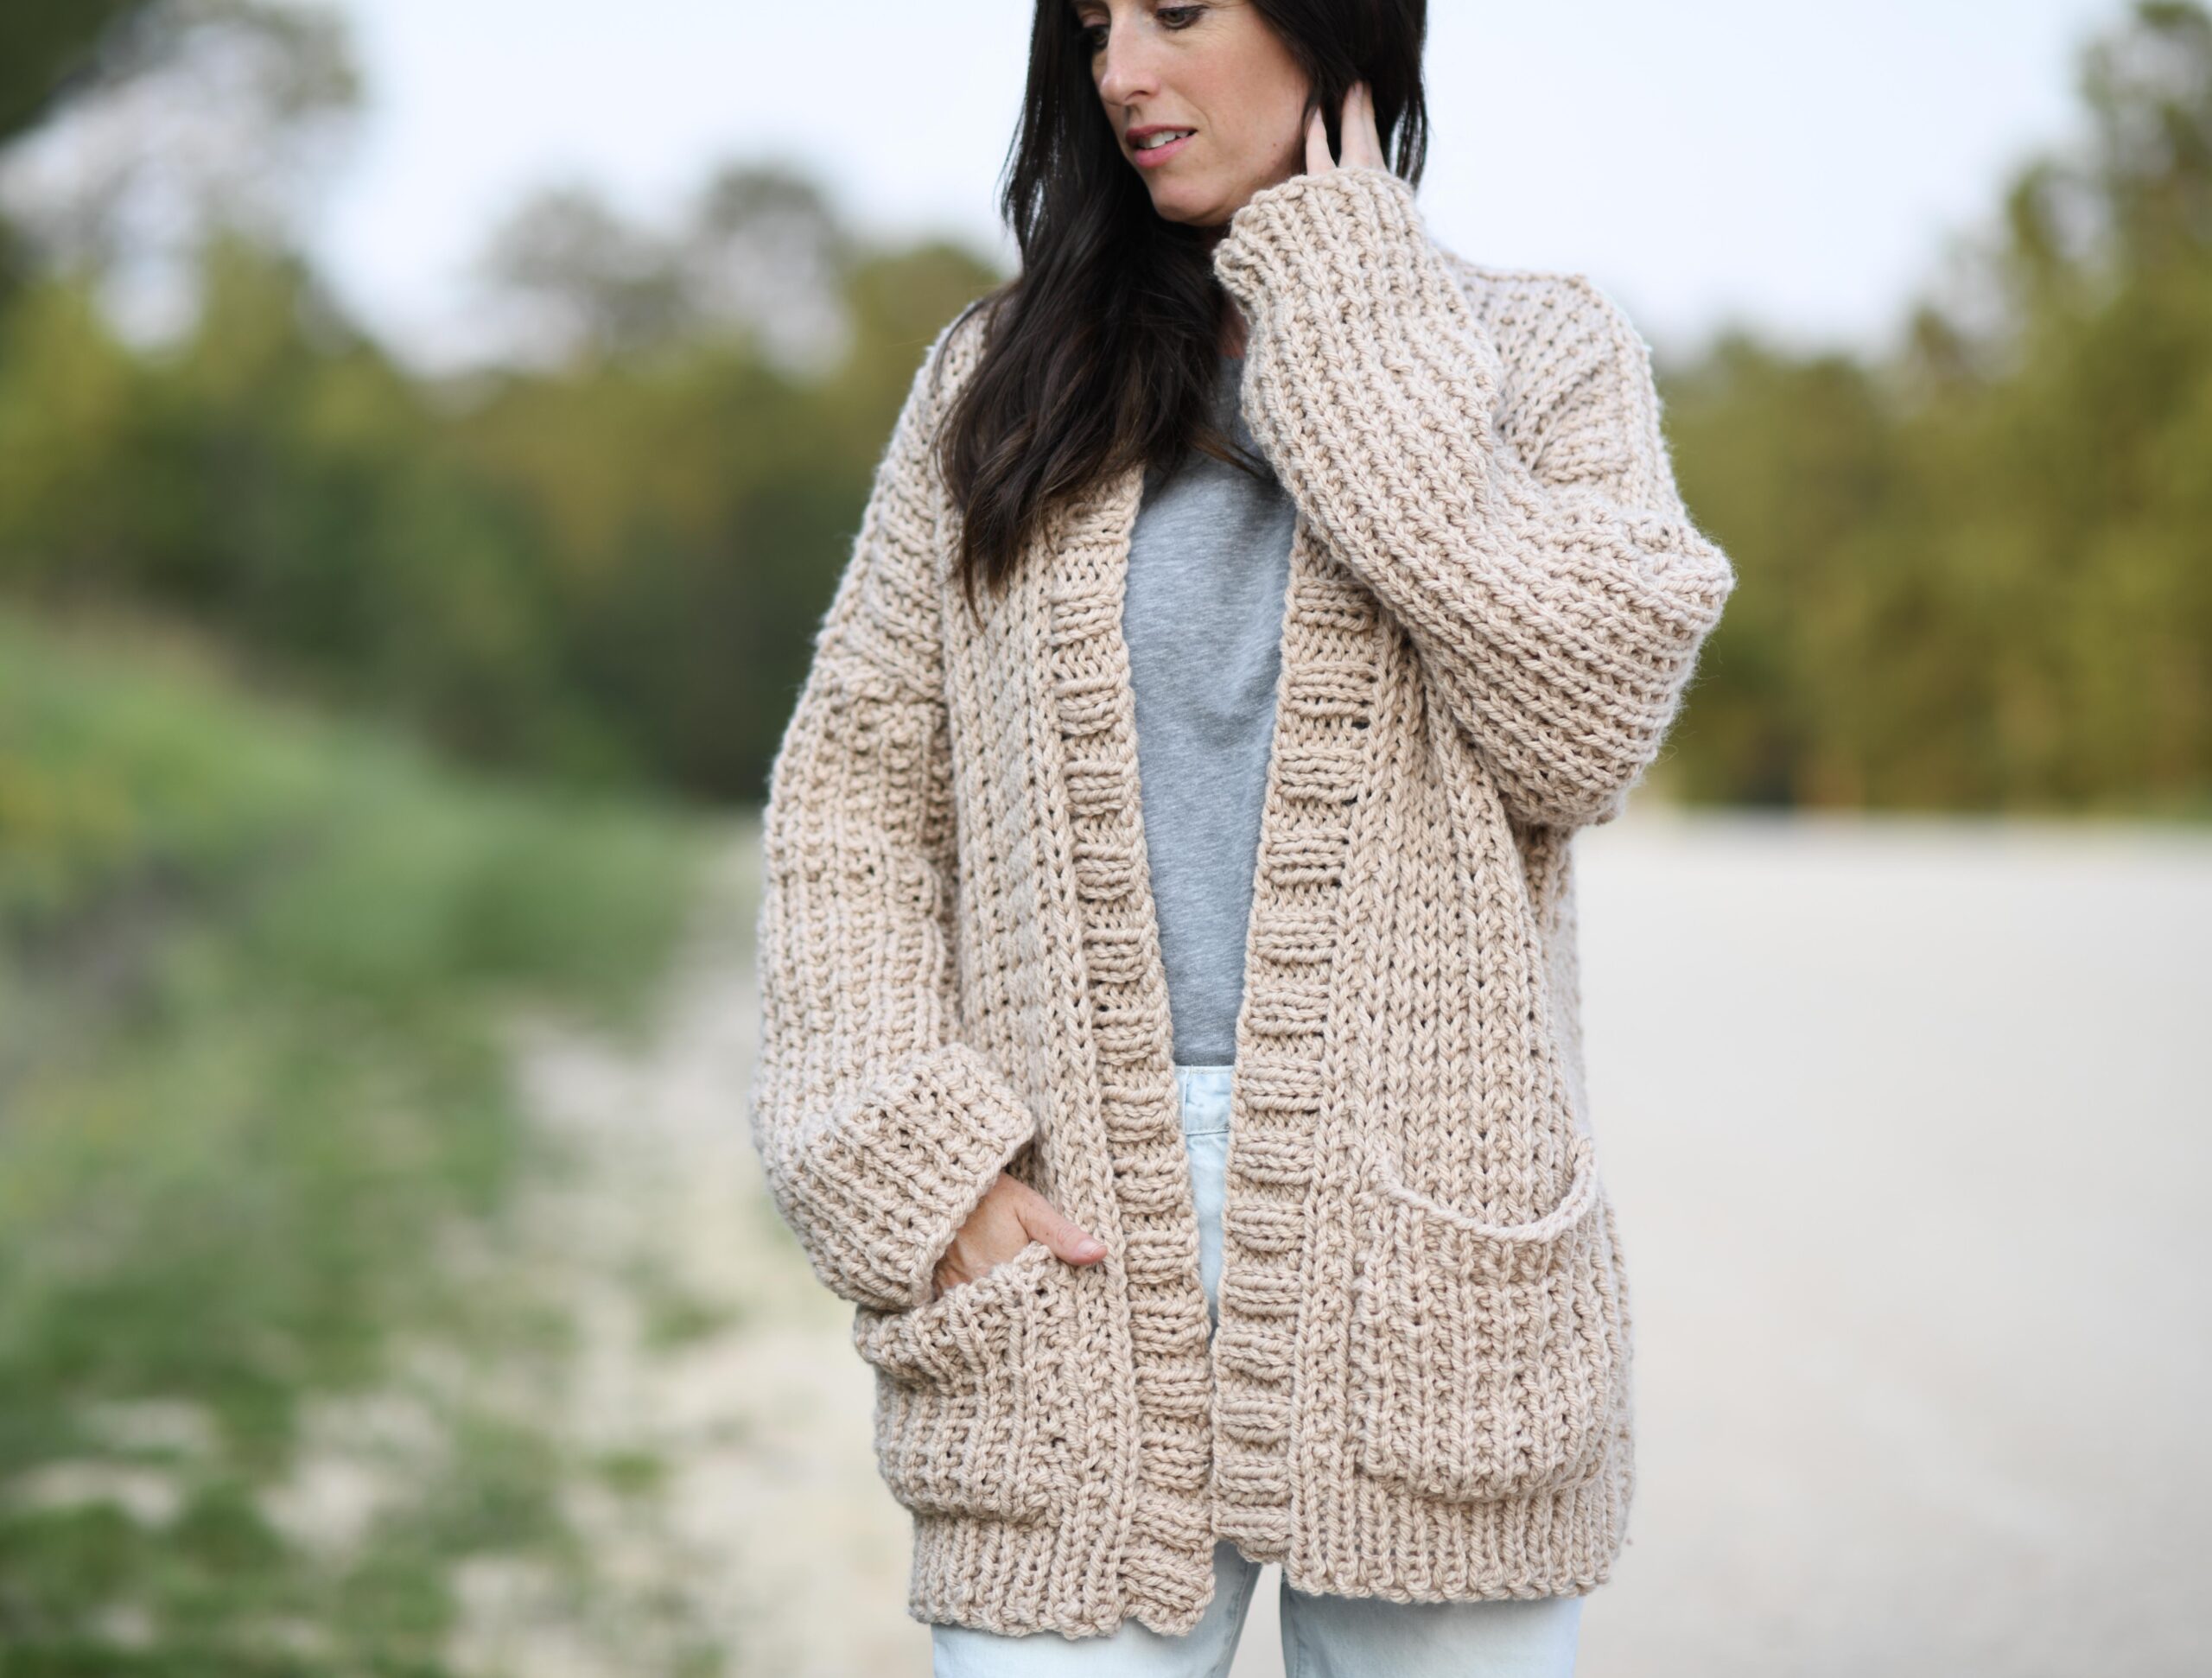
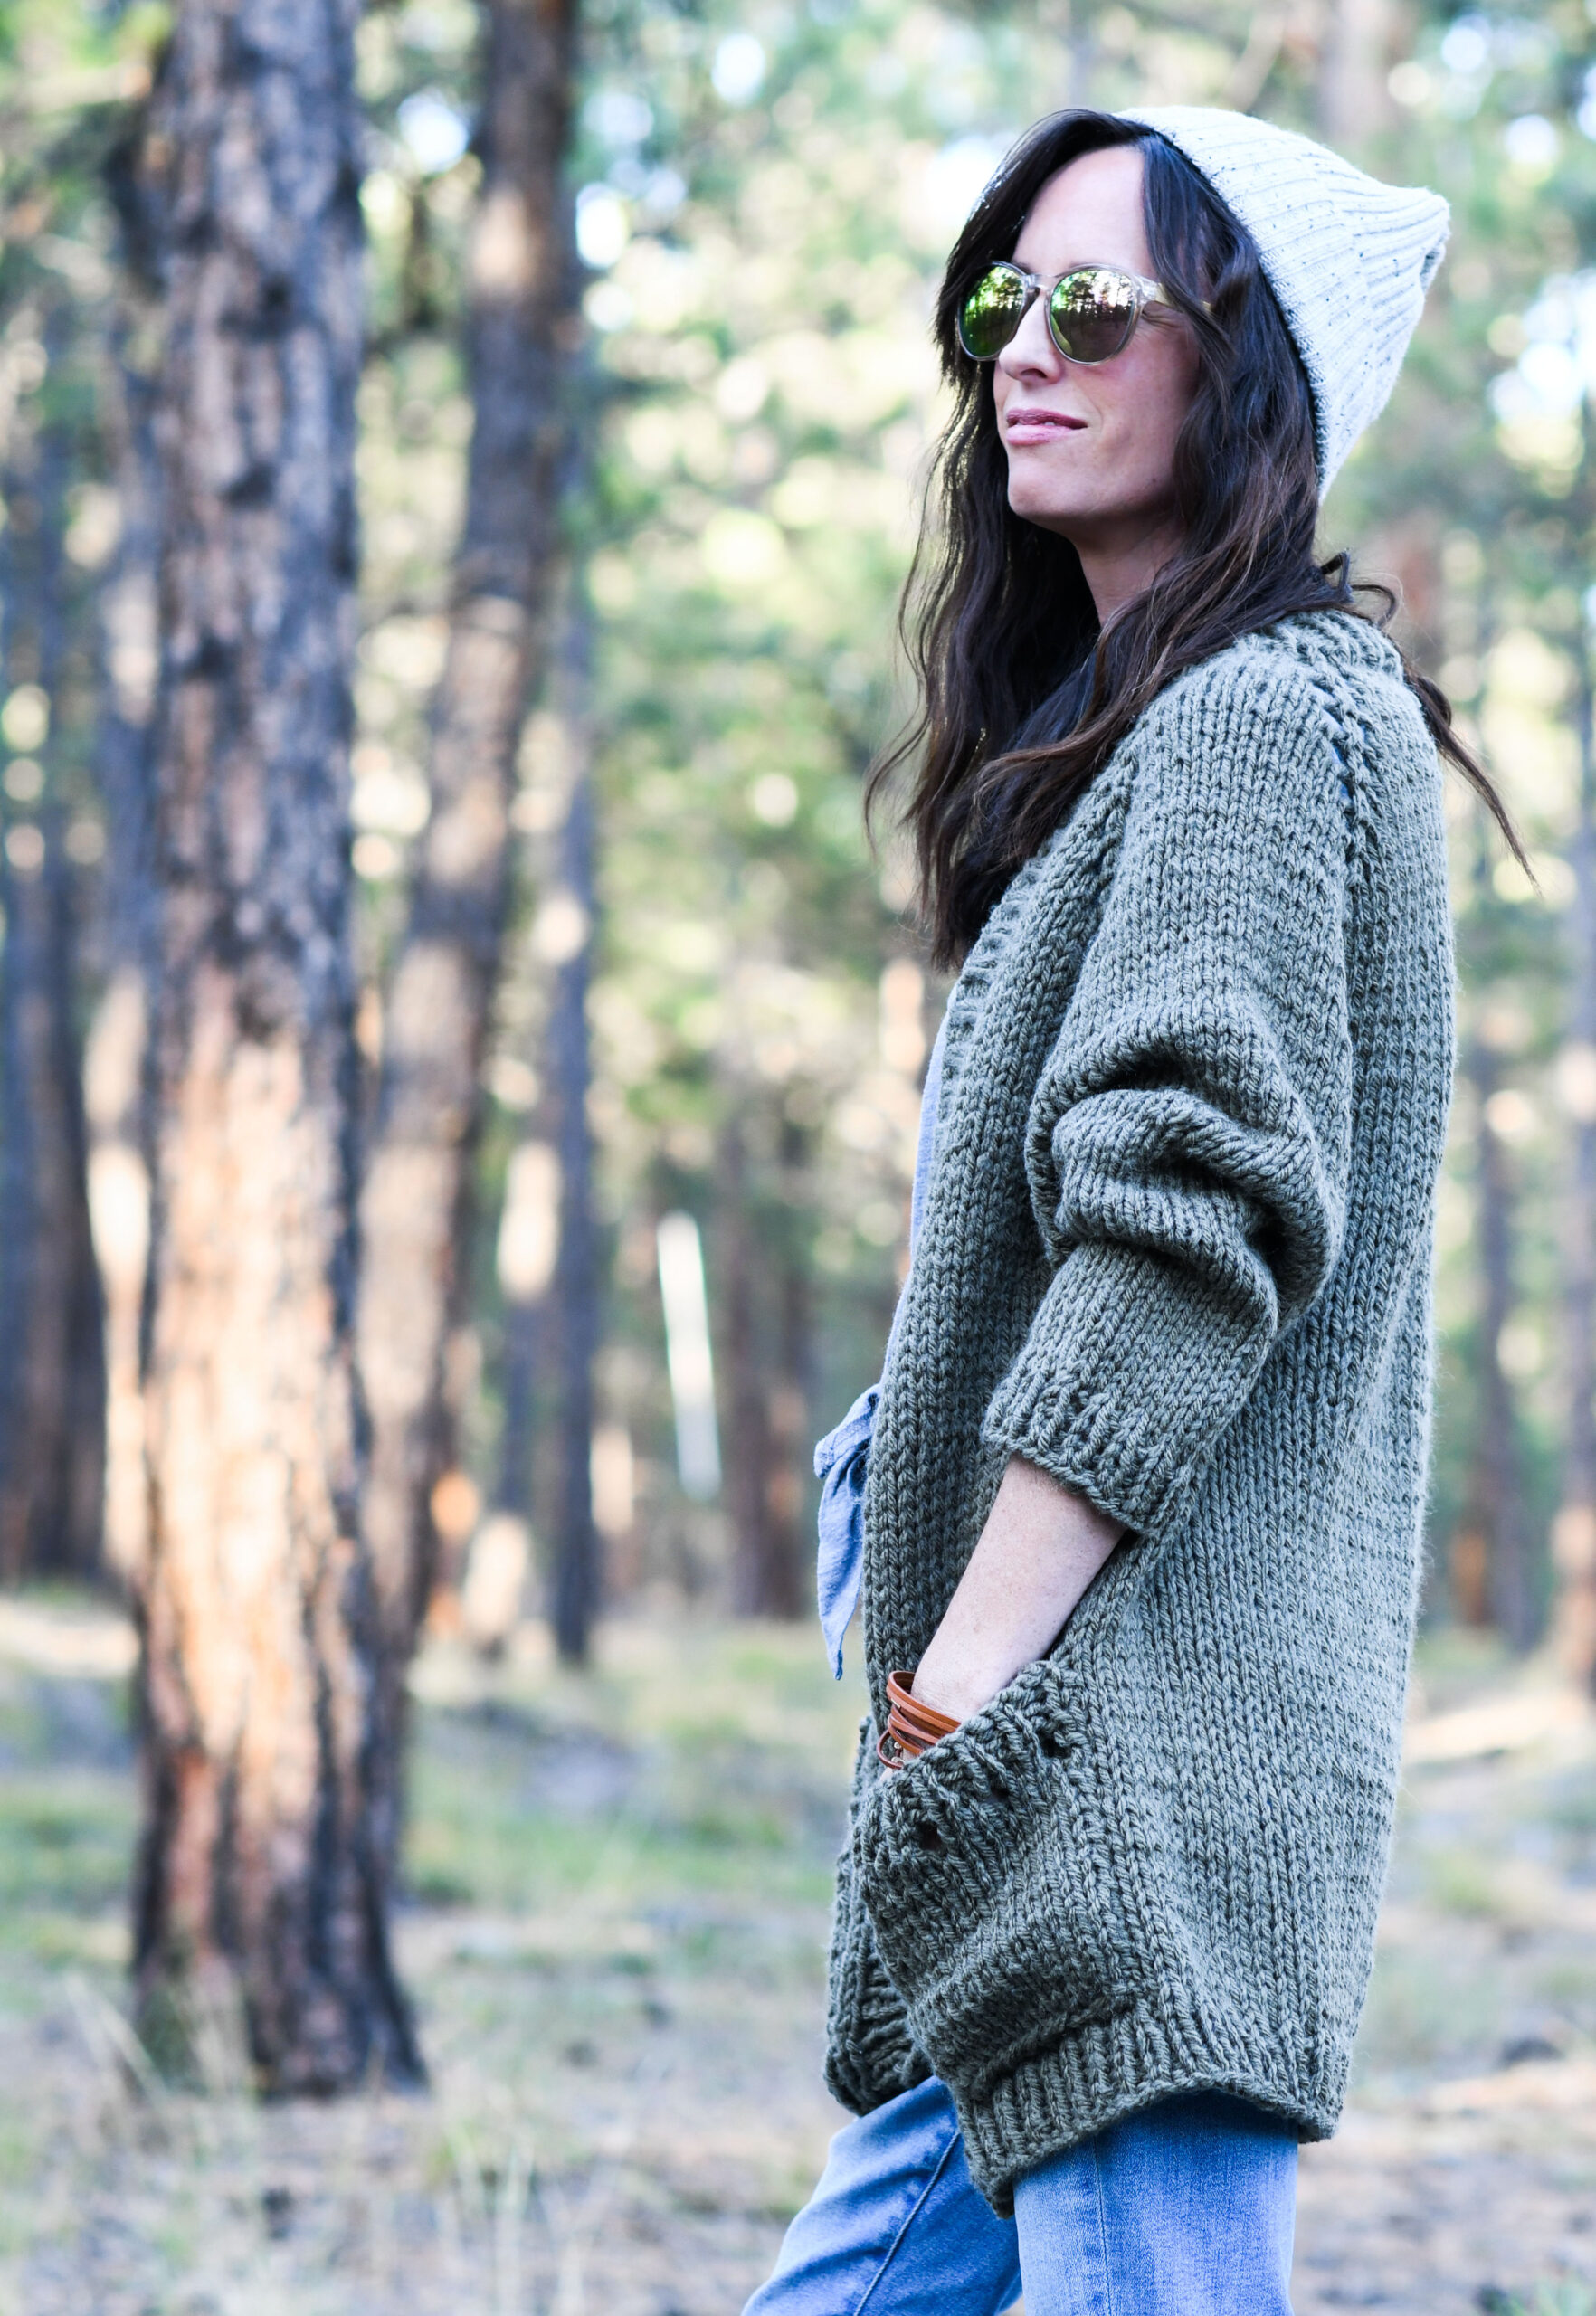
It’s so exciting to share the first easy top down knit cardigan pattern here on the blog, the Artista Simple Raglan Cardigan! It’s a roomy, quick, EASY design, complete with pockets and squishy fabric. Learn to make this with me, and you’ll feel ready to tackle those other pretty top downs out there! You’ll find lots of explanations, photos, and helpful tips to get you through the pattern!
Scroll down to read the full pattern and photos, or you may purchase the ad-free printable (11 pages of explanations, photos, and pattern) from Etsy HERE or the kit from Lion Brand HERE.
This raglan is the perfect throw on for fall and winter as it features an understated bat wing sleeve so it comfortably goes over your flannel shirt (or just about anything)! Whether you’re a trendy little artist or not, this is a fun sweater to try if you want to learn top down knitting.
Scroll down to read the full pattern and photos, or you may purchase the ad-free printable (11 pages of explanations, photos, and pattern) from Etsy HERE or the kit from Lion Brand HERE.
Have you wanted to try a top down sweater, but just get bogged down with the instructions? That was me 100%. I’ve made many a sweater, but always in panels (Coziest Cable Cardigan, Easy Vibes Knit Pullover, etc.)
After learning how making a raglan was done (and frogging several times as I practiced), I wanted to make one with the simplest methods. That means the easiest stitches, simplest increases, and something that will work up relatively quickly. Something you can learn on, enjoy the sweater, and then take your skills to the next one you like.

This is going to be a long blog post, but it’s worth a read to hear how you can work up one of these beauties. Once you understand how it works, you can start your journey of making a variety of top down sweaters!
First, let’s see how to knit this raglan in pictures (because that’s what I like)
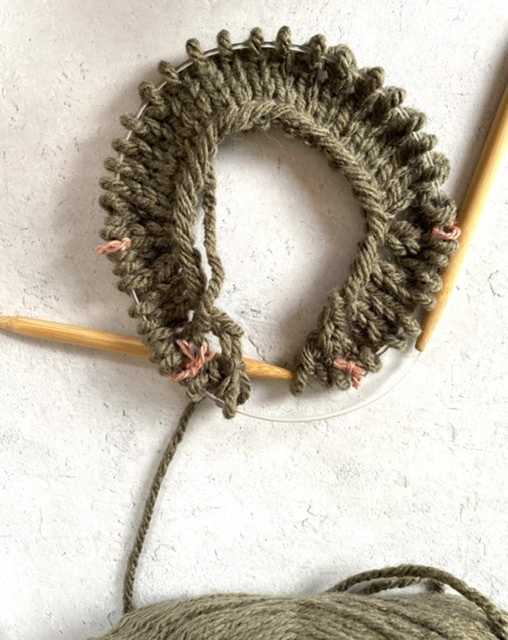
How To Knit A Top Down Raglan Cardigan Sweater
A little more detailed, people friendly explanation haha!
If you’re new to top down knitting, it is quite different than knitting panels and seaming
them together to make a sweater. The nice part about this type of sweater is that there is
no seaming! And it’s knit just as it’s called, from the top – down.
You will cast on your initial stitches at the upper neck. From there, you will work back and
forth in rows to knit the upper part of the cardigan, the yoke. As you knit, you will place
stitch markers in four places. In order to shape the cardigan, and make an area for the
sleeves, you will make increases when you get to each of these stitch markers. One
increase will be made before the marker, and one after the marker. EASY! Follow the pattern as written, and consider marking off each part of the pattern that you complete in order to
keep yourself on track.
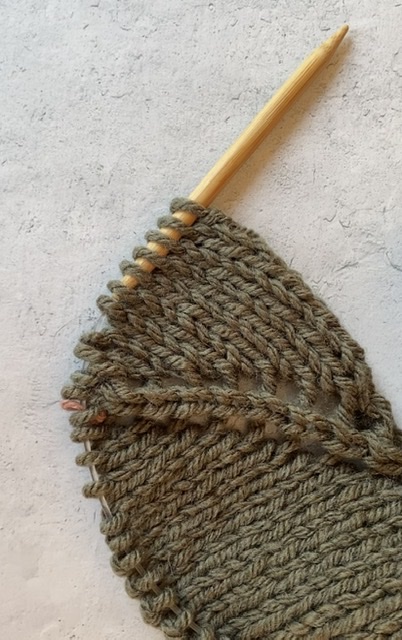
Once the increases are done, and you have a nicely shaped upper cardigan, you’ll then
knit back and forth for the middle and lower section. This is the really mindless part as there
aren’t any increases, and you just knit away.
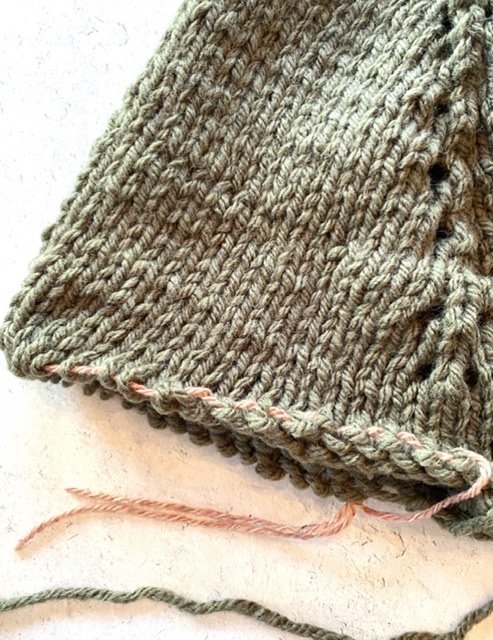
The sleeves will be held on yarn until you’re ready to knit them. Place your stitches on the
needles and knit in the round while following the pattern. The sleeves can be customized!
If you want them wider, make fewer decreases. Want them tighter? Decrease a bit more.
It’s helpful to try your sweater on as you go and make adjustments as desired.
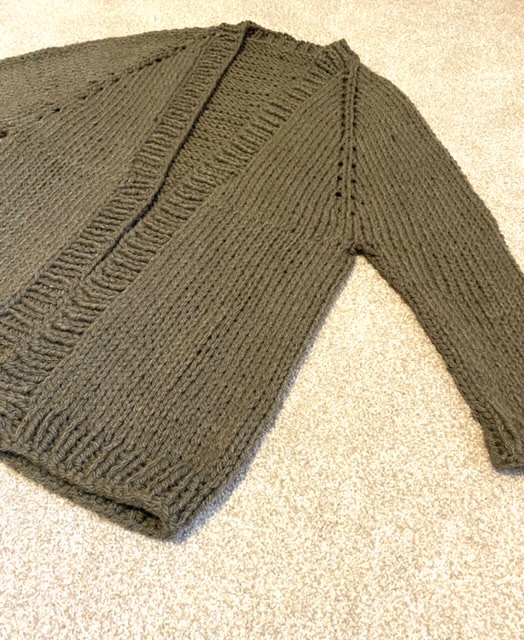
With this particular sweater, the pockets are knit separately as rectangles and seamed onto the sweater once you’ve finished. They are completely optional!
Blocking is also a good idea! It will make your sweater look finished, and it’s an easy way
to lightly adjust the shape and size to your liking when complete.
*Optional: Another great tip is to place lifelines within your work a few times. Consider
doing a couple for the body as well as one on the sleeves. This way, if you find that you
need to adjust anything, or make a correction it’s easy to go back without losing any
stitches. A lifeline is a length of yarn that is run through each stitch of one row to “hold”
the row. You can do a simple online search to see how it’s done.
*See the photos at the beginning of this blog post for additional visual help.
If you get to a part of the pattern that is confusing, there are tutorials online for many of
the techniques. A simple search on YouTube will likely yield some good videos to help you!
You’ll also find some progress photos at the end of the pattern.
Have fun!
FAQS (pattern below)
Why do you use circular needles when the cardigan is knit in rows?
The reason you will use circular needles is simply because it’s easier to fit all of the stitches on these needles. You will likely not be able to fit all of the stitches on a straight needles comfortably. Do not be afraid of the circs! You knit just like you would with straight needles. Do not join to knit in the round on this cardigan! That would be done for a pullover style.
What Yarn Should I Use for A Knit Top Down Cardigan Sweater?
This pattern uses a chunky #5 yarn, but other patterns will require different yarn sizes. It is all personal preference as to the fiber you choose! The most important thing, no matter the yarn you pick, is that your gauge matches the gauge listed in the pattern. If it doesn’t, you risk the sweater turning out the wrong size.
Can A Beginner Knit A Raglan Top Down?
While this pattern is easy, and perfect for a first top down sweater, I don’t suggest a new baby beginner knitter make a top down. Why? Because there are easier sweaters out there that might involve some seaming, but turn out just as beautiful. A good beginner sweater is my Moonbow Slouchy Knit Cardigan, and a step up from that is My Comfiest Knit Cardigan pattern. Once you understand some basics, and how to increase and decrease, you can pop back here to make your first raglan!
Okay, you ready to dive into a top down sweater? HERE WE GO!
You’ll see the full, FREE pattern below, or you may choose to purchase the printable version, which is adVERTISEMENT-free and includes all the important explanations (it’s 11 pages) in my Etsy Shop HERE. I always share my patterns for free here on the blog, but this is one time I suggest getting the printable from my shop if you want to make this. It’s extremely helpful to be able to make notes, and keep track of where you are in thIS LONG pattern on a hard copy. 🙂
Description: The perfect layering piece, this cozy, simple raglan creates a comfy cardigan
with an understated bat wing sleeve that’s perfect for fall and winter. Throw it over your
oversized tee, your flannel shirt, or even your PJ’s on those super cold days. Feel free to
pair it with your fave jeans or a maxi skirt for a boho, artsy vibe. This is a great introduction
to top down cardigan knitting if you’ve been wanting to try it!
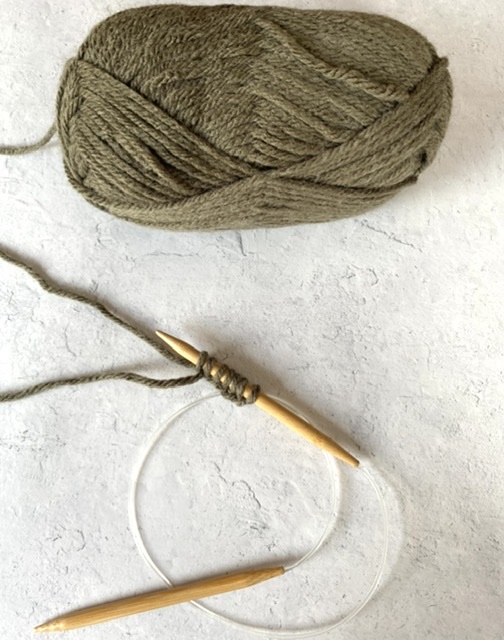
Materials:
US Size 11, 8.0 mm 36” circular knitting needles (US size 11 double pointed needles
optional for sleeves)
5 (6, 7, 9) Lion Brand Yarn Hue & Me chunky #5 yarn in Fatigues 125 g & 137 yds/skein Convenient kit HERE
Pattern uses approximately 570 g (703 g, 849 g, 1008g)
Stitch Markers
Scissors
Tapestry Needle
Measuring Tape
Sizes: Small, Medium, Large, XL
Gauge: Approximately 10 ¼ stitches and 14 rows in 4” x 4” of stockinette stitch.
Adjust your tension or needle size to match gauge so sizing will turn out correctly.
Please follow the key throughout the pattern according to the size you are knitting:
S (M, L, XL)
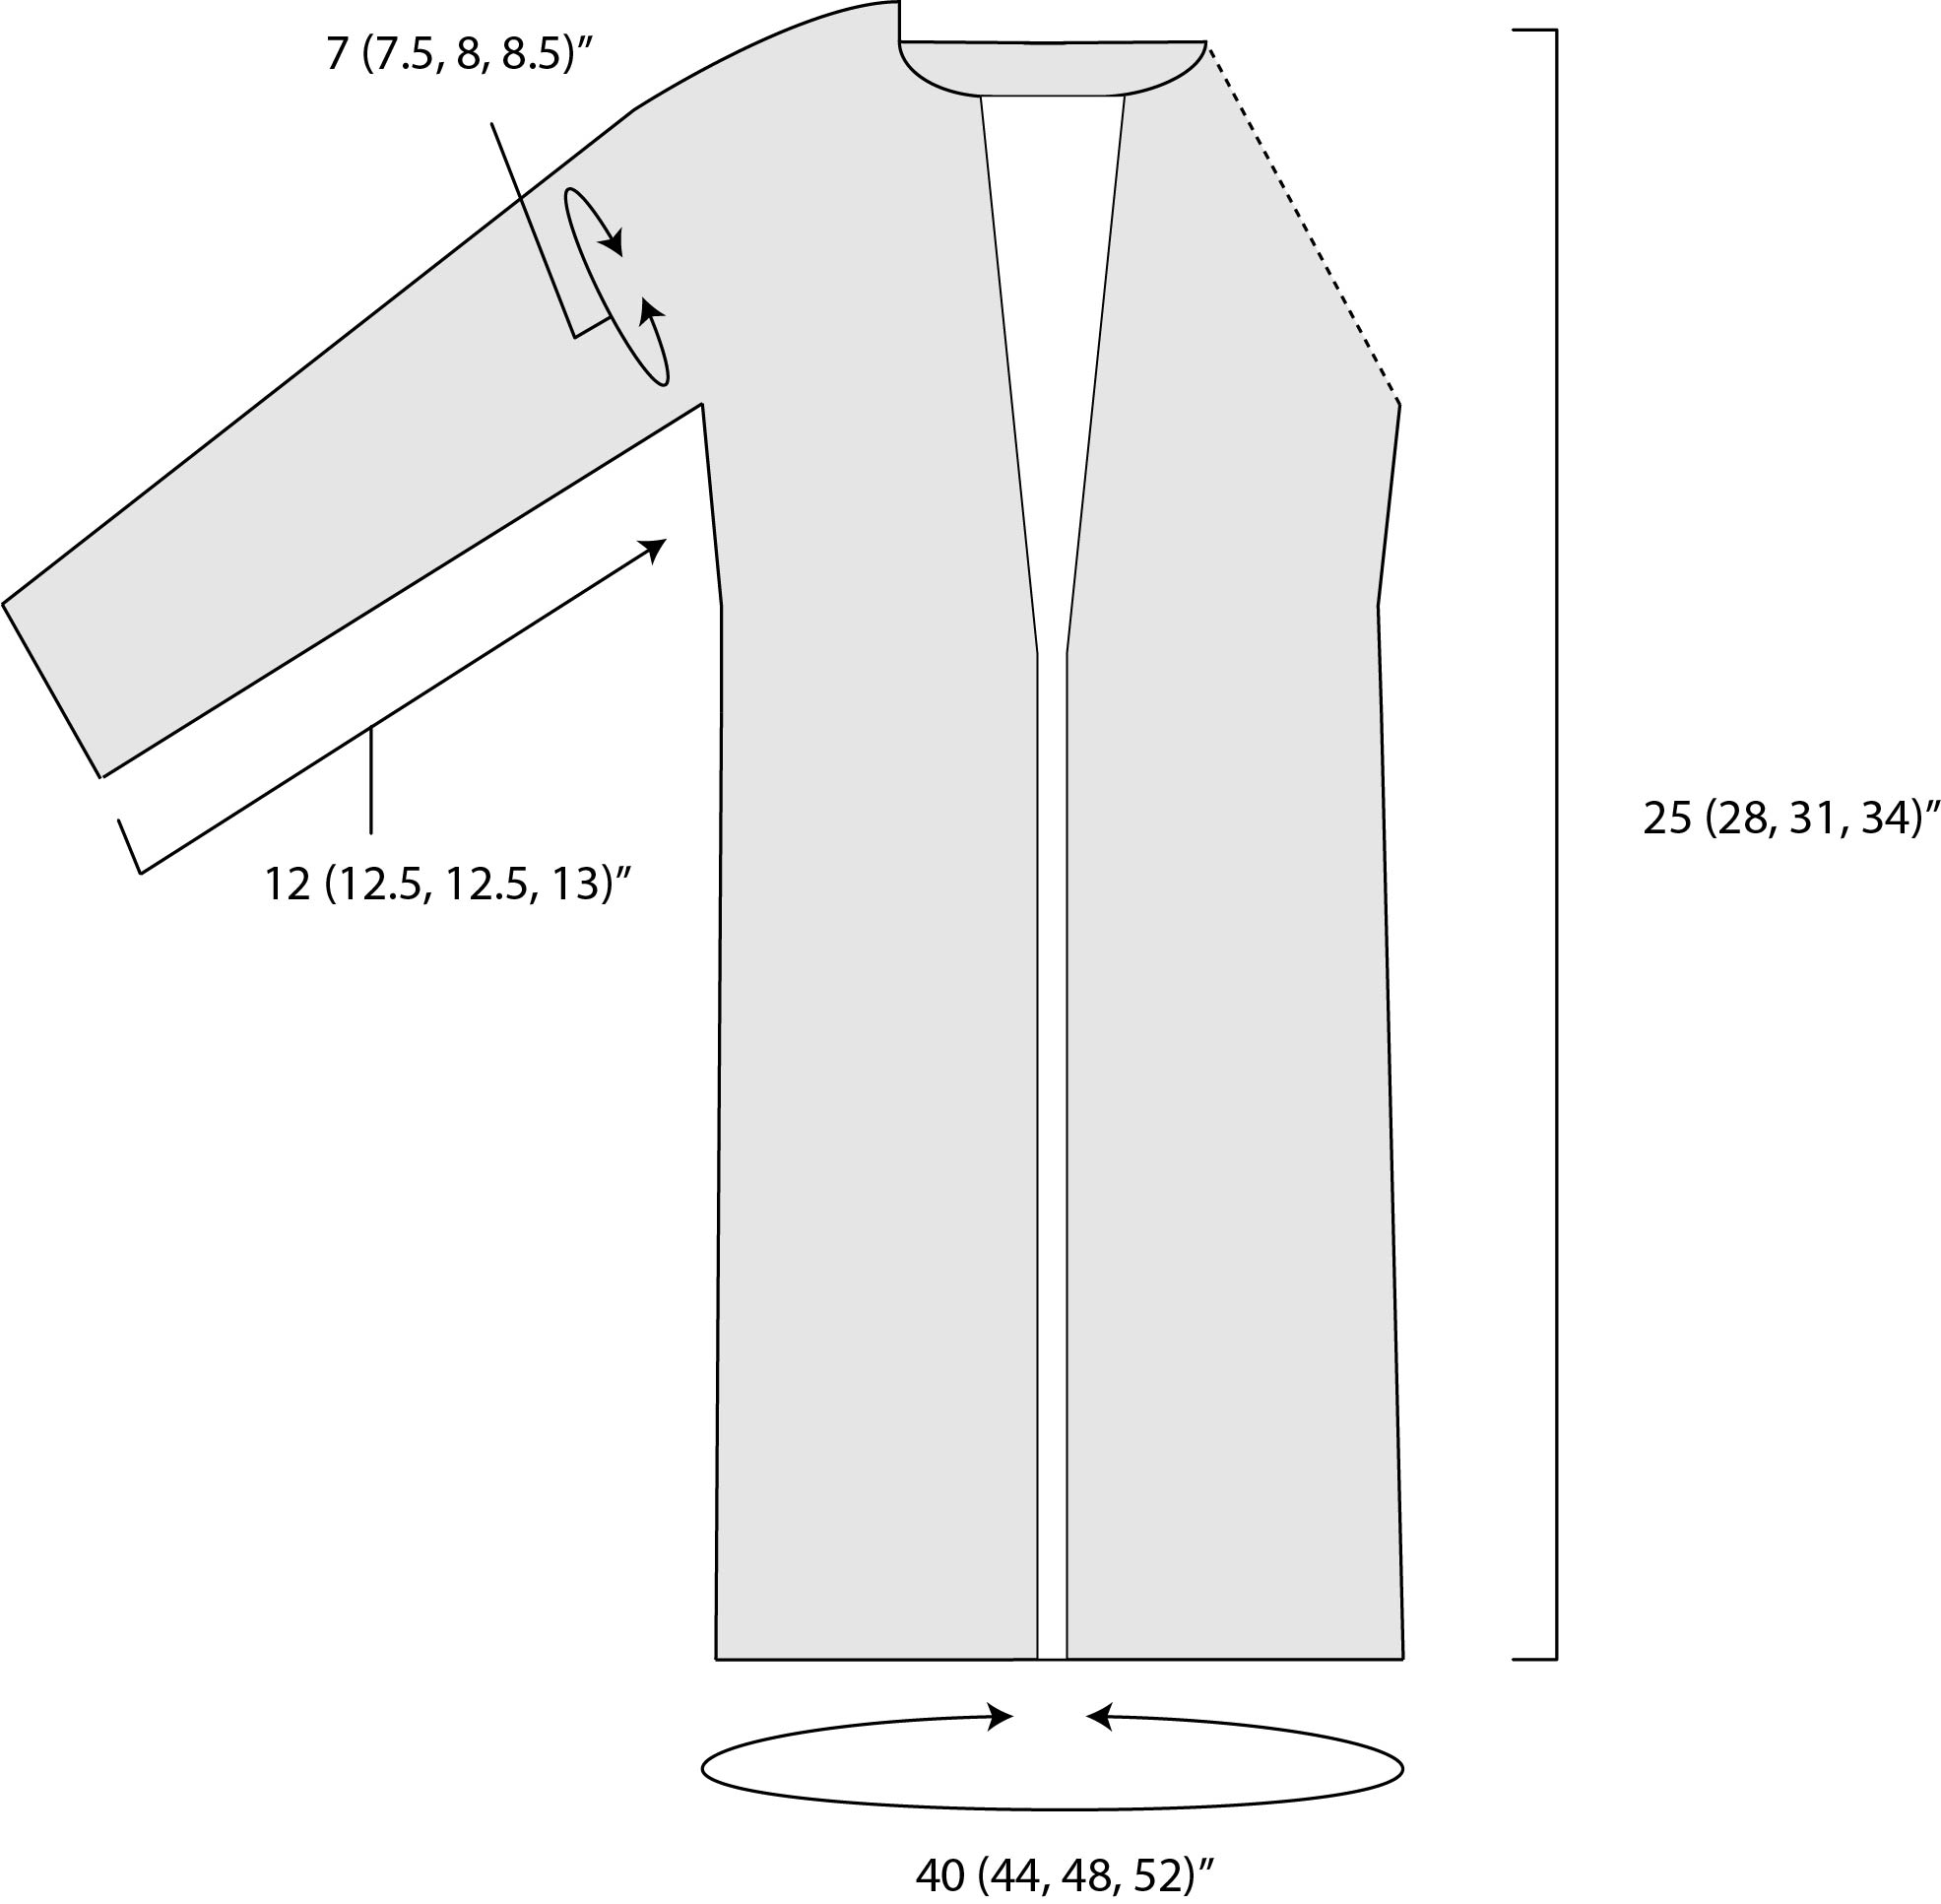
Note: There is a lot of positive ease. Model is wearing a size small and has a 32” bust.
Measurements listed are without blocking, however, you may also choose to block to size
if needed or desired. Sweater pictured has been steam blocked, which made it slightly
larger than prior to being blocked.
Bust Circumference (approximate):
S – 40 ” (cross back measures approx. half of bust circumference for each size)
M – 44”
L – 48”
XL – 52”
Length (approximate):
S – 25”
M – 28”
L – 31”
XL – 34”
Sleeve Length from underarm to end of cuff:
S – 12”
M – 12.5”
L -12.5”
XL – 13”
Sleeve (approximate width where sleeve meets “underarm”):
S – 7”
M – 7.5”
L – 8”
XL – 8.5”
Abbreviations & Skills:
k – knit
p – purl
st – stitch
sts – stitches
yo – yarn over (increase)
k2tog – knit two together decrease
co –cast on
RS – right side
WS – wrong side
sl m – slip marker
*You should know how to work stockinette stitch, which is alternating a knit row and a purl row.
*You should understand how to work a 1 x1 rib stitch, but knitting the knit stitches and
purling the purl stitches.
Pattern Notes: This cardigan is knit in one piece, from the top down. Circular needles are
used in order to hold all of the stitches, but the body of the cardigan is knit back and forth in
rows. The sleeves are knit in the round. Increases on the body of the cardigan are made by
making yarn overs in 4 locations where stitch markers are placed. The collar and neckline are
knit after the sweater is complete by picking up stitches along the entire inner front length
and knitting a rib stitch pattern. Feel free to try this sweater on for size as you go and make
adjustments if needed and to customize as you’d like! You can very easily make this longer or shorter by knitting for more or fewer rows. You may also customize the sleeve length.
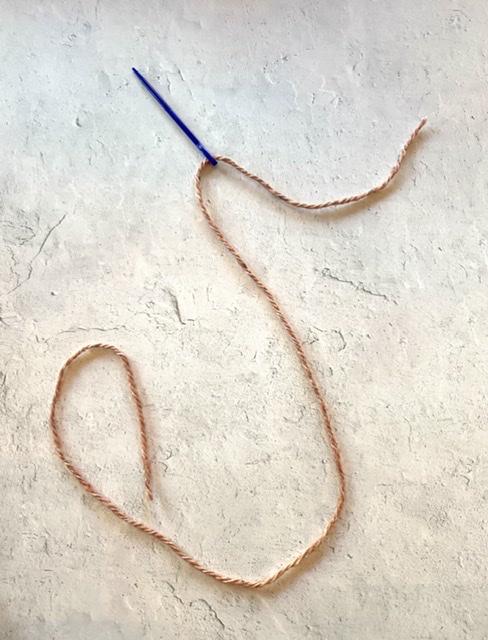
Please note that the first increase row will require a yarn over at the start of the row. Here is a tutorial from New Stitch A Day on how to do that:
ARTISTA SIMPLE RAGLAN CARDIGAN KNITTING PATTERN
Work sweater in stockinette stitch except for ribbing sections
With your circular needles, cast on 28 (30, 30, 32)
Row 1 Set Up – Purl across row, with WS facing, while at the same time placing a place marker (pm) after the first stitch to mark the right front of cardigan.
Next, place an additional marker after the following number of stitches to mark the right
sleeve 4 (4,4,4).
Then place an additional marker after the following number of stitches to mark the back of
the cardigan 18 (20, 20, 22).
Then place an additional marker after the following number of stitches to mark the left sleeve 4 (4,4,4).
You will have 1 st left for the left front of the cardigan.
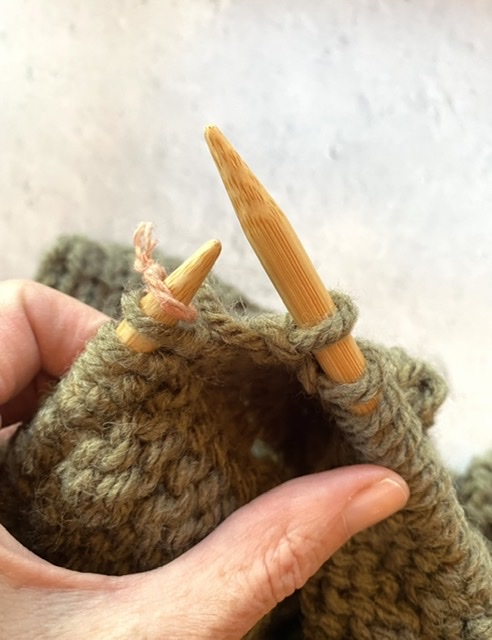
Next, work back and forth in rows while increasing the 1st stitch on each side of the marker
with a yarn over to shape the upper sweater for the increase rows.
You will work the upcoming rows as follows (Increase Row):
Increase Row: *Work to st before next marker, yo to inc 1 st, work next st, sl
m, yo to inc 1 st; repeat from * 3 more times – 8 sts increased.(increases happen to be on RS knit rows)
Now, following the Increase Row directions, increase 8 sts every 2nd row the following
number of times 10 (11, 12, 13)
Next, increase 8 sts every 4th row the following number of times 5 (5, 5, 5)
Next, add a stitch to the neckline/collar by using a knitted method, casting on 1 st at each
front neck/collar edge, every right side row the following number of times 1 (1,1,0)
After all increases have been made, there will be a total of 150 ( 160, 168, 176) stitches.
Each sleeve will have 34 (36, 38, 40) stitches.
Each cardigan front section will have 17 (18, 19, 19) stitches.
Now, you will divide the body and sleeves.
Divide Body and Sleeves Section
Work across the following number of stitches, with the RS facing, removing markers as you
come to them for the left front 17 (18,19,19).
Next, place the following stitches on spare yarn to hold them for the left sleeve 34 (36, 38, 40)
Next, cast on the following number of stitches with the knitted method 6 (6,6,6)
You may place a marker in the center of the 6 stitches just cast on as this will mark the left side of the cardigan.
Next, work across the following number of stitches for the back 48 (52, 54, 58)
Next, place the following number of stitches on yarn to hold the right sleeve 34 (36, 38, 40)
Next, cast on the following number of stitches with the knitted method 6 (6,6,6)
Again, you may place a marker in the center of the 6 cast on stitches to mark the right side of the cardigan.
Next, work across the following number of stitches for the right front 17 (18, 19, 19)
Each Front will have 20 (21, 22, 22) stitches.
The Back will have: 54 (58, 60, 64) stitches.
Continue working stockinette stitch, until piece is approximately 12”(14”, 16”, 18”) from
underarm/dividing row, or until desired length.
Next, work a 1×1 rib pattern for 2” inches, or until sweater is your desired length. Cast off and
weave in ends.
Sleeves
*Work sleeves in the round, continuing to work in stockinette stitch (knit all rounds)
Place the held stitches on circular needles or dpn’s as desired 34 (36, 38, 40)
IMPORTANT: Here you have two options. In the pictured cardigan, only these stitches 34 (36,
38, 40) were placed on the needles and knit. The extra cast on 6 sts for the body were then
seamed to the underarm of the sleeve to close that gap. Simply take a length of yarn, your
tapestry needle and seam the gap closed. However, you may also choose to pick those 6 sts
up as part of the sleeve. If so, please follow these instructions. If you choose to seam the
small gap, skip to the Decrease Repeat Section to work the sleeves. 6
To pick up the 6 sts for the sleeves: Once you’ve joined yarn, pick up and knit the 6 sts(all
sizes) across the CO stiches at the bottom/base of the arm opening. Place a marker in the
center of those 6 stitches to mark the center bottom of sleeves, and also to mark your
rounds.
Round 1 K2tog 2 times at the beginning and end of round.
Decrease Repeat
Next, every 4th round, decrease by working a k2tog before and after stitch marker, which will
decrease 2 stitches on each decrease round.
Repeat this decreasing every 4th round for a total of 2 (2, 3, 3) times.
Next, continue working sleeve in stockinette stitch, no longer making decreases (unless
customizing), until desired length. Keep in mind it will be finished with a 1.5” cuff.
Ensure sleeve has an even stitch count once at the cuff. If not, make a decrease in order to
get an even stitch count.
Next, finish by working a 1 x 1 rib stitch until sleeve is desired length or approximately 12
(12.5, 12.5, 13”) from underarm, or desired length.
Collar/Neckline Ribbing Section
To add width to the front of the cardigan, you’ll now pick up stitches and knit a ribbed collar
neckline along the front sides. If you’ve never picked up stitches to knit, you can do a simple
online search on YouTube “How To Pick Up Stitches in Knitting” to see how it’s done.
To do this, with your circular needles, evenly pick up stitches, skipping every 5th stitch.
Because it’s difficult to fit all the stitches of the entire collar/neckline, pick them up in two
sections – the right side, then the left side. First, pick up the left side front of the cardigan,
working from the center back to the bottom front.
Work a 1×1 rib stitch pattern until the collar is about 2” (2.5”, 3”, 3.5”) or your desired width.
It’s completely customizable.
Repeat for the right side.
Note: If you find that your collar edge is ruffling and is too large for the sweater, you might
need to skip every 4th stitch. This means there are too many stitches for the collar area to
lay flat.
Seam the two ribbed sections together at the center, upper back.
Pockets (make 2)
Cast on 16 sts
Row 1 Knit across the row.
Row 2 Purl across the row.
Continue working in stockinette stitch until pocket measures approx. 4”
Next, you will work the eyelet row
Eyelet Row: *K1, yo, k2tog, repeat from * across the row to the last stitch, knit the last st.
Following the eyelet row, work 1.5” inches of 1 x 1 rib stitch
Cast off and weave in ends.
Block pockets to shape and size.
With a length of yarn and a tapestry needle, use a simple whip stitch to sew the pocket to
the cardigan, placing it in the center of the front side, and about 1” inch above the ribbing
Schematic: Note the shaping of the sleeves is not exact, as there is more of a bat wing shape at the decrease and underarm, however, measurements and collar line is shown here.
And that’s it my friends!
I hope this helps you understand how to knit a raglan top down. And maybe you even made this!! Congrats!!
XO
Jessica