Easy Baby Blanket Knitting Pattern
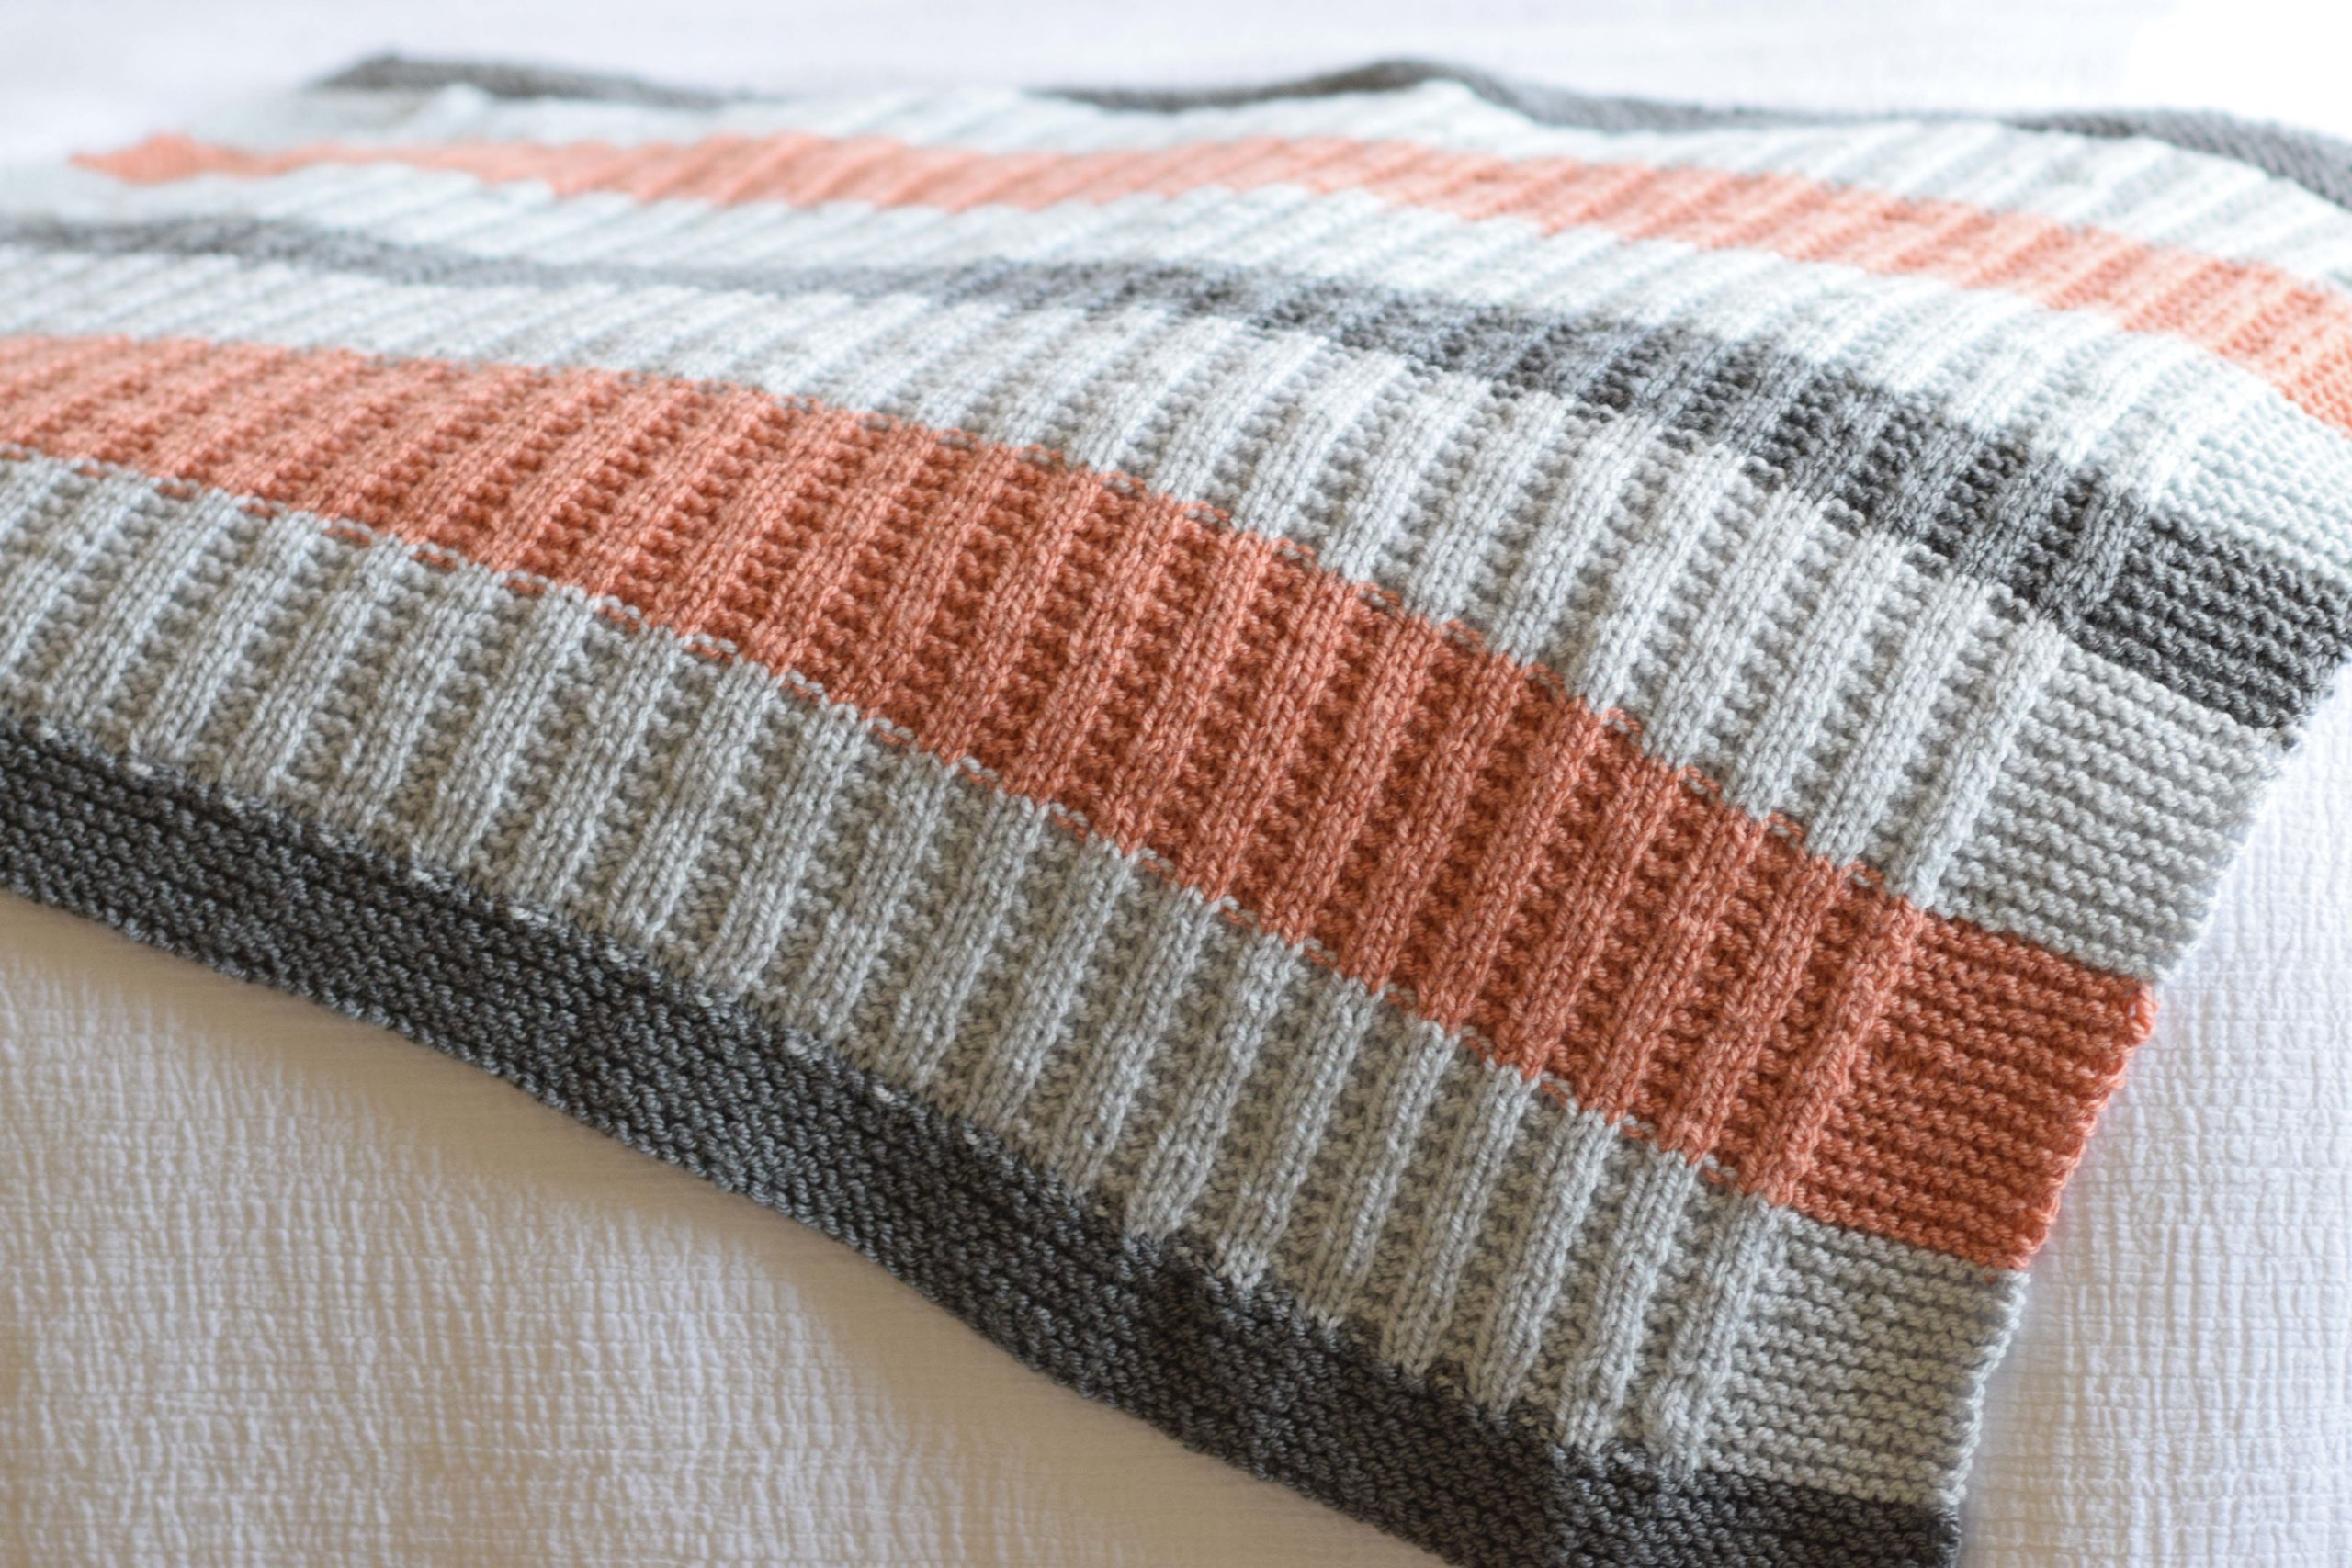
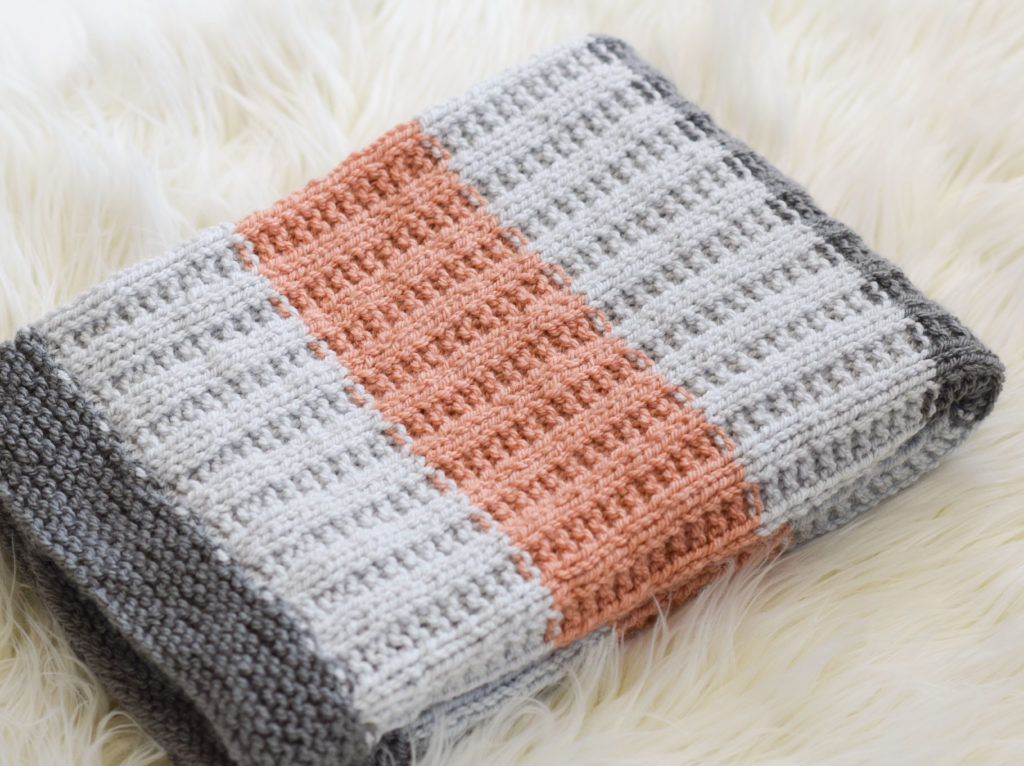
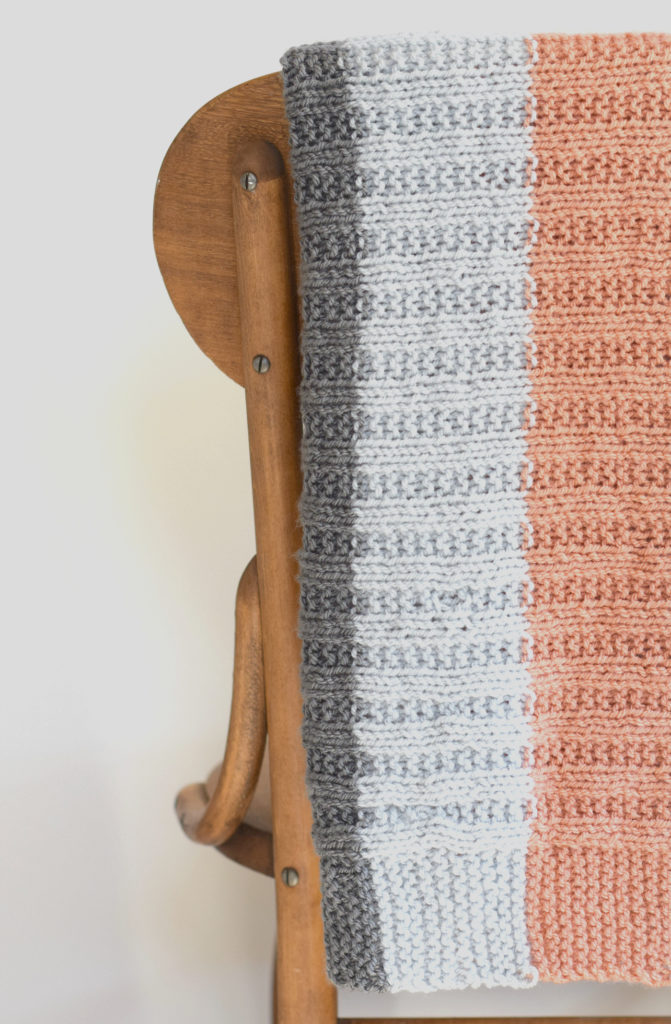
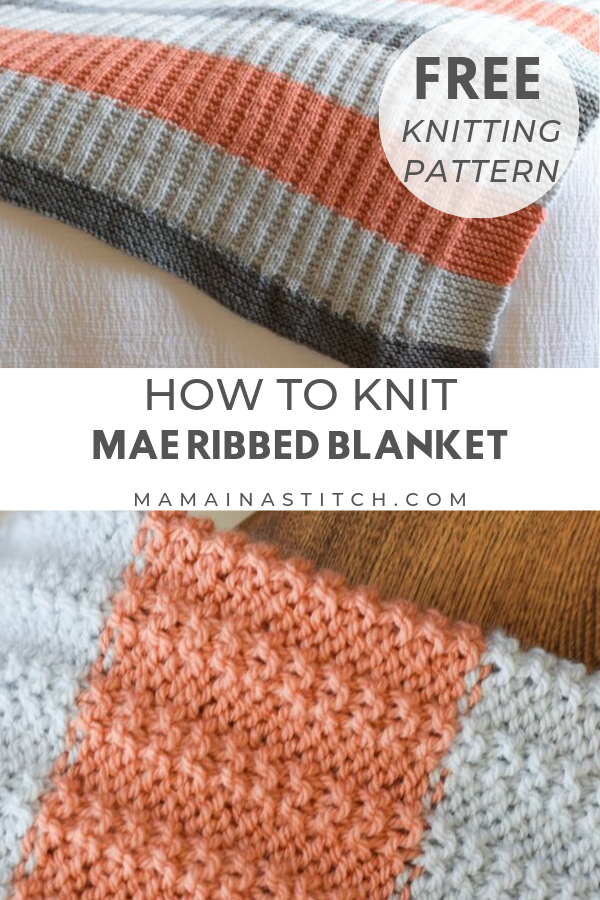
Today I wanted to share an easy baby blanket knitting pattern that can also be made as a beautiful lapghan! The “Mae” Ribbed Blanket is knit with the broken rib stitch, which is super simple but also super eye catching (and cozy).
While this pattern has been on the blog a while, I wanted to update it with some helpful info. I don’t create a ton of patterns with worsted weight yarn, but this is one that has been well liked!
Scroll down to see the free pattern below, or you may choose to purchase the printable, ad-free PDF from my Etsy Shop HERE. Thank you for your support!
This easy rib knit blanket pattern is great for a baby, lapghan, or charity project. It’s perfect for advanced beginners, so just about anyone can make it too!
You can use worsted weight or light weight yarn, so get ready to use up your stash. 🙂 And while I’ve used a few colors to get a striping effect, feel free to make it with a solid color.
This blanket turned out to be so squishy and soft and I love that it has a vintage vibe. You don’t have to be an expert knitter to make this, but there’s enough detail that the blanket still looks impressive. You’ll be working the simple broken rib stitch through most of the pattern.
I’m in love with each of the colors in this blanket, but the color options are endless and you can pick your faves! This is a baby blanket size, but it also works as a lapghan as I mentioned earlier. For those who use a wheelchair, this could be a perfect size as well.
You can see the free pattern below and if you’re experienced, it will be easy to adjust the size if you’d like to make it larger!
To adjust the size, all you need to do to keep the nice ribbing pattern is keep a multiple of 4 + 2 extra stitches for the center ribbed portion. In addition, the border is another 11 knit stitches on each side. Keep yarn needs in mind when creating a blanket with different dimensions.
So, how do we knit it? First, using your long, circular needles, you’ll cast on 132 stitches. Even though you’ll be using circular needles, it’s knit flat. The long circulars are used simply so that you can hold all of the stitches.
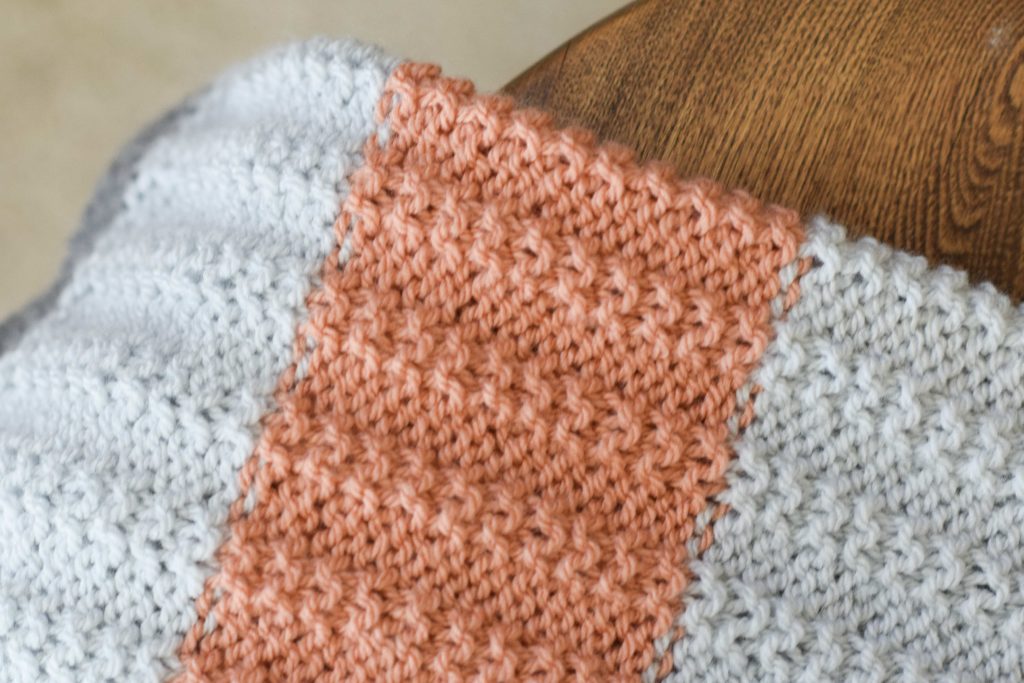
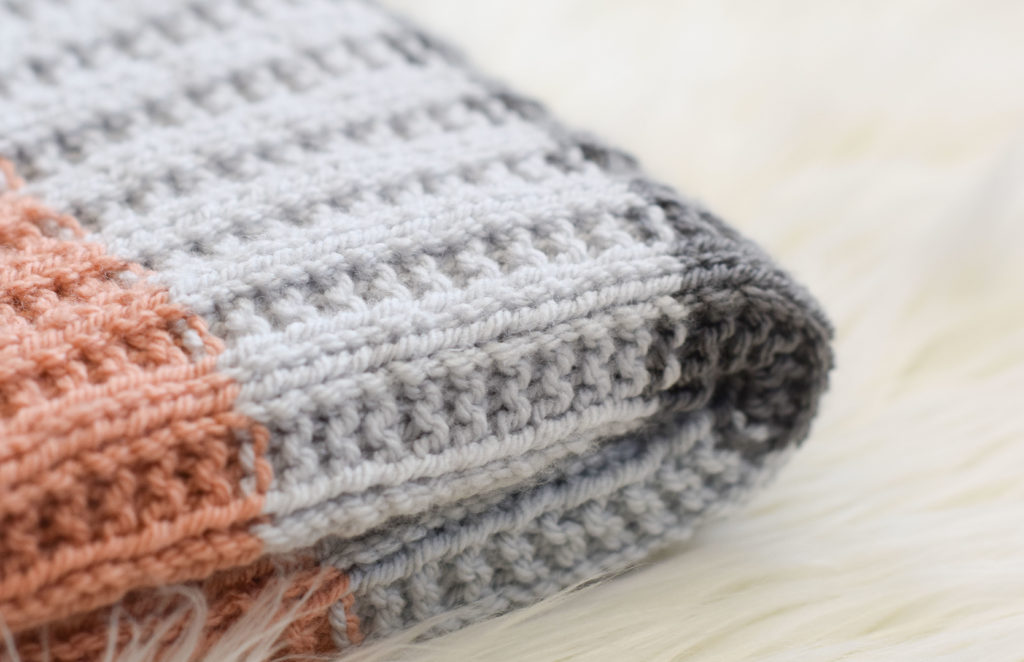
After knitting the edge for several rows, you’ll begin working the broken rib stitch pattern. The cool thing about this stitch pattern is that it’s really beautiful on both sides of the blanket. To be honest, I can’t decide which side I like more!
Below: I like the reverse side as much as the front. What about you?
Have you used the Paintbox Yarns by Love Crafts? I had never tried them before, so I was super excited when they contacted me and offered to send some my way.
I’m really picky with acrylics and don’t use them if I find them to feel cheap or scratchy. While this is Paintbox Simply Aran is 100% acrylic, it’s one of the nicest I’ve ever used.
I’d describe it as lofty, soft, not splitty and really easy to work with. It’s got a fairly matte finish and minimal sheen, which I love. And seriously-the color palette. But just remember that you can use any aran or worsted weight yarn that you like (even a light yarn will do!)
The stitch pattern works for boys or girls, which makes this pattern really versatile. The stripes are also completely customizable, so you can pick your favorite colors. If you like the look of solid colored blankets, just forget the stripes completely. Feel free to make this your own!
And really, how about that Vintage Pink color?!
Let’s get to this fun and simple knit blanket pattern, shall we?
You’ll see the free pattern below, or you can purchase the ad-free printable from Etsy HERE
Description:
Light ribbing and gorgeous, bold stripes make this both a cozy and beautiful blanket. Each side of this blanket has a unique look that are equally pretty thanks to the broken rib stitch. If you’re comfortable with knitting and purling, you’ll find this pattern to be simple and fun to work. The color palette and classic design give it a vintage feel, though you may choose to use any colors you like. It’s perfectly sized for baby, or to keep your lap warm without dragging on the ground. You’ll find basic instructions on how to increase the size in the notes section of the pattern. Enjoy!
Materials:
US Size 8, 5.0 mm 36” circular knitting needles
3 skeins Paintbox Yarns in Misty Grey 100 g/skein
1 skein Paintbox Yarns in Slate Grey 100g/skein
1 skein Paintbox Yarns in Vintage Pink 100 g/skein
Pattern uses approximately 340 g of yarn
Scissors
Tapestry Needle
Skill Level:
Easy +
Size:
Approximately 34” x 27”
Gauge:
Not important for this pattern
Notes:
This blanket is knit flat and is worked from the bottom-up. Circular needles are used in order to hold all of the stitches. Ensure that you make color changes on the same side of the blanket, each time, for a consistent look.
As written, the center Slate Grey Stripe is thinner than the other stripes. If you’d like to make this blanket longer, simply make the center stripe equal to the others. Continue the striping pattern for as long as you’d like. To make it wider, you may start by casting on more stitches than indicated in the pattern. Keep a multiple of 4 + 2 extra stitches for the center ribbed portion. In addition, the border is another 11 knit stitches on each side. Keep yarn needs in mind when creating a blanket with different dimensions.
Abbreviations (US) & Skills:
k – knit
p – purl
sts – stitches
CC – change color
Easy Baby Blanket Knitting Pattern “Mae Ribbed Blanket”
Using Dark Grey, cast on 132 stitches
Beginning Edge
Work the knit stitch across each row for 2”
Next, move onto the Body of Blanket
Body of Blanket
CC to Misty Grey
Row 1 K11, *k2, p2; repeat from * to last 13 sts, k13
Row 2 K11, purl across to last 11 sts, k11
Repeat rows 1 & 2, in that order, making color changes where indicated until you’ve reached the Final Edge. Remember to change colors on the same side each time for consistency.
Continue original Misty Grey Stripe for approximately 3.5”
CC to Vintage Pink and follow stitch pattern for approximately 3.5”
CC to Misty Grey and follow stitch pattern for approximately 3.5”
CC to Slate Grey and follow stitch pattern for approximately 2”
CC to Misty Grey and follow stitch pattern for approximately 3.5”
CC to Vintage Pink and follow stitch pattern for approximately 3.5”
CC to Misty Grey and follow stitch pattern for approximately 3.5”
Final Edge
CC to Slate Grey
Knit across each row, just as you did with Beginning Edge, for approximately 2”
Cast off and weave in ends. Block to shape and size if desired.
That’s it!
Enjoy!
More Knit Blanket Patterns:
- Quick & Easy Blanket Knitting Patterns HERE
- Billowy Quilted Knit Throw Blanket HERE
- Winter Cuddler Knitting Pattern HERE
XO,
Jessica
Love Crafts provided the yarn for this project. I thank them kindly!
If you liked this, you might also like:
Urban Stripes & Eyelets Blanket Knitting Pattern

Love this! How hard would it be to convert it to a crochet pattern??
You could do a crocheted version with the same colors and work rows of sc through the back loop to get the ribbed look. Just a thought!
Thank you for a great pattern,it will make beautiful Christmas presents for family,each one in their favorite colors.you solved my,what do I make for Christmas for everyone this year question,each one wb tied with pretty ribbon and gift tag, wb beautiful.thank you so much.
That is so sweet of you to make these for your family! They will surely treasure your hard work. 🙂 You’re welcome for the pattern – it’s fun for me to share!
Jessica,
This pattern is simply beautful.
I will be making a few of these for holiday gifts.
Thanks for the great patterns!!!!!
I’m so happy that you like it, Nancy!
I love your patterns. They are easy and good designs, too. I don’t have a printer, so I am so grateful that you give the complete pattern at the end of each email. I just jot them down in my knitting/crochet notebook. Best regards
Hi Penny!
Great idea to just jot them down in your notebook. 🙂 I’m so glad you enjoy the patterns! Best wishes to you!
Thank you for the beautiful patterns!! Making baby blankets for new Momma’s where I work, this one Mae Ribbed will be perfect!! Thank you for sharing your talents with us!!
Gorgeous blanket in beautiful colors. Thanks for sharing this pattern.
Have a nice weekend, Margaret
I’d love to knit a blanket but find it difficult to master knitting with circular needles. After knitting with straight needles since my childhood, circulars feel awkward to use. Striped blankets are easy to convert into a crochet pattern. I love this color scheme. Maybe I’ll be crocheting one?
Love this blanket! I’m using a yarn that comes in 50g balls. I’d like to know if 1 50g ball each is enough for the pink and dark gray. I don’t want to buy more than I need. Thanks so much!
Hi. Where did you get your fat wool yarn. I saw a video about it but can’t find it now.
I think you’re referring to the Yooge yarn from Lion Brand that I used for the hand / arm knitting?
I’m in the process of finishing this blanket and love the pattern! I must admit this is my first blanket and I’m very new to knitting so this may be something very simple but I was hoping you could tell me how do the final stripe of slate grey without there being an obvious difference in the pattern? I started to just knit when I changed the color and it did not look even and flat like the first boarder stripe. I hope that makes sense and I would appreciate any advice!
Hi!! Hmmm I’m not sure I totally understand. You do want to change colors on the same side every time.
Let me try again. I started knitting the slate grey final boarder after changing color on the same side as the others. The row from the very first color change at the bottom of the blanket lays flat and the transition between the k to k p almost flow together for an even look with the rest of the blankets and color changes. Instead of looking even, the row of knitting on my final boarder looks more raised. I’m wondering when I change the color should I k p the first row?
Hi There-
I’m hoping you can help. When changing color how can you be sure to be on the right side. The work seems to flip at the end of each row? It looks like my color changing is on different sides each time 🙁 still pretty but I can see the transition line on both sides of the blanket.
Thank you!
Thank you for sharing your beautiful patterns. I am almost done with this blanket in the exact colors of the pattern. I love the Paintbox yarn and would love to do this same pattern in the Paintbox Simply Chunky yarn (to measure approx 48×60″) but don’t know how to figure out how much yarn I need in the 3 colors. Do you have any suggestions or tips?