How To Make A Hooded Beach Cover-Up Poncho with Loop Yarn – Free Pattern
Find the free picture tutorial below or you can find the kit from Lion Brand Yarn HERE (Members, grab your free printable version, here under “Knitting”)
If you follow my blog, you already know that I recently used this Lion Brand Crayola Off The Hook Yarn with my daughter to make a rainbow blanket (here). Since then, it’s been awesome to hear from several of you who have made one with your kiddo or grandchild! As you can see here today, you’re certainly not limited to making blankets with this yarn. Today’s cover-up is so nice for days at the pool or camping and it’s just as easy as making a blanket. One of my friends said her daughter was making bracelets with this yarn – cool right? What ideas do you have?
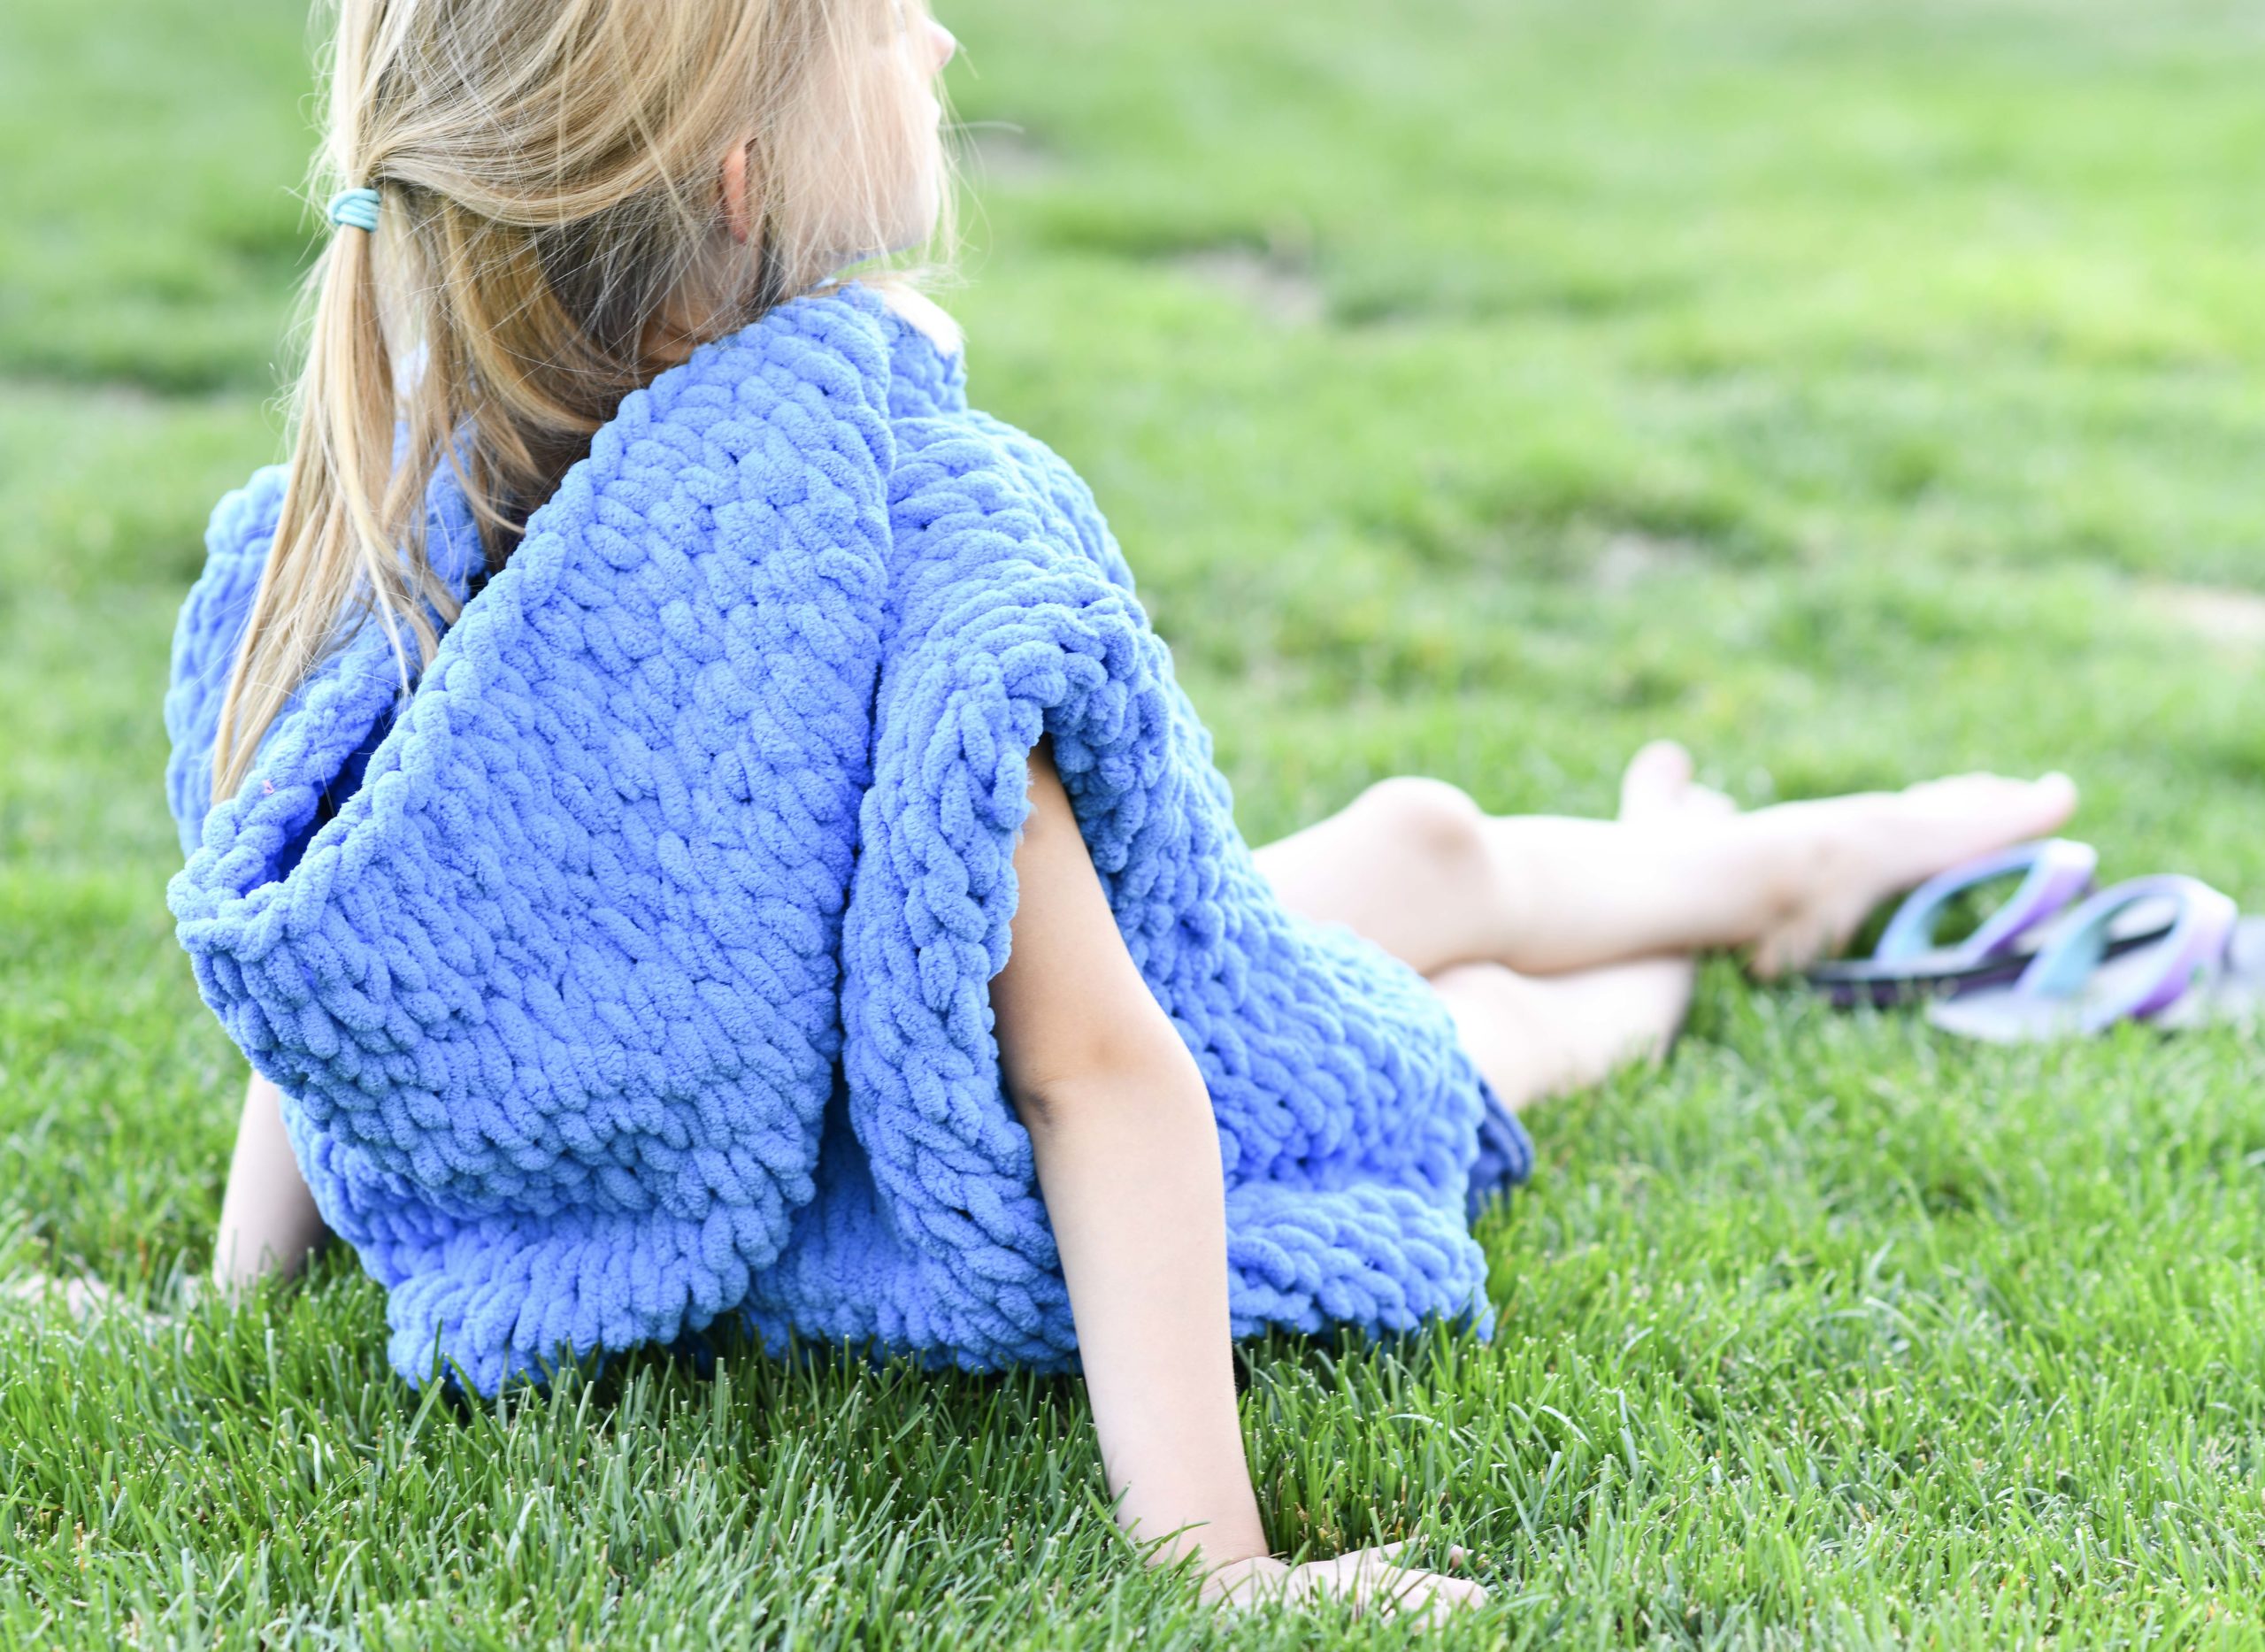
Below: It’s been so much fun to make things with my baby girl (yes, she’s still a baby to me hehe). And it’s also fun to photograph HER instead of me for a change!
Below, you’ll find a full picture tutorial on how to make this fun loop yarn cover-up with your lil boy or gal. It also might be helpful to check out my video on YouTube of the Rainbow Blanket because it uses the very same technique (blanket video HERE).
Definitely let you’re little one pick their fave color and get to it! The colors are all so vibrant, brilliant and bold which kids love. (See all the colors HERE)
![]()
This cover-up is great for when Emilia gets out of the pool and is freezing cold. It’s nice, soft and warm like a towel making it a great beach, pool or park day option.
So let’s get to the tutorial!
- See the Free Tutorial and Pattern below
- Get the printable, ad-free version from Etsy HERE
- Members – get your printable version HERE
Hooded Beach Cover-Up Finger Knit Pattern
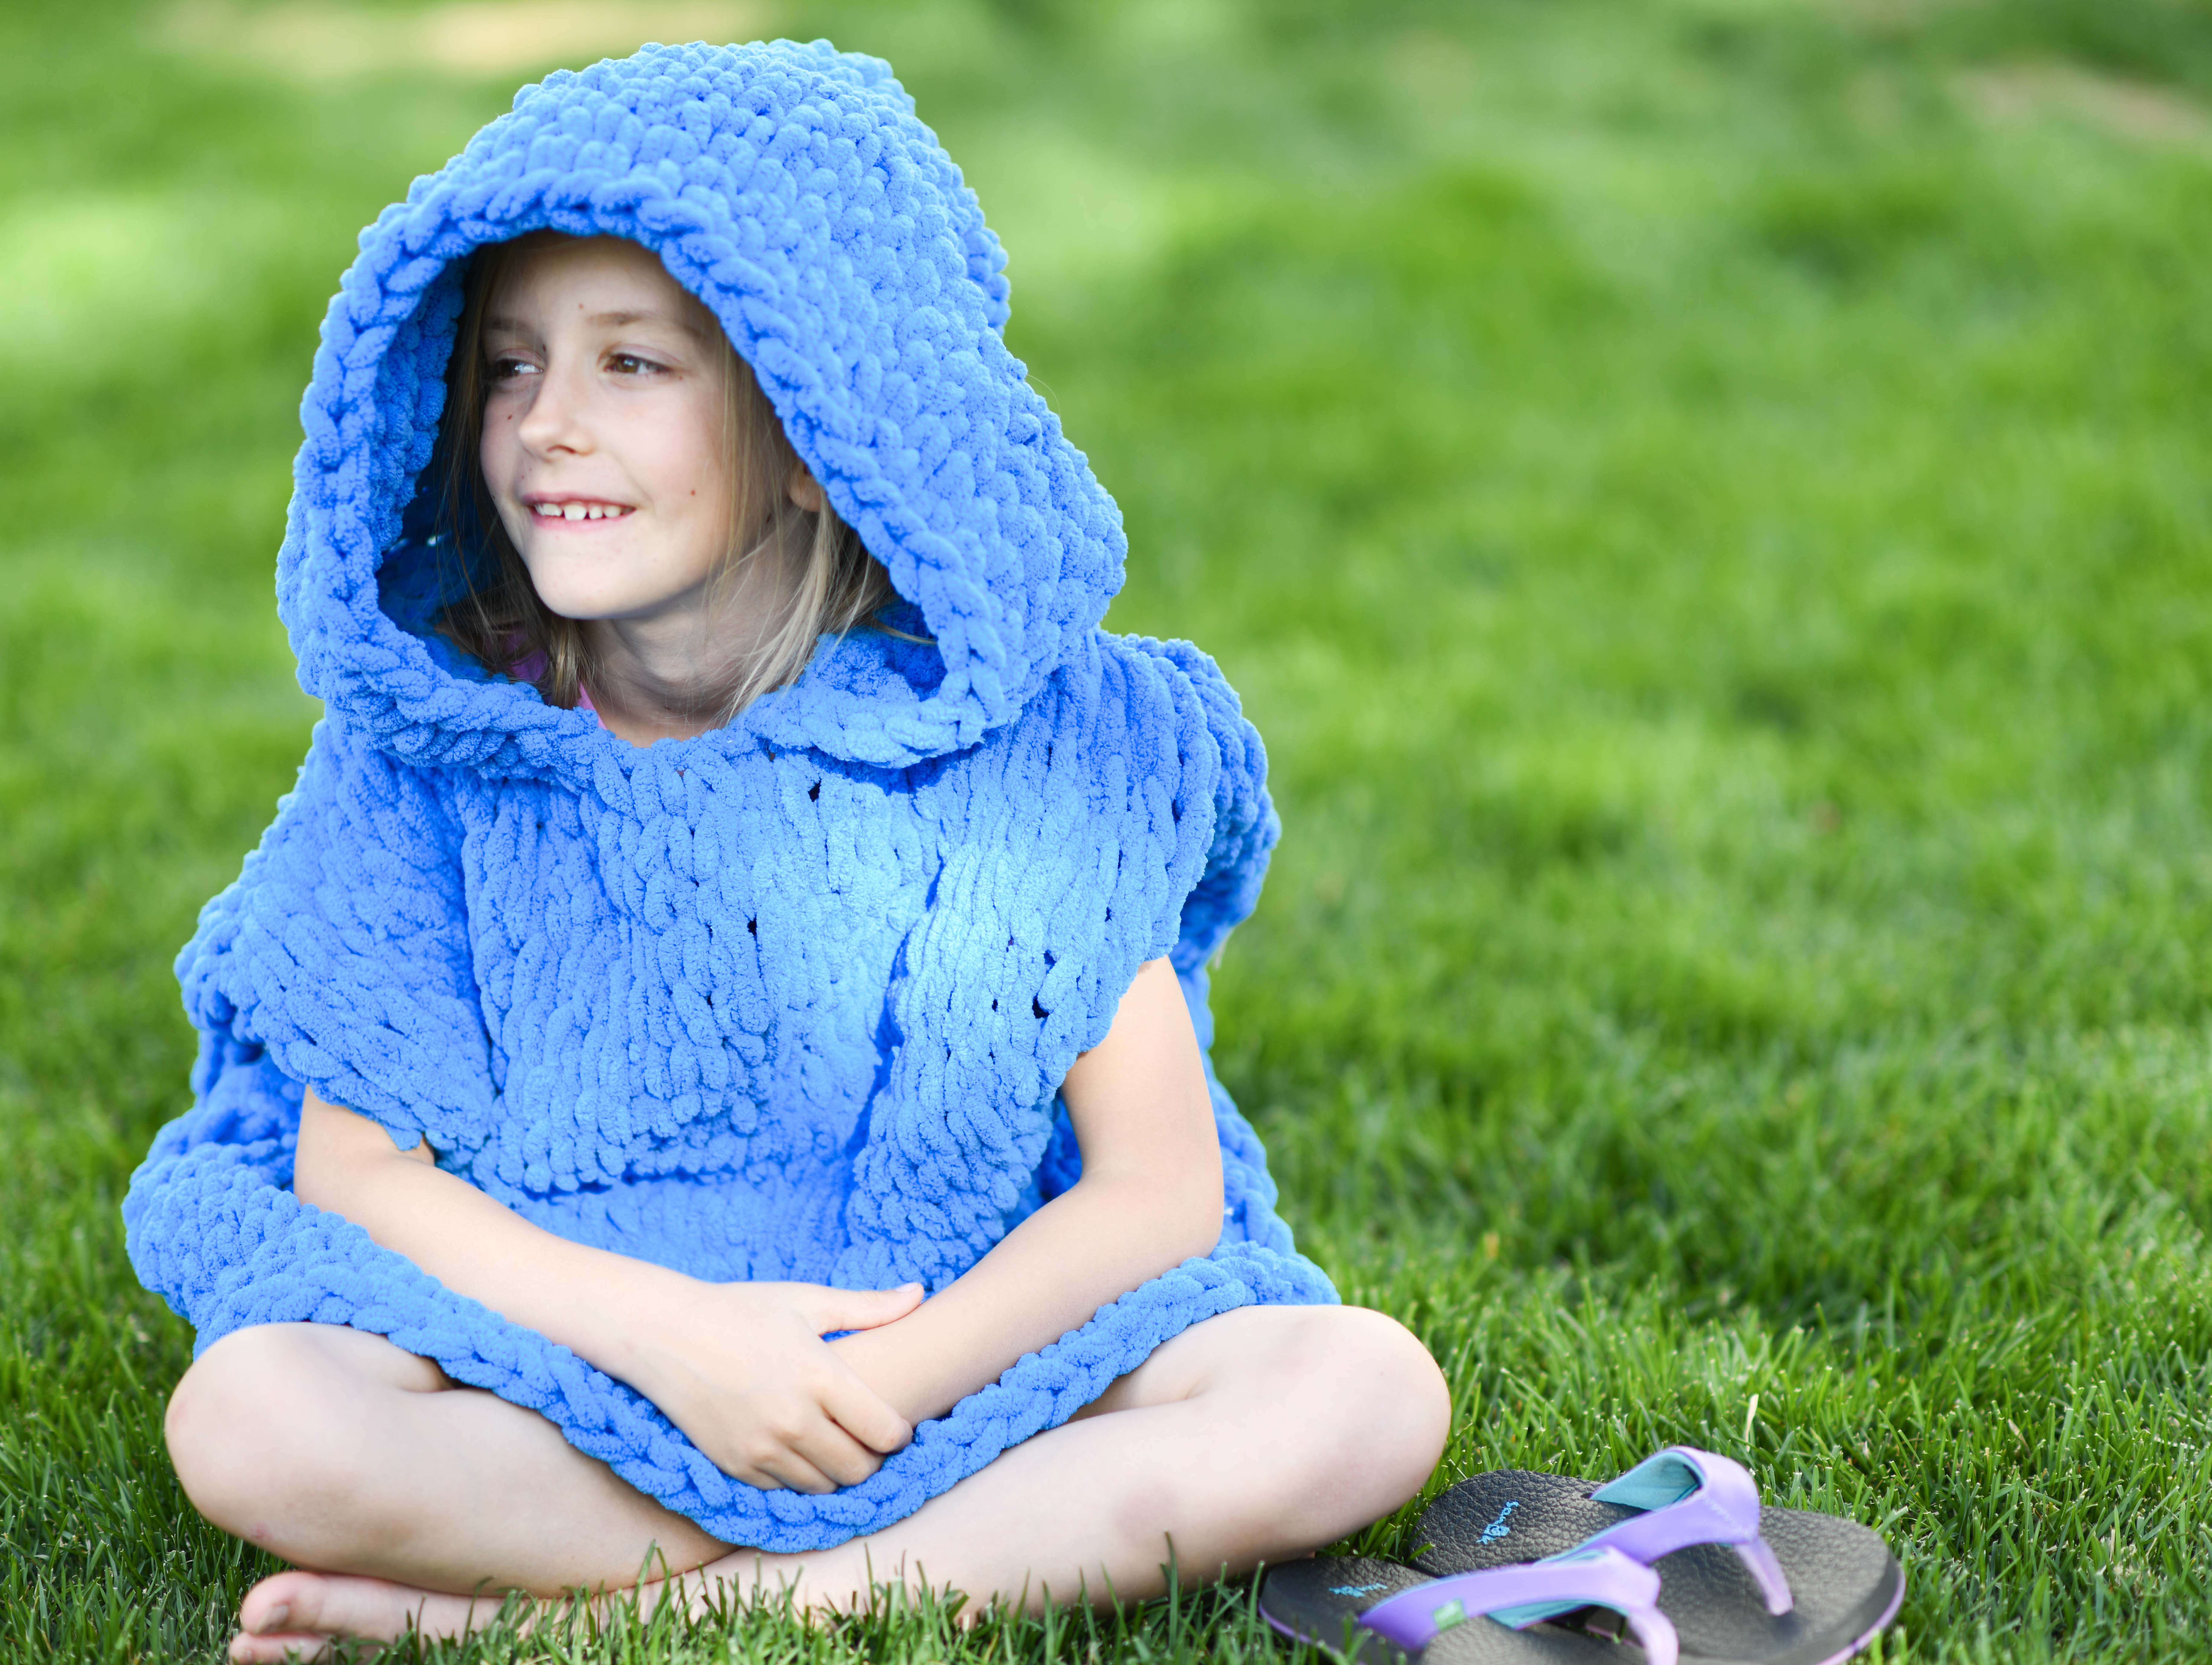
Description: This playful cover-up is squishy, soft and perfect for days at the beach or by the pool! Made with the Lion Brand Crayola Off The Hook Yarn, you don’t need to know how to knit or crochet. It’s a fun project that kids and parents will enjoy creating!
Materials:
7 skeins Lion Brand Yarn Crayola Off The Hook Yarn in Cornflower (85 g/skein) Pattern uses approximately 600 g total Lion Brand Yarn Kit HERE
Scissors
Measuring Tape
Size: Childs Size (one size fits most)
22” wide x 19” long (Circumference 44”)
Notes: This hooded cover-up is made without the use of knitting needles or a crochet hook. To create the look of knit, you will work the pattern as shown in the picture tutorial. You may also find a helpful video tutorial on the Lion Brand Website when you visit the page featuring the Crayola Off The Hook Yarn at http://www.lionbrand.com/crayola-off-the-hook-yarn.html.
Abbreviations (US) & Skills:
This hooded cover-up has the look of knitting but doesn’t require any special knitting or crochet skills.
Beach Hooded Cover-Up
Follow the picture tutorial in this pattern to make this fun cover-up. You will begin by creating two rectangles for the front and back. Next, you will make another rectangle which will be folded and seamed to create the hood. Lastly, you will seam up the sides, shoulders, and attach the hood.
Body Panels of Cover-Up Instructions (make 2)
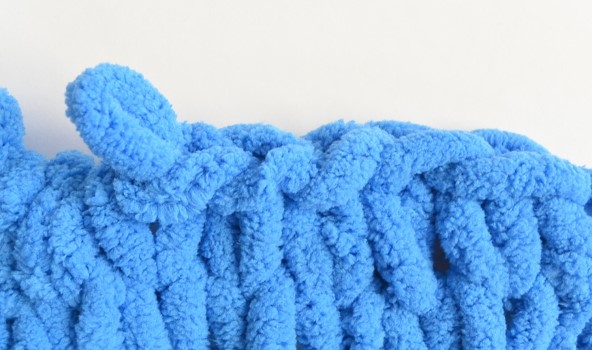
Step 1: Count 31 loops and mark with a paper clip or length of yarn. This is the number of loops or “stitches” that you will have for each row.
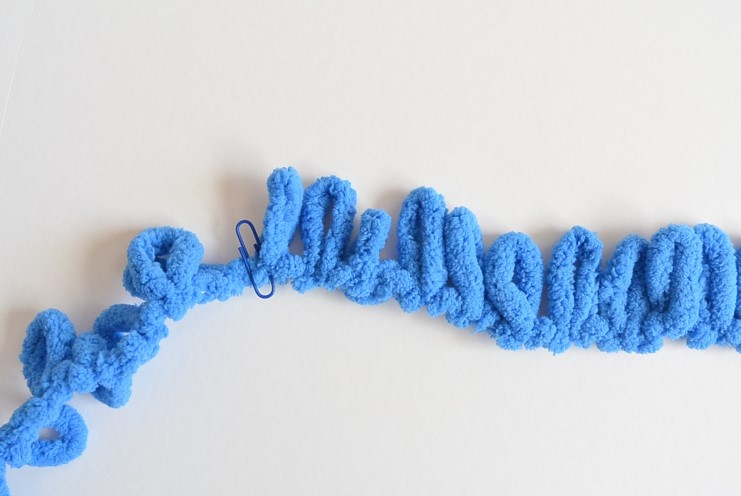
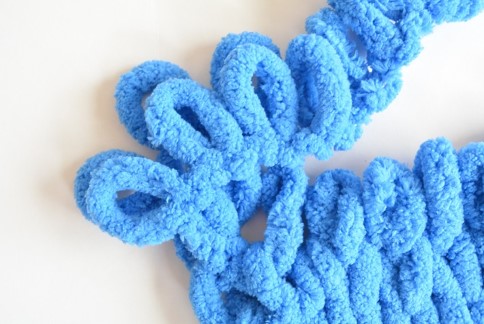
Step 2: Bring the remaining yarn around and place it just above the length of yarn measured. (below)

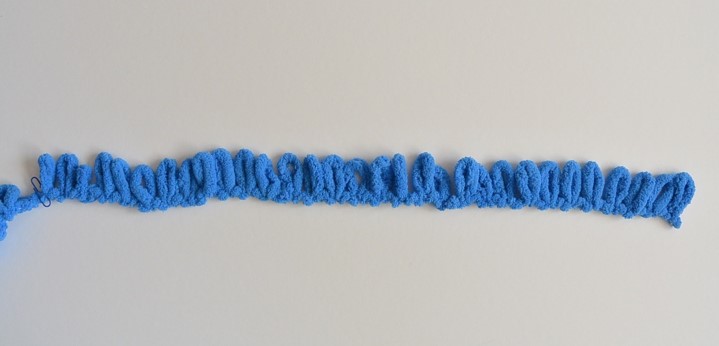
Step 3: Pull each loop through the loops on the measured length of yarn, as pictured. Continue this across the row.
Repeat this process across each row, turning the remaining yarn and working each loop across the row.
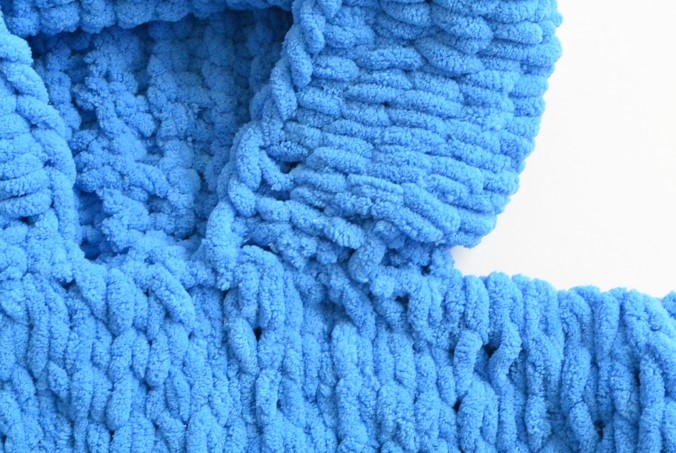
When you start a new skein, you will place three loops from the new skein, over the last three of the old skein and pull BOTH loops through each of the next three loops. This will create a secure connection.
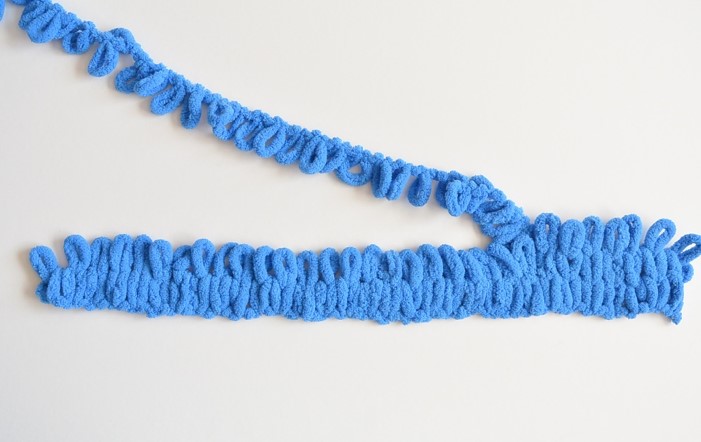
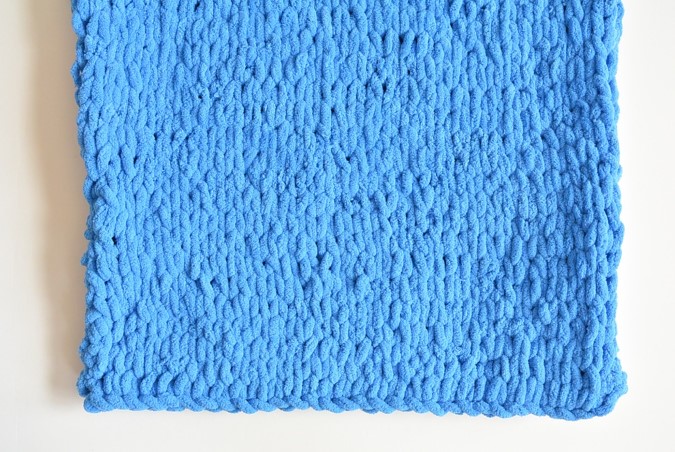
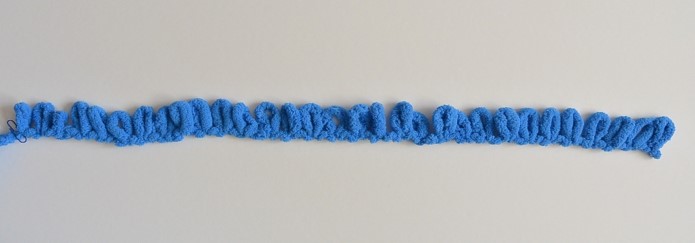
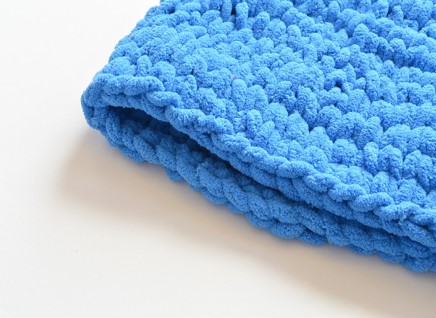
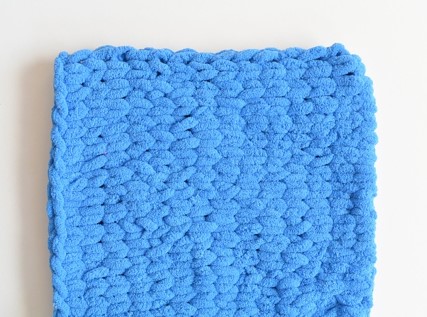
Continue across each row until your rectangle measures approximately 19” long. Finish edge and tie off.
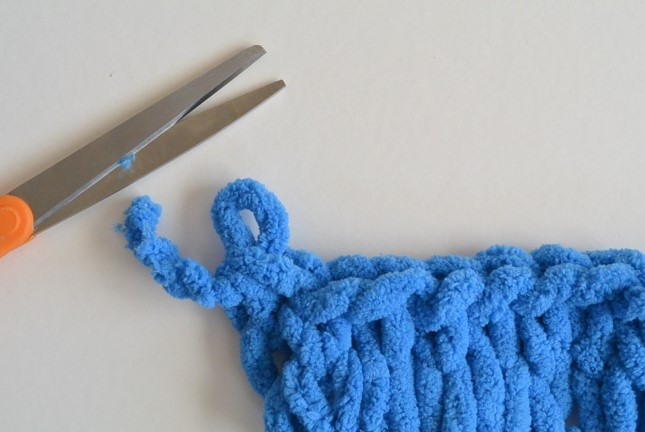
To finish the edge and tie off the end of your panel, pull the second loop through the first loop as pictured below. Work TOWARD the tail of the yarn.
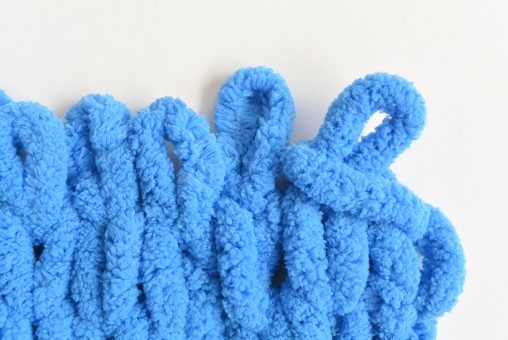
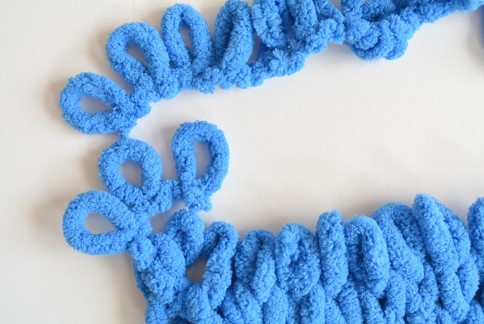
Continue this process across the row
Below: Pulling the next stitch through the prior stitch across the row
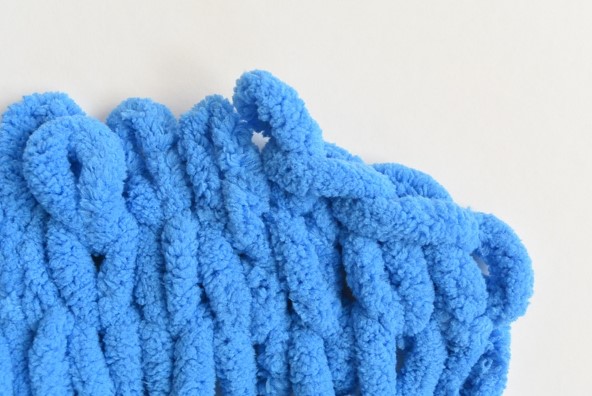
Once you’ve reached the tail of the yarn, cut the loops off the tail. Next, pull the tail through the final loop to tie off.
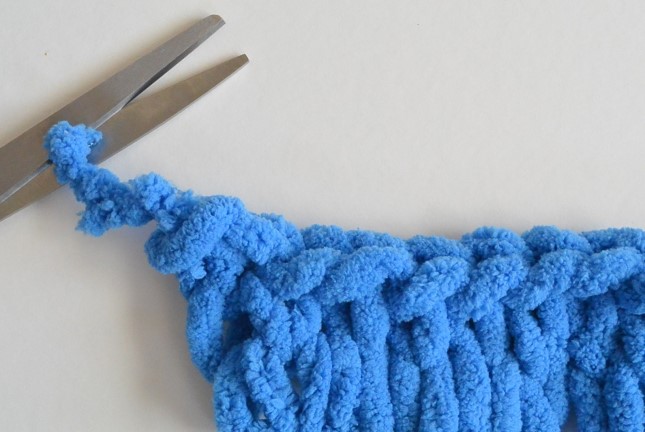
Secure and hide the tail by weaving it into your work.
Hood Instructions
To make the hood, count 35 loops and mark with a paper clip, just as you did for the Body Panel rectangles. Next, make this hood rectangle just as you did with the Body Panels, pulling through the loops across each row. Once piece is 13” long, finish the edge and weave in ends.
Next, fold the hood rectangle in half, short ends together, right side together. The short ends will be seamed to the poncho. The finished edge, that was tied off, will be the front of the hood near this child’s face. Take a length of yarn and cut off the loops. Use this yarn to seam along the edges opposite the finished edge of the folded rectangle to create the hood. Turn right side out.
Below: The tied off edge is the open front Below: Seam is along the back of the hood
Assembly:
Body of Cover-Up
Place the two Body of Cover-Up Rectangles, right sides together. Take a length of the yarn and cut off the loops. Next, seam up each side, leaving openings for the arms. Seam inwards from the shoulders evenly on each side, leaving space for the head and neck (approximately 6 ½” inward on each side) Tie off and weave in the ends. Fold piece right side out for wear.
Hood
Next, place hood along the neckline body of cover-up. Pin in place if necessary to center.
Seam hood onto the Body of Cover-Up. The center of the hood should be placed on the center of the back panel. The front of the hood will be worked onto the front panel as pictured to the right.
Hood is seamed to the body as pictured
See – it’s just two rectangular panels, seamed at the sides and shoulders. Then a folded rectangle for the hood. Voila!
I hope you’ve enjoyed seeing something a little different on the blog today. It’s always fun to try new yarns and learn new skills. AND it’s been really neat to let my daughter be part of the designing process for these projects. I’m so proud of her and hope you have fun creating with your little ones too.
Happy finger knitting!
XO,
Jessica
If you liked this, you might also like:
This post sponsored by Lion Brand Yarn. All opinions are 100% my own.