Painted Sky Comfy Shrug – Beginner Sweater Pattern
See the entire free knitting pattern below, the printable pattern for purchase on Etsy HERE, the kit available from Lion Brand Yarn HERE. Members, grab your printable HERE!
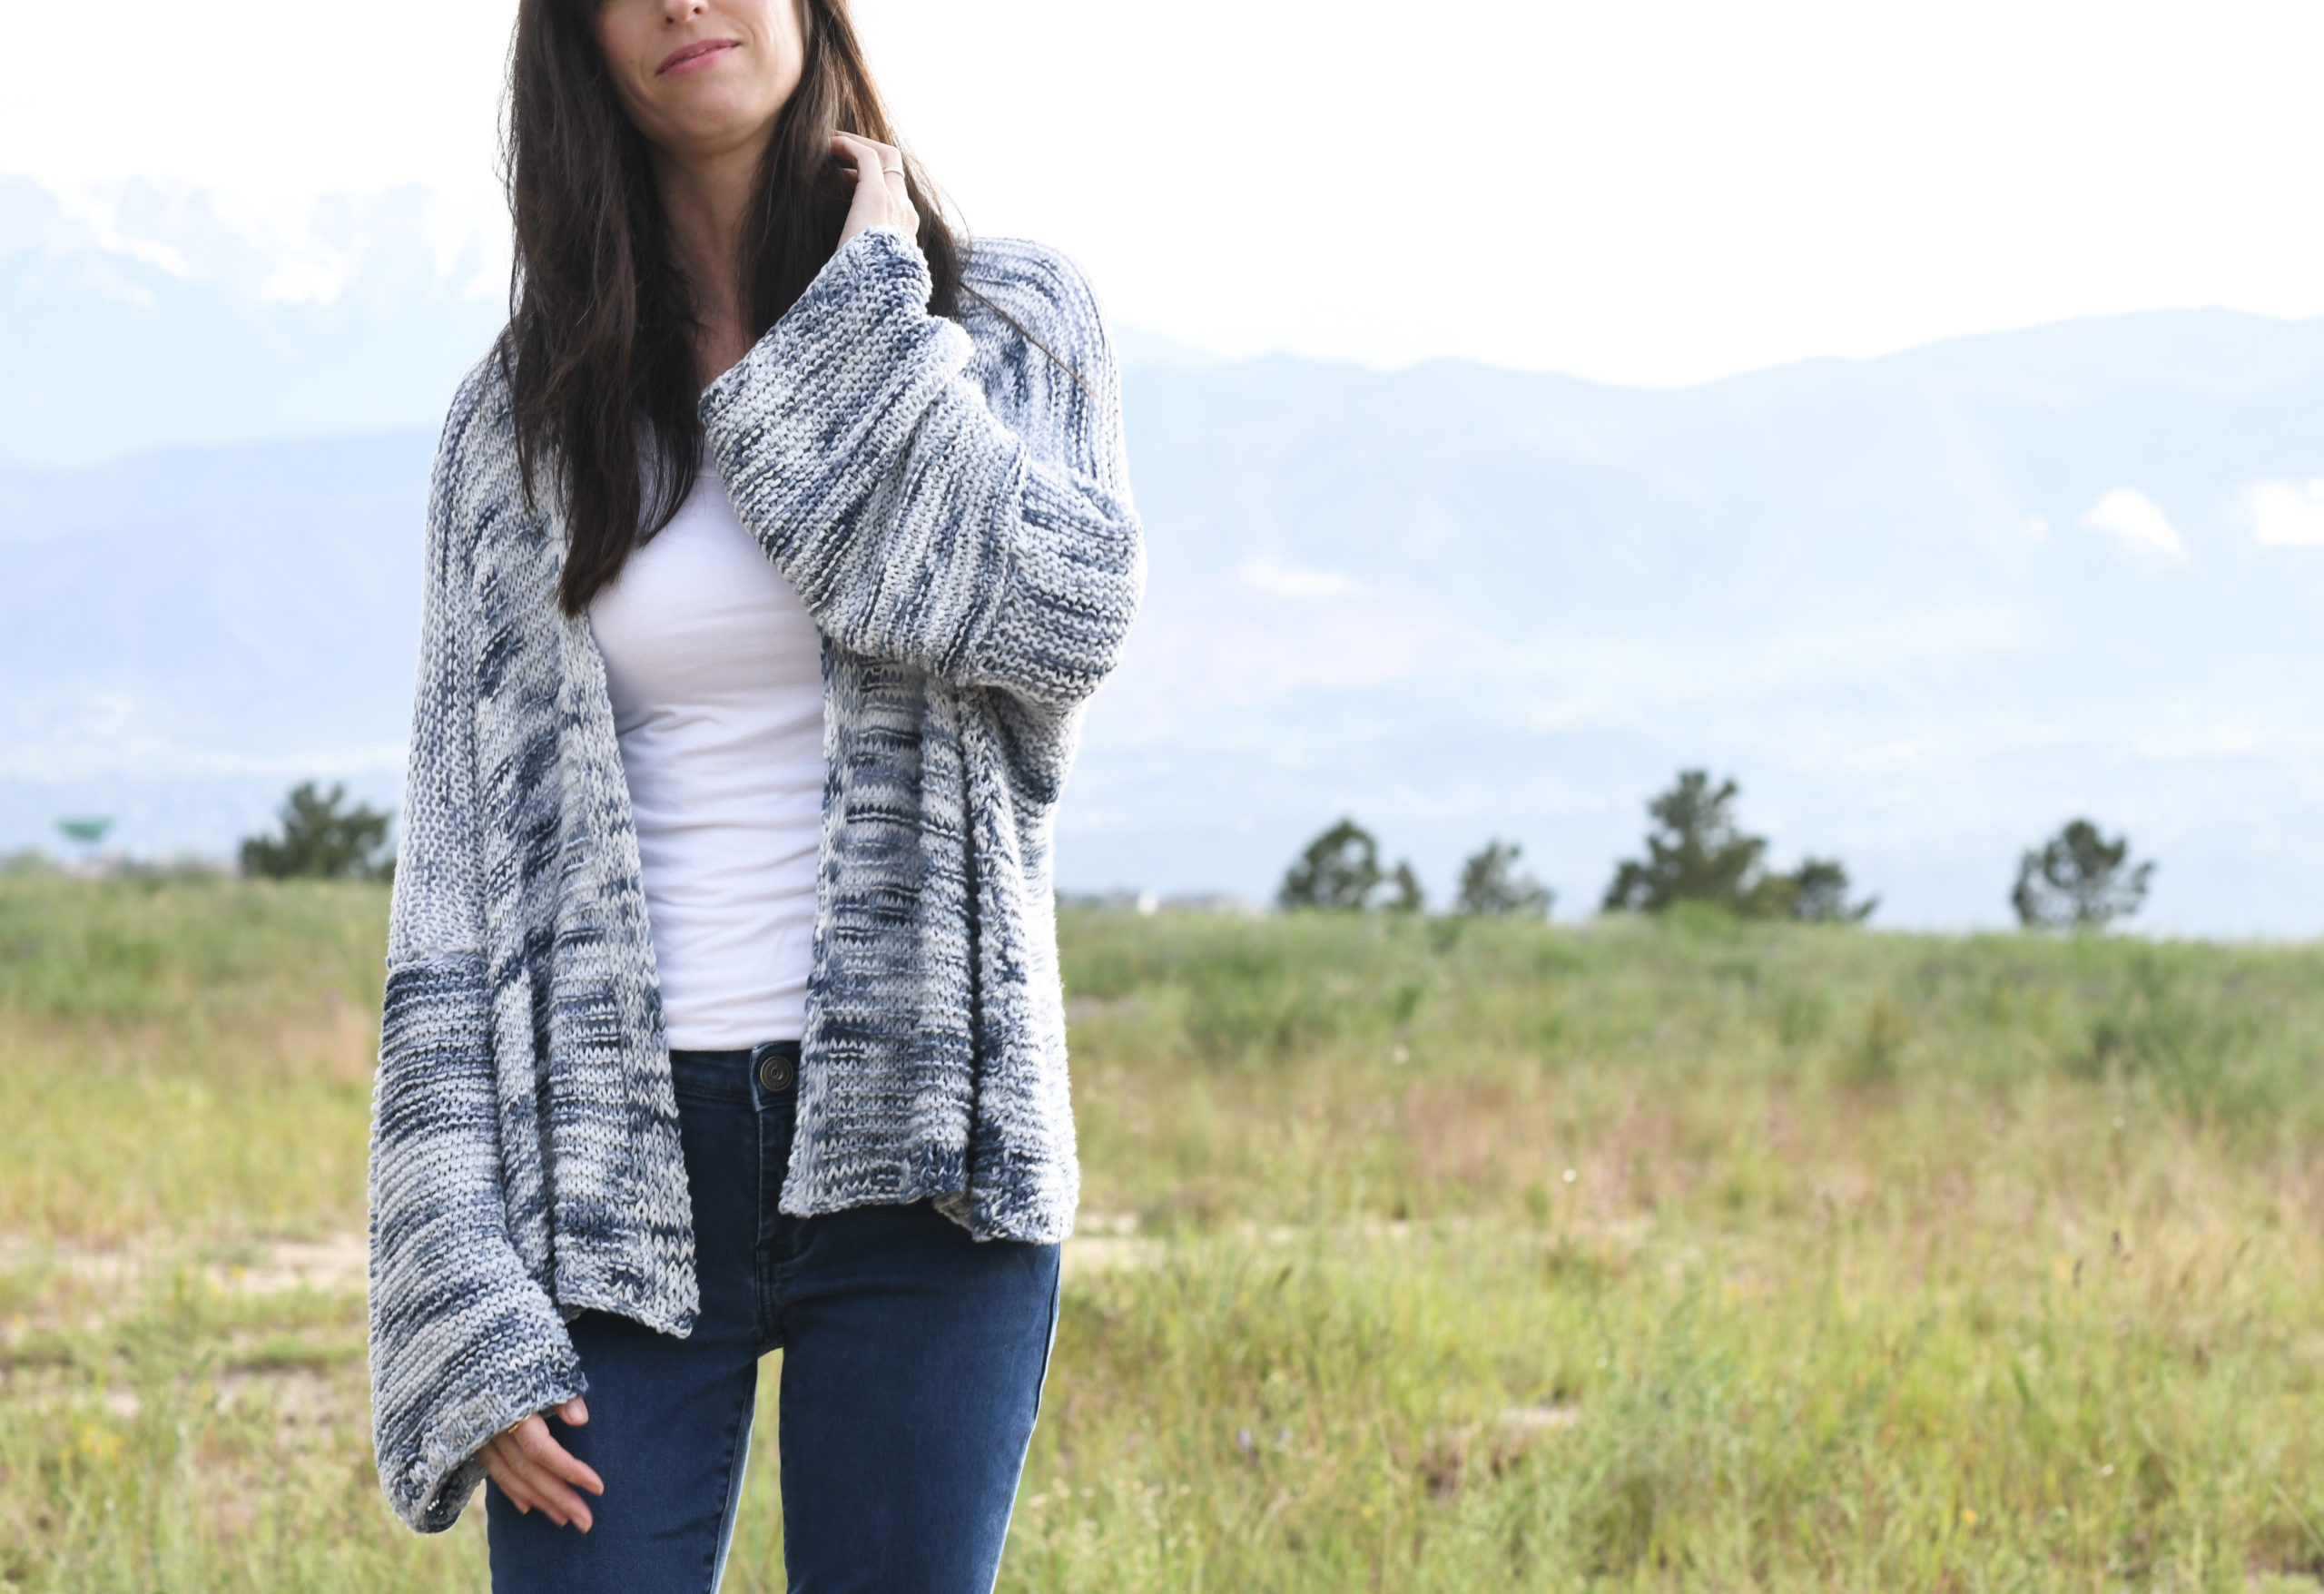
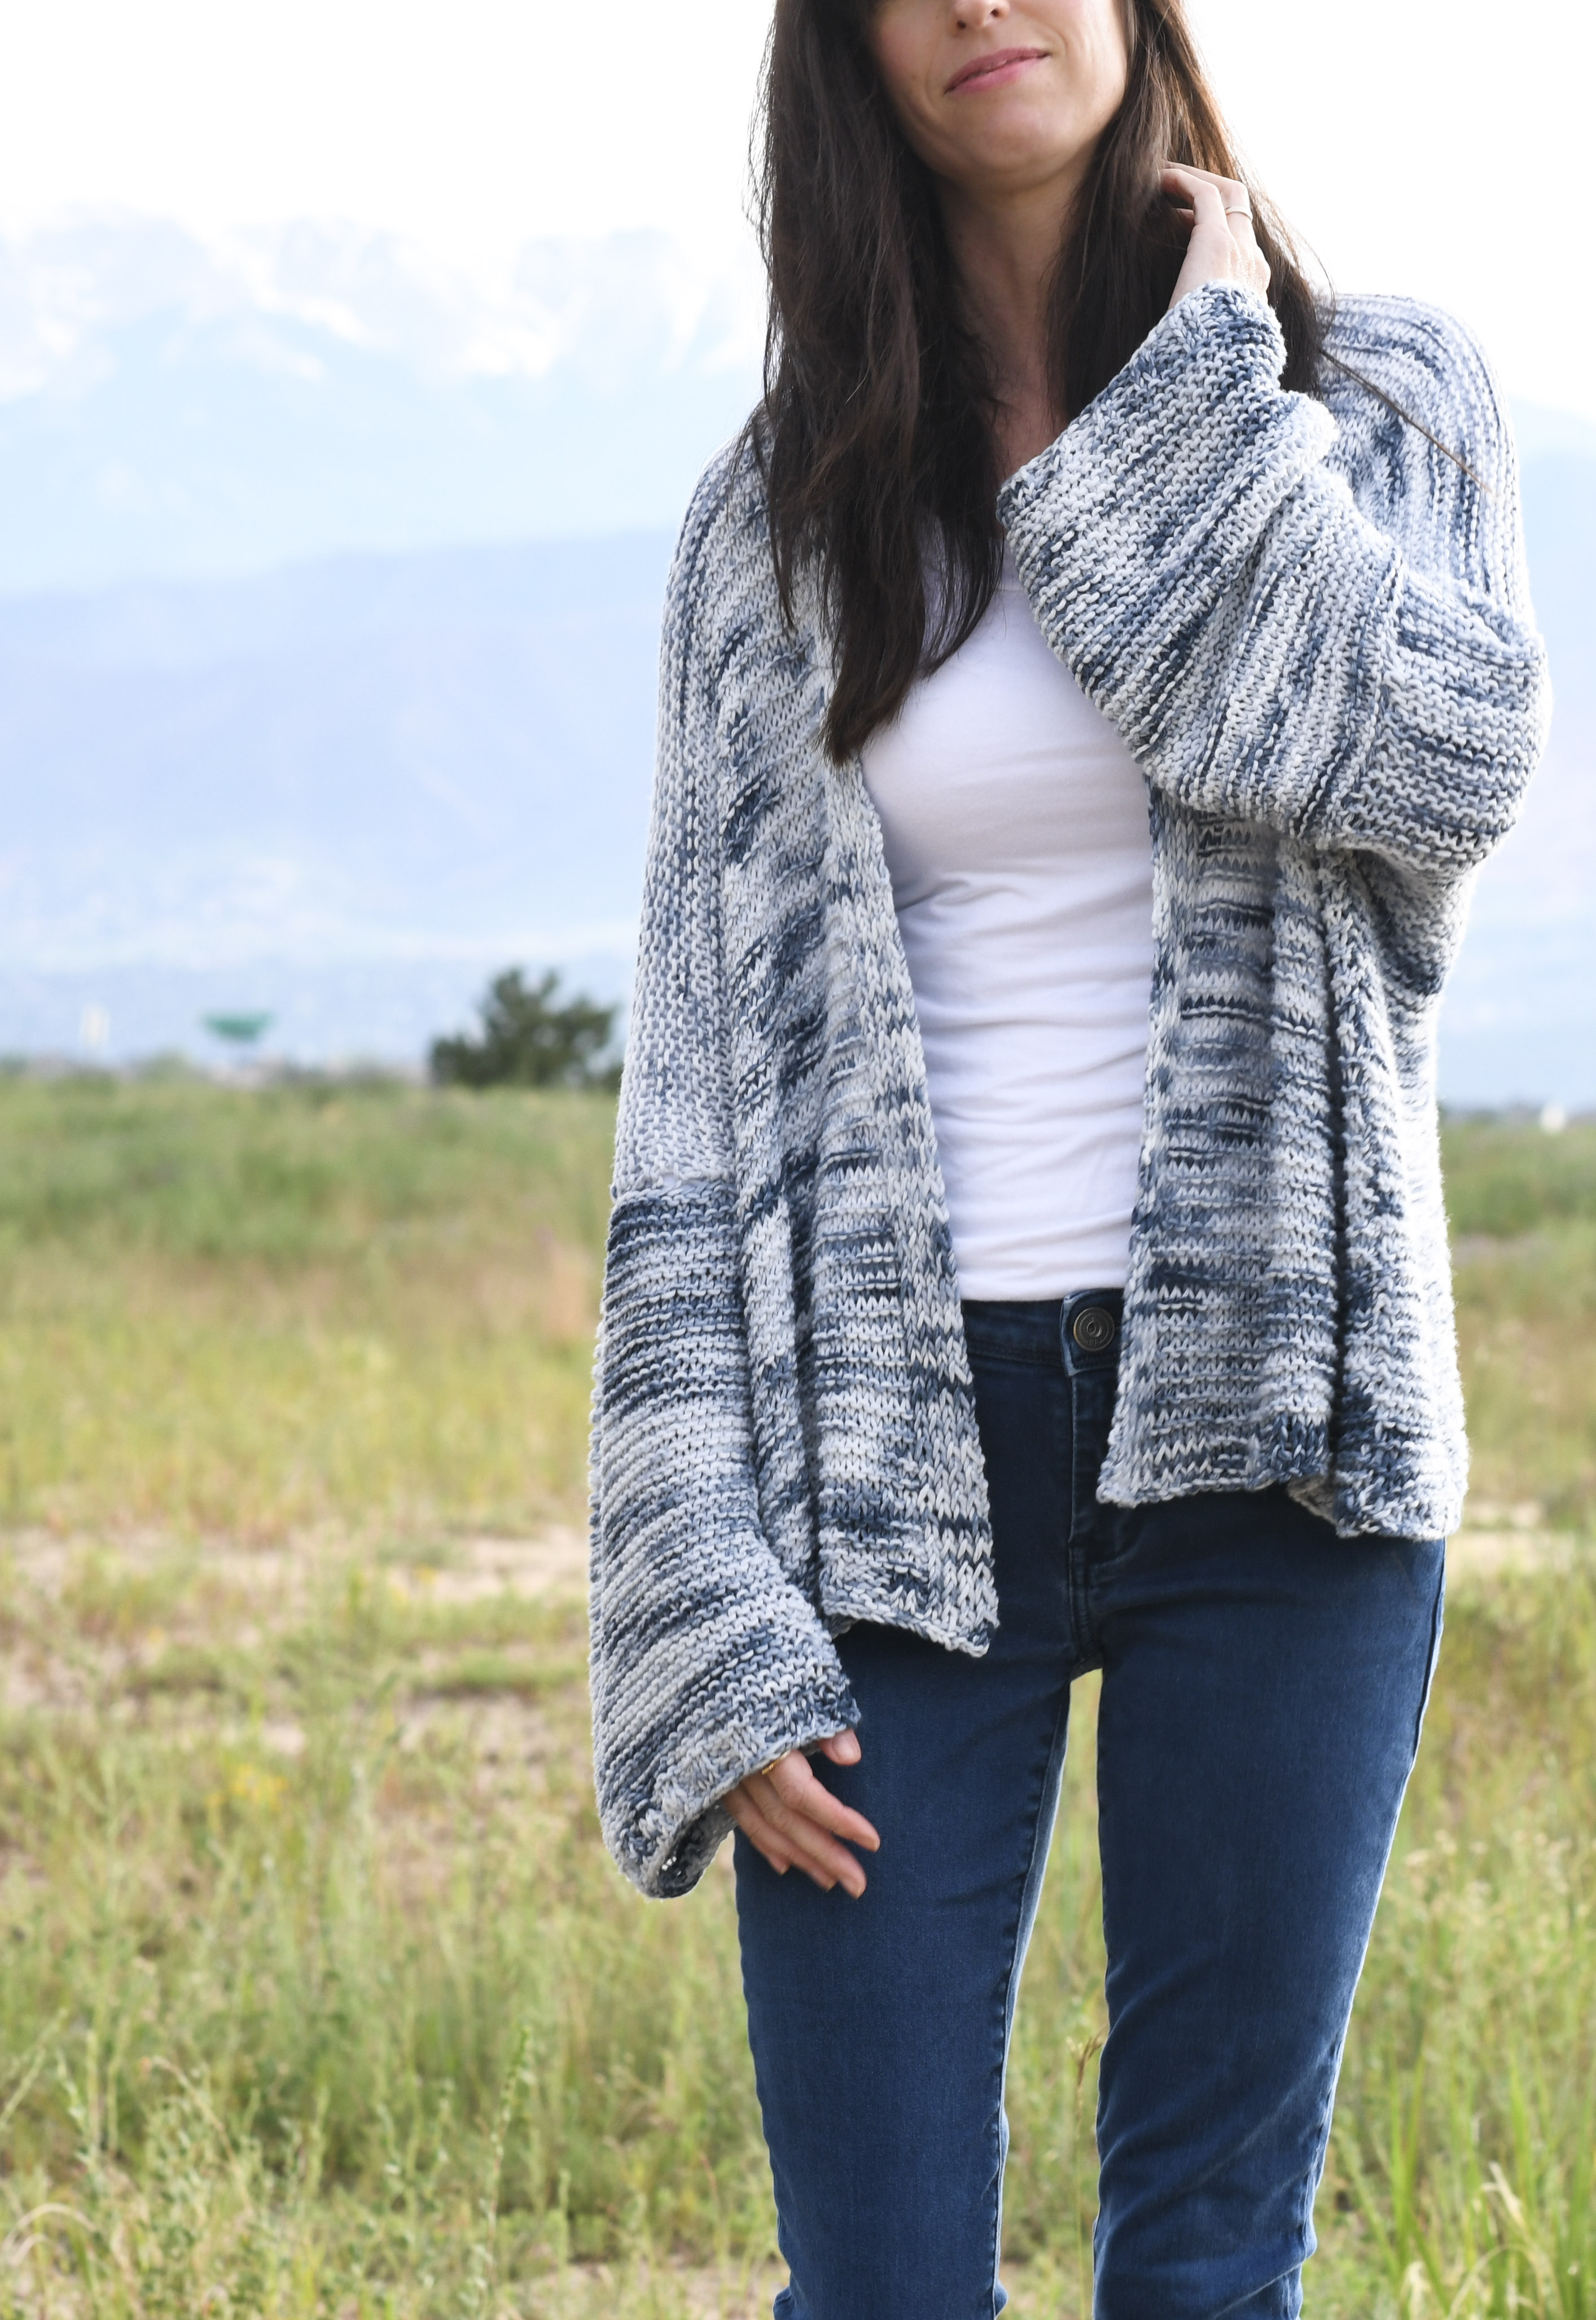
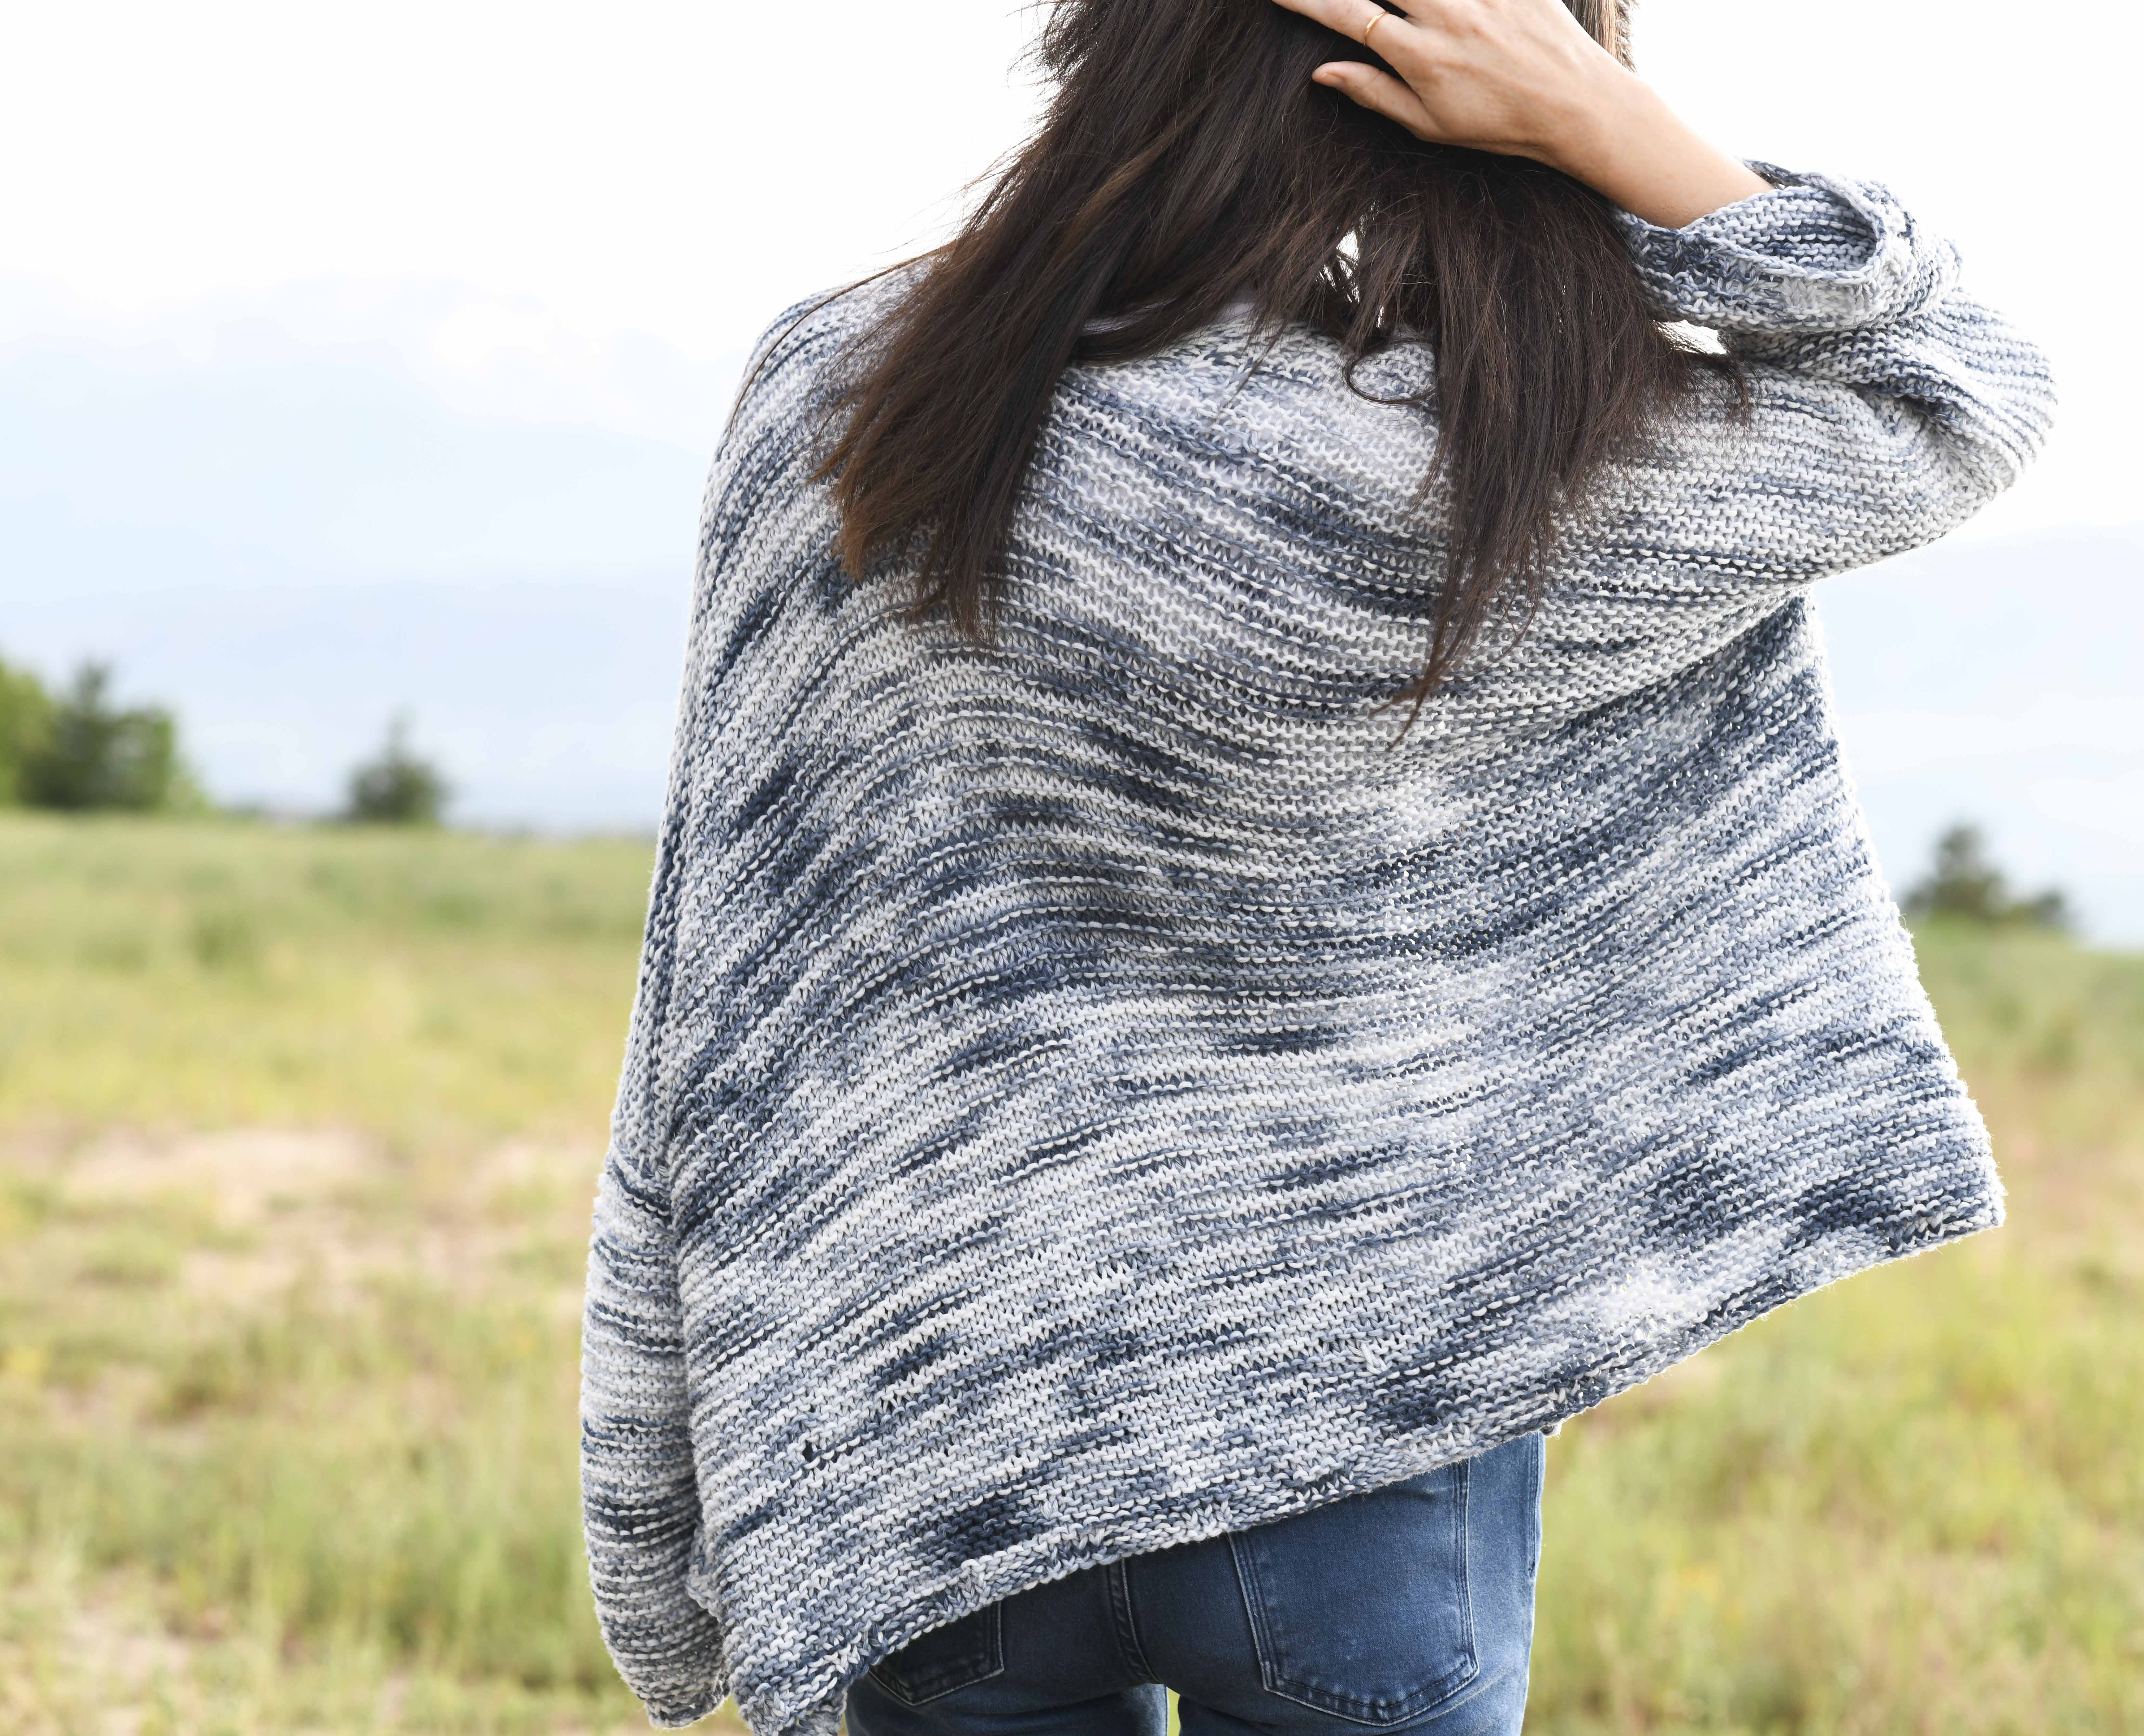
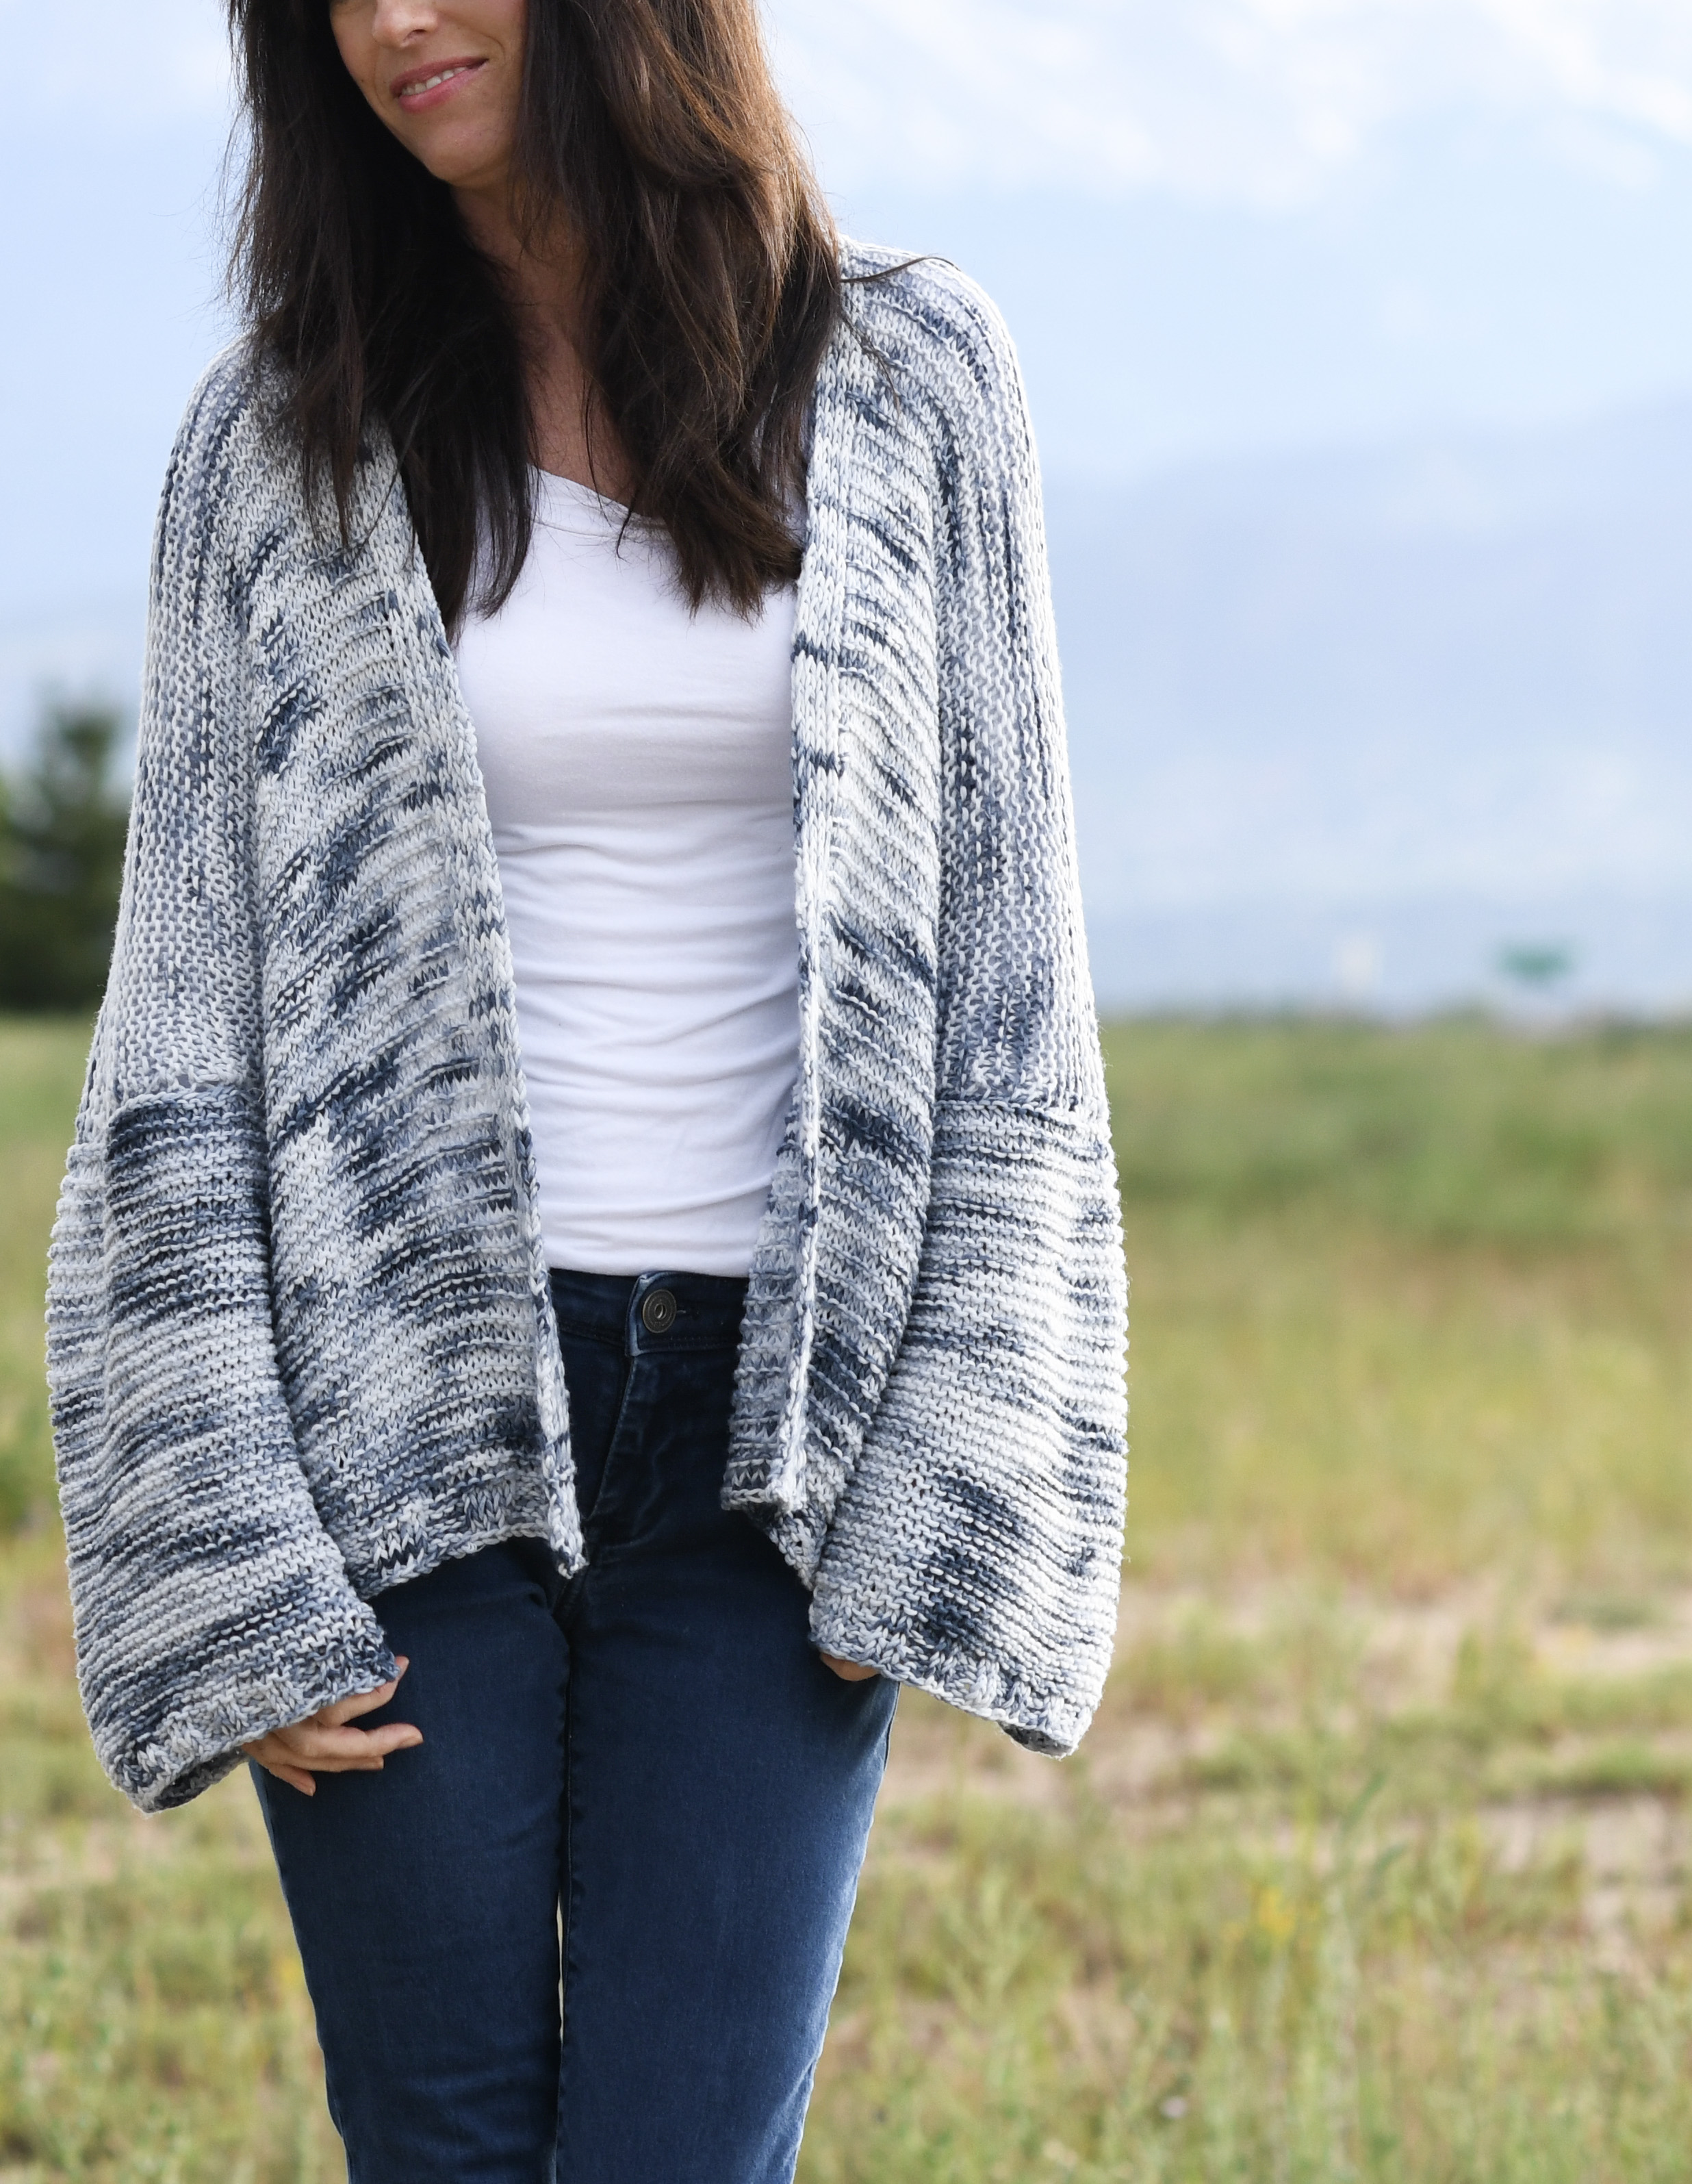
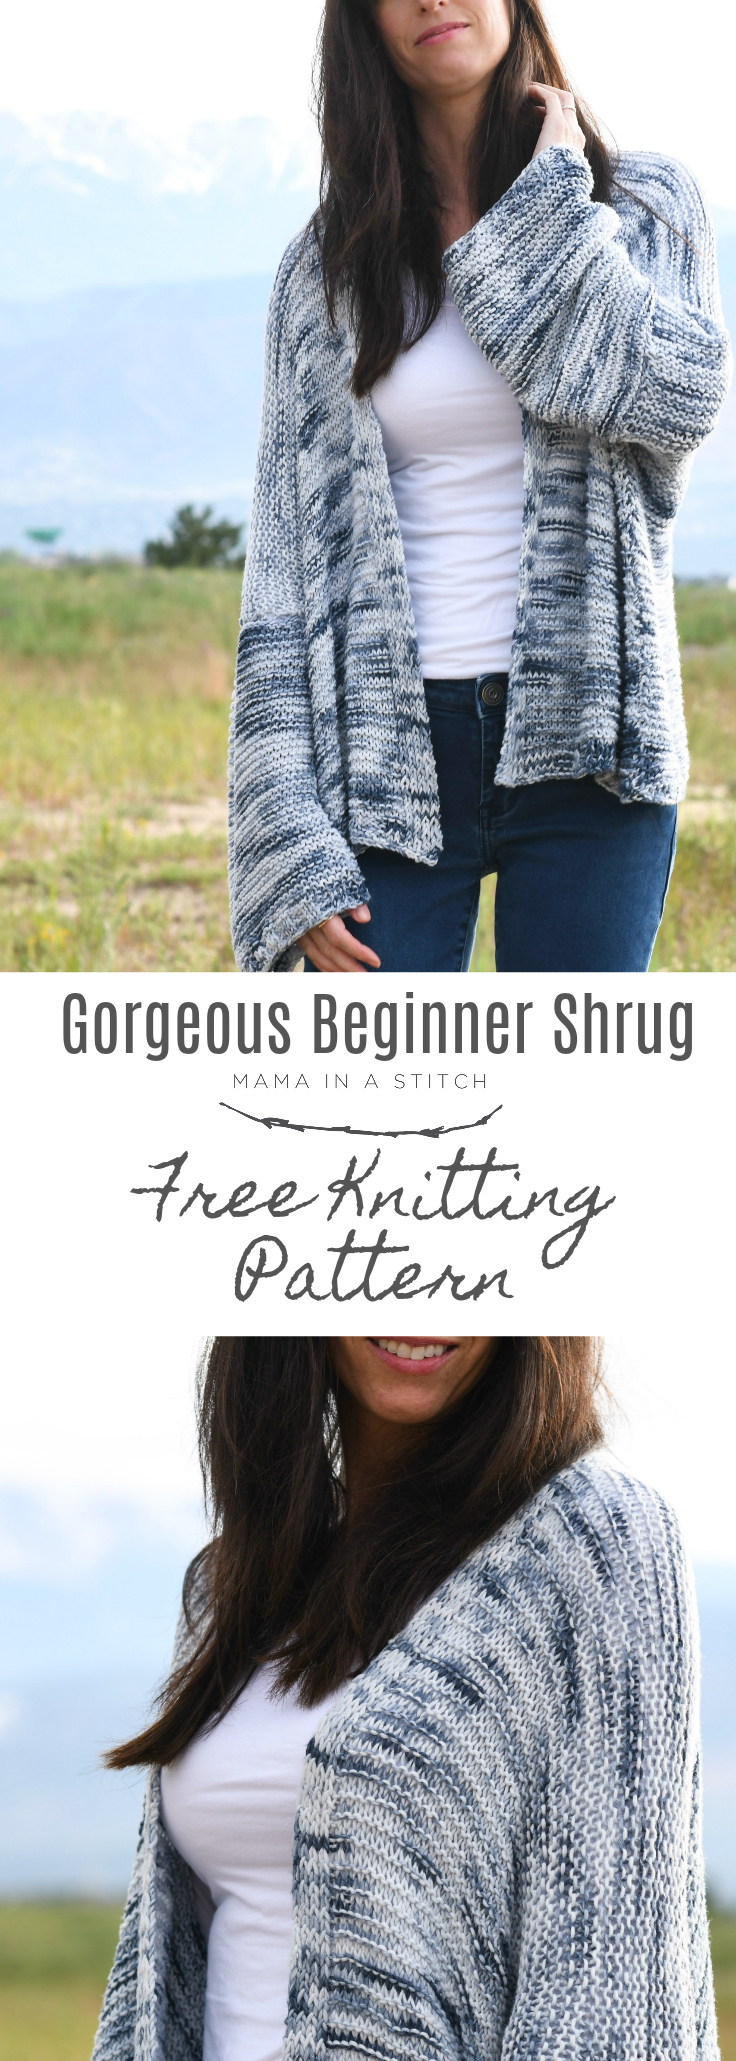
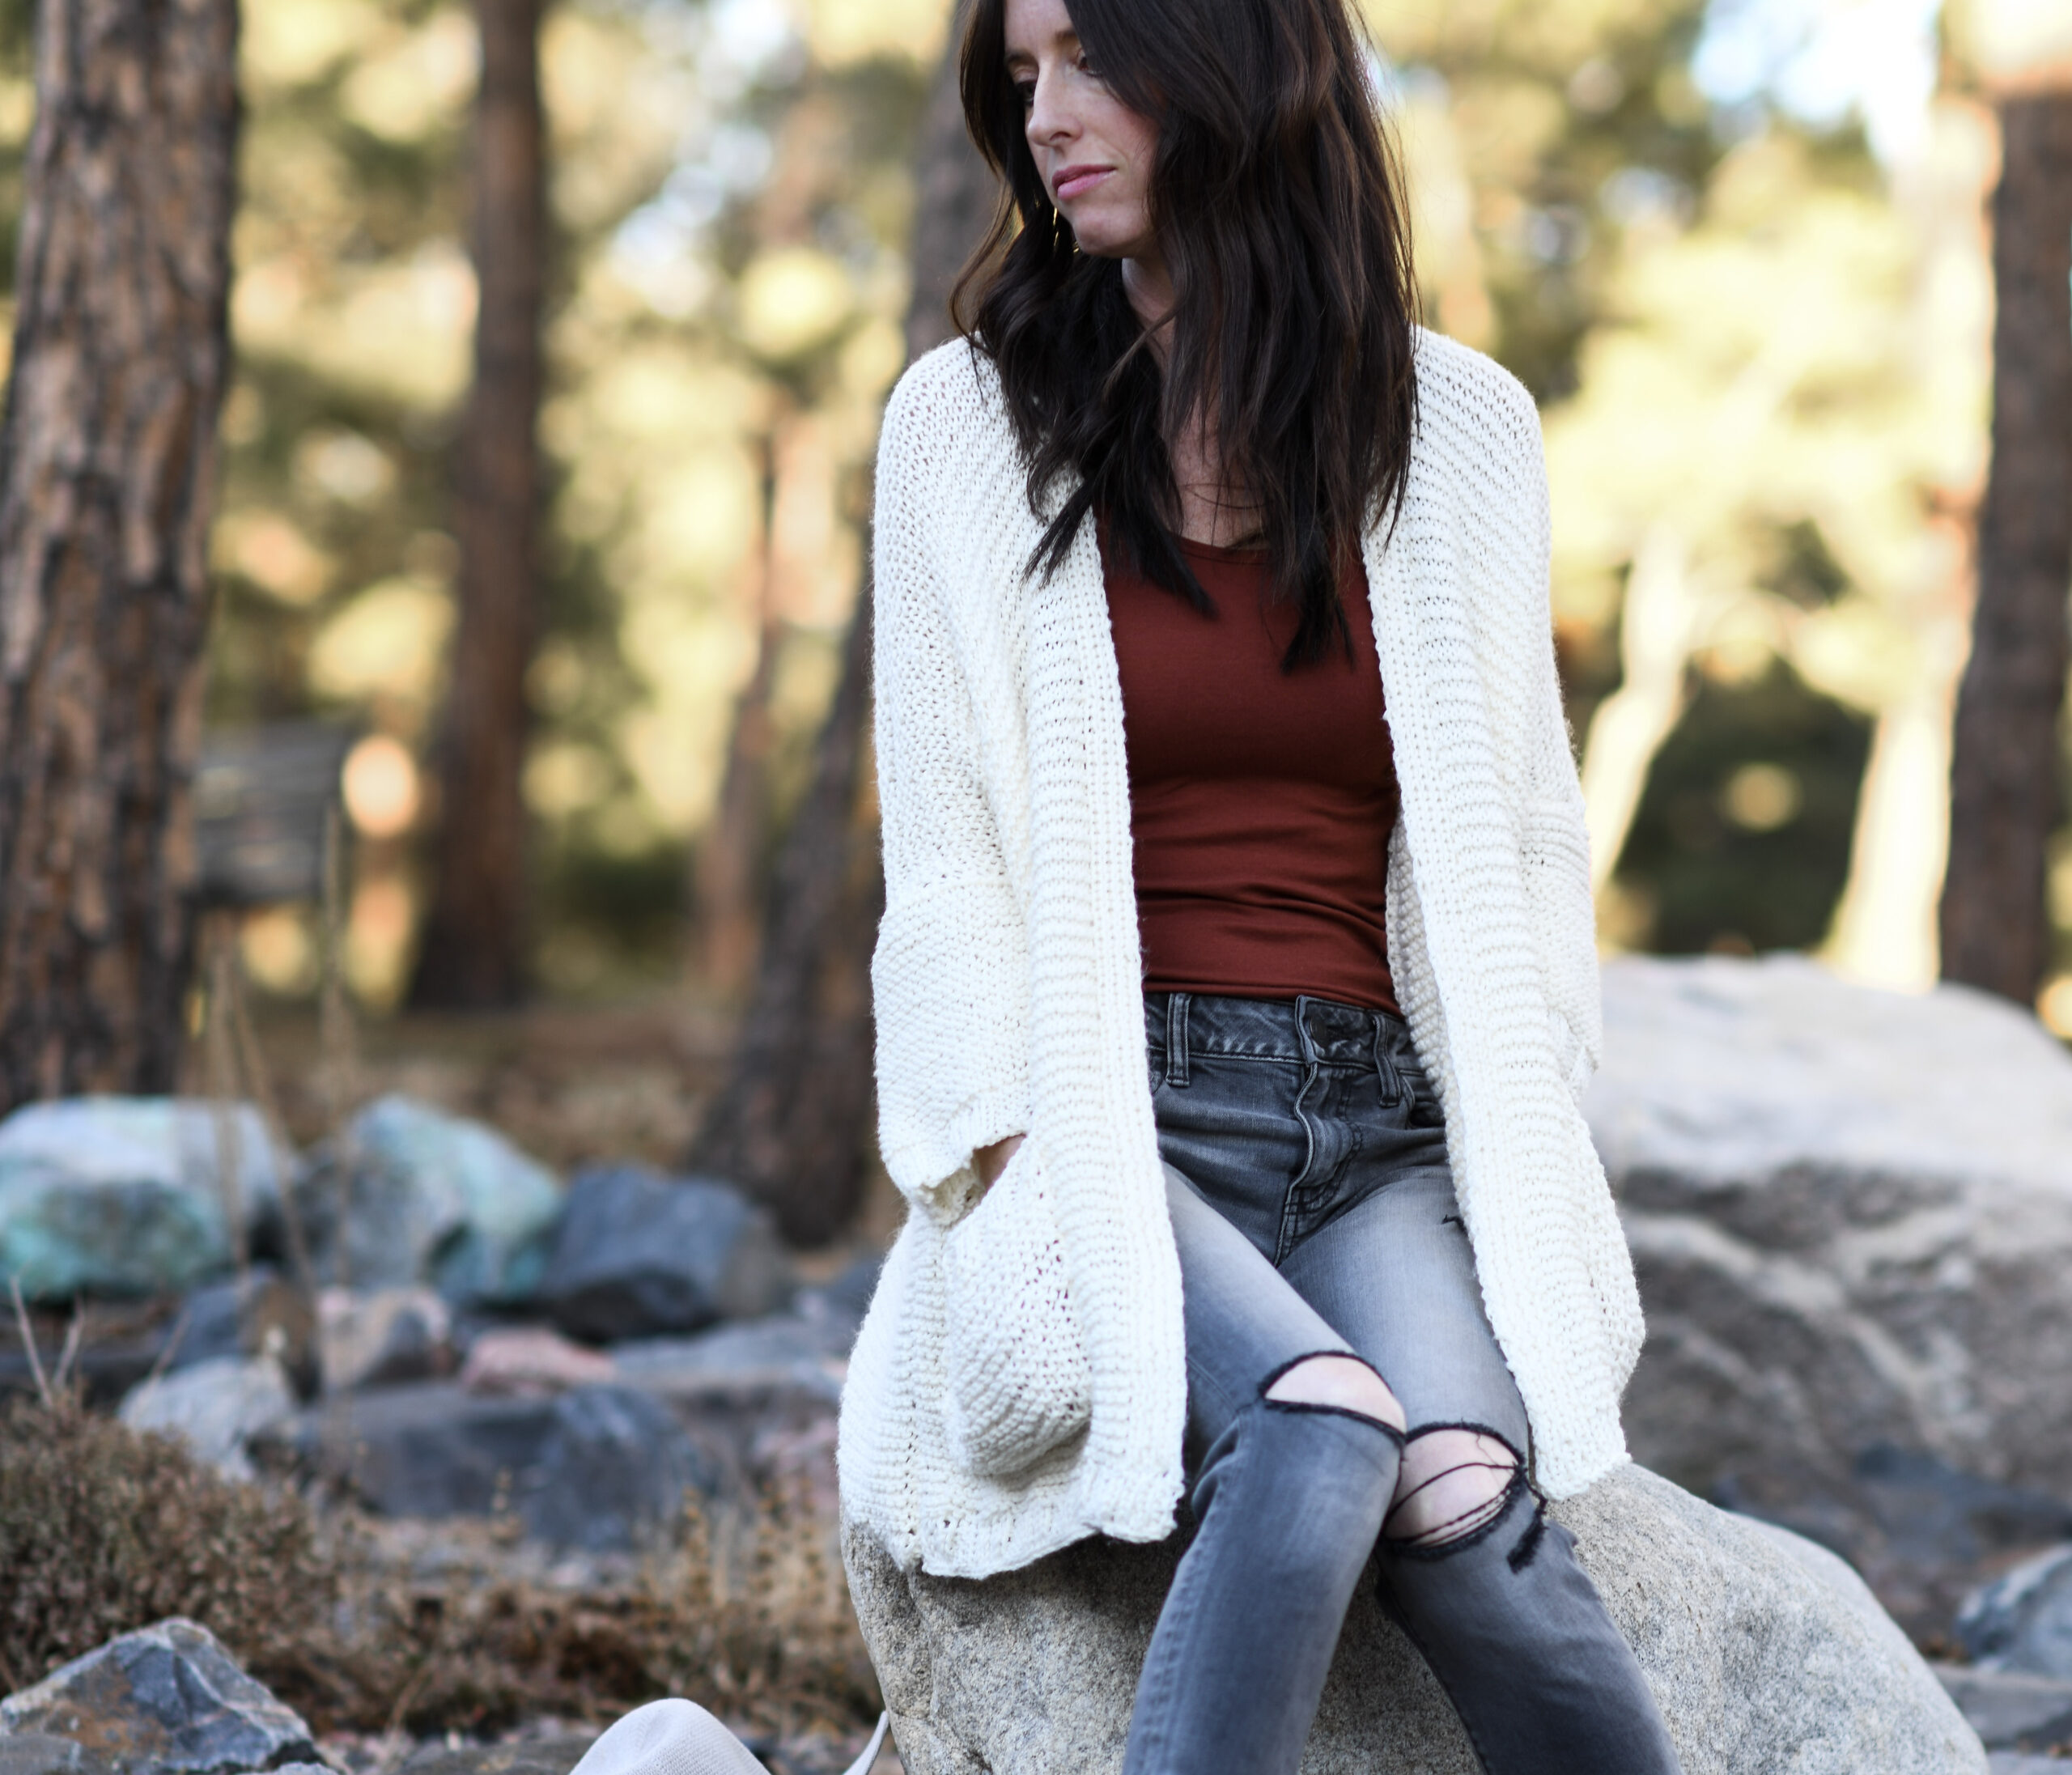
Today, I finally get to share this super simple yet beautiful sweater that I’ve been working on for months! It’s knit with the basic garter stitch and a very simple construction so that anyone, even a beginner, can make it. The yarn is so soft and the drape is amazing – and look at the color! I really enjoyed my Cotton Candy Cardigan Knitting Pattern (here), but I’m loving this Painted Sky Shrug SO MUCH for summer!
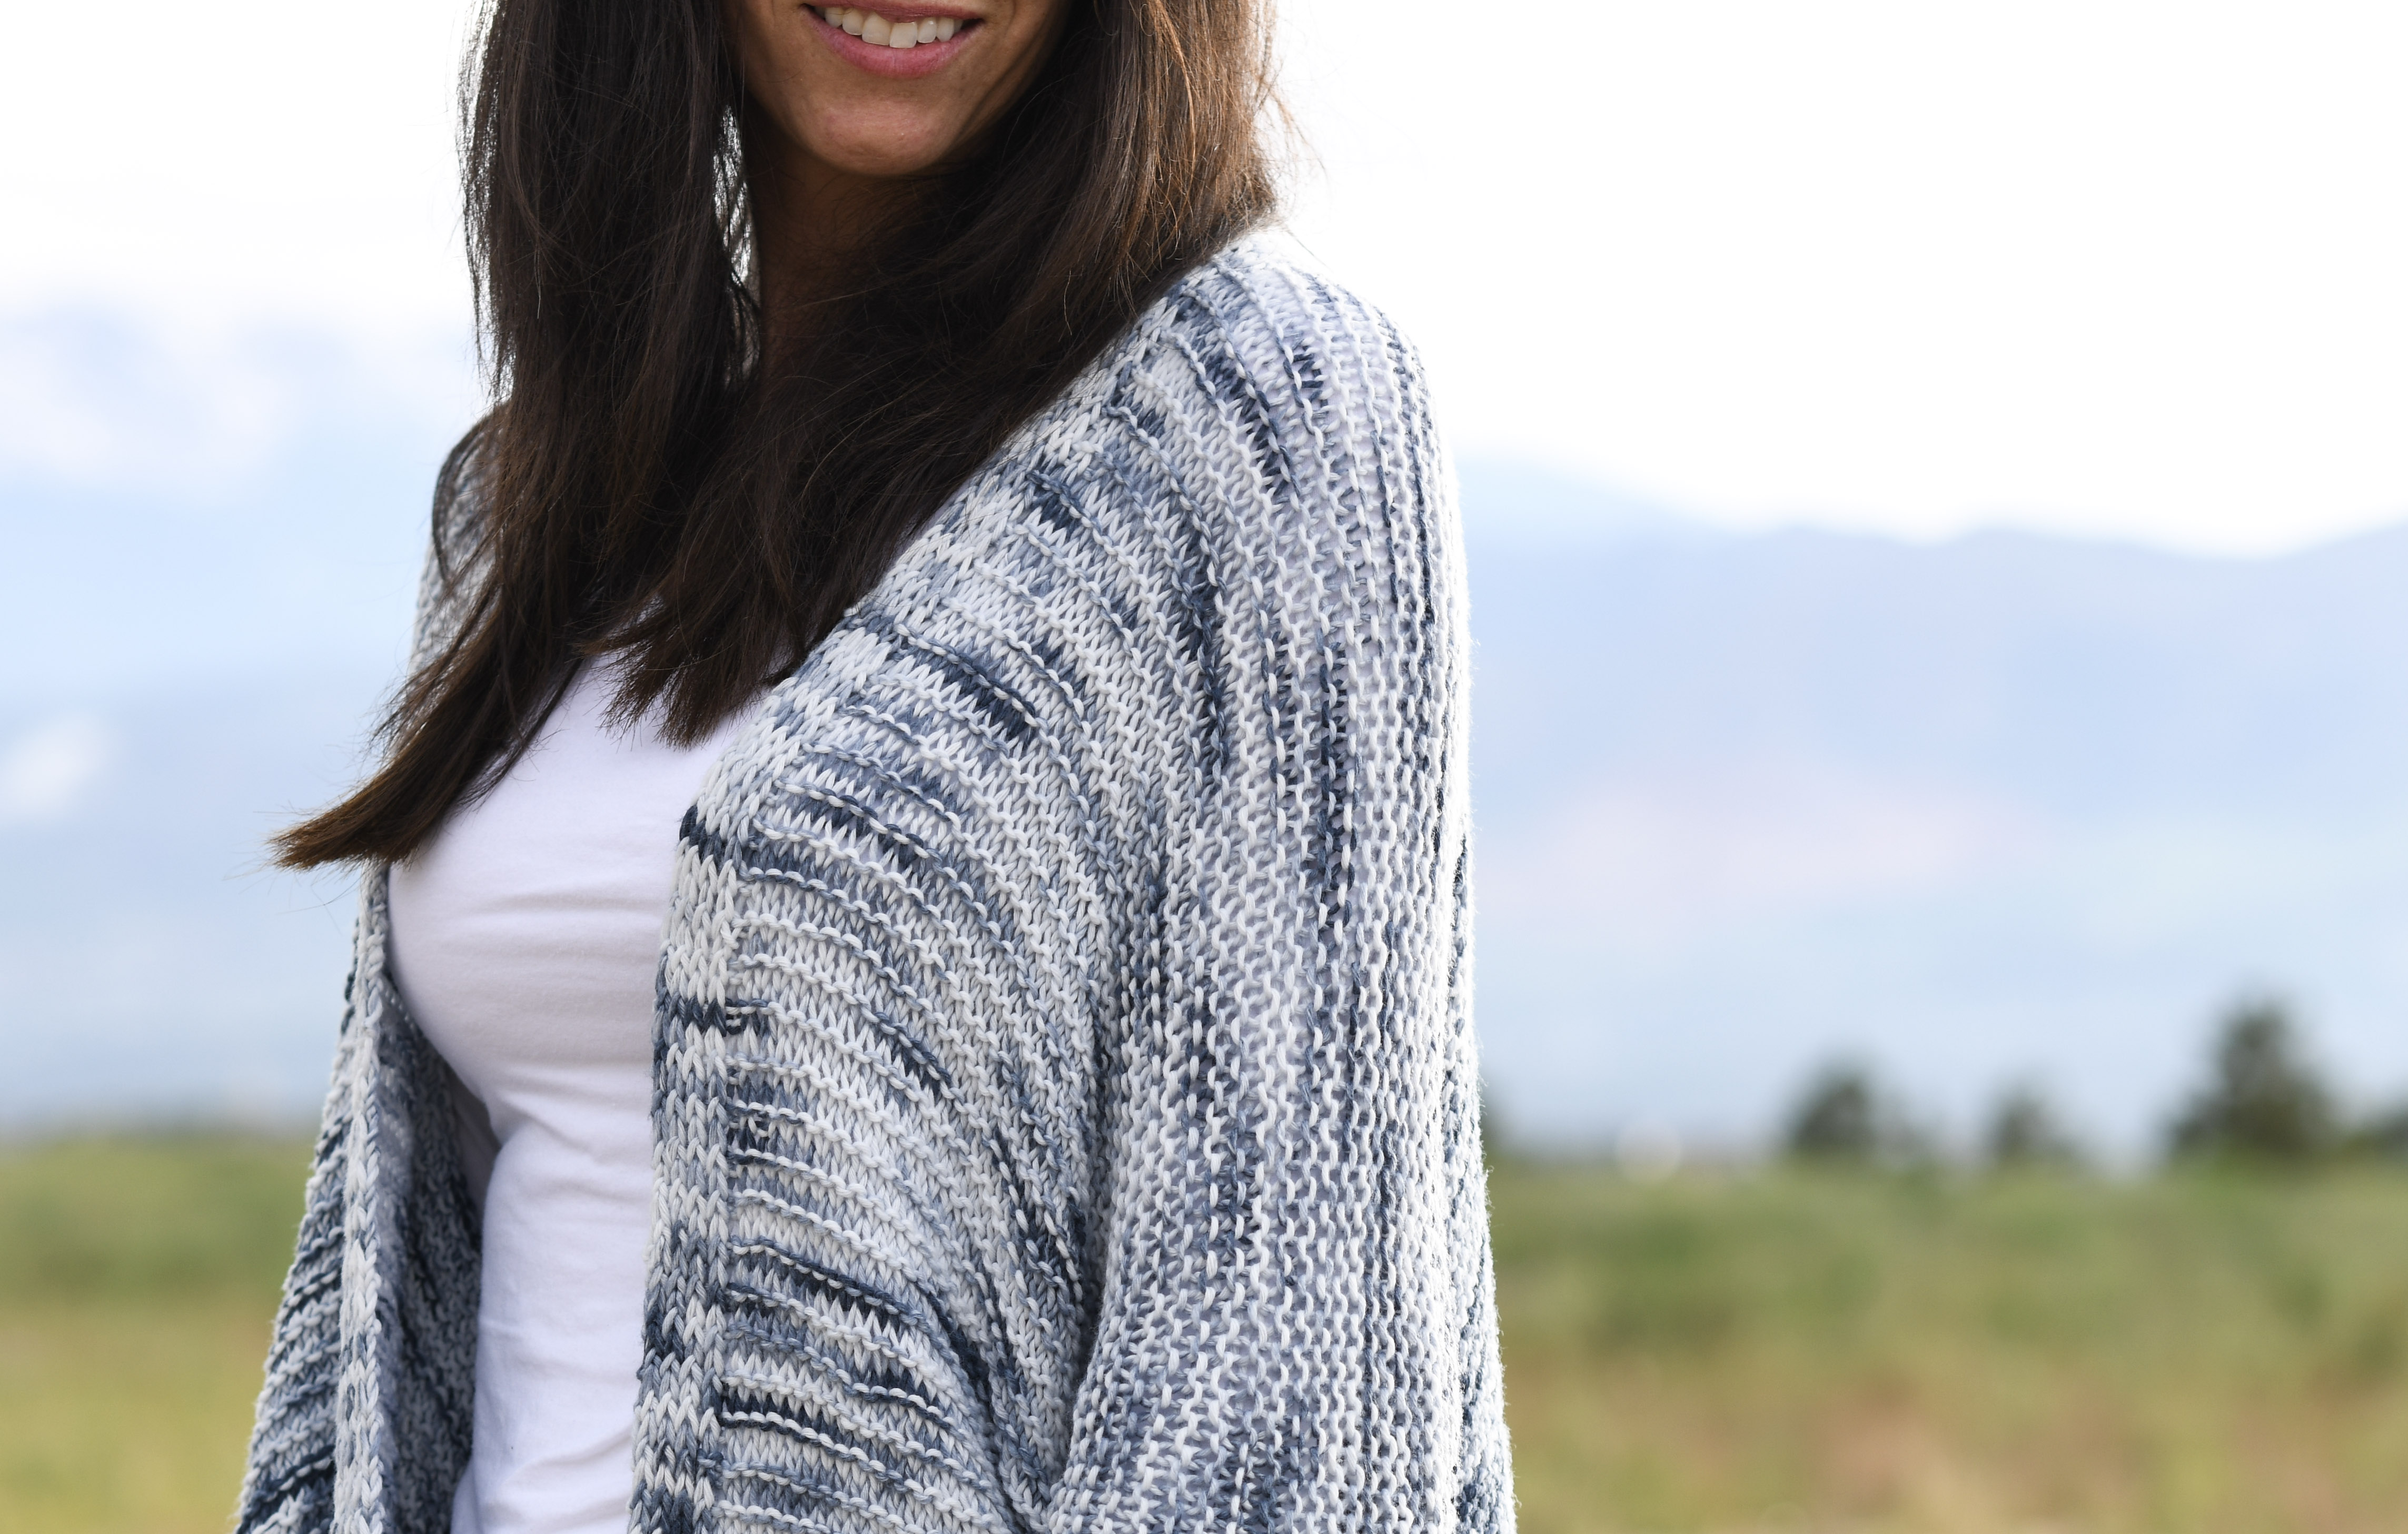
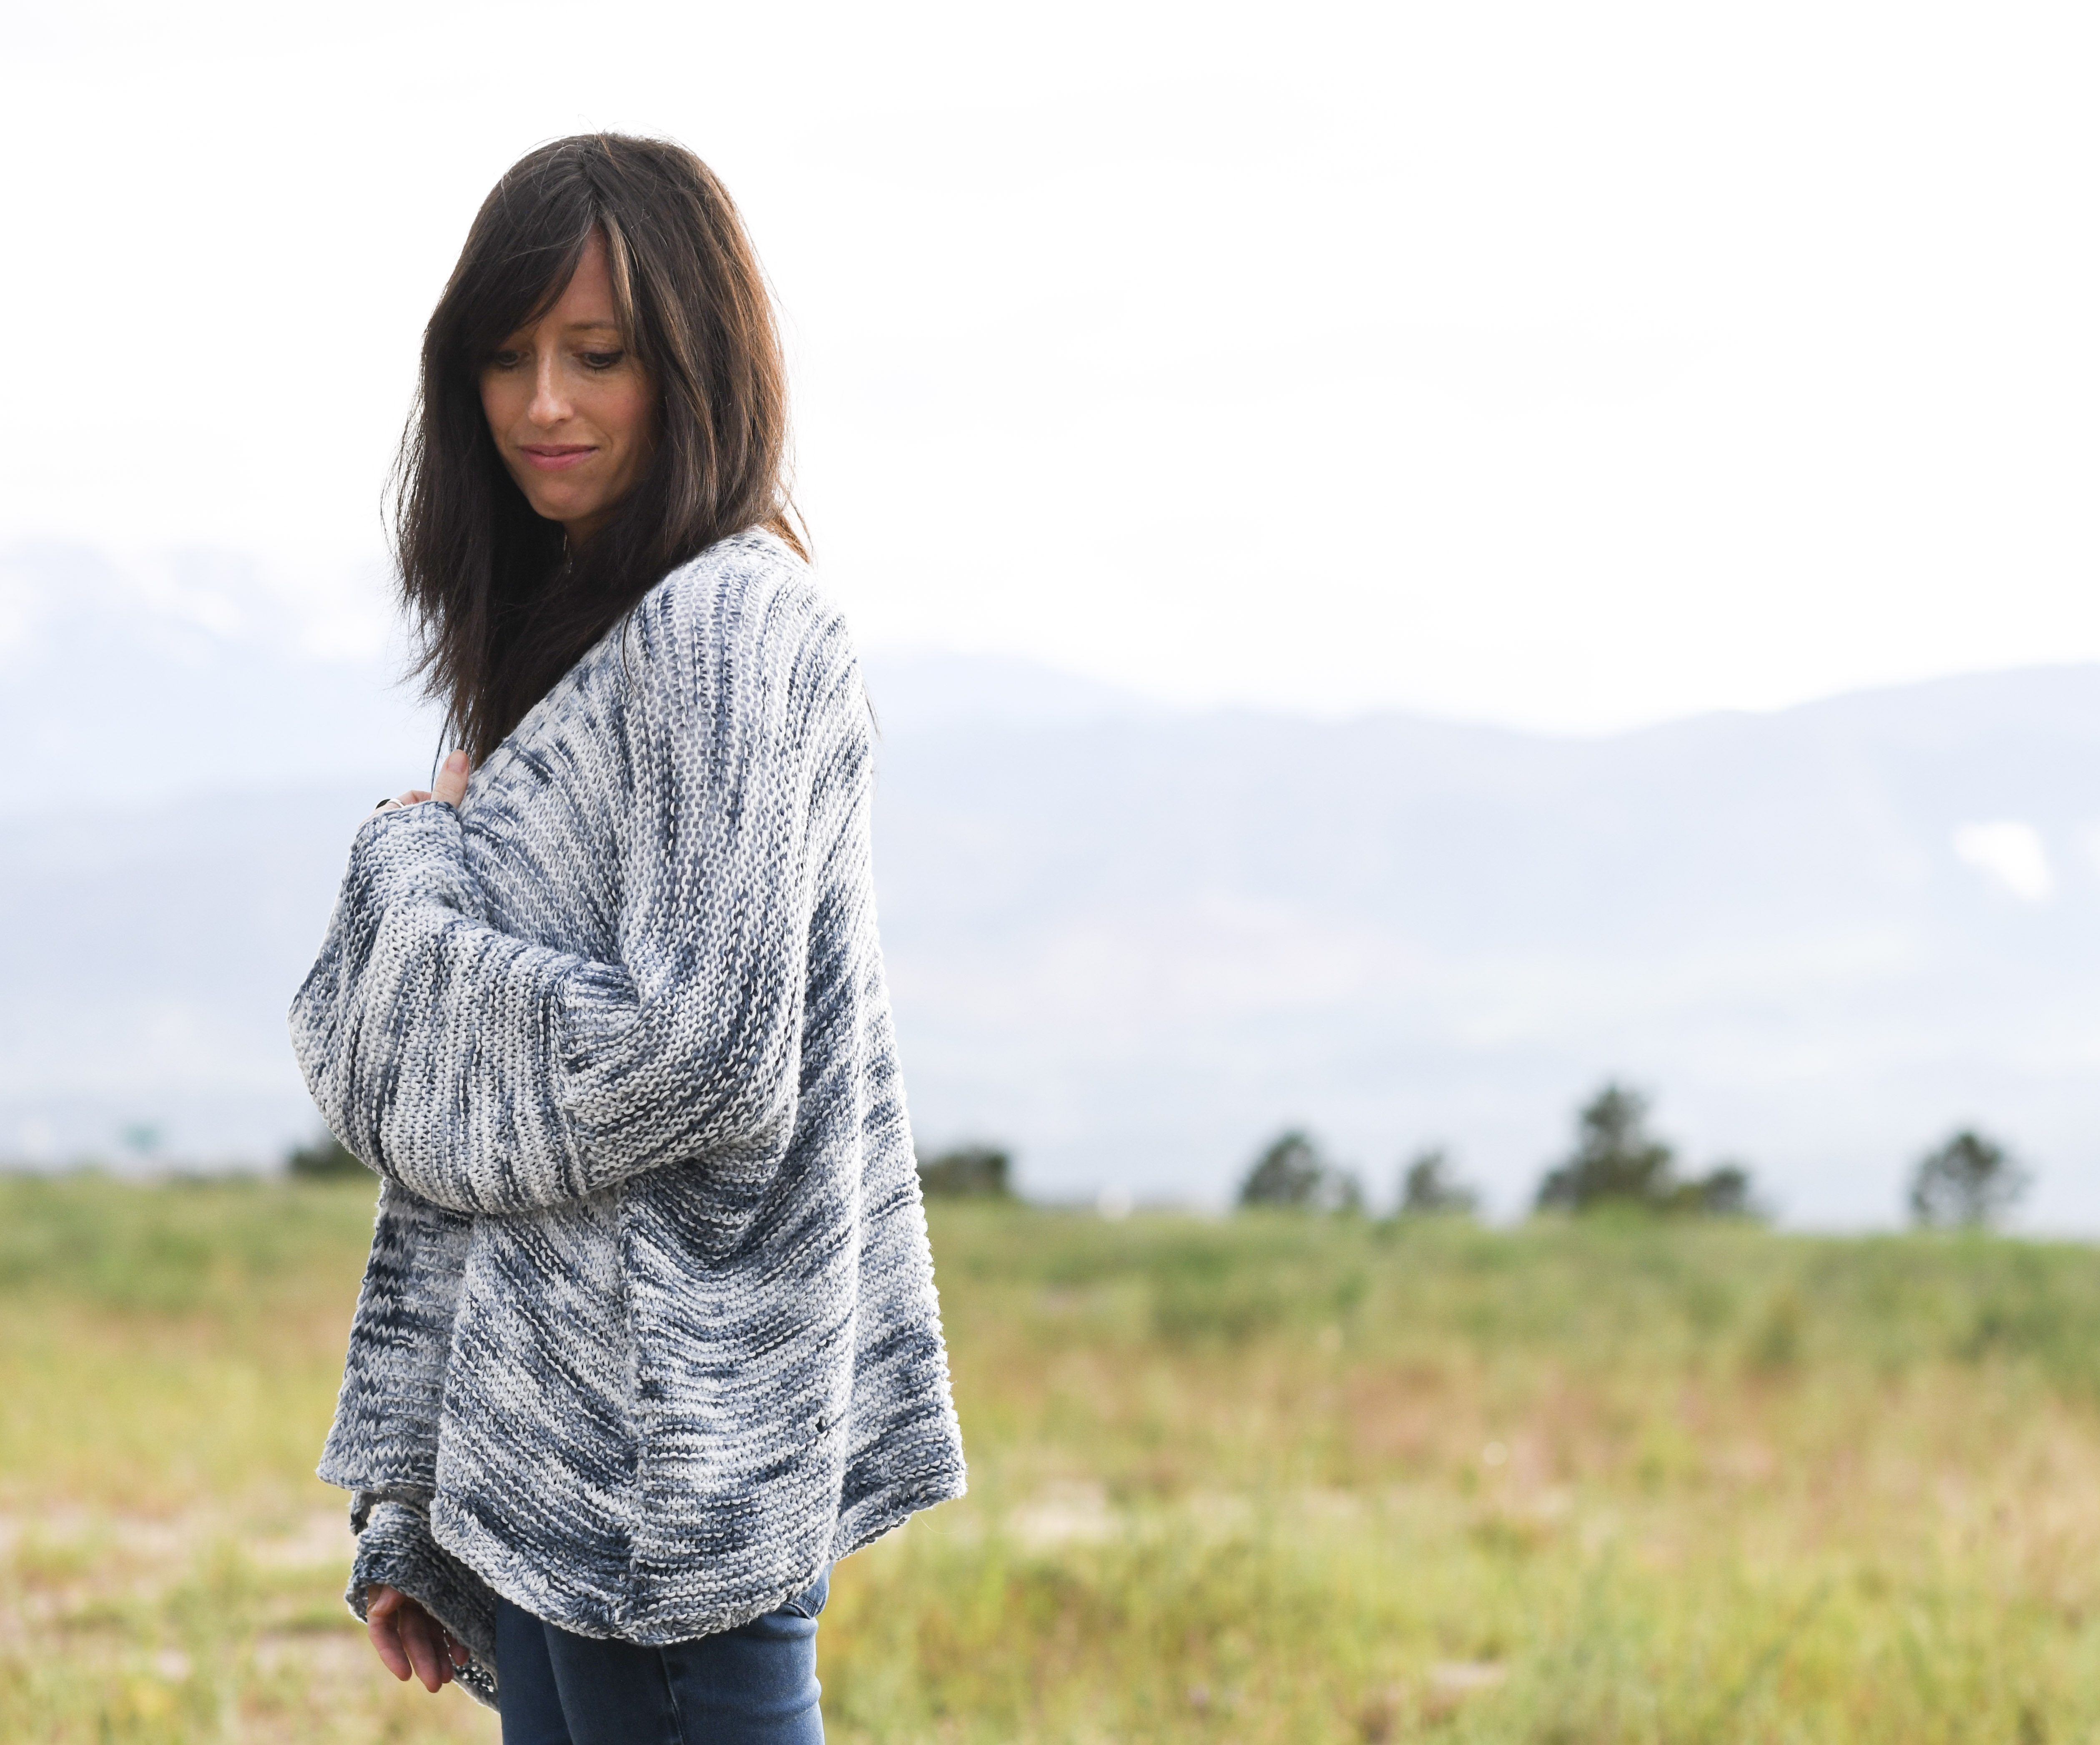
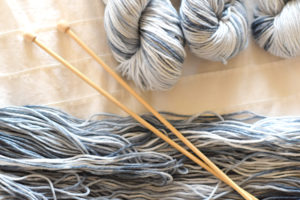
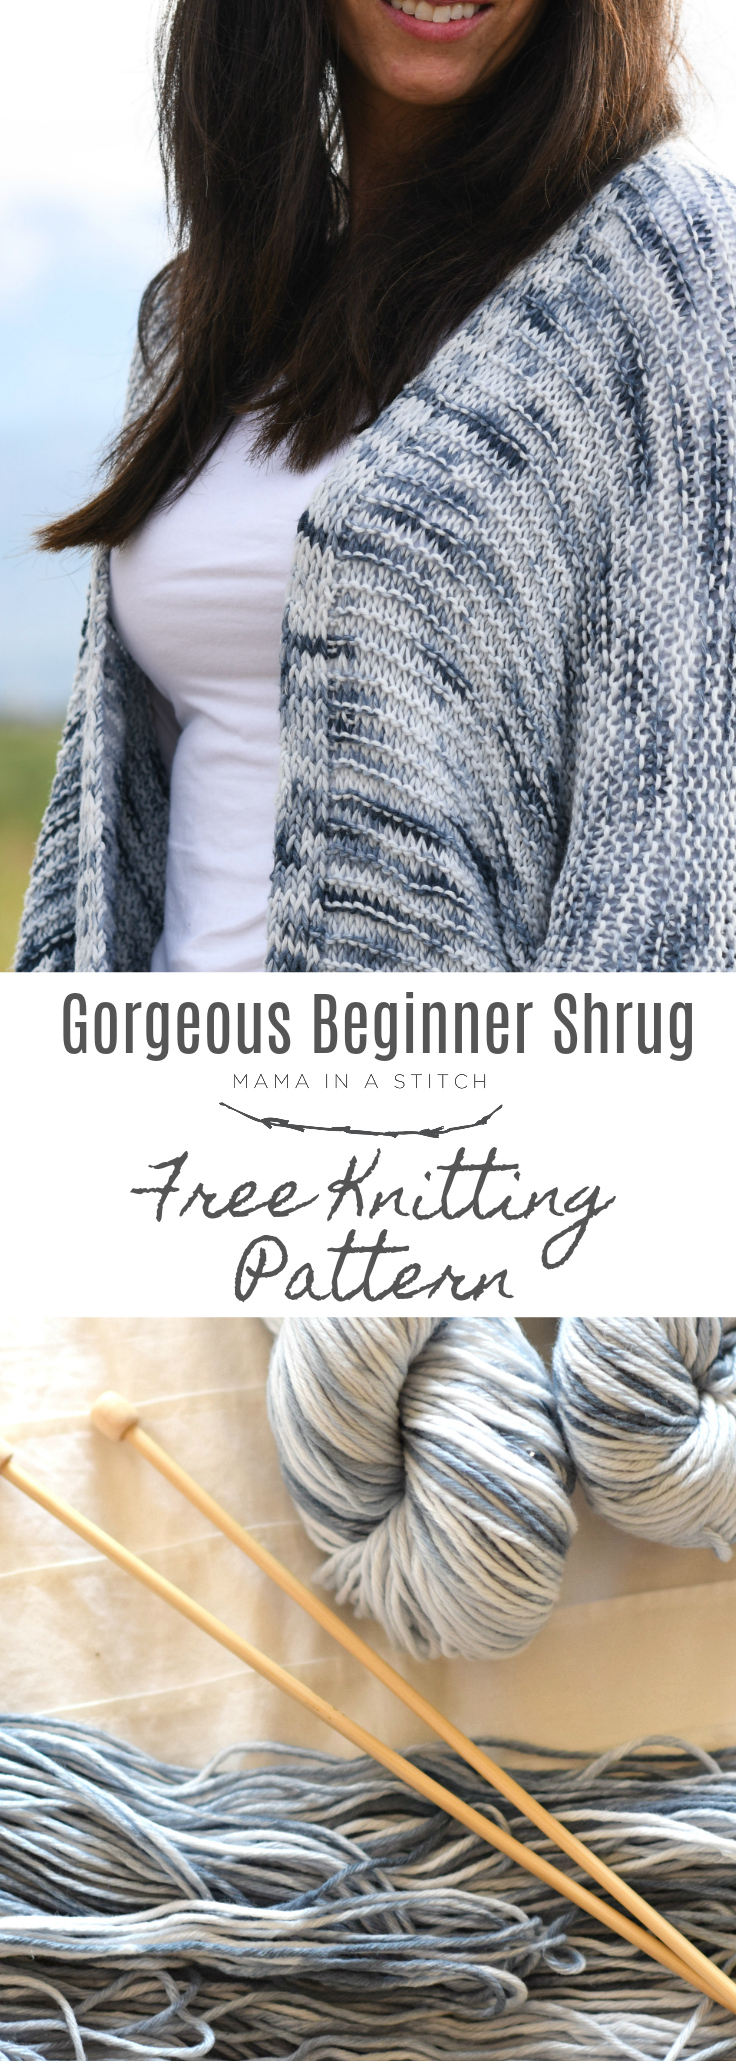
Have you used hand-dyed yarn? When I first received this Hand Dyed Heaven yarn, I loved the colors but wasn’t totally sure how it would work-up into a fabric. I am so excited about the way the colors work together! It had to be named “Painted Sky” because it literally reminds me of the various colors in the sky after a storm. The fabric is ultra bouncy, squishy and comfortable to wear. It’s 100% nylon but I could have sworn it was an ultra-soft cotton. It’s going to wash-up nicely which is a bonus because I plan on wearing this A LOT.
Serious comfies happening over here. 😉
While I used this lovely color called “Greyhound”, there are so many other lovely options. Lion Brand has made different colors available for the kit (here) or you can just see all the color options of the yarn (here).

Let’s get to how you’ll knit this. The entire body is worked in one piece. You’ll start with knitting the back and then work the front. The sleeves are then knit flat, seamed, then sewn onto the shrug. Every part of this knit shrug is worked flat and you won’t find complicated shaping. And while shaping is sometimes lovely, the lack of shaping is what really makes this sweater roomy and comfortable! Some of my favorite store-bought pieces have little to no shaping. Yep, we keep finding out that knitting sweaters doesn’t have to be hard like we always thought. 🙂 AND, if you’ve never knit but have wanted to learn, definitely check out this post on “How To Knit For Crocheters”, practice a little, then come back to make this!
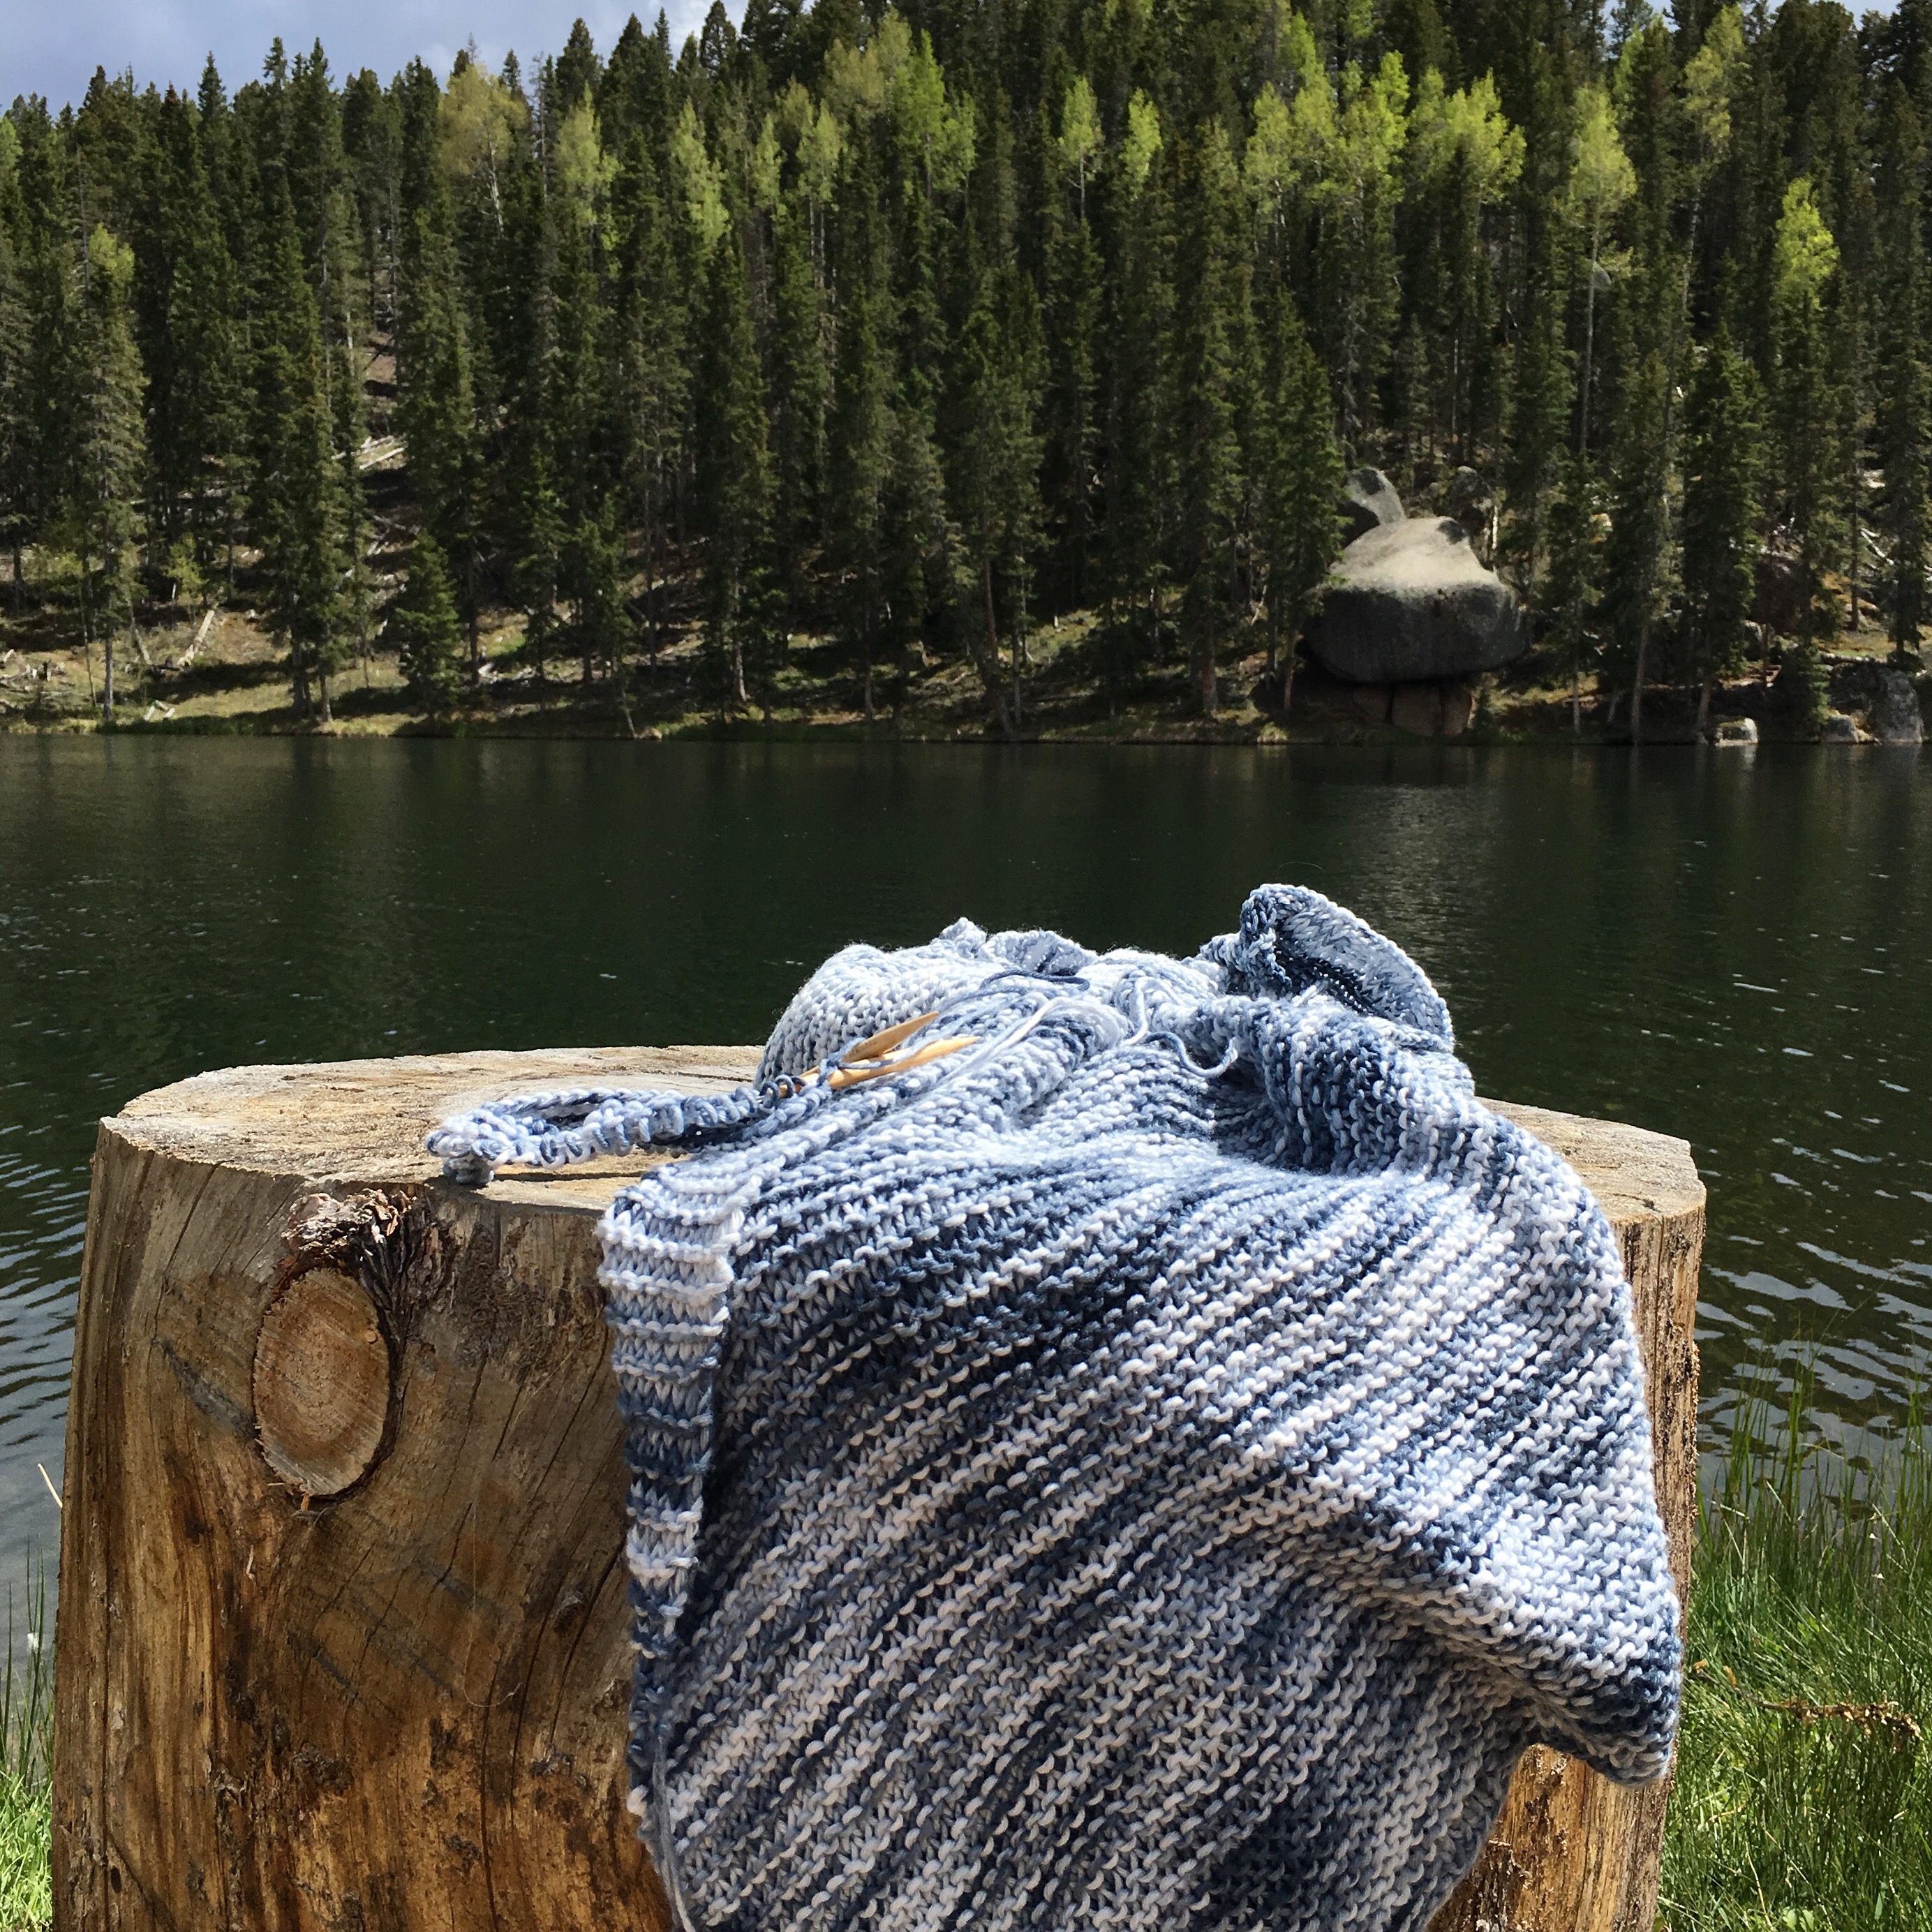
Below: This is the kind of project that you can take anywhere. It’s easy enough that you can pick it up and put it down during all of your summer travels without getting lost. See, it even came to the lake with me. 🙂

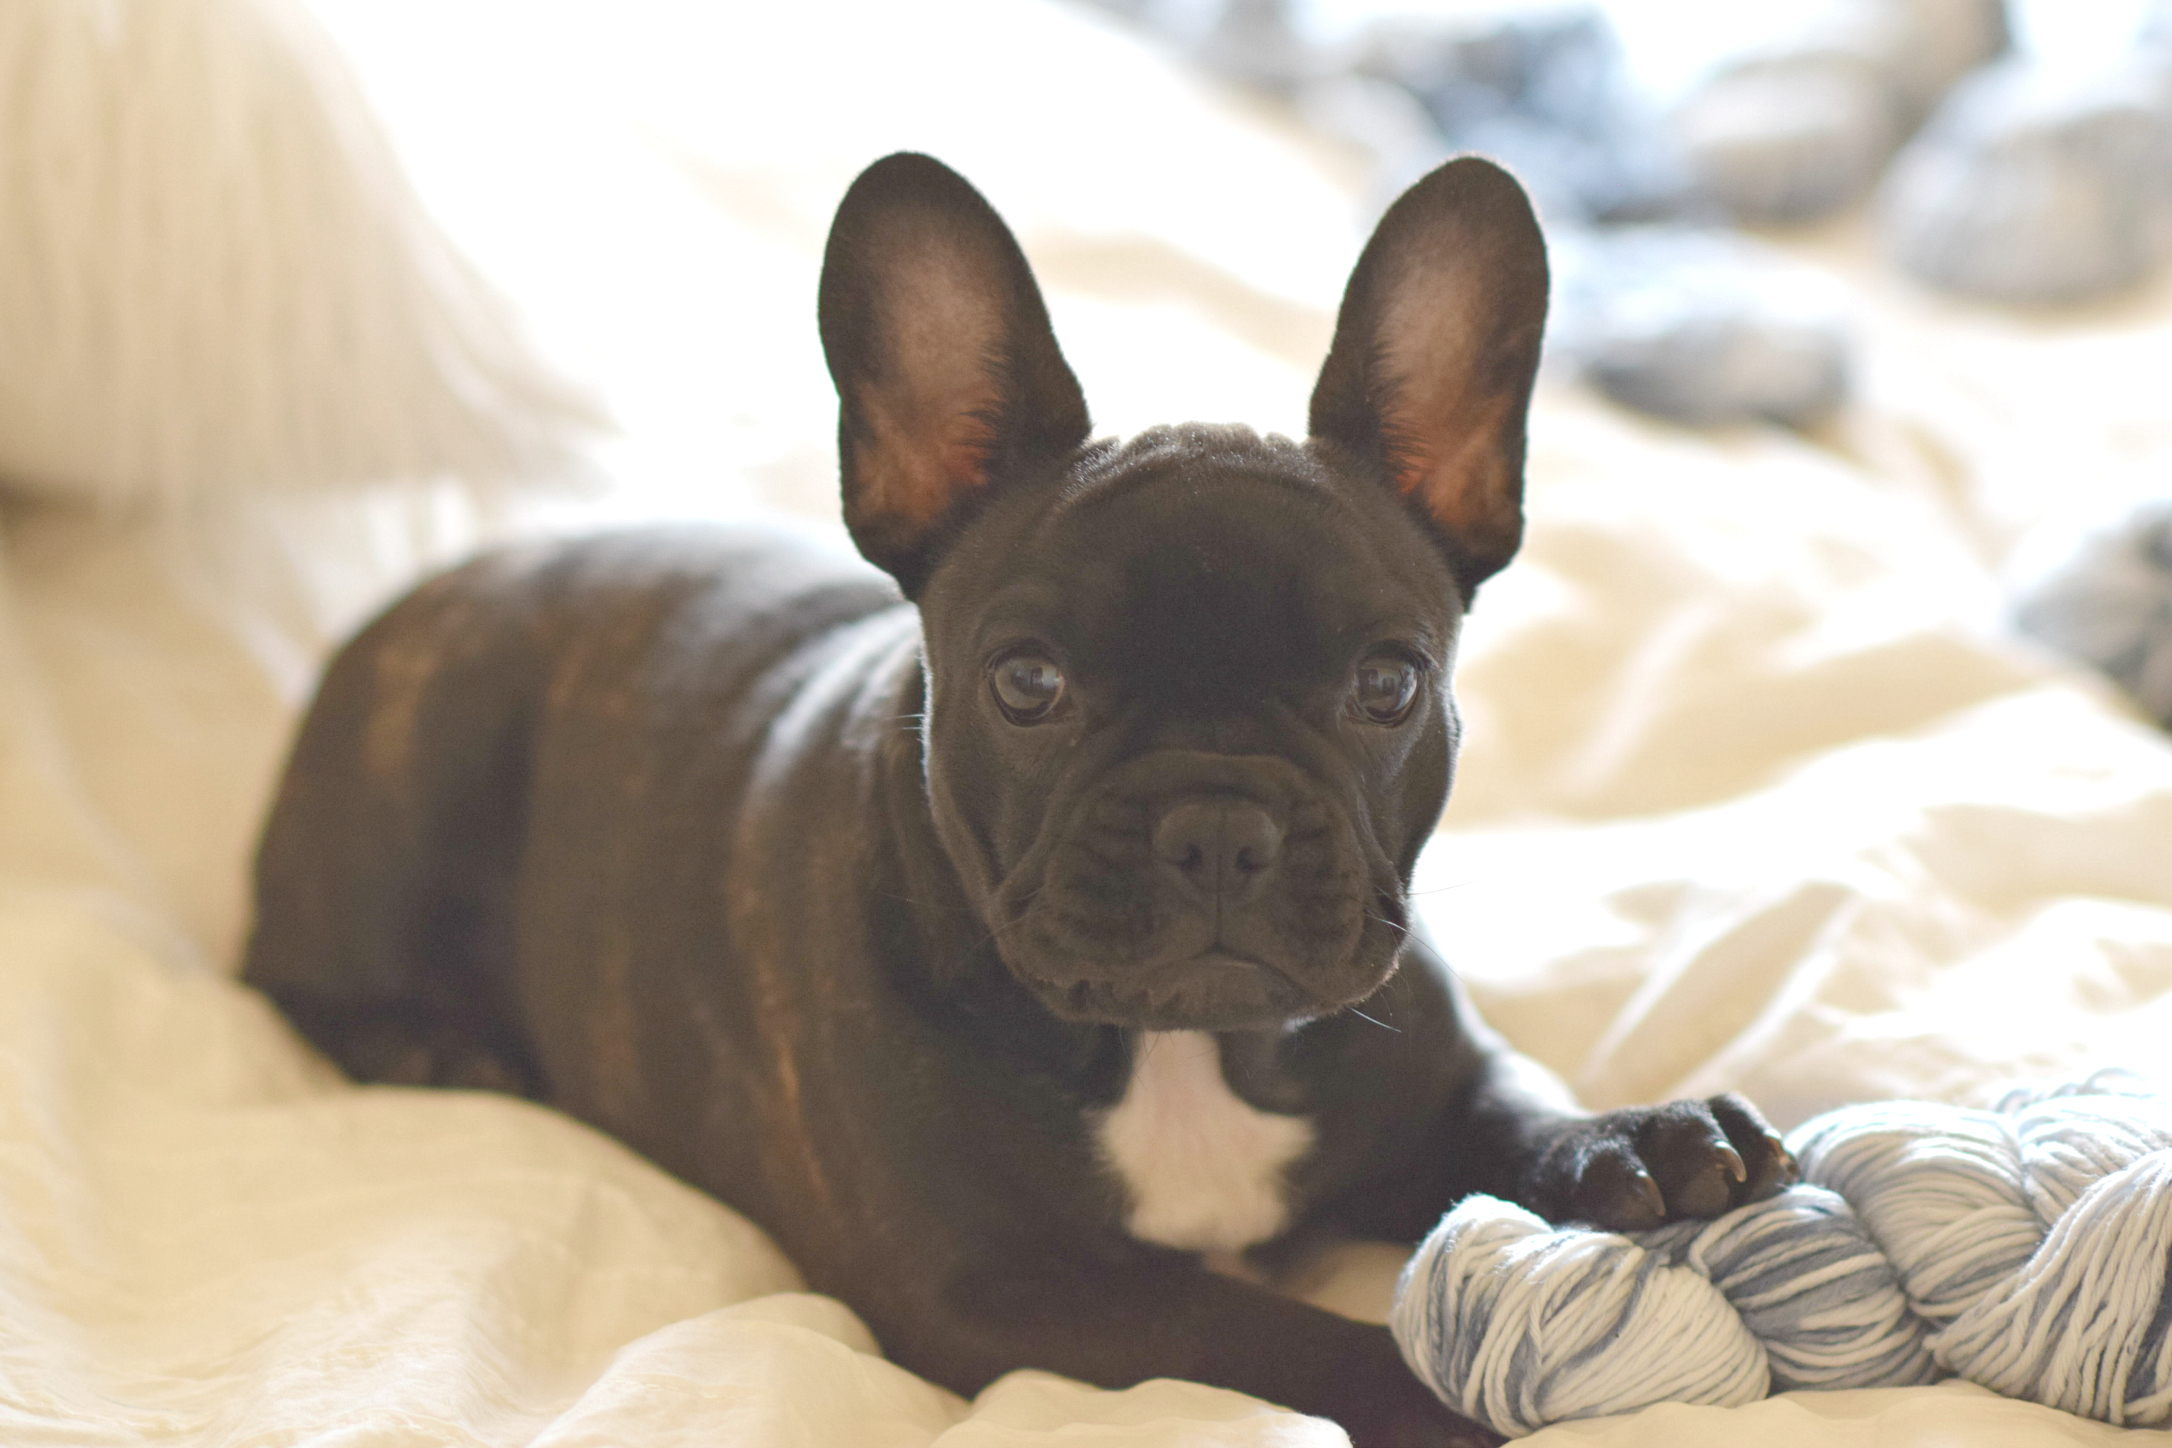
Even our puppy Nora liked the yarn (a little too much I might add – hehe!)
Shall we get to the pattern? Here ya go!
- Scroll down to see the free pattern below; members grab your printable HERE
- Print the pattern without the ads with an inexpensive purchase from my Etsy Shop HERE
- Print this pattern and all the Mama In A Stitch patterns worth over $200 for just over $30 HERE
Painted Sky Comfy Shrug – Beginner Shrug Cardigan Knitting Pattern
There’s also photos at the bottom of this pattern to help you visualize how it’s all put together!
Description:
This super comfortable shrug features a beautiful cotton fabric and a roomy fit. Toss it over your summer tank or t-shirt and plan to wear it year-round! The squishy garter stitch is soft as can be and simple stitching shows off the gorgeous hand-dyed yarn. The waist length fit keeps it airy for the warmer months. Who says sweater making is only for winter?
Materials:
US Size 10, 6.0mm 36” Circular Knitting Needles
(6, 8) skeins Lion Brand Yarn Hand Dyed Heaven in Greyhound (70/g skein) HERE Find the kit HERE
Pattern uses approximately (400 g, 525 g)
Scissors
Tapestry Needle
Skill Level:
Beginner +
Size:
Two sizes available – S/M & L/XL
The shrug’s shaping allows it to fit a variety of sizes
Follow the key for the appropriate size throughout the pattern. Smallest size is listed first and the larger size is in parenthesis:
S/M (L/XL)
Measurements (Approximate):
Bust: 50” ( 54”)
Length: 20” (22”)
Sleeve Circumference: 14” (18”) Sleeve Length: 11.5” (13.5”)
Gauge: Approximately 16 sts & 24 rows in 4” x 4”
Notes:
This shrug is knit flat and seamed. The front and back is worked in one piece and seamed at the sides to finish. The sleeves are also knit flat and seamed. You should be comfortable with the knit and purl stitches. Shrugs fit shorter than standard cardigans. Feel free to add more length to the sweater as desired by knitting more garter stitch rows on the back and front panels (keep yarn needs in mind).
Abbreviations (US) & Skills:
k – knit
p – purl
st – stitch
sts – stitches
Painted Sky Comfy Shrug Pattern
Cast on 100 (108) sts
Ribbed Edge – Back Panel of Body
Row 1 *k4, p4, repeat from * across the row, ending with k4 100 (108) sts
Row 2 *p4, k4, repeat from * across the row, ending with p4 100 (108) sts
Rows 3 Repeat row 1
Row 4 Repeat row 2
Row 5 Repeat row 1
Garter Stitch Back Panel of Body
Row 6 Knit each st across the row 100 (108) sts
Repeat row 6 until piece measures approximately 19” (21”) long
(Note that the back panel is slightly shorter than the front panels – this allows for space for the neck.)
Next, continue knitting the first 50 (54) stitches to create one of the front panels. Hold the other 50 (54) stitches on an alternate needle or length of yarn (these stitches will be the start of the second panel which will be knit later).
Starting from the center of the sweater, you will create the collar with a simple 1×1 rib stitch and then continue knitting the garter stitch for the main body.
Front Panel
Starting from the center of the piece and working outward
Row 1 *k1, p1; repeat from * 3 more times for a total of 8 sts of 1×1 ribbing. (This is the collar on the front)
Next, knit each stitch across the row. 50 (54)
Row 2 Knit each stitch across to the last 8 sts, *k1, p1; repeat from * to end of row, working the 1 x 1 rib. 50 (54)
Repeat rows 1 & 2 until front panel is approximately 22” (24”) long, ending with row 2
Front Panel Bottom Ribbed Edging
(follow directions for the correct size)
Size S/M
Row 1 *k1, p1; repeat from * 3 more times for a total of 8 sts (1×1 rib for collar). Next *k4, p4; repeat from * across the row working a 4×4 rib to last 2 sts, knit the last 2 sts.
Row 2 p2, *k4, p4; repeat from * across the row working a 4×4 rib to the last 8 sts, work 1 x 1 rib stitch over last 8 sts
Repeat 3 Repeat row 1
Row 4 Repeat row 2
Row 5 Repeat row 1
Cast off and weave in ends.
Size L/XL
Row 1 *k1, p1; repeat from * 3 more times for a total of 8 sts (1×1 rib for collar). Next *k4, p4; repeat from * across the row working 4×4 rib to last 6 sts; k4, p2 over the last 6 sts.
Row 2 k2, *p4, k4; repeat from * across the row working 4×4
rib to the last 8 sts, work 1 x 1 rib stitch over last 8 sts
Repeat 3 Repeat row 1
Row 4 Repeat row 2
Row 5 Repeat row 1
Cast off and weave in ends.
Next, pick up the stitches which are held on the length
of yarn or alternate knitting needles. Working from the center
outward, repeat Front Panel instructions to make the
second front panel.
Sleeves (make 2):
Cast on 56 (72)
Knit each st across the row until piece measures approximately 10.5” (12.5”) long or desired length
Next, you’ll work a 4 x 4 rib to finish
Row 1 *k4, p4; repeat across the row
Repeat row 1 for approximately 6 rows, working a 4×4 rib. Cast off and weave in ends.
Assembly:
Fold sleeves and seam lengthwise with a simple whip stitch or preferred
seaming method.
Fold Front Panels downward and line up the bottom front to the bottom back
panel.
Seam up each side, leaving openings for the sleeves. Sew sleeves to each opening with the seam at the bottom of the sleeve. Turn pieces right side out after seaming when appropriate.
Block to shape and size as desired.
Pictures To Help You Knit This Easy Shrug 🙂
Below:
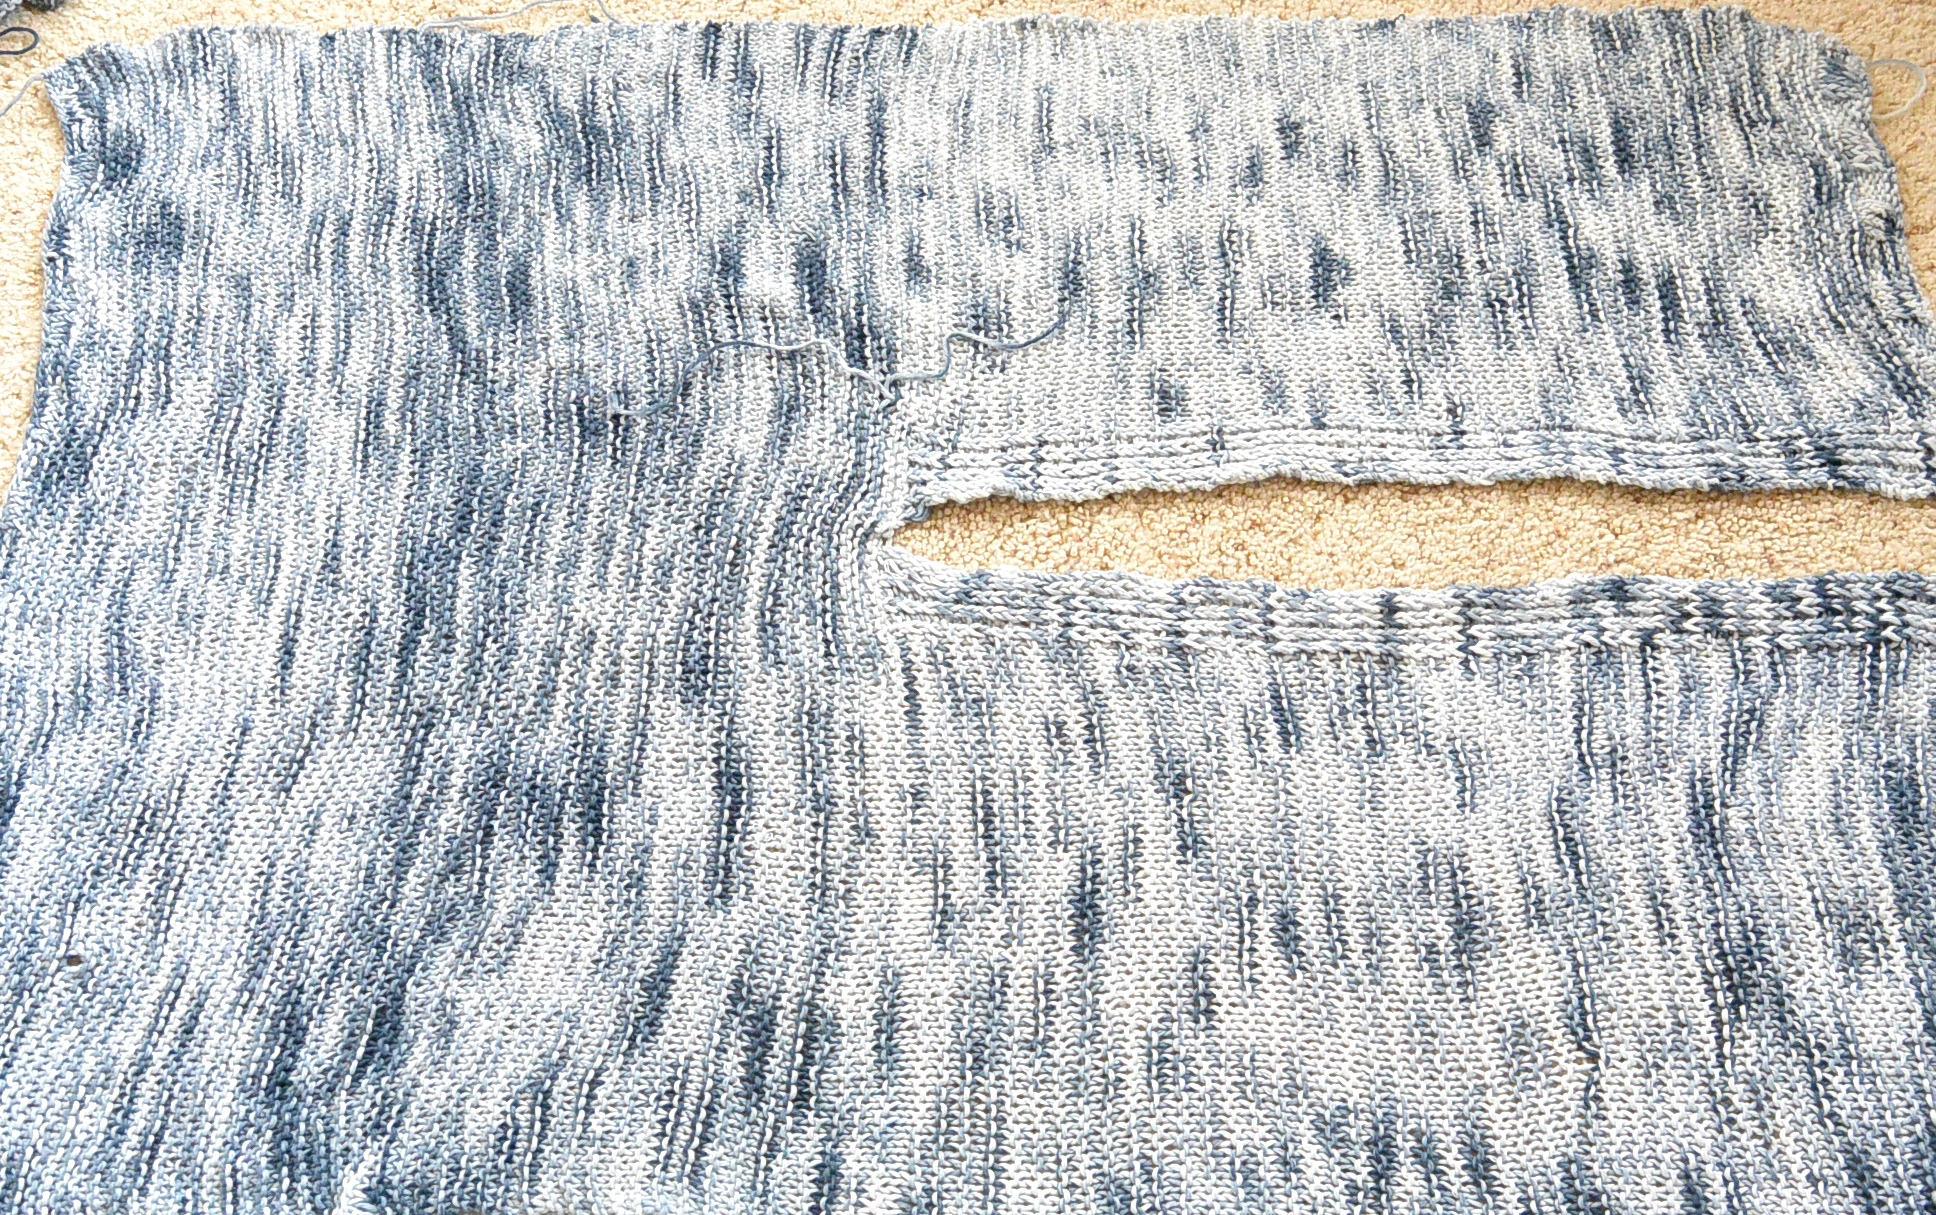
Here is the body of the shrug. You can see where the back was worked and then the two front panels were split and knit.
Below:
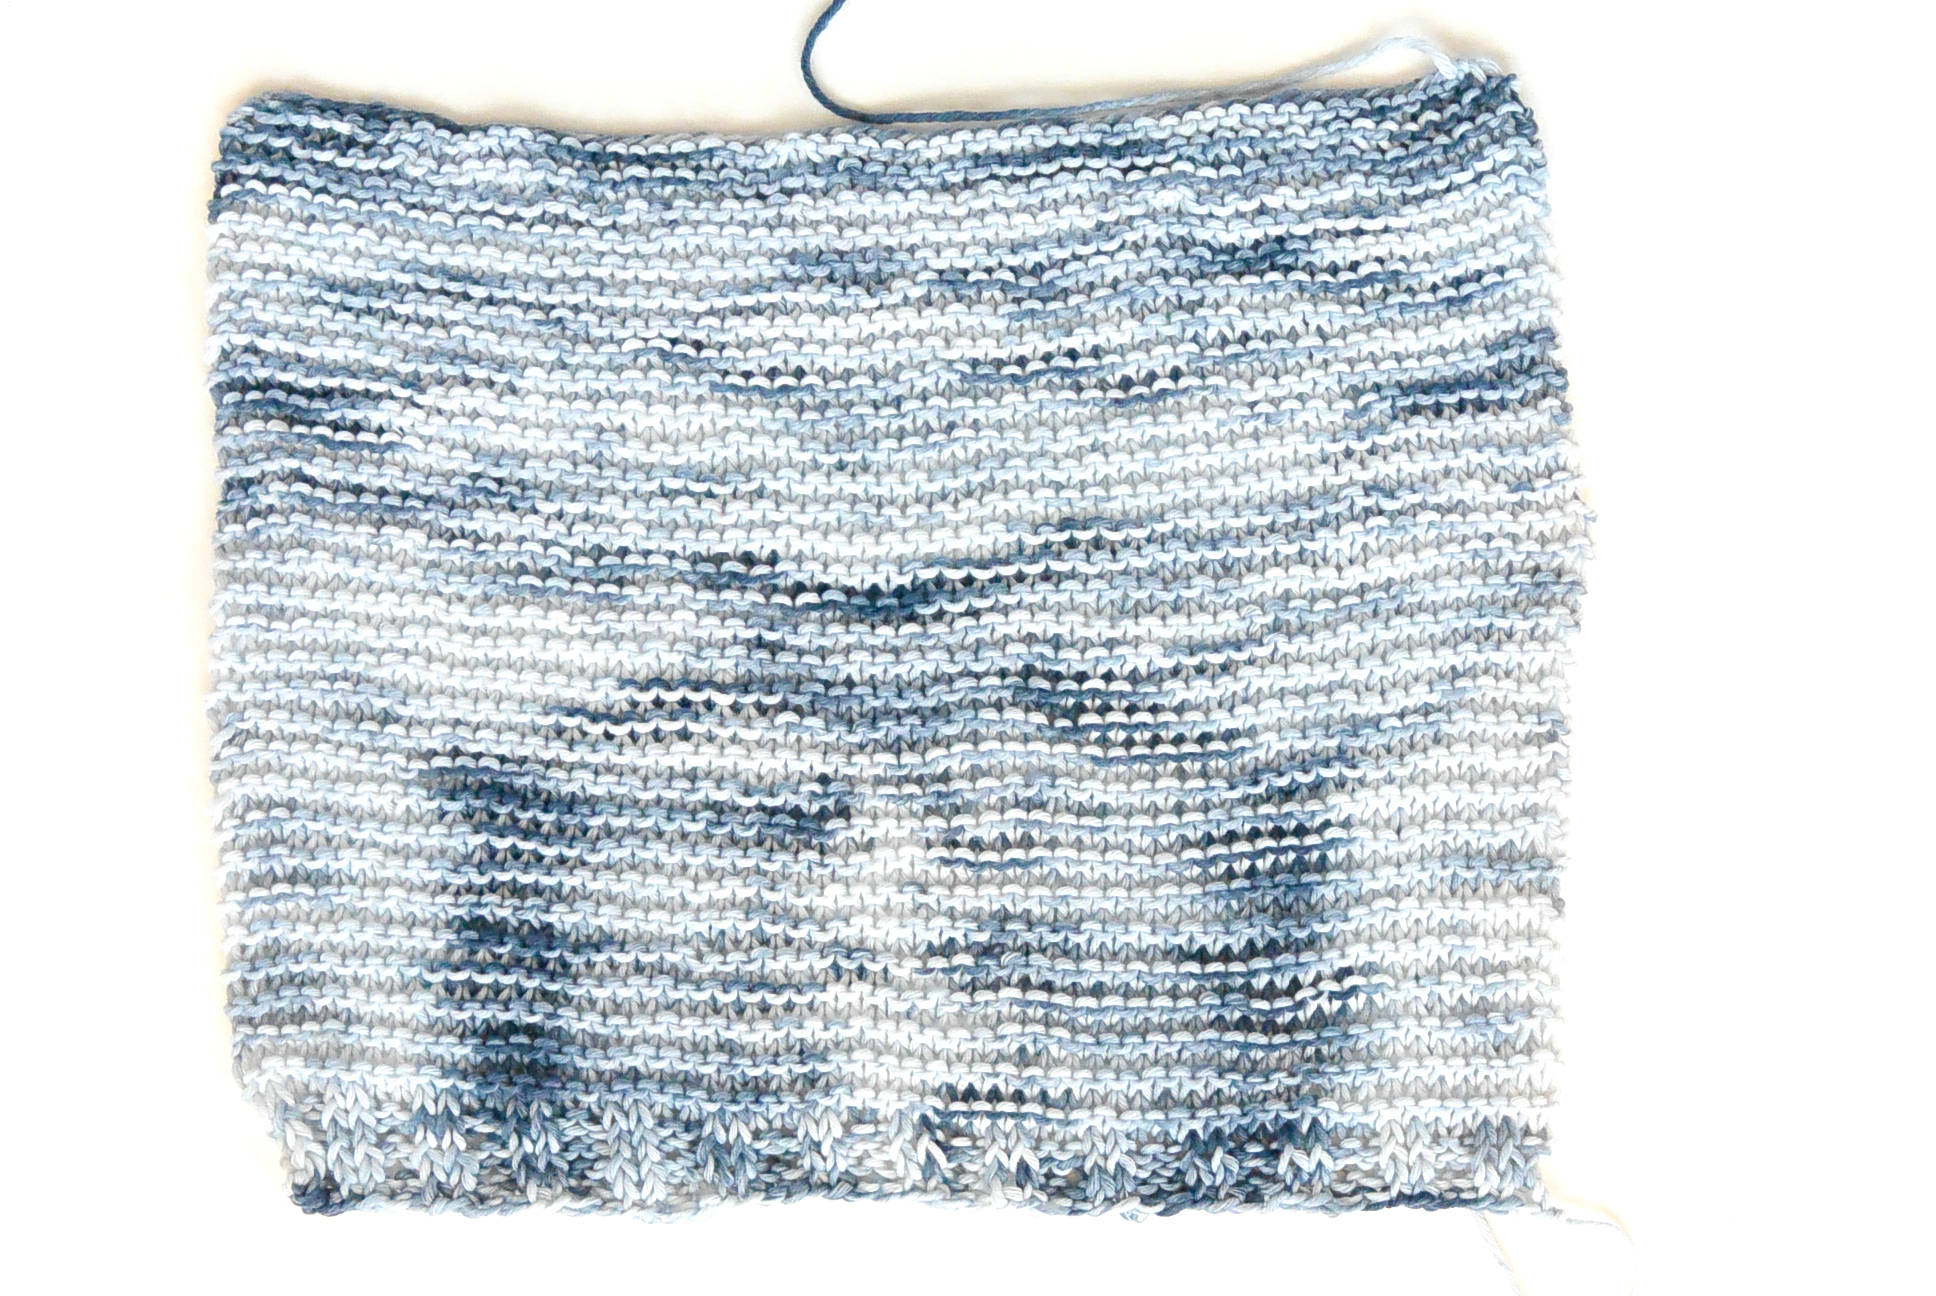
One of the sleeves, knit flat. This will then be folded, seamed and sewn onto the shrug.
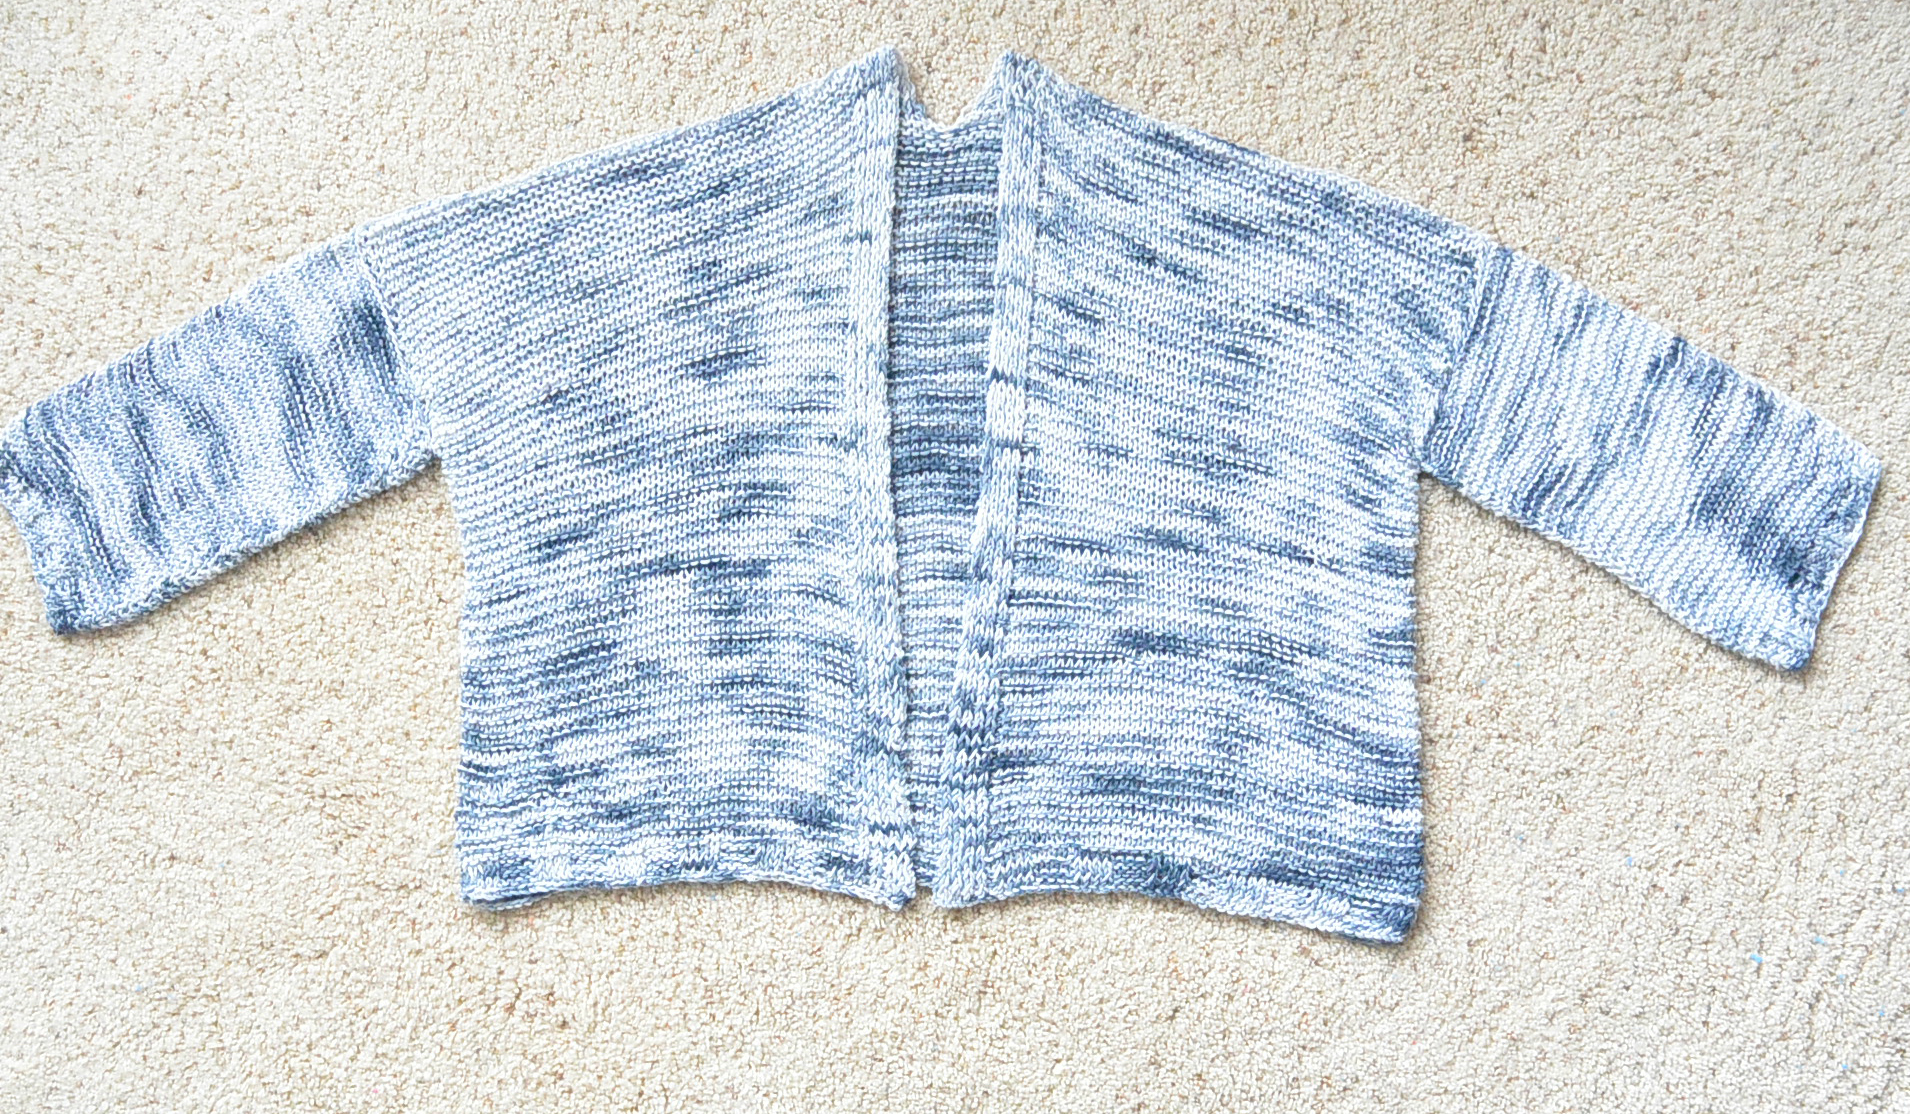
Below: The finished shrug – block to shape and size as you’d like! You’re going to LOVE wearing it!
Below you can see the approximate measurements of the body. Easy peasy. 🙂

I hope you love your shrug as much as I love mine. 🙂 Thanks so much for checking it out and following along!
XO,
Jessica
This post sponsored by Lion Brand Yarn. All opinions are 100% my own.
If you liked this, you might also like:
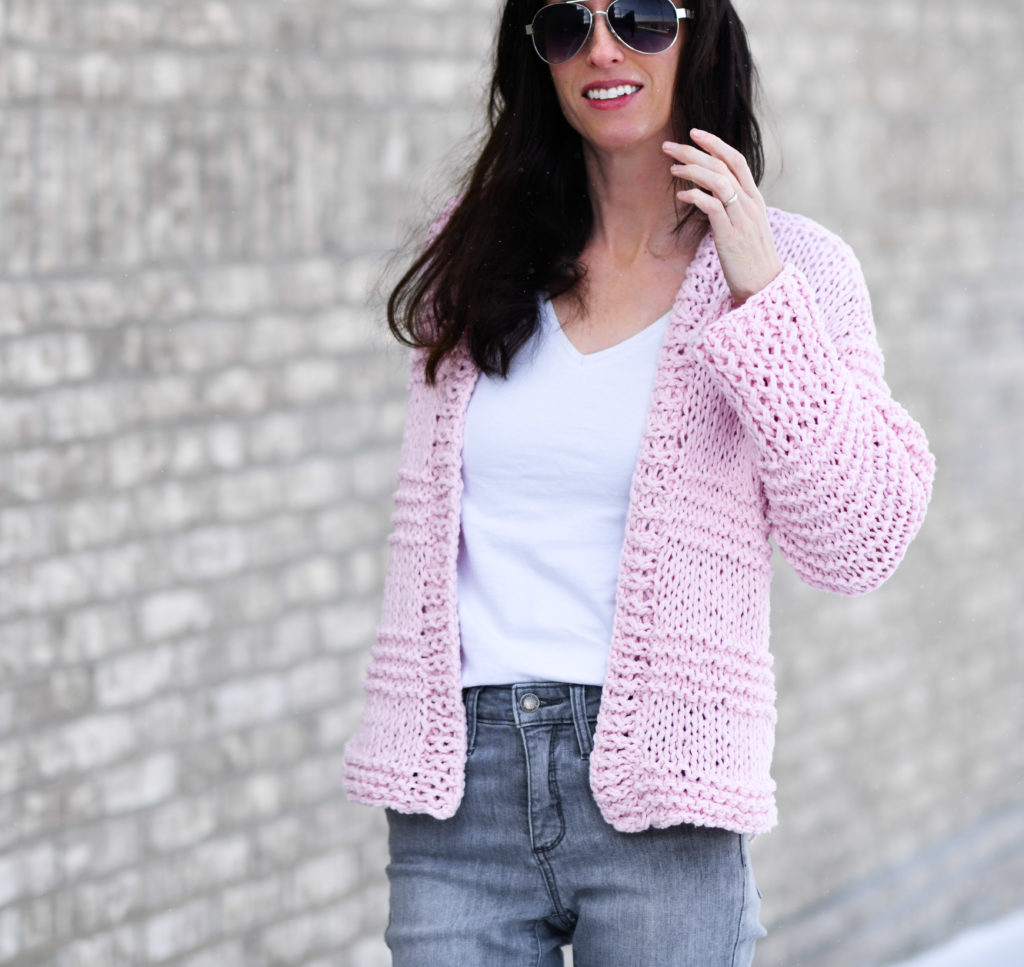
Cotton Candy Cardigan Knitting Pattern
Omg this shrug is gorgeous! I just love your designs.
Love this! I just might have to learn how to knit! Thank you for all of your beautiful designs!
Ok, add this to the other 15 Mama in a Stitch projects on my To-Do list! Don’t know how you come up with so many great patterns AND have the time to make them all! You’re amazing! Thanks for another great pattern!
It’s a gorgeous comfy looking sweater, but if the yarn is nylon then it must be very hot. Is there something else that you could substitute with? Bamboo or cotton maybe in the same or similar weight. I am a huge fan of all of your designs, Jessica; you are so talented. Thank you for sharing!
Is it possible to make this by crochet??? I cannot knit! I’d love to make this!!!
I am making this in Caron Cotton Cakes which substitutes perfectly and also has a nice drape and lots of colour choices.
How would you adjust for plus sizes? Thank you!
I absolutely love this shrug and seeing that this is suitable for a beginner knitter, I would like to try making one for myself. However, I’m very petite and usually wear an XS/size 2, how can I adjust it to make it smaller? How many stitches should I cast on for the body and sleeves? TIA for your help!!
Hi Jessica! Don’t know how I didn’t see this pattern before today! Love it! I mainly crochet, but your designs have nudged me to continue learning knit. All of your designs are beautiful! I have one question on this shrug though, how did you add the “bell” part of the sleeves? Continuous rounds, or increases and seam up sides? Thank you and I hope you had a fabulous New Year’s & Holiday!
Love this!!
I am almost done this and it’s looking amazing. I am currently on the sleeves…but because I’m lazy I am knitting them at the same time
I was thinking … I might try making this again but in stockinette. Jessica, would that work?
Thanks for the beautiful cardi!
You can definitely make it in stockinette! It would be lovely! So glad you enjoyed it. 🙂
I’m just about to start making this pattern! Just wondering if the gauge listed is in stockinette or garter (wasn’t sure since the sweater is in garter). Thank you!
Have made 4 of this shrug so far. I love that it is so easy to make. I am on my 5th one now and I am doing both fronts at the same time. Find it much easier to handle than when using a stitch holder.
This is great covid project. Thank you
Thanks for the tip, Deb, and I’m so thrilled you’ve liked it enough to make 4! Wow!