How To Crochet A Poncho – Trails End Seamless Poncho
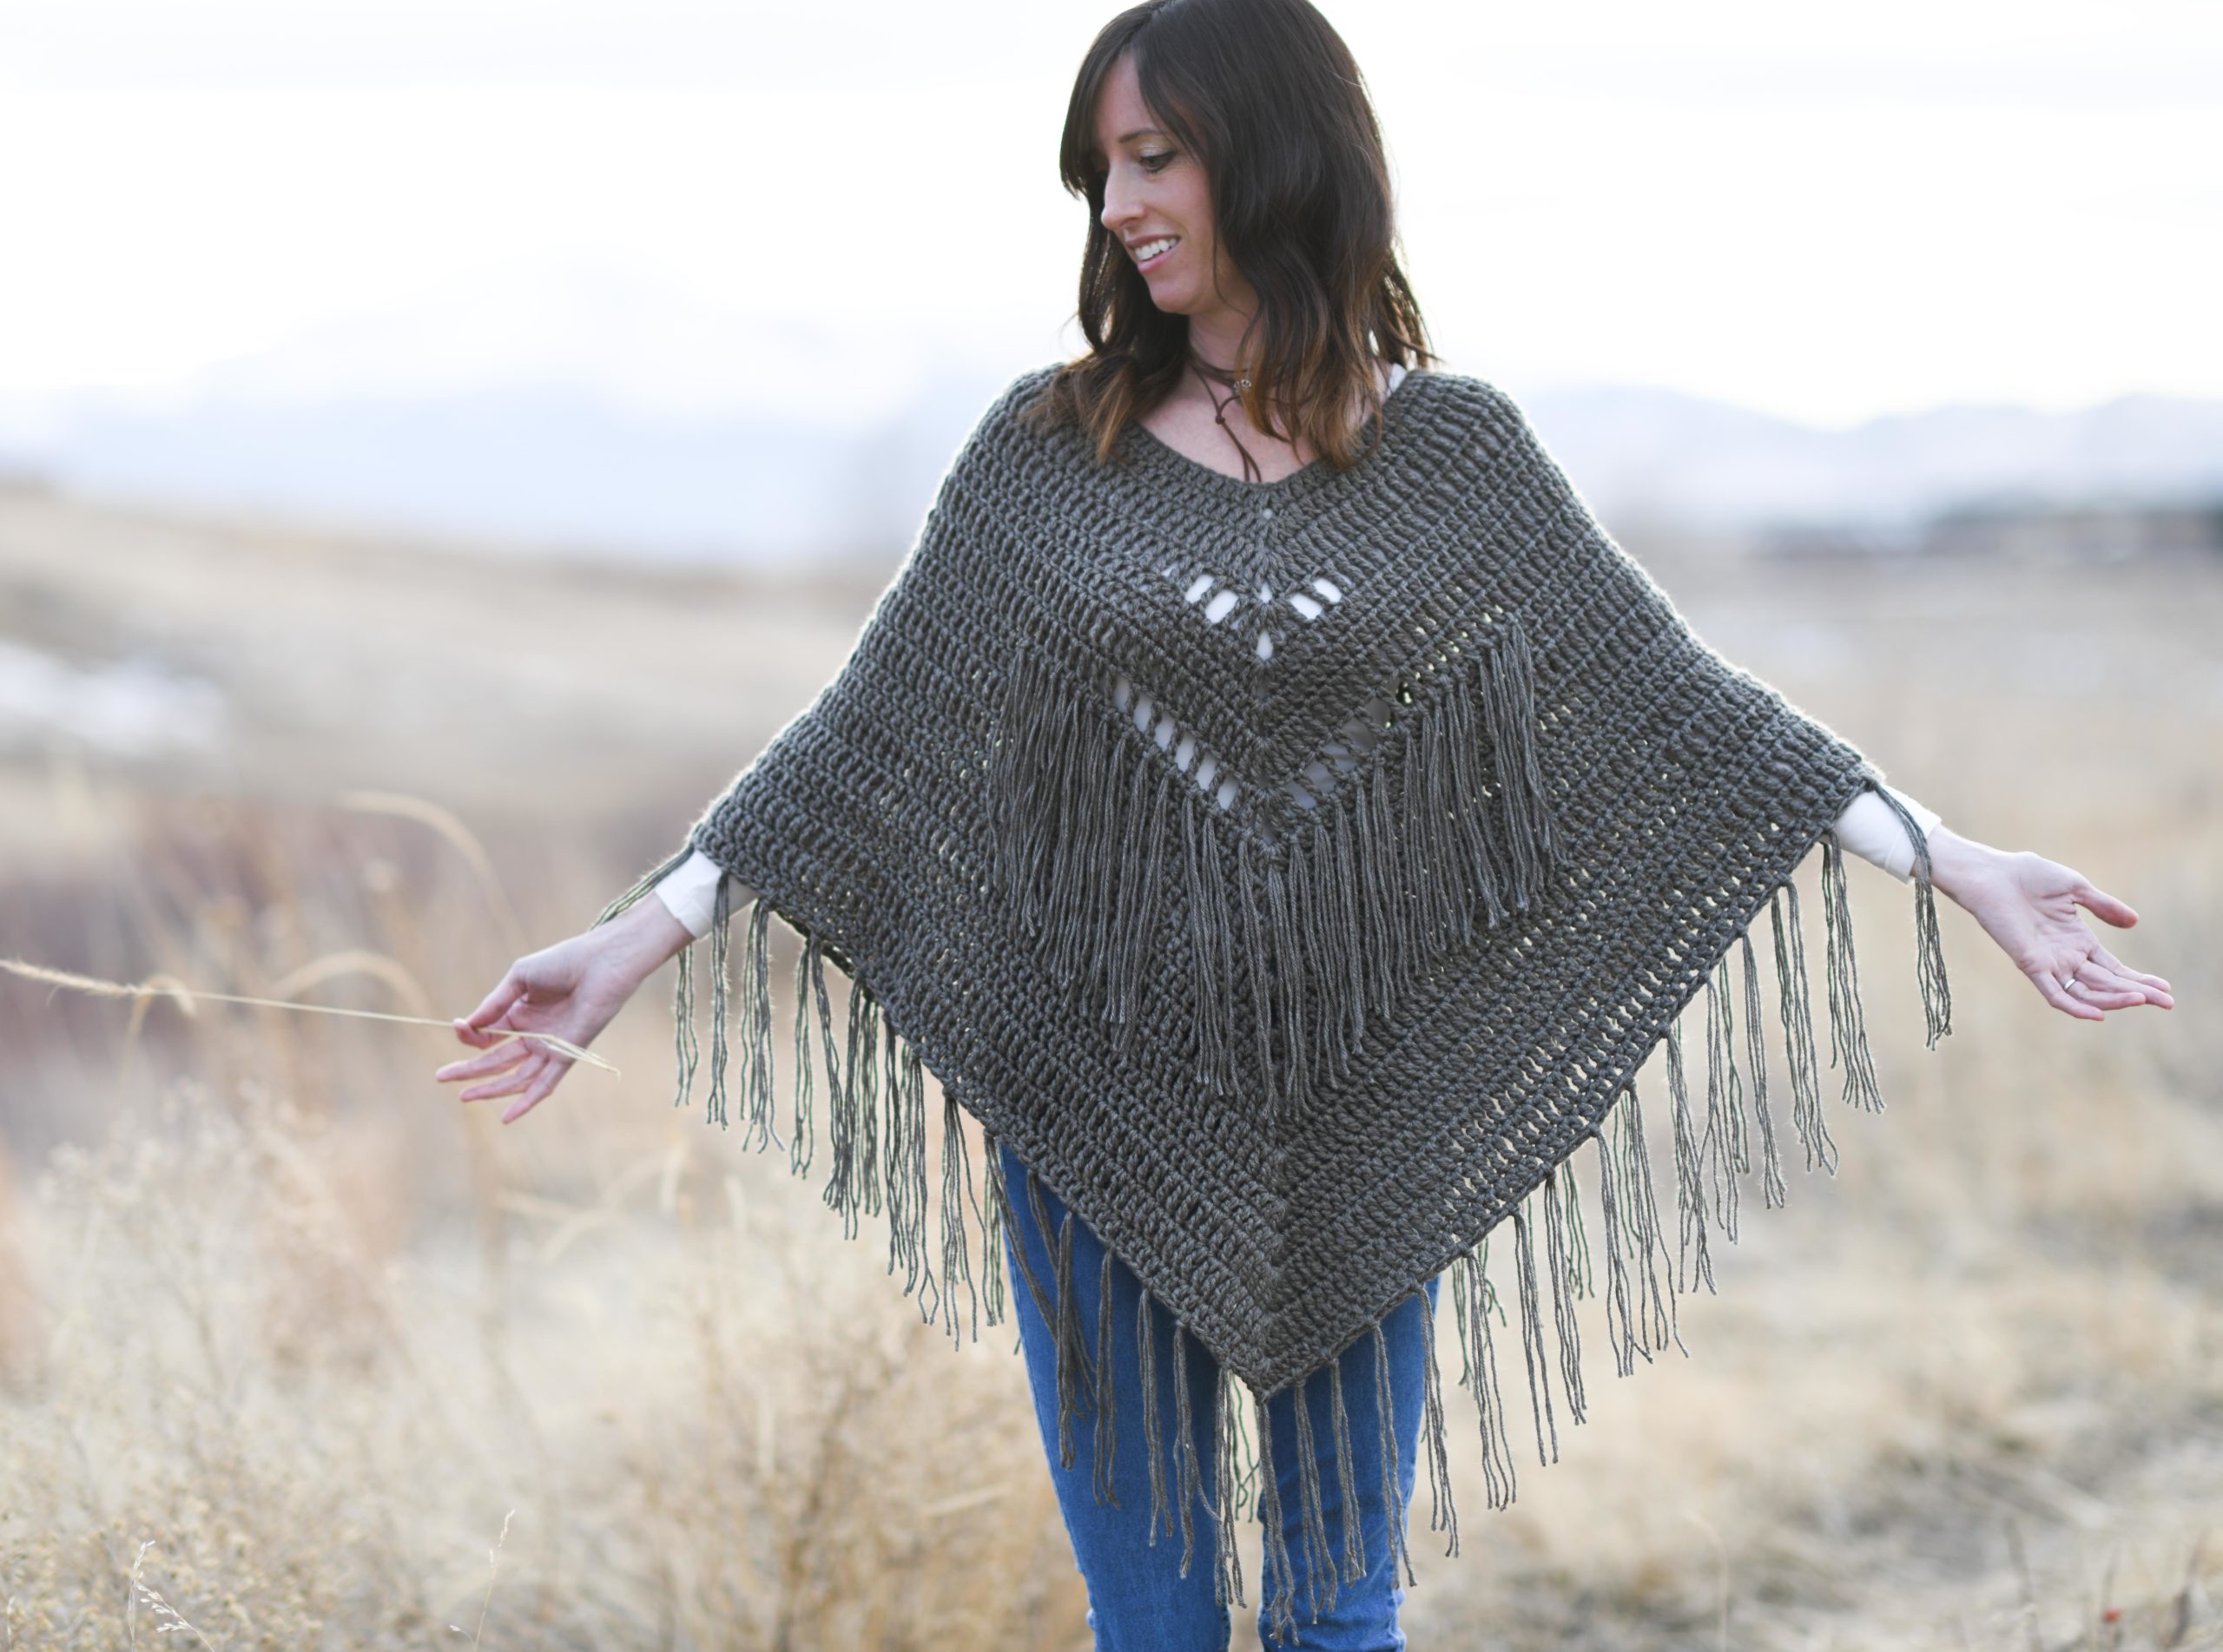
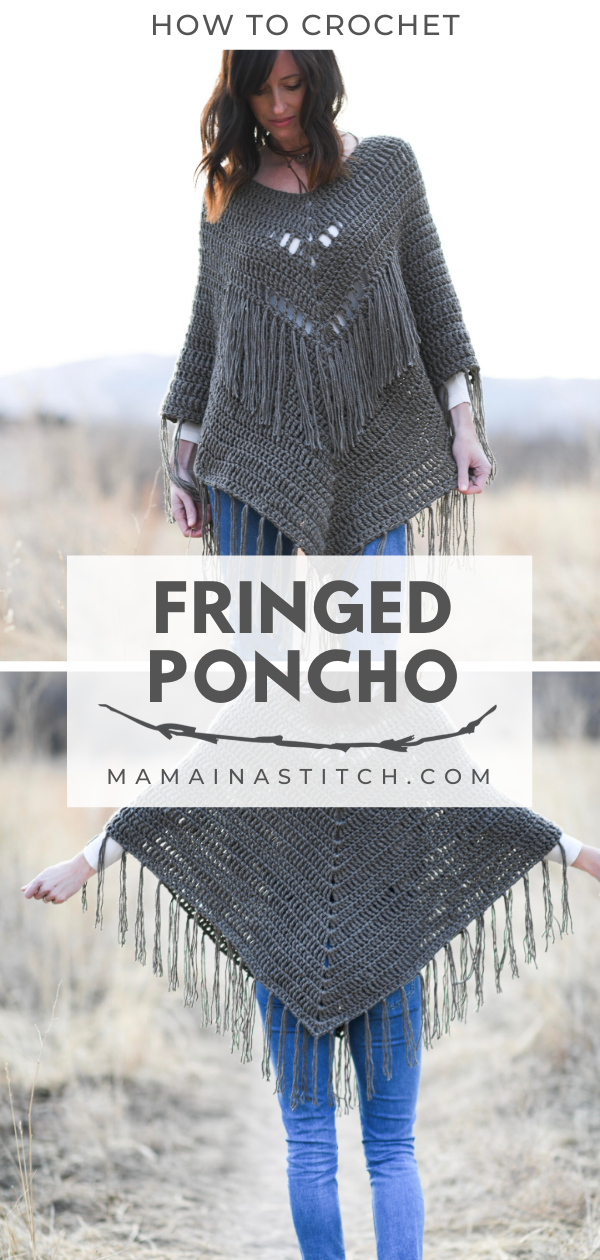
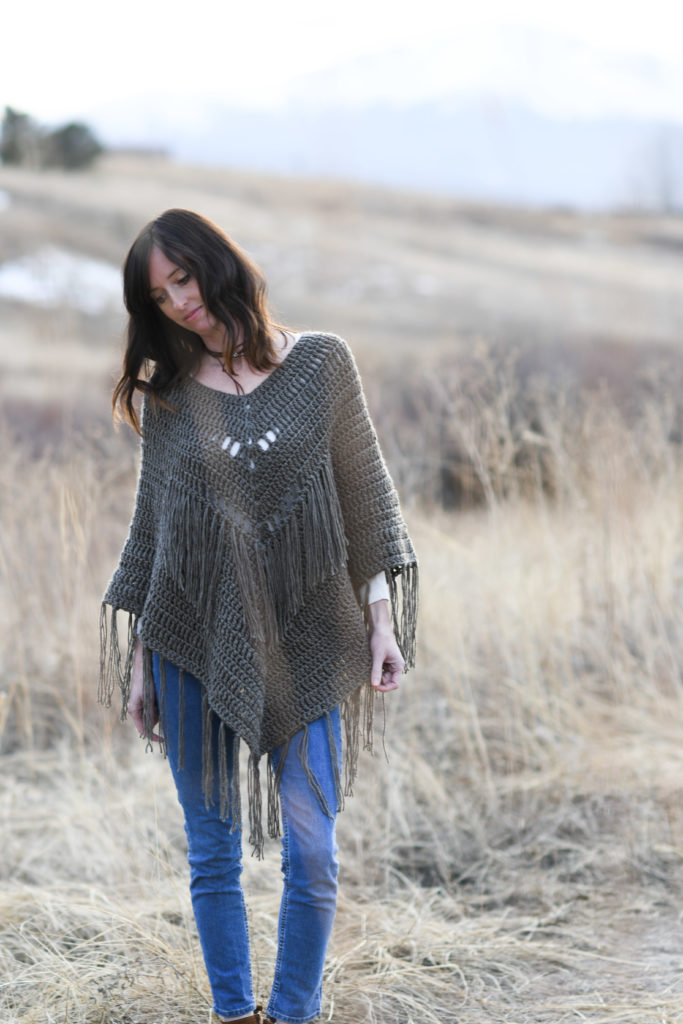
Today’s free pattern is a simple, seamless poncho! You can choose to add fringe, or omit the fringe for a more classic style. I’ve included a picture tutorial to help you along as well. 🙂 Find the free pattern below, or you may purchase the printable from Etsy HERE or the kit from Lion brand HERE.
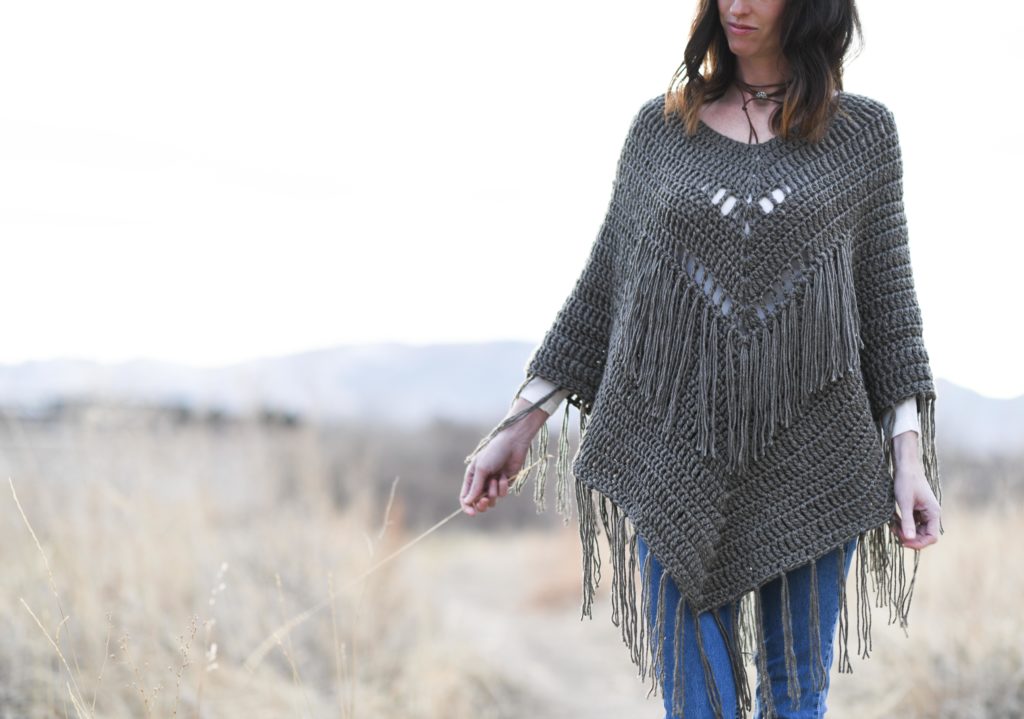
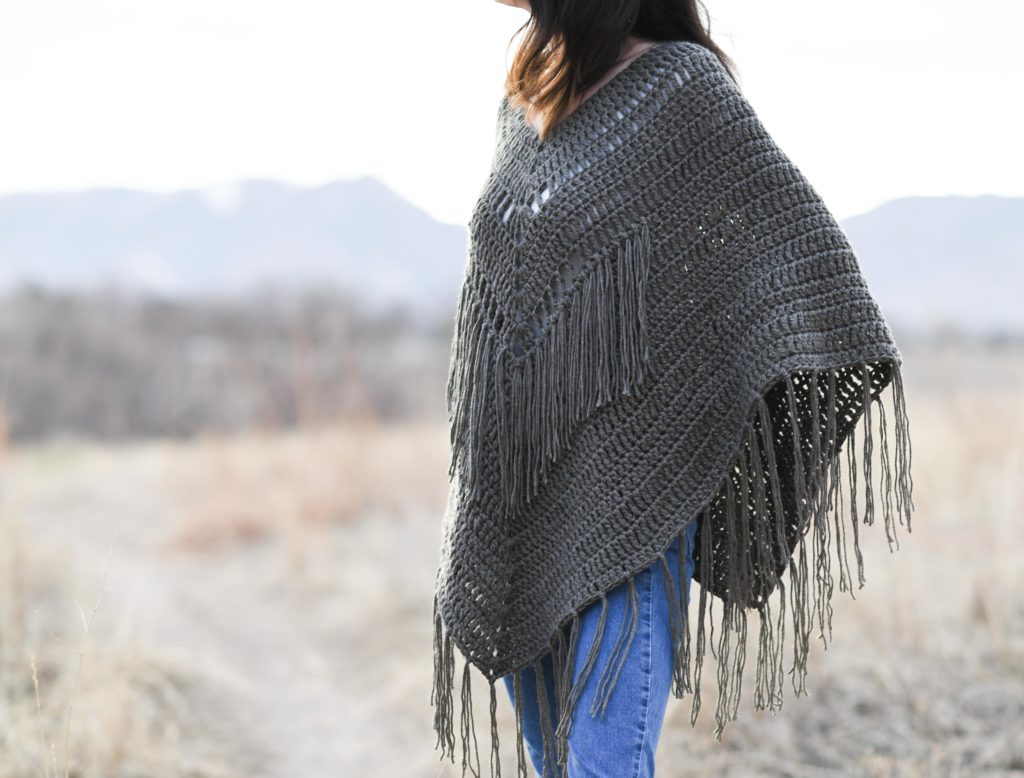
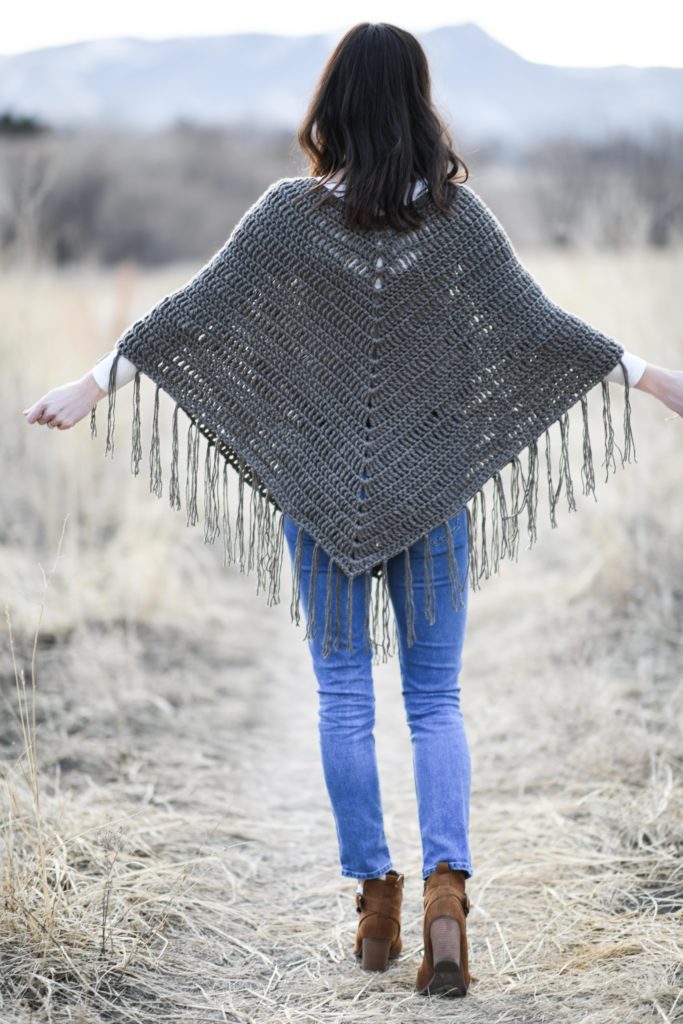
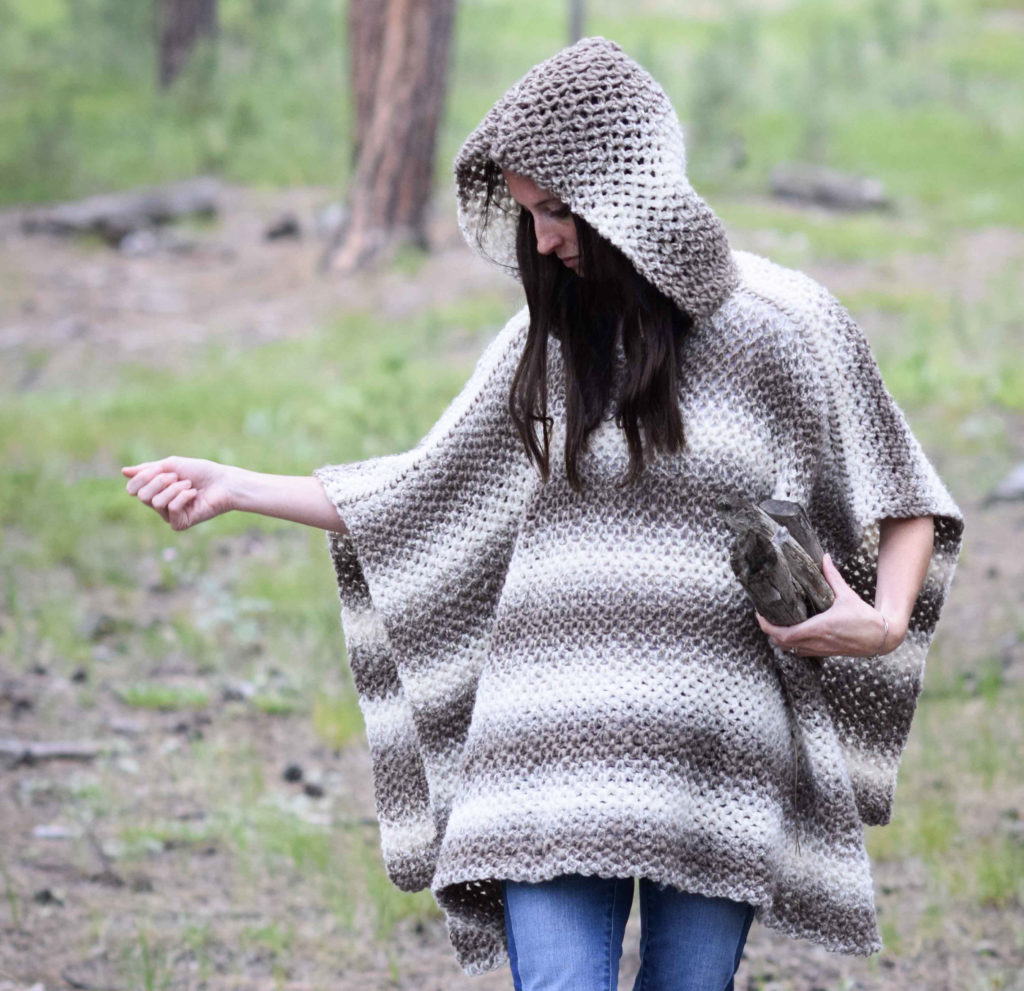
Did you notice the little open-work detail on the front? It’s super simple to make and it only happens over a couple of rows. The rest of the pattern is a nice, easy, perfect movie-watching and crochet type of pattern.
It was fun to try out a brand new yarn with this piece as well, Basic Stitch Anti-Pilling Yarn from Lion Brand. I’d heard that it was coming out a while back and was excited to see it at my local JoAnn store (where I quickly bought up several skeins). The taupe color that I used here is really lovely, and it’s one of the softest acrylics that I’ve worked with. In a way, it reminds me a bit of Heartland (but Basic Stitch might be a wee bit softer).
The Lion Brand site says…..when pills do form (due to frequent use and washing), no need to pick them off – just throw the item in the washer and the pills disappear.
My poncho hasn’t been worn enough to pill, but I’m so excited to see how this yarn works out! So far, I really love the drape and silky feel.
I’ve been on quite the blanket and cardigan kick, so it was really nice to make something different. With the addition of the fringe, I wanted a laid back style that would be understated but get noticed. If you leave off the fringe, you’ll definitely achieve a more classic, timeless look. However, I’m loving the bit of boho and fringe for the upcoming spring and even festival season. (It’ll be here before we know it!)
And as you can see, this poncho is perfect to throw on to take a walk in the great outdoors. I’m happy to include it in my “Into The Wild Collection” which you can read about here.
So, how do we make this poncho?
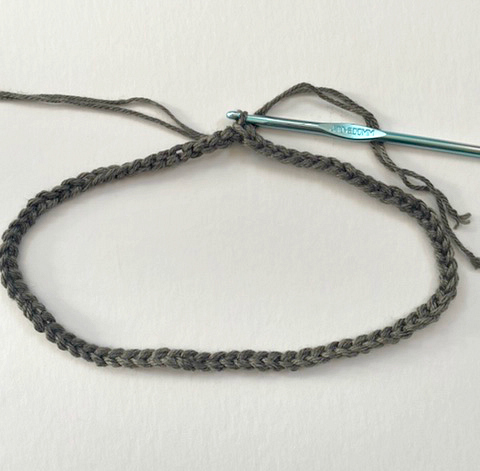
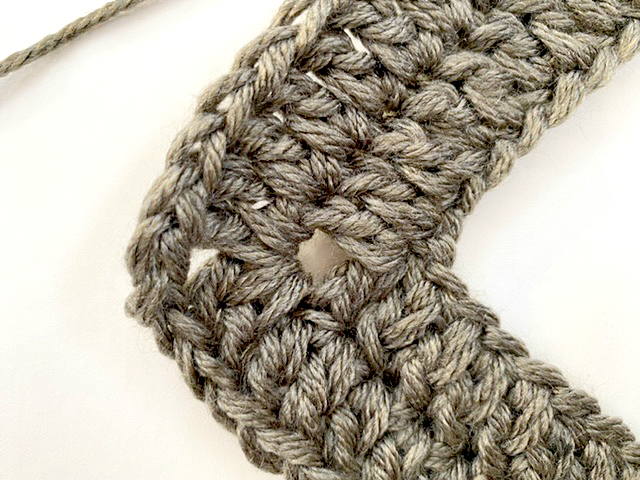
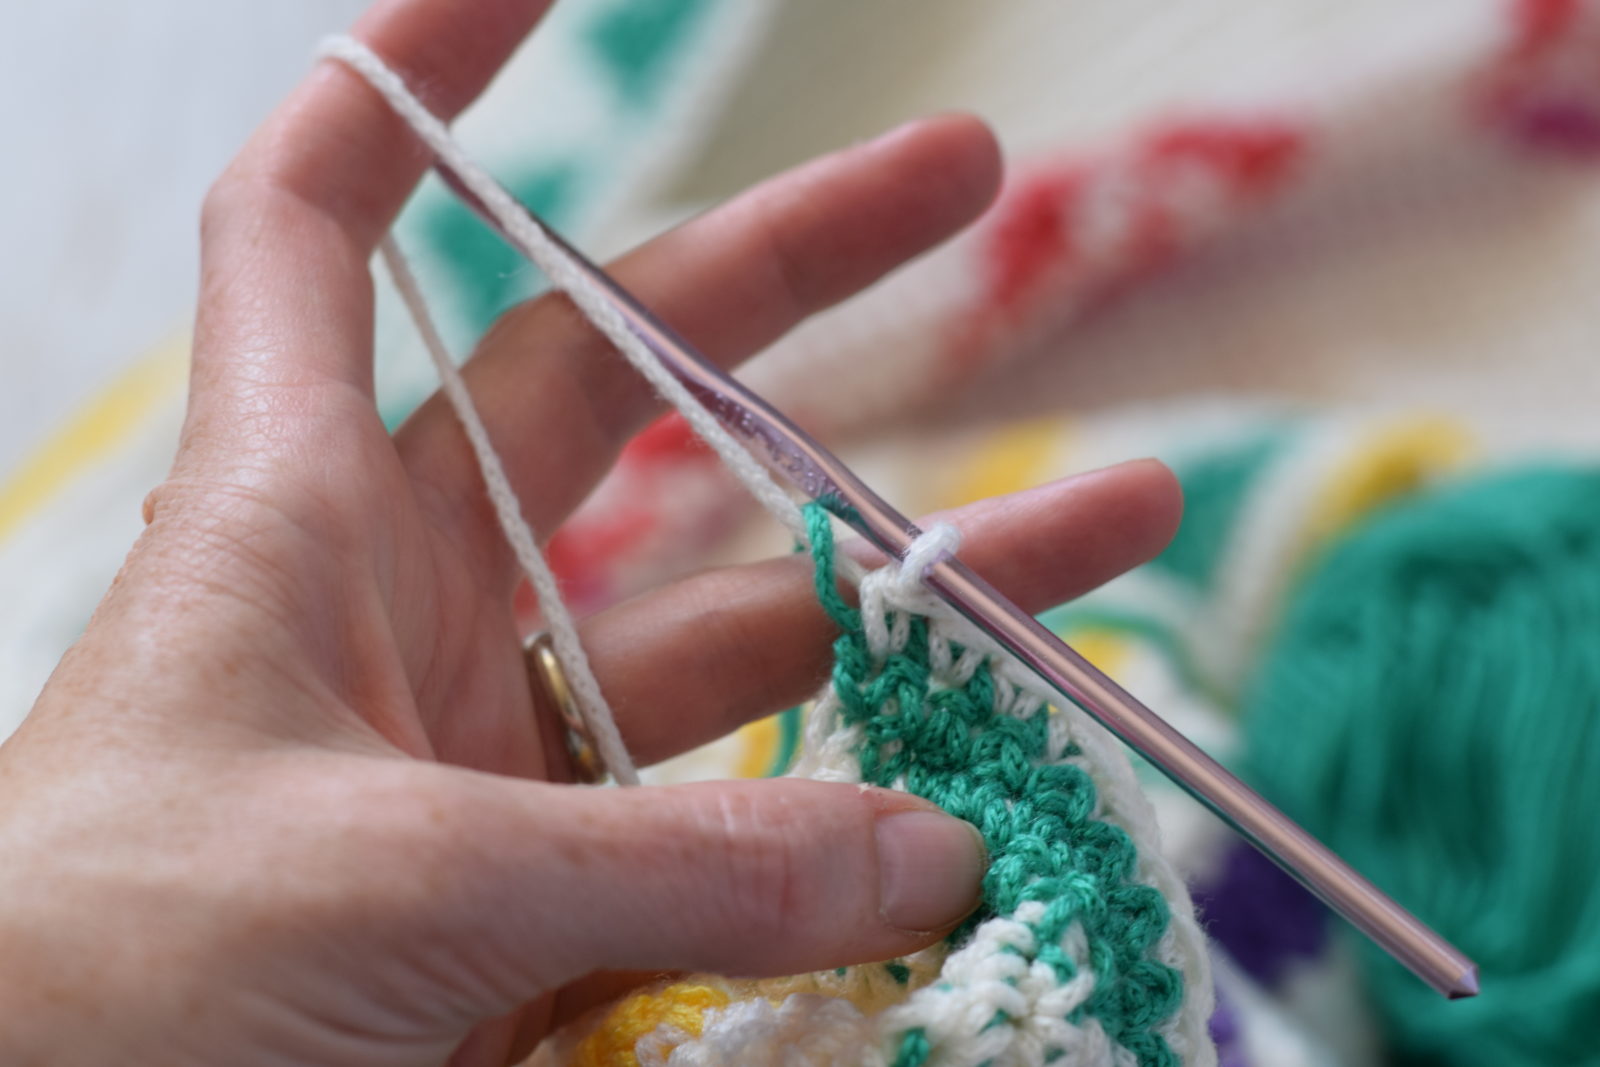
Step 1: Start with a chain and join to crochet in the round
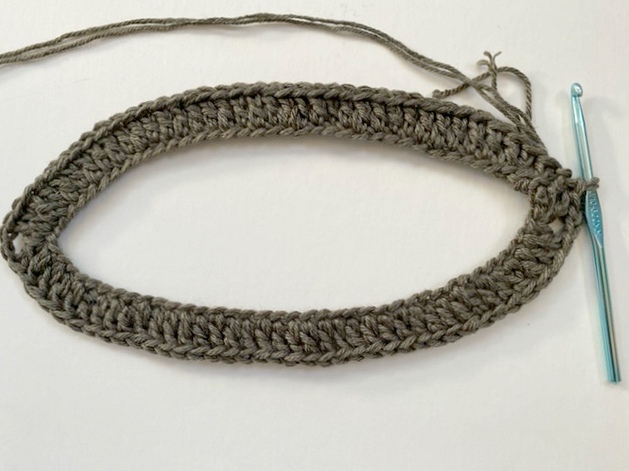
Step 2: Work stitches as indicated in the pattern evenly around (except for in two places where you’ll work a ch2 sp)
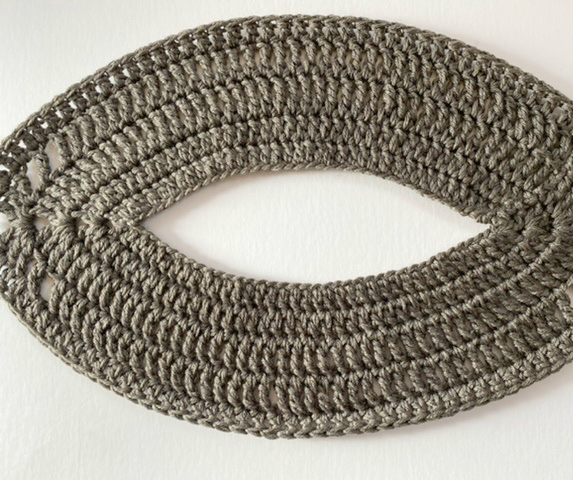
Step 3: Follow the pattern, making your increases at the chain space, working in rounds. It becomes really easy after a few rounds. The only thing you need to pay attention to at this point is when it’s time to make the front, open-work detail.
Keep going!
Just keep going, around and around! Don’t forget to check out the full pattern below (yep, scroll down!)
Shall we get to this pattern?!
Find the full, ad-free, printable version of the Trails End Seamless Poncho from my Etsy Shop HERE.
Description:
This trendy, fringed poncho is made in one piece and features a simple stitch pattern that’s classic yet right on trend. Throw it over any outfit for stylish, boho inspired warmth. You may choose to keep the fringe, or forgo it for a more timeless, everyday look. Featuring a machine washable, anti-pill yarn, this super cute poncho will last you for years to come!
Skill Level:
Easy +
Materials:
US Size J, 6.0 mm Crochet Hook
(8, 10) Lion Brand Yarn Basic Stitch in Taupe Heather 100 g/skein (Find the kit in three color options from Lion Brand HERE)
Pattern uses approximately (800 g, 1000 g)
Measuring Tape
Tapestry Needle
Scissors
Sizes:
Due to the generous and forgiving size of the poncho, there are two sizes available:
(Small/Medium, Large/X-Large)
Please follow the key throughout the pattern according to the
size you are crocheting:
(S/M, L/XL)
Bust Circumference (approximate):
S/M: 50”
L/XL: 52”
Length (approximate):
S/M: 29”
L/XL: 31”
Neckline of both sizes measures approximately 26” in circumference
Abbreviations & Skills:
ch – chain
dc –double crochet
tr– treble crochet
sl st – slip stitch
sk – skip
st – stitch
sts – stitches
ch2sp – chain 2 space
Gauge:
Approximately 10 sts & 6 rows of double crochet in 4” x 4”
Notes:
This poncho is crocheted while holding two strands of yarn together. It is worked in the round, from the top-down. After making your beginning chain and joining to crochet in the round, you will be working two rounds of double crochet followed by two rounds of treble crochet stitches. The detail in front is created by making chain stitches and skipping stitches from the previous round. To adjust the size of this poncho, simply continue the stitch pattern, as stated, for as long as you’d like until it reaches your desired length.
Trails End Seamless Poncho Free Crochet Pattern Instructions
Crochet in continuous rounds. Do not turn at the end of each round.
Crochet with two strands of yarn throughout the pattern
After round 1, each round increases by 8 stitches
Ch 76 (both sizes) sl st to join
Round 1 Ch 3 (counts as dc st here and throughout pattern), dc in each of the next 36 sts, (dc, ch 2, dc) in next st, dc in each of next 37 sts, (dc, ch2, dc) in next st, sl st to join at top of ch3. 78 stitches around
Round 2 Ch 3, dc in each st to the ch2sp, work (2dc, ch2, 2dc) in the ch2sp, dc in each st to next ch2sp, work (2dc, ch2, 2 dc) in the ch2sp, dc in each st to end of round, sl st to join in top of ch3.
Round 3 Ch 4 (counts as a tr here and throughout pattern), tr in each st around to ch2sp, work (2tr, ch2, 2tr) in ch2sp, tr in each st around to next ch2sp, work (2tr, ch2, 2tr) in ch2sp, tr in each st to end of round, sl st to join in top of ch4.
Round 4 Ch 4 (counts as a tr here and throughout pattern), tr in each st around to 5th st from ch2sp, work tr into 5th st before ch2sp, ch1, sk st, tr into next st, ch 1, sk st, tr into next st, work (2tr, ch2, 2tr) in ch2sp, tr in next st, ch 1, sk st, tr in next st, ch1, sk st, tr in next st; tr in each st around to next ch2sp, work (2tr, ch2, 2tr) in ch2sp, tr in each st to end of round, sl st to join in top of ch4.
Rounds 5 – 6 Repeat round 2 for each round. (Note: Work 1dc in each ch 1 sp for round 5)
Round 7 Repeat round 3
Round 8 Ch 4 (counts as a tr here and throughout pattern), tr in each st around to 13th st from ch2sp, work tr into 13th st before ch2sp, *ch1, sk st, tr into next st; repeat from * until ch2sp, work (2tr, ch2, 2tr) in ch2sp, tr in next st, *ch 1, sk st, tr in next st, repeat from * 5 more times; tr in each st around to next ch2sp, work (2tr, ch2, 2tr) in ch2sp, tr in each st around, sl st to join in top of ch4.
Rounds 9 – 10 Repeat round 2 for each round.
Rounds 11-12 Repeat round 3 for each round.
Repeat rows 9 – 12 until you’re poncho is approximately (29”, 31.5”) or your desired length.
Tie off and weave in ends.
If you choose to add fringe, reserve about 100 g, or about a skein’s worth of yarn.
Fringe: Cut two strands of yarn approximately 16” long. Fold the strands in half while holding them together. Place the folded end through the stitch and draw the ends of the fringe through.
Place fringe at approximately every 4th stitch along bottom of poncho.
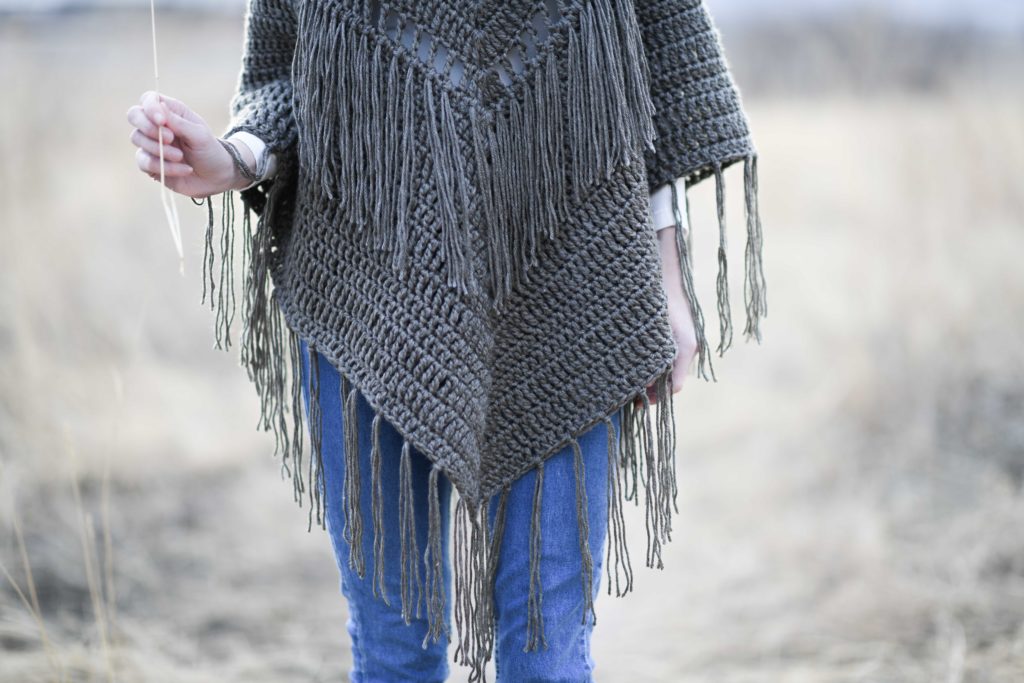
Fringe is also placed along the lower, open stitchwork detail. Add fringe from the center of the detail, outward, evenly placing fringe until it’s 22 stitches away from the center point of detail.
That’s it!
I hope that you liked today’s pattern! I think this is such a useful and playful piece to keep in the coat closet or with my sweaters. 🙂
I’d love to hear if you make one, just tag me @mamainastitch and #mamainastitch!
XO
Jessica
If you liked this, you might also like:
Driftwood Hooded Poncho Crochet Pattern
Thank you to Lion Brand Yarn for sponsoring this post. All opinions are 100% my own. 🙂

This is beautiful. I love all your patterns! I have made the fair isle knit hat, and I am working on the Winter Cuddler Throw. I would love to see a poncho like this in a knitting pattern since I don’t crochet. Thank you so much.
Thanks for the suggestion Nancy, and so happy you’ve enjoyed those patterns!
Is there any extra chain stitches, etc. for the L/XL or is the instructions the same for S/M & L/XL?
The neckline is the same as it’s a very forgiving size. 🙂
lovely patterns:)) problem is……………… I do not crochet
I LOVE this pattern but I am a knitter. Any chance you will be sharing this in a knit pattern!
We have had the flu here. Be well!
Hi Jill! I don’t have plans to make a knit version, but I’m so glad you like the poncho!! This flu season is just terrible. Thanks for the well wishes!
I have some skeins of Lion Brand LB Collection Cotton + Bamboo yarn. It’s listed as a 3 weight. Do you think I could use it for this pattern? If so, would I need to change the number of starting chains or change the hook size? Thanks for your advice, I’m a beginner!
I think you can definitely use it! The only thing is to remember that I held two strands together. If you don’t it will turn out a LOT lighter and more “holey”. If you change hook sizes, you’d have to adjust the pattern quite a bit.Great questions!
I can’t wait to get started on this beautiful pattern. I do not see any where you make adjustments for the different sizes. Is it the same throughout the pattern? At the beginning chain you mentioned ch 76 for both sizes but I don’t see any where the larger size is mentioned. Thanks for this pattern.
I really like the Trails End poncho so I started it today. My neckline looks fine and
my stitch count is correct but after I got done with the double crochets I tried to
see if it would go over my head. It won’t. 🙁 I’m usually a medium size ….but my head must
be a large..?? I’m hesitant to go further….I am using a lighter yarn…but I think I may
try the larger amt. of chains…..I just hope the poncho won’t be too big after I’m done….
Hi Janet! This fit over my husband and he’s large, so I’m thinking something was wrong with your beginning chain. What size hook did you use? You might want to go up a hook size and double check your stitch count that it matches mine. You can’t use a smaller hook for that lighter yarn, or the whole thing will turn out smaller. Not sure if that’s what you did, but certainly want to help if possible!
It’s lovely, but I’m confused by the sizing. The only difference I see is in the length. What am I missing?
Thanks!!
I love your work! It is classy yet simple. I am making this poncho for my daughter who is your size however, she wants made out of cotton. Are there any suggestions you would give me?
Thanks for sharing your work!
Honestly, any worsted weight cotton will do!
Hello! This is beautiful! How do you do the different size?
Hello there.. first I want to thank you for all your amazing patterns that you give us for free
Second.. may I ask for your help ? I’m making the fringe seamless poncho.. I want to continue increasing the length but don’t want it to be wider.. can you help me with how to do that ? Tia
Hi! If you don’t make the corner increase, it will stay the same width. So count the stitches for the row you are on, and keep that same count for the remainder of the rounds. Email me if you need more clarification and I’m happy to help.