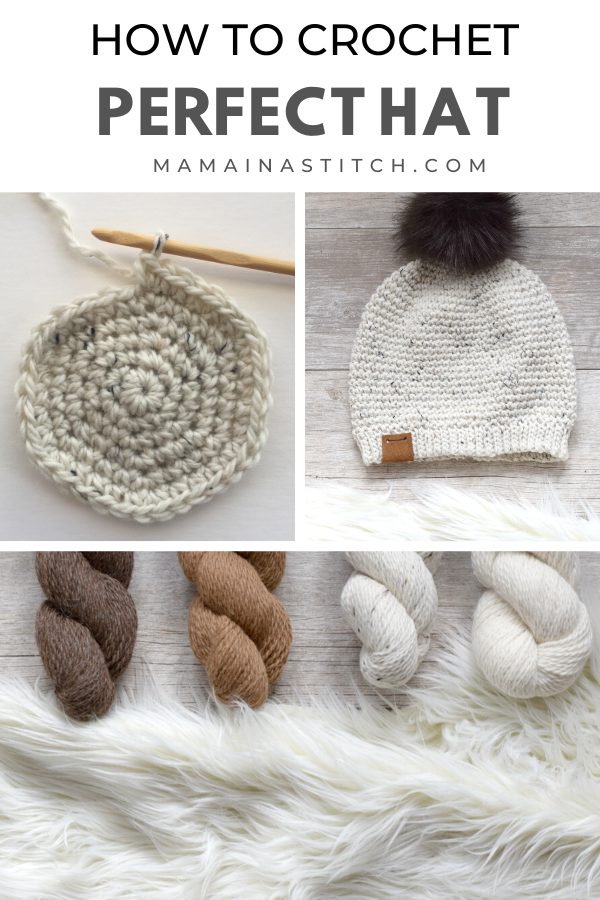
How To Crochet A Perfect Hat
This beanie is a classic, comfortable hat that can easily be adjusted to fit any head! I love that it’s made from the top-down so you can make it as long or short as you like.
Crochet for more rounds to make it a slouchy hat, or fewer rounds for a fitted cap. It’s also super easy and is definitely beginner friendly as long as you know how to crochet in the round!
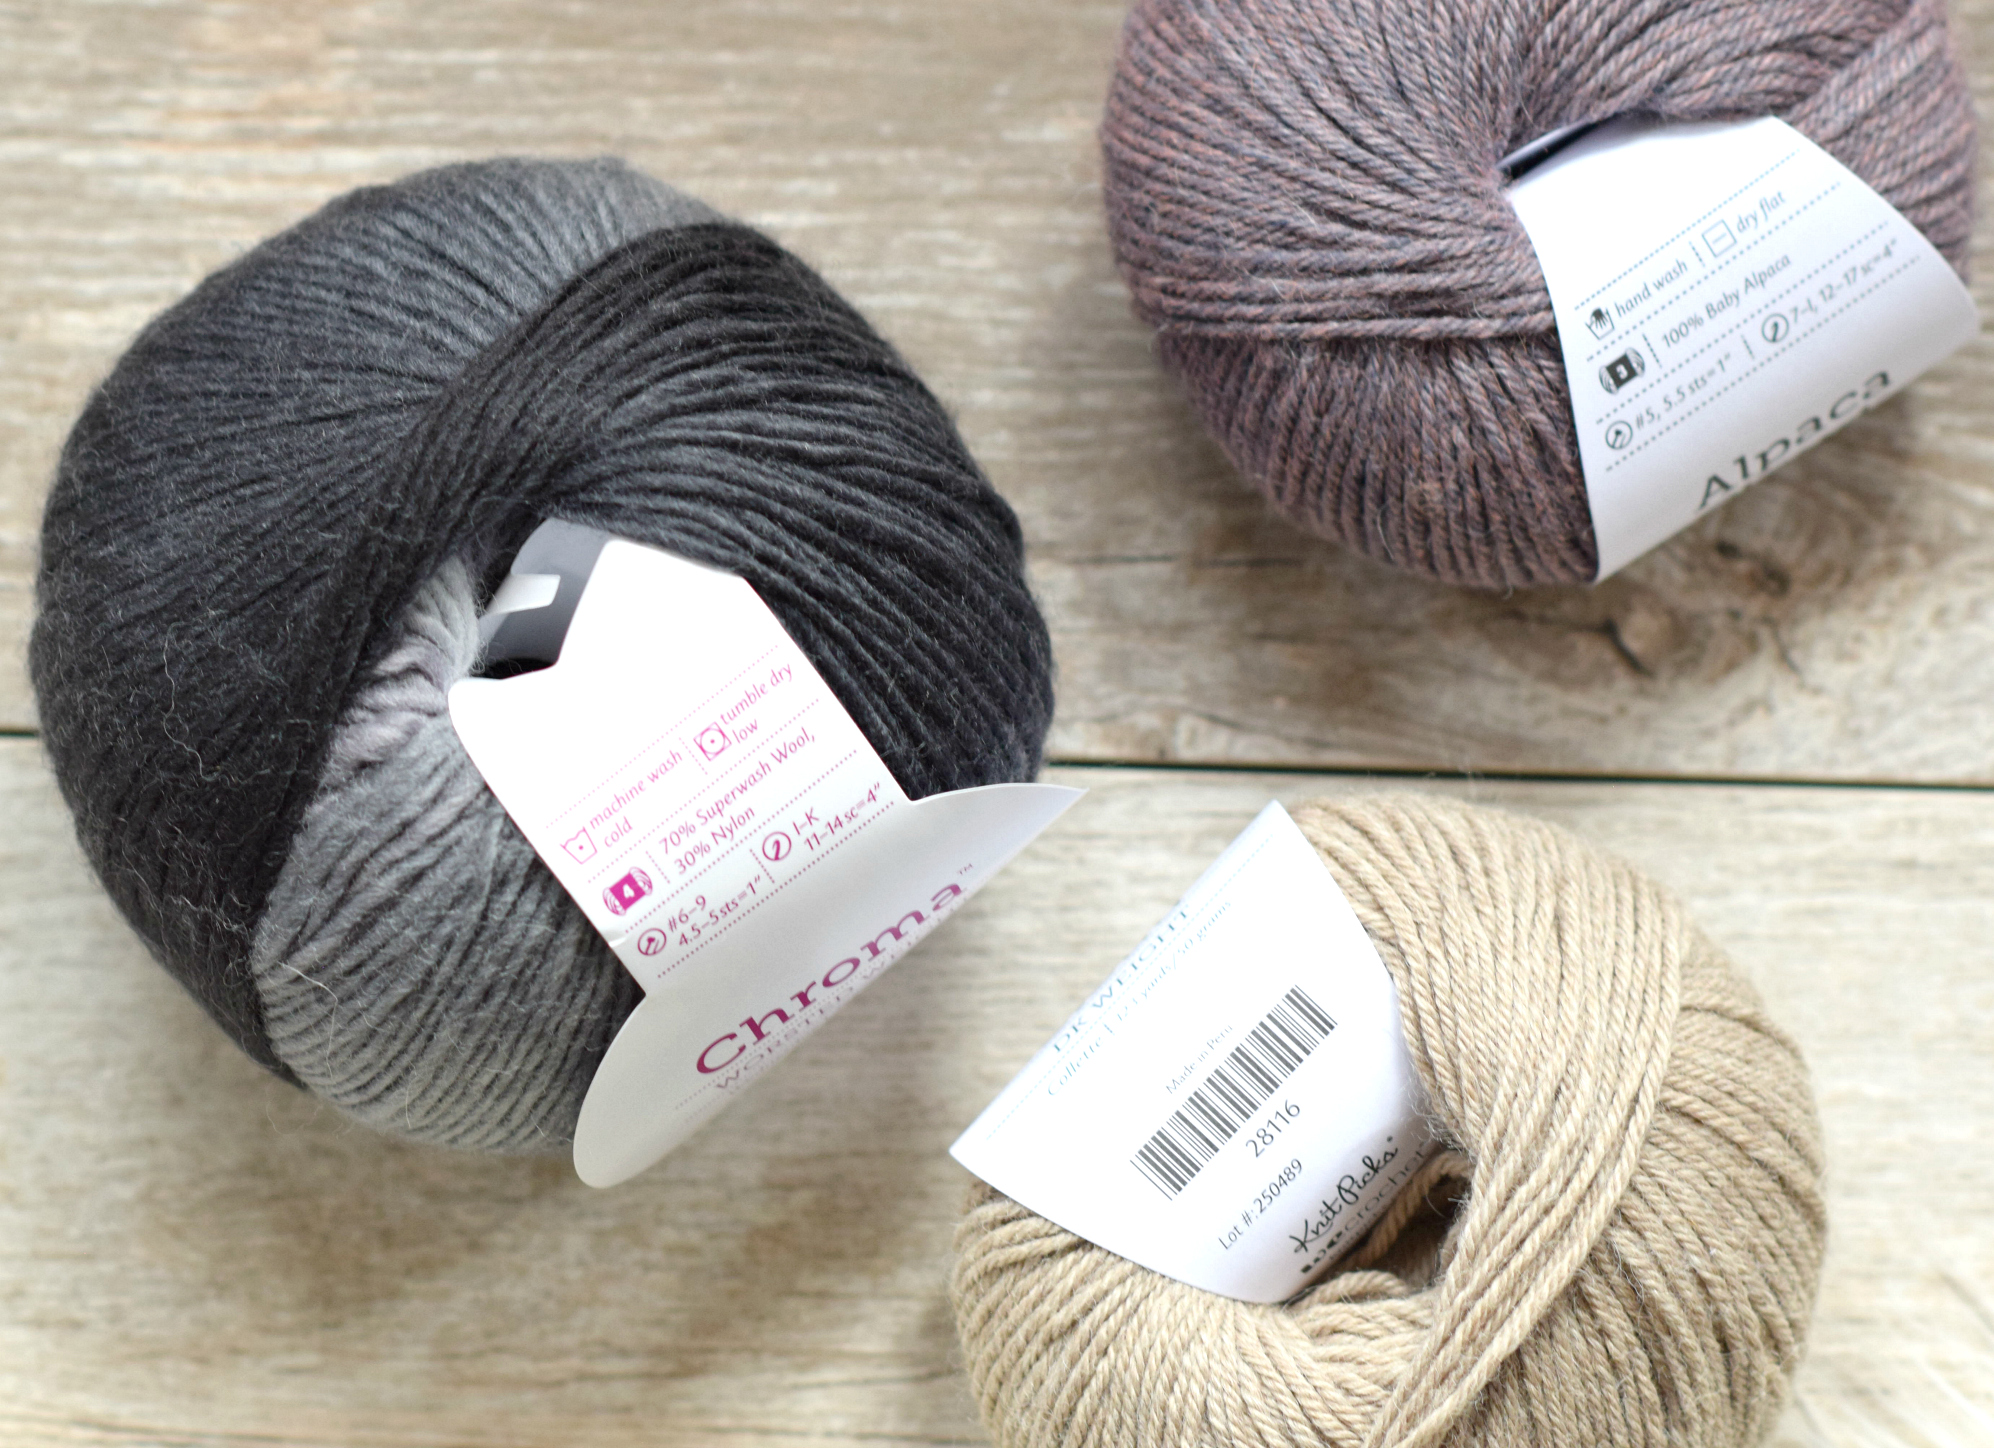
While this yarn is getting hard to find, you can use any worsted weight yarn that you like! 🙂
This is definitely the most comfortable, best fitting hat that I’ve ever crocheted. I find that sometimes the hats stretch out and become too loose, or the brim turns out too tight. So far, this one has been just right.
I was thrilled to have the opportunity to receive several yarns that I’d never tried from We Crochet (here).
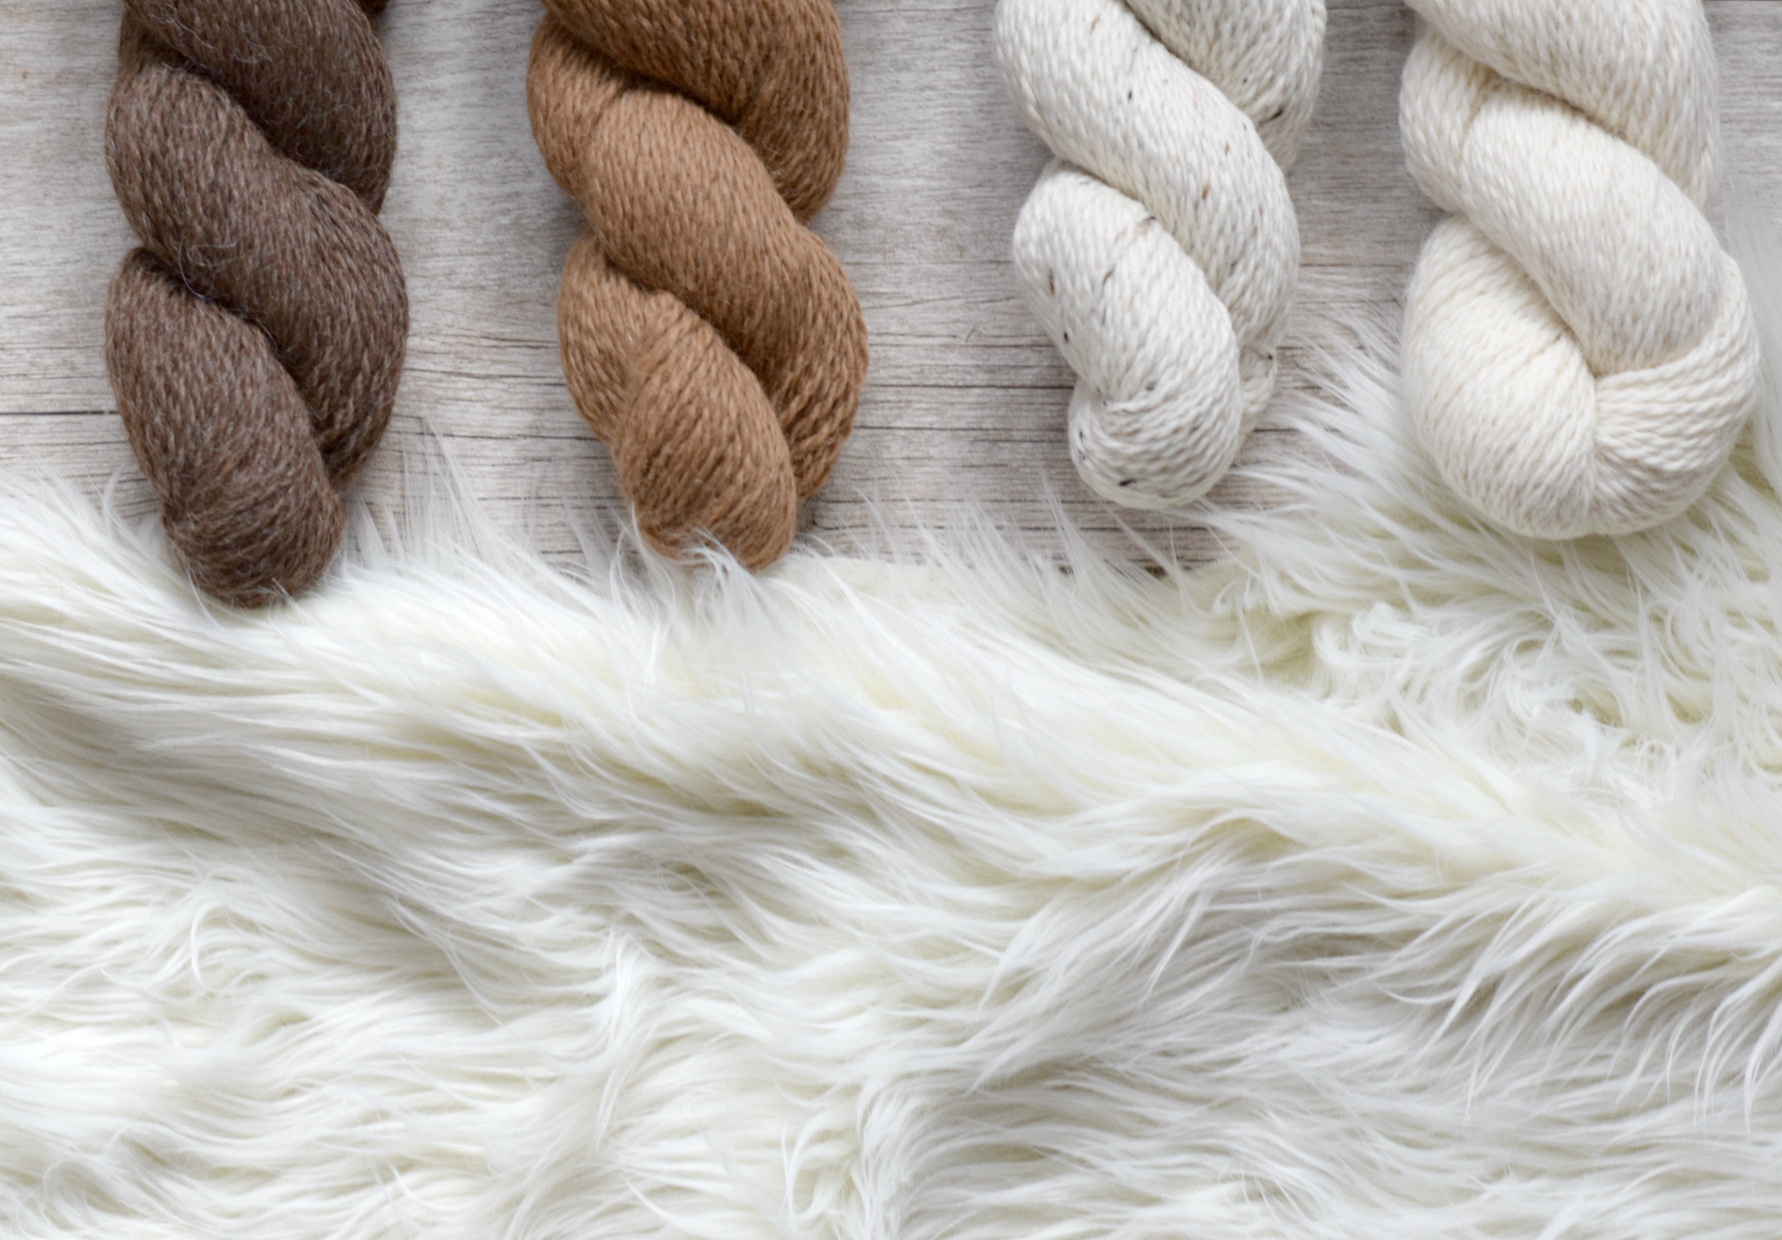
Their selection of quality yarns is so impressive! When I saw this Woodland Tweed, of course I had to get my hands on it. (You know me – give me creamy colored yarns all day! Ha!)

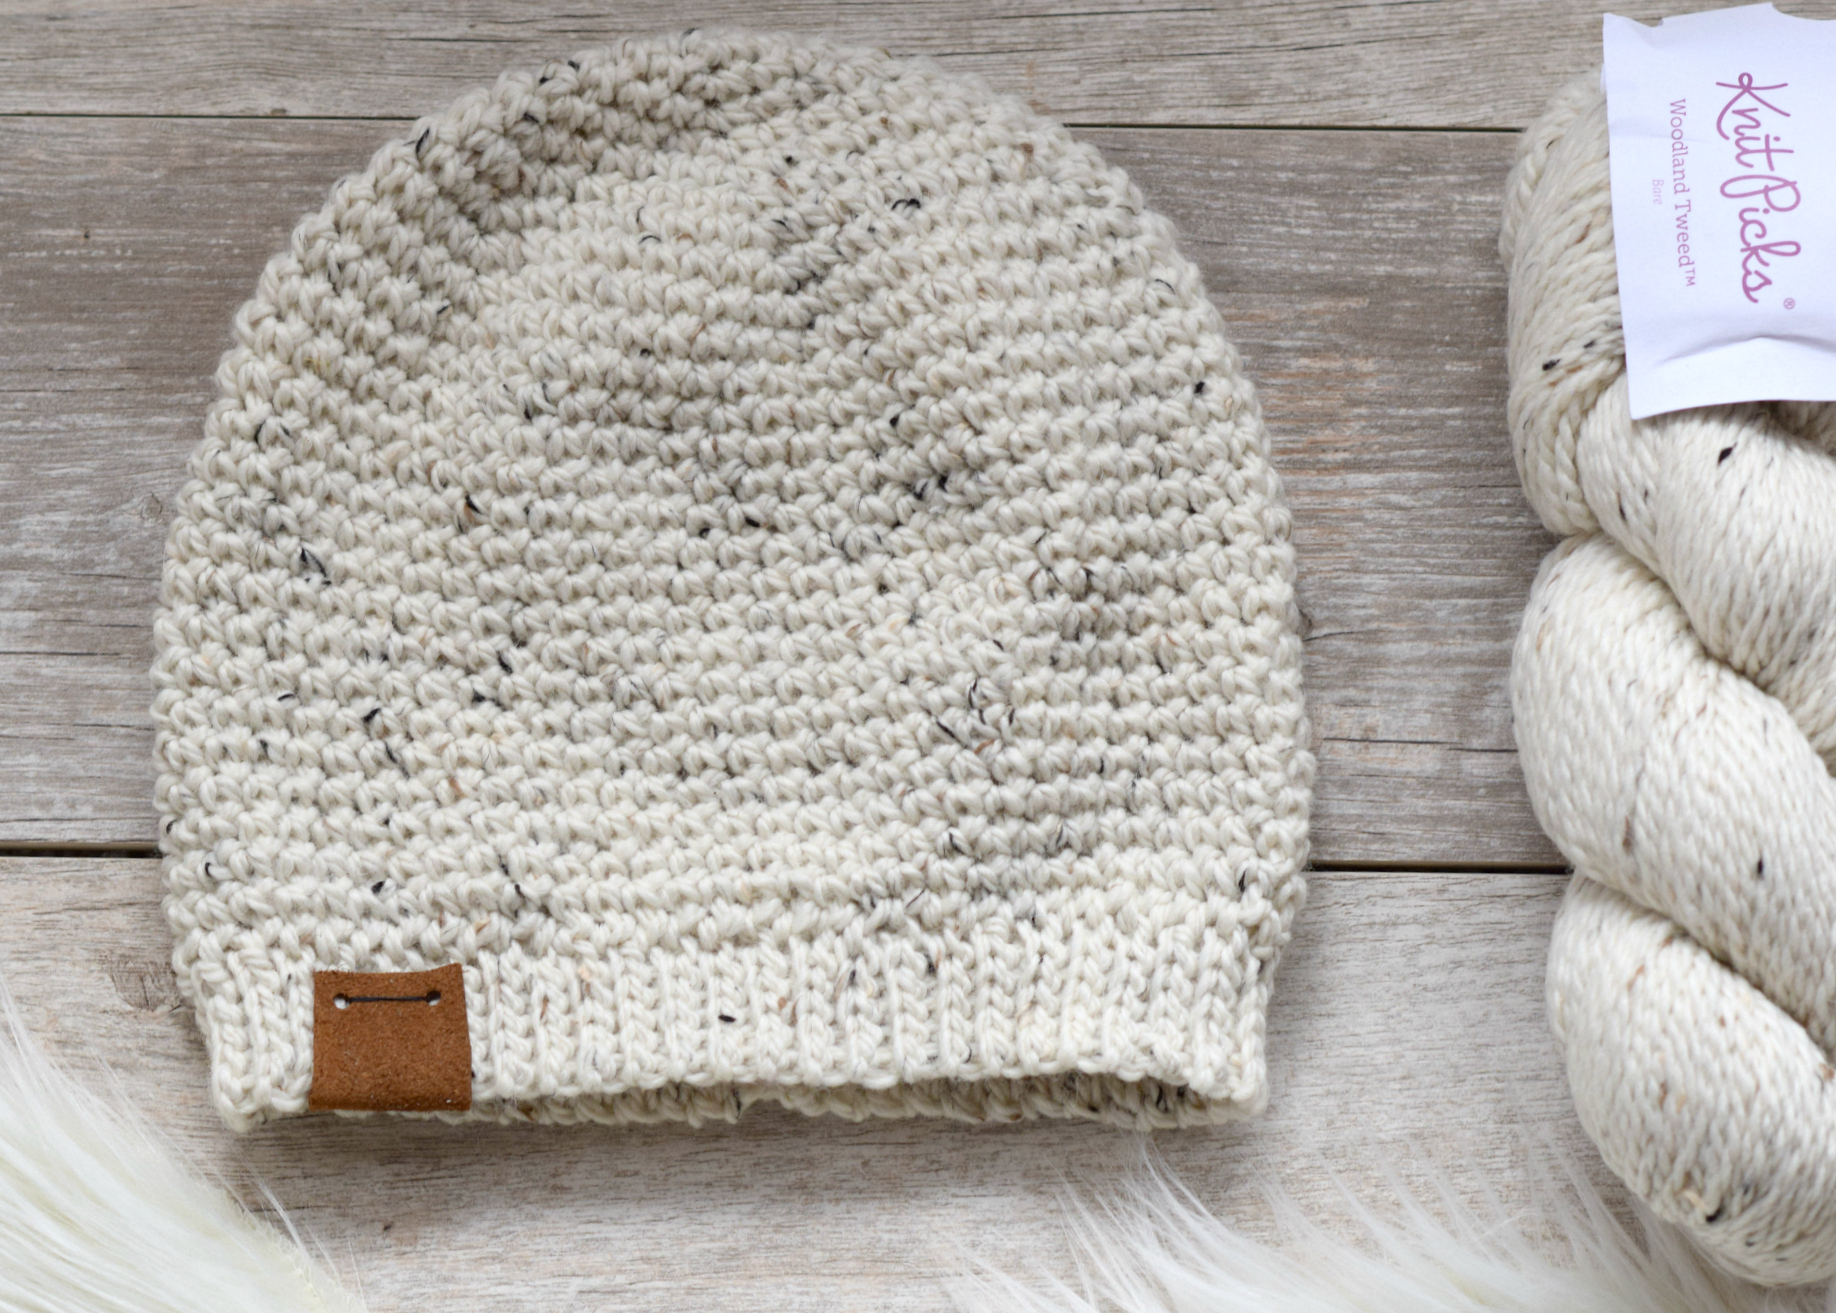
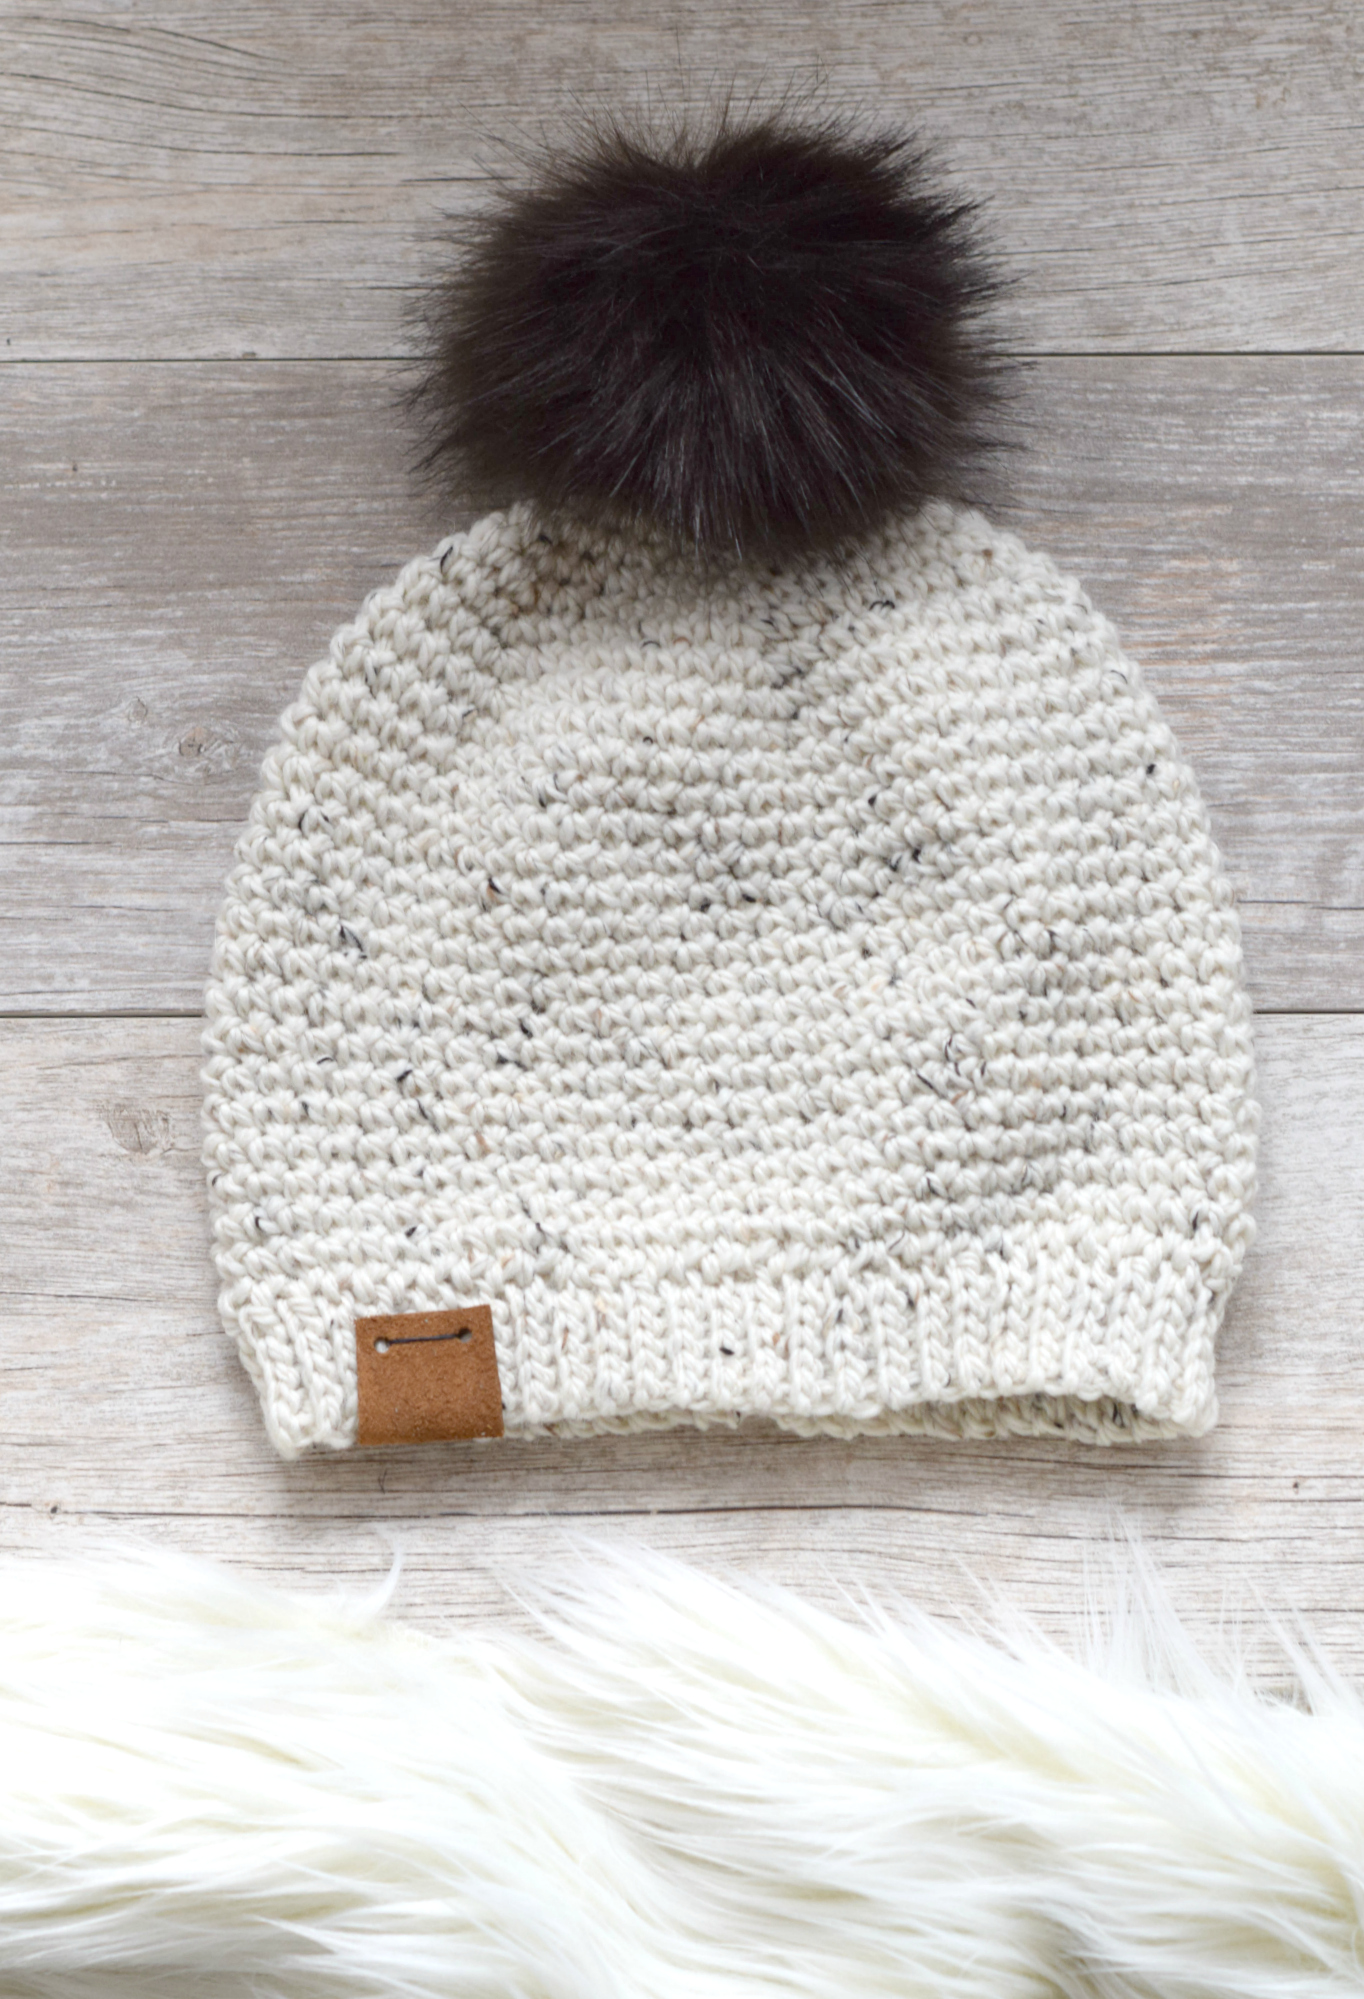
Today’s hat pattern (above) is made with their luxurious Woodland Tweed Yarn but you can use any heavy worsted weight or aran weight yarn. It’s crocheted from the top-down and uses the basic single crochet stitch.
I love the look of this as it’s clean, modern and almost appears to be knit, right? The brim is made with slip stitches through the back loop only, which also gives it a lovely knit-look ribbed edge. And you have to read my little trick to keep the brim stretchy even after seaming it to the hat. 😉
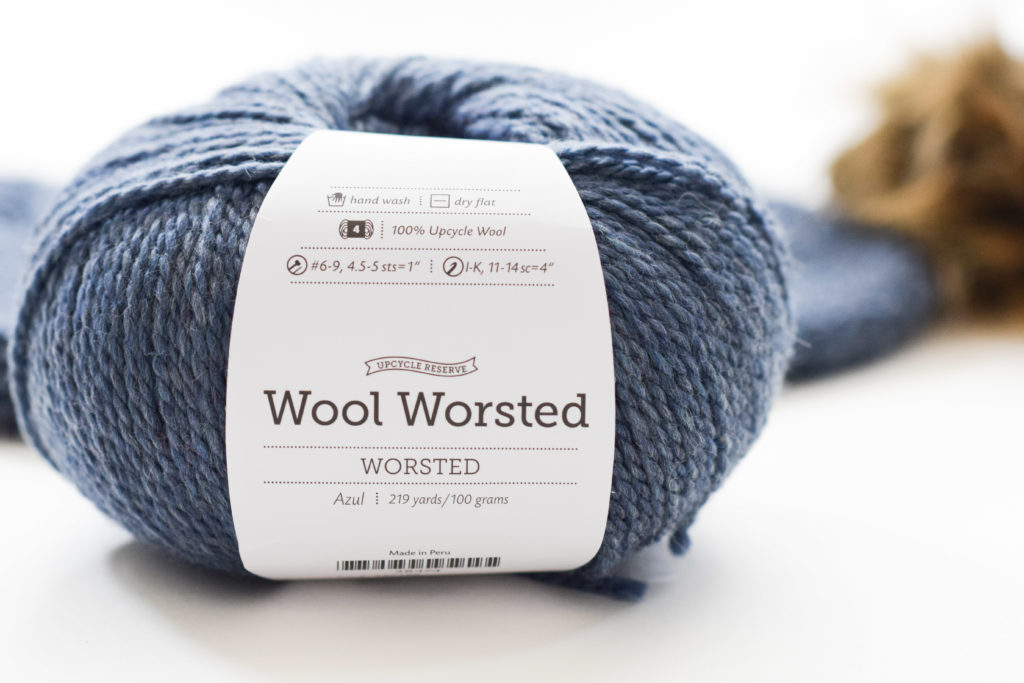
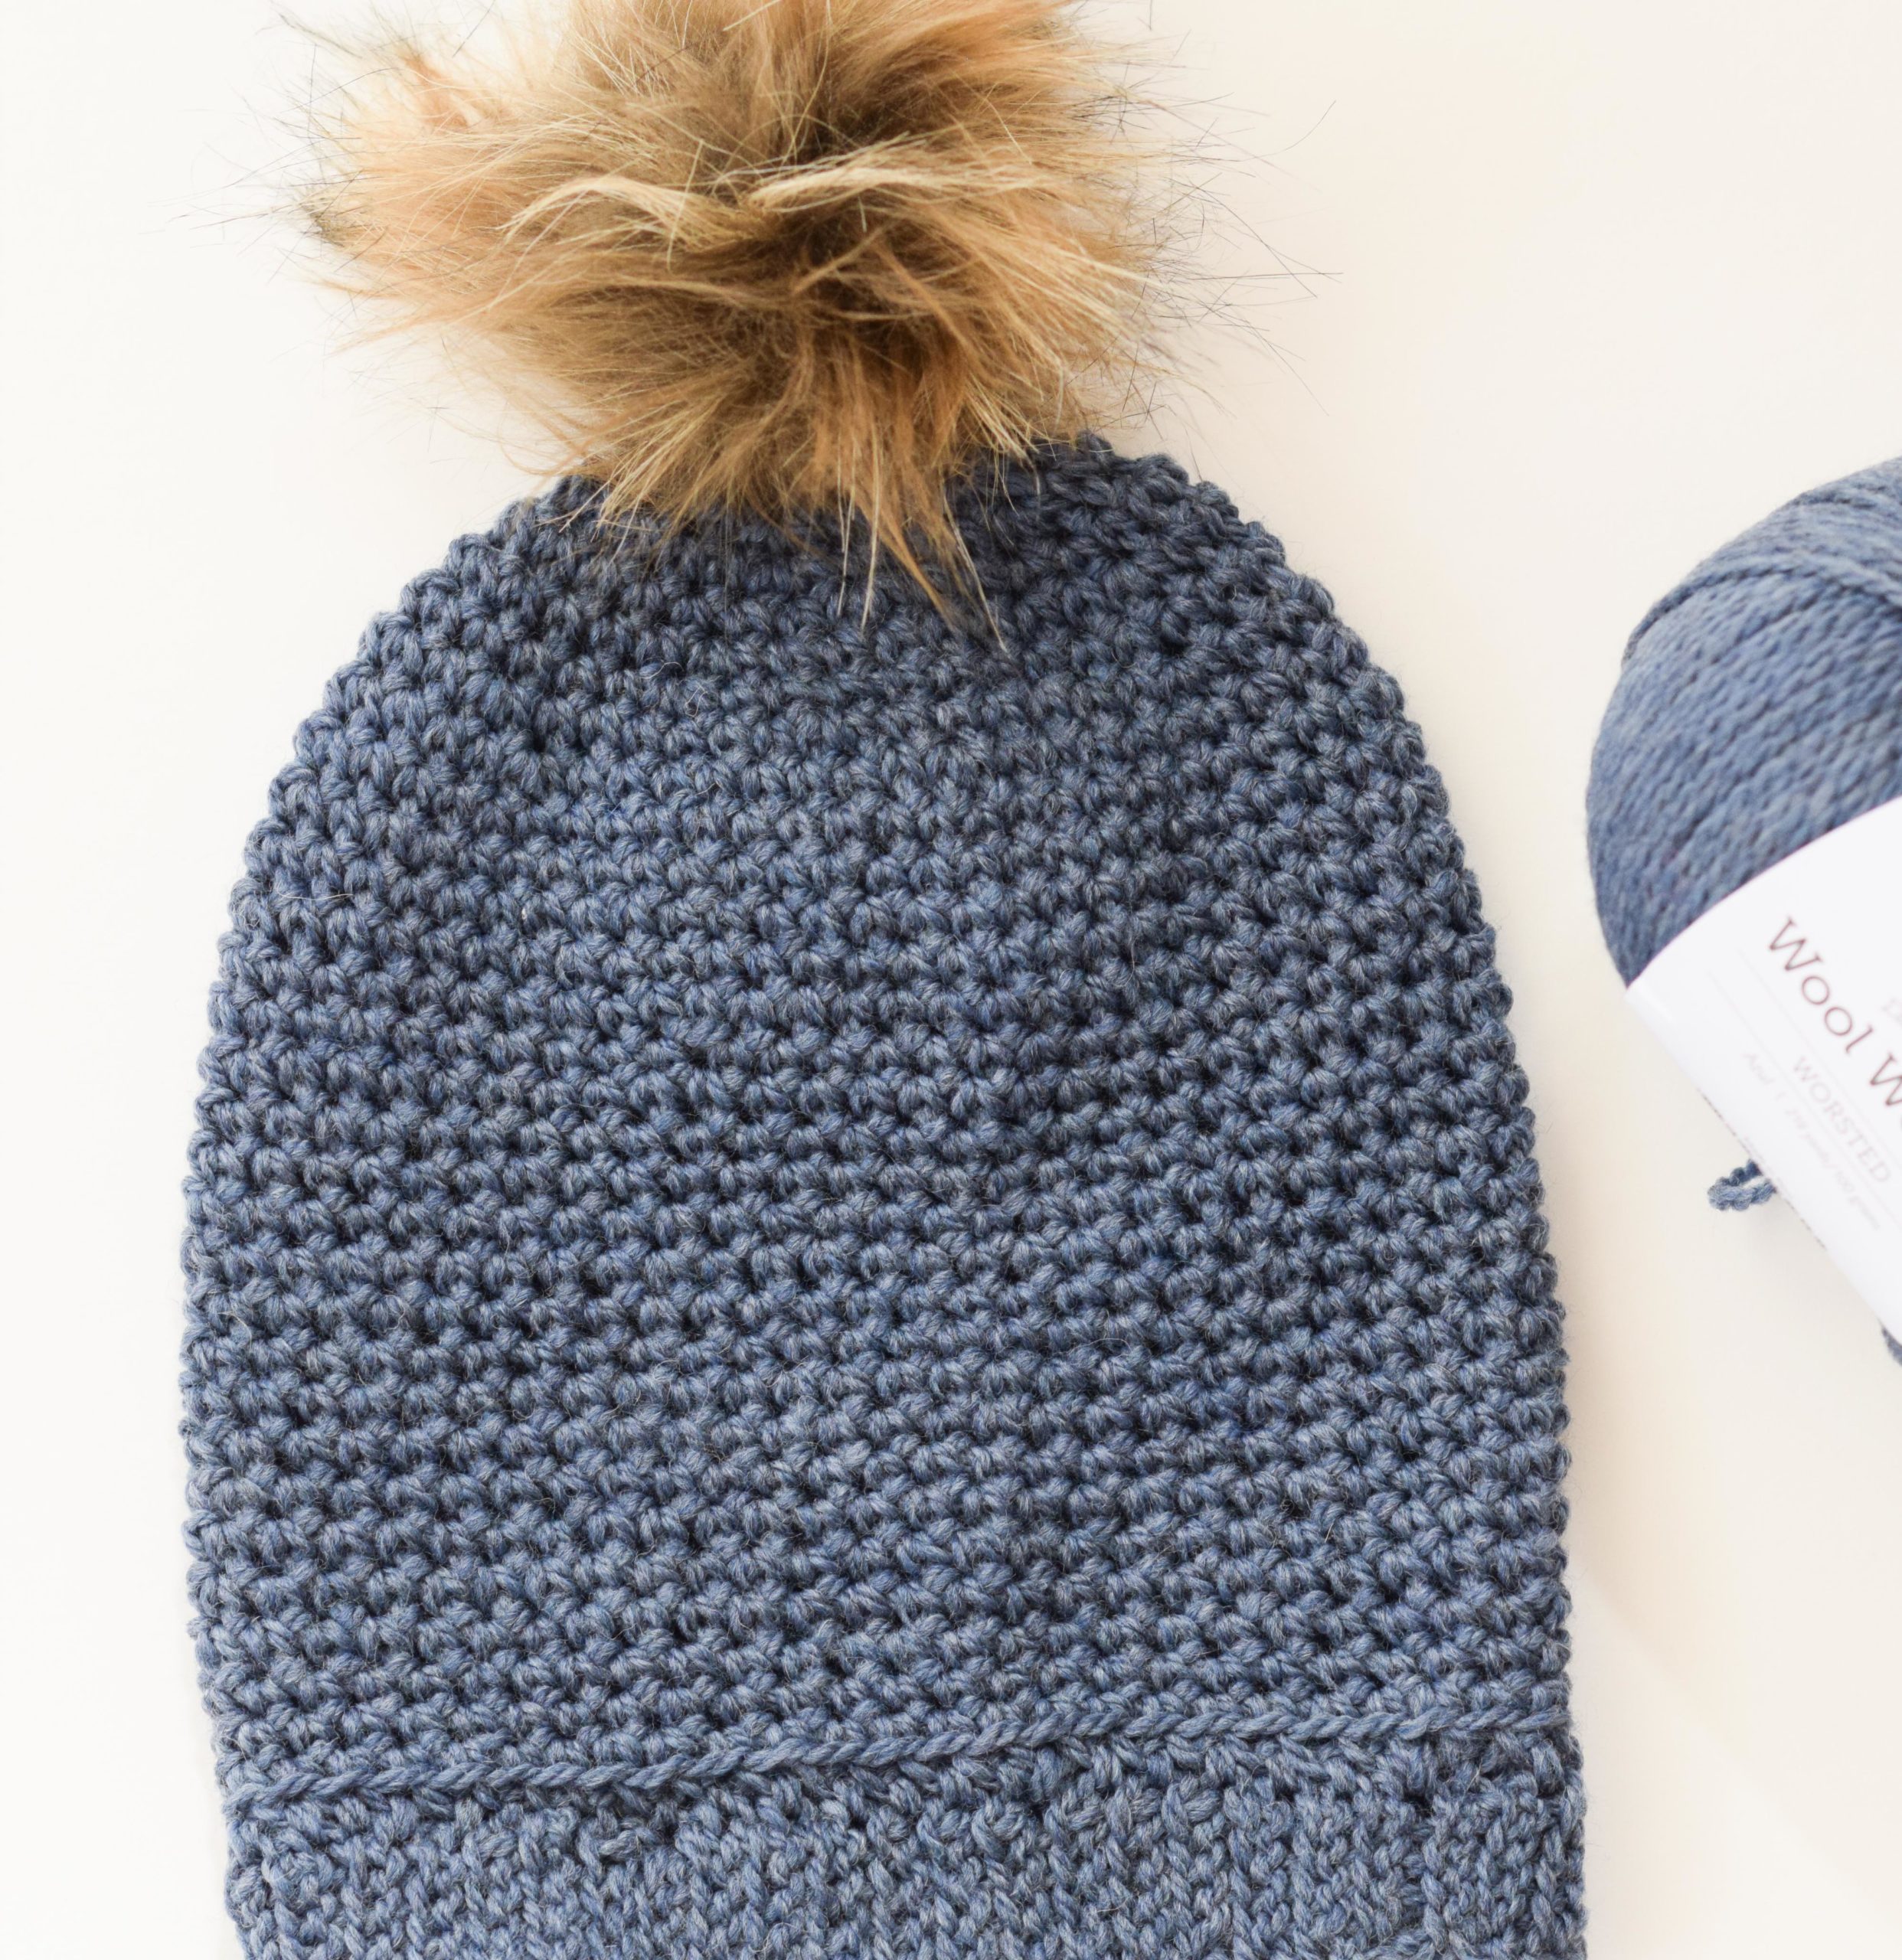
This year, I really have wanted to use more eco-friendly yarns, and this Up-Cycle Reserve Wool Worsted didn’t disappoint! It looks and feels high quality, and it worked up really nicely with this hat pattern. You can shop this new, up-cycled yarn from WeCrochet HERE!
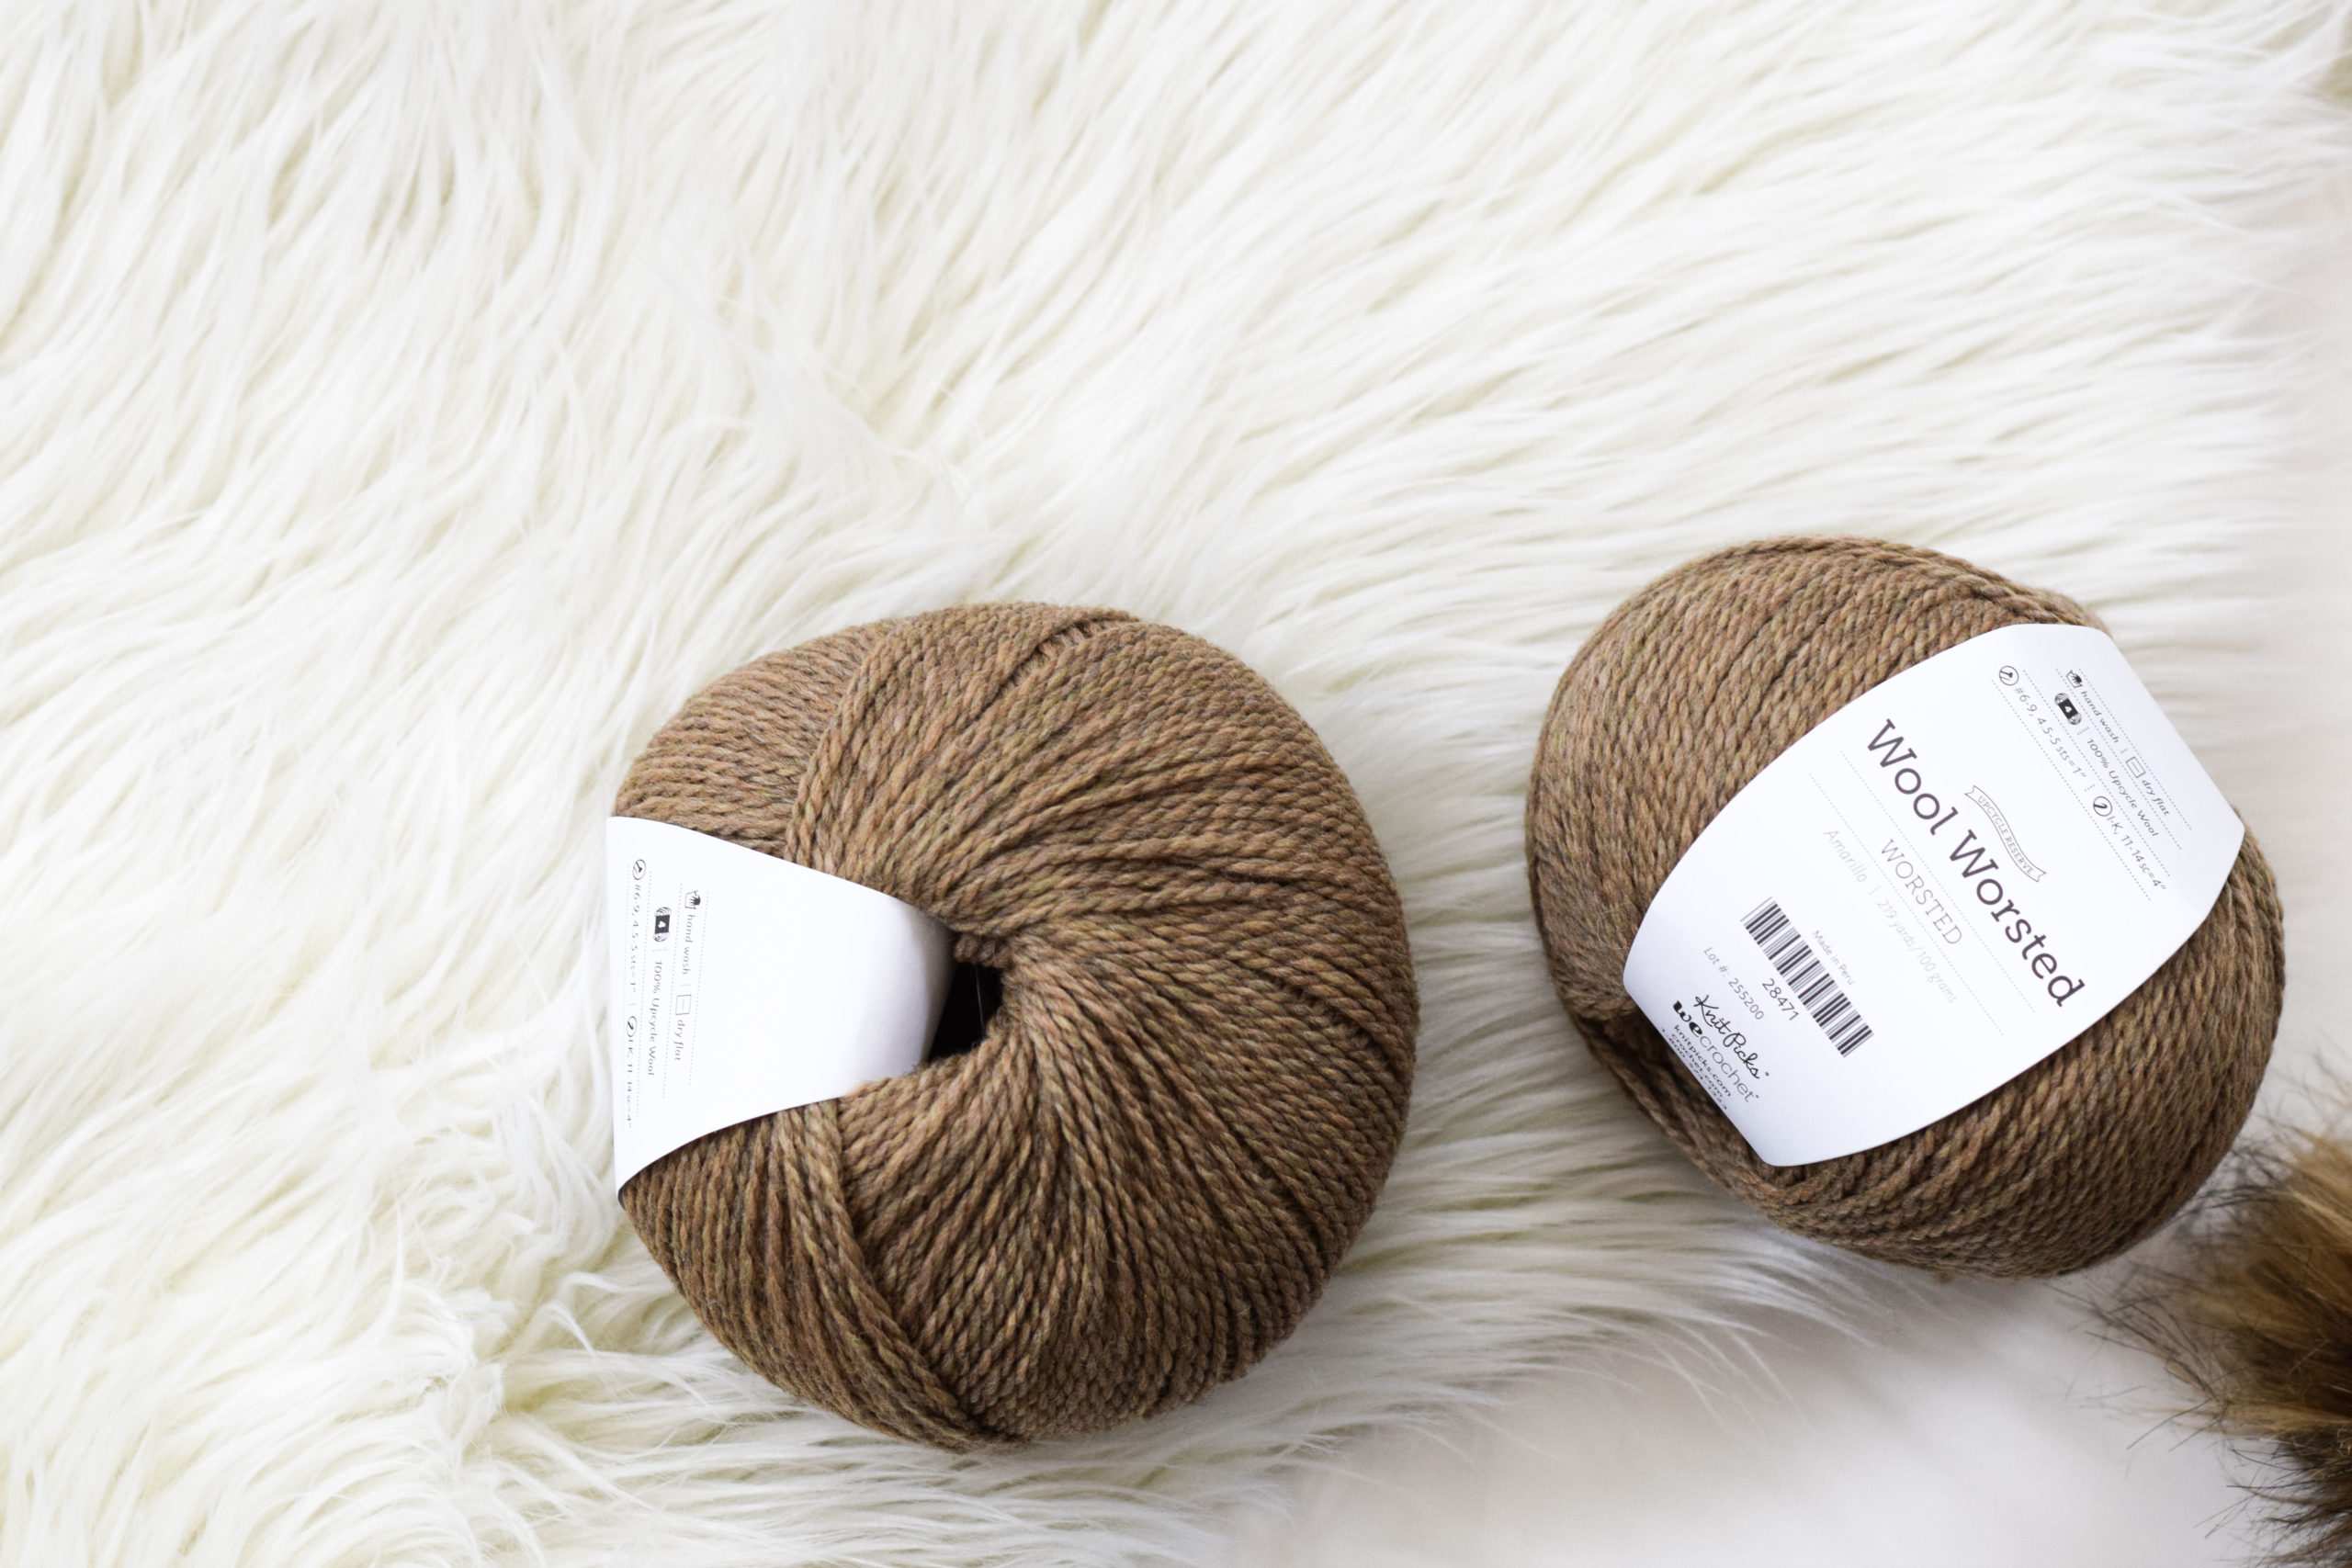
Above: Isn’t that a lovely color option too? Ahh, the problems of a yarn addict. He he!
Oh! If you like working with super bulky yarn and want a fast, beginner friendly pattern, do check out my Ski Lodge Big Pom Crocheted Hat Pattern HERE as well!
So let’s get started!
This isn’t so much a pattern as it is a “recipe” for you to make a hat to your liking. Because of this, you won’t find this in my Etsy shop as a pattern or my Mamas Makers library; it just lives here on the blog!
How To Crochet A Hat – Free Crochet Pattern Tutorial
You will need:
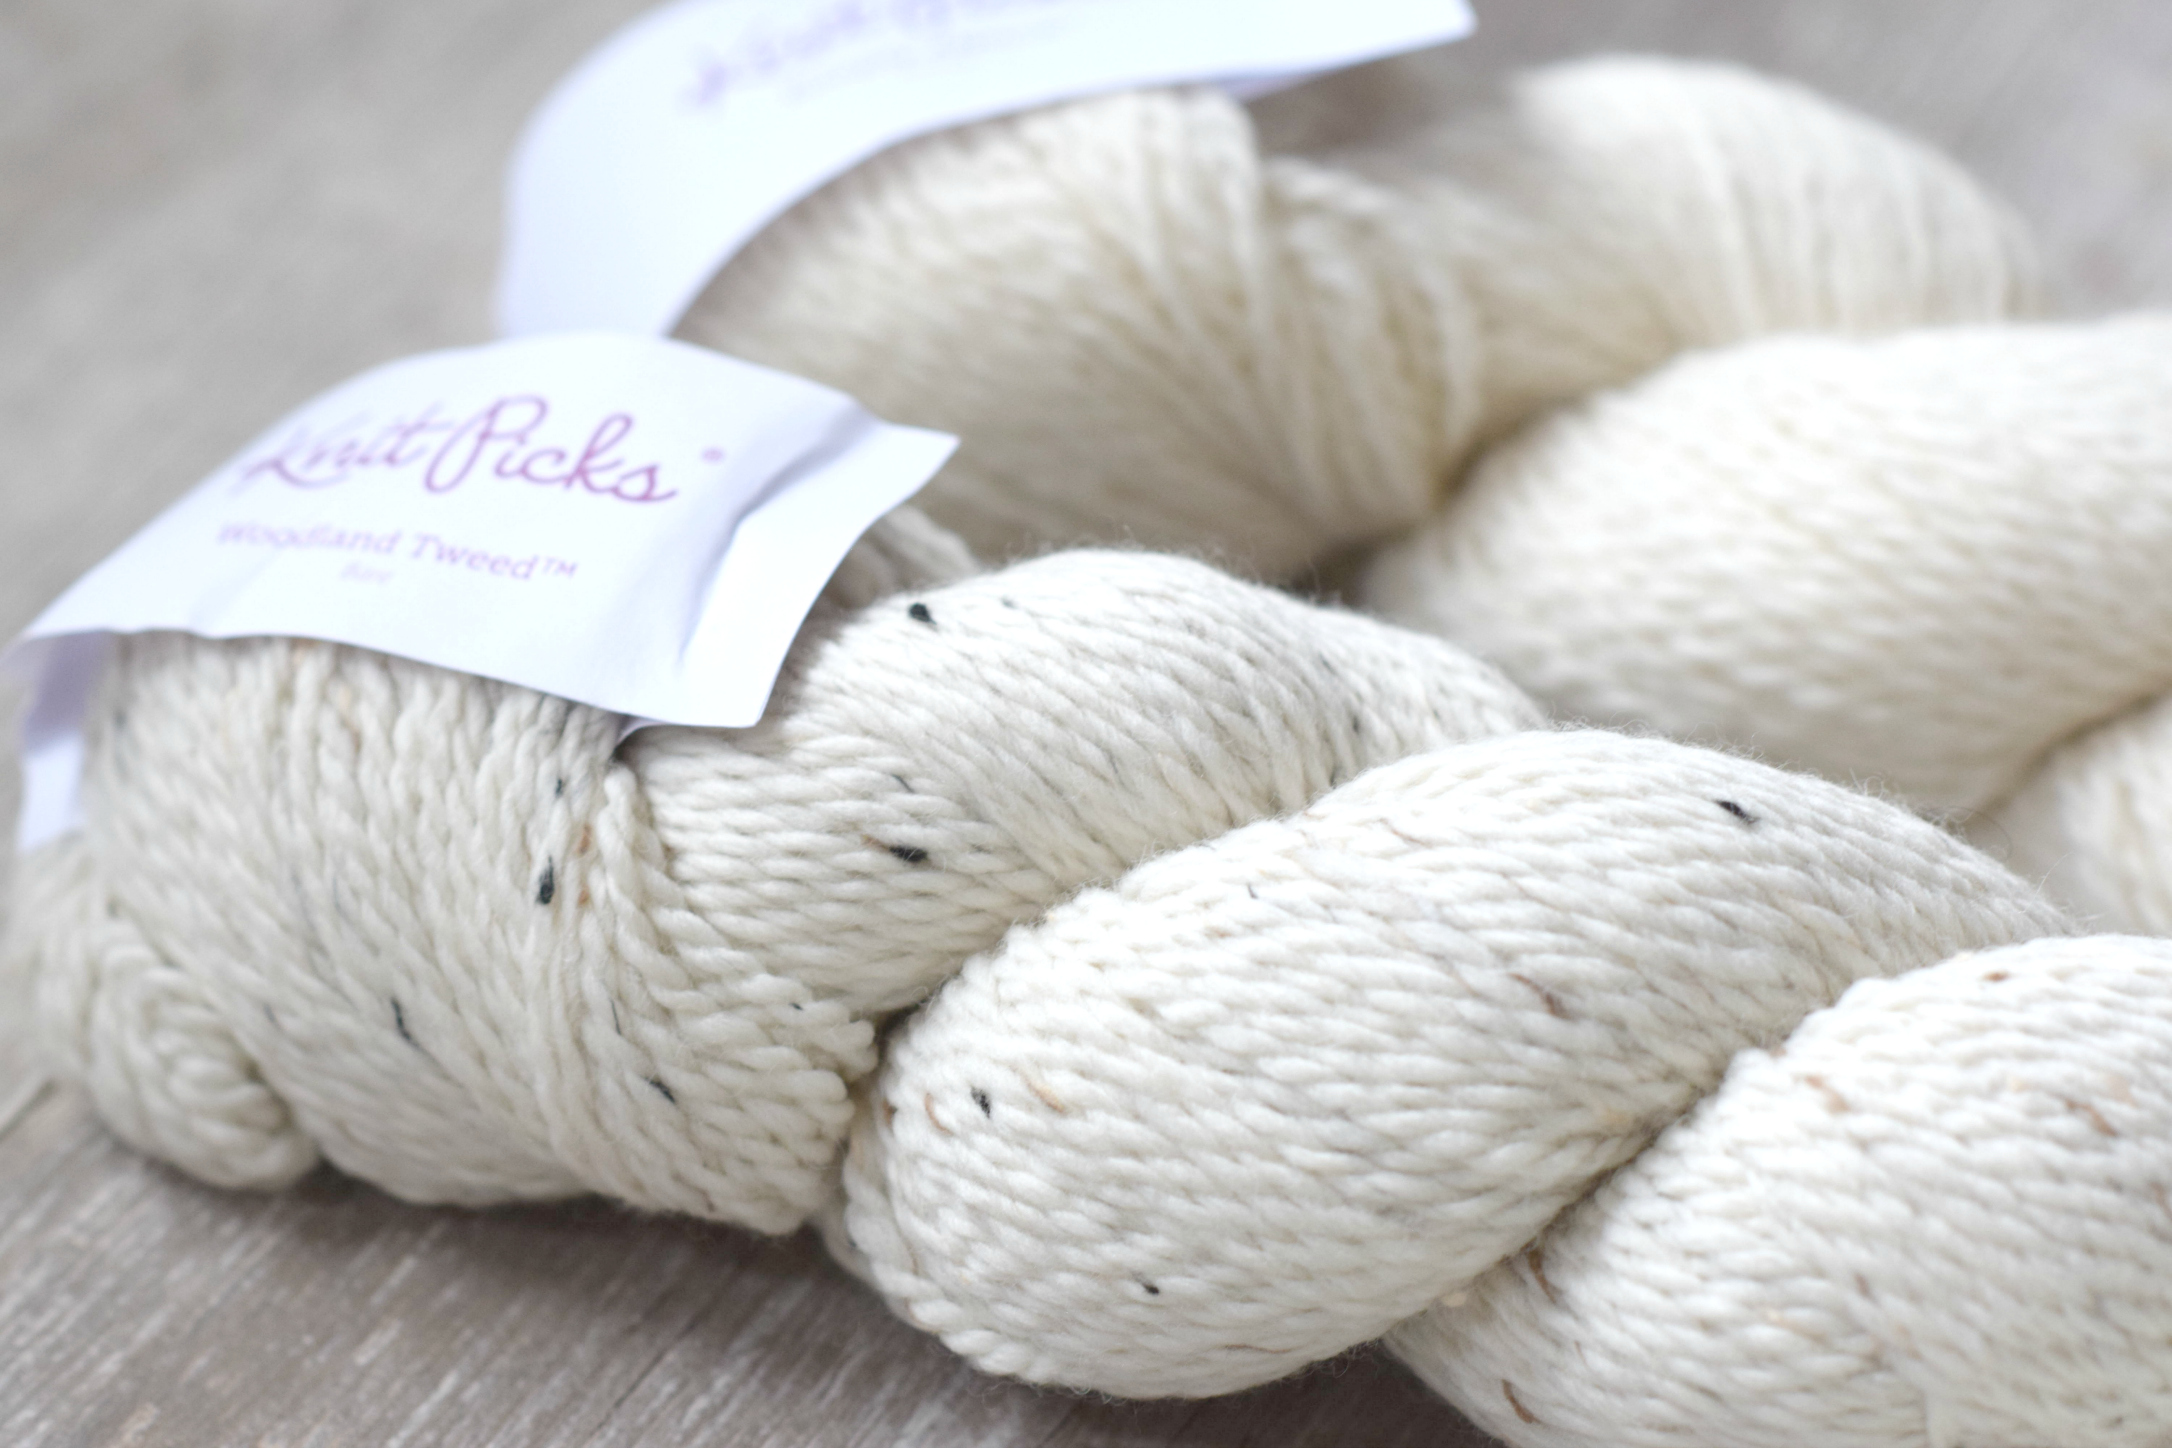
1 skein Knit Picks Woodland Tweed (aran weight yarn) in Bare HERE
You can also use 1 of the Up-Cycle Reserve Wool Worsted Yarn HERE for a lighter weight version of the hat
US Size J 6.0 mm crochet hook
Tapestry Needle
Stitch Markers
Scissors
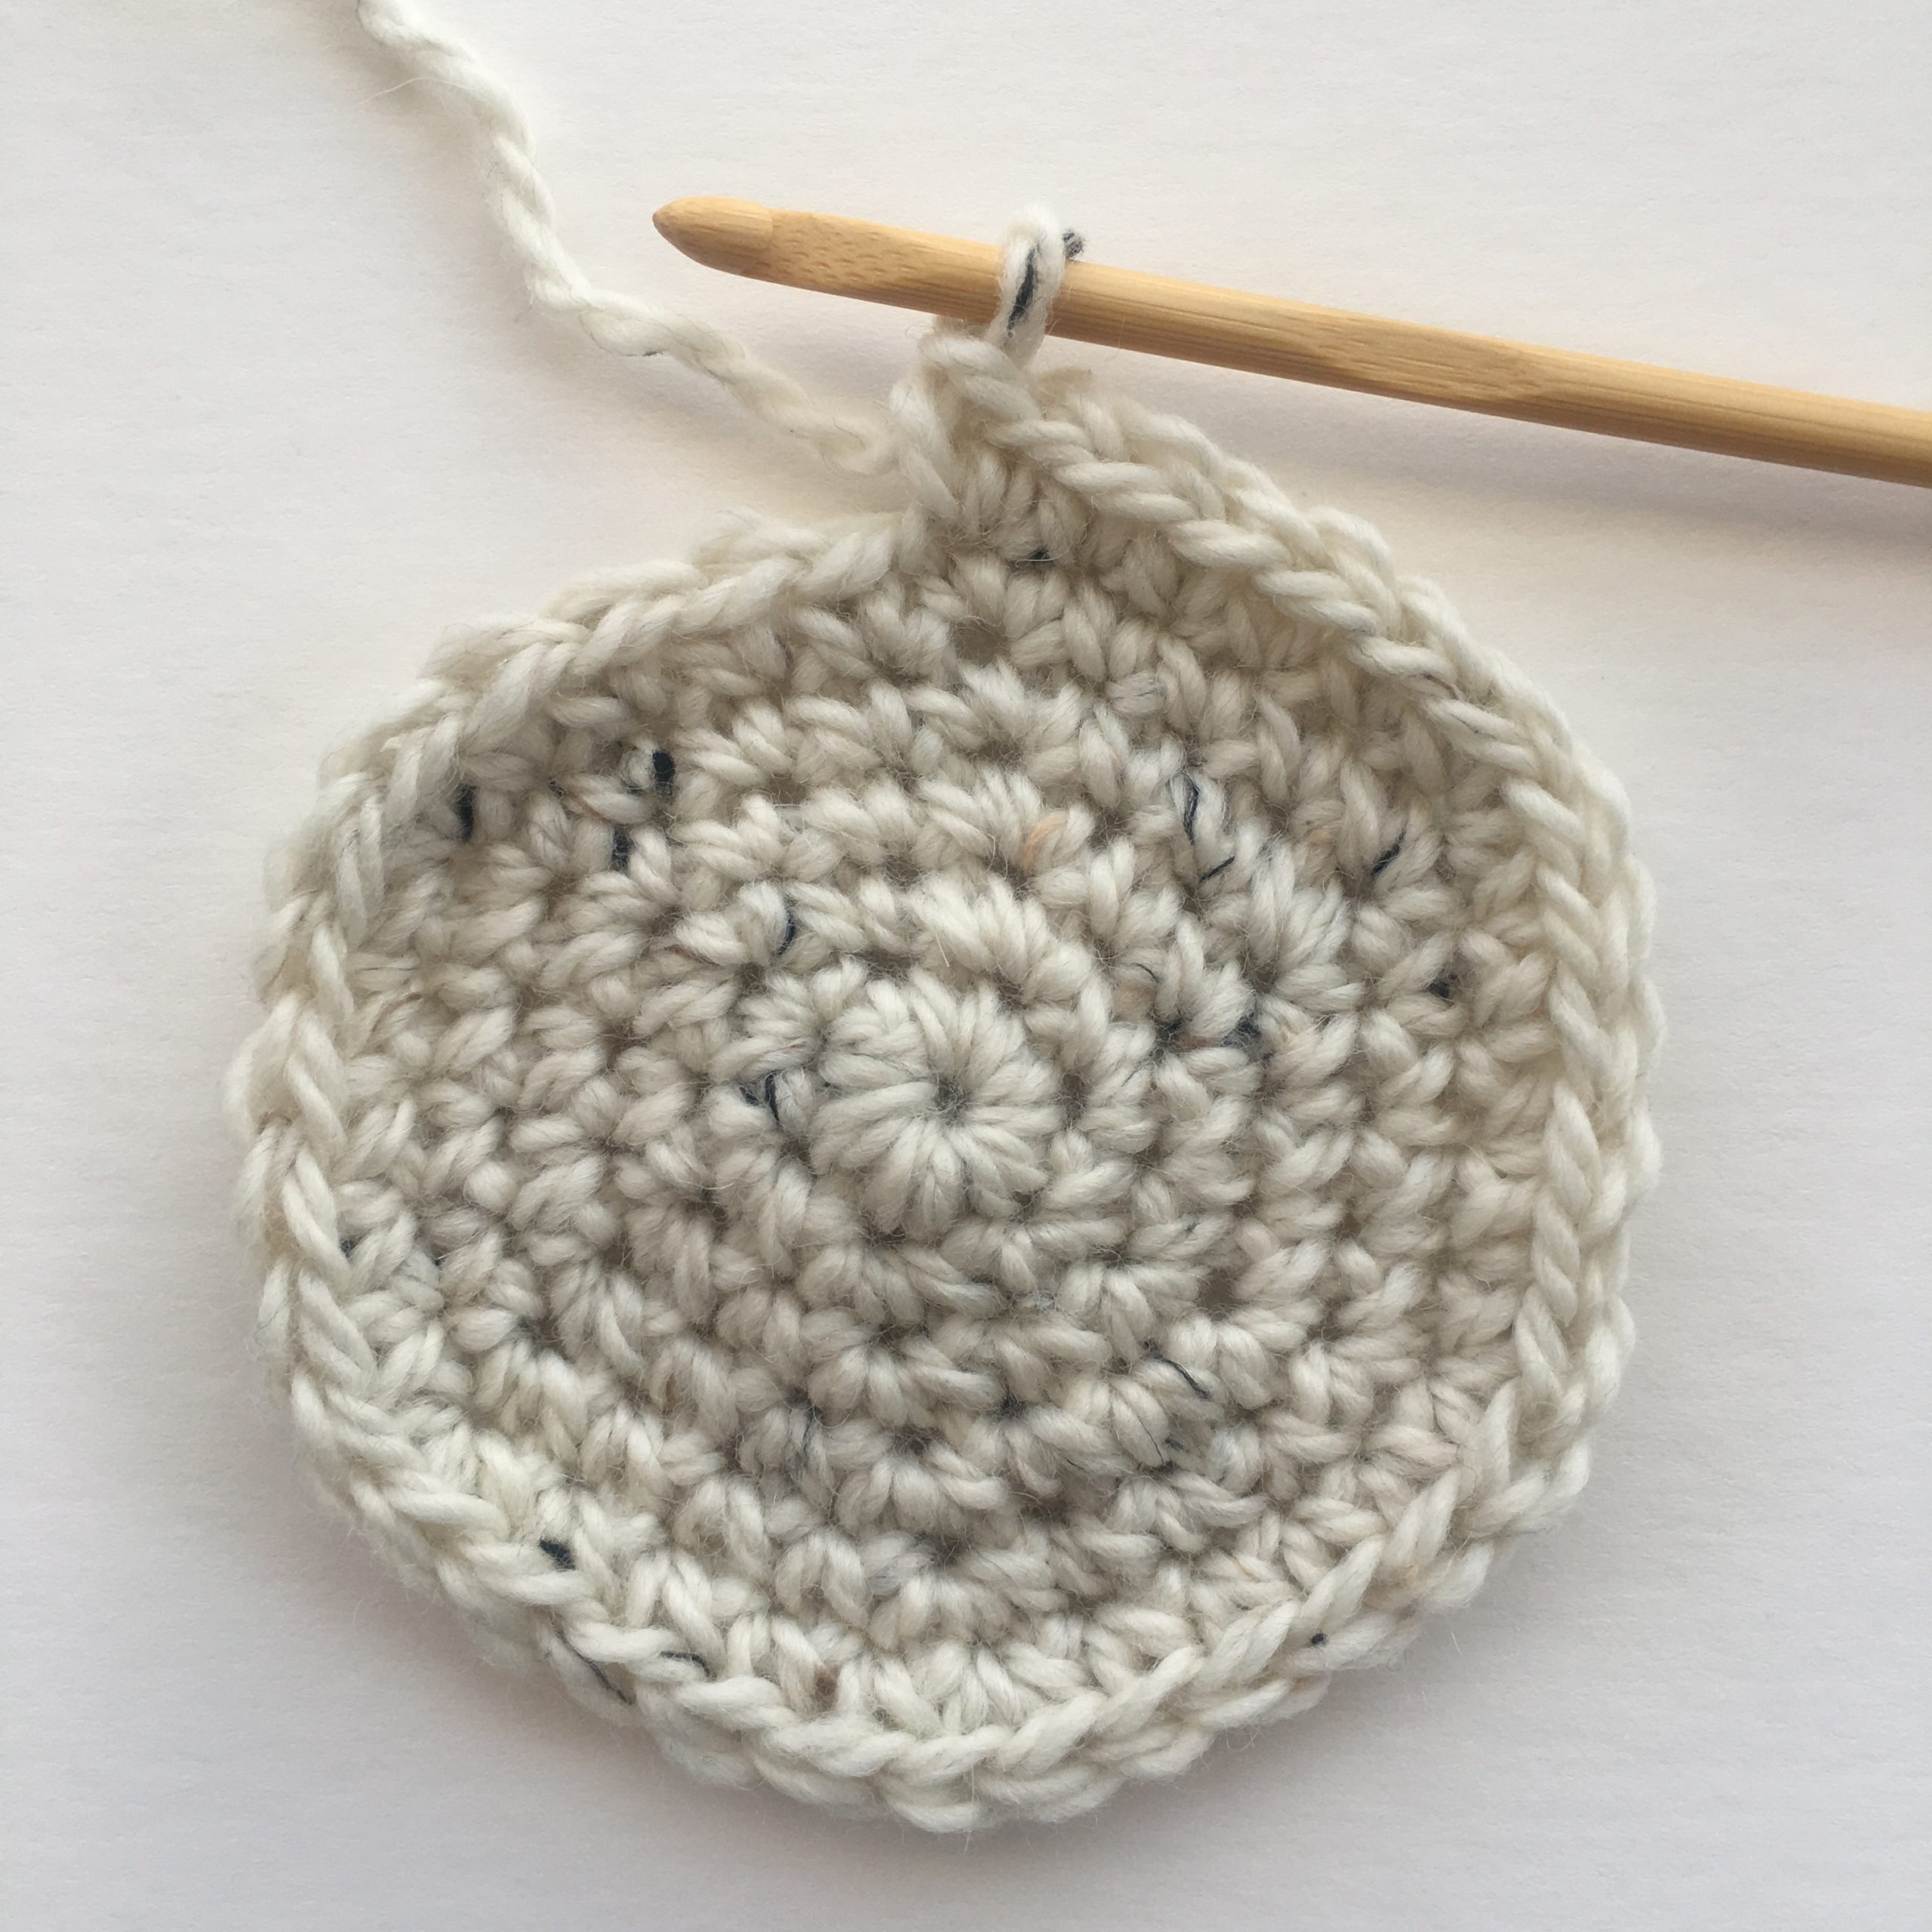
Step 1 Crochet the crown
We are going to crochet a flat circle to make the crown. If you’ve never done this, it might be helpful to check out this picture tutorial here. If you check out the tutorial, please just take note that I didn’t join rounds for this pattern or chain 1 at the beginning of each round. I simply crocheted in continuous rounds.
Crochet your flat circle for this pattern in continuous rounds. Do not slip stitch to join each round.
Mark the 1st stitch of each round
Ch 4, sl st to join to form a ring
Round 1 6 sc into the ring (6 stitches)
Round 2 2sc in each st around (12 stitches)
Round 3 *sc, 2sc in next st; repeat from * around (18 stitches)
Round 4 *sc in each of next two sts, 2sc in next st; repeat from * around (24 stitches)
Round 5 *sc in each of next 3 sts, 2sc in next st; repeat from * around (30 stitches)
Round 6 *sc in each of next 4 sts, 2sc in next st; repeat from * around (36 stitches)
Round 7 *sc in each of next 5 sts, 2 sc in next st; repeat from * around (42 stitches)
Round 8 *sc in each of next 6 sts, 2 sc in next st; repeat from * around (48 stitches)
Round 9 *sc in each of next 7 sts, 2sc in next st; repeat from * around (54 stitches)
Round 10 *sc in each of next 8 sts, 2sc in next st; repeat from * around (60 stitches)
At this point, my flat circle was just over 6″ across. Yours should be about the same! If not, you will want to continue this same pattern until your flat circle is about 6.25″ if you’re making an average woman’s hat. For a large hat (maybe for a man) you will want to continue the pattern until the crown is 7″ across. A toddler, stop at 5″ and a newborn stop at 3.5″.
Width of Crown Guide:
- Newborn 3.5″
- Toddler 5″‘
- Child 5.5″
- Woman 6.25″
- Man 7″
Once you reach the width indicated, you will move onto the sides of the hat!
Step 2 Crochet the sides of the hat
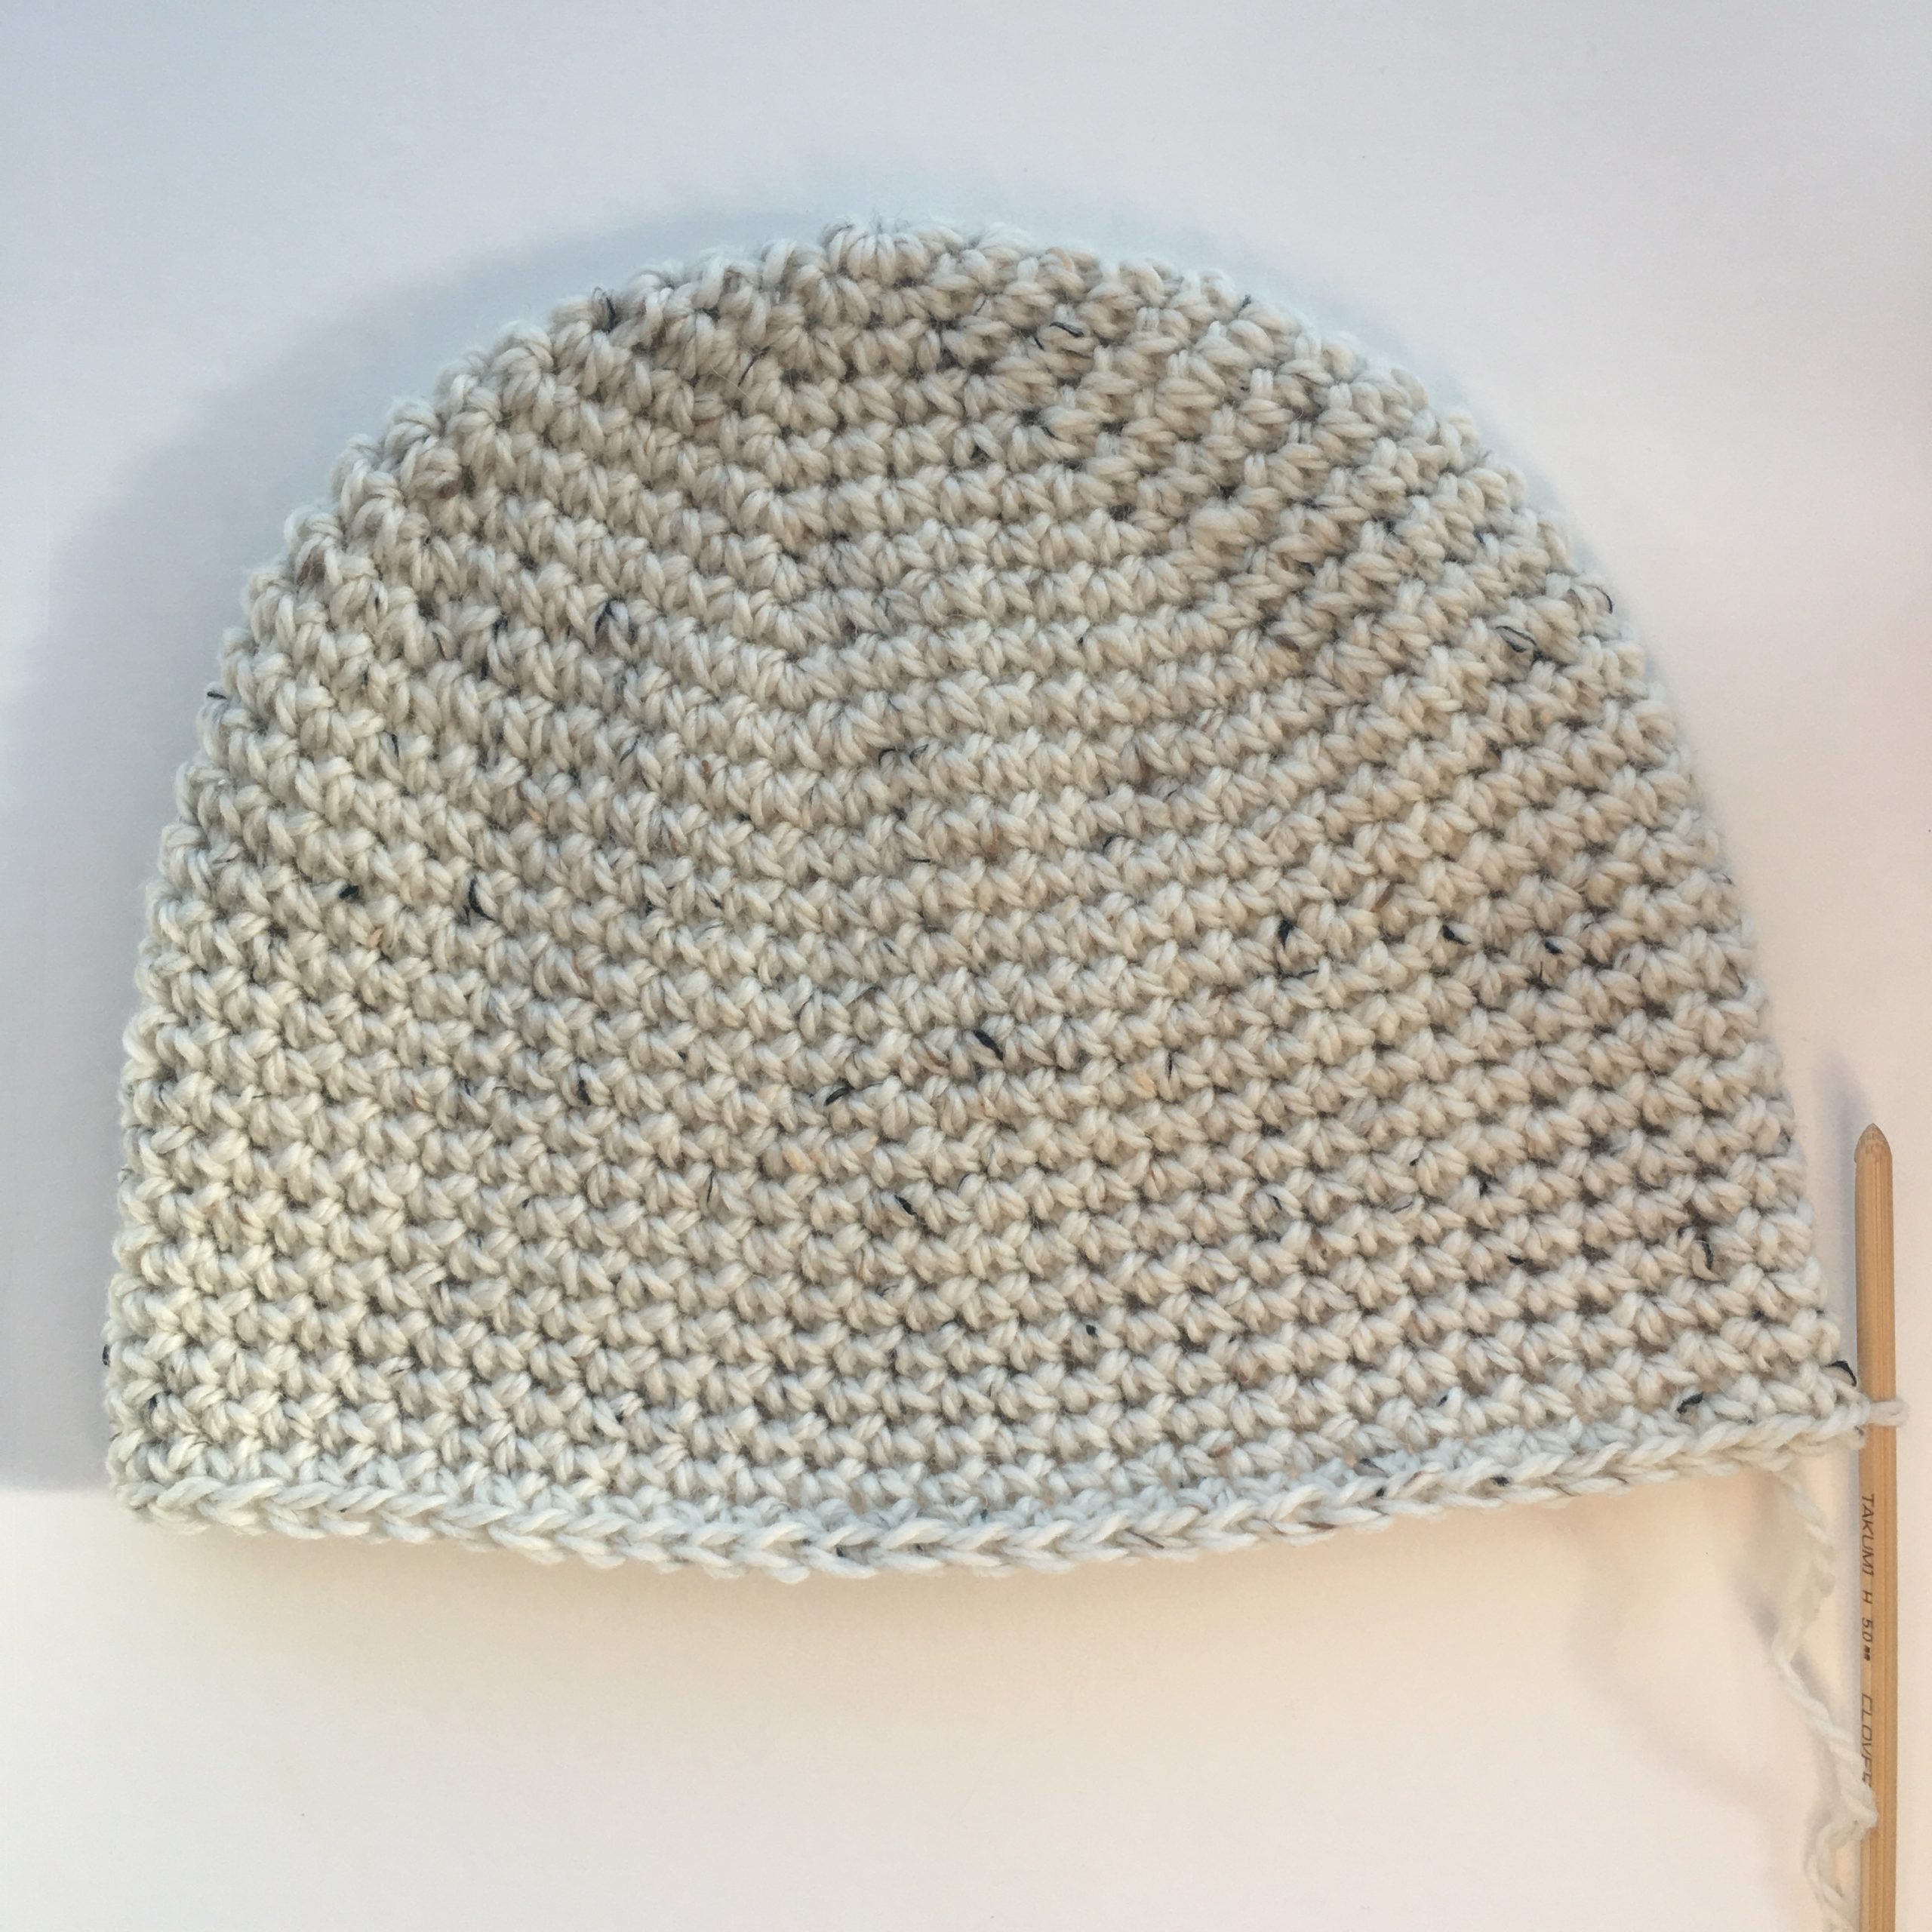
This part is the easiest, most mindless crochet you will ever do in your life. Ha! Simply single crochet in each stitch around (and around, and around lol) until you reach your desired length. Feel free to try the hat on as you go so it fits just as you’d like.
Step 3 Crochet the brim of the hat
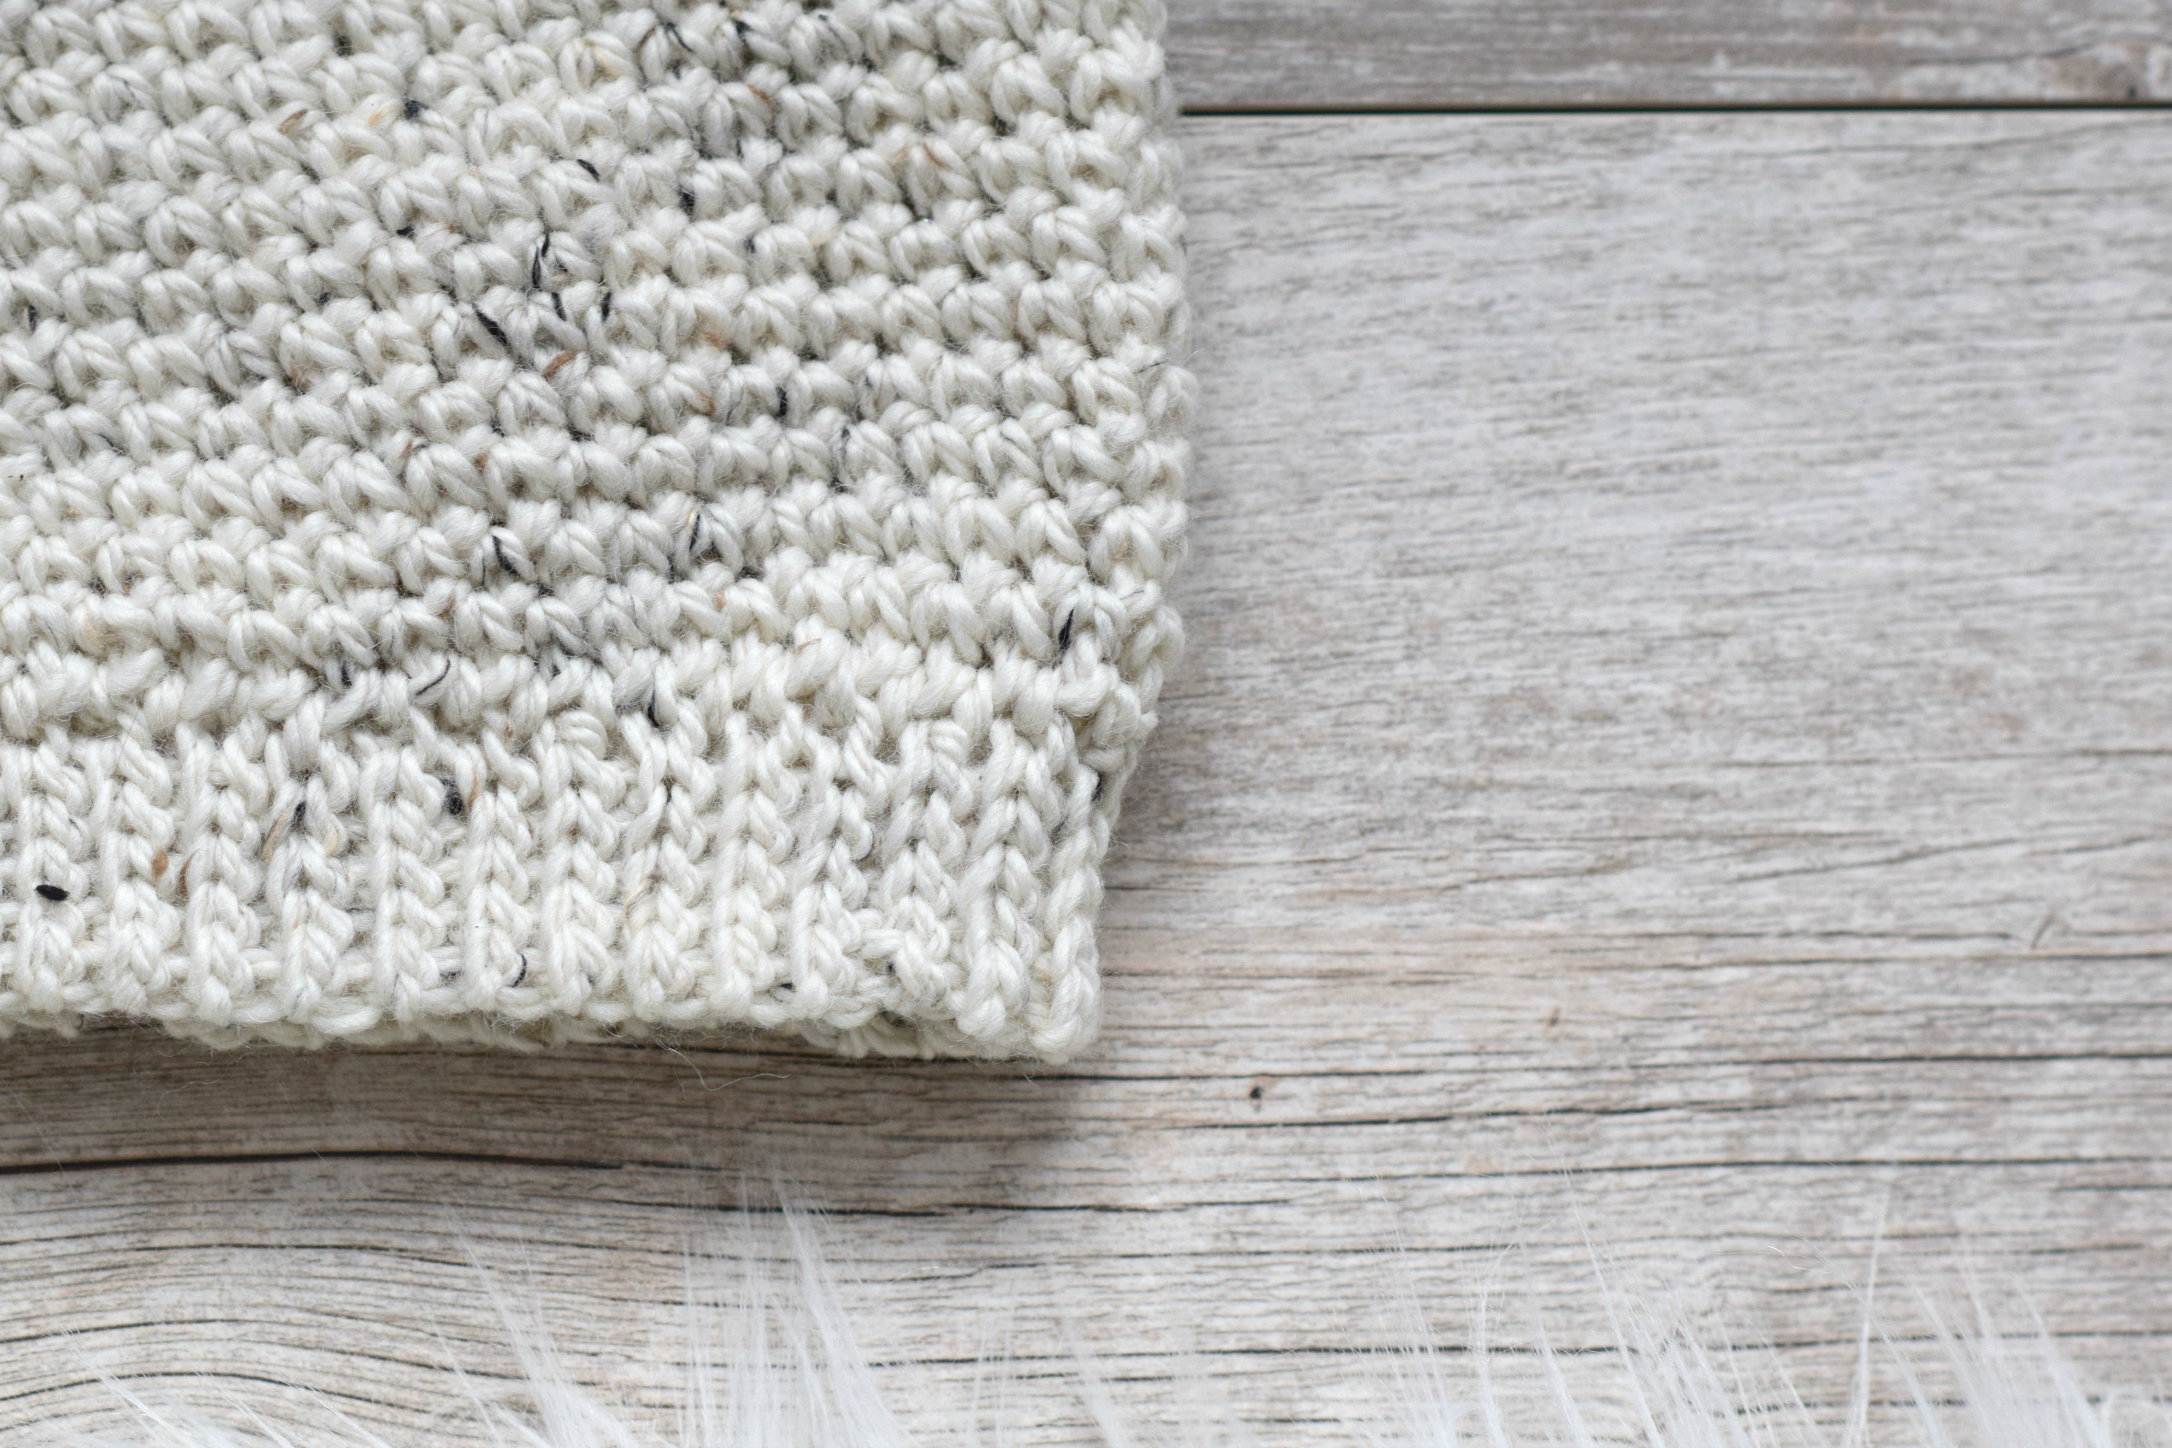
I LOVE this brim! Doesn’t it look like a lovely, knit-rib? It is crocheted separately and then seamed to the hat. I know some of us don’t like to have to seam if it’s not needed, but this beautiful brim is worth it. Also, I’ve made a seam that is so easy and comfortable.
To make the brim….
Ch 6
Row 1 Slip stitch in each ch stitch across (5 stitches)
Row 2 Ch 1, turn, slip stitch through the back loop only in each stitch across (5 stitches)
Repeat row 2 until your brim is about an inch shorter than the circumference of your hat. You want it to be a little smaller so it acts as a real, ribbed bottom which helps hold the hat on your head.
Lastly, you will sew the brim to the hat. I love what I did with the seam! You will slip stitch seam BUT between each slip stitch, you will chain 1. If you slip stitched all the way around, you may end up with a tight, possibly uncomfortable hat. Here’s how it goes…
Work this seam on the wrong side of the hat. Hold the brim evenly to the bottom of your hat. Work through just one loop of a stitch on the brim and through the single crochet stitch on the hat. Slip stitch to attach that stitch, then work one chain stitch. Next, slip stitch the next pair of stitches together, then chain 1. This extra chain stitch between the stitches allows the seam to stretch, making it perfect for this hat.
Tie off and weave in all your ends!
Leave the hat as is or add a trendy, faux-fur pom! You can also make your own pom. I think a big, giant pom would look super cute on this hat.
And thank you to We Crochet for the beautiful yarn that I used in today’s pattern. I’m thrilled to know what lovely options are available on their site and hope to use more in the new year. You can see all of their yarns HERE.
More Crochet Hat Patterns:
I’d love to see if you make this on Instagram – just tag me @mamainastitch #mamainastitch!
XO
Jessica
Thank you to WeCrochet for sponsoring this post. All opinions are 100% my own.
If you liked this, you might also like:
This really is the perfect crochet hat!!
Is this pattern available in PDF and I am just missing it?
Do I tie off the body before I make the separate brim?
How does this pattern create the hat look with out a decrease in the sides? Mine doesn’t seem to be forming the hat, just a circle! ♀️
You have to work for many many rounds before you see that it’s curving into a nice hat. Promise it works with no decreasing!
🙂
Yes – tie off. The brim is made separately and then seamed to attach. Good question!
Hi Barbara – sorry! Since this is just a tutorial of sorts, it’s not a PDF. I mention that above in the blog post, sorry you missed it!
Where do you get the little tab for the bottom? I’m assuming it helps hide the end of your last round. So cute!
I love this but use a seamless brim using the exact pattern but attaching it as I work around. I also used an extended single crochet stitch.
Thanks for the tip!
Hi Frances! I actually made it myself but you can find them on Etsy. You can see how I made mine in my blog post about my velvet blanket: https://www.mamainastitch.com/velvet-crocheted-blanket-pattern-vel-luxe-throw/
Cassandra, so you did not crochet a separate piece and then seam to the hat? Did you just continue crocheting in the EXSC or did you EXSC the whole hat? Sorry, I’m not following. Thx!
Hi Jessica,
Is it possible to create a scarf with the same pattern as in the hat? My daughter just loves this pattern and made the hat already for her, thank you by the way, but she also wants a scarf to match. . . Thank you so much for this pattern! I just started making one for myself!
Hi Jessica, do you have to seam the brim when you get to the right length before seaming it to the hat or am I missing something? Thanks!
I actually seamed it after I attached it to the hat, but you could probably seam it first!
I’m so thrilled that you like this hat and pattern! And your daughter too! You certainly can simply single crochet a scarf, or a cowl to match with the single crochet stitches!
Thanks for the clarification! Merry Christmas to you and your family!
I love, love, love all your patterns. As I am a more accomplished knitter than hooker, is the a knit pattern similar to this?
I love this hat! Where do you get your fur pom poms from?
I love this pattern.
I crochet for people who experience homelessness and this is their favorite type hat.
Beverly
Do you buy the pom poms or do you make them
Jessica, thank you for this pattern! I haven’t finished making the hat but i’ve searched months for the right pattern for a project & this is it! I’m even doing stripes. Love your work & it’s been a blessing during these unusual times. Best.