How To Crochet A Drawstring Backpack
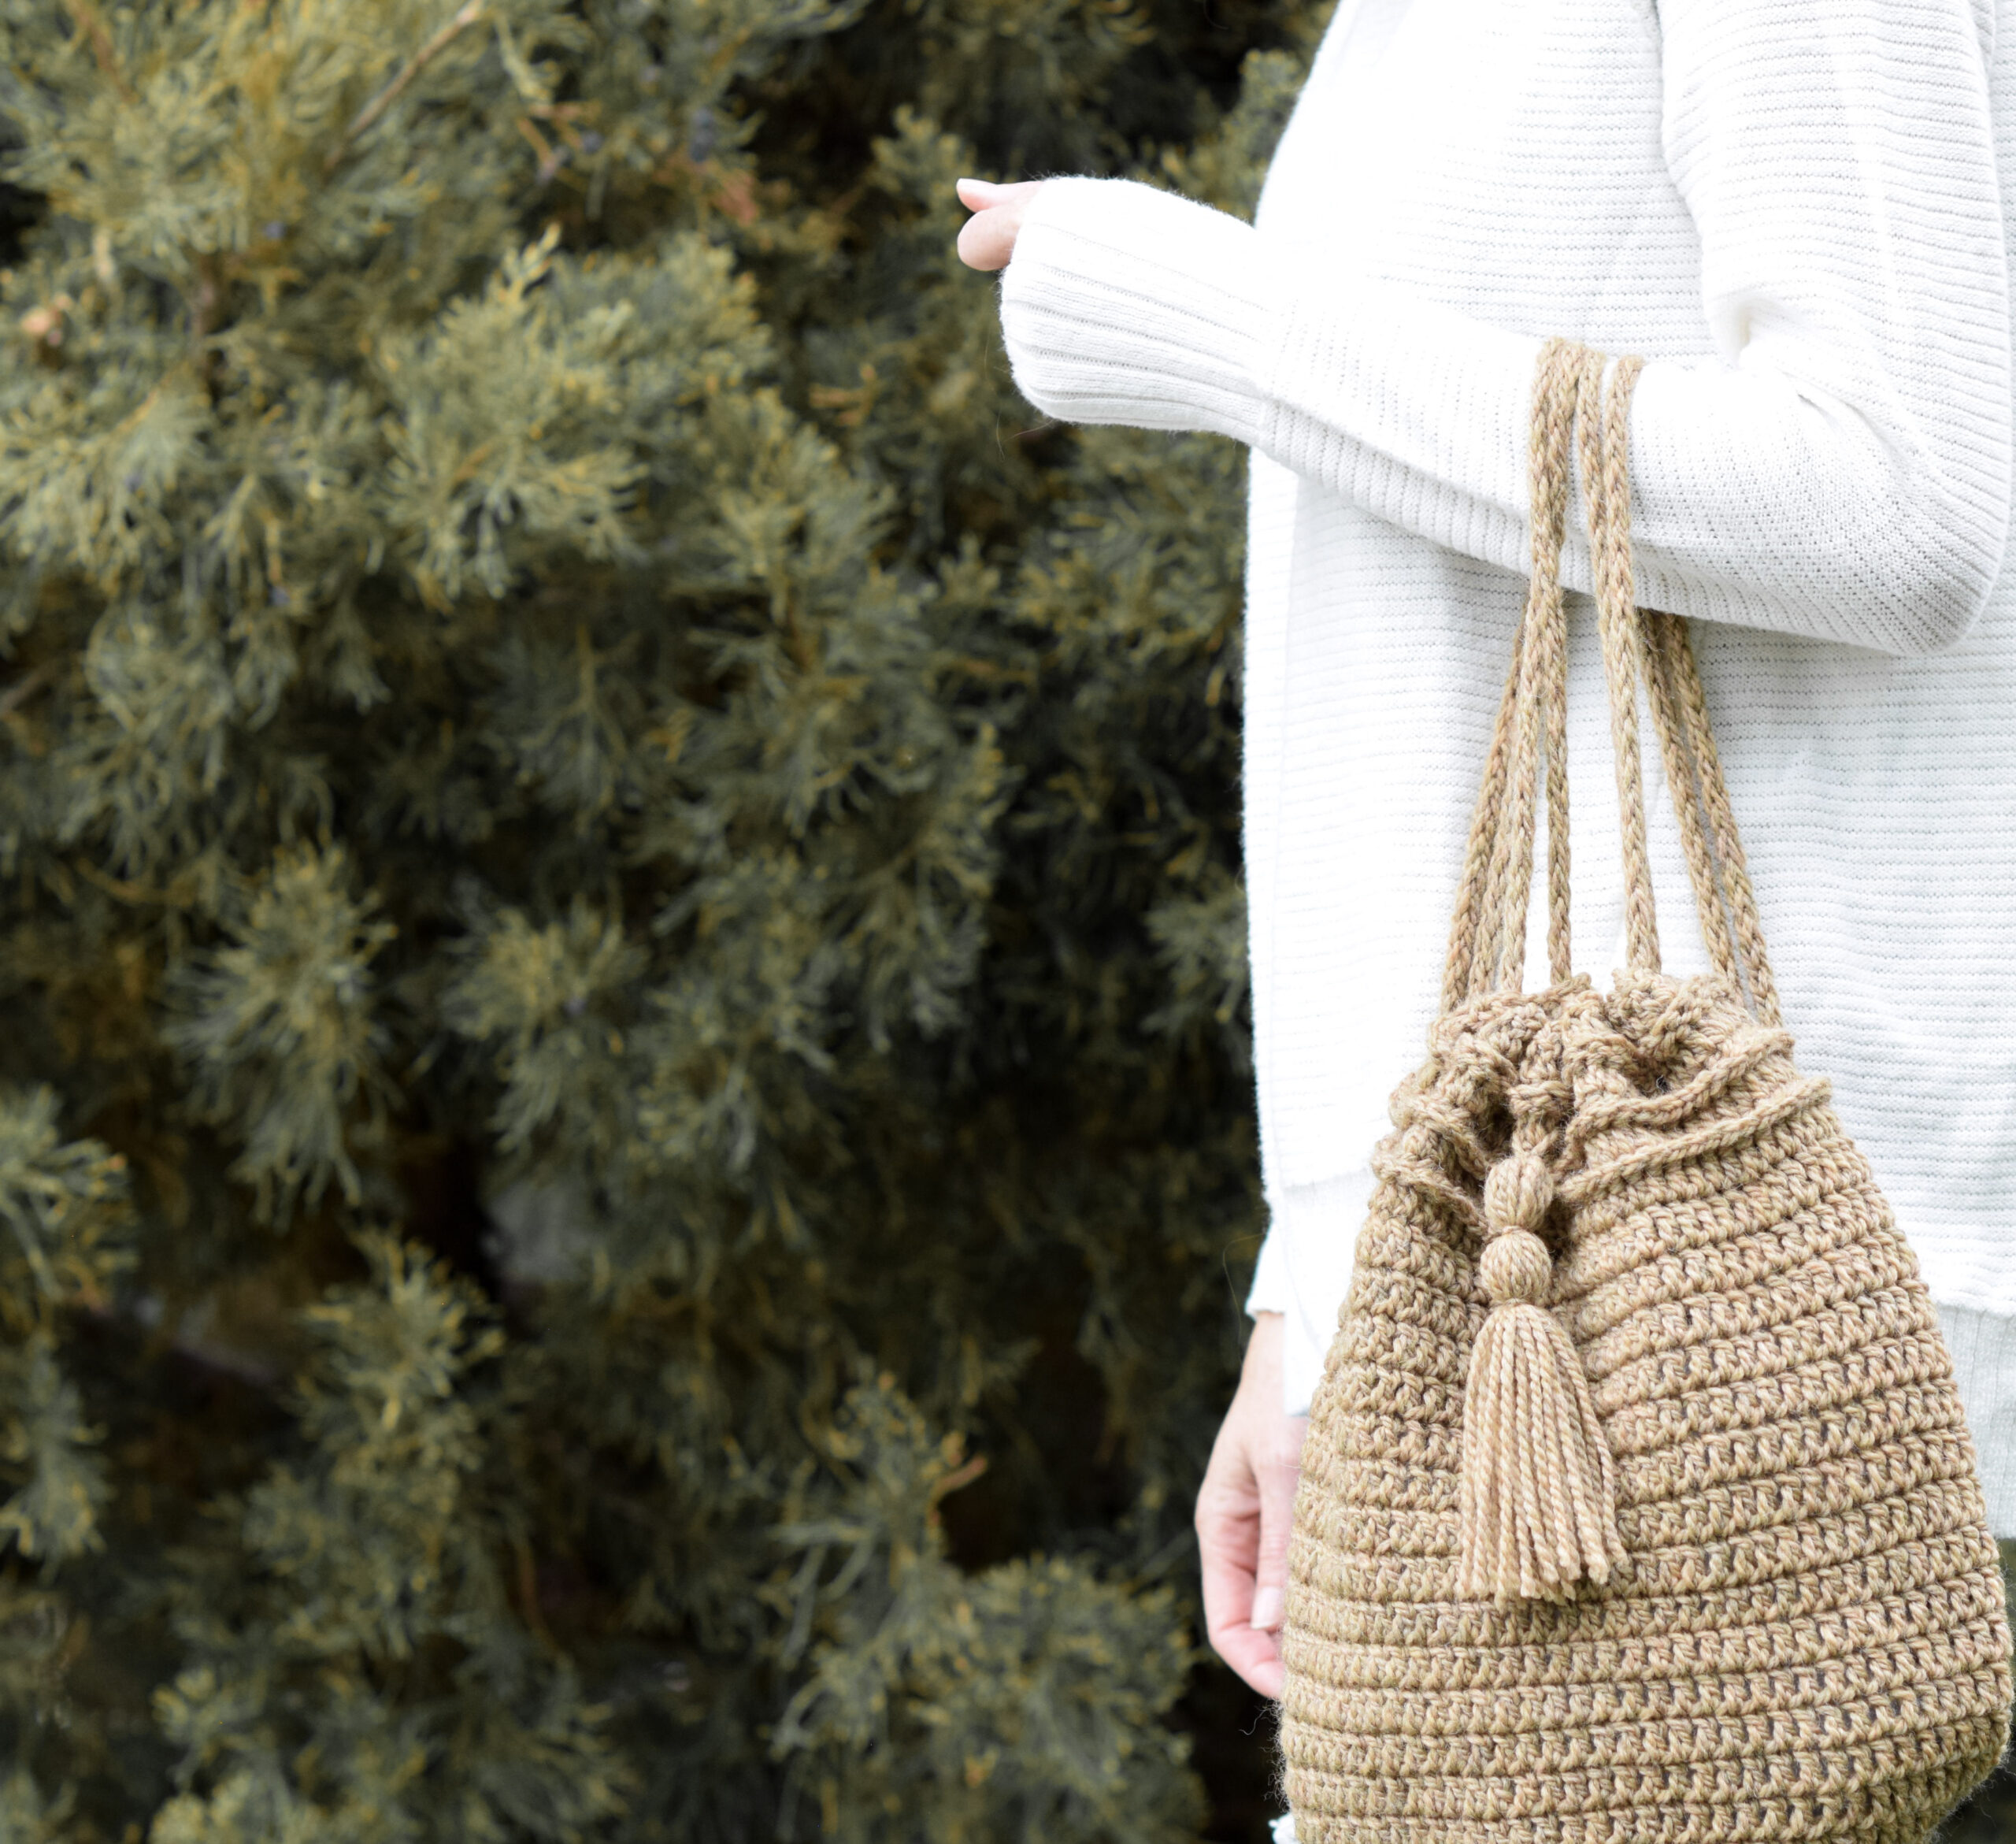
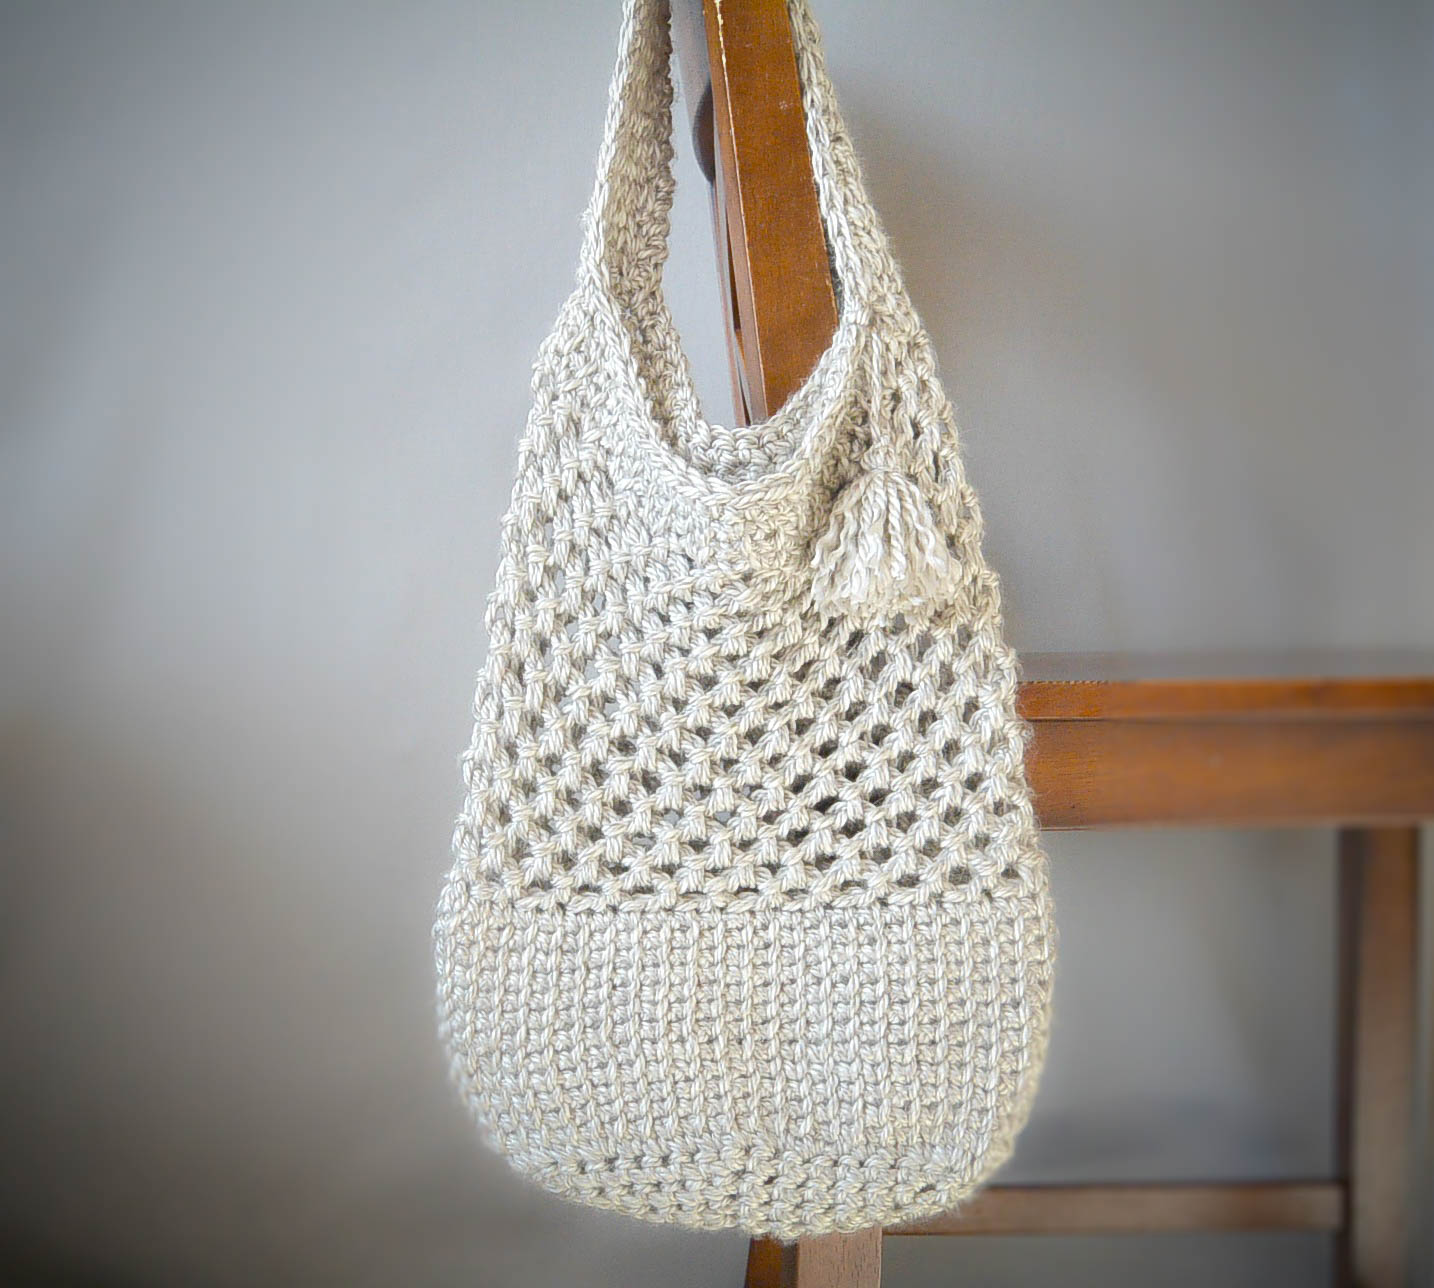
Today’s free Amarillo Drawstring Backpack crochet pattern is a super simple pack that’s easy enough for newbies! It’s also just the cutest. The clean lines and minimalist design make it perfect for any outfit. 😉 I’m planning to carry around my current crochet project in it, or just use it to hold my essentials when I’m running out the door. See the full, free pattern below as well as a helpful picture tutorial, or you may also choose to purchase the ad-free printable (including all necessary photos for assembly) from my Etsy shop HERE.
And yes, I was crocheting on my concrete back patio as my daughter played. I love summer!
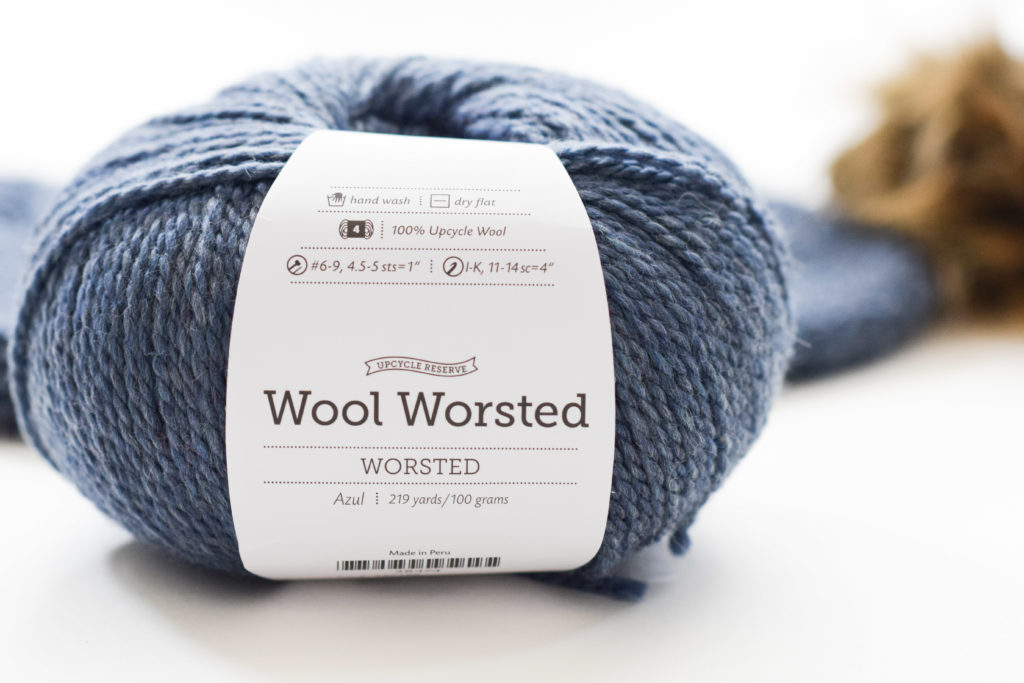
This bag is made with a beautiful worsted weight yarn from We Crochet called Upcycle Reserve 100% Wool Worsted in the color Amarillo. The color has the look of tweed or jute, yet it’s obviously a lot softer! Ha! The natural, neutral look makes it go with just about any outfit or style. You can also certainly make this into a perfect pack for kiddos too – in fact my daughter said it’s her fave bag that I’ve ever made. 🙂
Here’s a little bit about this special yarn:
“These special, single batch skeins give yarn a second life, creating complex heathers and saving fibers that would have otherwise gone to waste. This 2-ply 100% wool yarn is bouncy with beautiful stitch definition and next-to-skin softness. ” We Crochet Website
I love when I get the opportunity to use upcycled or recycled yarns. You might remember that I used it for my Perfect Hat Crochet Pattern HERE.
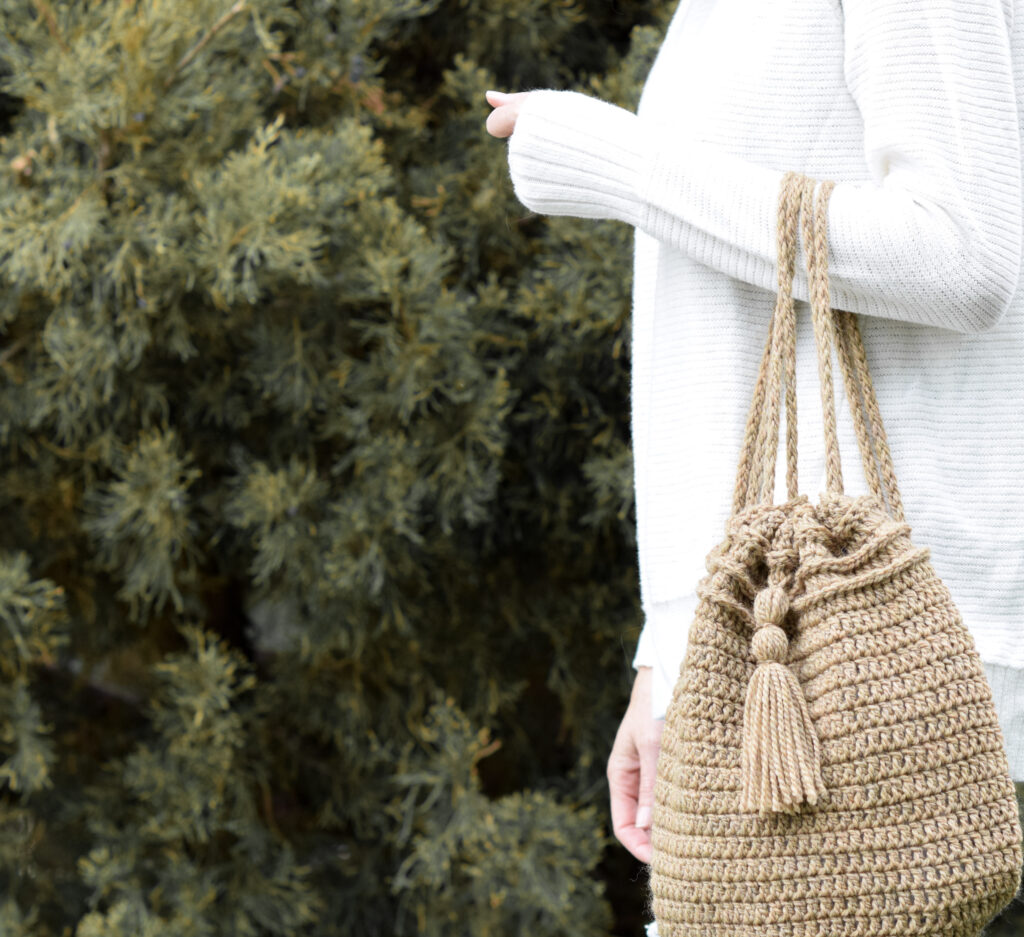
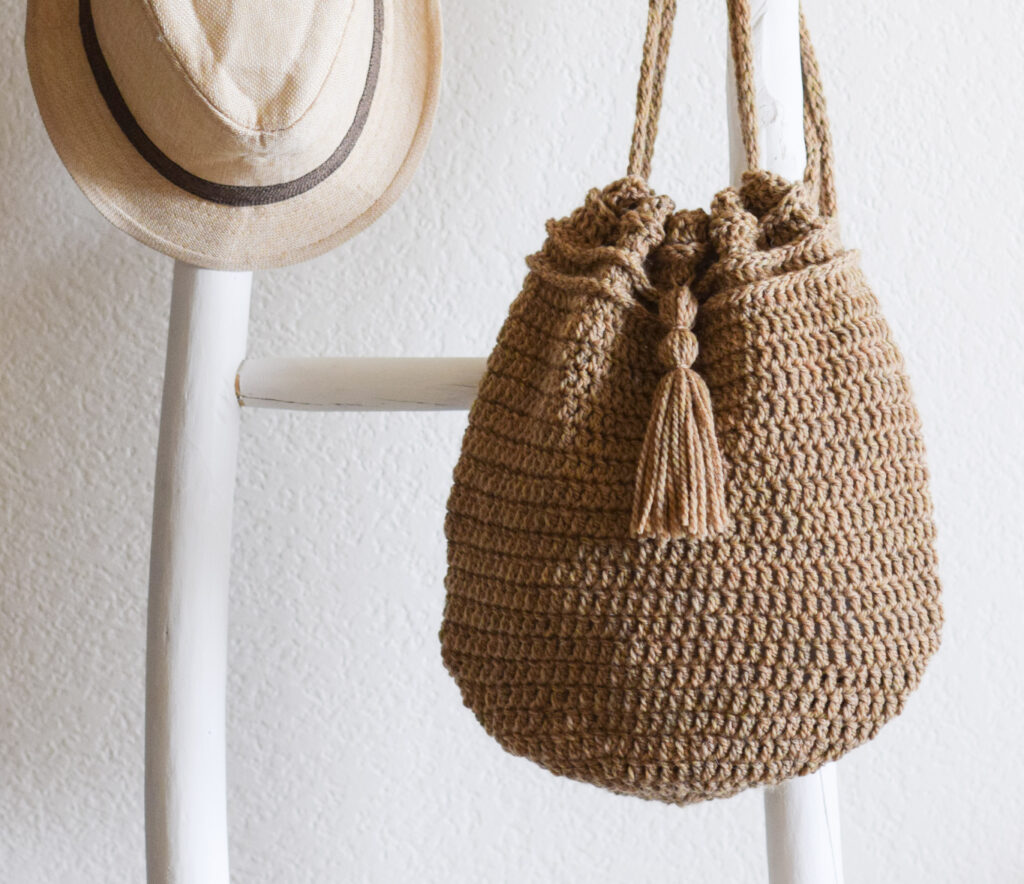
It was so fun to make this because after working the flat base, it was really relaxing to just work in continuous rounds. No counting, no stitch markers, just crocheting and making a fun little bag. 🙂
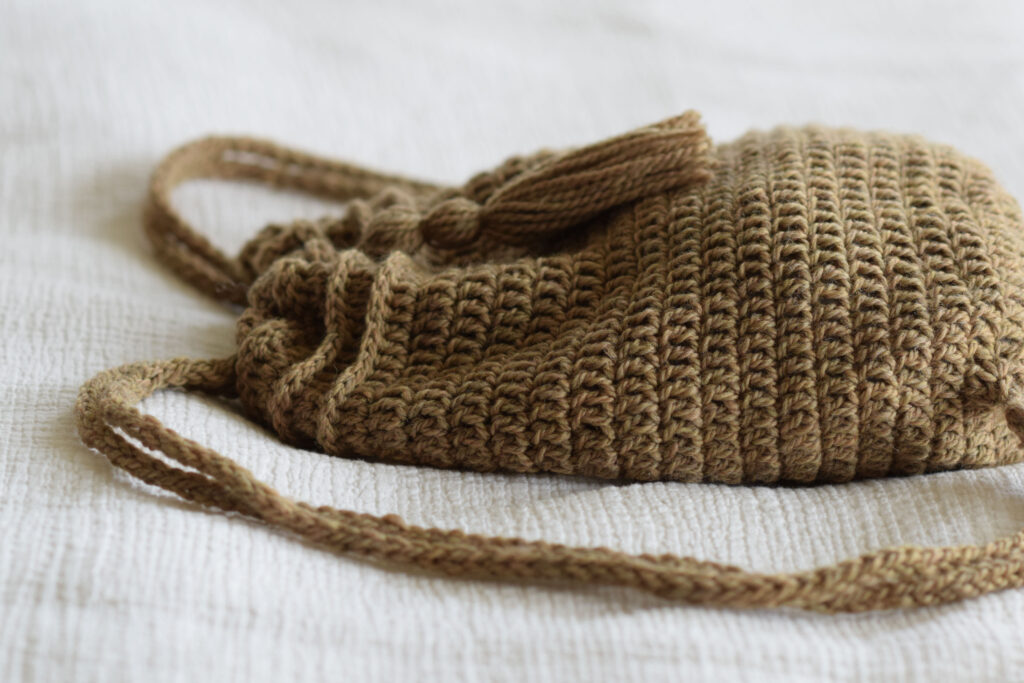
Another thing that I really like about this backpack is that it’s easy to make it any size that you’d like. You can make a larger or smaller base, and then crochet of more or fewer rounds to make it just the right size.
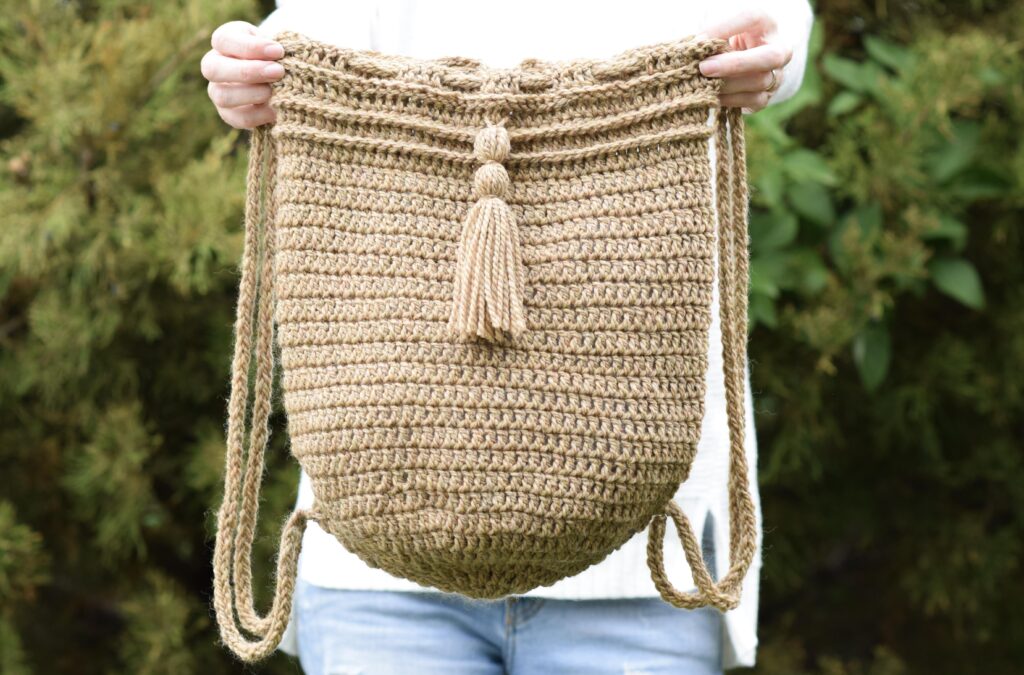
Shall we hop to the pattern?
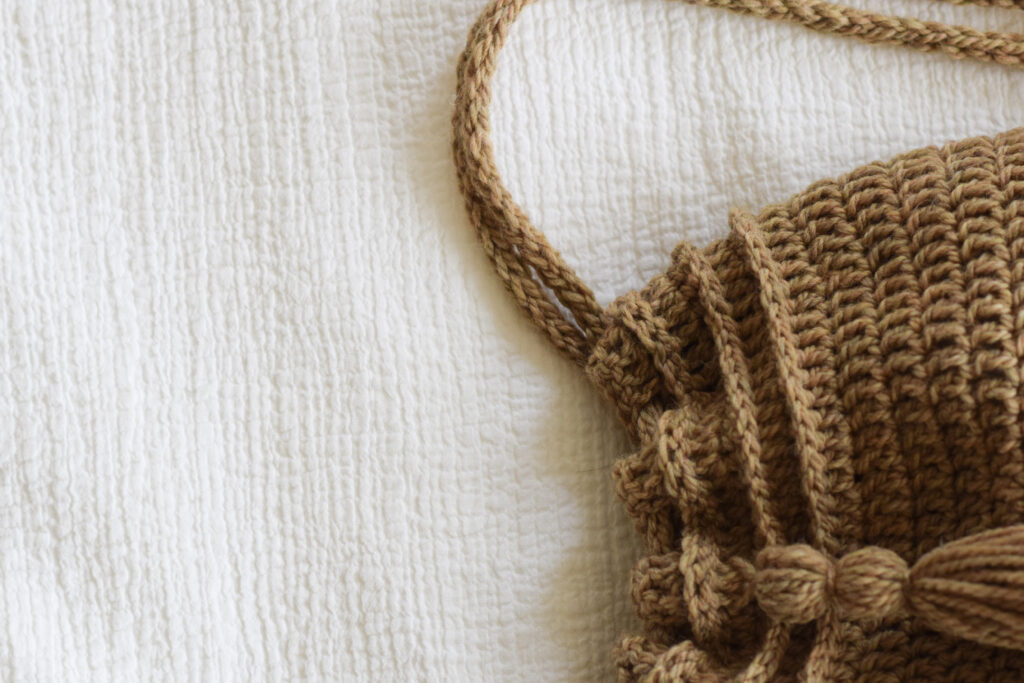
Remember you can find the ad-free, printable download in my Etsy shop HERE or see the free pattern below!
And don’t forget to see the picture tutorial below as well!!!
AMARILLO DRAWSTRING BACKPACK CROCHET PATTERN
Description:
A cool, drawstring backpack made with a beautiful worsted yarn that resembles the look of tweed (only it’s much softer and easier to work with!). This pack is perfect to haul your current project, or to use as an everyday tote. Feel free to make it in your favorite color!
Skill Level:
Easy +
Materials:
US Size I, 5.25 mm Crochet Hook
2 We Crochet Knit Picks Upcycle Reserve Wool Worsted Yarn in Amarillo 100 g/skein
Pattern uses approximately 155 grams
Measuring Tape
Tapestry Needle
Scissors
Dimensions:
Approximately 16” tall x 12” wide
Gauge:
Not important for this pattern
Abbreviations & Skills:
ch – chain
ch sp – space
st – stitch
sts – stitches
dc – double crochet
sl st – slip stitch
FP hdc – front post half double crochet
You should know how to crochet a basic i-cord. A simple online search will result in many videos and tutorials on how to crochet an i-cord.
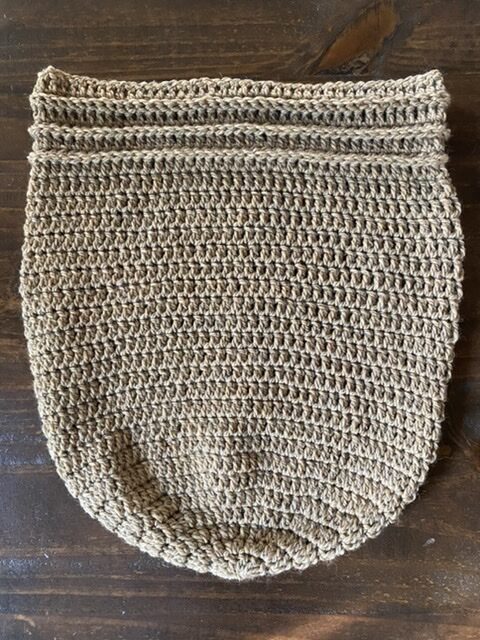
Notes: This bag is crocheted from the bottom-up and is crocheted in the round. You will begin with a flat base and continue to crochet, working in rounds and slip stitching to join at the end of each round. The upper, textured detail is created with post stitches. Finally, two i-cords are woven through the bag and attached at the sides. To make the backpack larger, you may make a larger base and crochet for more rows. Enjoy!
Flat Base Section
Ch 4, sl st to join ends to make a circle
Round 1 Ch 3 (counts as dc stitch here and throughout pattern), 11dc into circle, sl st to join in top of ch 3 (12 sts)
Round 2 Ch 3, 1dc in same st as ch3, 2dc in each dc around, sl st to join (24 sts)
Round 3 Ch 3, 1dc in same st as ch3 * 1dc, 2dc in next; repeat from * around, sl st to join (36 sts)
Round 4 Ch 3, 1dc in same st as ch3 * 1dc in each of next 2 sts, 2dc in next; repeat from * around, sl st to join (48 sts)
Round 5 Ch 3, 1dc in same st as ch3 * 1 dc in each of next 3 sts, 2dc in next; repeat from * around, sl st to join (60 sts)
Round 6 Ch 3, 1dc in same st as ch3 * 1 dc in each of next 4 sts, 2dc in next; repeat from * around, sl st to join (72 sts)
Round 7 Ch 3, 1dc in same st as ch3 * 1 dc in each of next 5 sts, 2dc in next; repeat from * around, sl st to join (84 sts)
Next, you’ll work the body of the backpack
Body of Backpack Section
Round 8 Ch 3, dc in each dc around, sl st to join (84st)
Repeat round 8 until bag reaches approximately 13” tall or for approximately 17 rounds
Next, you’ll continue to crochet the textured upper section
Textured Upper Section
Round 1 Ch 2, FP hdc each st around, sl st to join (84 sts)
Round 2 Ch 3, dc in each st around, sl st to join
Round 3 Ch 2, FP hdc each st around, sl st to join
Round 4 Ch 3, dc in each st around, sl st to join
Round 5 Ch 2, FP hdc each st around, sl st to join
Round 6 Ch 3, dc in each st around, sl st to join
Tie off and weave in ends.
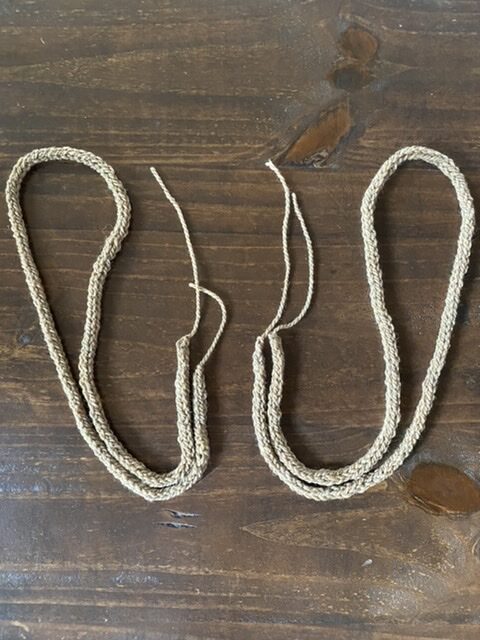
I-Cords
Next, crochet two i-cords approximately 44” long (I-cords for this bag begin use three stitches per row. You can find many tutorials for how to crochet an i-cord by conducting a simple online search). Remember that the handles will stretch, so feel free to make them a bit shorter or longer as desired.
Tassel (optional)
Create a tassel as large or small as you’d like and tie it to the upper, front portion of the backpack. (You can find many tutorials online that will show you how to make a tassel if you’ve never done so)
Assembly
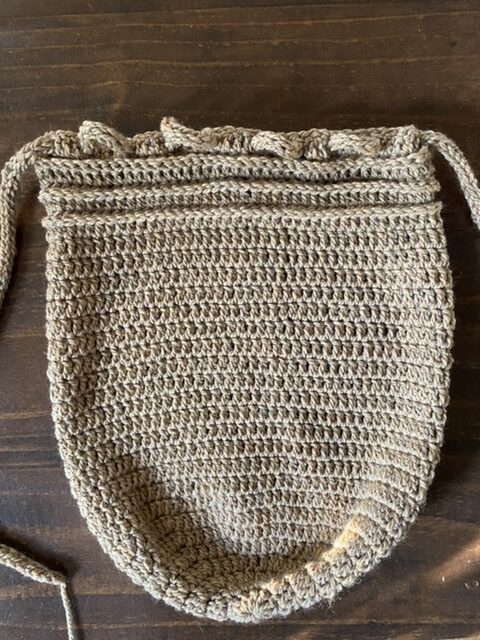
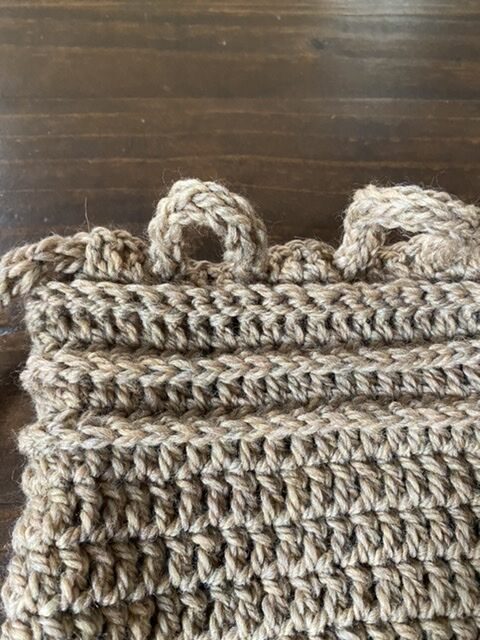
Follow the photo tutorial for directions on how to create the handles with the two i-cords.
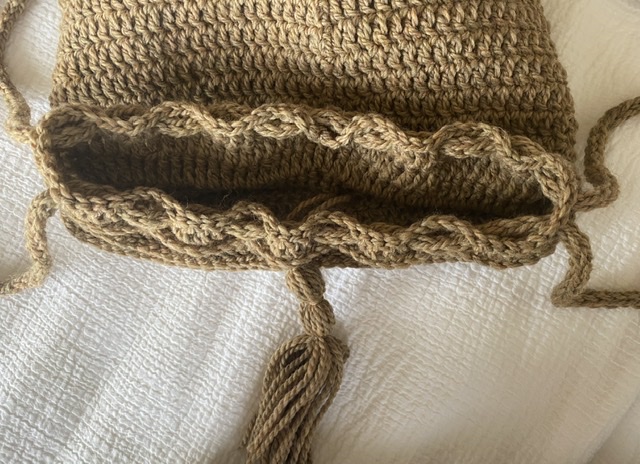

That’s it my friends!
🙂
Such a fun and simple bag that’s on trend, right? I sort of thought it would be fun to share this since back to school is coming up. It certainly is going to be a different type of school year.
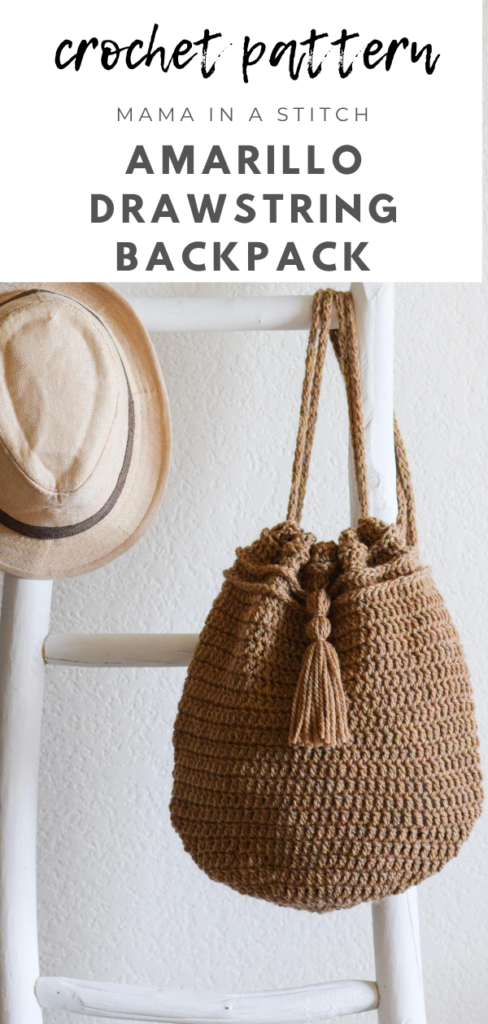
Wishing you all the best and I hope you enjoy the bag! Definitely tag me on Instagram if you make one! @mamainastitch #mamainastitch
XO,
Jessica

Do I have to use wool yarn?
Would acrylic be too stretchy?
Would this work if I used a chain two for each round instead of the chain three? Sometimes I do this just to leave a smaller gap between the join. Thank you for the pattern. I thought
I was tired of making bags but I love this design!