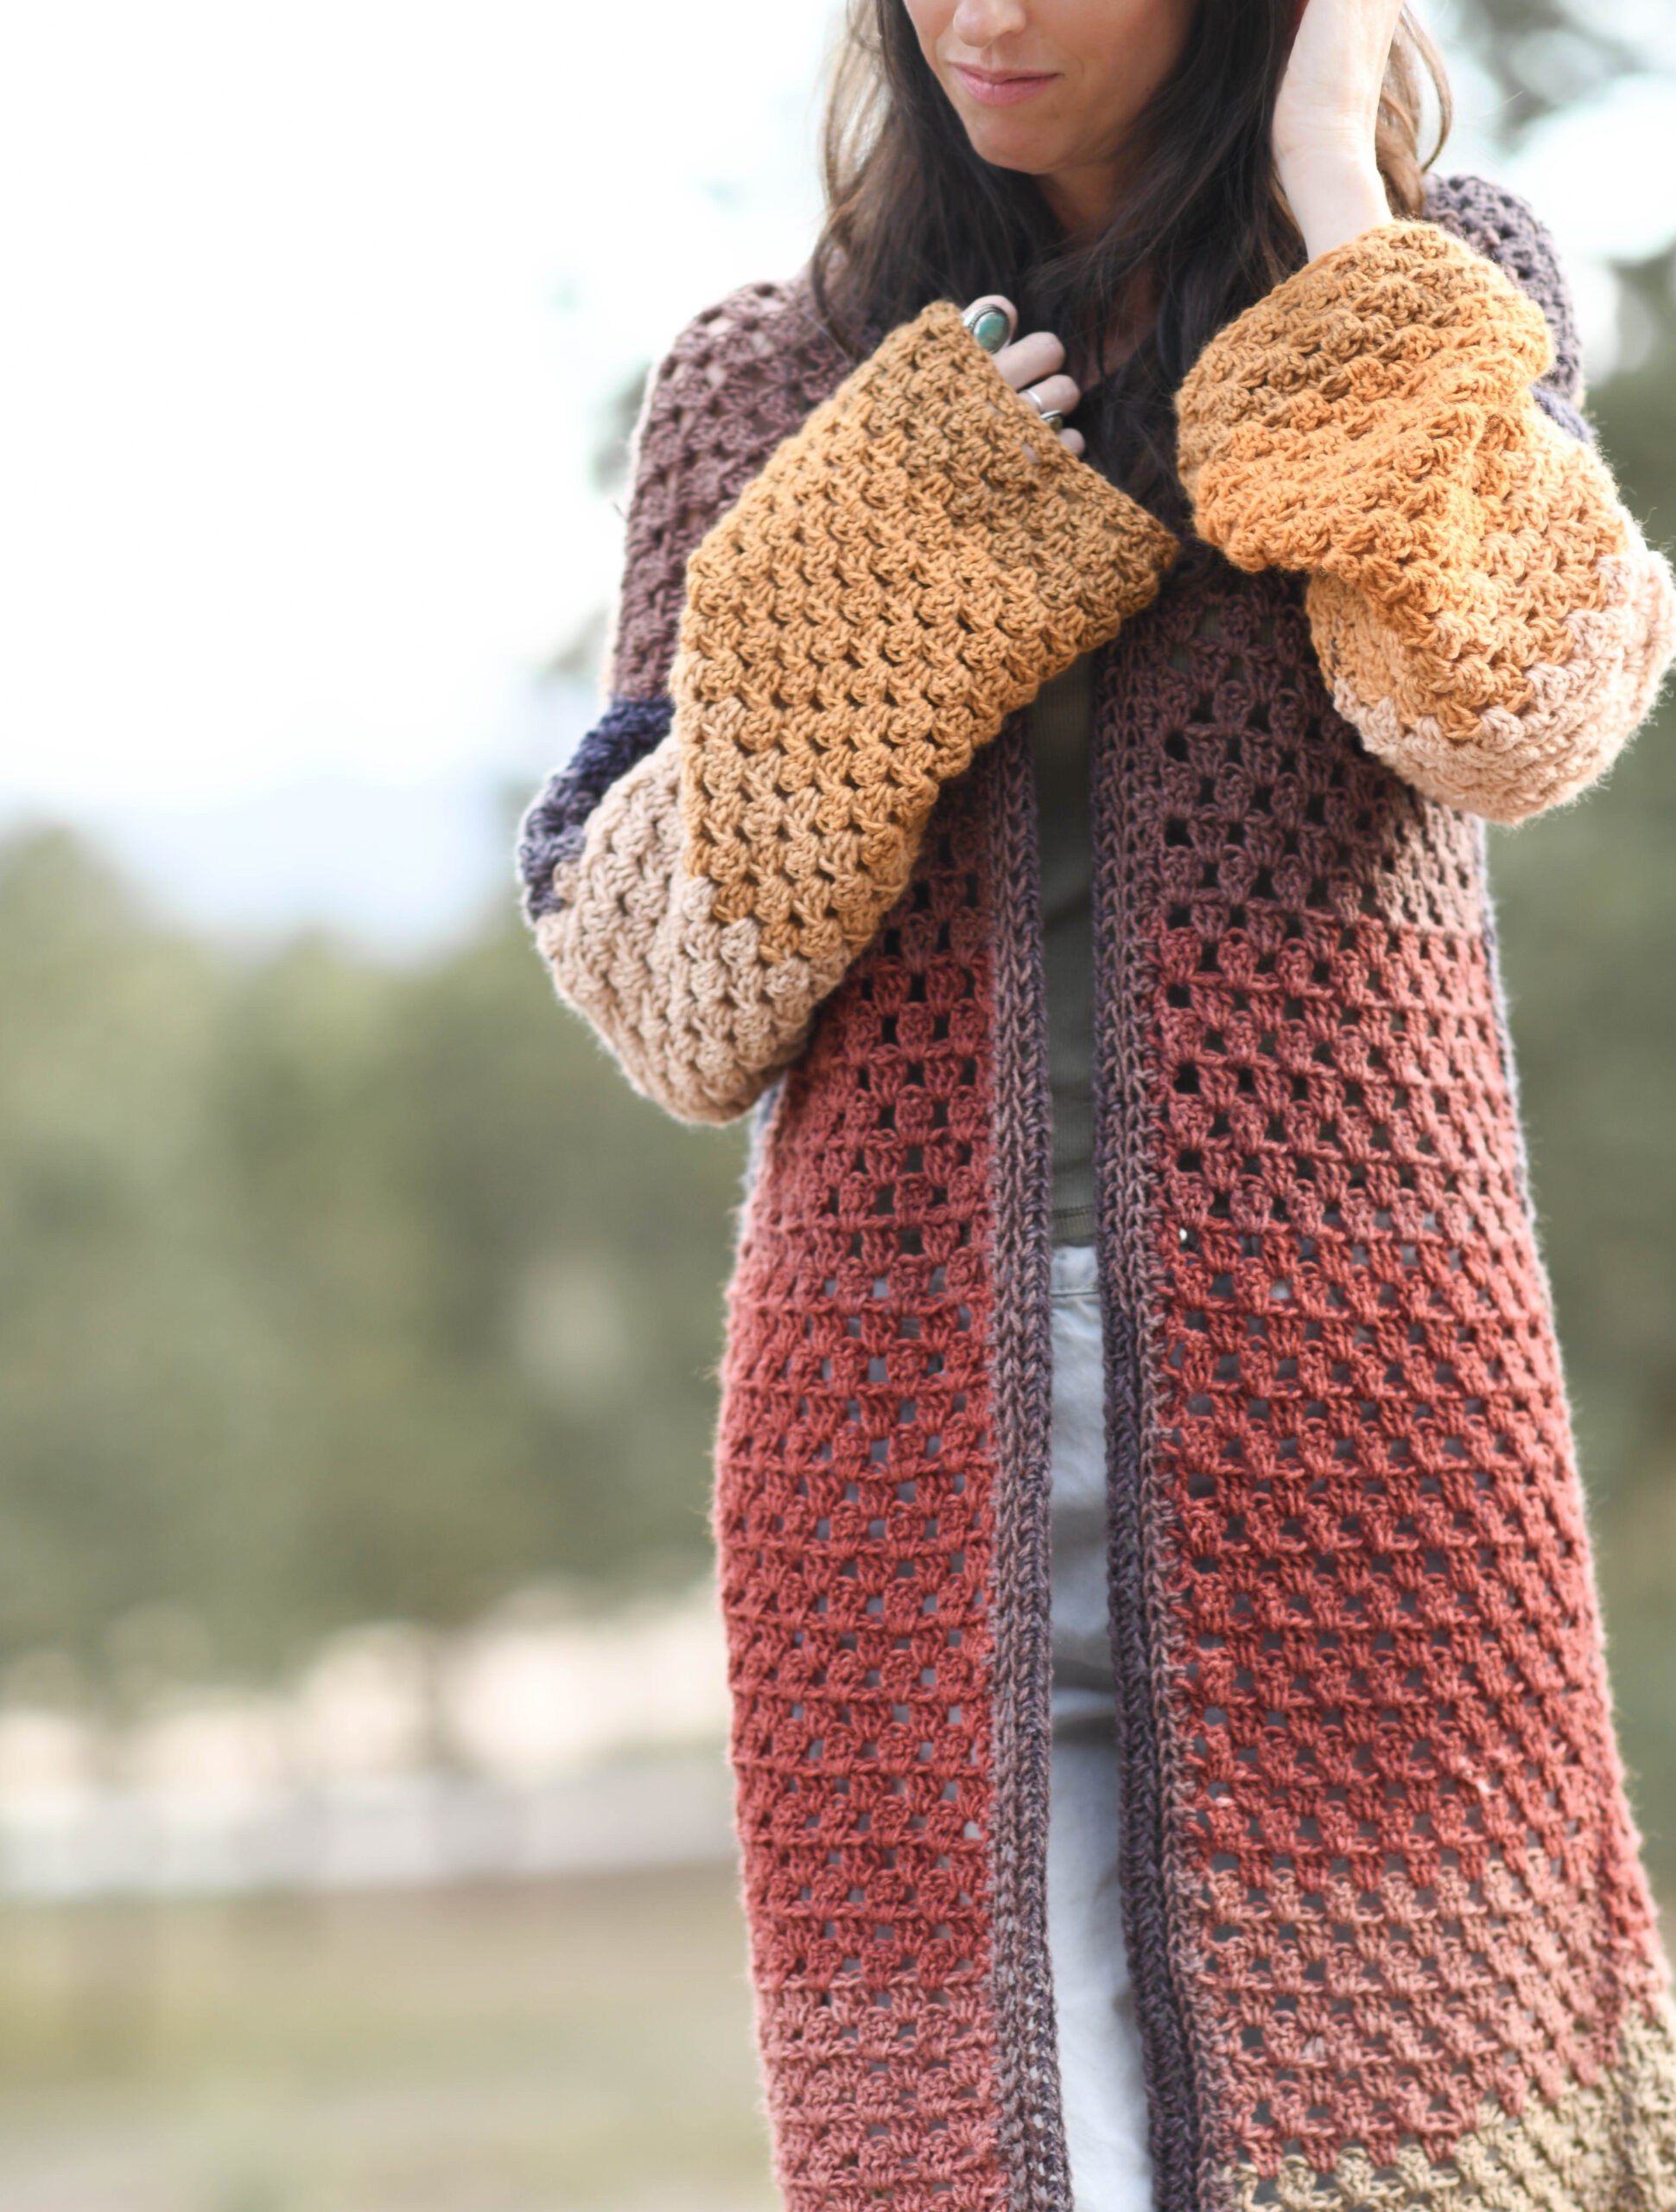
Endless Eyelets Cardi – Granny Cardigan Pattern
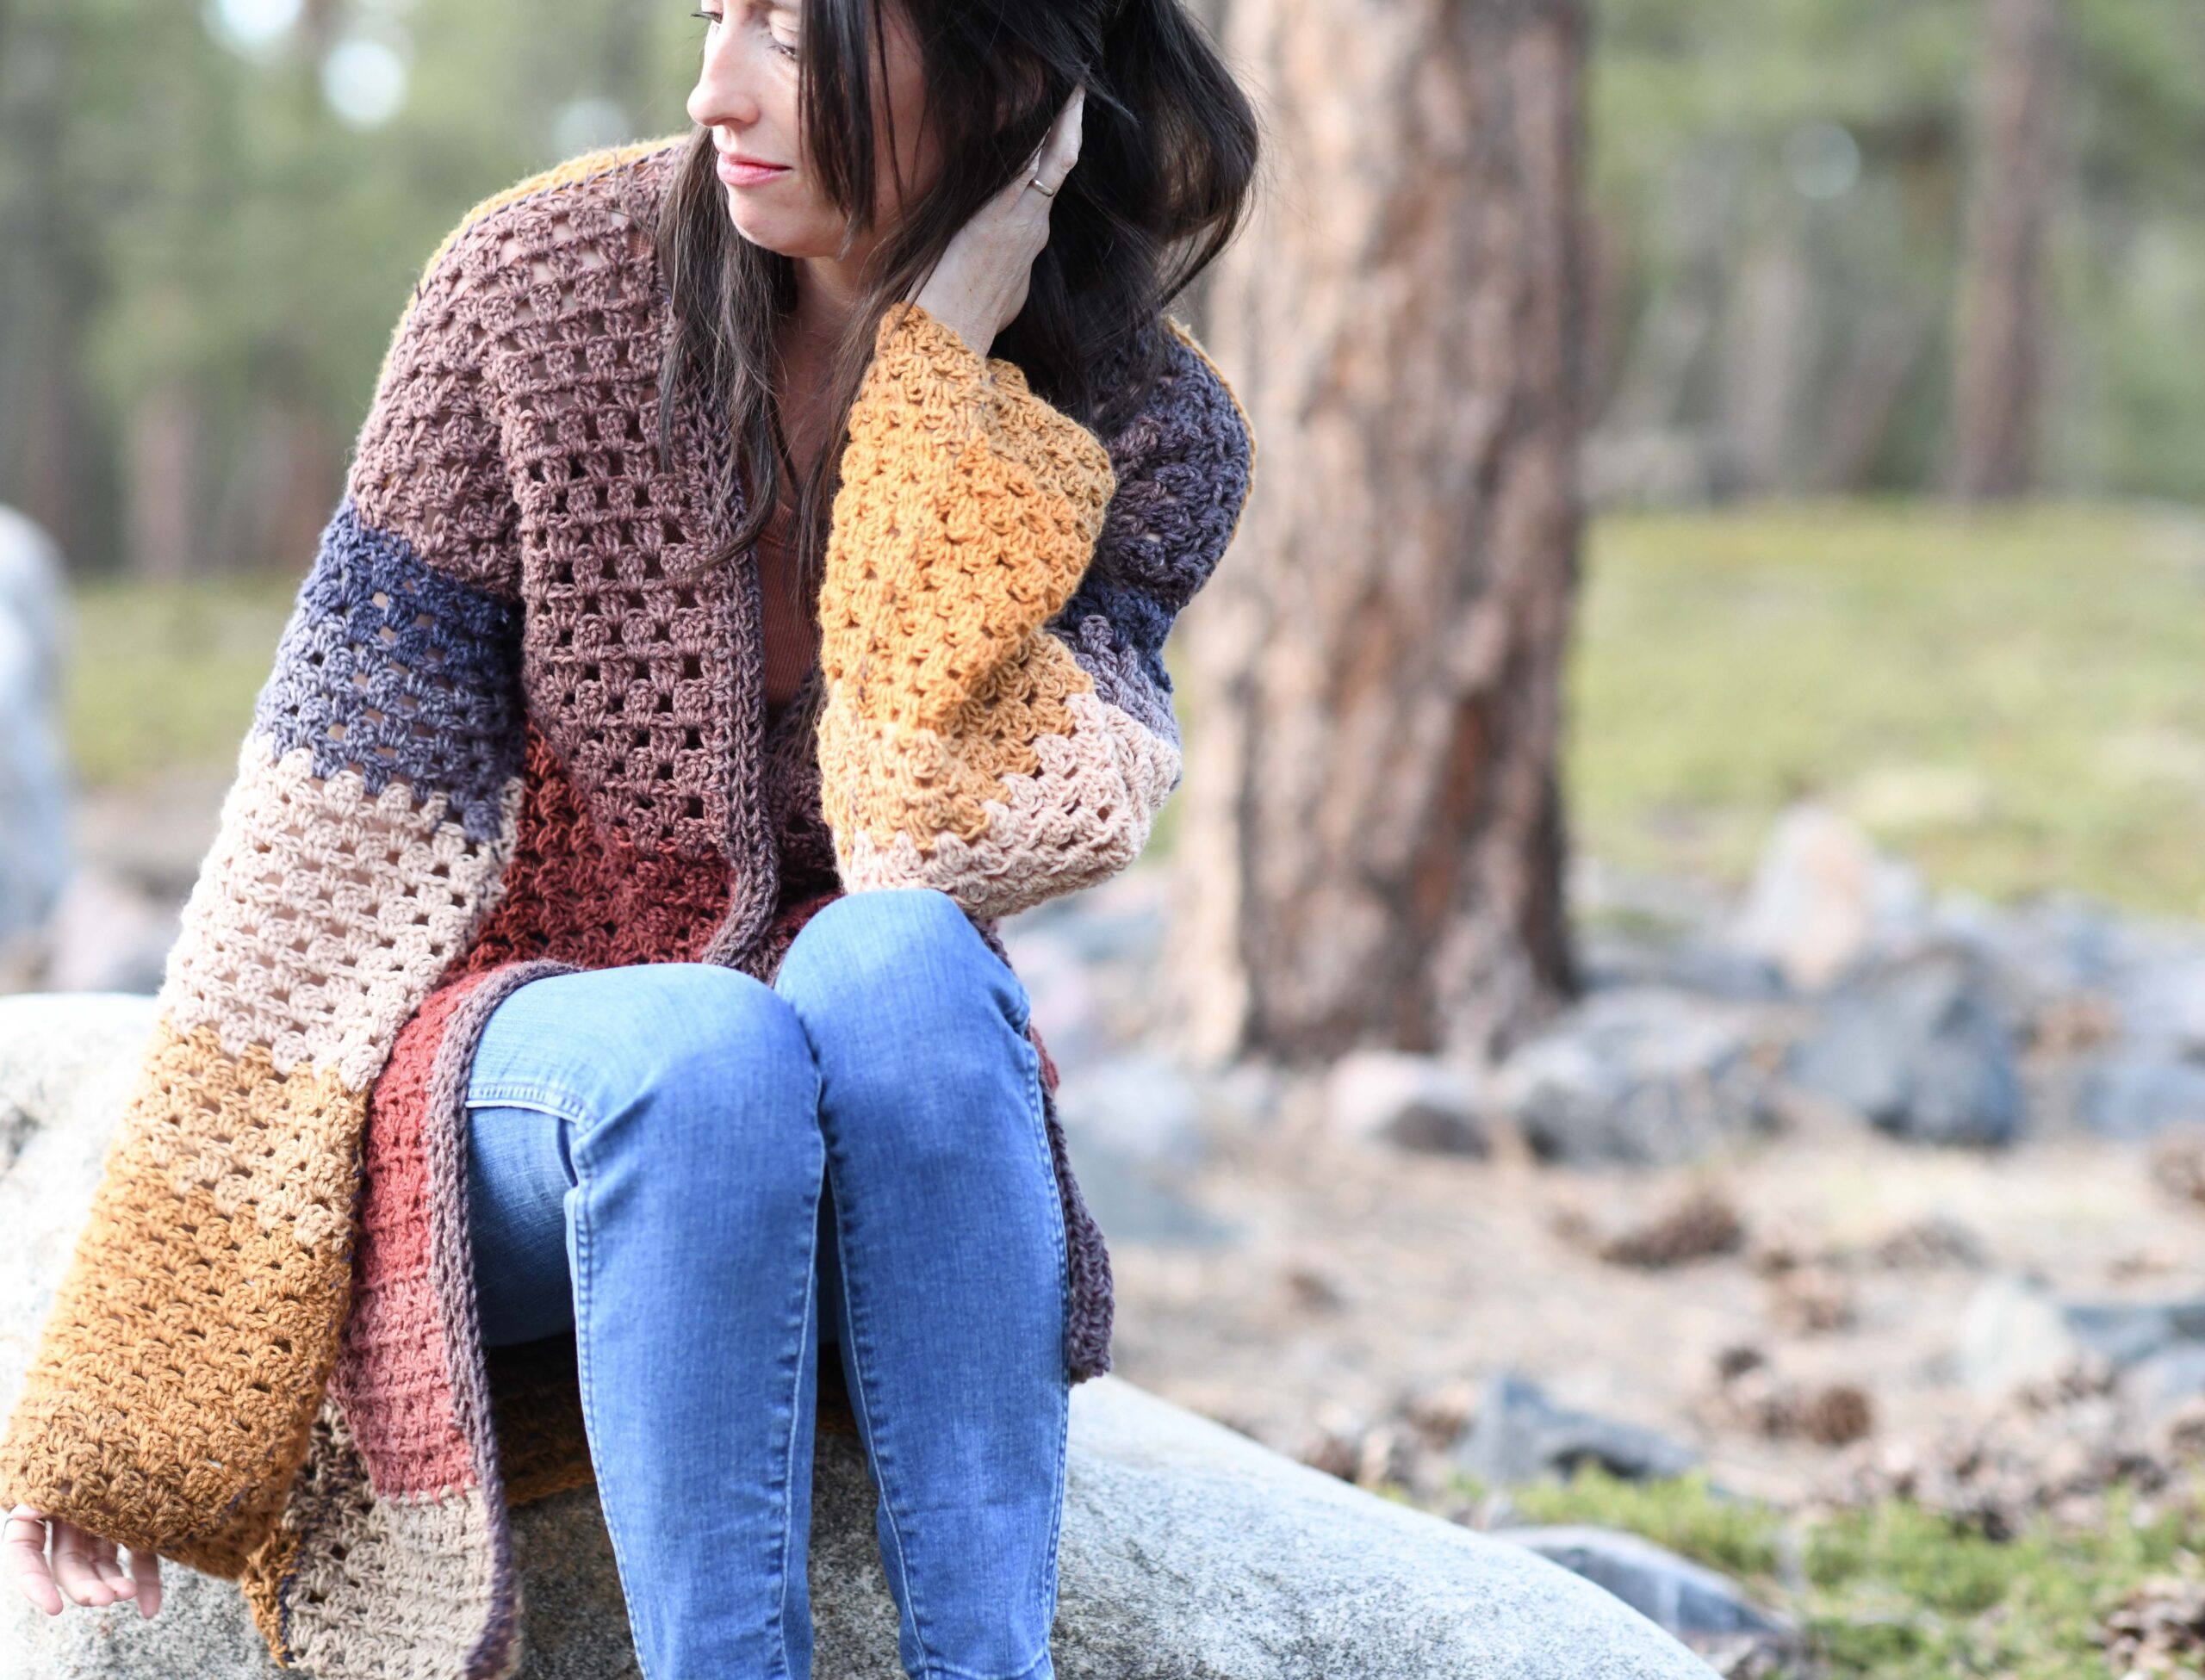
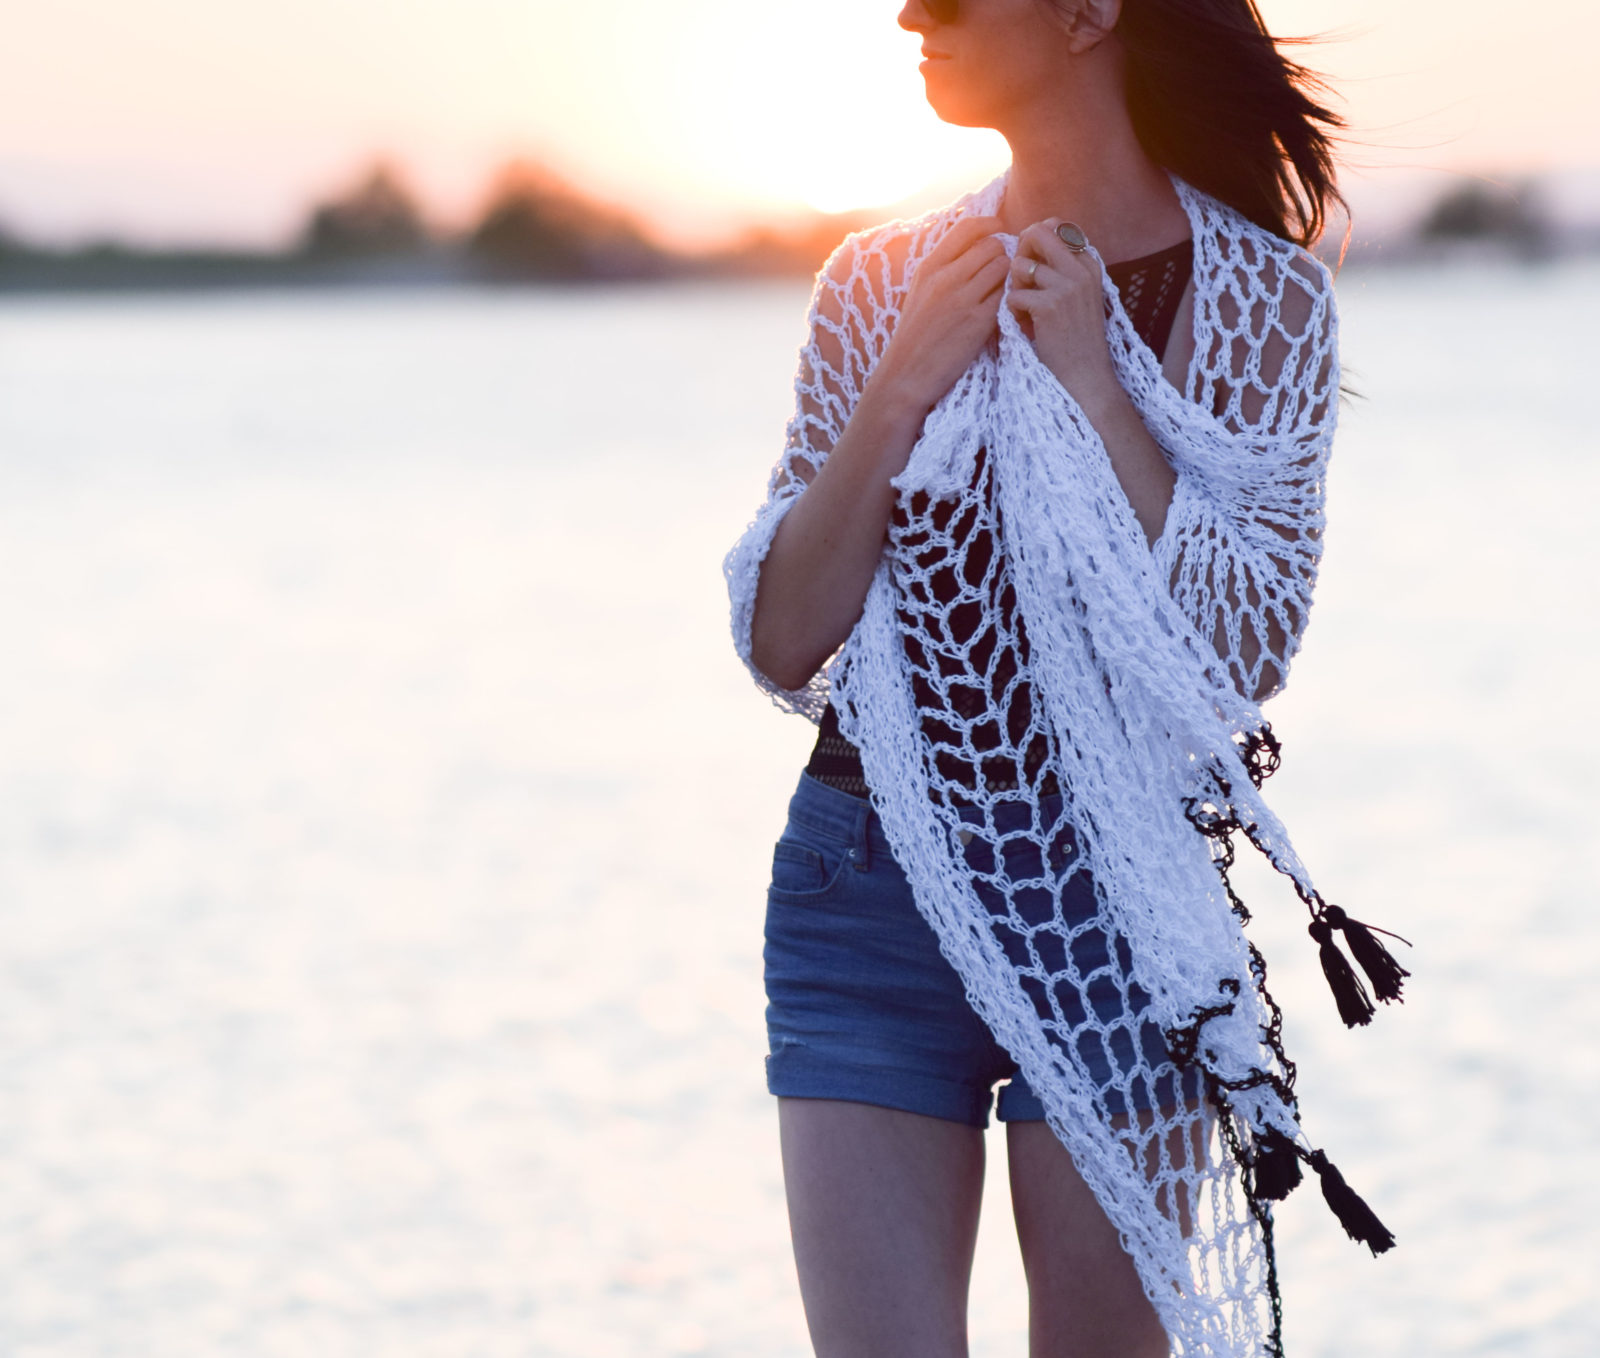
This “Endless Eyelets Cardigan” is made with the timeless, boho, granny stitch and is light, airy, and super easy to make. Plus, there’s lots of color with NO color changes.
Scroll down to see the free pattern, or you may purchase the printable version on Etsy HERE, or the kit from Lion Brand HERE (available in many color options).
ALSO – I’ve created a video tutorial for this stitch, and you can check out the blog post and video HERE.
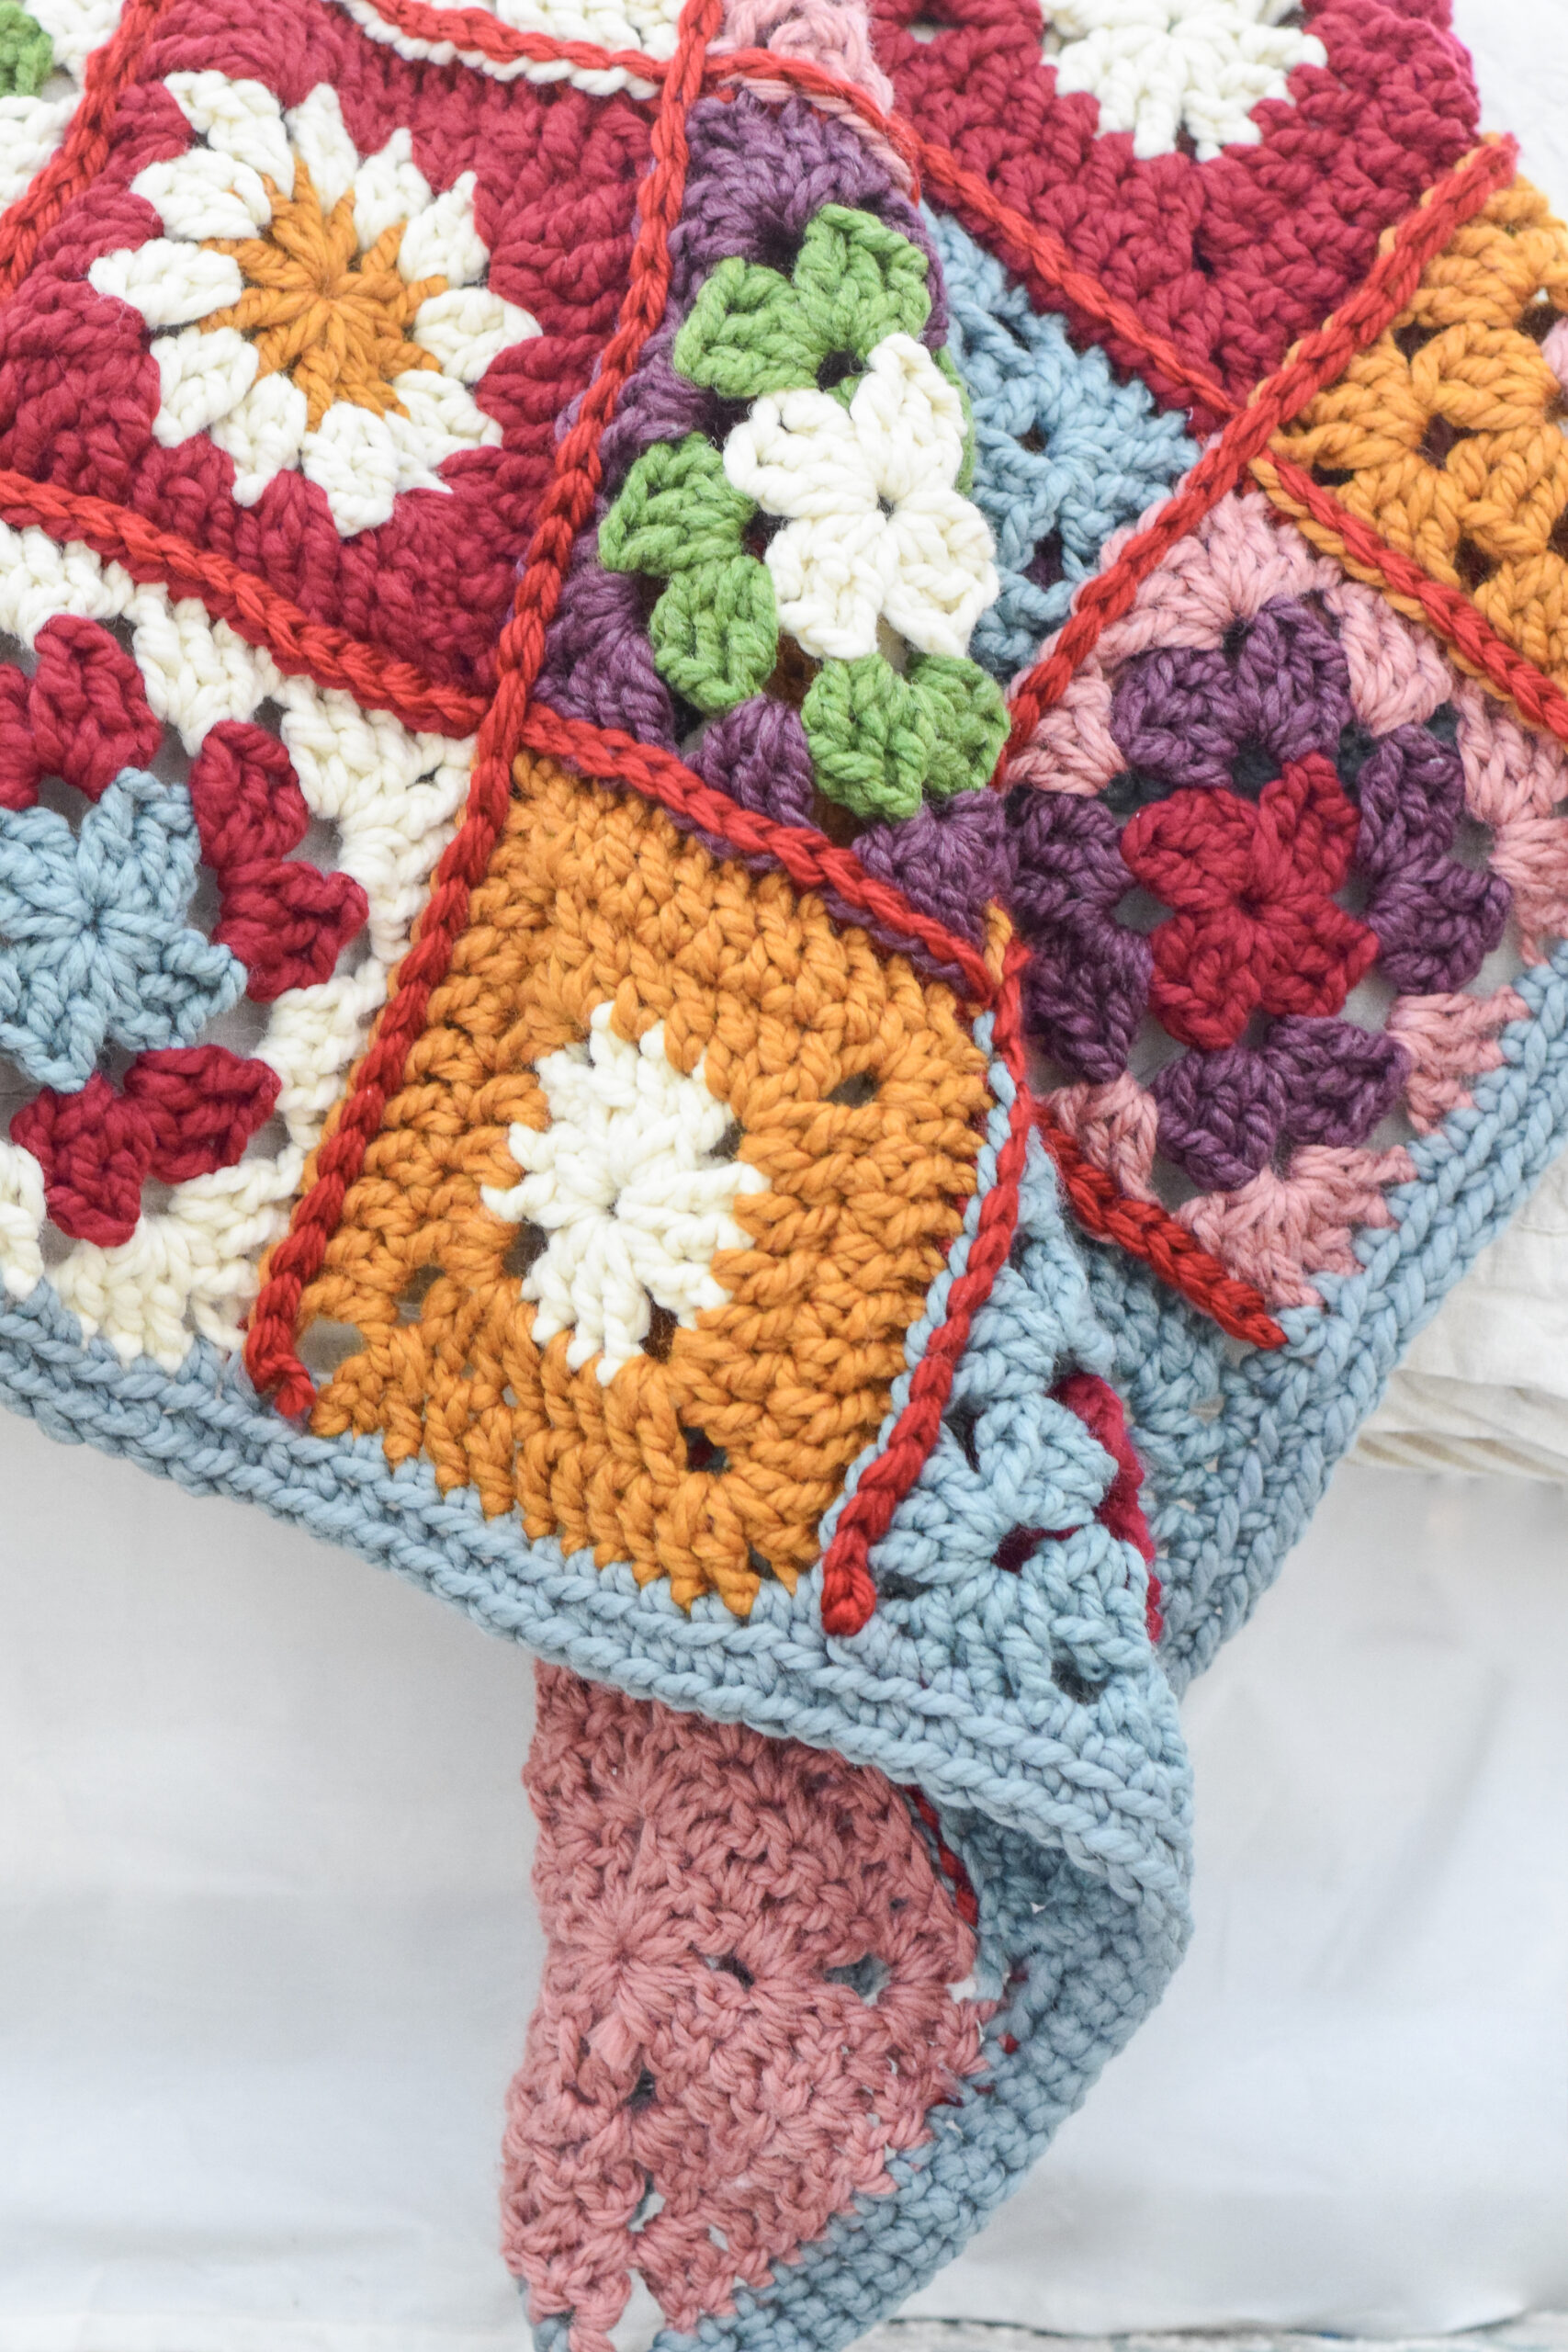
The hexagon cardigans have been really trendy lately, and they are super similar to this style! Both made with a simple granny stitch, they have a boho look and are easy to make.
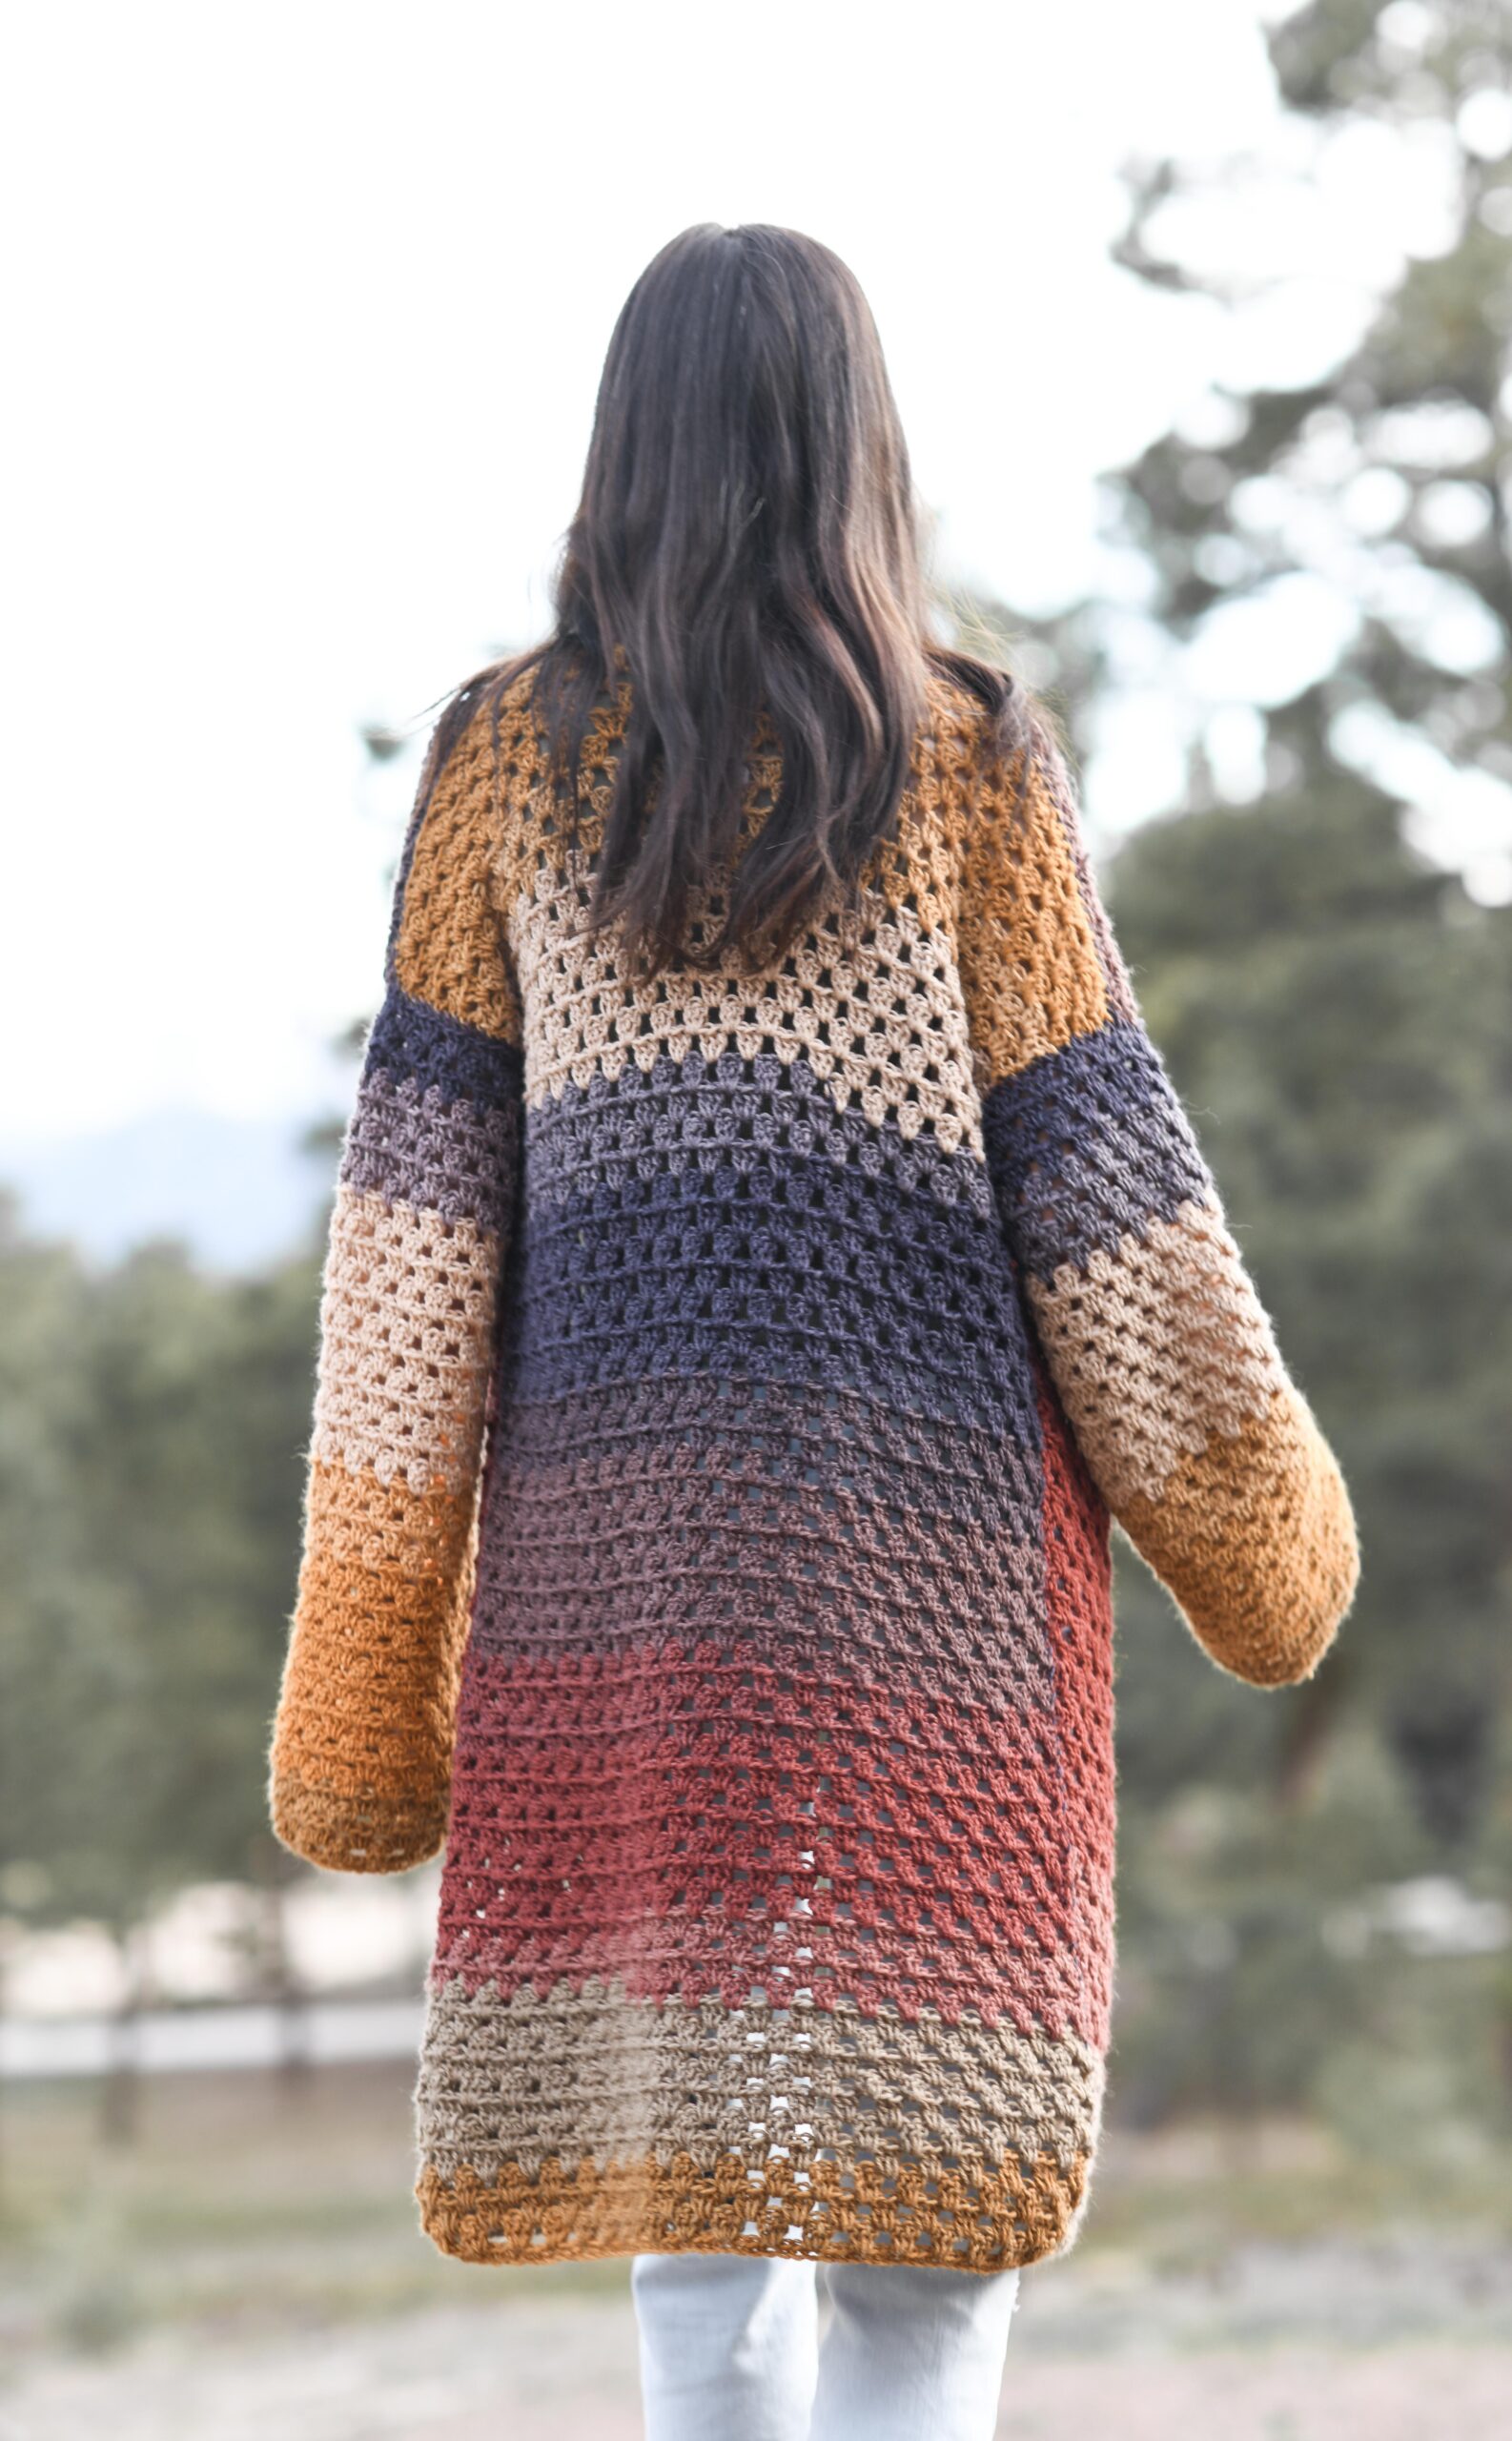
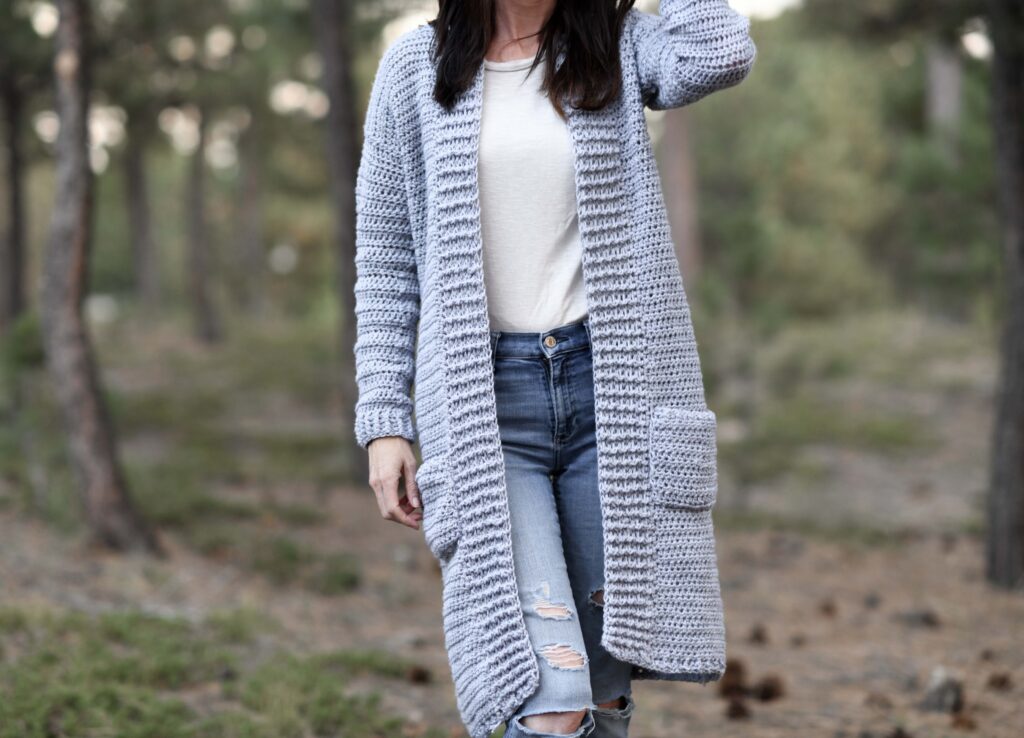
This version of a granny stitch sweater is more slimming in my opinion, and of course the construction is different. It’s literally rectangles that are seamed together.
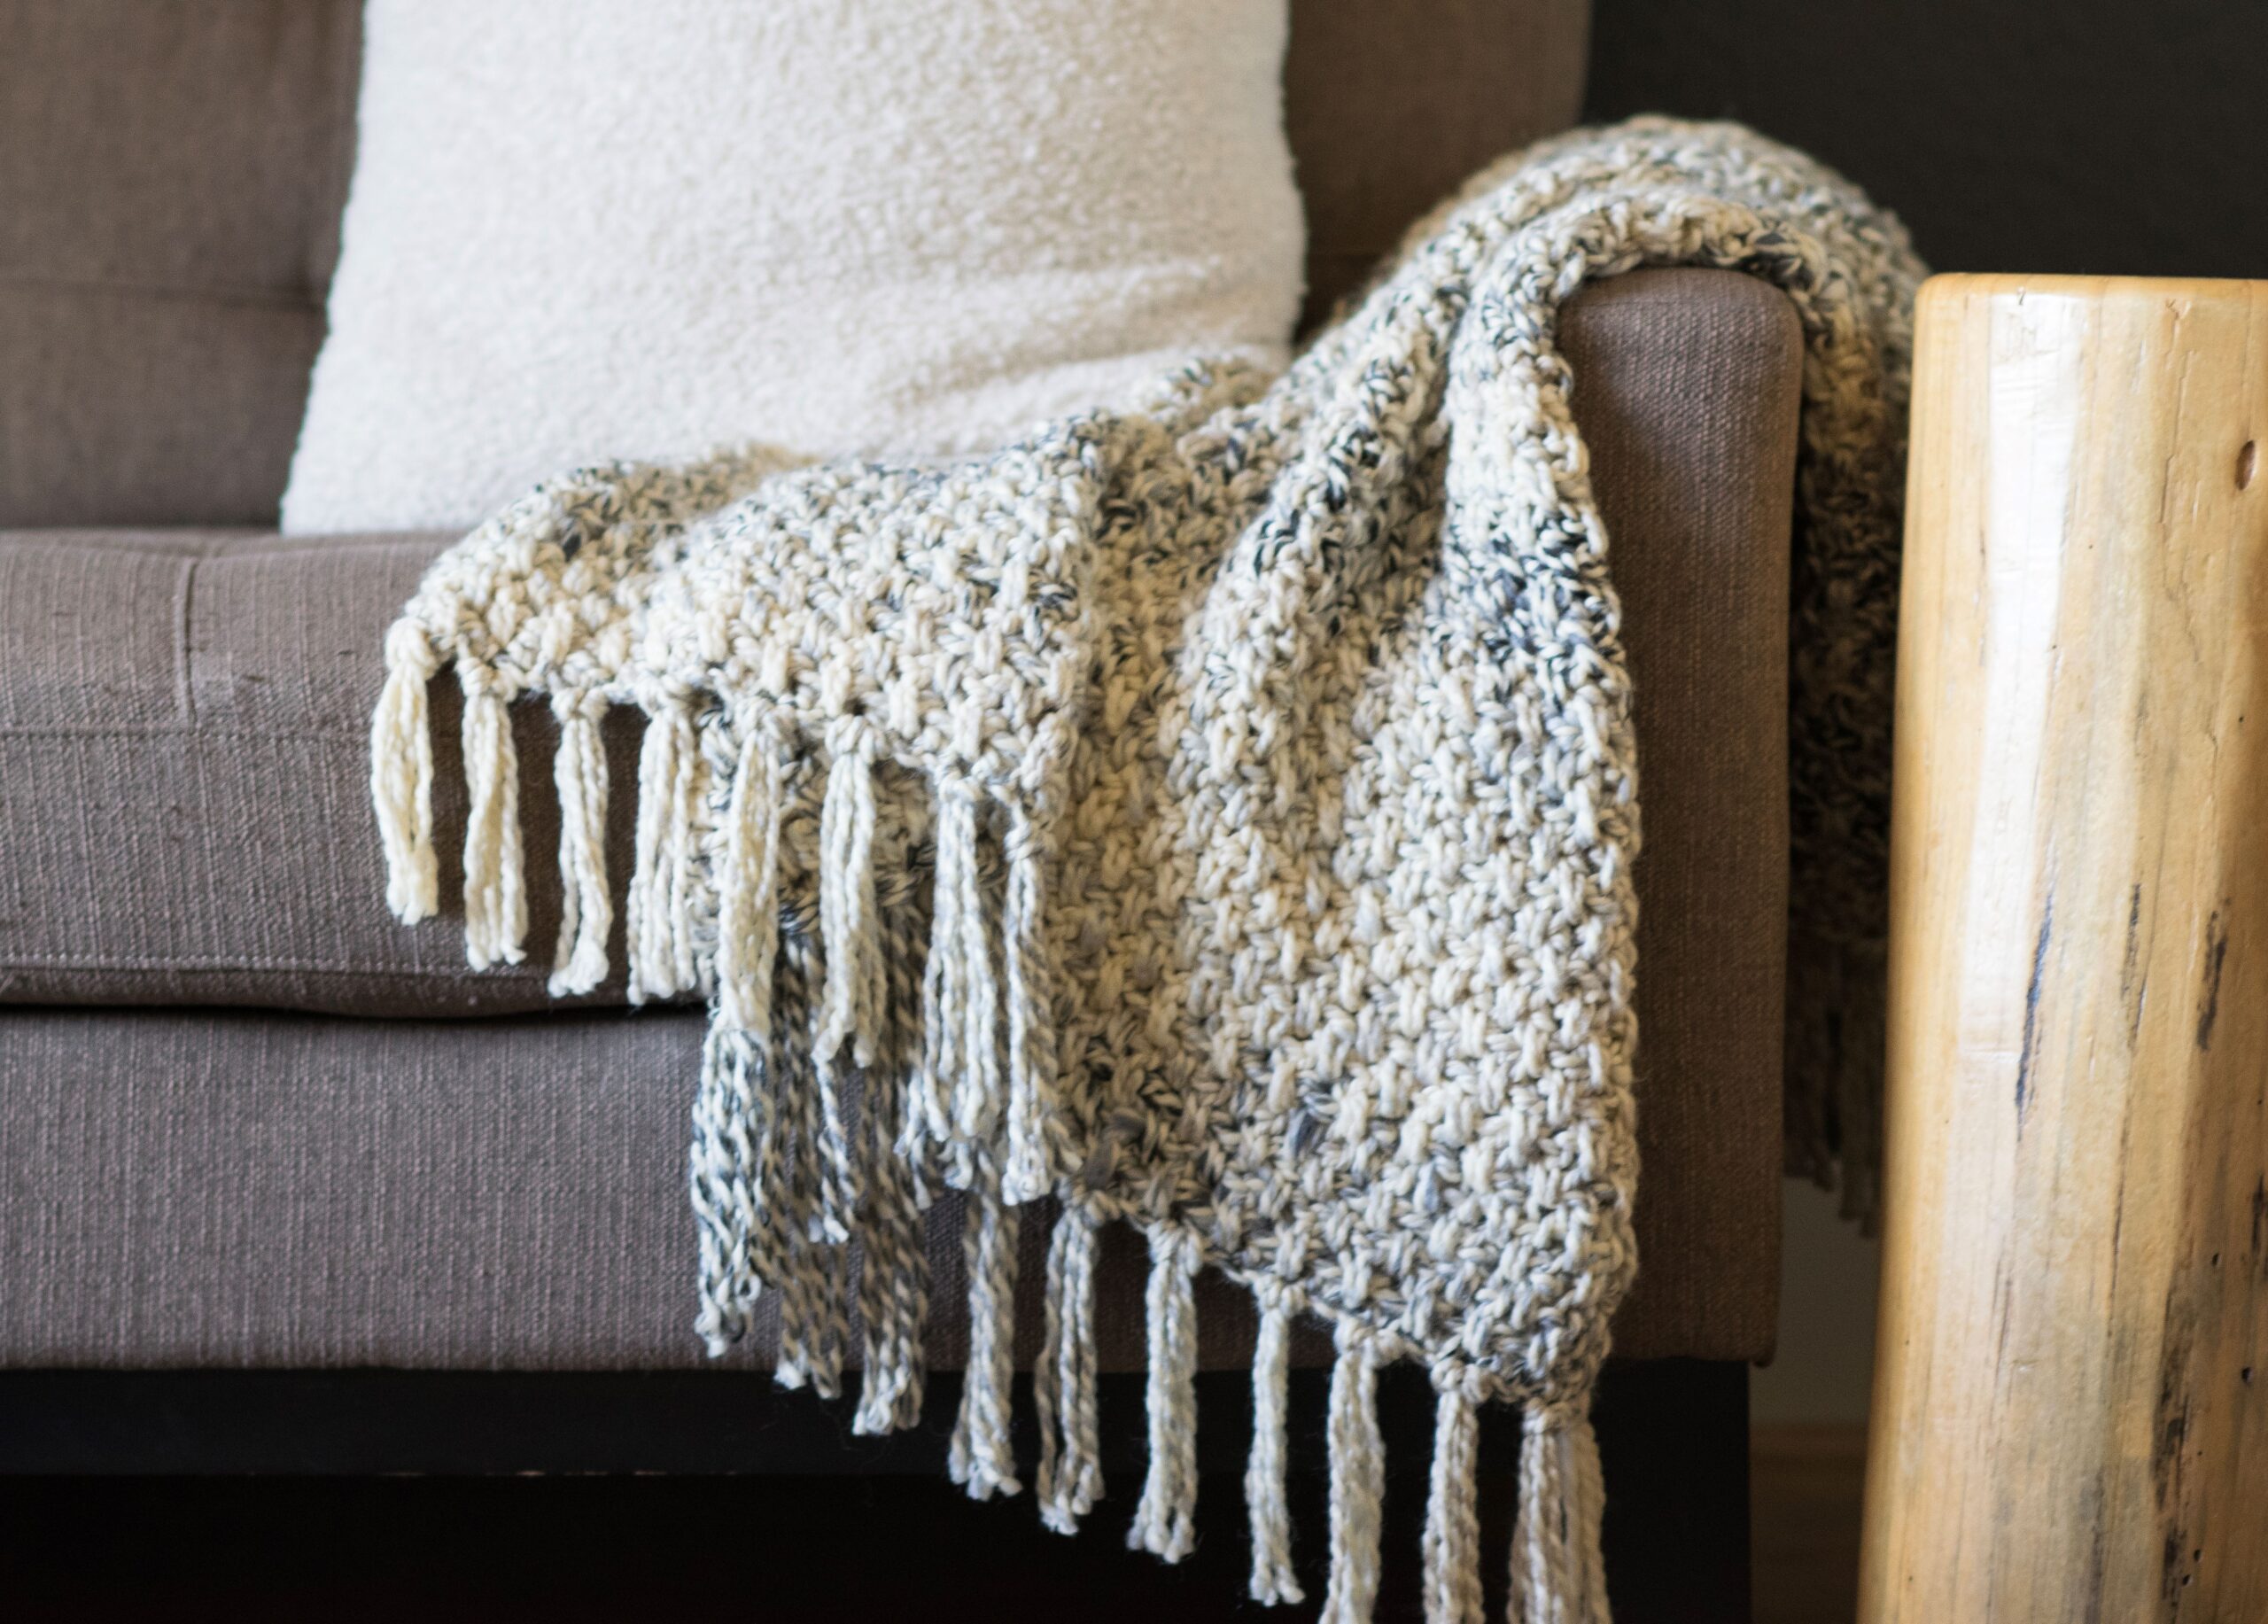
With spring slowly on it’s way, I wanted to design a new cardigan with a light weight yarn that could be worn on cool evenings. And it’s interesting, but I tend to get much braver with bright colors in the warmer months. Are you the same?
What Yarn Do I Use for Granny Cardigan?
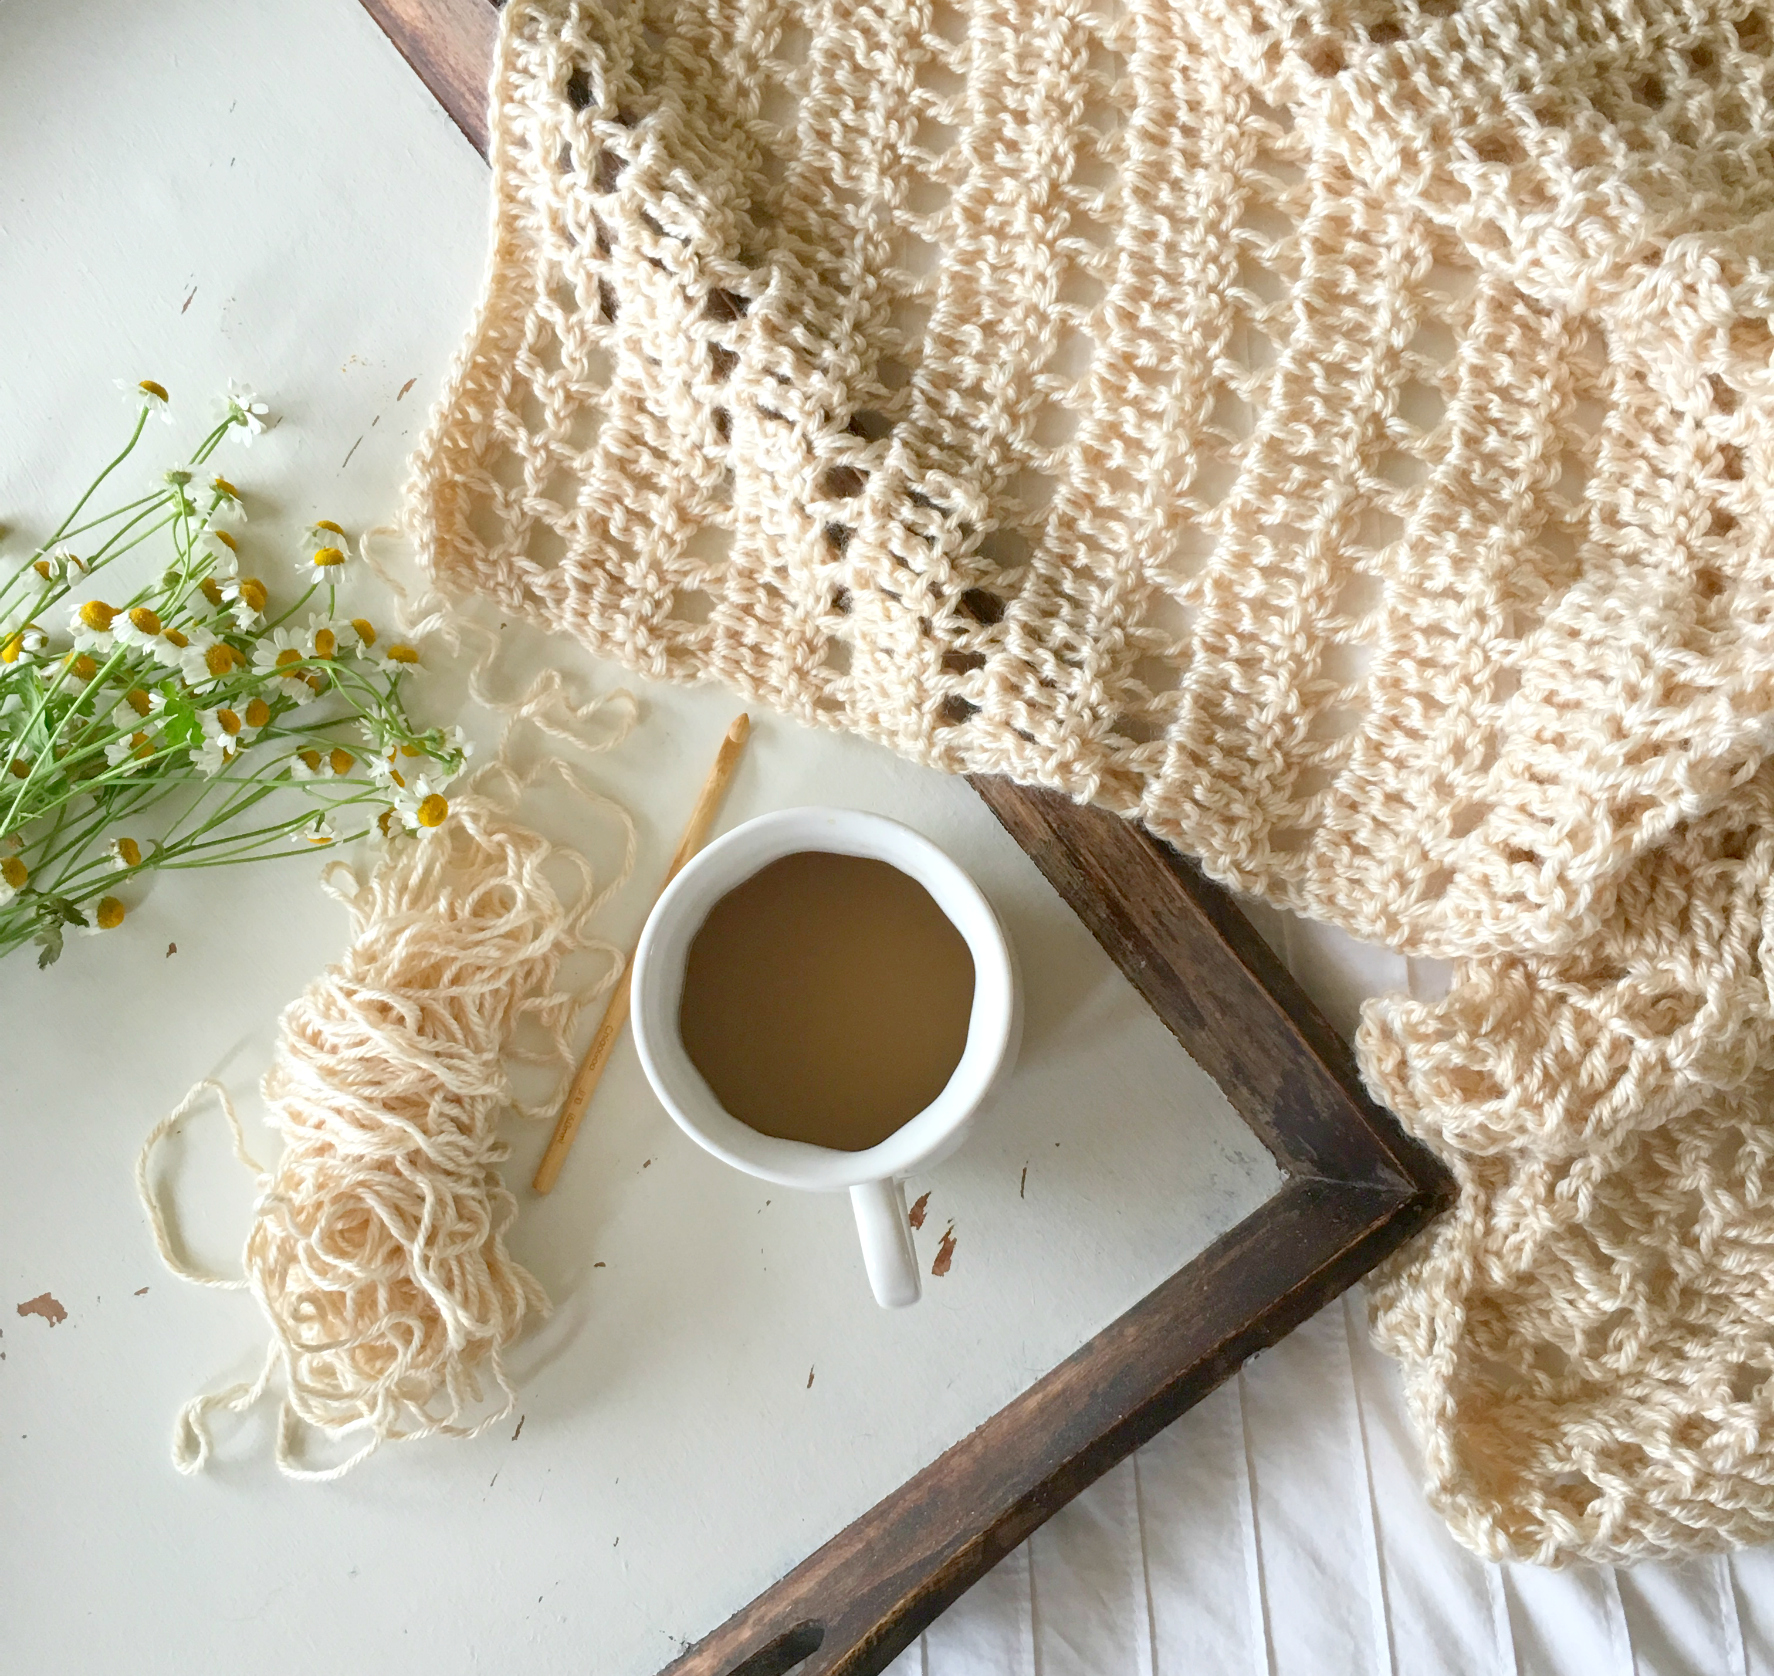
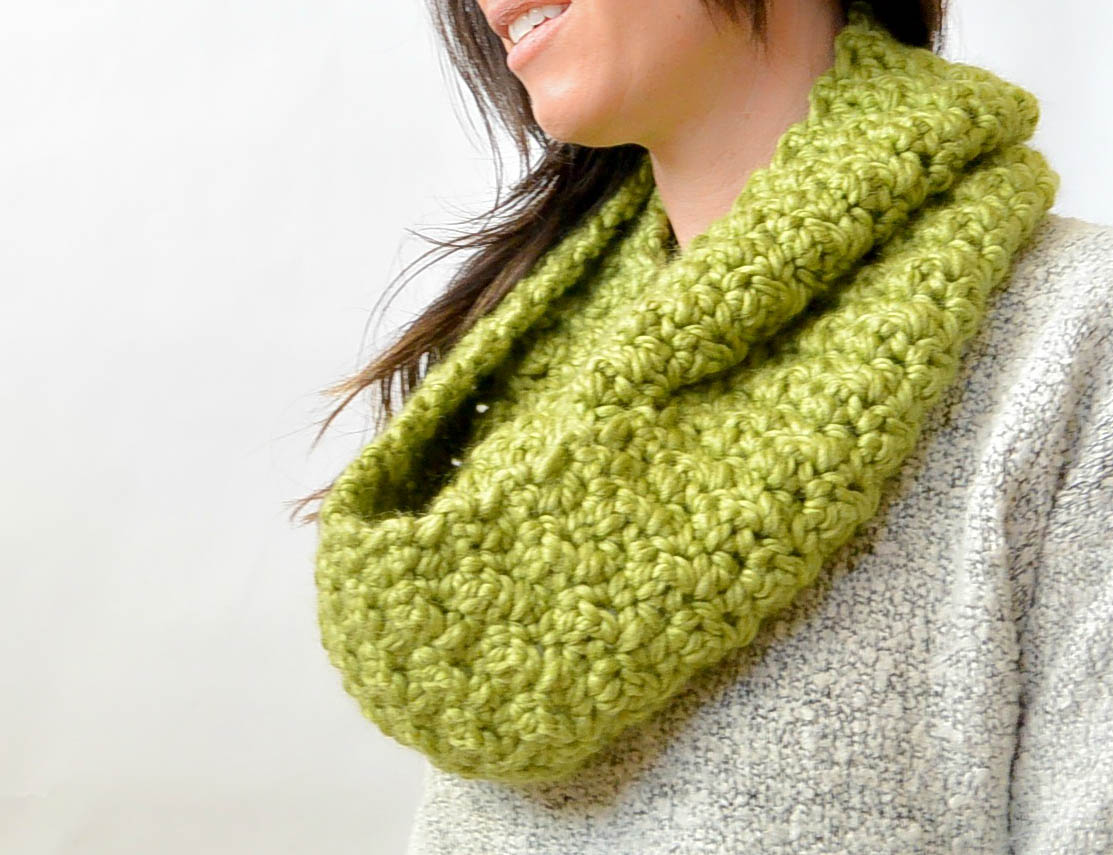
Mandala is such a wonderful yarn. It’s super soft on the skin and the colors work up beautifully together. My heart belongs to chunky winter yarns, but when it comes to light yarns, this is definitely a winner.
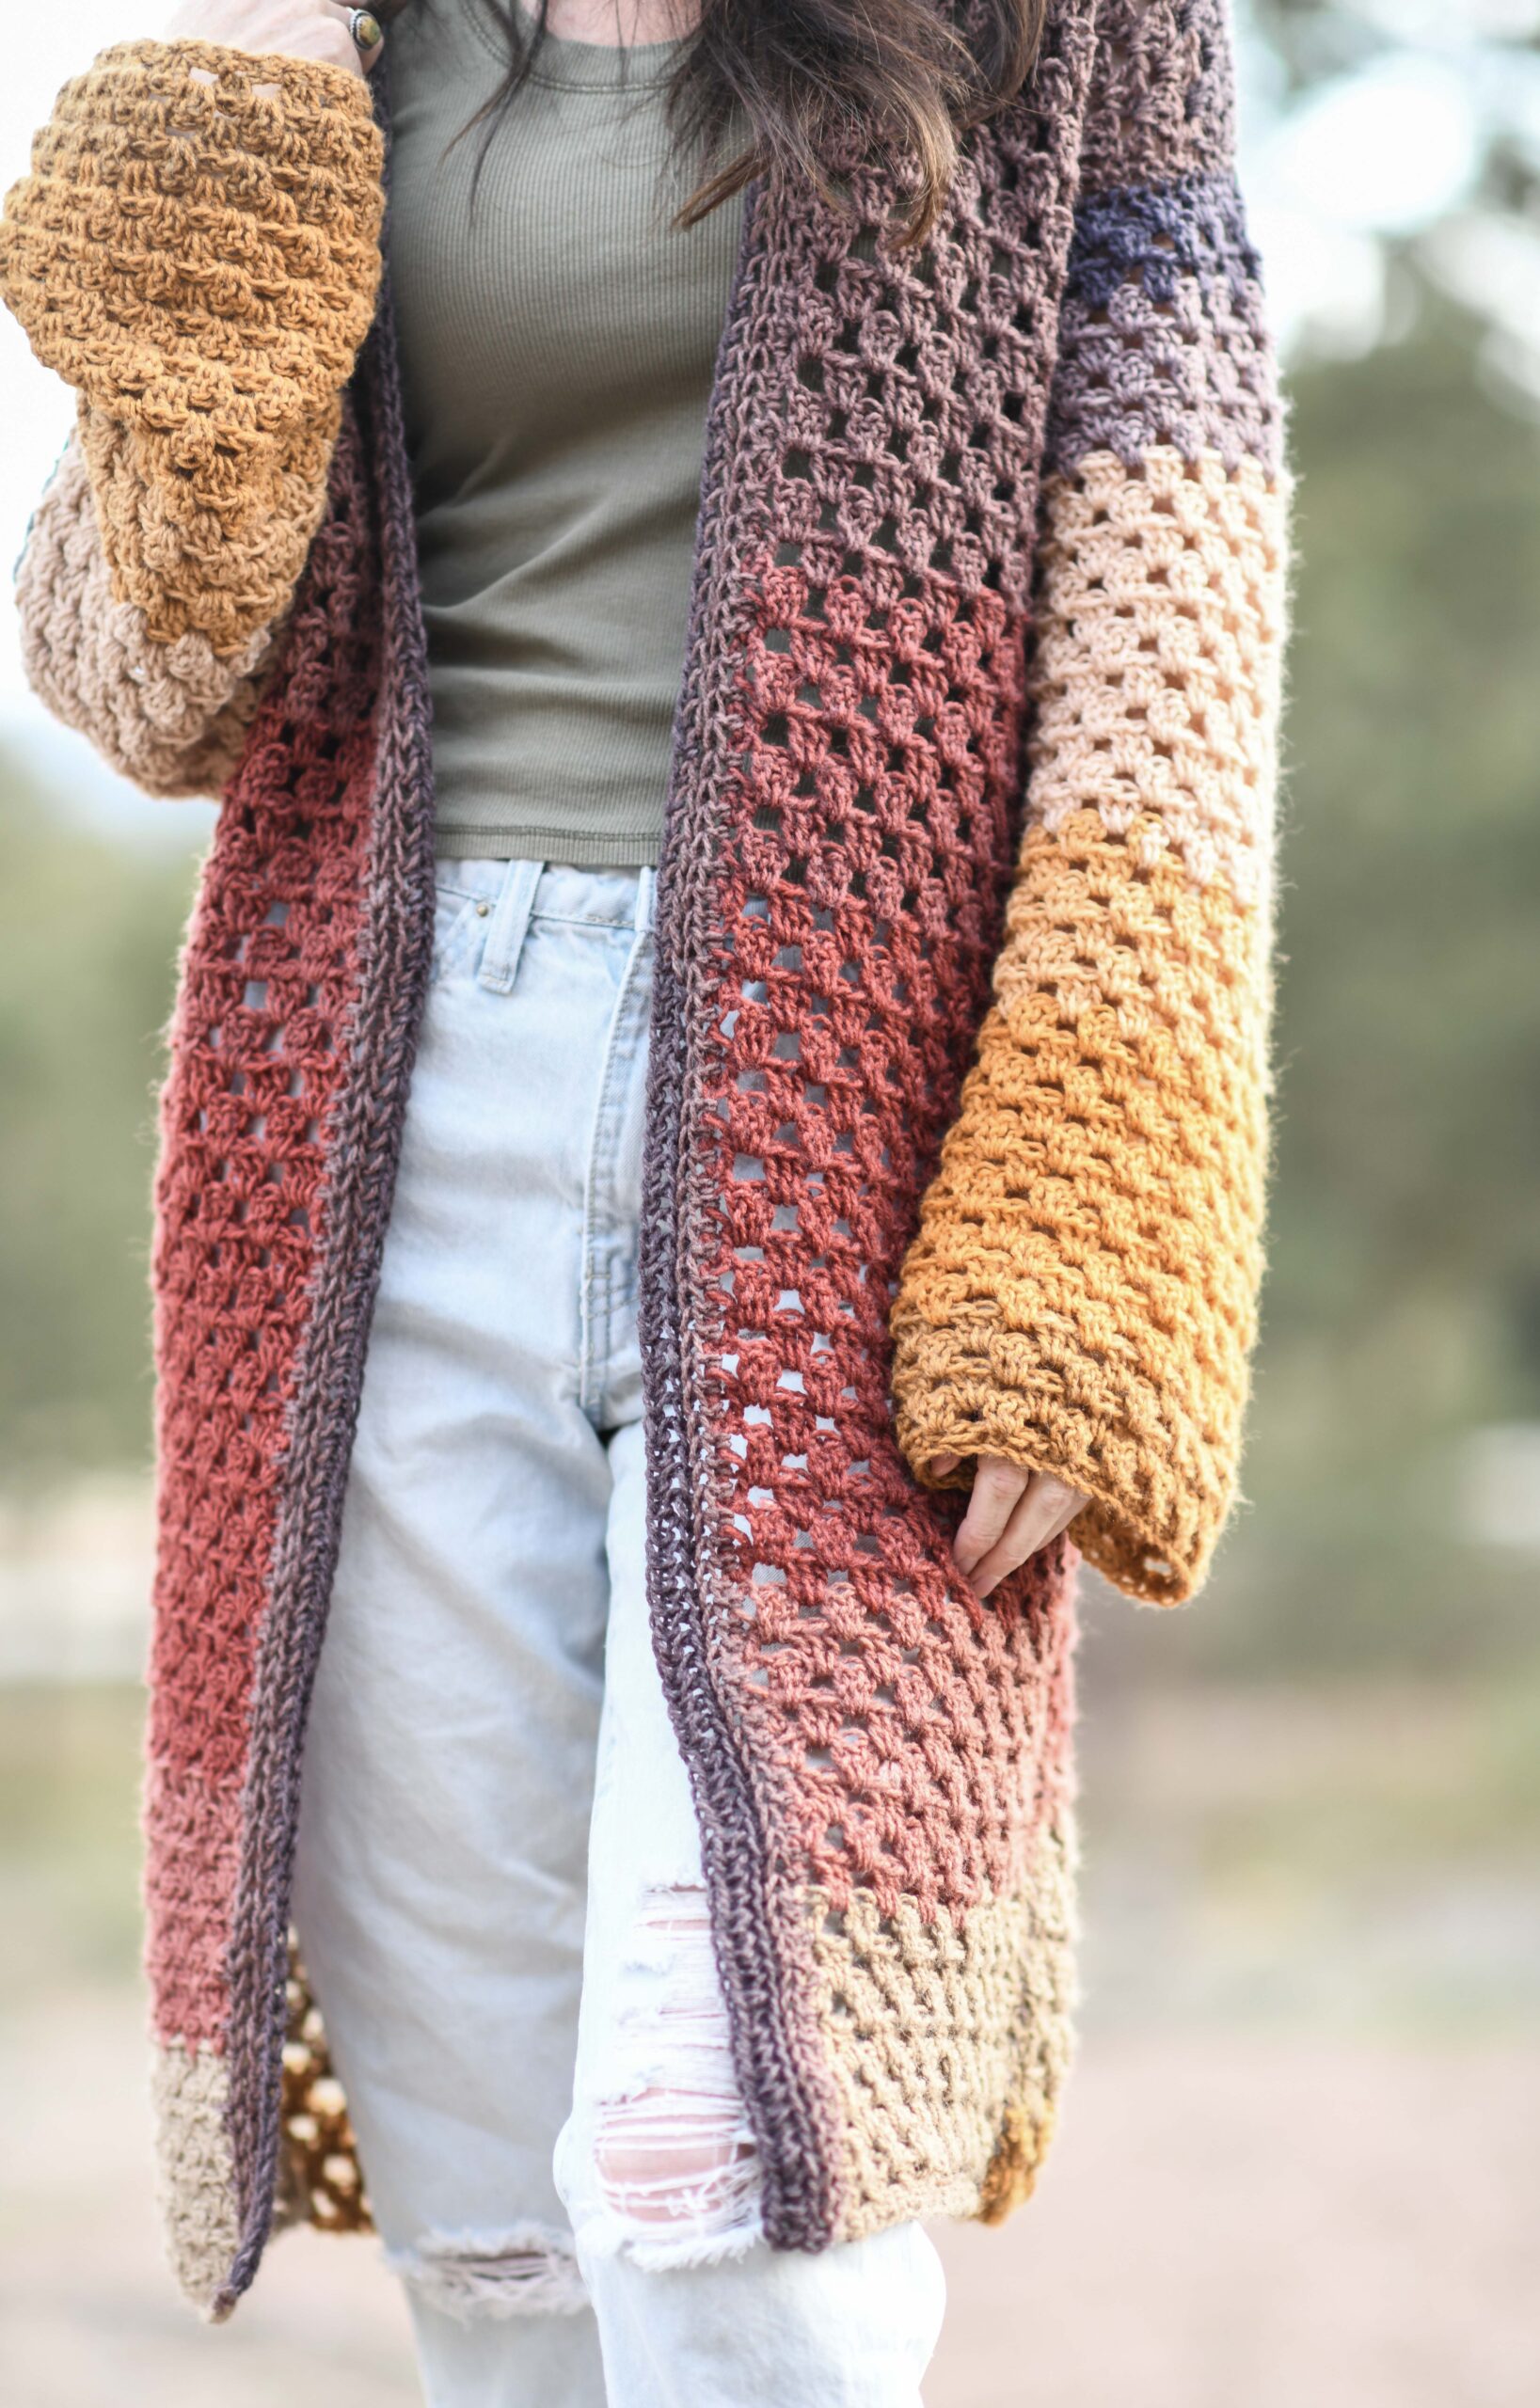
This cardi is pretty fun because it has the look and vibe of the popular granny square sweaters, but it’s SO much easier and you don’t have to sew a zillion squares together. It’s also much drapier and airier due to the light yarn and the stitch itself. Eyelets allllll over!
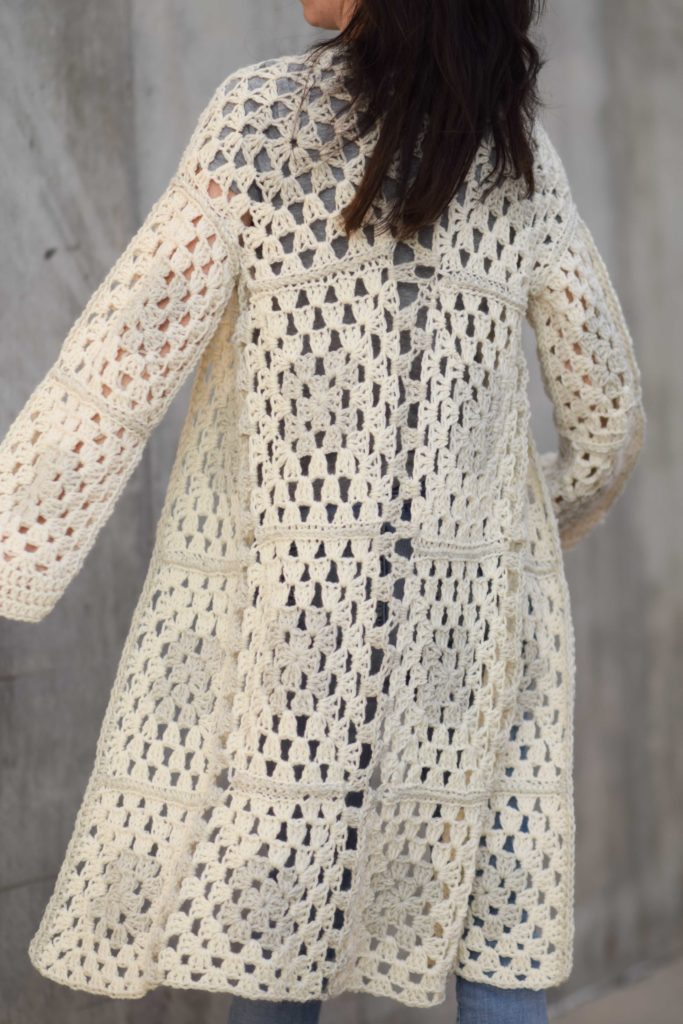
Do any of you remember my Arlo Granny Square Cardigan? I tried to make the squares large to minimize sewing, but there was still quite a bit of sewing and seaming.
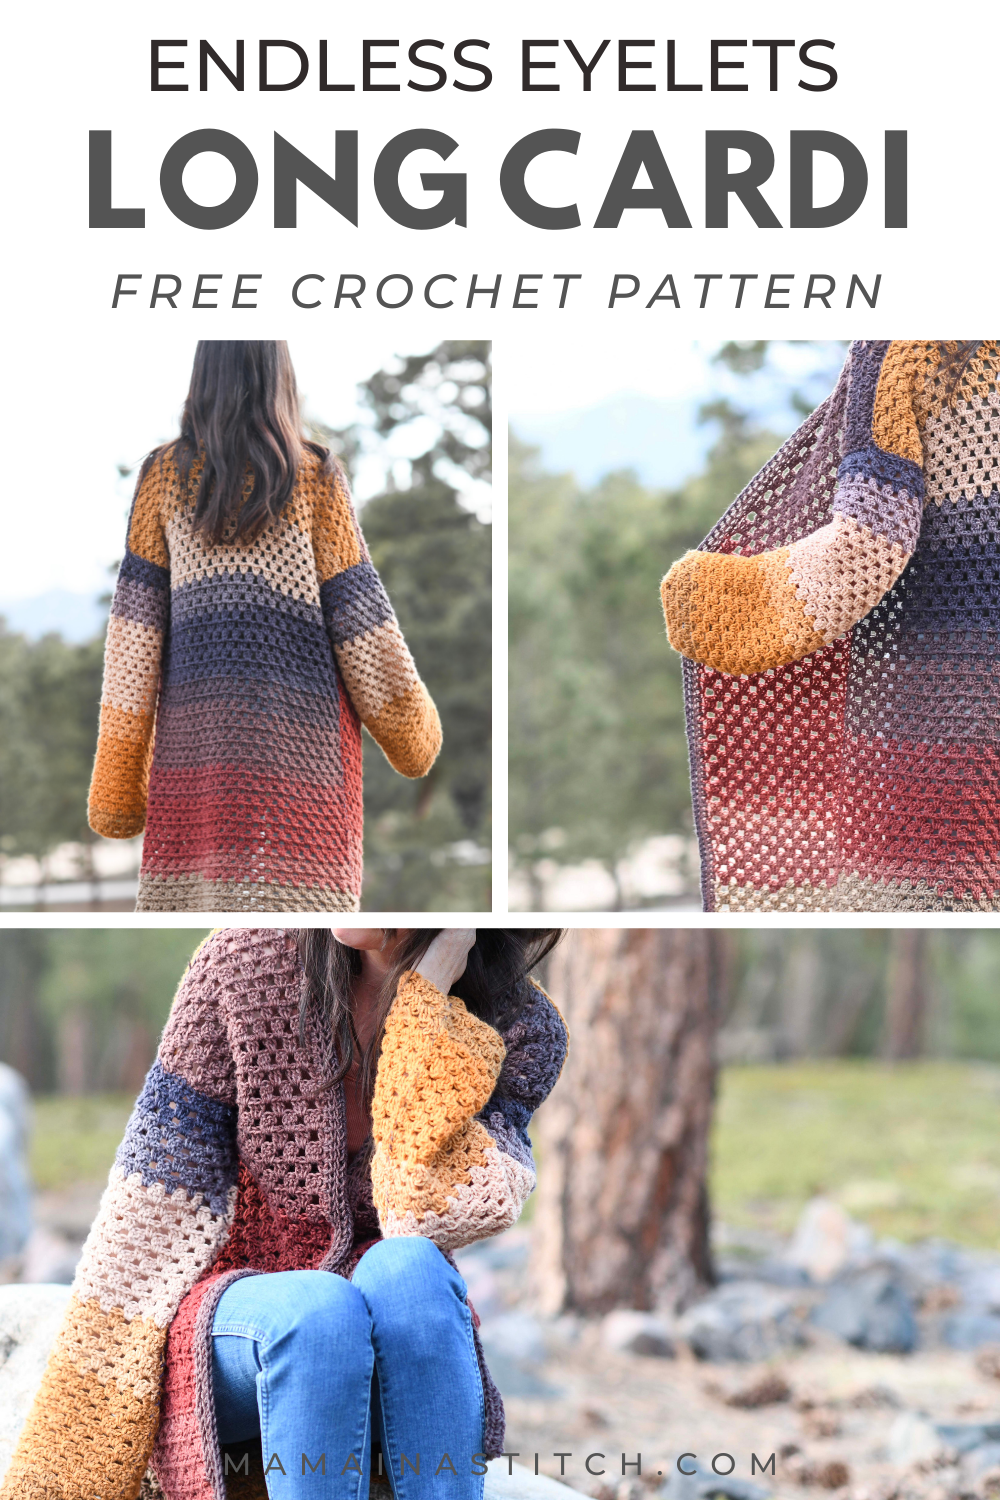
Lastly, I love the length of this sweater, but you can easily make it as long or short as you’d like. You will simply crochet for more or fewer rows on each panel. If you like long cardigans, you should also have a look at the Verano Longline Cardigan and the Autumn Duster.
How To Crochet A Granny Stitch Cardigan
So how do we crochet this sweater? Using the basic granny stitch (see my video tutorial when you scroll way down), you will just make two panels for the front and one panel for the back. This stitch pattern is so easy because it’s a two row repeat. So once you have it down, it’s super simple!
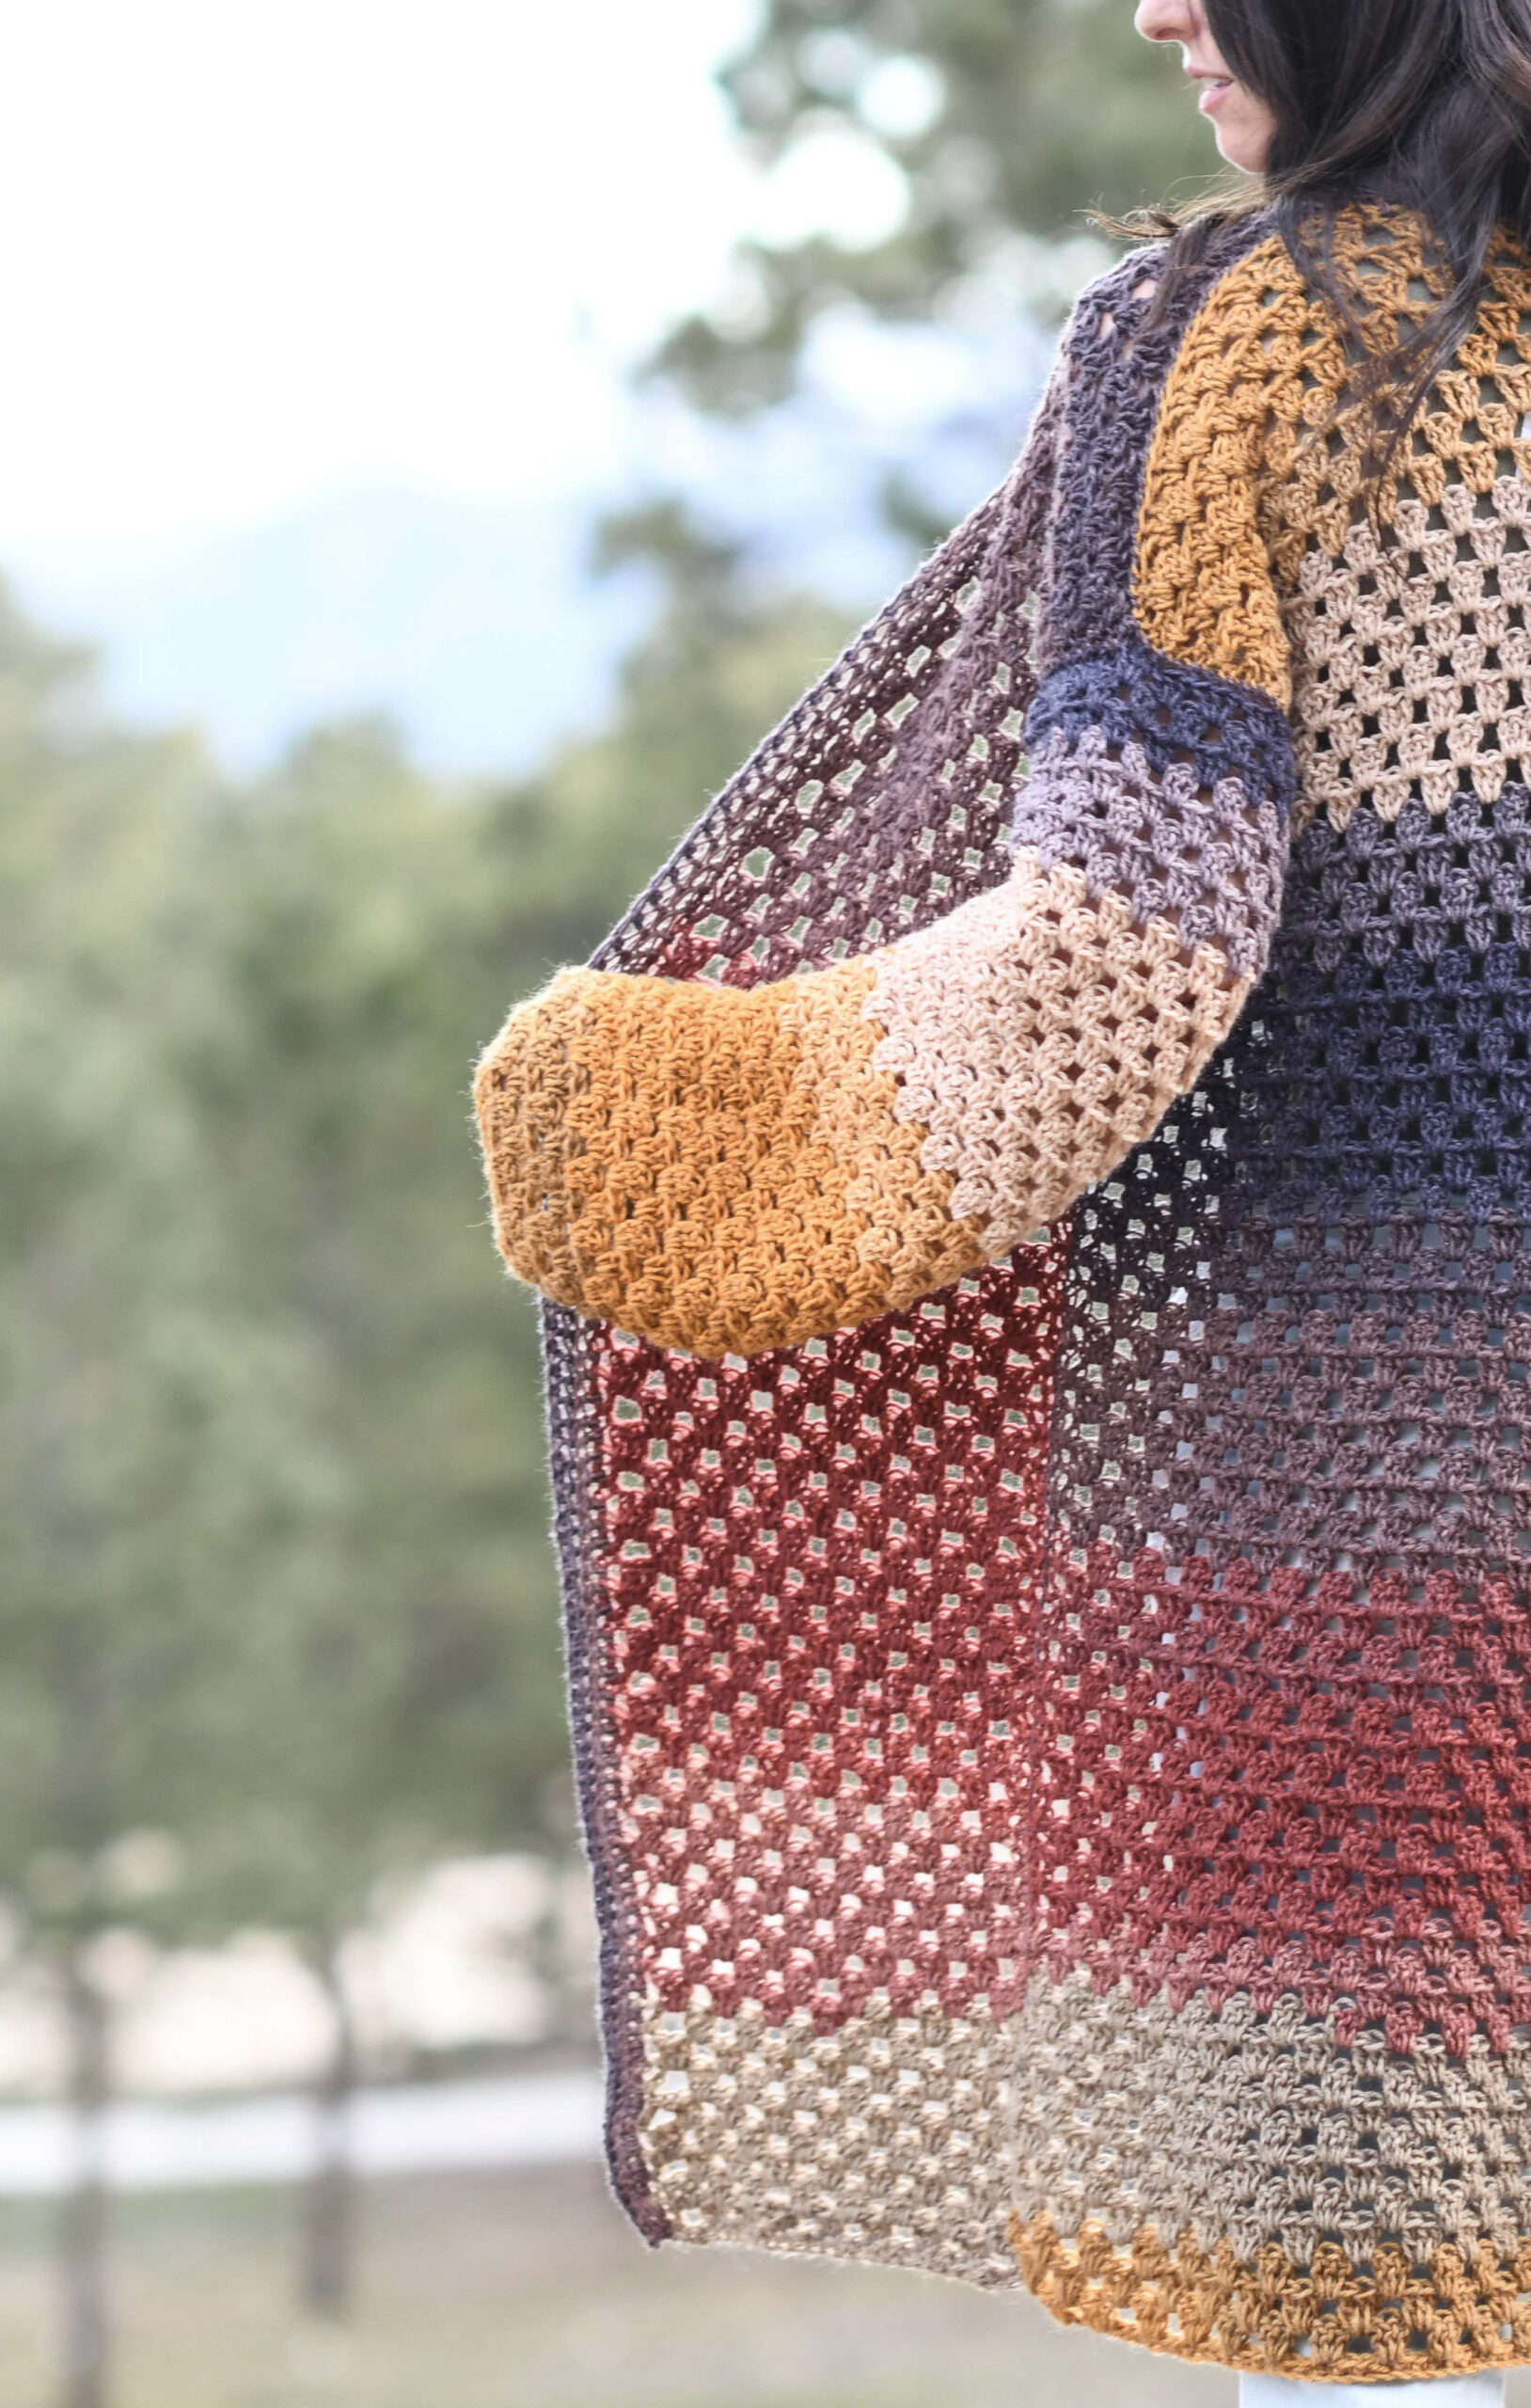
The sleeves are easy as well since they are crocheted as two rectangles and then seamed to finish. There is no shaping at all on this sweater, and this feature makes it simple AND stylish. The wide, glorious sleeves are part of what makes this special.
So let’s hop to this fun, colorful (or neutral) pattern. 🙂 You pick the yarn and color, or neutral that you like!
Description: Ever popular eyelets grace this openwork cardigan that’s light, drapey, and perfect for year round wear. Featuring an oversized fit and an airy design, it’s super cute with cut-off shorts and jeans alike. Take the trendy look of the classic granny square cardigan up a notch while avoiding the seaming and sewing of squares. A super fun and meditative project for advanced beginners on up!
Skill Level:
Easy +
Materials:
US Size J, 6.0 mm crochet hook
5, 5, 6, 7, 7 Lion Brand Mandala Light #3 Yarn in Centaur 150 g/skein (Grab the convenient kit in MANY color options HERE)
Pattern uses approximately 470 g, 562 g, 660 g, 767 g, 883 g
Scissors
Tapestry Needle
Sizes:
S, M, L, XL, XXL
Please follow the key throughout the pattern according to the size you are crocheting:
S (M, L, XL, XXL)
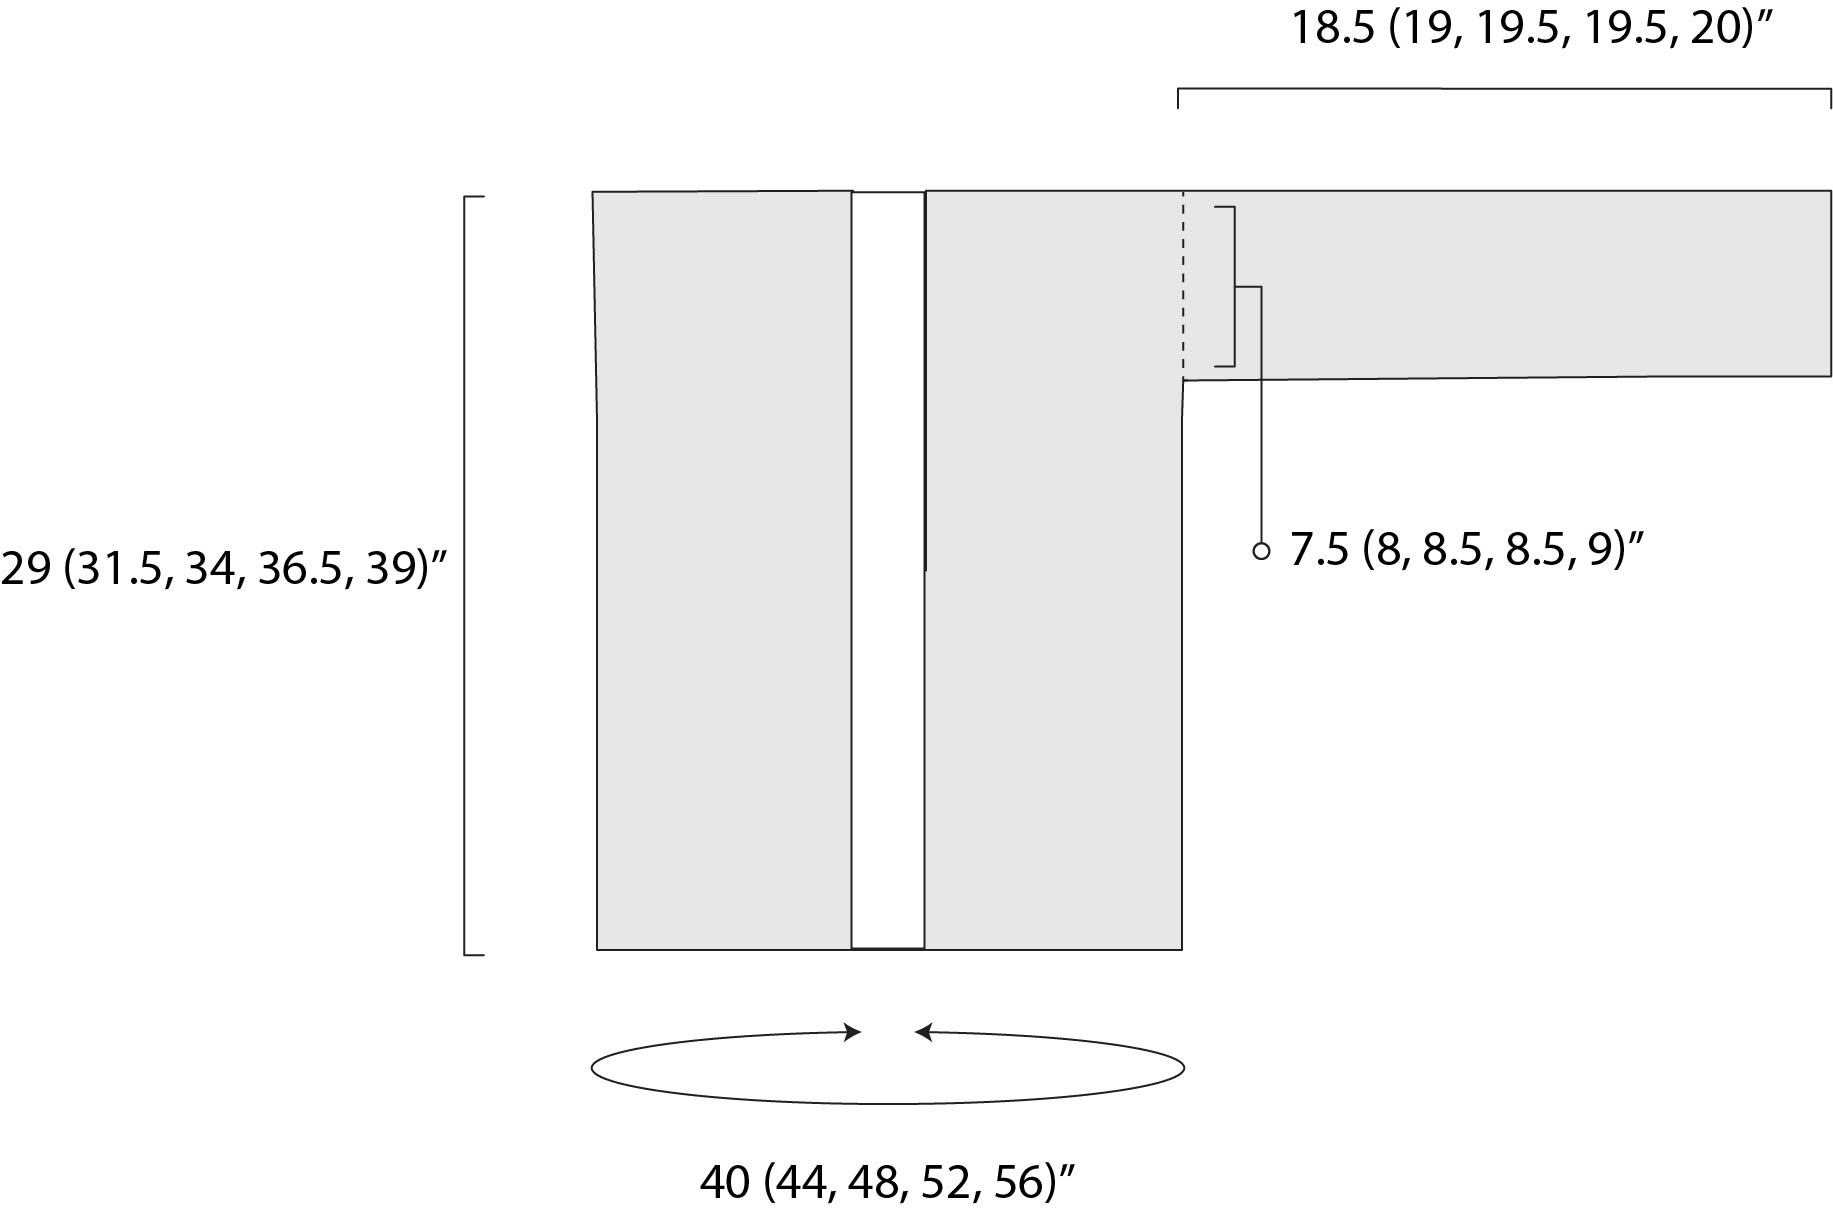
Bust Circumference (approximate finished measurements):
*cardigan features positive ease for an oversized fit
S – 40”
M – 44”
L – 48”
XL – 52”
XXL – 56”
Length (approximate):
S – 29”
M – 31.5”
L – 34”
XL – 36.5”
XXL – 39”
Abbreviations & Skills:
ch – chain
sp – space
sc – single crochet
dc – double crochet
Gauge:
Approximately 12 dc stitches and 7 rows in pattern stitch (granny stitch) in 4” x 4”
Notes:
This cardigan is made by crocheting three rectangular panels and seaming them at the sides and shoulders. Two additional rectangular panels are crocheted for the sleeves and folded and seamed to finish. The sleeves are sewn onto the cardigan during assembly. The collar is added after the panels have been seamed and assembled. You may choose to make the cardigan longer or shorter by simply crocheting for more or fewer rows on the front and back panels. Keep yarn needs in mind when adjusting the size.
You may choose to keep colors consistent, or simply use the skeins of yarn as they work up, which may create a variety of color patterns on your cardigan. If you would like to keep a consistent, matching look, you might need to use a particular color when you come to the end of a skein. If you need to use a certain color, you may wind the yarn in the skein in order to reach the desired color and save the remainder for later use.
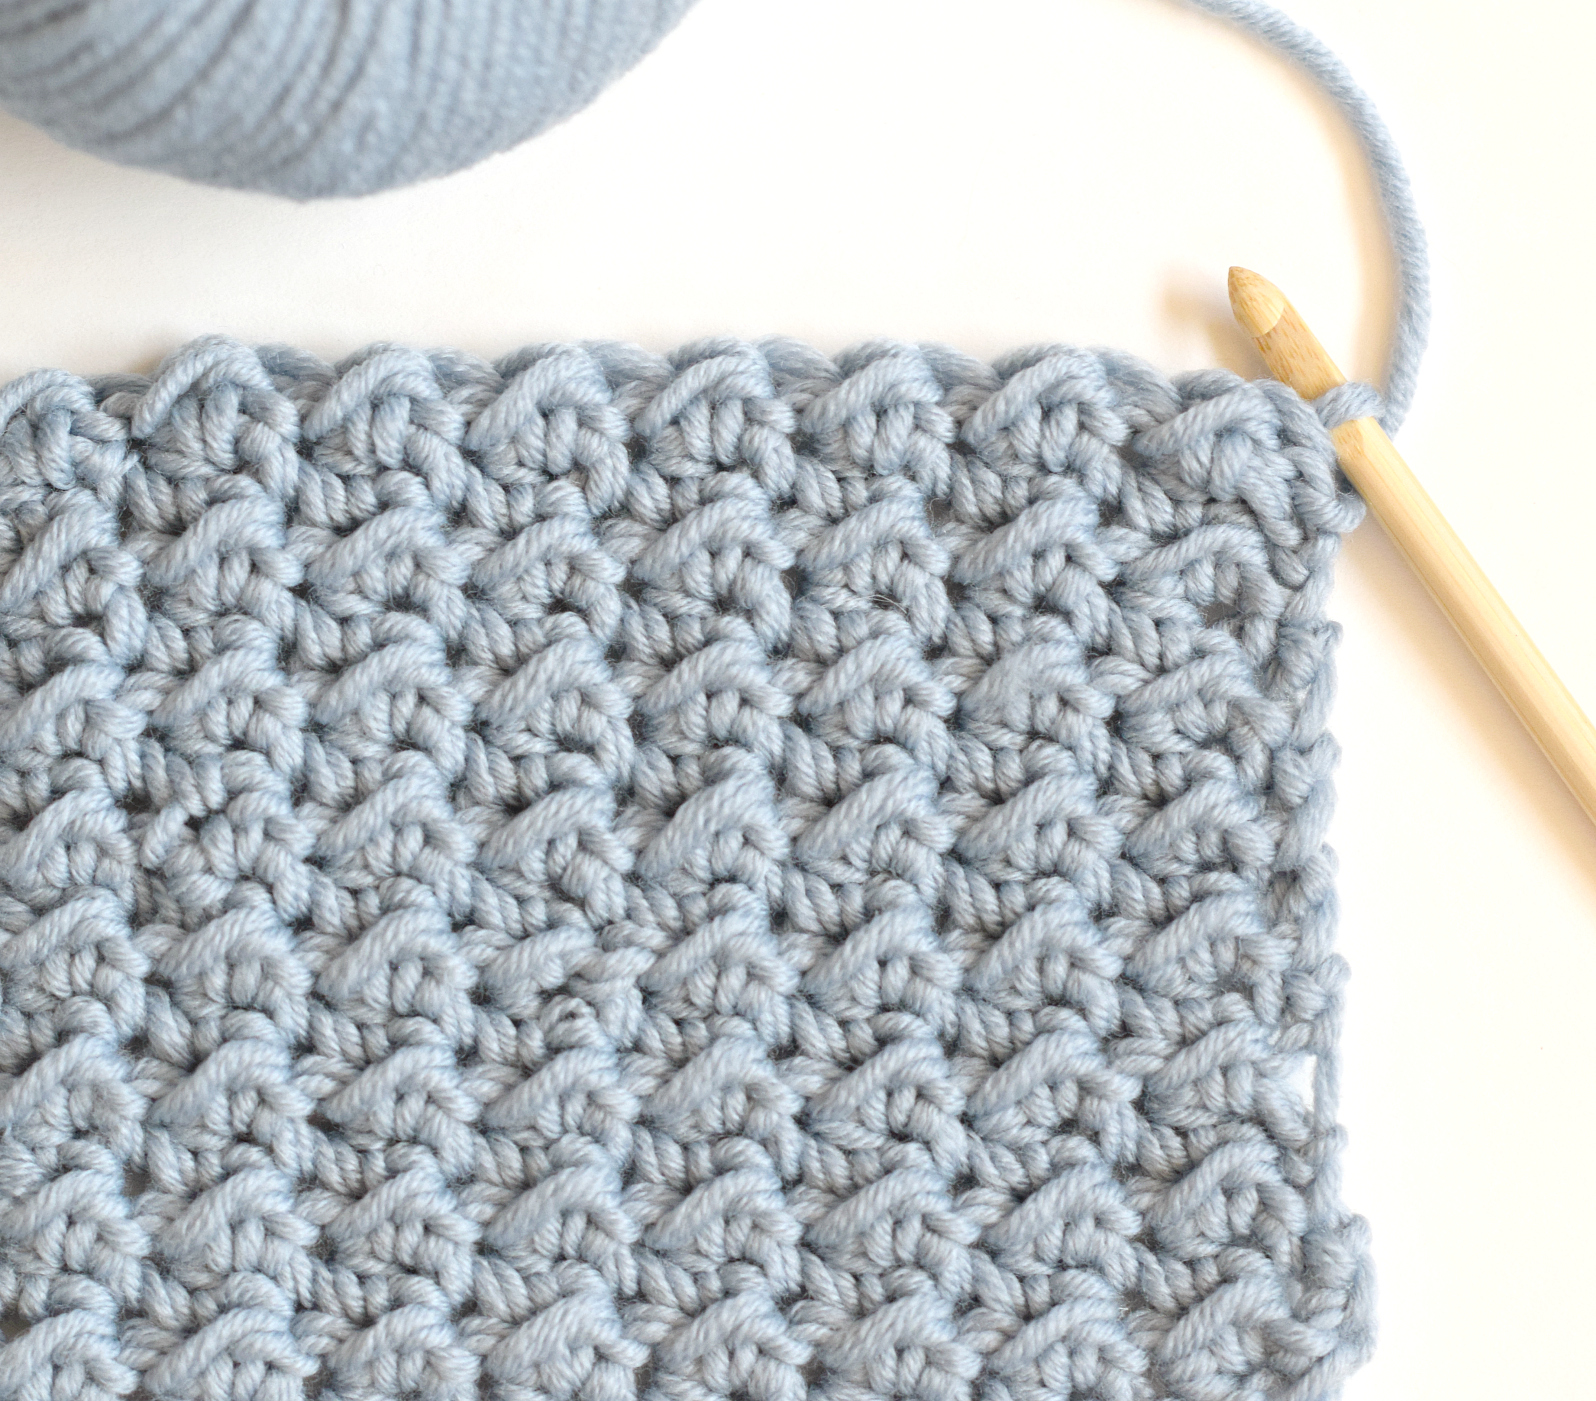
Helpful Tip: In row two you will begin with a group of 2dc then make groups of 3 across to the last stitch where you will end with another 2dc group. For the third row, you will begin with just 1dc, then work groups of 3 dc across, ending with 1dc in the last stitch. If you start with 1dc, you end with 1dc. If you start with 2dc, you end with 2dc.
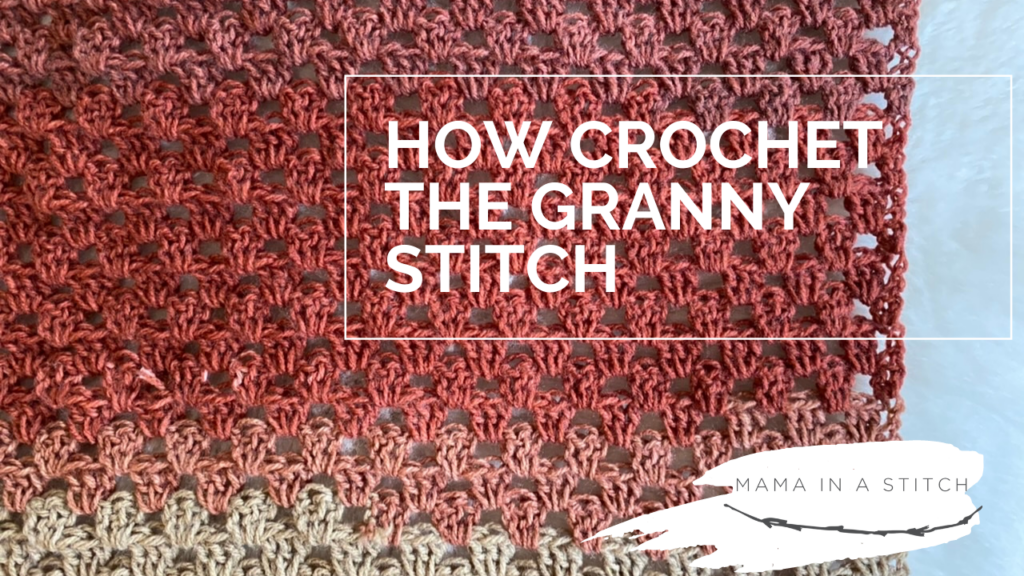
How To Crochet The Granny Stitch
Definitely don’t forget to check out my video tutorial and blog post about the GRANNY STITCH HERE
Endless Eyelets Granny Stitch Cardigan Crochet Pattern Instructions
Back Panel
Ch 62 (68, 74, 80, 86)
Row 1 Sc in 2nd ch from hook and in each ch st across. 61 (67, 73, 79, 85)
Row 2 Ch 3, turn, dc in same st as ch3, *sk 2 stitches, 3dc in next stitch; repeat from * across row until final stitch, make 2dc in last stitch.
Row 3 Ch 3 (counts as 1dc), turn, make 3dc in sp between dc groups across the row to last stitch, make one dc in top of last st of row.
(Note: “sp” refers to the space between the group of 3dc in previous row. Do not work into the stitch, but rather into the space between groups of dc stitches)
Row 4 Ch 3 (counts as 1dc), turn, dc in same st as ch 3, 3dc in each space across row until final stitch, make 2dc in last st of row.
Repeat rows 3 & 4 for remainder of the pattern until it measures approximately 29”(31.5”, 34”, 36.5”, 39”) long.
Front Panel Pattern (make 2)
Ch 26 (29, 32, 35, 38)
Row 1 Sc in 2nd ch from hook and in each ch st across. 25 (28, 31, 34, 37)
Row 2 Ch 3, turn, dc in same st as ch3, *sk 2 stitches, 3dc in next stitch; repeat from * across row until final stitch, make 2dc in last stitch.
Row 3 Ch 3 (counts as 1dc), turn, make 3dc in sp between dc groups across the row to last stitch, make one dc in top of last st of row.
Row 4 Ch 3 (counts as 1dc), turn, dc in same st as ch 3, 3dc in each space across row until final stitch, make 2dc in last st of row.
Repeat rows 3 & 4 for remainder of the pattern until it matches the length of the back panel.
Sleeve Pattern (make 2)
Ch 47 (50, 53, 53, 56)
Row 1 Sc in 2nd ch from hook and in each ch st across 46 (49, 52, 52, 55)
Row 2 Ch 3, turn, dc in same st as ch3, *sk 2 stitches, 3 dc in next stitch; repeat from * across row until final stitch, make 2dc in last stitch.
Row 3 Ch 3 (counts as 1dc), turn, make 3dc in first space of row below and in each space across the row until last stitch; make one dc in top of last st of row.
Row 4 Ch 3 (counts as 1dc), turn, dc in same st as ch 3; 3dc in each space across row until final stitch, make 2dc in last st of row.
Repeat rows 3 & 4 for remainder of the pattern until piece measures approximately 18.5” (19, 19.5, 19.5, 20) inches long
Assembly & Seaming
Note: You may use simple whip stitch for all seaming and sewing of this cardigan.
Place two front panels directly on top of back panel, leaving space in the middle and outer edges aligned.
Seam panels together at shoulders. Seam front panels to back panel at the sides, leaving openings for the sleeves.
Fold sleeves lengthwise and seam.
Sew sleeves onto the cardigan.
Collar
Attach yarn to bottom inner corner on the front of the cardigan.
Row 1 Ch 2, work hdc sts evenly across to opposite end of collar, working along the neckline.
Row 2 Ch 2, turn, hdc flo in each st across.
Rows 3 – 4 Repeat row 2. Feel free to crochet more rows to make the collar wider if you’d like! Tie off and weave in ends. Block to shape and size as desired.
And that’s it my friends. 🙂 A trendy little granny stitch eyelets sweater that you can wear all year!
Definitely let me know if you make one by sharing on Instagram! You can tag me @mamainastitch #mamainastitch. I’m so curious what colors you would use.
XO,
Jessica
If you liked this, you might also like:
This post sponsored by Lion Brand Yarn. All opinions are 100% my own.
You are about to make me cry, you keep teasing me with these amazing cardi: the Granny, the one you emailed last week (I can’t remember the name bu oh my!) Gorgeous or your Winterfest Ruana wrap and oh the Lotus longline vest. I am litterally begging you to create something like that but in knit. I tried to crochet, I watched your video and tried to do like you, well I suck. I can crochet carpets or baskets with fabric yarn and that’s it and no I will keep on tryong to crochet. Please create an airy summer long cardi in knit. It won’t end well for the yarn if I try 🙂 (sorry did I hit a soft spot?) He he he
Roxanne
Canada
Just received the email with the Endless Eyelets Cardi. In looking over the directions I came across an abbreviation flo in the collar section ,row 2. Do not know what that refers to. Please let me know. Thanks,
Came out beautiful! Did you cut yarn to match each panel on yours or did you just let it be as is?
Beautiful colors.
Now this I can do. Love this design. Maybe if I start now I can finish by winter time.
How will space each color of yarn to make sure I have adequate for the whole garment? I am excited to start this project! neva
I have the same question…….PS Love your patterns!
I needed a lightweight cover-up to throw on when I walk the dog on the coming summer mornings. I couldn’t find anything that suited. Also, I’ve gained a ton of weight with medication, making my old boho cover-ups not cover up so much any more! I thought I’d try working up one, but I am rusty as an old oil drum, plus foggy from my neurological condition, so I was looking for something I thought I could handle without frustration. And, lo, and behold, along comes Mama In A Stitch! I plan to work this in looser stitches with a bigger hook for a more primitive look, and add a hood (for hair growing back in, and bedhead). I think that the simple hood from your striped poncho should be okay, but please share your insight. ** I have been delighted by your designs and by your personality for years. My, how elegant your website has become.**
It means Front Loop Only.
Love that you switched things up a bit, this is wonderful and looks so on trend and all, truly your artisan streak came out!
Thanks for sharing absolutely amazing
You’re welcome! So thrilled you like it!
Thank you for the free pattern. This shows that crochet is young and hip, not just for grandmas (even though I am a grandma) LOL.
I’m so glad you think so! Crochet is definitely for everyone!!!
Did you cut yarn to keep colorway or just continue with next skein?