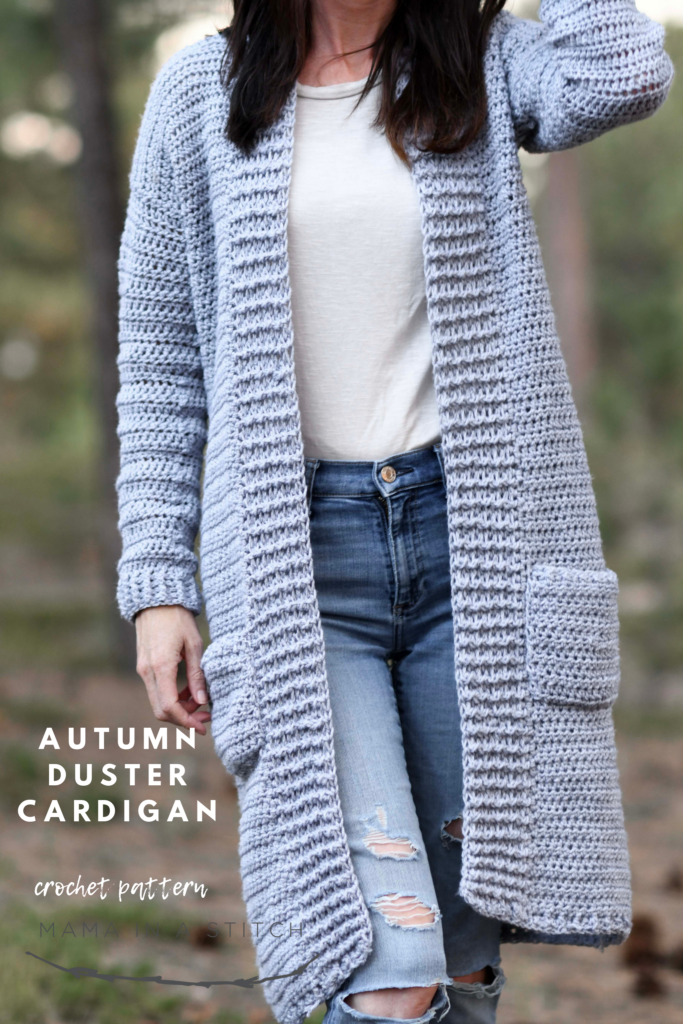
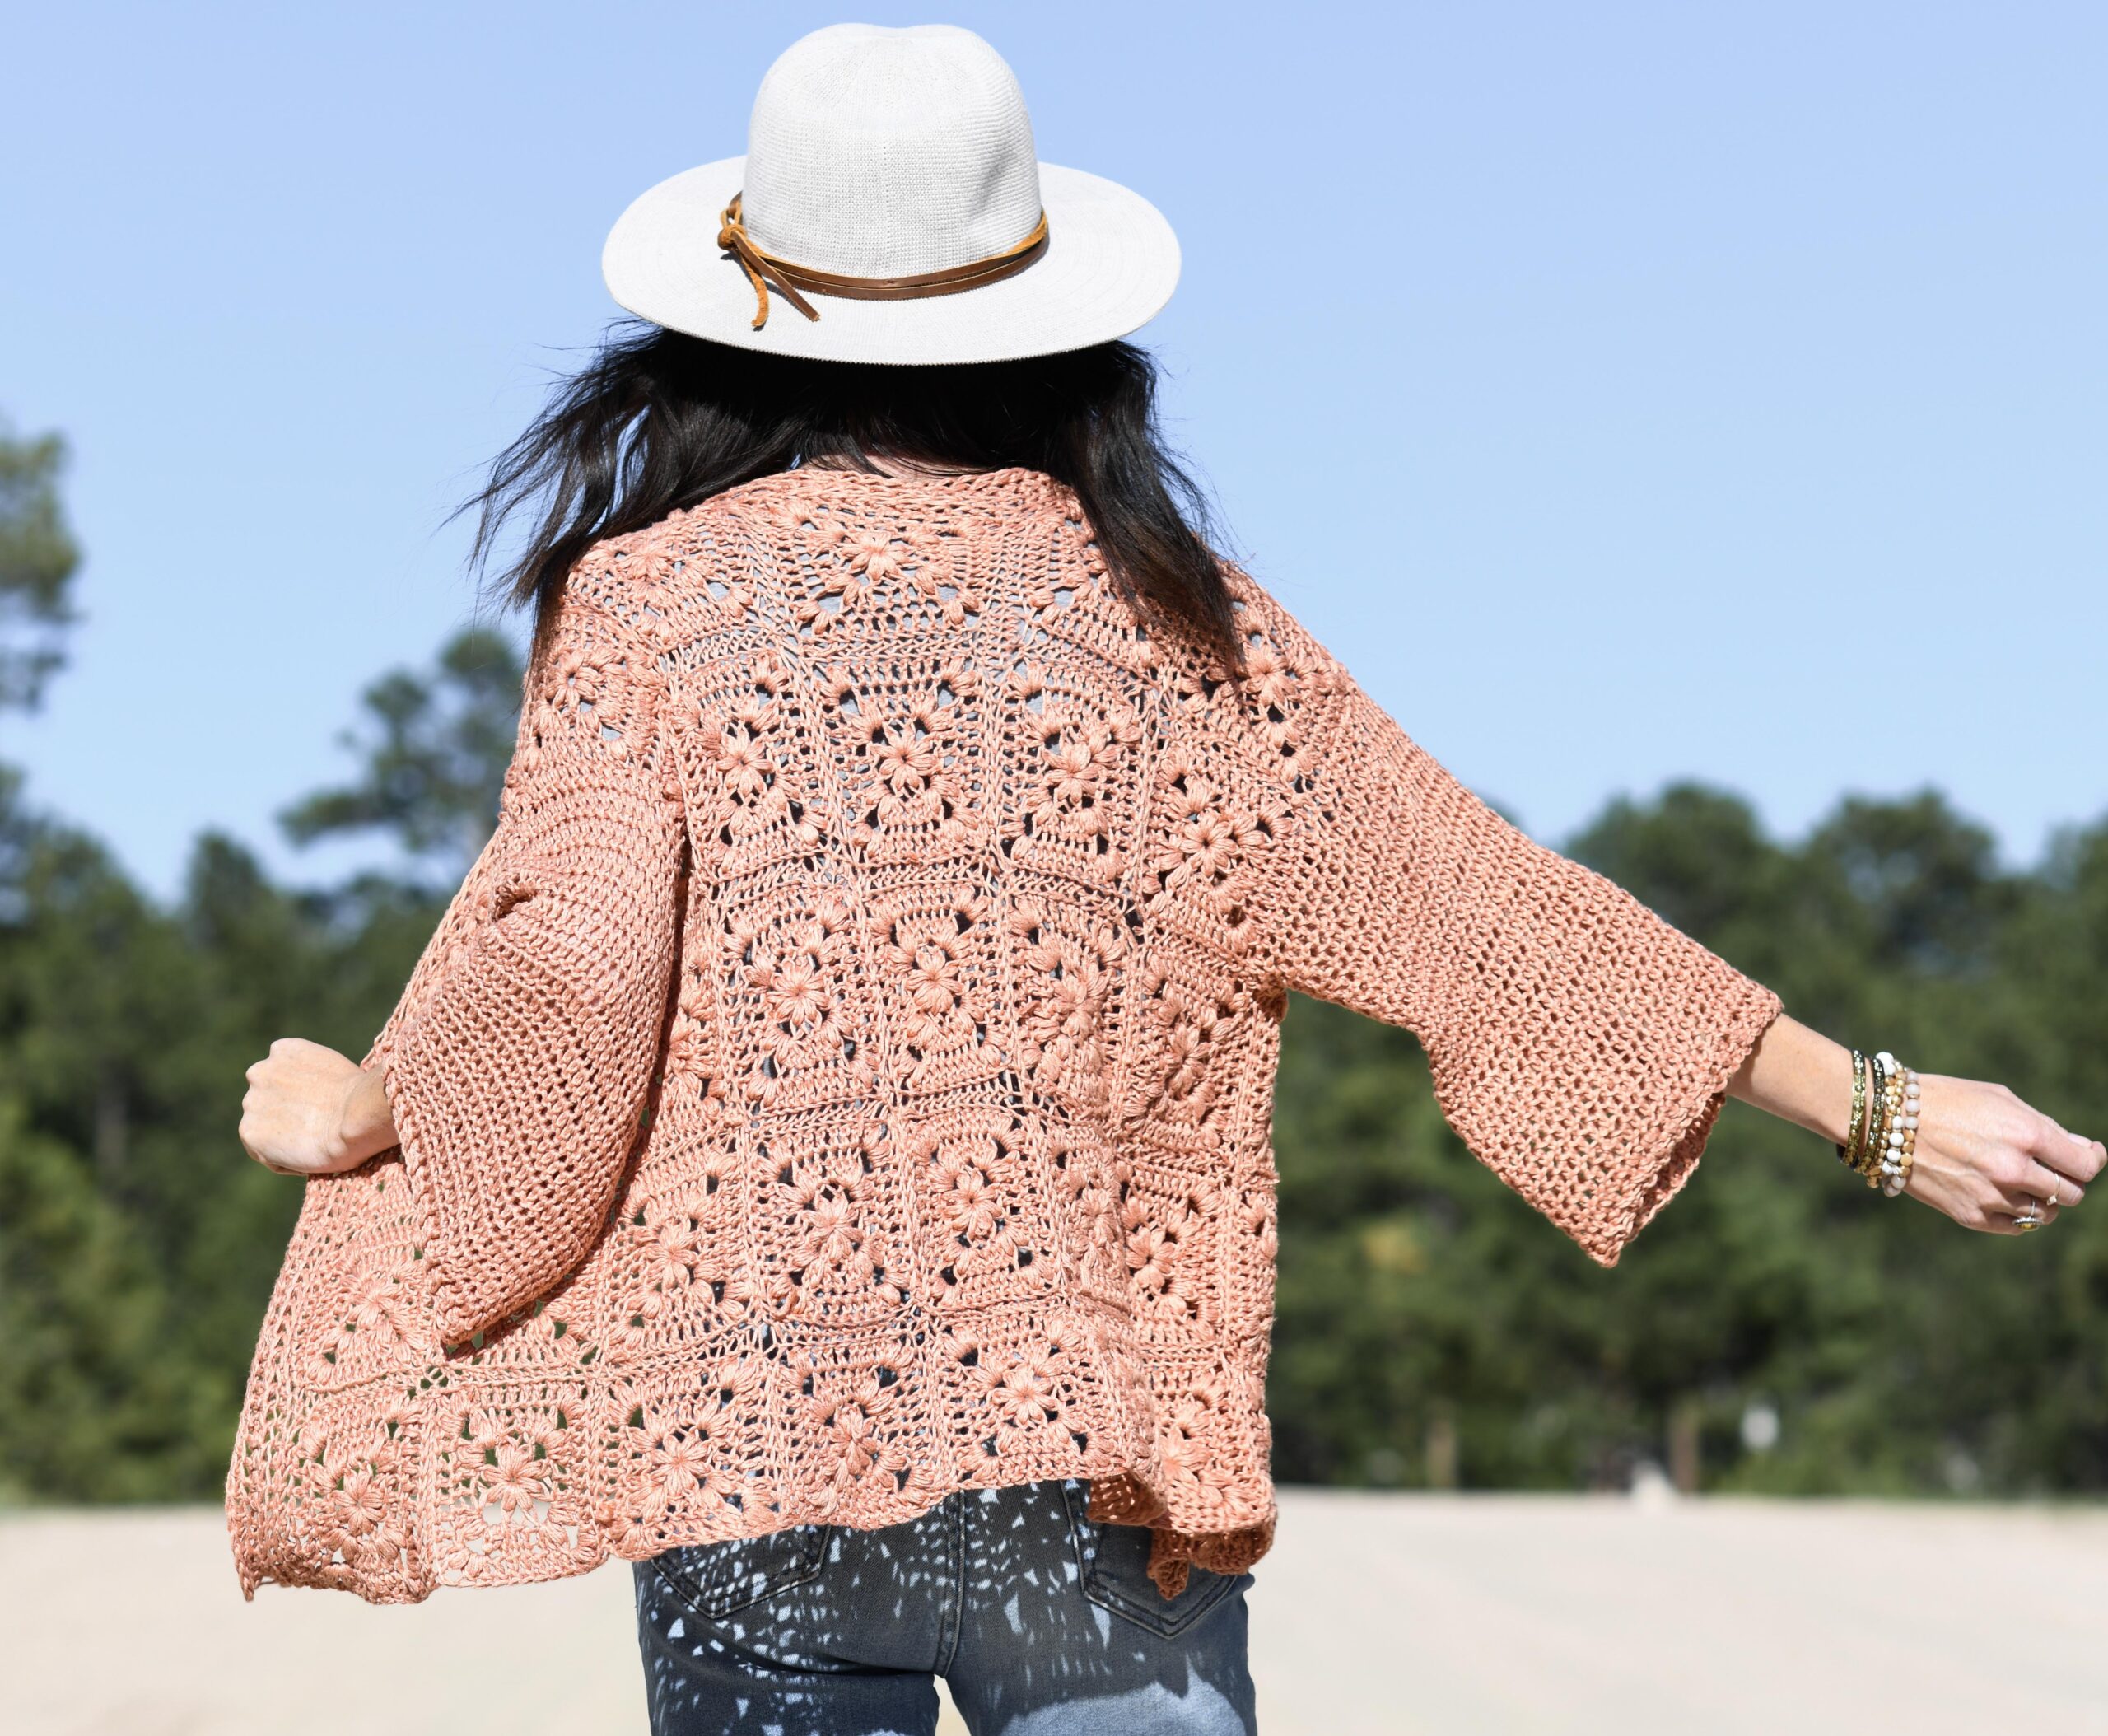
Long Crocheted Cardigan – Autumn Duster
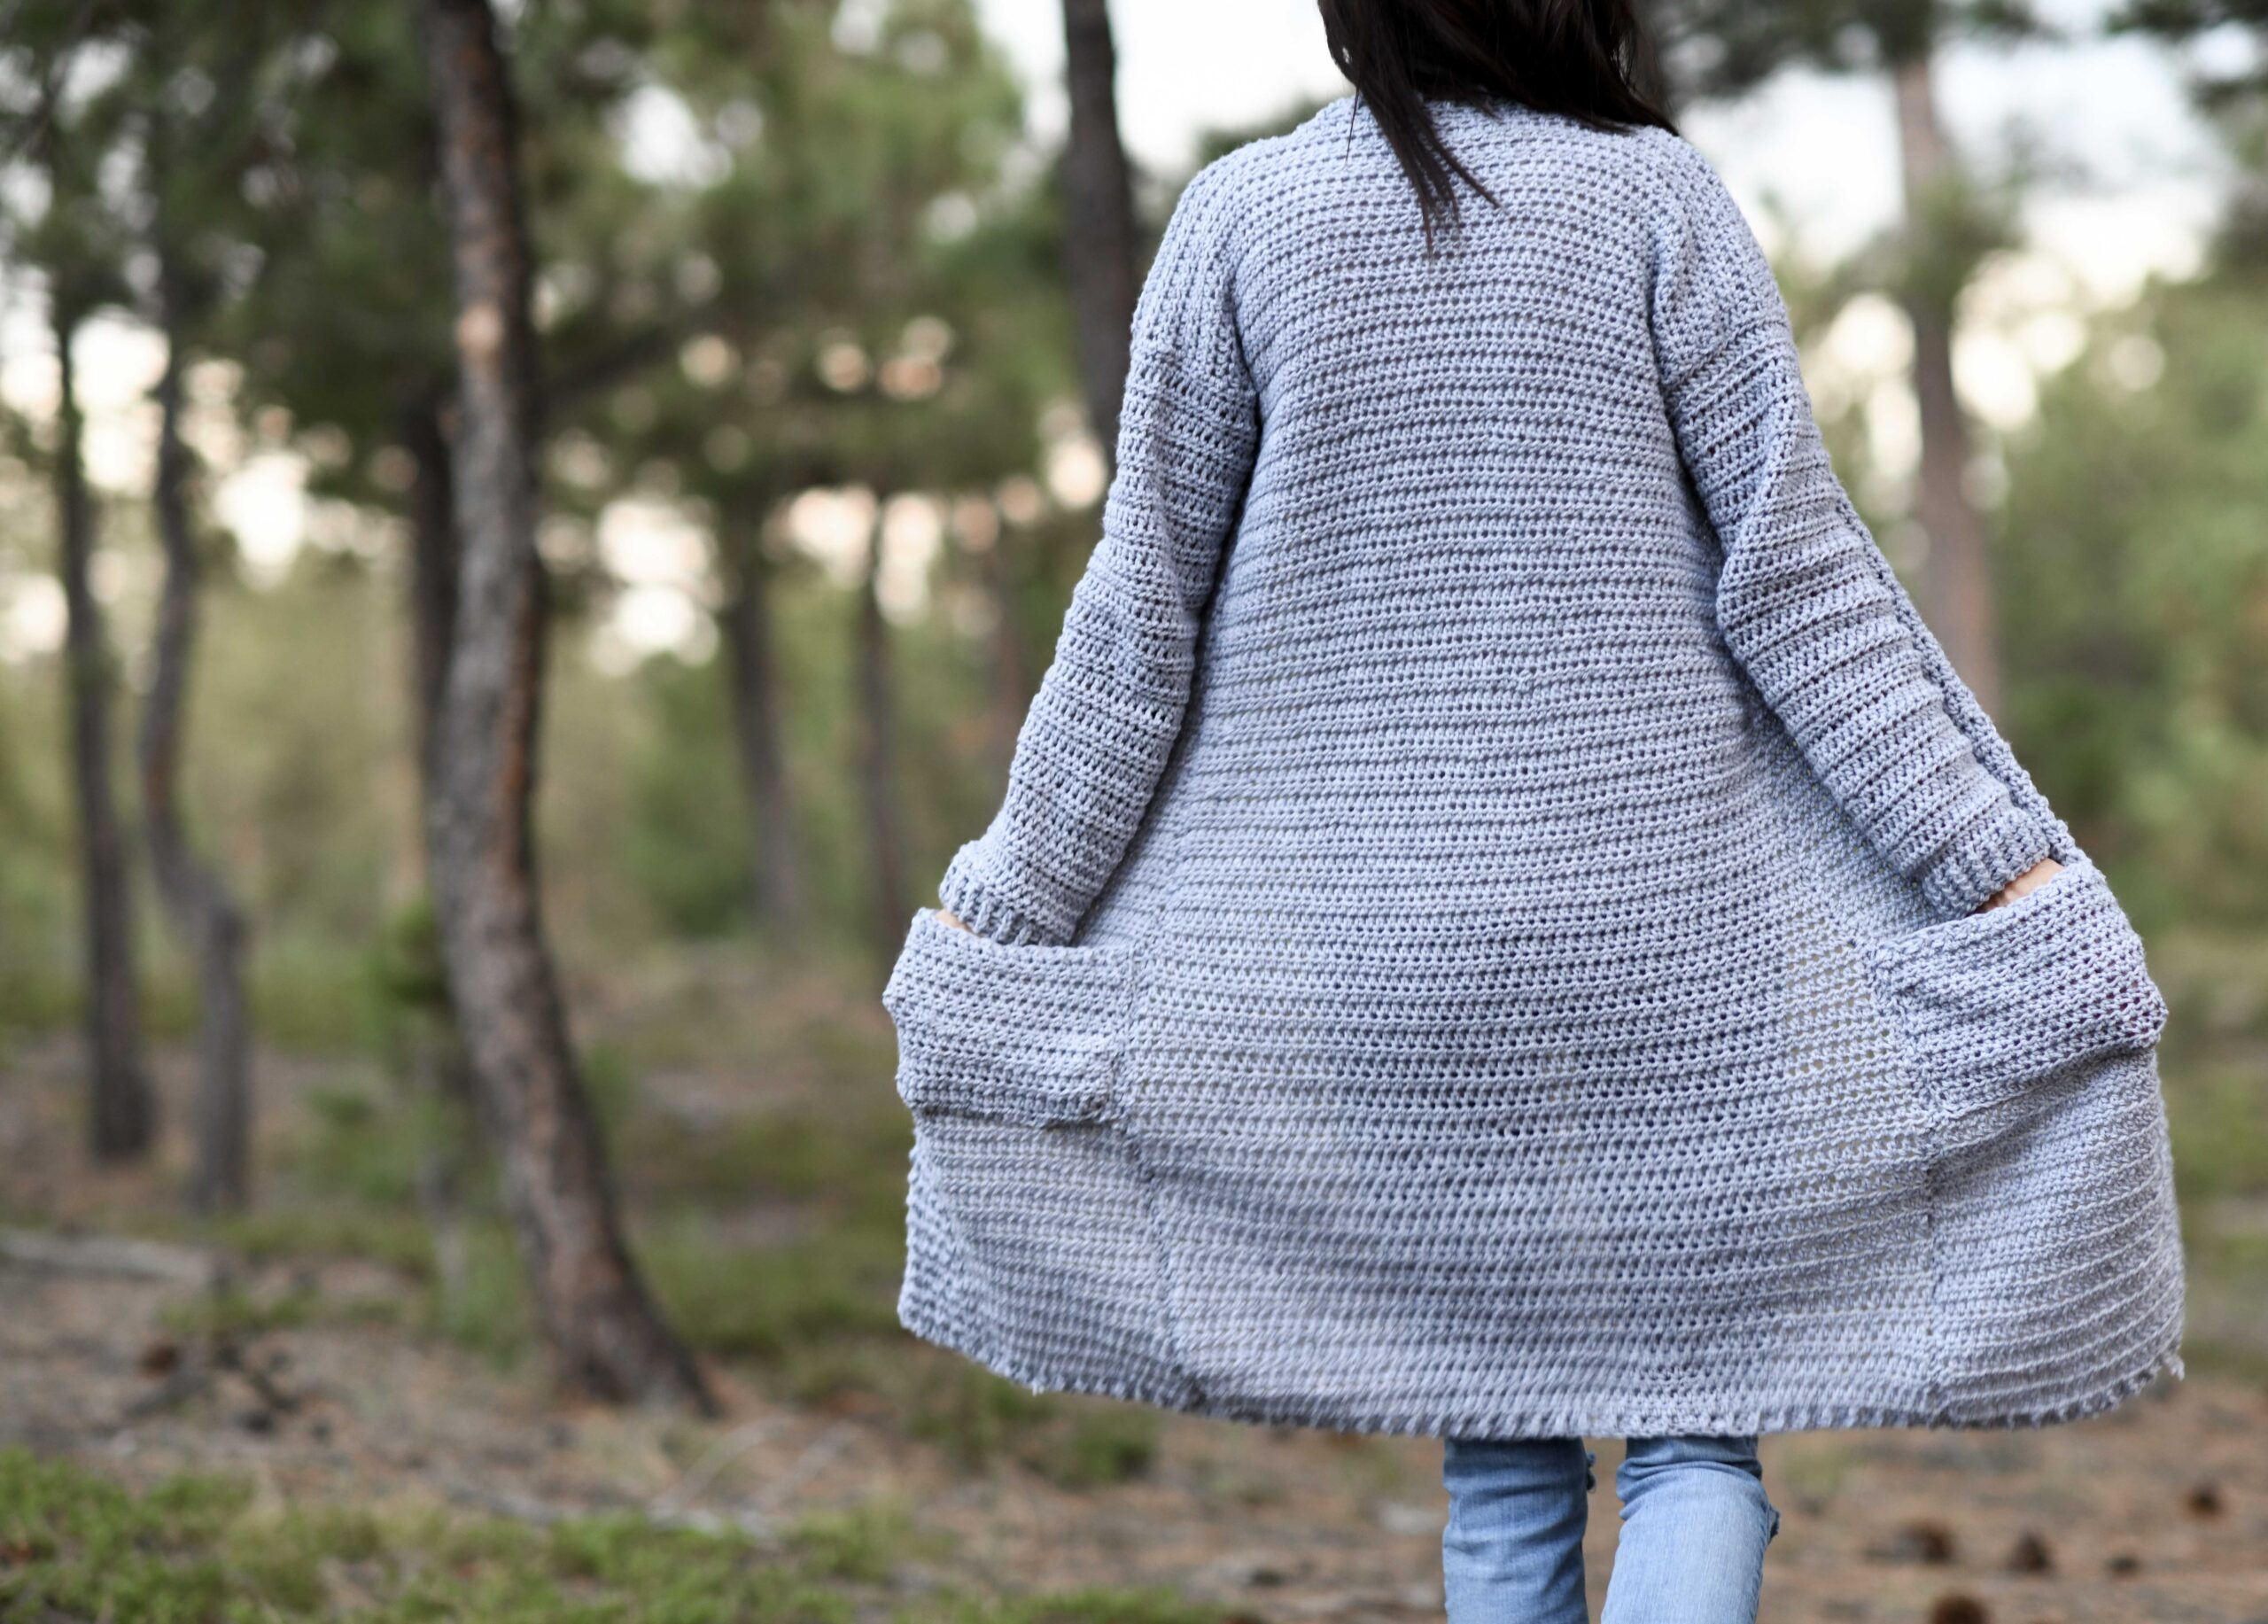
Who wants a long, cozy crocheted cardigan with pockets that you can wear all season long? Me, me, me!
Many of you enjoyed the Verano Longline Cardigan, so I thought it might be nice to design a long, fall cardigan as well. This Autumn Duster is cozy as can be and can be made up to the size 3XL. It’s easier than the Verano Cardigan as the stitches are pretty basic so there is less counting and thinking 😉 .
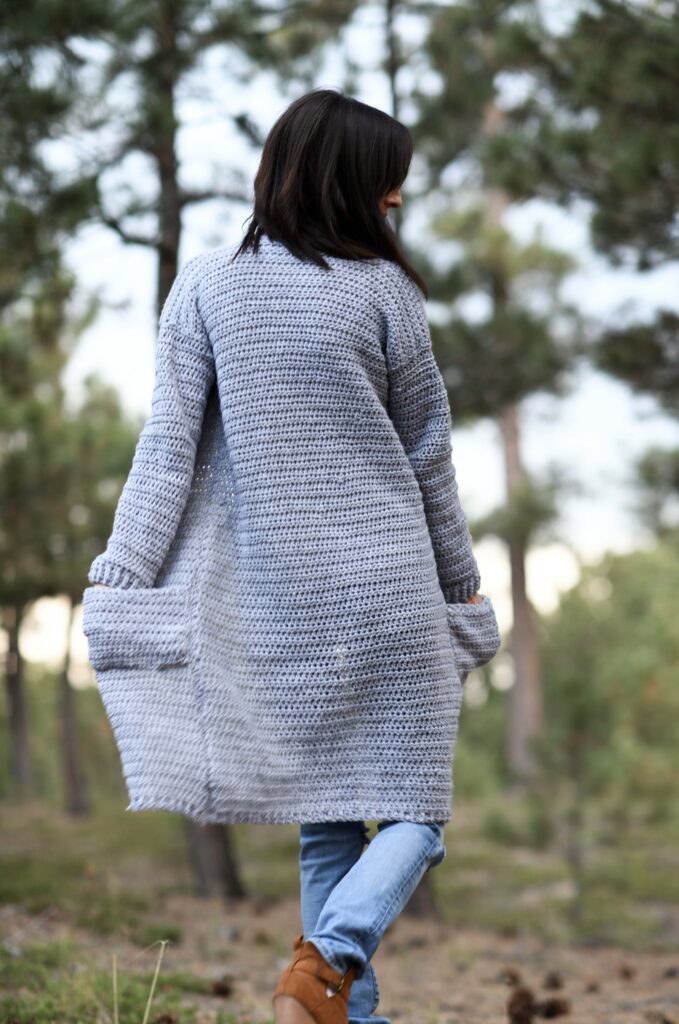
I hoped for it to have a classic, cozy, everyday look, and I’m really pleased with how it came out! It’s suuuper comfy to wear with it’s long fit and generous pockets. You can see the full, free pattern below or you may choose to purchase the ad-free, printable from Etsy HERE. 🙂
If you follow me, you know I keep construction as easy as possible. This duster is no different as it’s made with simple shapes and just light shaping on the sleeves.
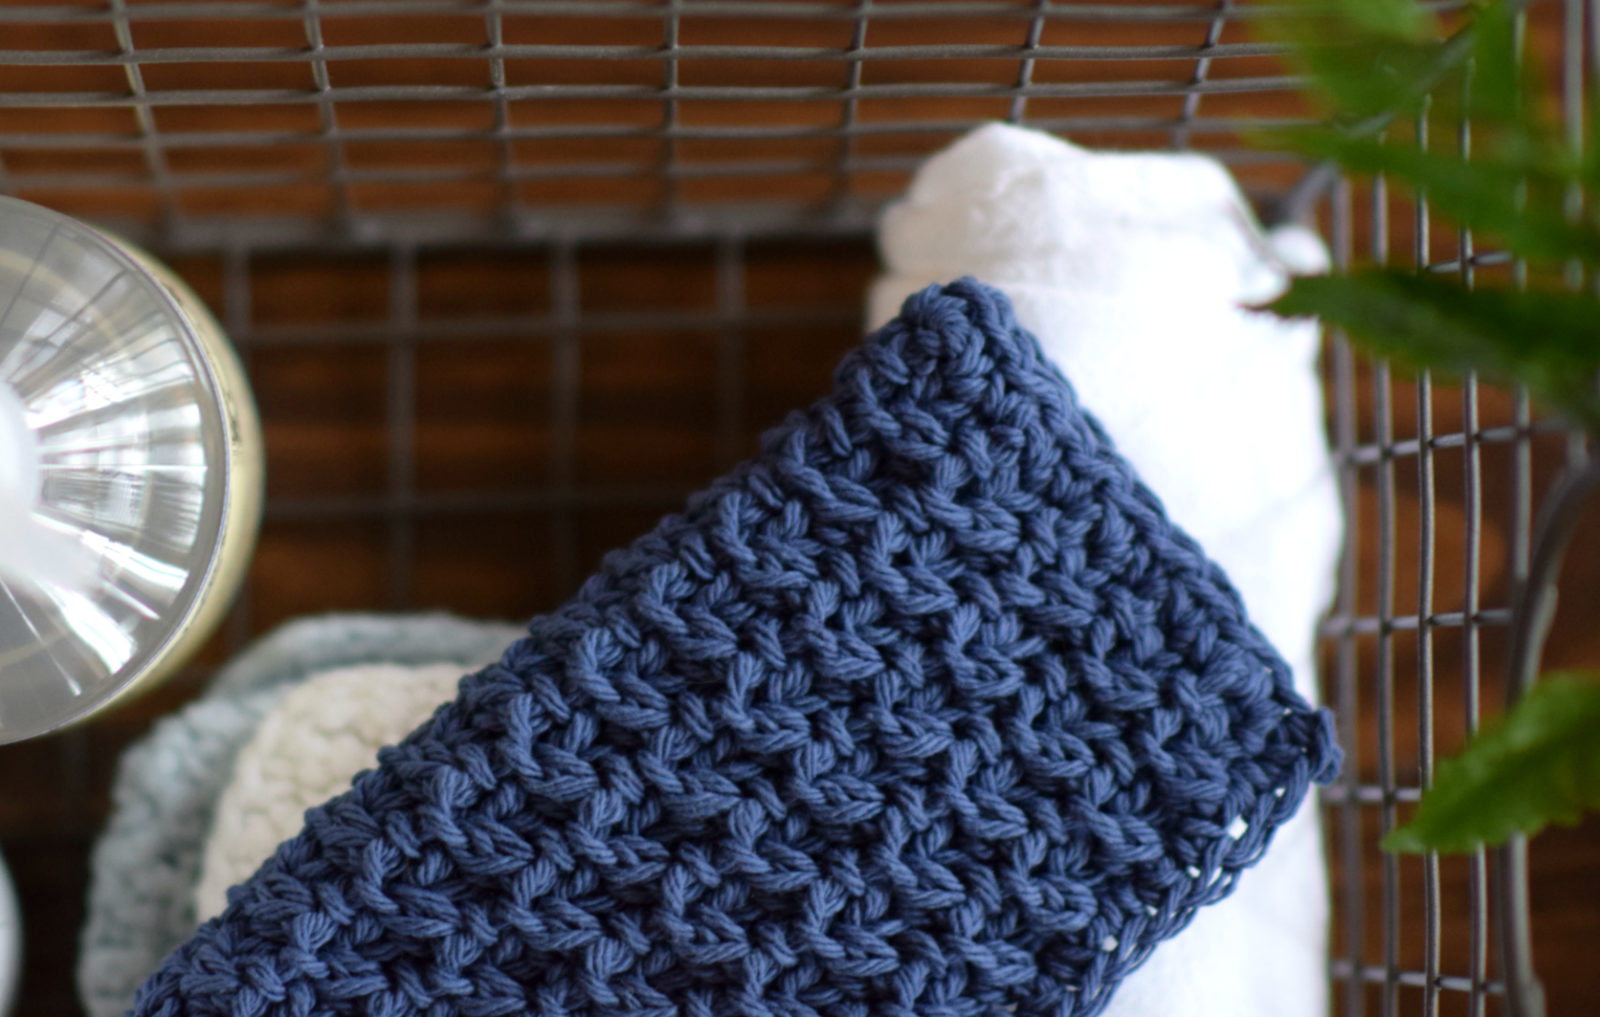
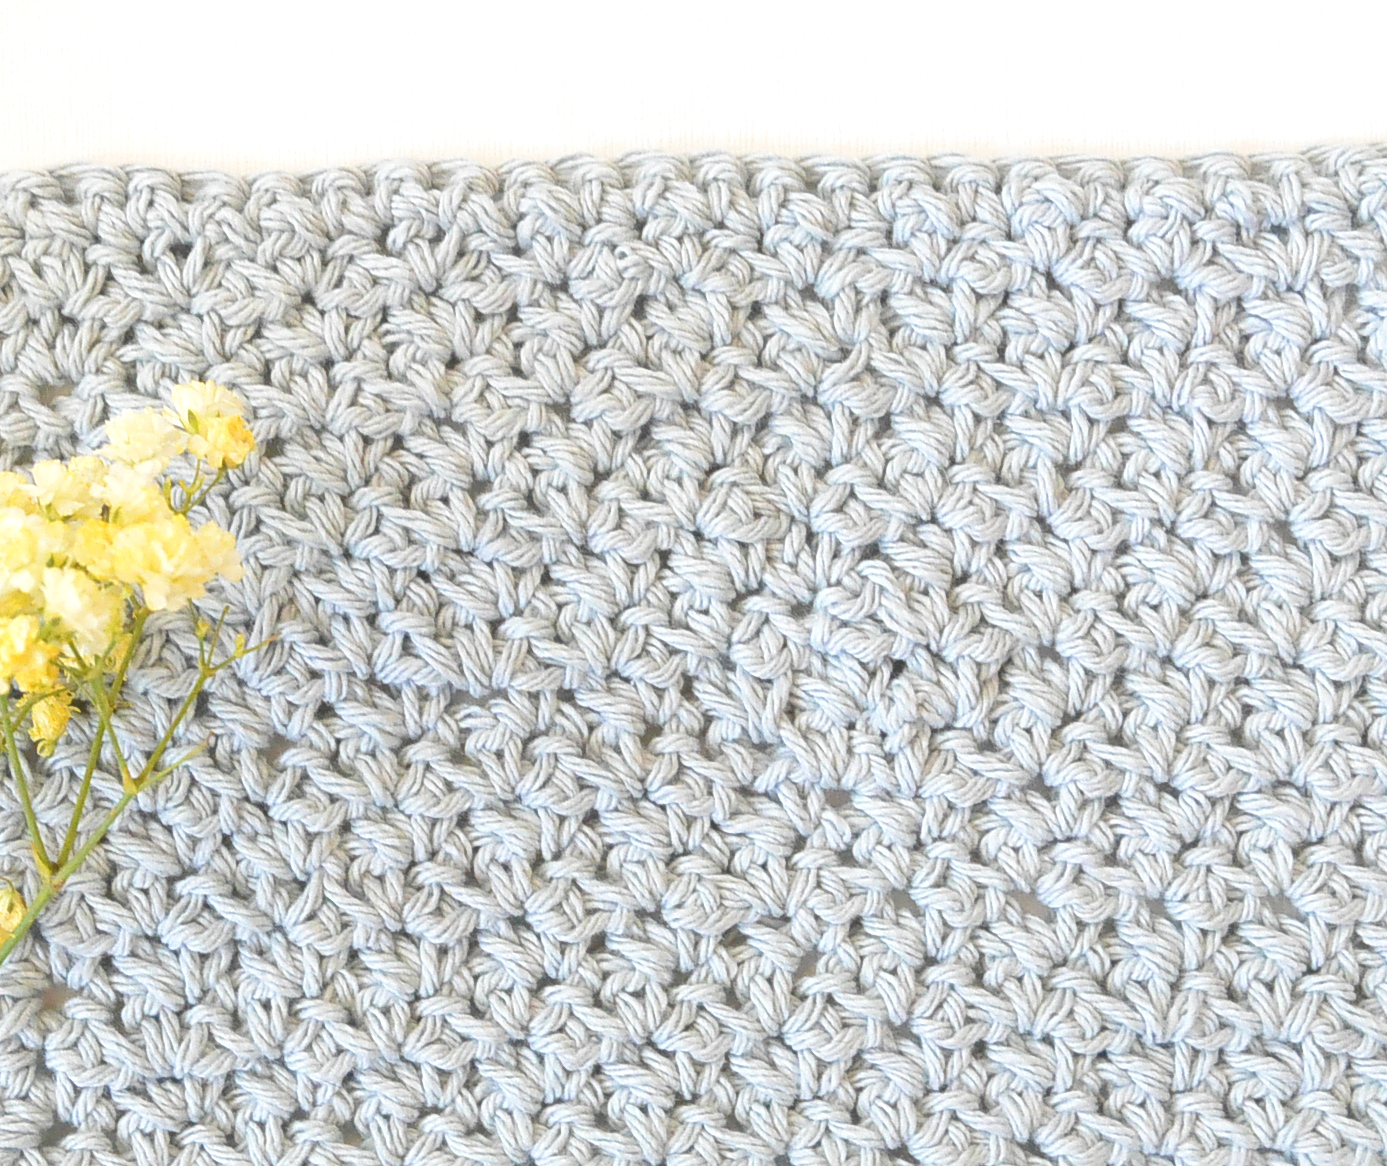
Who else is a fan of half double crochet? It might just be one of my favorite basic stitches. It makes for a fabric that’s got just enough drape and comfort, while also not being overly “holey” or tight. Don’t you think? 😉 You’ll do a lot of half double crochet with this one – fair warning! Hehe! So easy and fun.
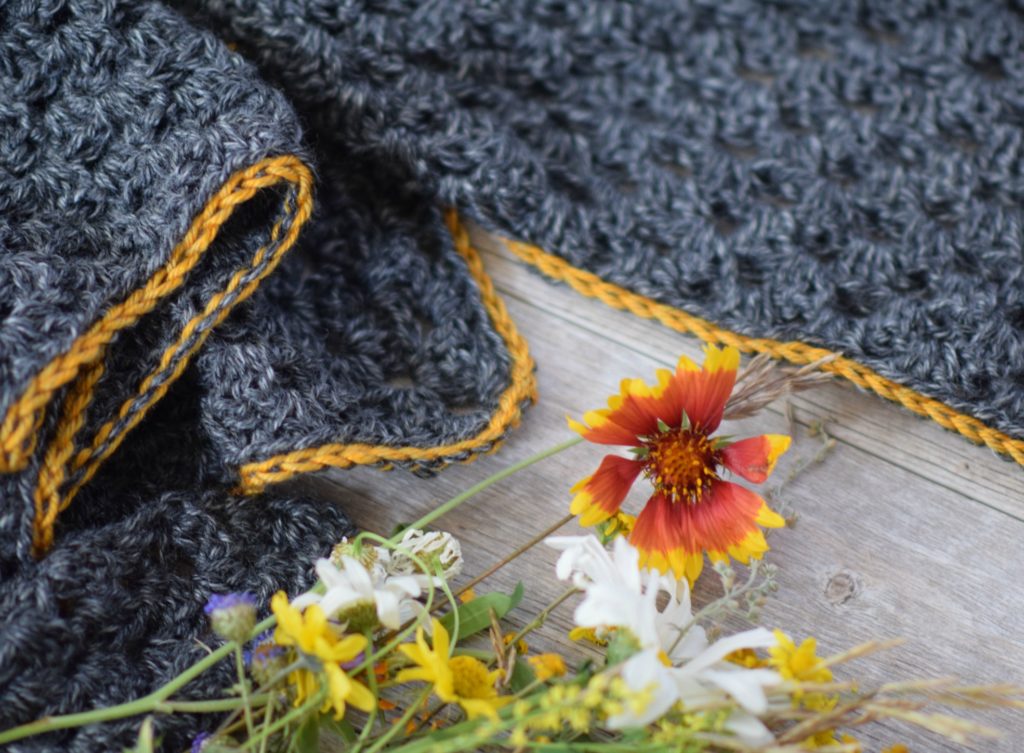
You can use absolutely any worsted weight yarn for this cardigan. I used an acrylic that’s since been discontinued. But there are endless substitute yarns like this, so grab your fave and go!

As for the cardigan, you will crochet three basic rectangular panels to start. Once you seam them together, you’ll crochet the sleeves directly onto the sweater. Then you simply add the cozy collar and pockets. It’s easy to make this even longer or shorter by crocheting for more or fewer rows. Have fun with it, and make it your own!
Let’s hop to the pattern!
Remember that the free pattern is available to view below, or you may purchase the ad-free printable from Etsy HERE. 🙂
Description:
This long, beautiful duster cardigan will be your fall and winter wardrobe staple! Featuring a lengthy fit and cozy pockets, this sweater will keep you warm and comfy all season long. Made with a soft worsted weight yarn, it’s easy to fold, pack and haul where ever you may go (or just curl up in it at home). All you need is basic crochet skills to get started!
Skill Level:
Easy +
Materials:
US Size J, 6.0 mm Crochet Hook
(6,6,7,7,8,8) skeins of any worsted weight #4 yarn ( I used Lion Brand Yarn Basic which was discontinued (100 g/skein)
Pattern uses approximately (550 g, 596 g, 642g, 688g, 734g, 780g)
Measuring Tape
Tapestry Needle
Scissors
Stitch Markers
Dimensions (approximate):
Small, Medium, Large, XL, XXL, 3XL
Please follow the key throughout the pattern according to the
size you are crocheting:
(S, M, L, XL, XXL, 3XL)
Bust Circumference:
S – 36”
M – 40”
L – 44”
XL – 48”
XXL- 52”
3XL – 56”
Length:
S – 34.5”
M – 36.5”
L – 38.5”
XL – 40.5”
XXL – 42.5”
3XL – 44.5”
Sleeves Measurements:
Length: All sizes approximately 17”
Approximate width at widest point at upper portion of sleeve: (6.5”, 7”, 7.5”, 8.5”, 9”, 9.5”)
Approximate width at sleeve cuff: (4”, 5”, 6”, 6.5”, 7”, 7”)
Abbreviations & Skills:
ch – chain
hdc – half double crochet
hdc2tog – half double crochet two together (decrease)
sl st – slip stitch
st – stitch
sts – stitches
FPhdc – front post half double crochet (insert your hook from front to back around post)
BPhdc – back post half double crochet (insert your hook from back to front around post)
Gauge:
Approximately 13 stitches and 7.5 rows in 4” x 4” of hdc (Adjust hook size if needed to obtain correct gauge)
Notes:
This cardigan is crocheted by making one rectangular back panel and two rectangular front panels which are seamed together at the shoulders and sides. Sleeves are worked in turned rounds and are crocheted onto the sweater at the arm openings. The cuffs and collar are crocheted with post stitches and optional pockets are added at the end.
Autumn Duster Crochet – FREE Pattern Instructions
Back Panel of Cardigan
Ch (60, 66, 72, 78, 84, 90)
Row 1 Hdc in 3rd st from hook and in each st across the row (58, 64, 70, 76, 82, 88 sts)
Row 2 Ch 2 (doesn’t count as a st here or throughout pattern), turn, hdc in each st across the row (58, 64, 70, 76, 82, 88 sts)
Repeat row 2 until piece is approximately (34”, 36”, 38”, 40”, 42”, 44”) long.
Tie off and weave in ends.
Front Panels (make 2)
Ch (24, 27, 30, 33, 36, 39)
Row 1 Hdc in 3rd st from hook and in each st across the row (22, 25, 28, 31, 34, 37 sts)
Row 2 Ch 2, turn, hdc in each st across the row (22, 25, 28, 31, 34, 37 sts)
Repeat row 2 until piece is approximately (34”, 36”, 38”, 40”, 42”, 44”) long.
Tie off and weave in ends.
Assembly & Sleeves
Place two front panels directly on top of back panel, leaving space in the middle and outer edges aligned.
Shoulders
Using your preferred seaming method, sew the shoulders along the top on each side.
Seam Sides and Create Arm Openings
Using your preferred seaming method, sew up each side from the bottom-up. Leave arm openings that are approximately (6.5”, 7”, 7.5”, 8.5”, 9”, 9.5” ) wide.
(Wait to tie off the seam to the arm opening in case adjustments need to be made to make it a bit wider or smaller when starting the sleeves in the next section)
Sleeves
Sleeves are crocheted in turned rounds. You will sl st to join and then turn as if to work a row.
Mark the first st of each round to ensure stitch count is correct.
Attach yarn to bottom of arm opening.
Round 1 Ch 1 (doesn’t count as st), hdc evenly around, sl st to join at end of row. Mark first st of round (41, 43, 47, 52, 55, 58 stitches around )
Round 2 Ch 2, turn, hdc in each st around, sl st to join.
Round 3 Ch2, turn, hdc2tog, hdc in each st around, sl st to join.
Round 4 Ch2, turn, hdc in each st around, sl st to join.
Round 5 Ch2, turn, hdc in each st around, sl st to join.
Repeat rows 3 – 5 until sleeve is approximately 16” long, or as long as you’d like (keep yarn needs in mind). The stitch count will decrease by one stitch every third row.
Once the sleeve has reached 16”, finish the last stitch of row by skipping a stitch and slip stitching into the next stitch. Next, begin the Sleeve Cuff part of the pattern.
Repeat this pattern for the second sleeve
Sleeve Cuffs
Round 1 Ch 2, *work FPhdc in next st, BPhdc in next st, rep from * around, sl st to join.
Round 2 Ch 2, *work FPhdc in each FPhdc and BPhdc in each BPhdc around, sl st to join.
Repeat round 2 until desired length.
Tie off and weave in ends. (To make the ribbing work out perfectly, work an even number of stiches around if possible)
Bottom Cuff
Attach yarn to the bottom inner corner on the front of the cardigan.
Row 1 Ch 2, *work FPhdc in next st, BPhdc in next st, rep from * across.
Tie off and weave in ends.
To make sleeves or sweater cuffs longer, you may add more length by crocheting for more rounds or rows. Keep yarn needs in mind.
Collar
You’ll now create a ribbed collar by working FPhdc and BPhdc stitches!
Attach yarn to bottom inner corner on the front of the cardigan. Working evenly along the collar, ch 2, work hdc stitches across (Row 1). Work up and around neckline to opposite side.
Row 2 Ch 2, turn, *work FPhdc in next st, BPhdc in next st, rep from * across.
Row 3 Ch 2, turn, work FPhdc in each FPhdc and work BPhdc in each BPhdc.
Repeat this pattern, until the collar is approximately 3” wide
Pockets (make 2)
All sizes
(adjust pocket sizes to desired length and width by adjusting the length of the beginning chain and crochet for more or fewer rows)
Ch 22
Row 1 Hdc in 3rd ch from hook and in each st across the row
Row 2 Ch2, turn, hdc in each st across the row
Repeat row 2 until pocket measures approximately 5” tall.
Next, alternate FPhdc and BPhdc across the top for one row. Tie off and weave in ends.
Sew pockets to the lower front panels of the cardigan, leaving openings in the top. Tie off and weave in ends.
Block as desired to shape and size.
That’s all there is to it! Enjoy!

And that’s it my friends. 🙂 A long, fun cardigan to wear this fall and winter. I hope you have fun with it, and I’d love to see if you make one! (Tag me @mamainastitch #mamainastitch)
Enjoy!
XO,
Jessica
If you liked this, you might also like:

I have been looking, for duster or cardigan pattern, that was simple enough, for my brain to stay focused and that I would wear and this pattern is calling my name and saying, “make me, Cassandra, make me” and so, I shall!
I made the bomber cardigan and am now about a quarter of the way through this pattern I love it so far but I was wondering if you ever used cobblestone yarn