Crochet Giraffe Hat
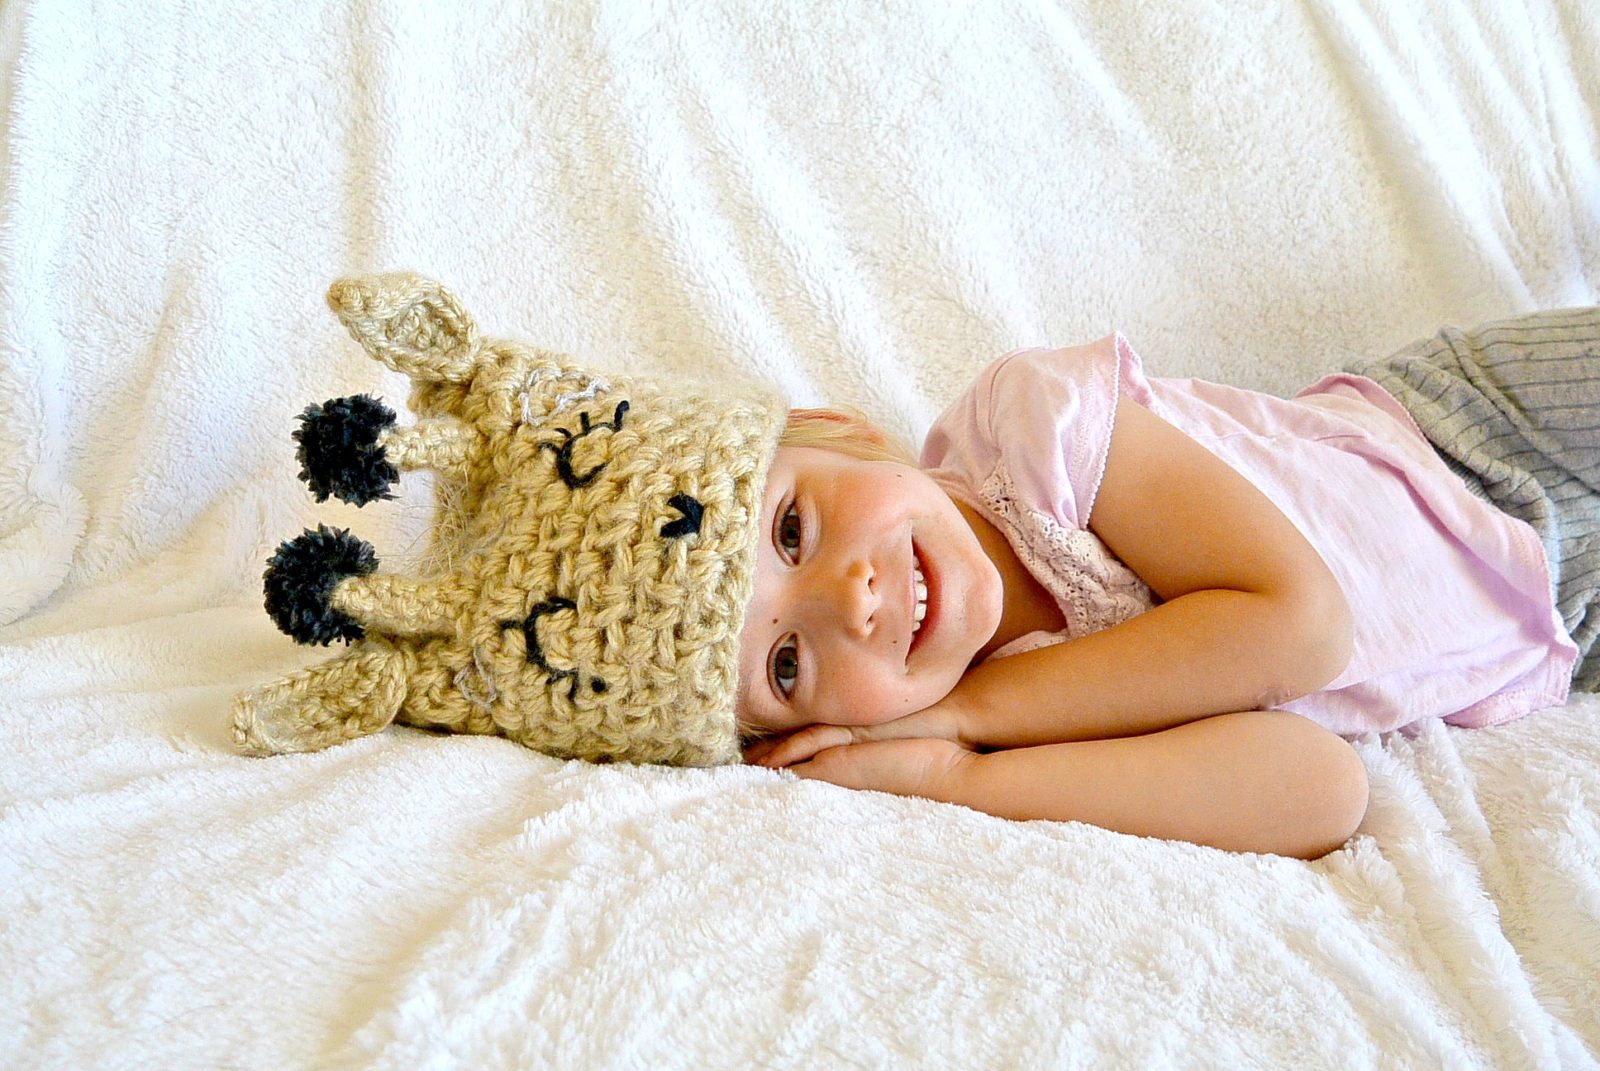
Easy Crochet Giraffe Hat
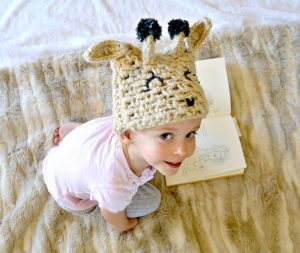
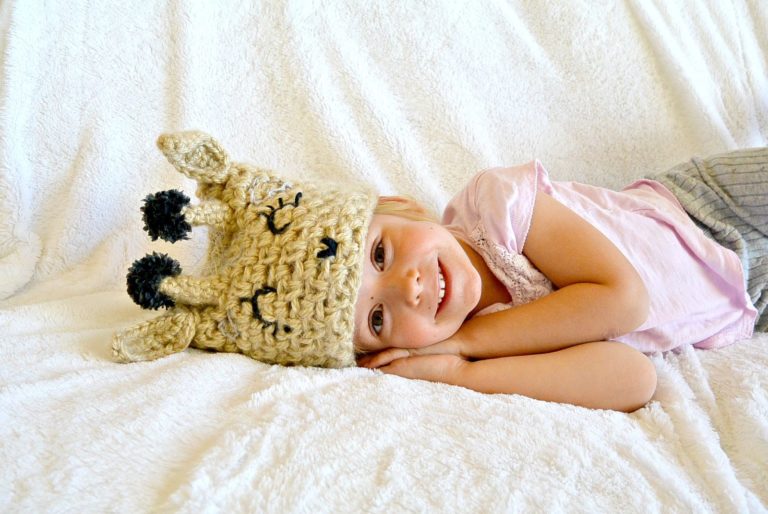
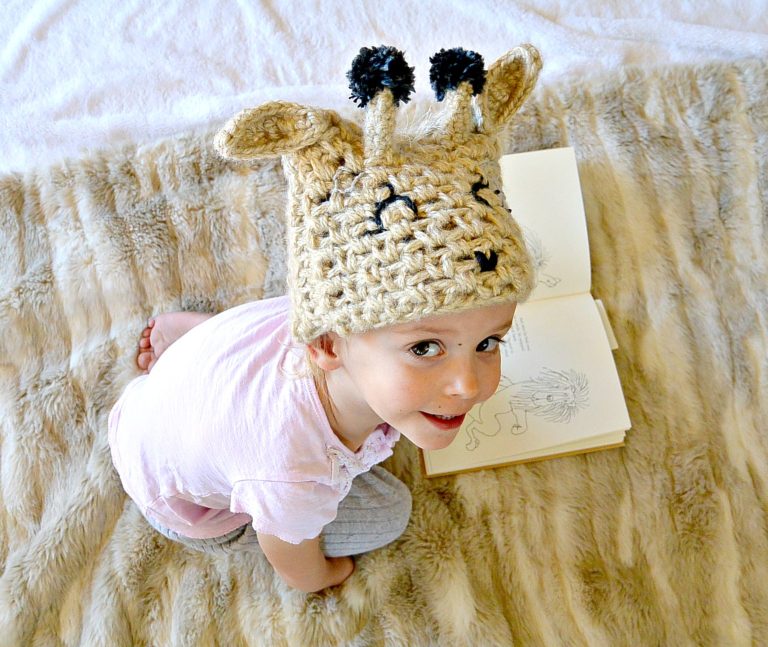
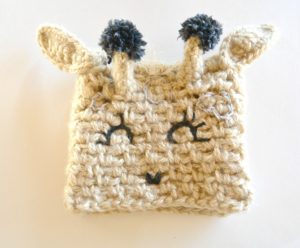
My daughter and I had a chance to go to the zoo about a week ago. She LOVES the giraffes, probably because we get to feed them. I could do without the time I got slimed when Mr. Giraffe grabbed the lettuce from my hand with the longest tongue I’ve ever seen in my life. But I suppose they are nice creatures – ha ha! No, they really are cool animals. I just knit my baby a bunny hat (see it here) a bit ago, but one can never make too cute animal hats. So this giraffe hat is an ode to her little giraffe obsession.
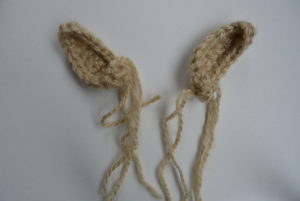
**This is crocheted in the seed stitch. It is an easy stitch, but if you’ve never done it, you may want to search YouTube for some tutorials. It is a series of chains and single crochet. OR, you could do the same hat in all single crochet. Do the same Chain 21, and simply single crochet the rectangle needed for the hat. I haven’t tried it, but I think it would be fine! **This pattern is for a toddler size hat. 18 months to 3 years. You can adjust the size as necessary by chaining more or less on the starting chain, and making the hat longer or shorter. ** You can also customize this in many ways. Change the colors, add a flower or bow to the ear! You will need: Size N Crochet Hook Size H Crochet Hook Size G Crochet Hook Lion Brand Jiffy in Camel, or a bulky yarn – 2 skeins ( I say 2 skeins because you will hold two strands together) Lion Brand Hometown USA in Chicago Charcoal, or yarn of preference (For poms on the horns) Lion Brand Fun Yarn in Ivory (optional – this is just for the fuzzies on the top of the head) Any black worsted weight yarn for eyes Any grey worsted weight yarn for giraffe spots Scissors Tapestry Needle Pattern: With your Size N Hook, holding two strands of Jiffy yarn together, Chain 21 Row 1 *In second chain from hook, Single crochet in first stitch, Chain 1, Skip a chain and Single Crochet in next stitch.* Repeat from * to* across row. There will be an extra stitch at the end of the row. SC in this stitch (so rather than Chain 1, just single crochet the last stitch), Chain 1, Turn Row 2 Repeat this pattern until you have a rectangle that reaches 13 inches long. Tie off and weave in ends. **As you do this pattern, you are single crocheting in the chain stitch below. It is alternating single crochet and chain stitch in each row. **I am not a seasoned pattern writer, so let me know if there is a way to make this pattern more clear Seam the Hat: Fold your rectangle in half to create your square hat. You will seam the two sides. I used a slip stitch to seam up each side, but you could do a whip stitch as well. Now ensure your hat is right side out. Crochet the Ears: With your Size H hook, holding two strands of Jiffy together, Chain 10 Row 1 In second stitch from hook, Slip Stitch 1, Single Crochet, Single Crochet, Double Crochet, Double Crochet, Triple Crochet, Double Crochet, Single Crochet, Single Crochet You will now SC around entire ear Tie off and weave in ends.
Place the ears on the upper, outer corner of the hat. Whip stitch each ear to the hat. Crochet the Horns: With your Size G crochet hook, Chain 6, and join with a slip stitch. Round 1 Single Crochet in each stitch around. ( I only was able to get my hook into the back loop, so I did that for the entire horn) No need to mark your rounds. Continue single crocheting around in a spiral until your horn reaches 2 inches long. Tie off, weave in ends.
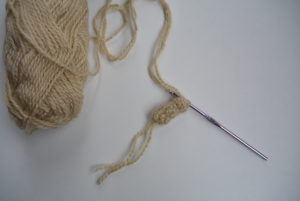
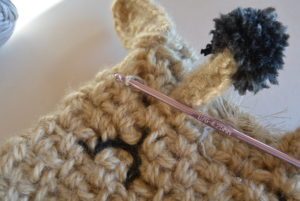
Attach your horns to the hat. Whip stitch around entire horn to attach it to the hat. It may look like you aren’t putting them right on top, but they should be placed about 3 stitches down from the top of the hat. This way they will be placed correctly once the hat is being worn. Make Poms for the Horns Using your choice of yarn, or I used the Lion Brand Hometown USA in Chicago Charcoal, make two pom-poms. If you don’t know how to make a pom-pom, see my easy tutorial here. Tie each pom to the top of each horn. Facial Features I used slip stitch embroidery to make the facial features. You will draw up the yarn from under the hat with your crochet hook, and slip stitch across the crocheted fabric to create lines. There are great tutorials on YouTube on how to do this if you’re not sure. The BOTTOM of the eyes are placed 7 rows up from the bottom. The nose is placed in the center on the third row up from the bottom. Make the eyelashes and nose with your tapestry needle, just making straight stitches. For the nose, I went around a few times with the black yarn. Eyelashes are just one stitch each. With your grey yarn, make random spots with different shapes and dimensions around the face. Make some on the back of the hat as well.
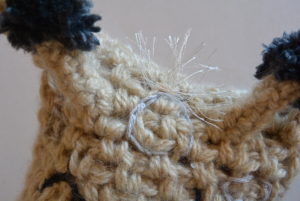
You can add a bit of fun fur on the top of the hat (I wrapped the fur around one stitch several times, tied off, and fluffed)
There is your giraffe hat! As always, let me know if you have any questions or if I can improve my instructions.
If you liked this feel free to subscribe, or check back often for new ideas and patterns! You can also follow my new patterns on Facebook or Instagram!

What a great refreshing happy Web site.
Thanks Gwyn! I love to hear that!
This was just in my FB newsfeed from Lion Brand, funny stuff because your rabbit hat is already open in another tab on my browser! Definitely cute hats!
Awww, thanks! I’m glad you like them….that is too funny! Now which one will you make? Ha ha!;)
I just love giraffes, this will have to be made for my niece. She is 9 months old, so I have some time before she gets to wear this size hat. I cant wait to get started.
How sweet of you to make this for your niece. They grow so fast, she will be in this hat in no time! Hope you enjoy it.
Hi
I love your site. I need help how do you convert your patterns from knit to crochet. I love a lot of your knit patterns but I don’t know how to knit. Any help would be great