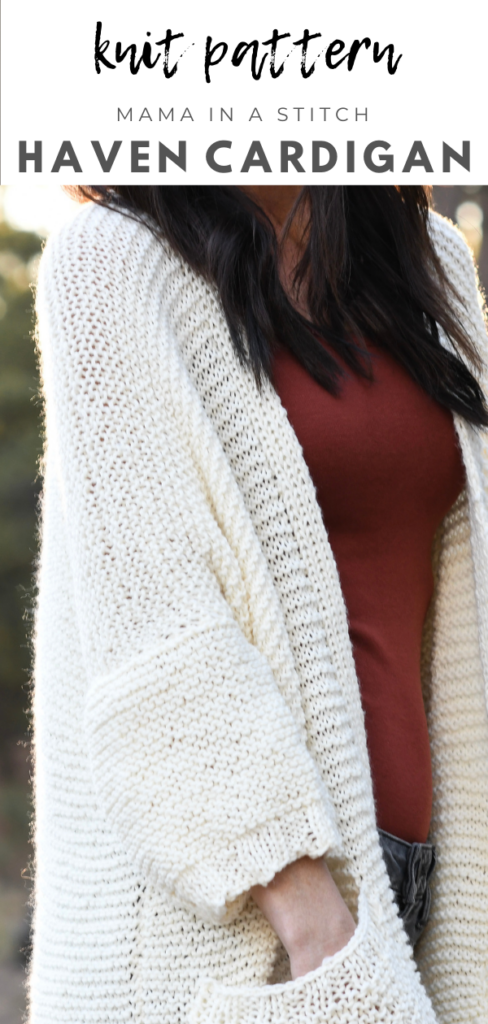
Haven Pocket Shawl Cardigan Knit Pattern
You can see the free pattern below, or you may choose to purchase the ad-free printable from Etsy HERE, or the kit from Lion Brand Yarn HERE, Mamas Maker Members grab your download HERE.
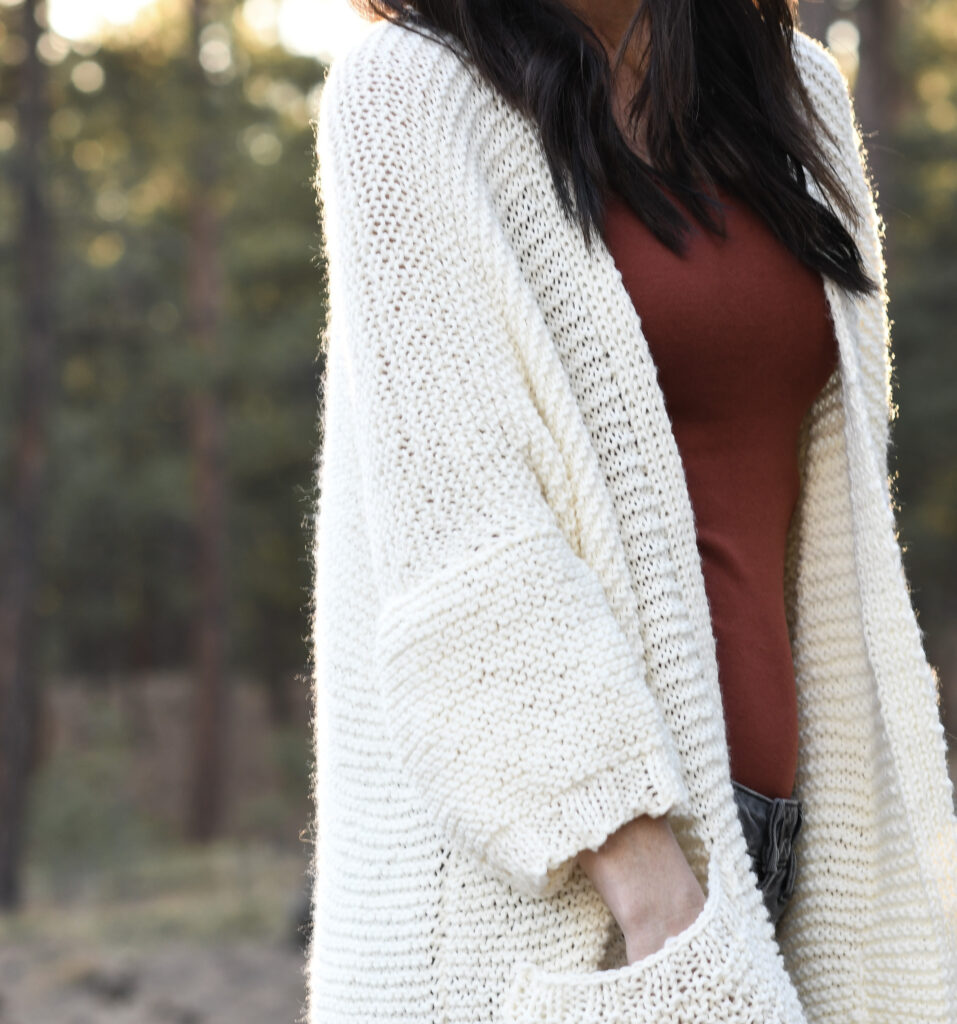
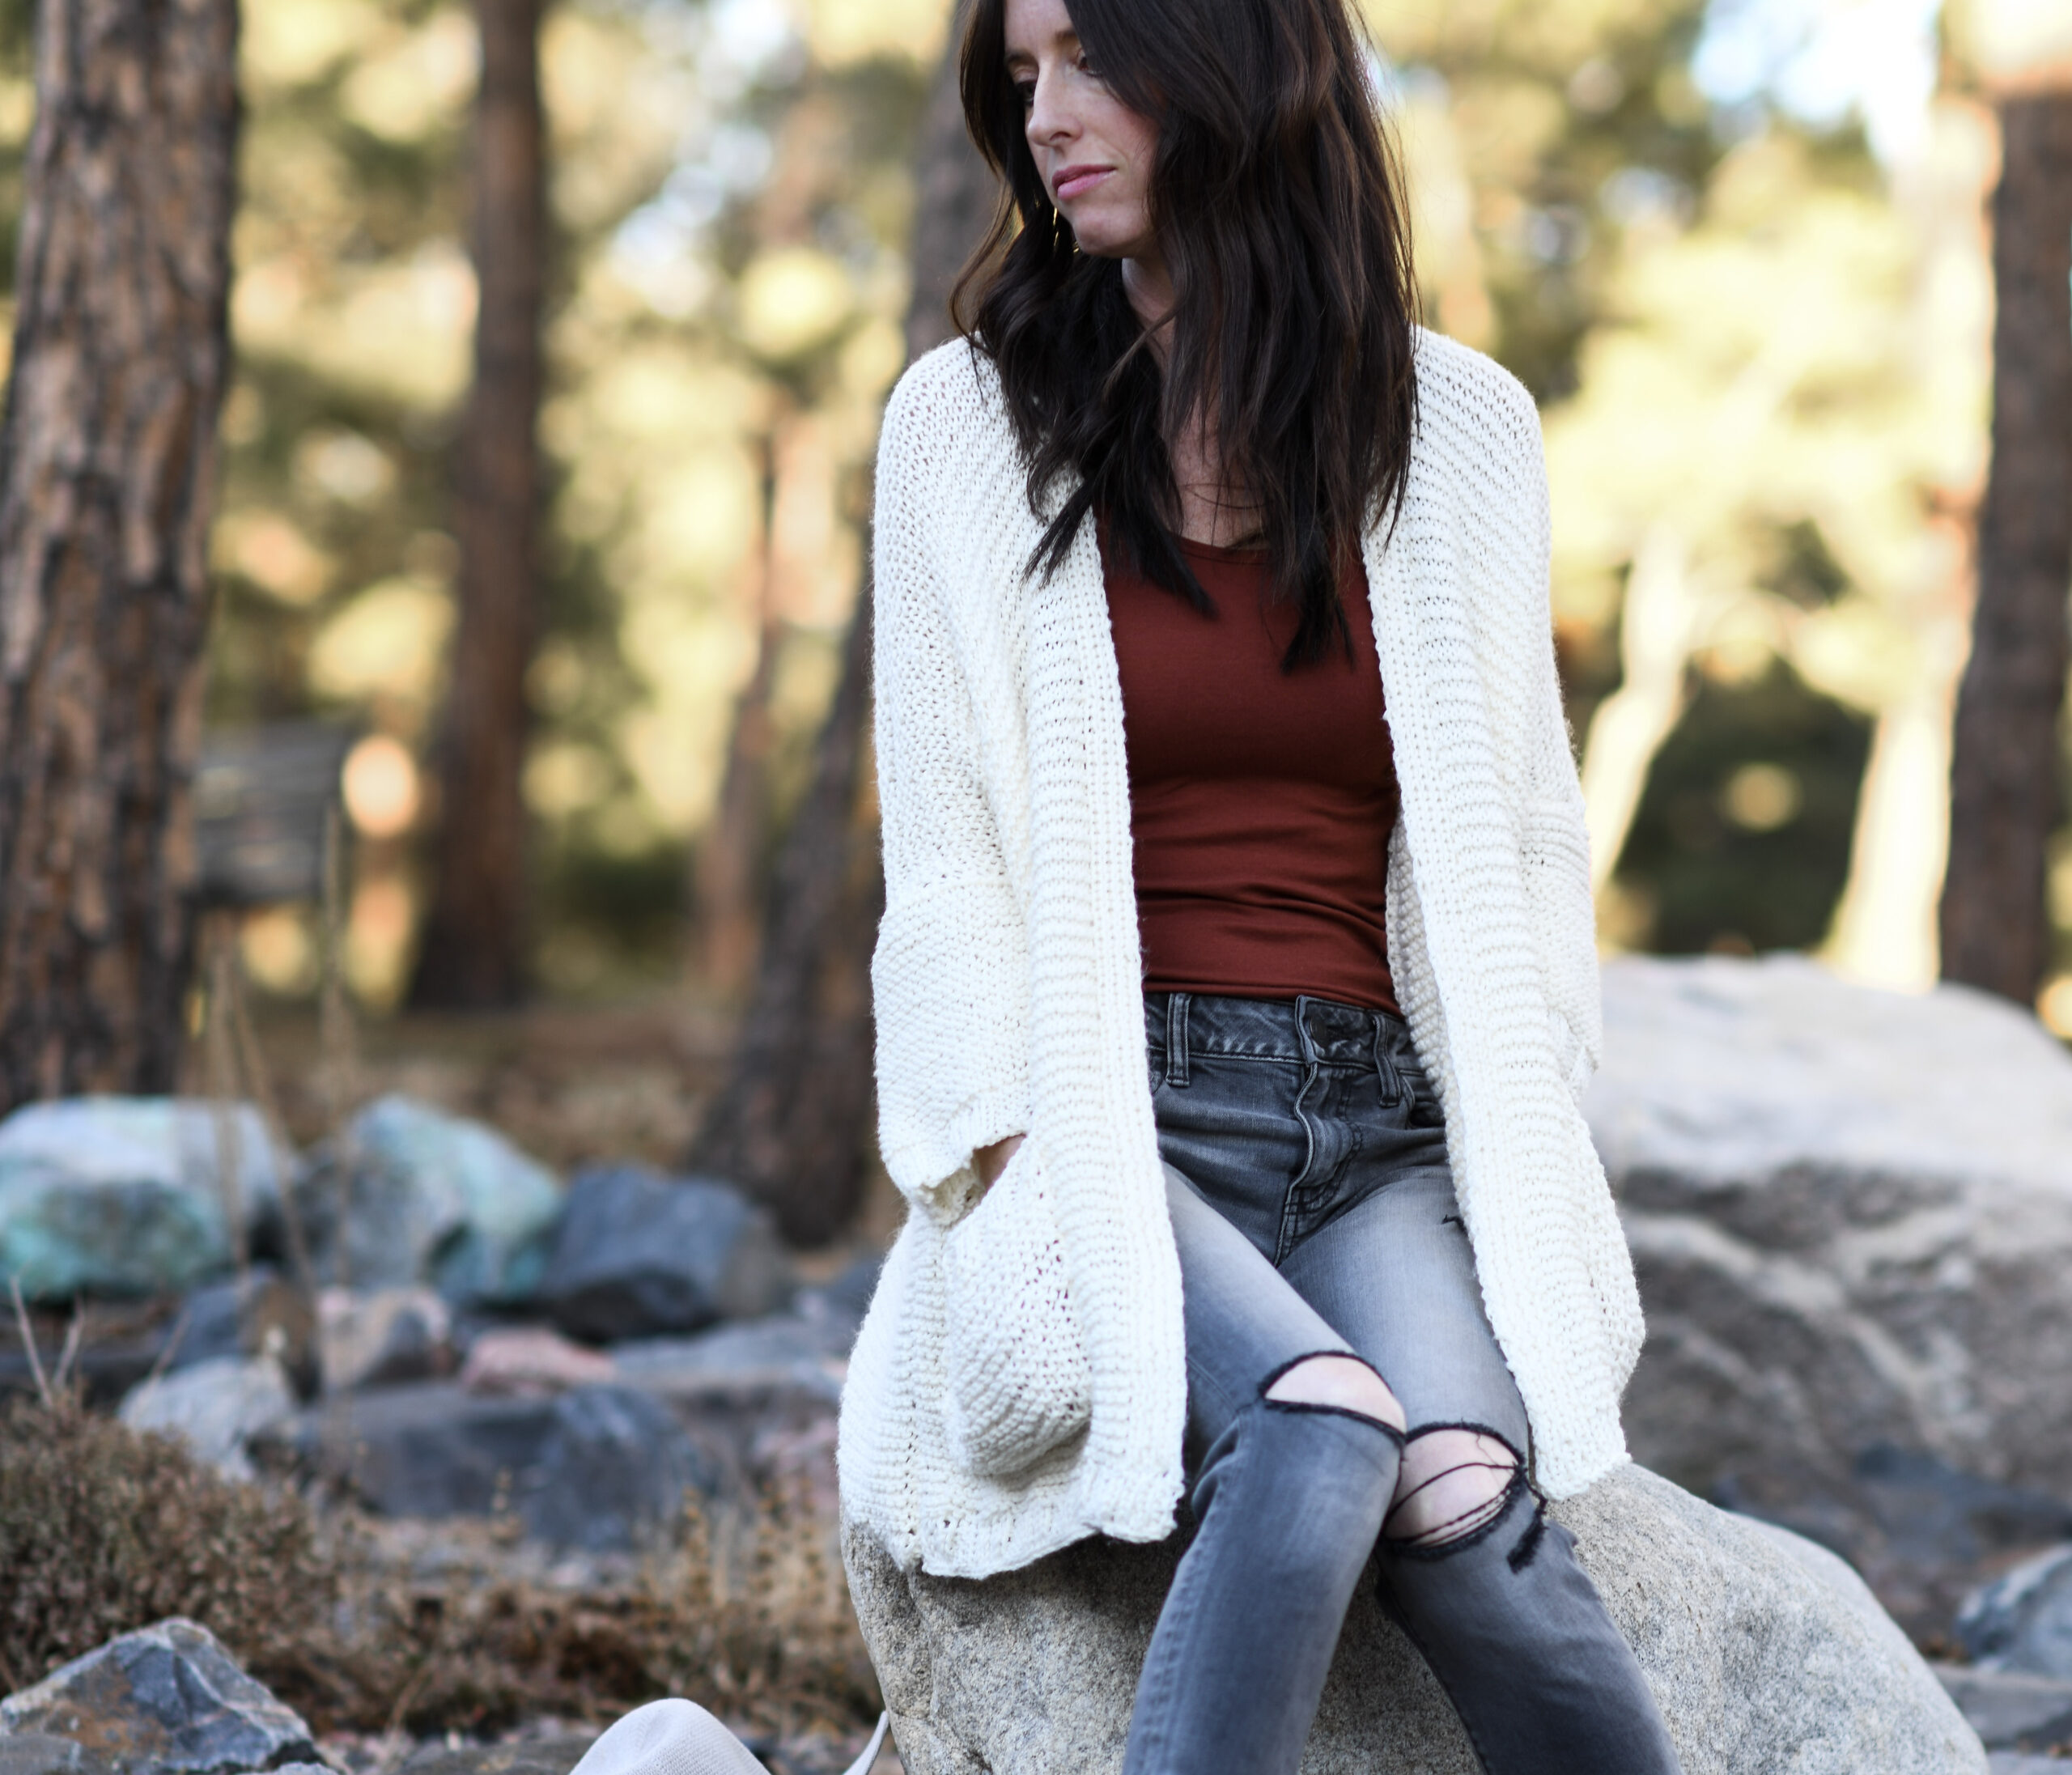
Today’s comfy cardigan was inspired by the beautiful pocket shawls that took the internet by storm over the last few months. They look so amazingly comfortable – like a hug with pockets. This knit cardigan version is similar in that it’s made with basic rectangular shapes and has a generous fit, with the cozy pockets at the front. It’s also SO easy to make. And if you like simple knit sweaters, I’ve been all about them this year. 🙂 You can also take a peek at my Coziest Cable Cardigan HERE or My Comfiest Knit Cardigan HERE.
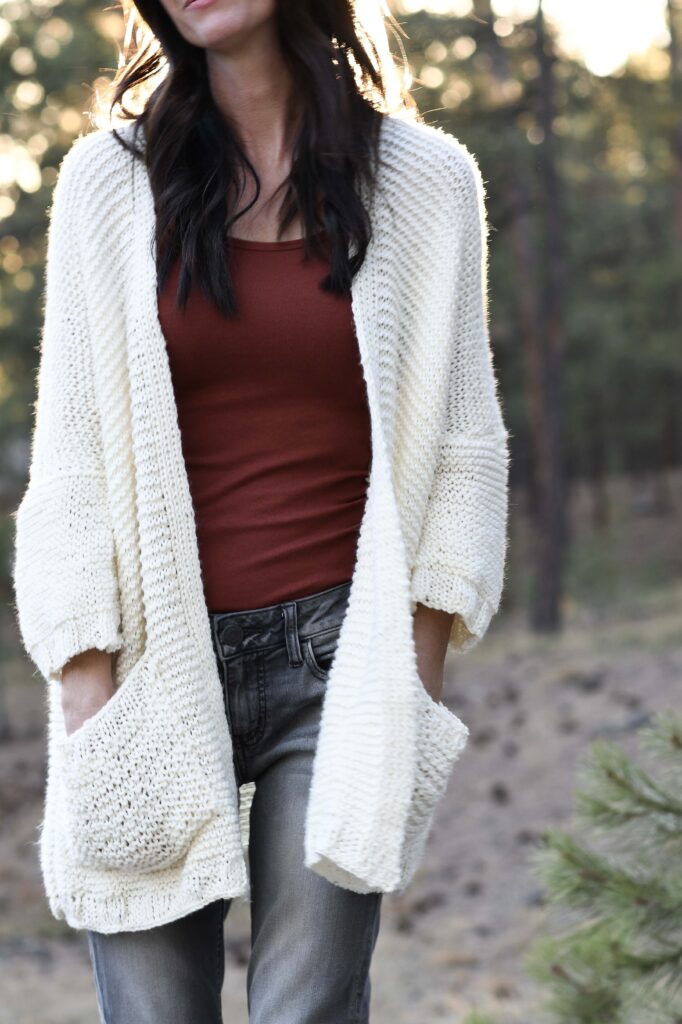
I love using natural fibers whenever it makes sense, so it was awesome to use Comfy Cotton from Lion Brand for this project. Cotton blends are great because they create fabrics that are suitable for many different seasons and climates. It’s also soft and washes up really nicely as well, which is important to me when I use light colors like this Whipped Cream.

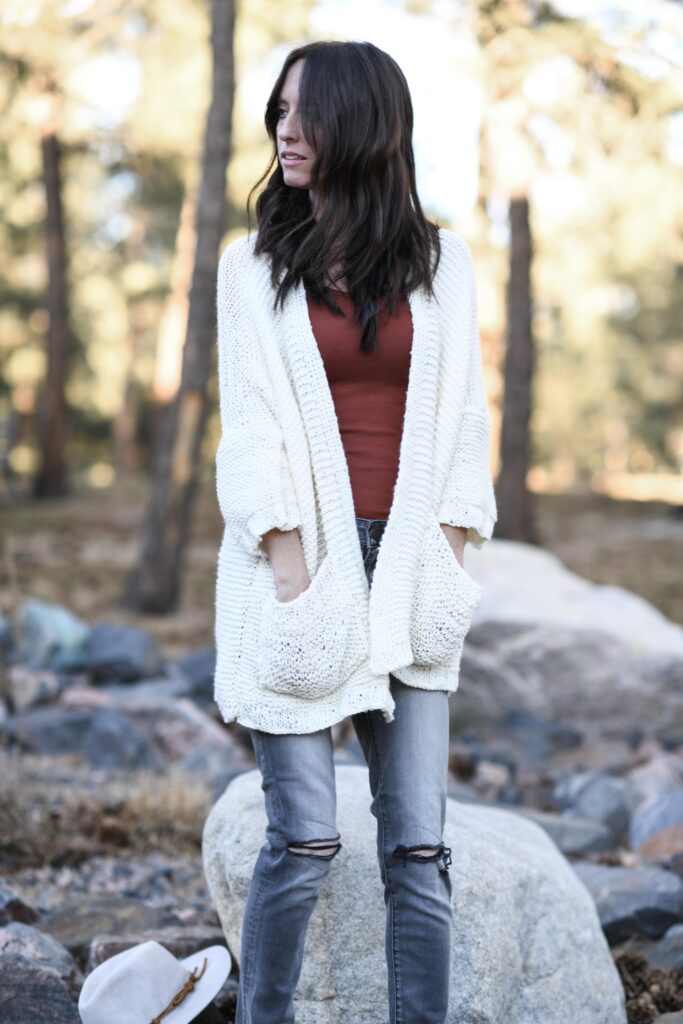
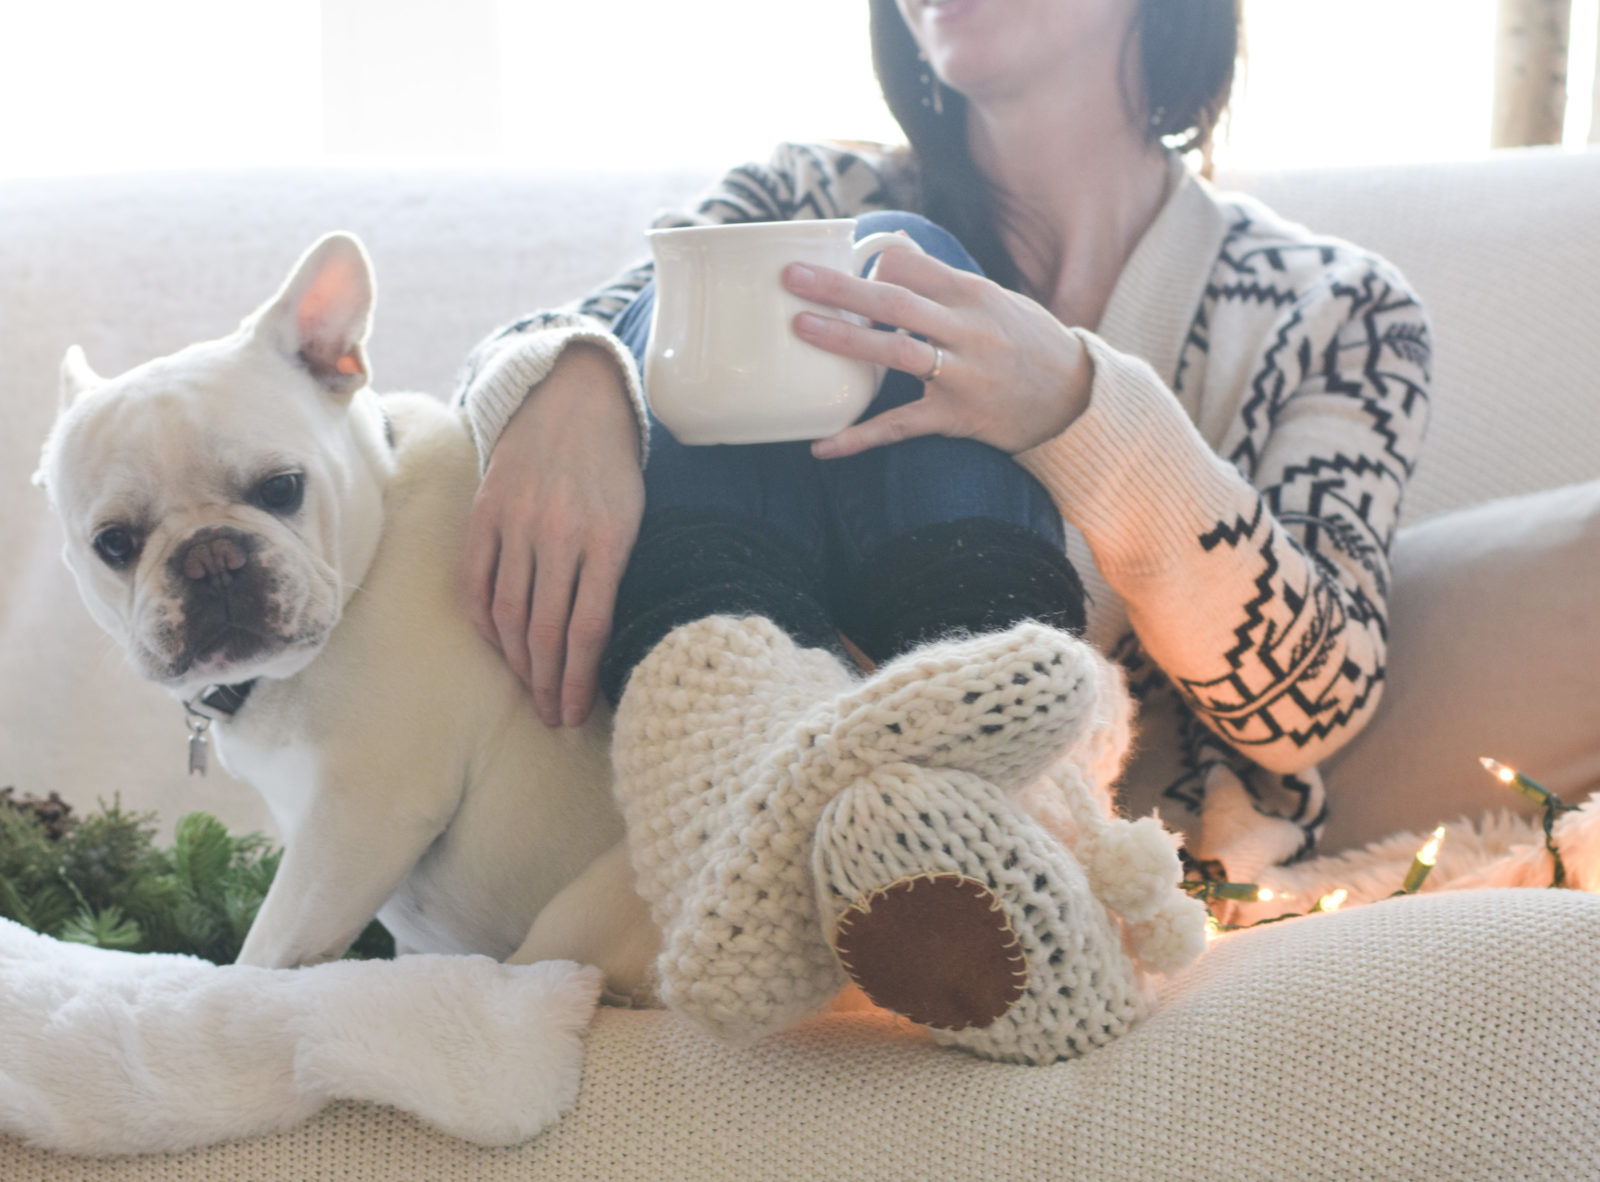
Doesn’t it sound nice to wrap yourself up in a comfy, pocketed sweater, sip your coffee and enjoy the holiday season? It’s been such a strange year, but there are small comforts that we can still find and be grateful for.

So how do we make this hug of a “pocket shawl sweater”?
Let’s hop to the pattern!
Remember that you can grab the ad-free, printable from Etsy HERE or see the free pattern below.
Description:
Squishy garter stitch meets comfy cotton to make a beautiful, pocket shawl inspired cardigan! Featuring simple rectangular construction and an oversized fit, it’s cute, trendy and cozy for year round wear. This is the ultimate, easy knit sweater as it’s made primarily with the knit stitch and doesn’t require any shaping. With it’s wide sleeves and comfy pockets, it’s the perfect piece to throw over any outfit.
Skill Level:
Easy +
Materials:
US Size 10, 6.0 mm 36” Circular Knitting Needles (cardigan is knit flat)
(3,4) skeins Lion Brand Yarn Comfy Cotton in Whipped Cream 200 g/skein
Pattern uses approximately (580 g, 676 g)
Scissors
Tapestry Needle
Sizes (approximate):
S/M & L/XL
The generous fit allows cardigan to fit a variety of sizes
Please follow the key throughout the pattern according to the
size you are crocheting:
S/M (L/XL)
Bust Circumference:
50” (54”)
Width:
25” (27”)
Length:
25”(27”)
Sleeves Measurements:
Length:
8” (10”)
Width:
7” (8”)
Abbreviations & Skills:
k – knit
P – purl
st – stitch
sts – stitches
Gauge:
Approximately 16 sts & 24 rows in 4” x 4” of garter stitch
Notes:
This shawl cardigan is knit flat and is made primarily with the garter stitch. The front and back is knit in one piece which is then folded and seamed (see schematic at end of pattern). You will begin by knitting the back of the cardigan from the bottom up and then will split the stitches to work the two front panels. The sleeves are also knit flat, folded and seamed. Pockets are knit as flat rectangles that are sewn onto the cardigan. Ribbing is worked on edges, so you should be comfortable with knit and purl stitches. You may make the cardigan longer or shorter by knitting for more or fewer rows on the front and back panels. Keep yarn needs in mind if adjusting the length or size of the cardigan.
Haven Pocket Shawl Cardigan Knitting Pattern Instructions
Cast on 100 (108) sts
Ribbed Edge – Back Panel of Body
Row 1 *k4, p4, repeat from * across the row, ending with k4 100 (108) sts
Row 2 *p4, k4, repeat from * across the row, ending with p4 100 (108) sts
Rows 3 Repeat row 1
Row 4 Repeat row 2
Row 5 Repeat row 1
Garter Stitch Back Panel of Body
Row 6 Knit each st across the row 100 (108) sts
Repeat row 6 until piece measures approximately 25” (27”) long
(Note that the back panel is slightly shorter than the front panels. This allows space for the neck.)
Next, continue knitting the first 50 (54) stitches to create one of the front panels. Hold the other 50 (54) stitches on an alternate needle or length of yarn (these stitches will be the start of the second panel which will be knit later).
Starting from the center of the sweater, you will create the collar with a simple 1×1 rib stitch and then continue knitting the garter stitch for the main body.
Front Panel
Starting from the center of the piece and working outward
Row 1 *k1, p1; repeat from * 3 more times for a total of 8 sts of 1×1 ribbing. (This is the collar on the front) Next, knit each stitch across the row. 50 (54)
Row 2 Knit each stitch across to the last 8 sts, *k1, p1; repeat from * to end of row, working the 1 x 1 rib. 50 (54)
Repeat rows 1 & 2 until front panel is approximately 28” (30”) long, ending with row 2.
Front Panel Bottom Ribbed Edging
Follow directions below for the size you are making.
Size S/M
Row 1 *k1, p1; repeat from * 3 more times for a total of 8 sts (1×1 rib for collar). Next *k4, p4; repeat from * across the row working a 4×4 rib to last 2 sts, knit the last 2 sts.
Row 2 p2, *k4, p4; repeat from * across the row working a 4×4 rib to the last 8 sts, work 1 x 1 rib stitch over last 8 sts.
Row 3 Repeat row 1
Row 4 Repeat row 2
Row 5 Repeat row 1
Cast off and weave in ends.
Size L/XL
Row 1 *k1, p1; repeat from * 3 more times for a total of 8 sts (1×1 rib for collar). Next *k4, p4; repeat from * across the row working 4×4 rib to last 6 sts; k4, p2 over the last 6 sts.
Row 2 k2, *p4, k4; repeat from * across the row working 4×4
rib to the last 8 sts, work 1 x 1 rib stitch over last 8 sts.
Row 3 Repeat row 1
Row 4 Repeat row 2
Row 5 Repeat row 1
Cast off and weave in ends.
Next, pick up the stitches which are held on the length
of yarn or alternate knitting needles. Working from the center
outward, repeat Front Panel instructions to make the
second front panel.
Sleeves (make 2):
Cast on 48 (56)
Knit each st across the row until piece measures approximately 6.5” (8.5”) long or desired length
Next, you’ll work a 4 x 4 rib to finish.
Row 1 *k4, p4; repeat across the row
Repeat row 1 for approximately 6 rows, working a 4×4 rib. Cast off and weave in ends.
Pockets:
CO 24(28) sts
Row 1 Knit each st across the row
Repeat row 1 until piece measures approximately 6”(7”)
Next, work 2 x 2 ribbing for 1”.
Cast off and weave in ends.
Block pockets to shape and size as desired before sewing onto cardigan.
Assembly:
Sleeves
Fold sleeves and seam lengthwise with a simple whip stitch or preferred
seaming method.
Body
Fold Front Panels downward and line up the bottom of the Front Panels to the bottom Back
Panel.
Seam up each side, leaving openings for the sleeves. Sew sleeves to each opening with a simple whip stitch or your preferred seaming method.
Pockets
Sew pockets with a whip stitch onto lower portion of front panels.
Block cardigan to shape and size as desired.
Enjoy your comfy cardigan!
Schematic (Body before assembly):

Above: To assemble, you’ll fold the two skinny panels (aka front panels) down over the large back panel. Seam up each side leaving openings for the arms. Add the sleeves and pockets – done!
Pretty simple, right?
I hope that you enjoyed it. As always, I’d love to hear if you make one! Feel free to tag me on Instagram @mamainastitch #mamainastitch!
Wishing you all the best as we move through the holiday season.
XO,
Jessica
Thank you to Lion Brand Yarn for sponsoring this post. All opinions are 100% my own.

What does 1 x1 rib stitch mean?
Hi, I am a beginner in the world of knitting, but really enjoyed making the Lake Isle wrap. I was wondering if you bothered to block this project or not?
I would like to make the scarf (Easy winter nights knit), but the yarn that you used seems to be unavailable (Lion Brand wool ease in Checkerboard). Can you make any suggestions on what else to use, I love the look.
“Please follow the key throughout the pattern according to the
size you are crocheting:”
This probably should be KNIT?
1×1 rib is knit 1 purl 1
1X1 means knit 1, purl 1 – 2X2 would be knit2, purl 2 and so on.