Easy Bear Knitting Pattern
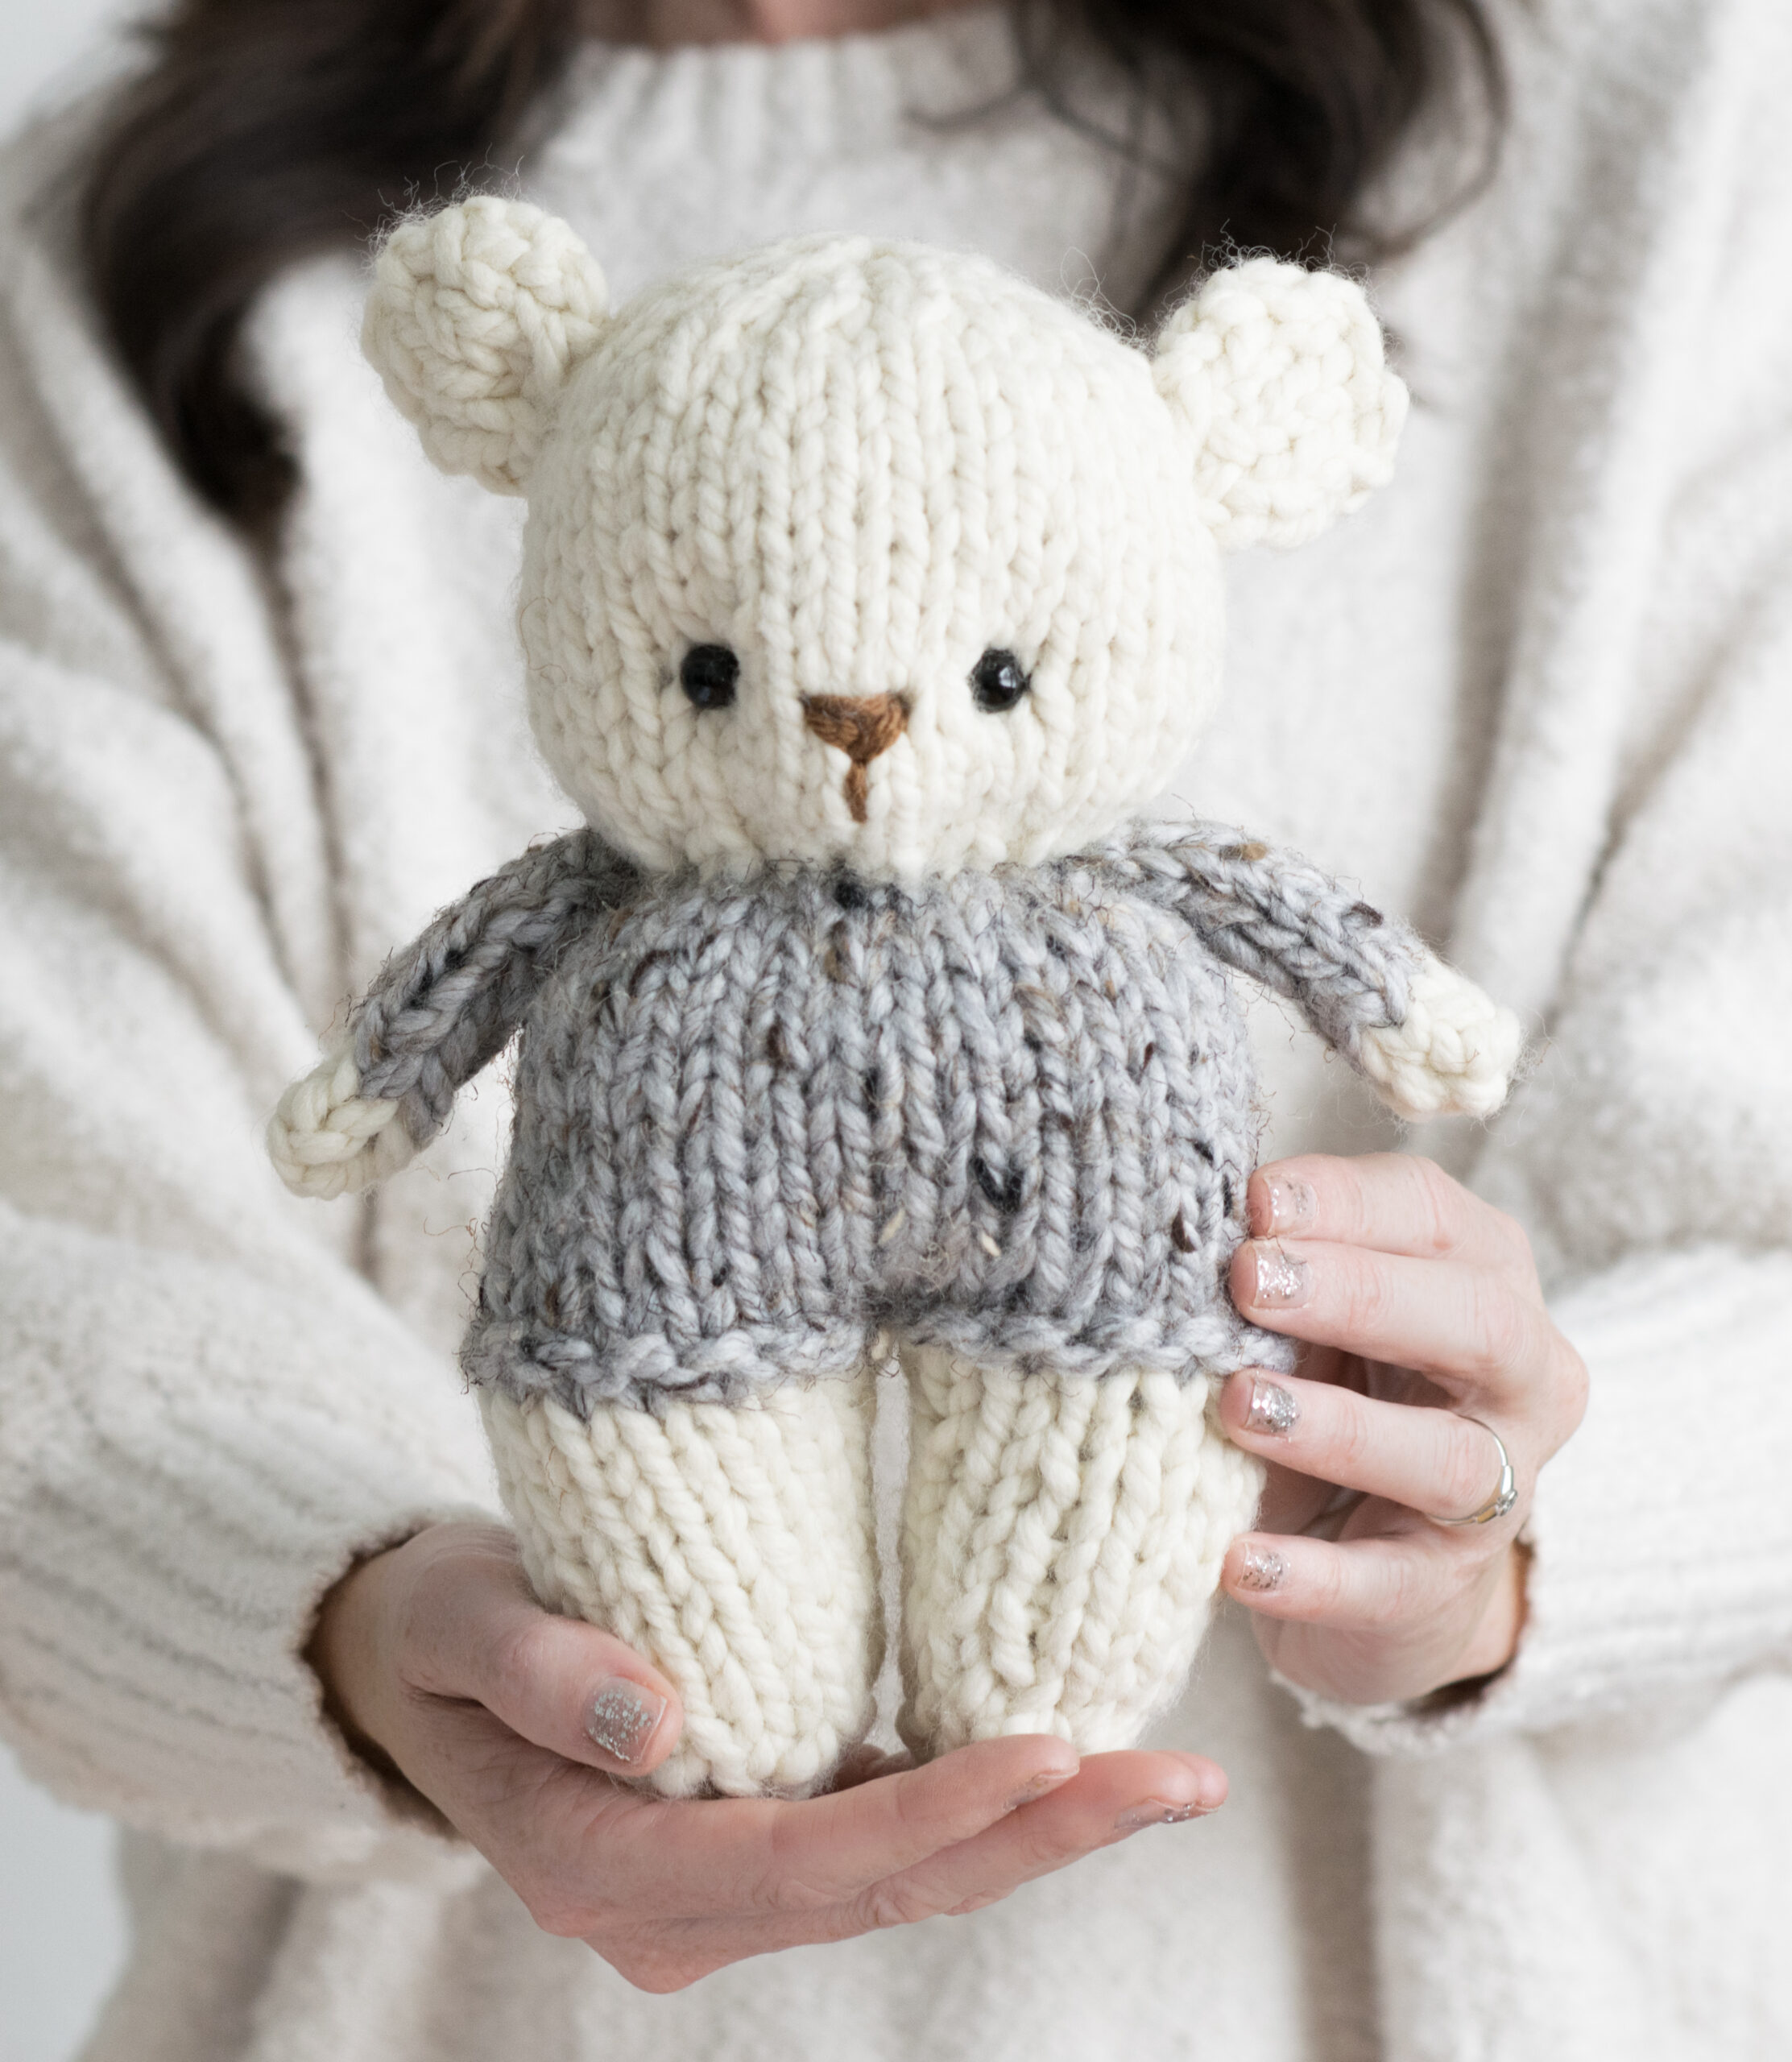
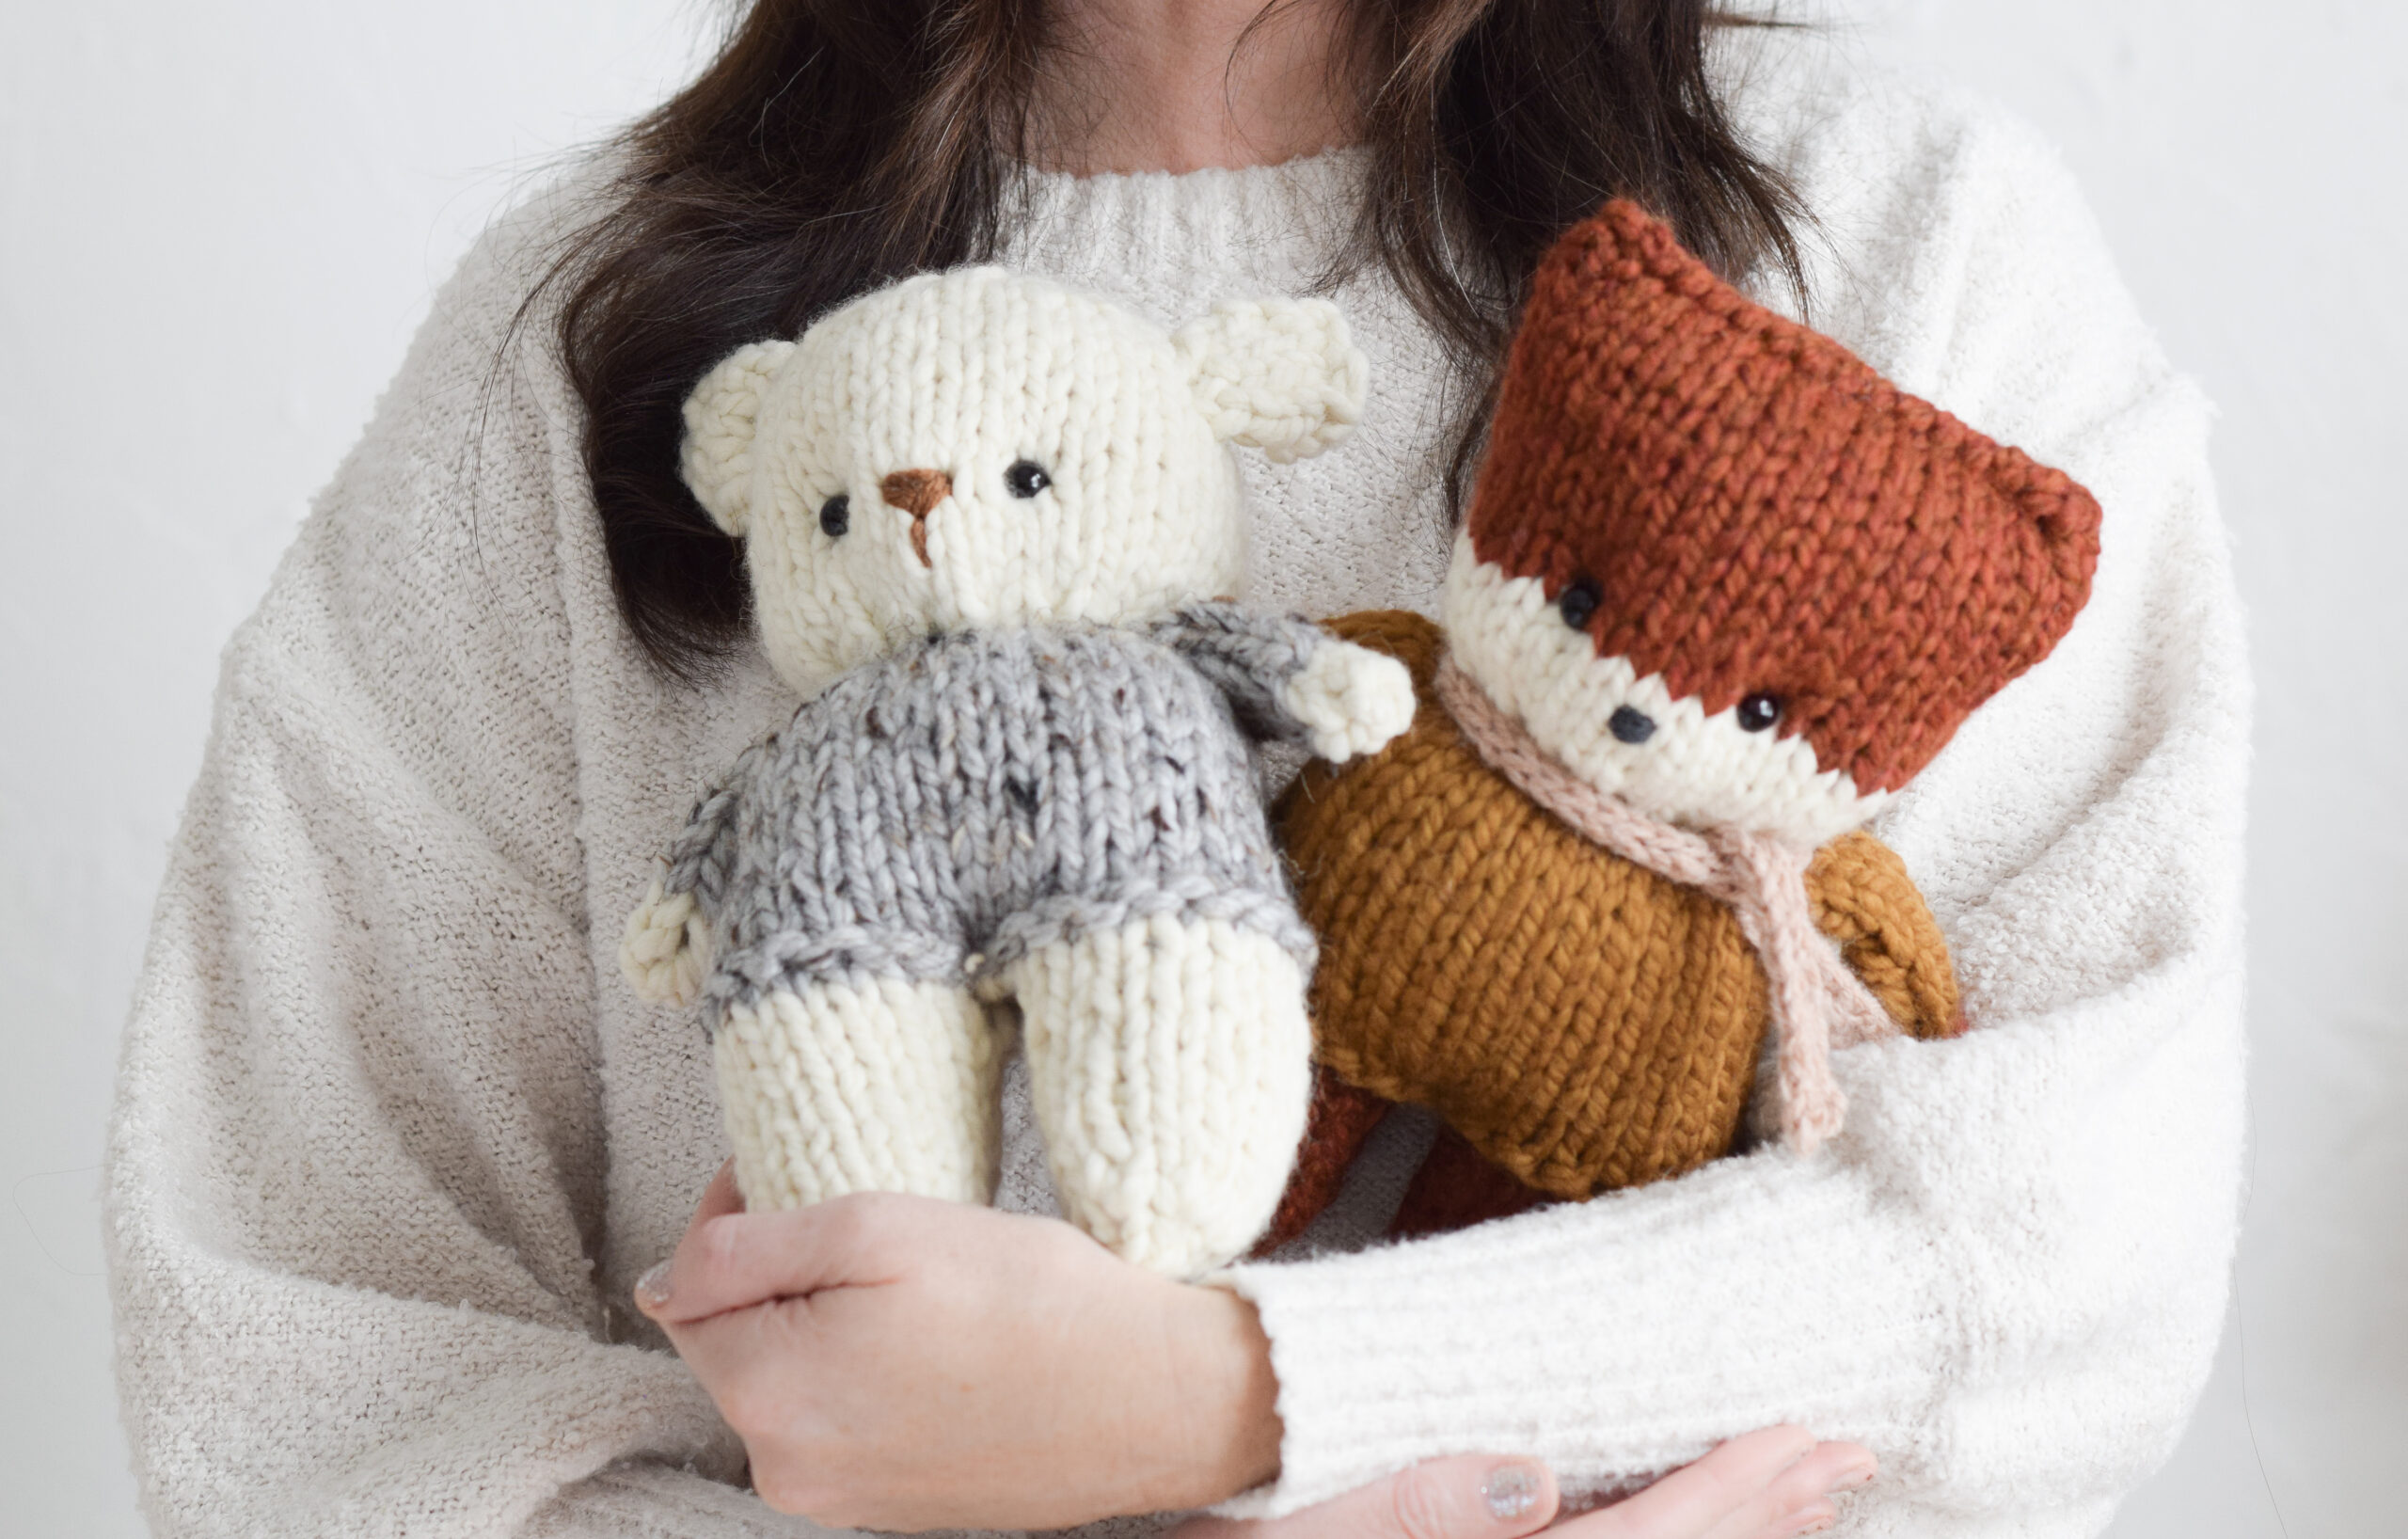
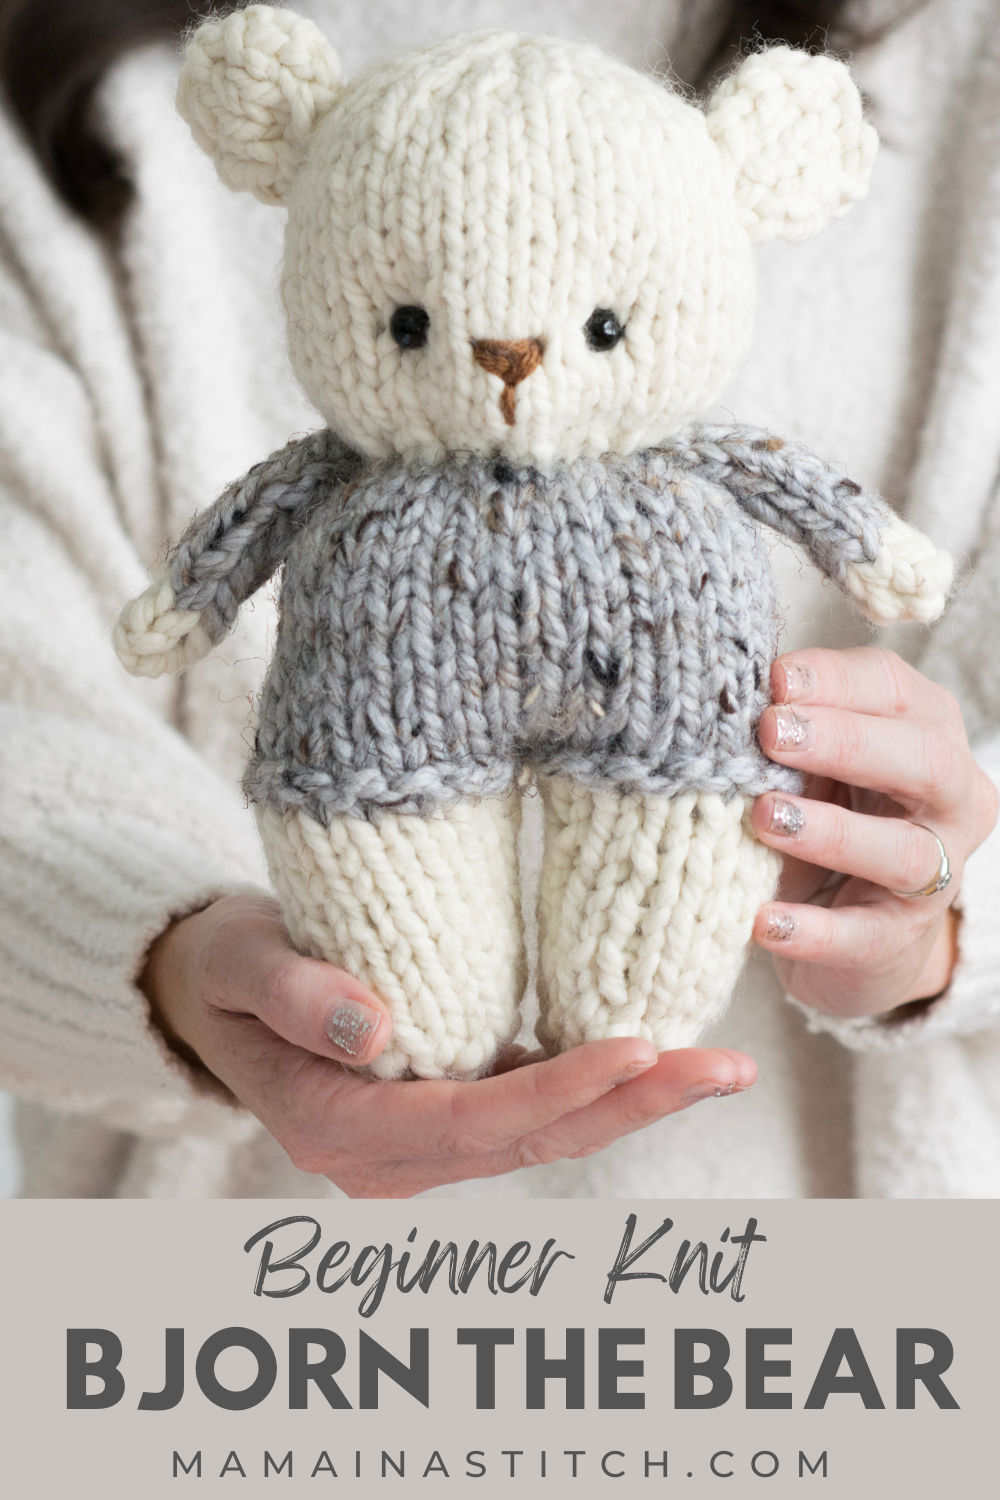
It’s so much fun to add a cute, easy knit bear pattern to the blog! This “Bjorn” The Bear works up quickly and is simple enough for beginner knitters as he’s knit flat. He joins Finnegan The Fox in my new Cozy Friends Collection!
Check out the full, free pattern below, or you may choose to purchase the ad-free printable version from Etsy HERE, including the helpful progress photos below!
Bjorn The Bear can totally be customized by changing the colors of the yarn. I happened to have the cream super bulky yarn on hand, but he would be adorable in a pale brown color as well.
Because he’s made with super bulky yarn and large needles, he works up really quickly. If you’re pressed for time for a gift, this is one you can bust out pretty fast with some scrap yarn. 🙂
Remember that you can see the full pattern below, or grab the printable version on Etsy HERE which includes the helpful pictures below!
Description:
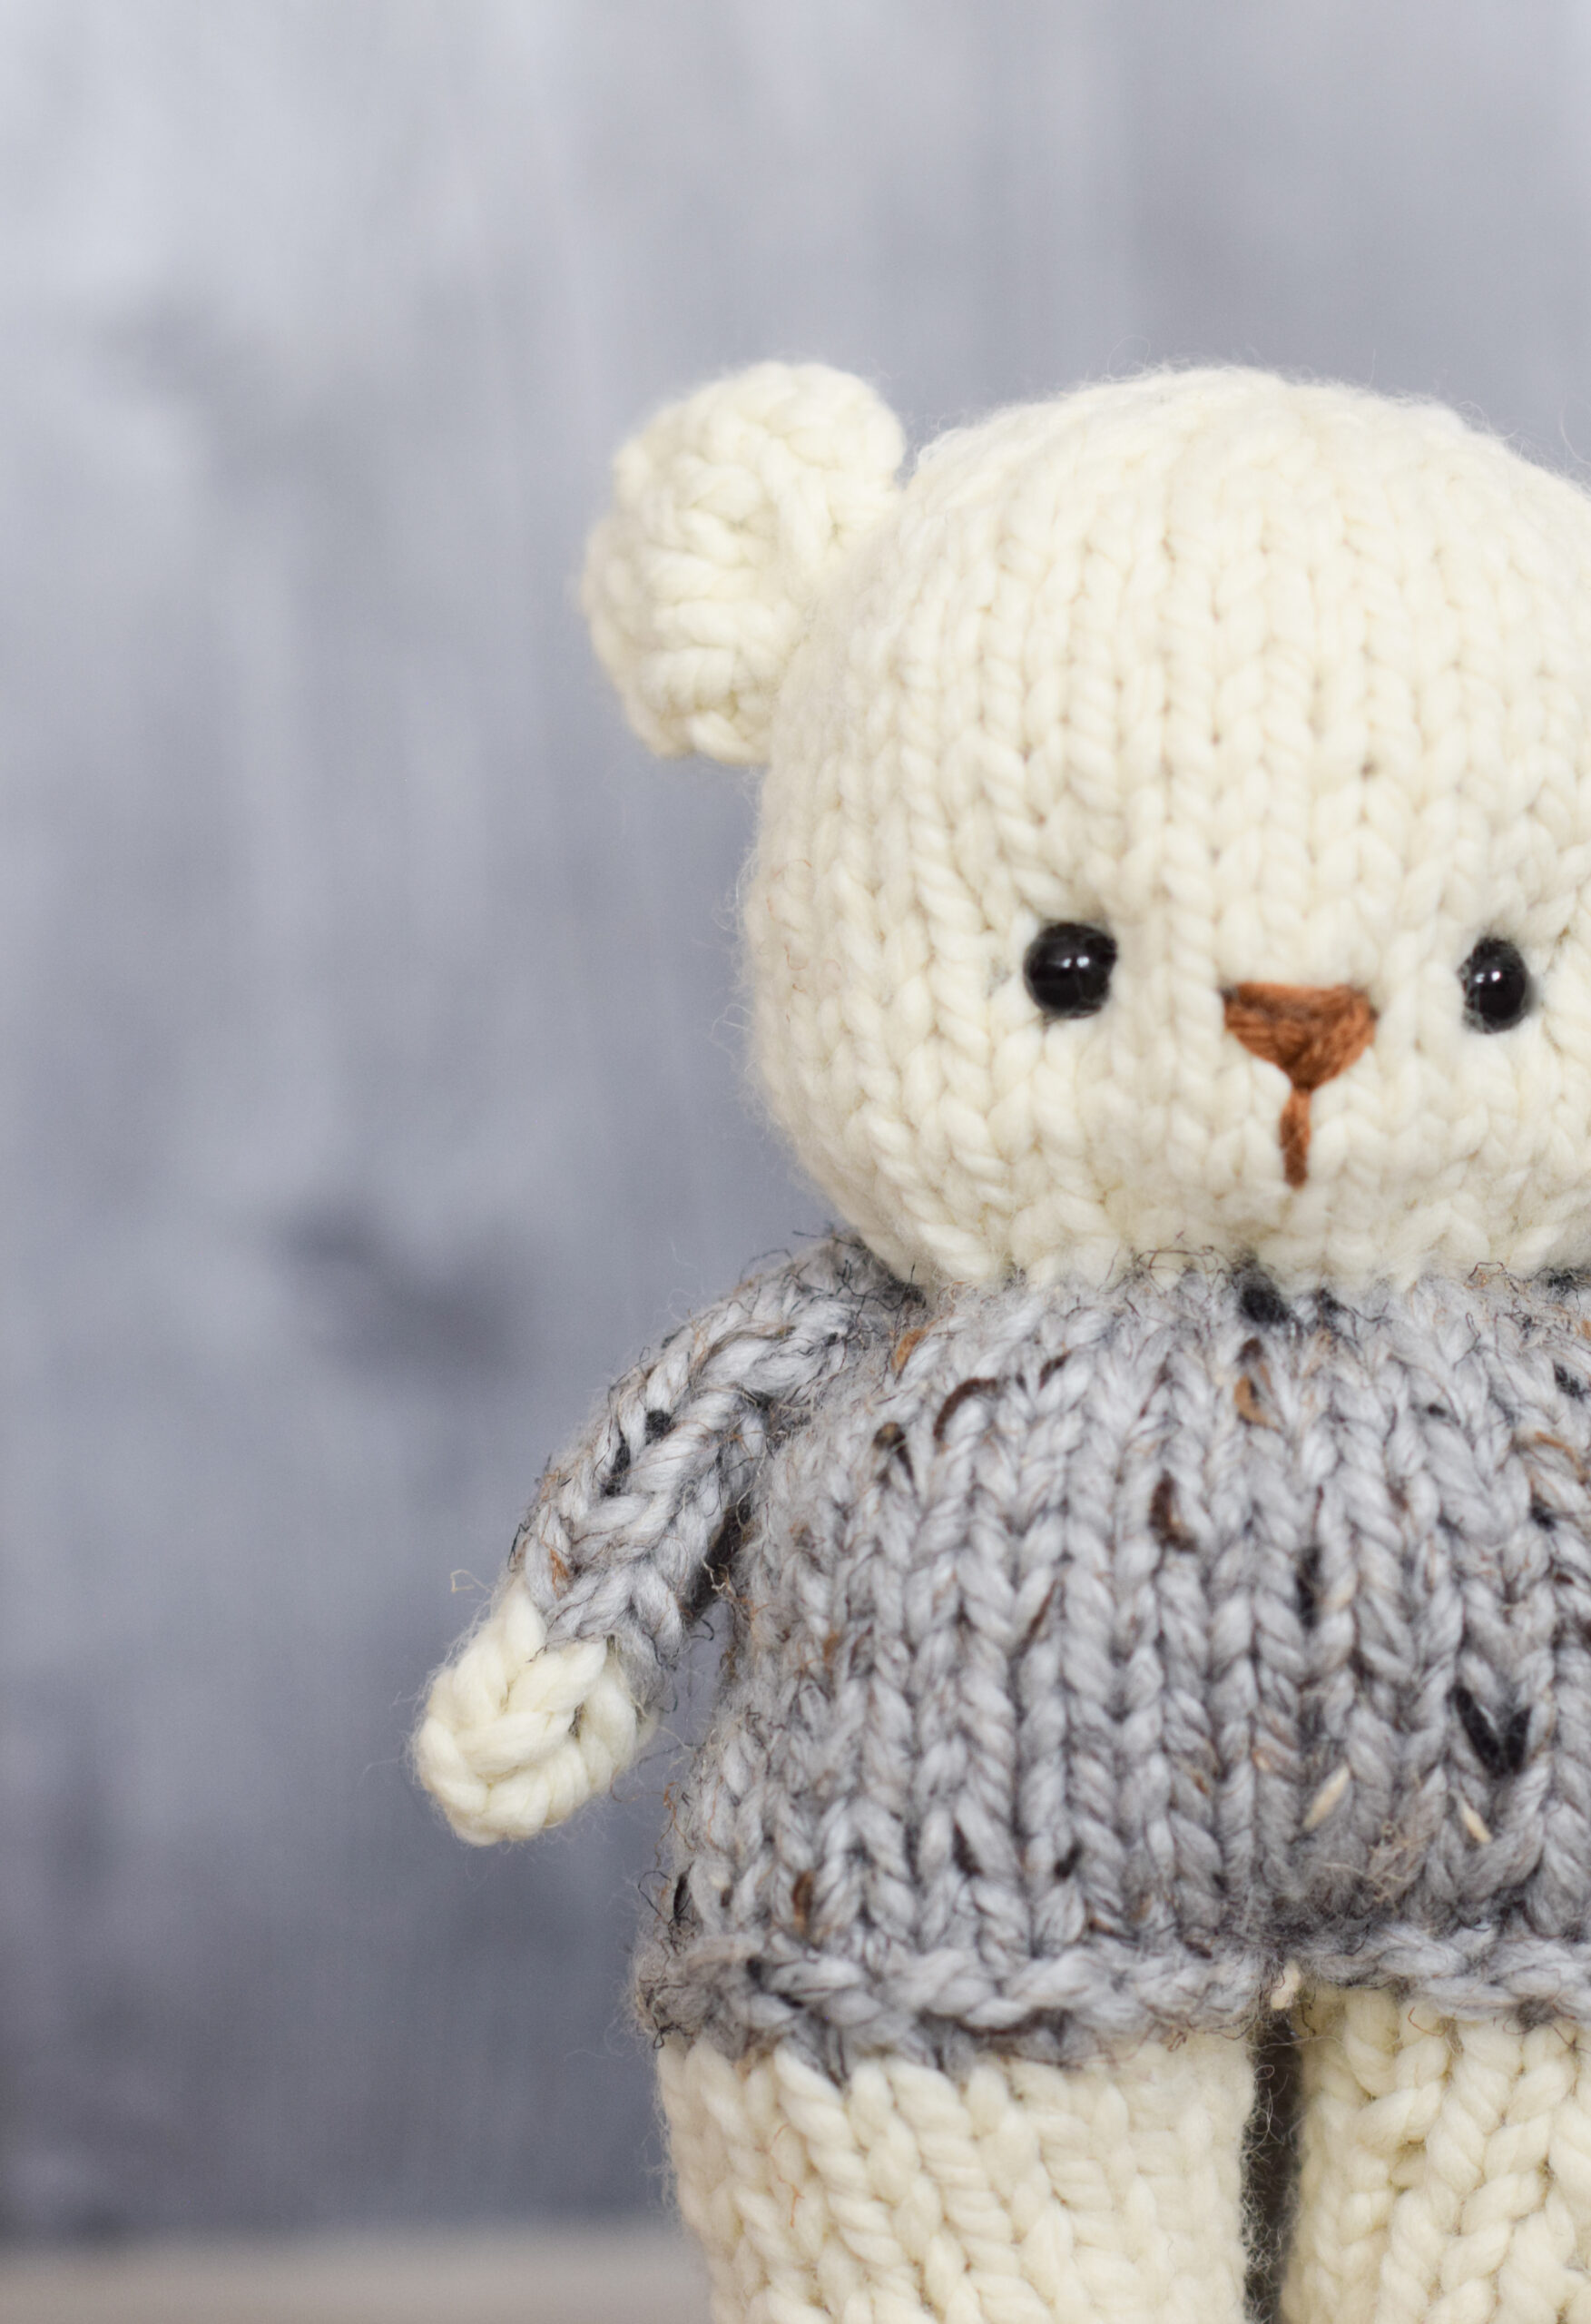
This cozy bear is so cute and so easy to knit! He is perfect for beginner knitters as he is knit flat. He works up incredibly quickly, and is so addicting! The size is lovely to make for little ones to cuddle (and also for us adults who will always be kids). Grab your super bulky yarn and have fun.
Materials:
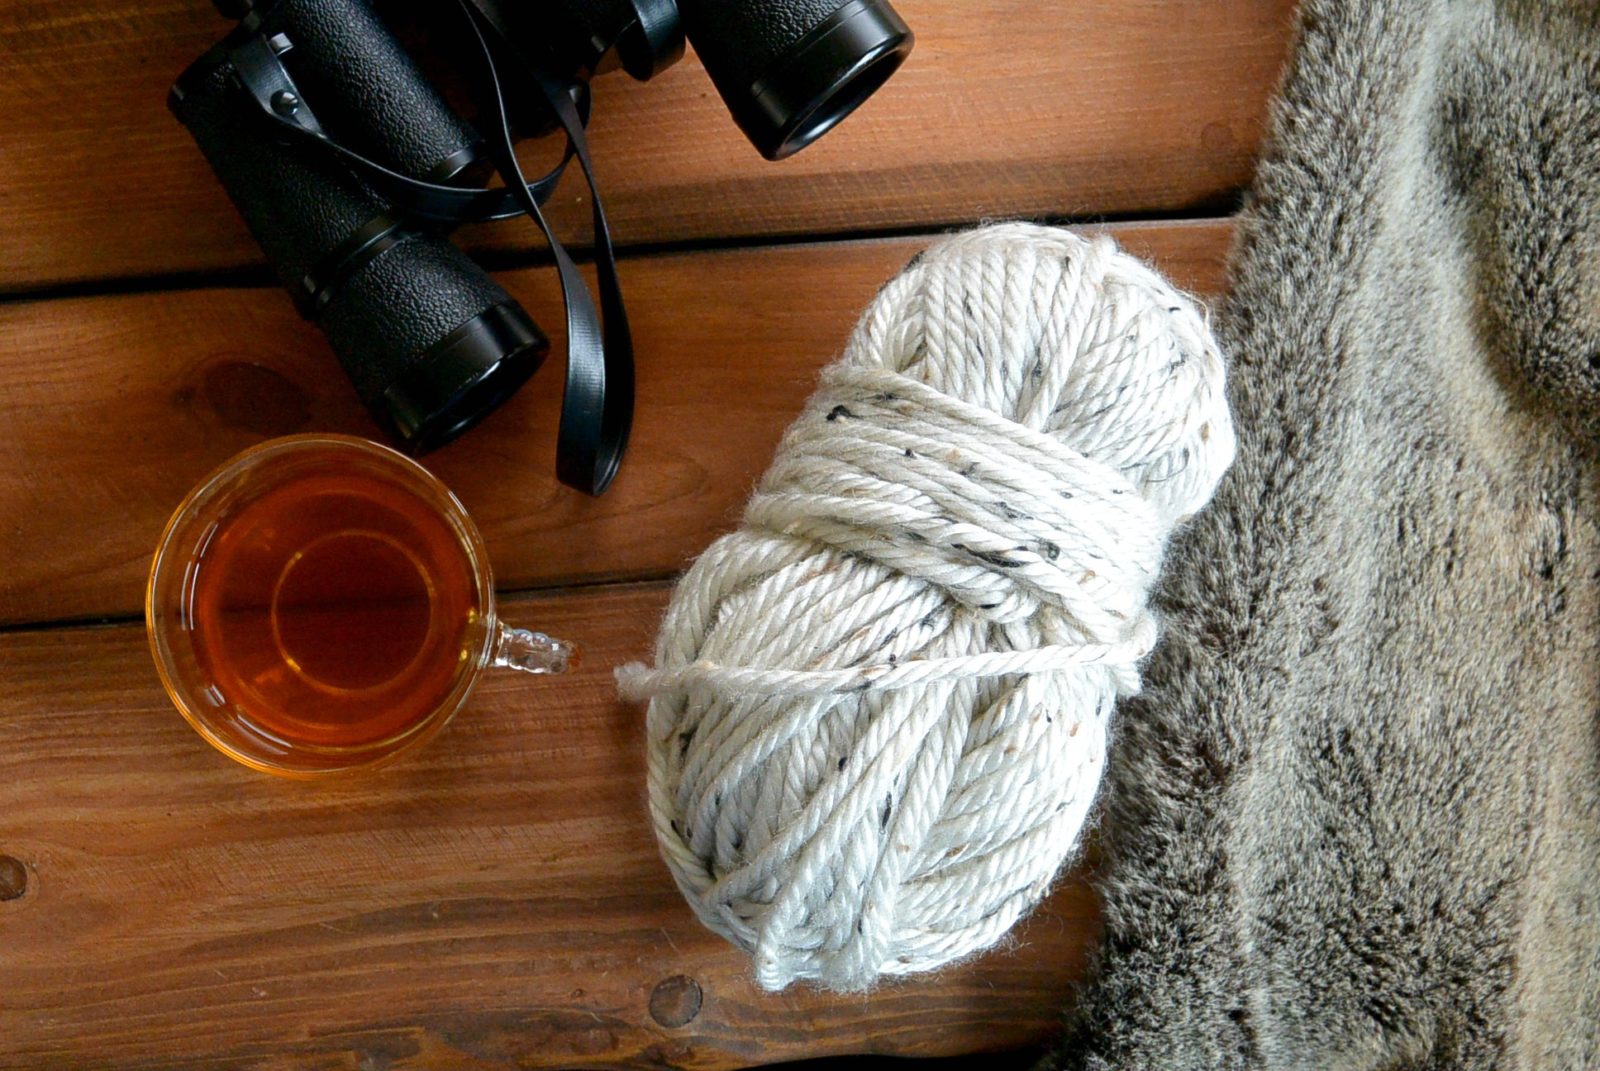
Super bulky #6 yarn in cream or white like Lion Brand Yarn Wool Ease Thick & Quick (1 skein) in Fisherman (55 grams)
Super bulky #6 yarn in color of choice for sweater like Lion Brand Wool Ease Thick & Quick (1 skein) in Grey Marble (20 grams)
US Size 10.5 (6 mm) knitting needles
Black safety eyes or black yarn for eyes
Brown worsted weight yarn for the nose
Fiber fill for stuffing (5-10 oz)
Scissors
Tapestry needle
Measuring Tape
Finished Size (approximate):
5” x 10” tall
Gauge:
Not important for this pattern
Pattern Notes:
BE SURE TO SCROLL DOWN FOR THE PICTURE TUTORIAL AS WELL!
This cozy friend is knit flat from the bottom up. You will start by knitting the two legs, and then move onto the body and lastly the head. It is made as one flat panel and seamed and stuffed to finish. Ears and arms are added at the end.
You may also choose to knit this in the round, if you’re experienced. If you choose to knit in the round, simply decrease two stitches (one on each “leg”) when you begin. It’s possible to knit the body on 16” circular needles.
Have fun!
Abbreviations (US) & Skills:
k – knit
p – purl
st – stitch
sts – stitches
K2tog – knit two stitches together (decrease)
KFSB – knit front slip back *knit regularly without dropping the stitch off the needle, then slip stitch from the back (increase)
Stockinette Stitch: Knit one row, purl the next row. Repeat this pattern.
Bjorn The Bear Knitting Pattern
Leg
Make 2
With your body color, cast on 8 sts
Row 1 Knit across
Row 2 Purl across
Row 3 KFSB each st across (16 sts)
Rows 4 – 12 Work stockinette stitch (row 12 should be a purl row)
Cut yarn.
Keep this leg on the needles and slide it down. You may also choose to take it off the needles and hold the stitches on a length of yarn to knit later.
Repeat above pattern one more time for a separate second leg.
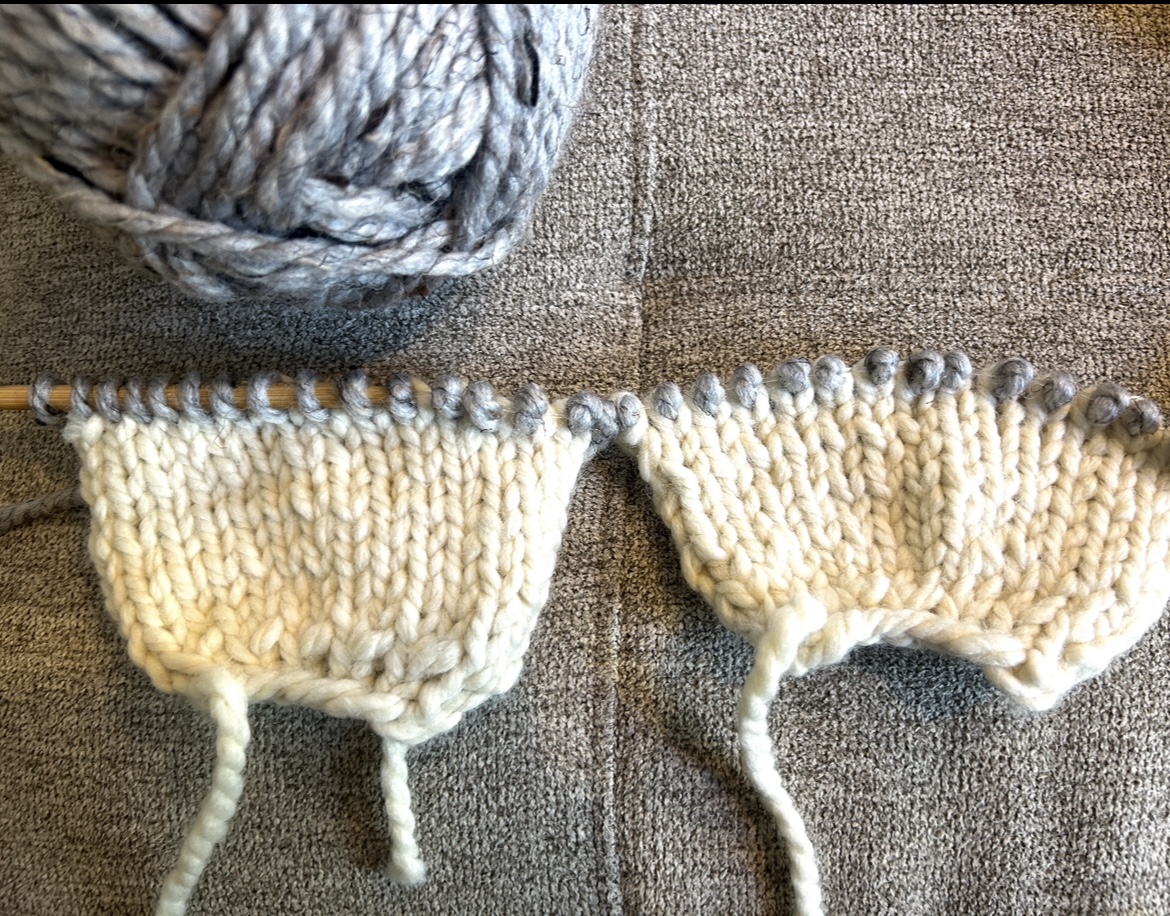
Body/Sweater Suit Section
With both legs side by side on the needles with knit side up, pick up new body suit/sweater color to knit. (see photo)
Row 1 Knit across all stitches (32)
Row 2 Knit across all stitches (32) (These two knit rows make the cute little ridge at the bottom of the sweater suit!)
Next, work stockinette for 13 rows, working a total of 15 rows in this section.
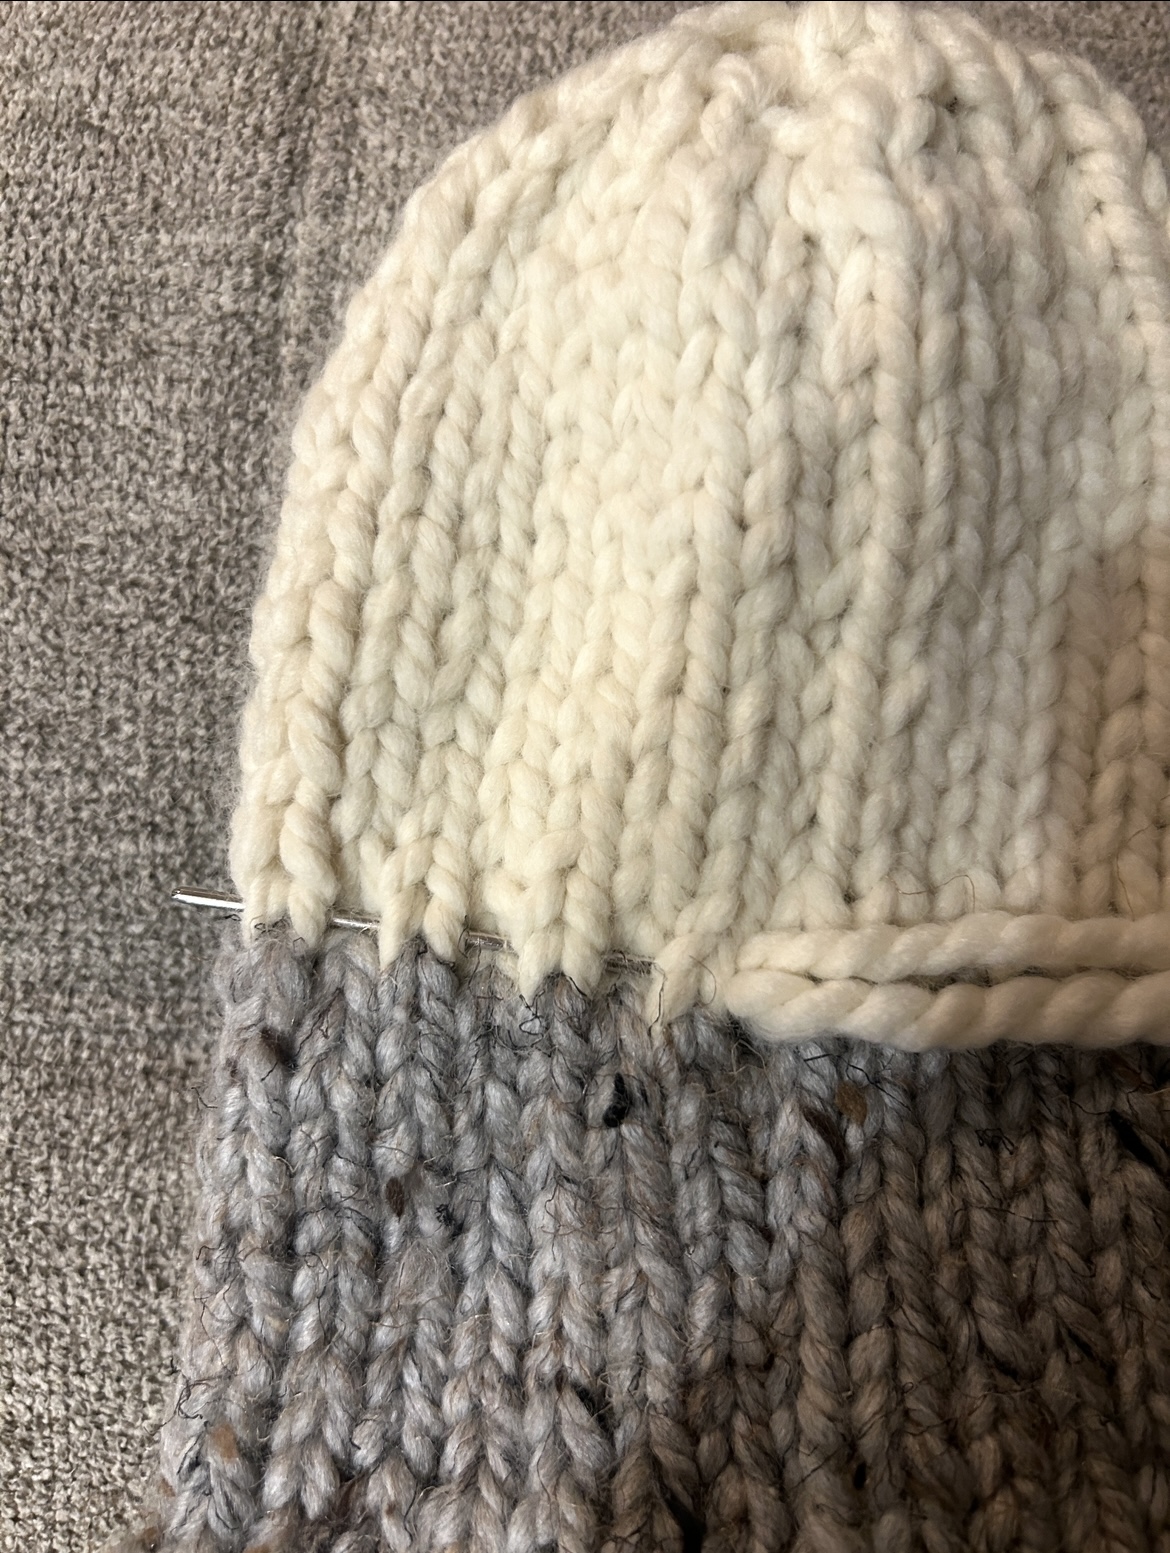
Head
Change color to cream or white.
Work stockinette stitch for a total of 16 rows.
Next work a decrease row for row 17.
Row 17 K2tog across (16 sts)
Row 18 Purl across
Row 19 K2tog across (8 sts)
Pull the tail of yarn through the 8 stitches to tighten to close the top of the head.
Assembly
Using a mattress stitch seam, sew the bear together from the bottom, up. You will seam up each leg, and then make one seam all the way up. This seam will be the center back.
Make a running stitch around the neck, where the sweater meets the head (see photo at end of pattern). Tighten to shape the neck. Tie loosely so you can make adjustments with his shaping before tying tightly and weaving in ends.
Lightly stuff to see shape.
Eyes
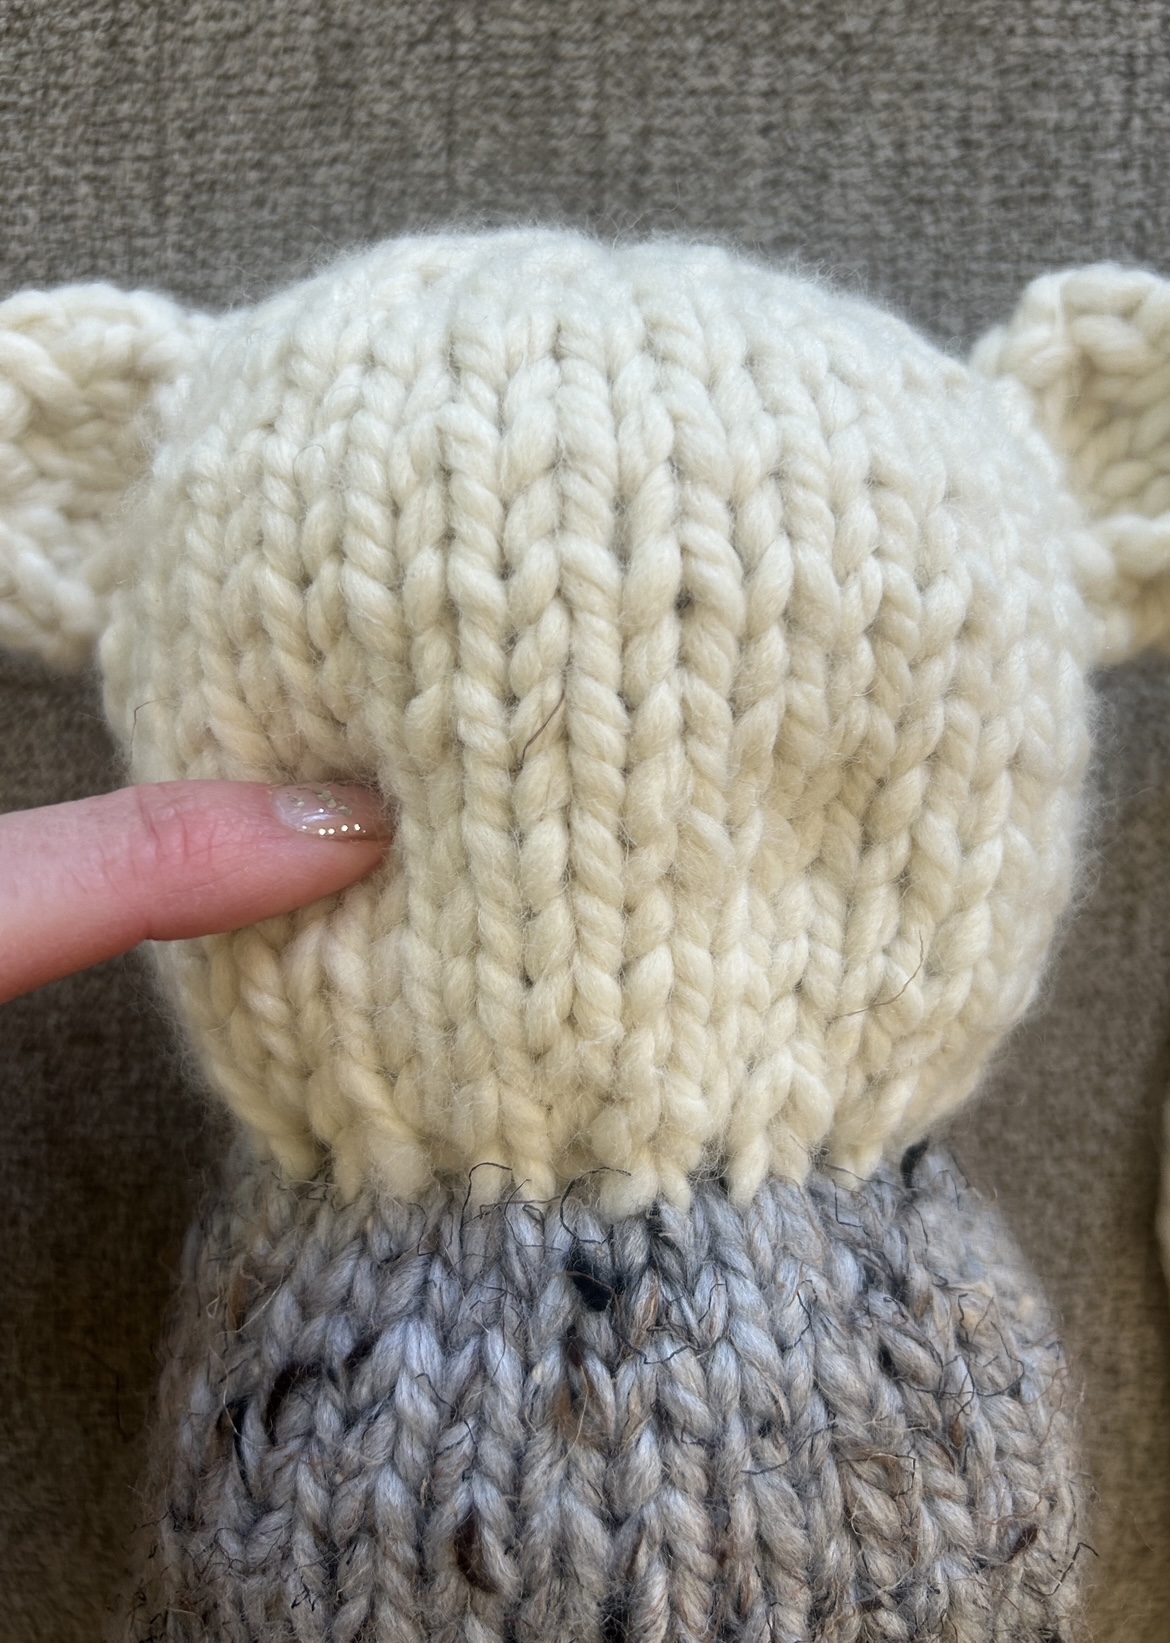
See photo for instruction along with these written notes.
Note: Making the eyes indented is optional, but read below on how you can do it!
Press your fingers into the head where you would like to see the eyes. There should be small indentations left on the fabric. With a length of worsted or light yarn, tie a stitch at the first indentation mark, then put your needle through the head and bring it up at the second eye indentation. Pull it, and tie to the stitch at the second indentation. Work around the stitches a couple of times, pulling them slightly. Then tie off and pull the yarn end through the head to hide it.
Next, place your safety eyes over the tied stitches. You may also embroider eyes with yarn. If the animal will be for children, embroidered eyes should be made.
Nose
Add the nose with a length of brown yarn, making an upside-down triangle over two stitches.
Arms
Make 2
The arms are made by knitting a simple i-cord. If you’ve never done it, it’s so easy! There are a lot of great tutorials online if you conduct a simple search “how to knit an i-cord”. If you’d rather knit them traditionally flat and seam, that will work too. Simply add 2 stitches for a total of 7 cast on. Then mattress stitch seam them when finished.
Easy I-Cord Arm Instructions
With your circular needles and Body Suit/Sweater color, cast on 5 stitches
Row 1 Knit each st across the row
Next, slide your work to the opposite side of the needles. Do not turn.
Knit another row, tightening the first stitch of the row and knitting the next.
Repeat this pattern by knitting the row, then sliding the work to the opposite end and knitting again.
Work a TOTAL of 7 rows for the sweater.
Next, change to color for the hand.
Continue to knit another two rows.
Knit cast off.
Cinch the end of the hand together with the tail of yarn and a tapestry needle. Tie off and weave in ends.
Sew arms to the fox on each side directly on the sweater portion where the body/sweater meets the head.
Ears
Make 2
Cast on 5 stitches
Work stockinette for 4 rows, starting with a knit row
Row 5 K2tog, k1, K2tog
Cut yarn and place on tapestry needle. Pull through the three loops left and cinch closed. Weave in ends.
Final Touches and Finishing
Finish stuffing evenly. Seam the head closed at the top with a simple whip stitch seam or preferred method. Sew ears onto the head.
Picture Tutorial:
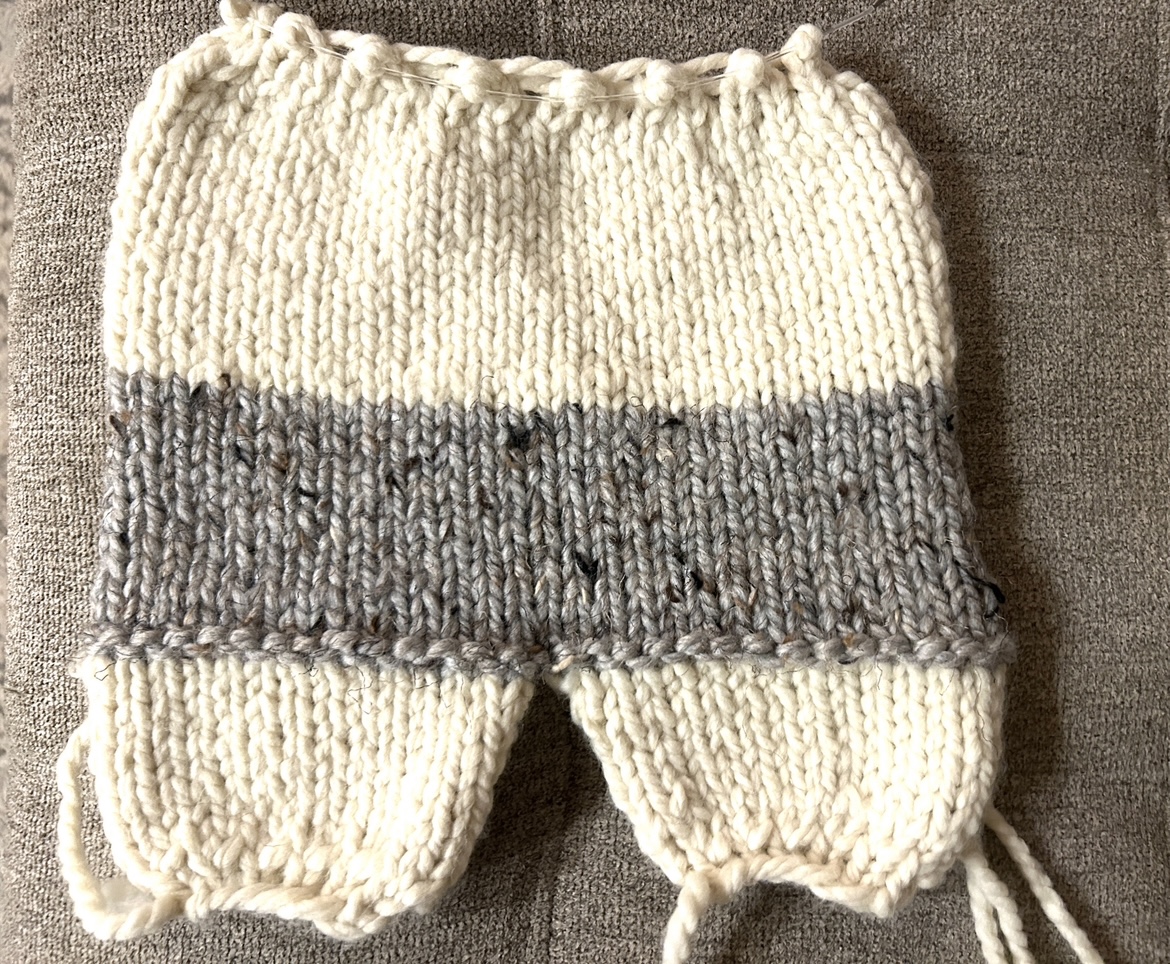
Flat panel ready to cast off and seam.
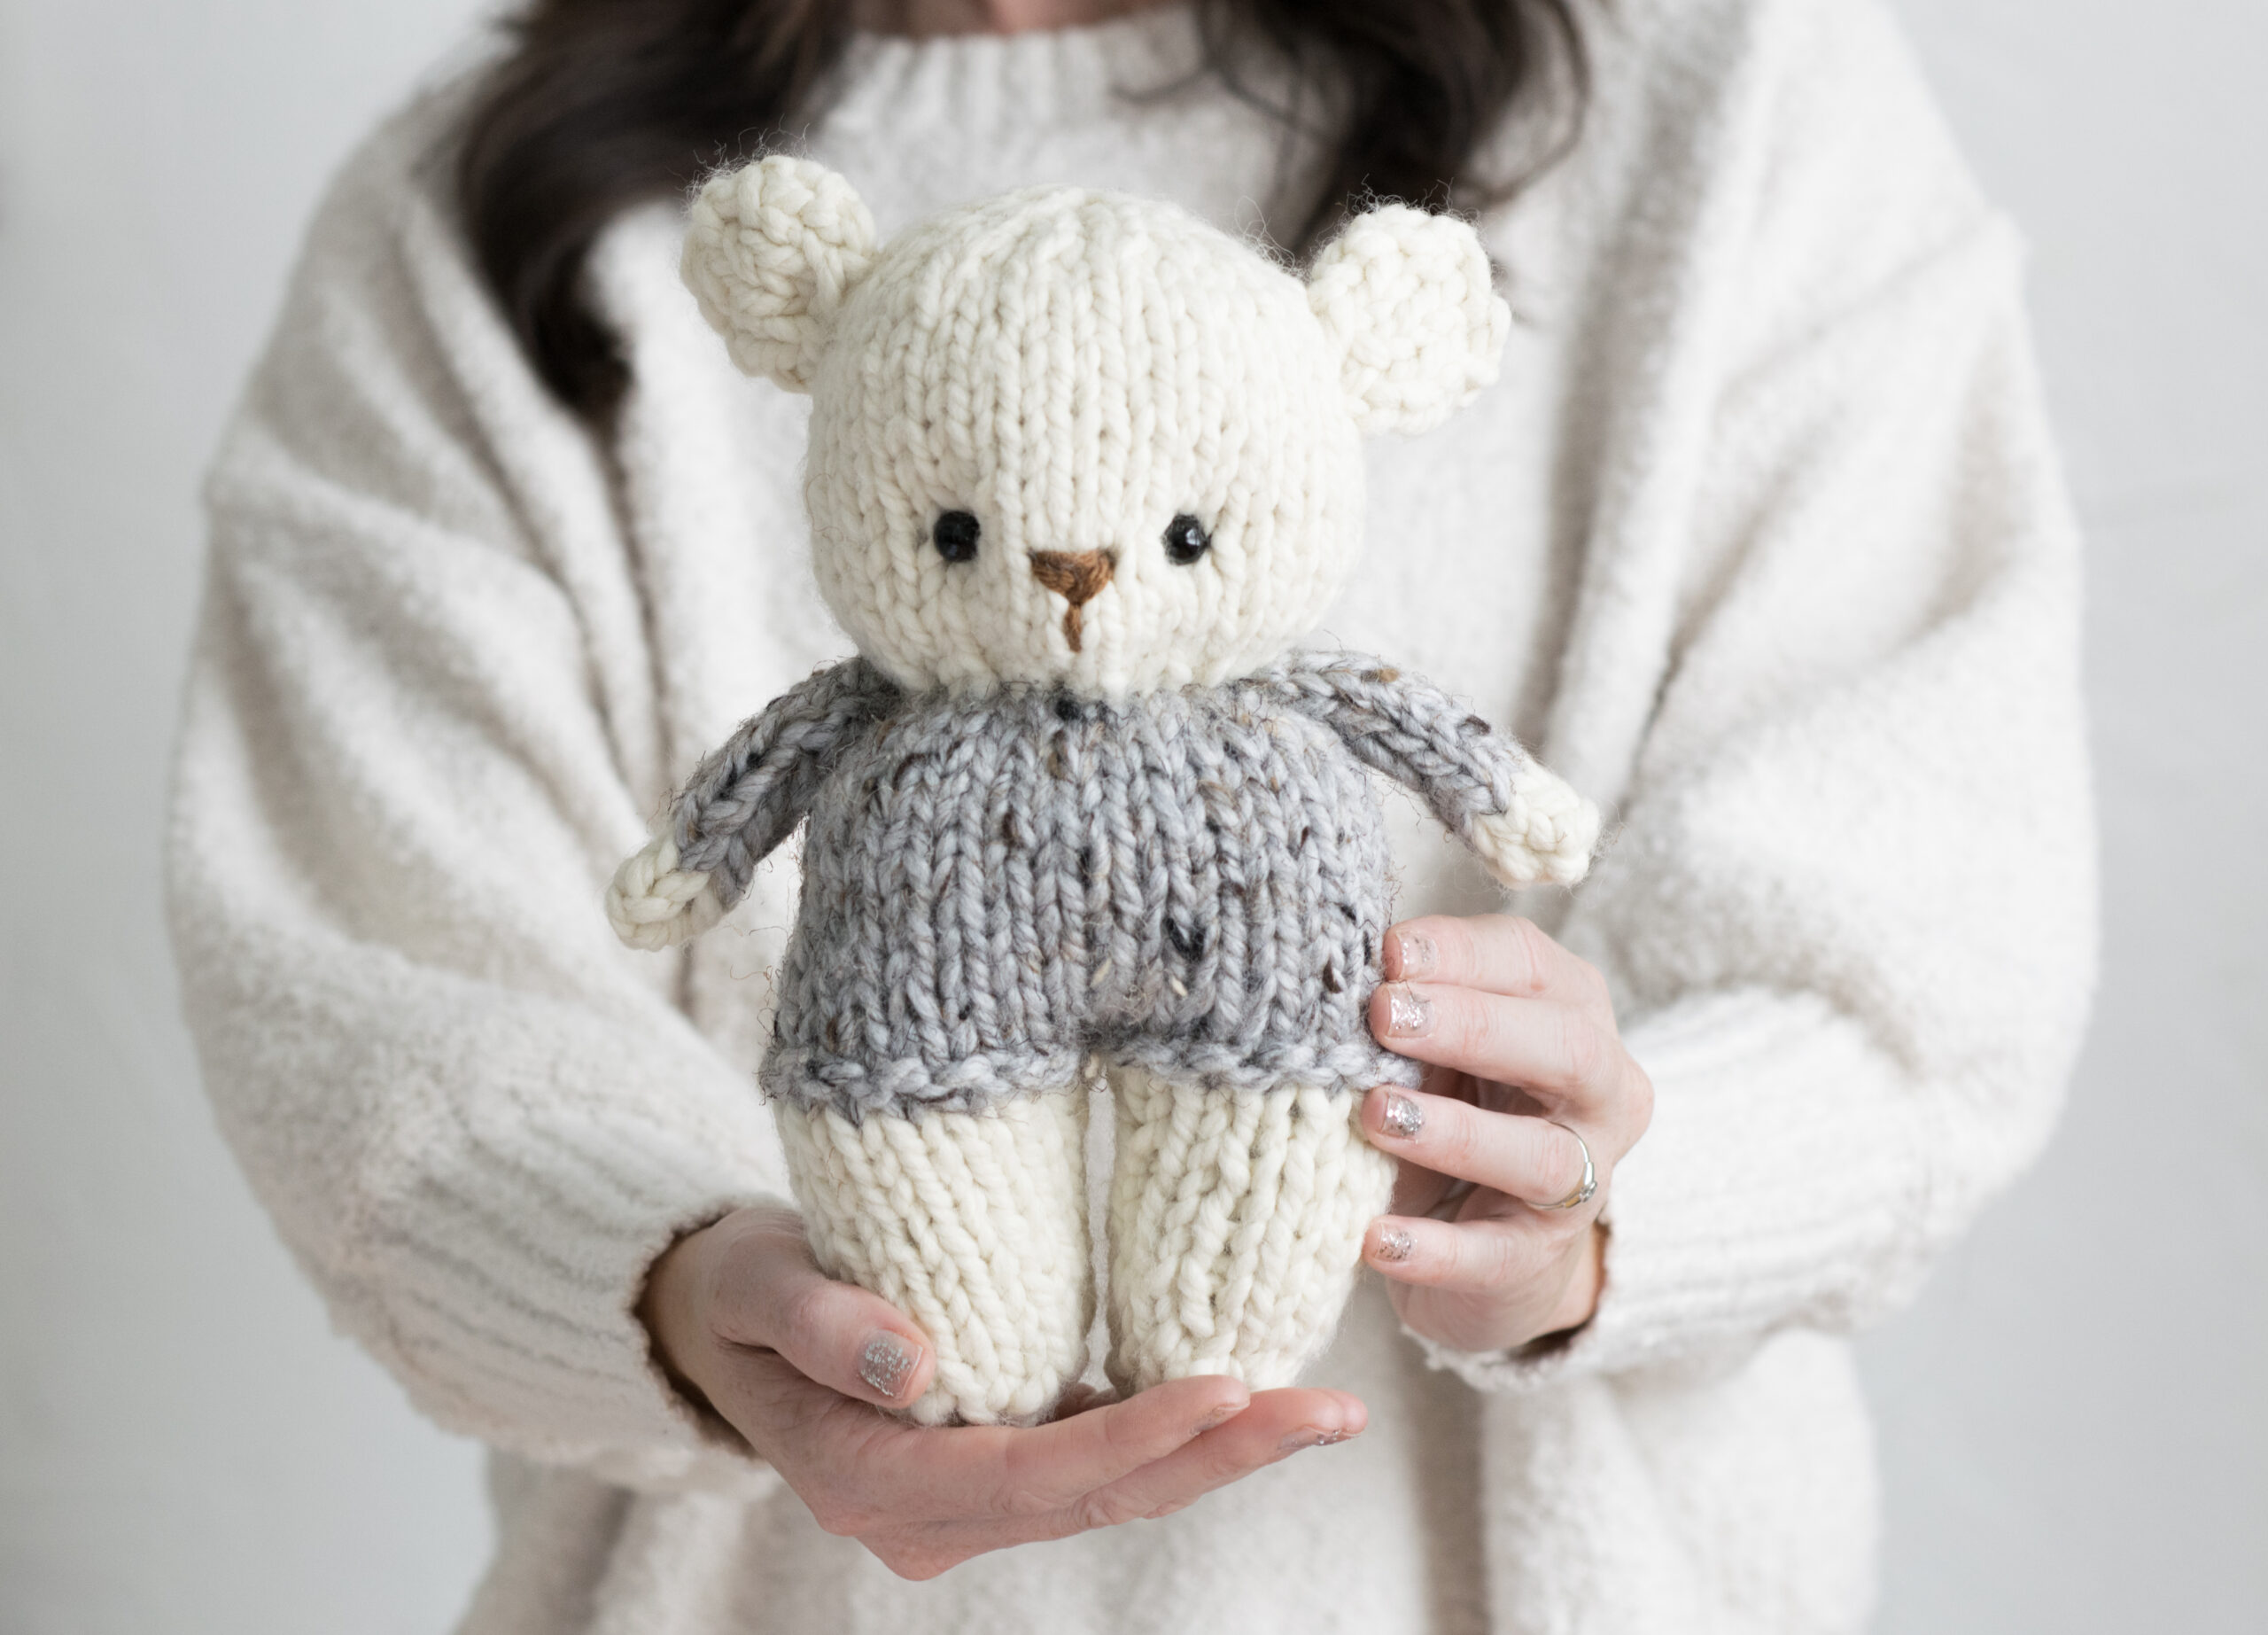
Isn’t he so cute? Thanks for letting me have so much fun with these animals. They are really a nice change of pace from the big blankets! I’d love to hear or see if you make one. 🙂
More Easy Animal Knitting Patterns
XO,
Jessica