Crochet Bucket Hat Pattern (Sherpa)
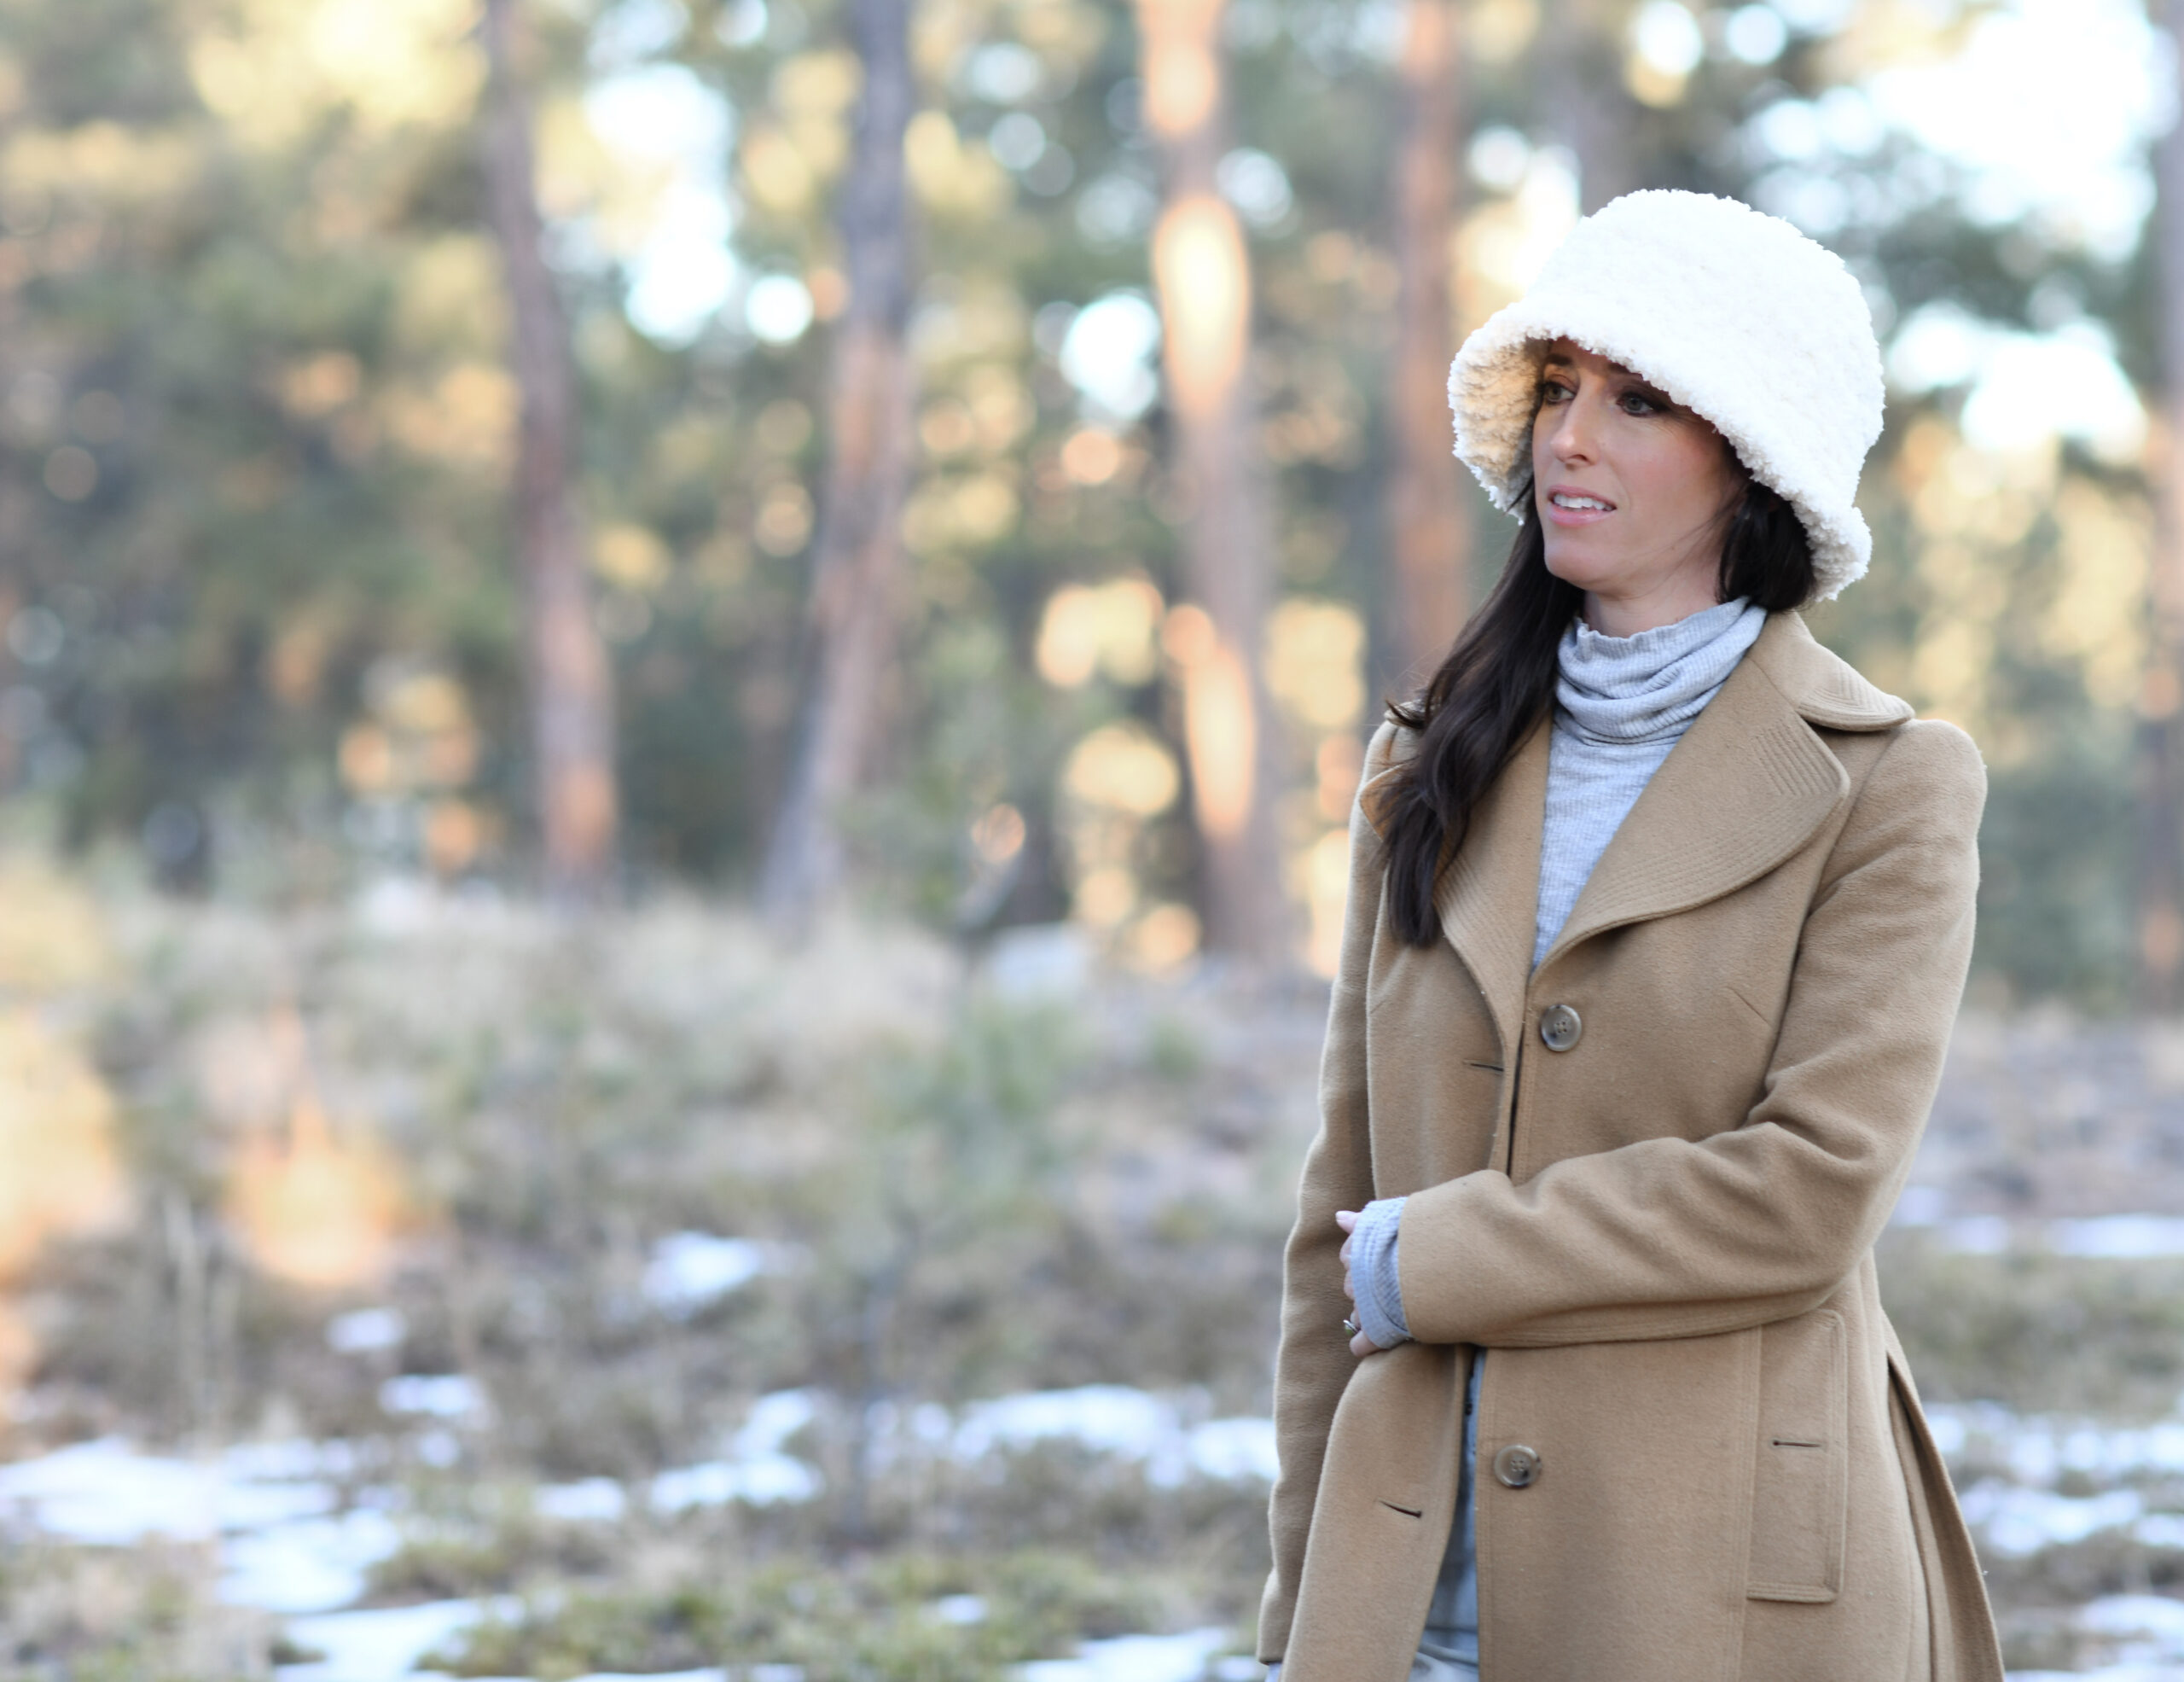
Okay – I’ve been eyeing the sherpa bucket hats in stores for months, and really hoped I’d get the chance to crochet one! Well, finally I did over Christmas break. This crochet bucket hat pattern turned out to be really easy, and works up incredibly fast!
You can check out the free pattern below (and see some progress pictures), or grab the ad-free printable version in my Etsy shop HERE or the kit from Lion Brand Here (it only takes one skein)
When my daughter wanted to try on an old corduroy bucket hat of mine from the 90’s several months ago, I was a little perplexed. But my confusion turned to some excitement as I’ve seen the styles from the 90s make a raging come back. One of the current trends being a good bucket hat. And sherpa bucket hats no less. Yay! What do you think of the trend?
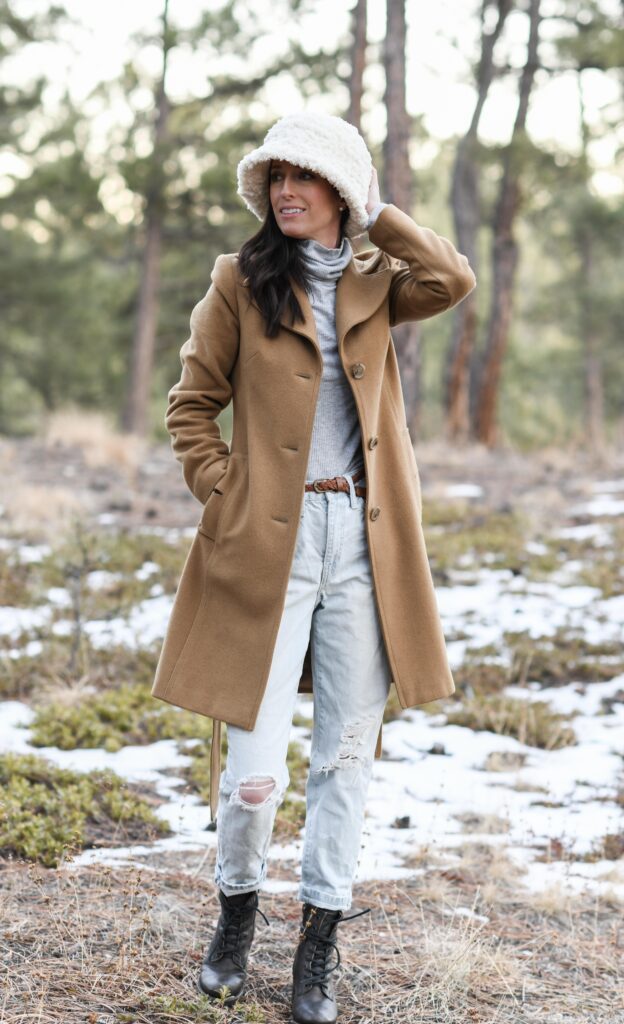
I’ve seen a few of these sherpa bucket hats for sale online and in a fave store of mine, but they are pricey. Being that I’m already a sherpa yarn fan (see the sherpa coat here and pullover here), there was no doubt I was going to try my hand at a hat.
The part I wasn’t sure would work out correctly was the brim. I didn’t know if there would be too much drape with the yarn for a good brim. With the right hook and stitches, it ended up turning out really well.
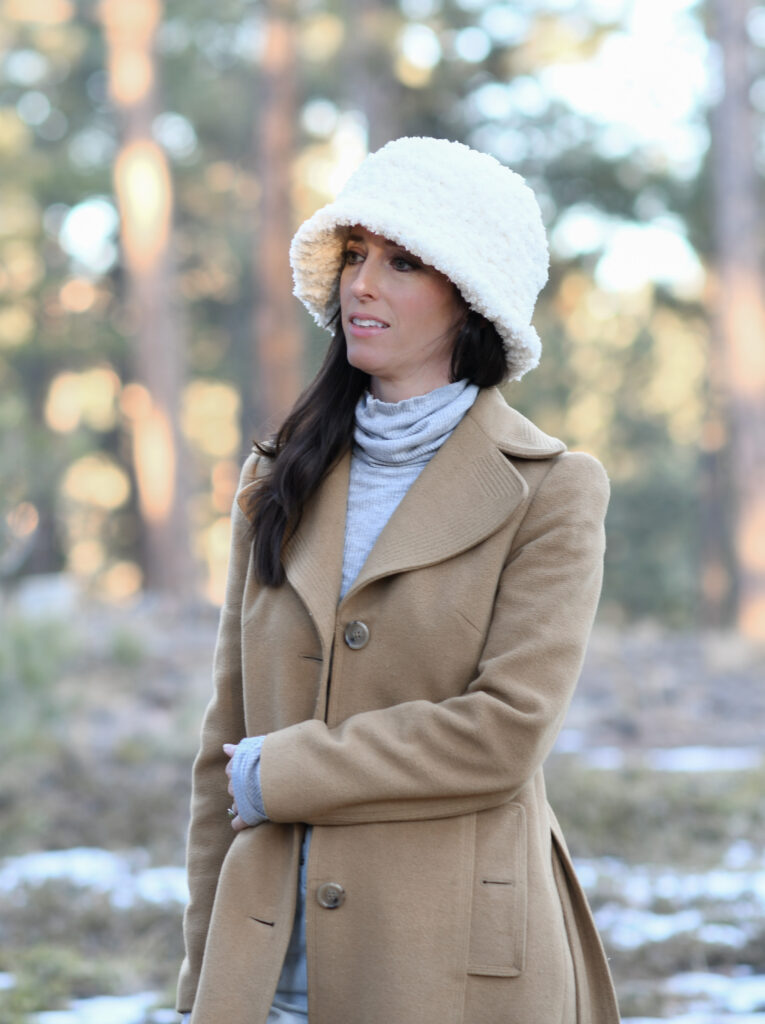
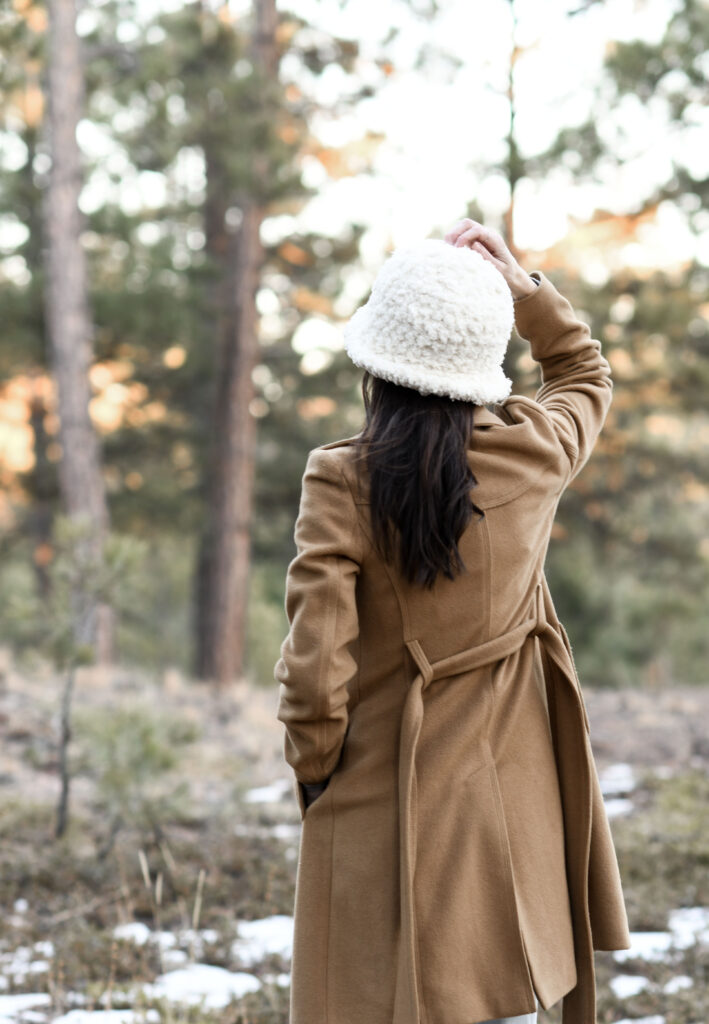
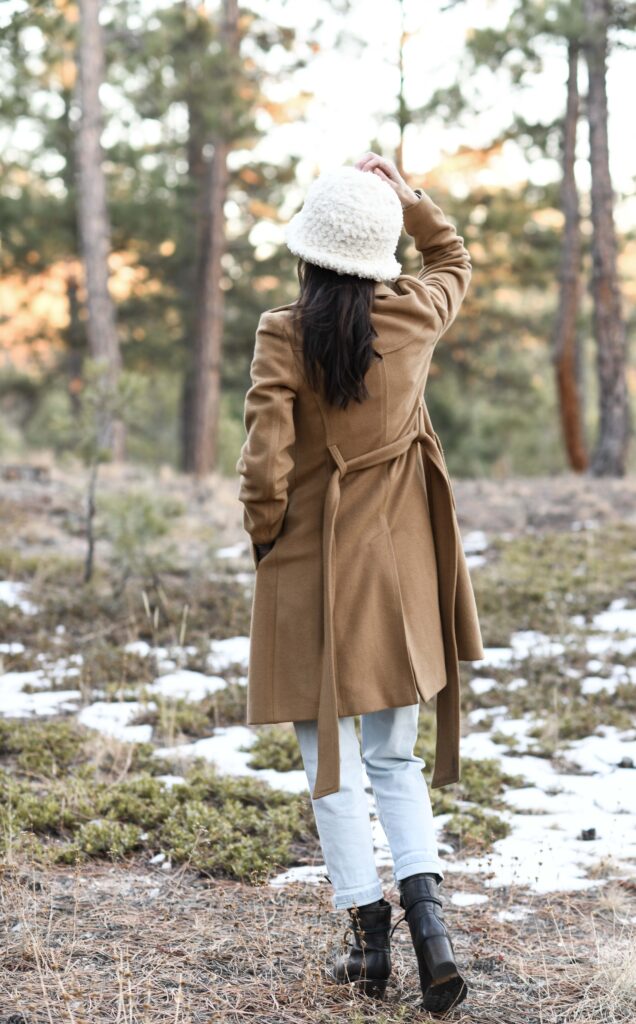
I’m super pleased with the final look and feel! It’s warm, soft, and comfy AND blocks the sun from my eyes a bit on bright days. I can join the funky 90’s trends and go back to my roots. Ha!
How Do I Crochet A Bucket Hat?
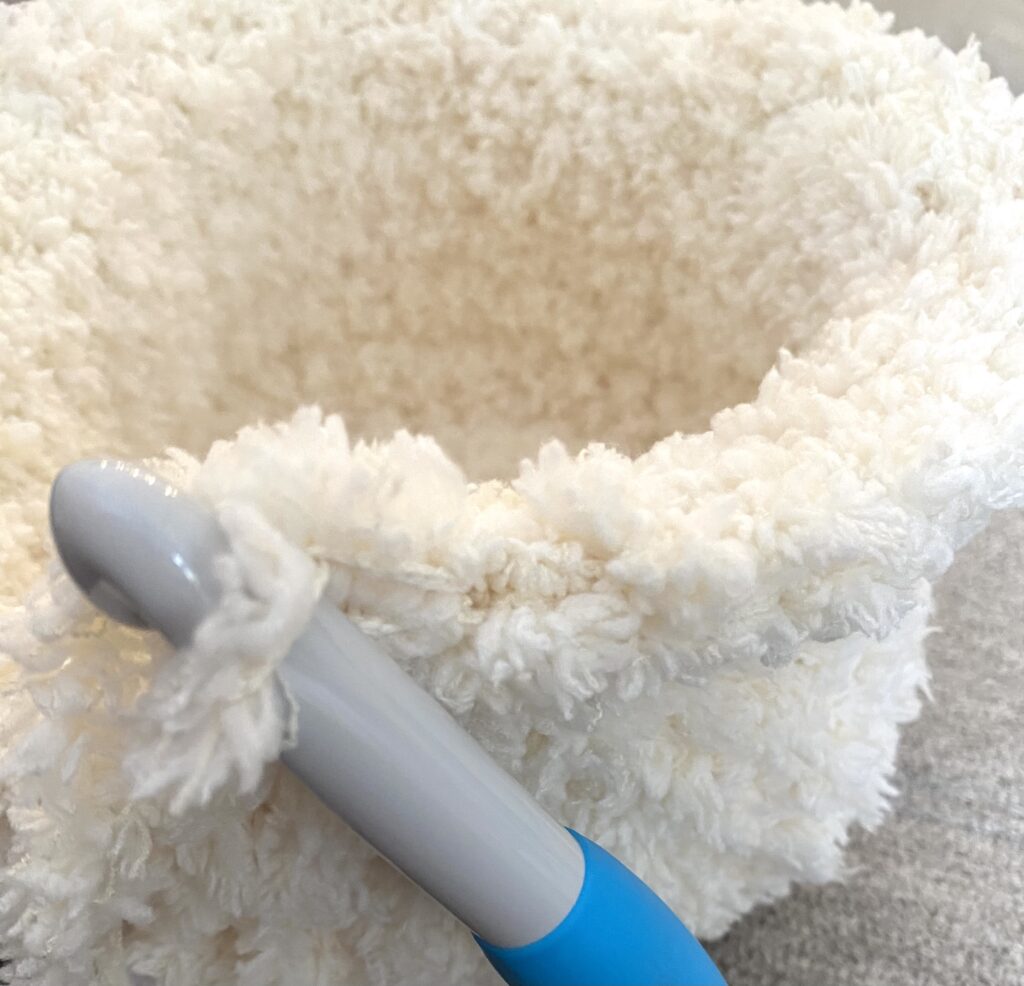
Scroll down for the full, specific pattern, but here here’s how to do it in human words instead of crochet terms. You’ll also see a couple of progress photos I took with my phone. 🙂
- Start off by crocheting a flat base. This can be made larger or smaller for a larger or smaller head. My sherpa bucket hat pattern below was written for a women’s size.
- Next, you will crochet the sides. This is where you won’t work any more increases and will just crochet around and around until you get to the brim portion,
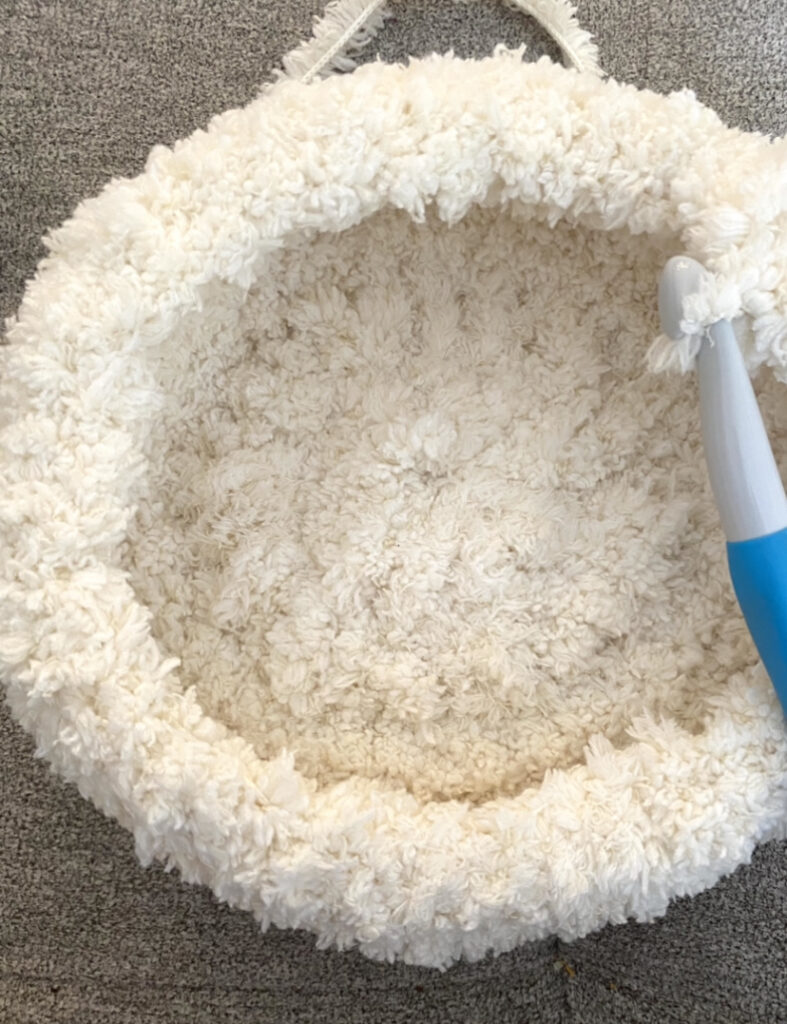
- For the brim, you’ll work a round of crochet stitches through the front loops, and from there work the set amount of increases in each round. This will make the brim pop out appropriately so we get that nice little block from the sun.
How Much Yarn Do I Need For A Bucket Hat?
With this pattern, you will use less than one skein of the Sherpa Fleece Yarn from Lion Brand.
How Do I Work With Sherpa Fleece Yarn?
If you’ve never worked with sherpa fleece, or a faux fur yarn, it is indeed a bit different because you can’t really see the stitches. It is much more about feeling the stitches, than seeing the stitches.
I suggest doing a little practice swatch where you just work several rows back and forth of single crochet, and even double crochet, to get a feel for how this yarn works up. It might take a little practice, but once you get going, you can really fly!
Alright? We ready for this pattern! I’m sharing a few progress pics as well so you can see how it looks while you’re crocheting.
Remember that you can grab the ad-free printable PDF pattern from Etsy HERE, or see the free pattern below. Have fun!
My Sherpa CROCHET Bucket Hat Pattern (Free)
Pattern Description: It doesn’t get cozier than this adorable sherpa bucket hat that’s soft,
warm, and adds style to any outfit. Not only does it help keep the sun out of your eyes, it also
happens to be right on trend! No need to buy one from the expensive shop when we can
make one ourselves. It uses basic crochet stitches and works up very quickly. Enjoy!
Skill Level: Intermediate (You should feel good with crocheting in the round, and be up for working with sherpa fleece yarn)
Materials:
US Size P/Q 15 mm crochet hook (or size to obtain correct gauge)
1 skein Lion Brand Yarn Go For Fleece Sherpa in Cream or preferred color (184 g/ 89 yds per
skein) Convenient kit available HERE
Pattern uses approximately 145 g total
Tapestry Needle
Stitch Markers
Scissors
Measuring Tape
Sizes:
Womens One Size
Fits 22” inch circumference
Length: Approximately 9.5” including brim from top to bottom when laid flat
Abbreviations & Skills:
ch – chain
sc – single crochet
dc – double crochet
st – stitch
sk – skip
ch st – chain stitch
sc flo – single crochet through the front loop only
sc blo – single crochet through the back loop only
Rnd – round
Gauge:
Approximately 6 sts and 6 rows in 4” X 4”
Notes:
This hat is created by crocheting the top as a circular, flat base in the round, and then working the sides and brim. Check your gauge before beginning to ensure your hat turns out the correct size.
If it turns out too tight, or too loose, you can adjust by going up or down a hook size, or by adjusting your tension to crochet tighter or looser as needed. Another trick to make it larger would be to add another round of single crochet stitches to the flat base before moving onto the rest of the pattern.
Due to the nature of the sherpa fleece yarn, it is difficult to see the stitches. You will largely
crochet by feel, rather sight. If you’ve never worked with faux fur yarn, or sherpa yarn, consider practicing first on a swatch in order to get comfortable with feeling the stitches. Once you get the hang of it, it’s quite simple and it works up quickly!
Enjoy!
My Sherpa Bucket Hat Crochet Pattern Instructions
• Mark each round with stitch marker
• Work in continuous rounds unless otherwise noted
Step 1: Flat Base
Ch 3
Rnd 1 11 dc in 3rd ch st from hook (2 ch sts count as st). (12 sts)
Rnd 2 Ch3 (counts as st), dc in same st, 2dc in each st around, sl st to join in top of beg ch. (24 sts)
Rnd 3 Ch1 (doesn’t count as st), *2sc, 1 sc in next, repeat from * around. (36 sts)
Step 2: Sides
Rnd 4 Sc blo in each st around (36 sts)
Rnd 5 Sc in each st around (36 sts)
Turn hat right side out.
Next, repeat Rd 5, working in continuous rounds until hat measures 7 ½ “ long when laid flat,
measuring from top to bottom. Once you’ve reached 7 ½” inches in length, slip stitch into last stitch. If you are making this hat for yourself, now would be a good time to try it on and see how it fits! If it’s too tight or too loose, check out the notes section on how you can make adjustments.
Step 3: Brim
Rnd 6 Sc flo in each st around. (At this point you’ve worked more than 6 rounds of course, as you repeated rnd 5 until it was 7.5″, but this will be called Rnd 6 as it’s a new stitch pattern)
Rnd 7 *Sc in next 3 sts, 2sc in next st, repeat from * around.
Rnd 8 *Sc in next 4 sts, 2sc in next st, repeat from * around to 2nd to last st, sk st, sl st into nextst. Tie off and weave in ends.
That’s it!
What do you guys think? Yay or nay on the bucket hat trend?
Hope you enjoyed this little pattern! Can I just say how nice it was to make a small project for a change. Wow! If you are a little tired from big projects after the holidays, do give yourself something small and quicker to accomplish. It will keep you interested and happy – especially when it’s a soft, fuzzy, comfy thing like this!
XO,
Jessica

I am a big fan of hats. I might be making at least one for myself if I find
suitable Sherpa fleece type of yarn in a light color. White looks nice! t’s easier to crochet than dark colors without seeing the stitches.
LOVE THIS! I can’t wait to make it! I have a little left on my Joanne’s gift card and will check there tomorrow for the yarn. I’ll send a picture when I’m done. Thanks again, Jessica!
I love my hat! I couldn’t find the correct yarn that evening, so I got TWIST Sherpa with the same weight and style. I used a hook that was 12mm because I have a small head and it fit perfectly following your pattern. I see a couple of mistakes I made, but I love the look and the hat is super warm! I have pictures I will try to attach to send you.
Thanks so much.
Annie