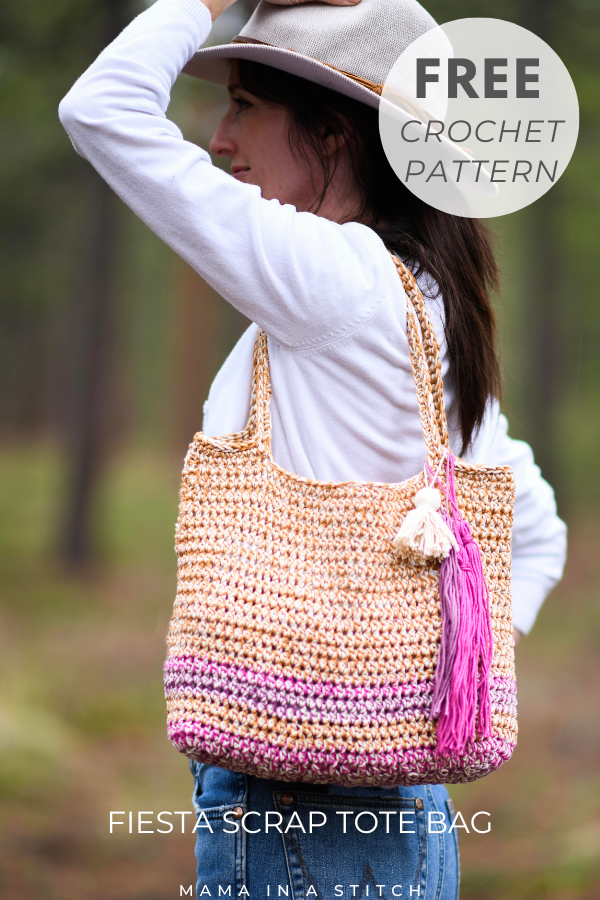
Fiesta Scrap Bag Crochet Pattern
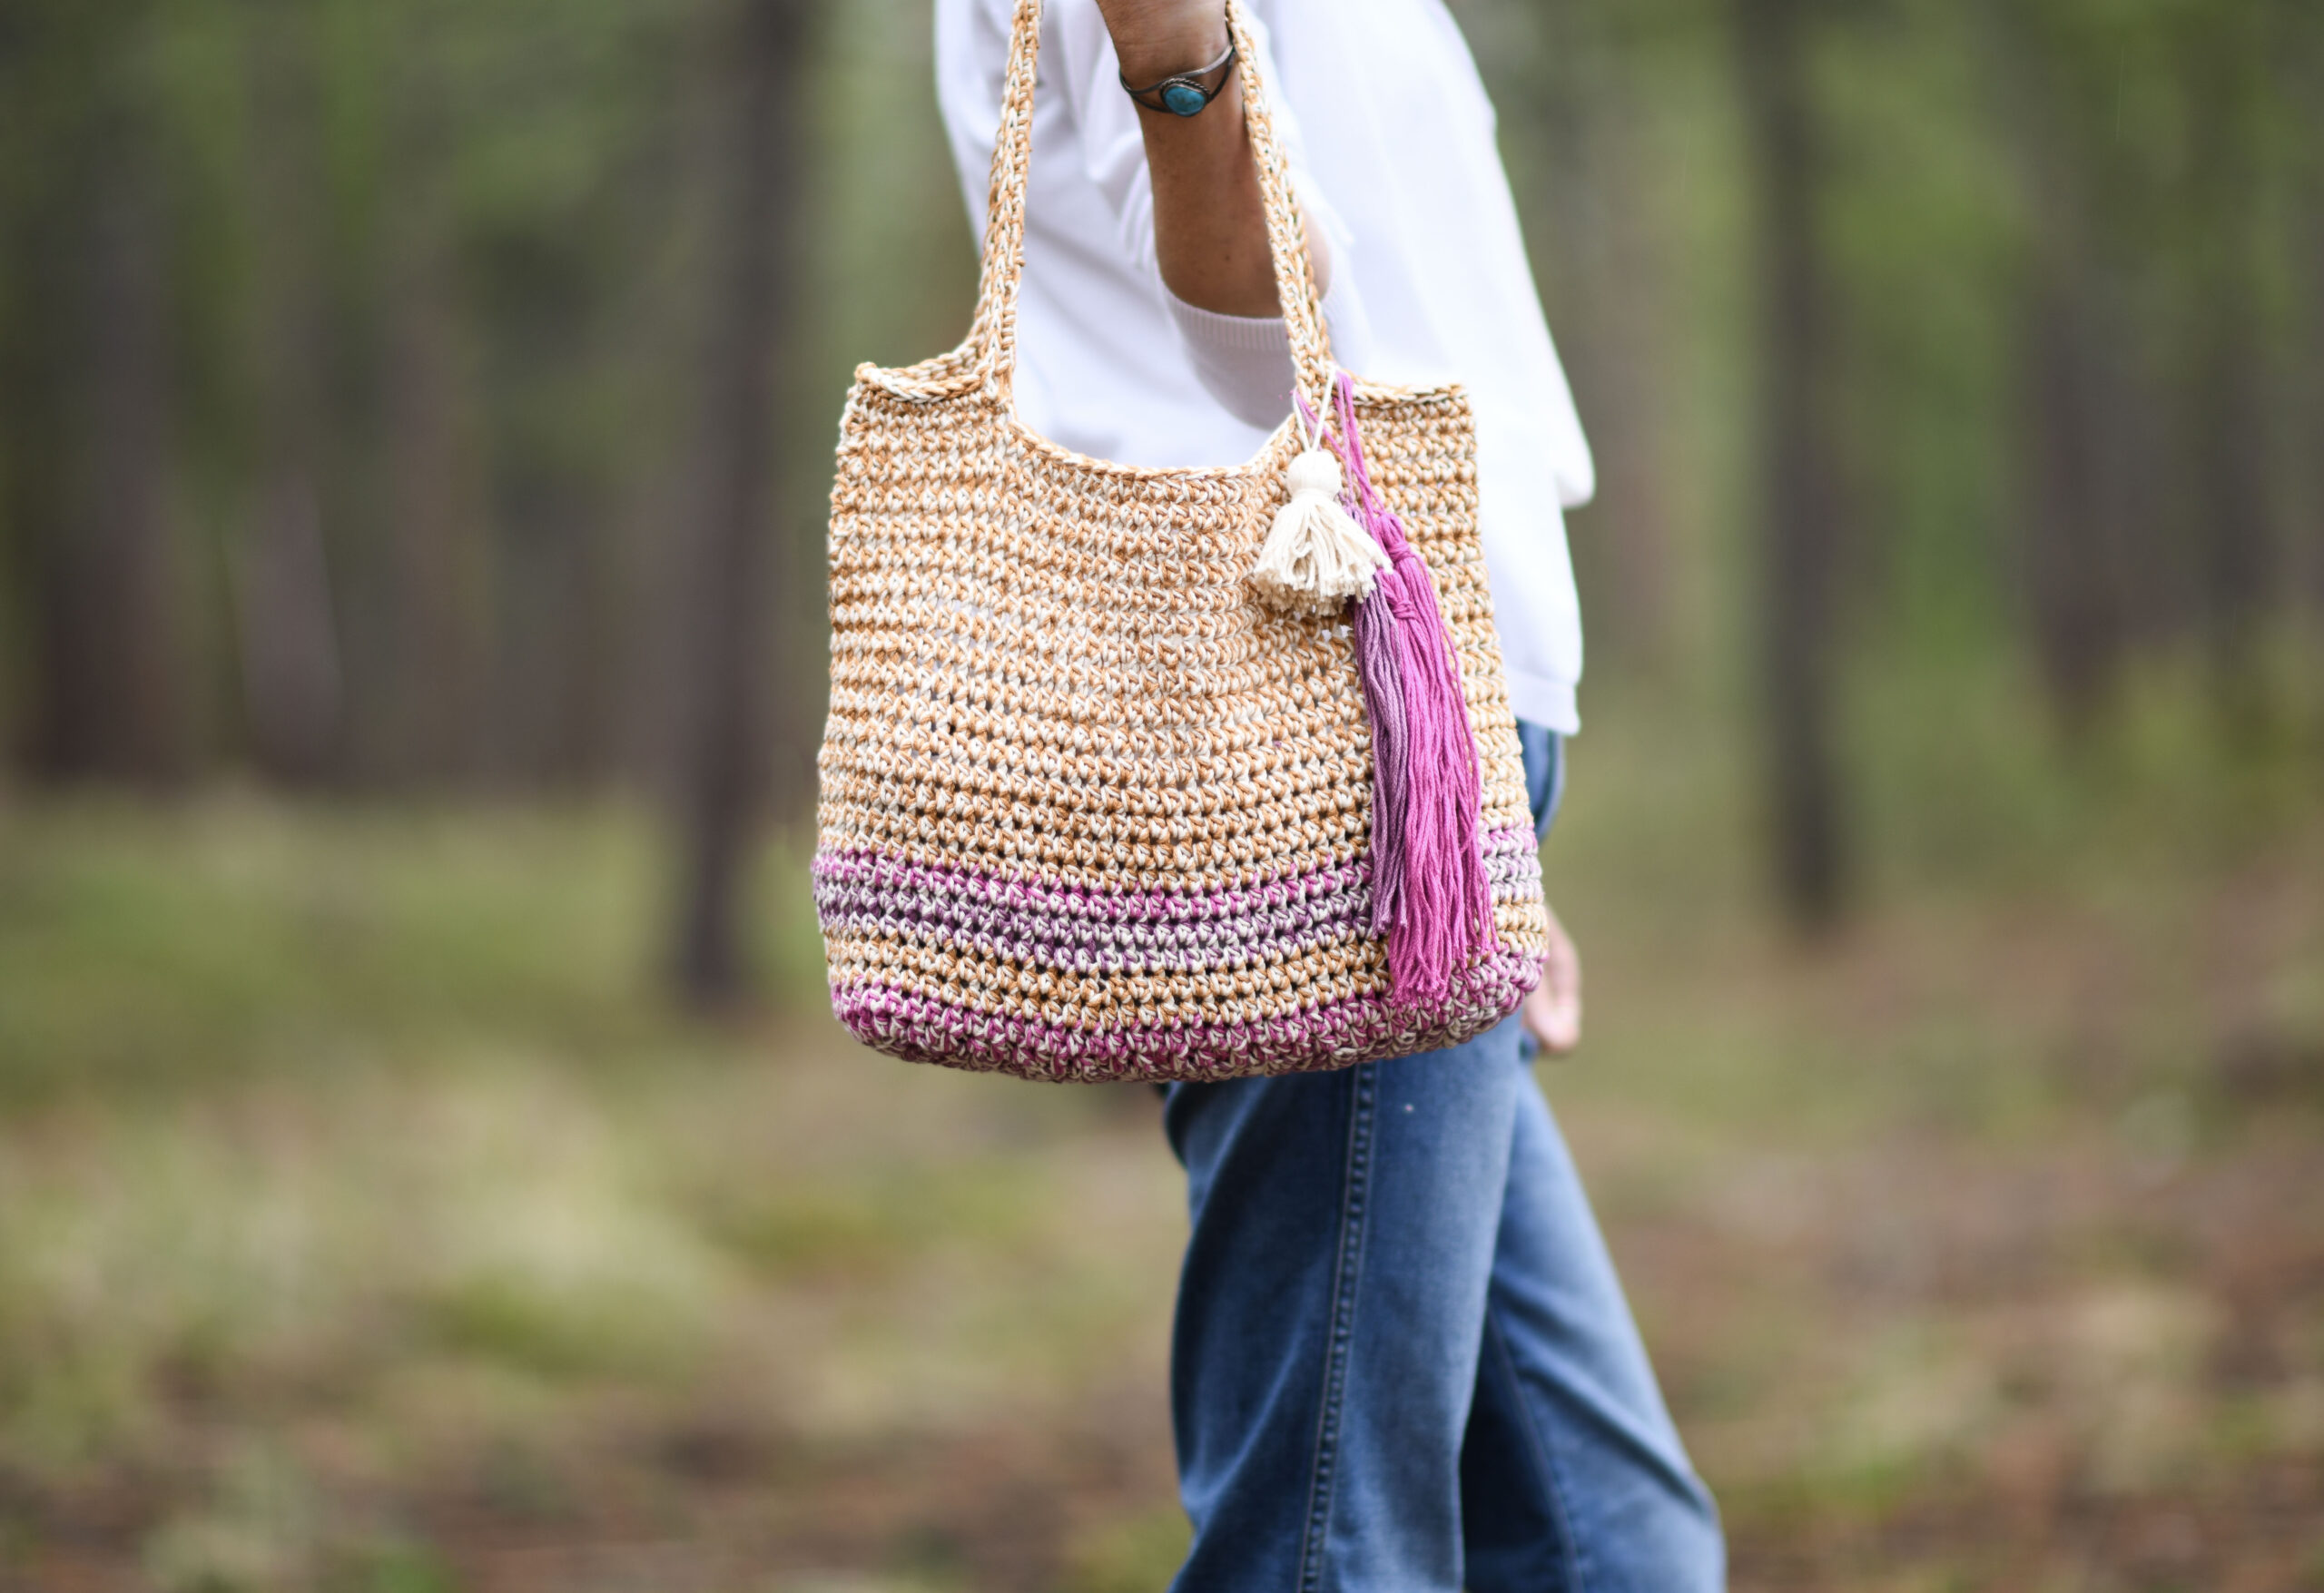
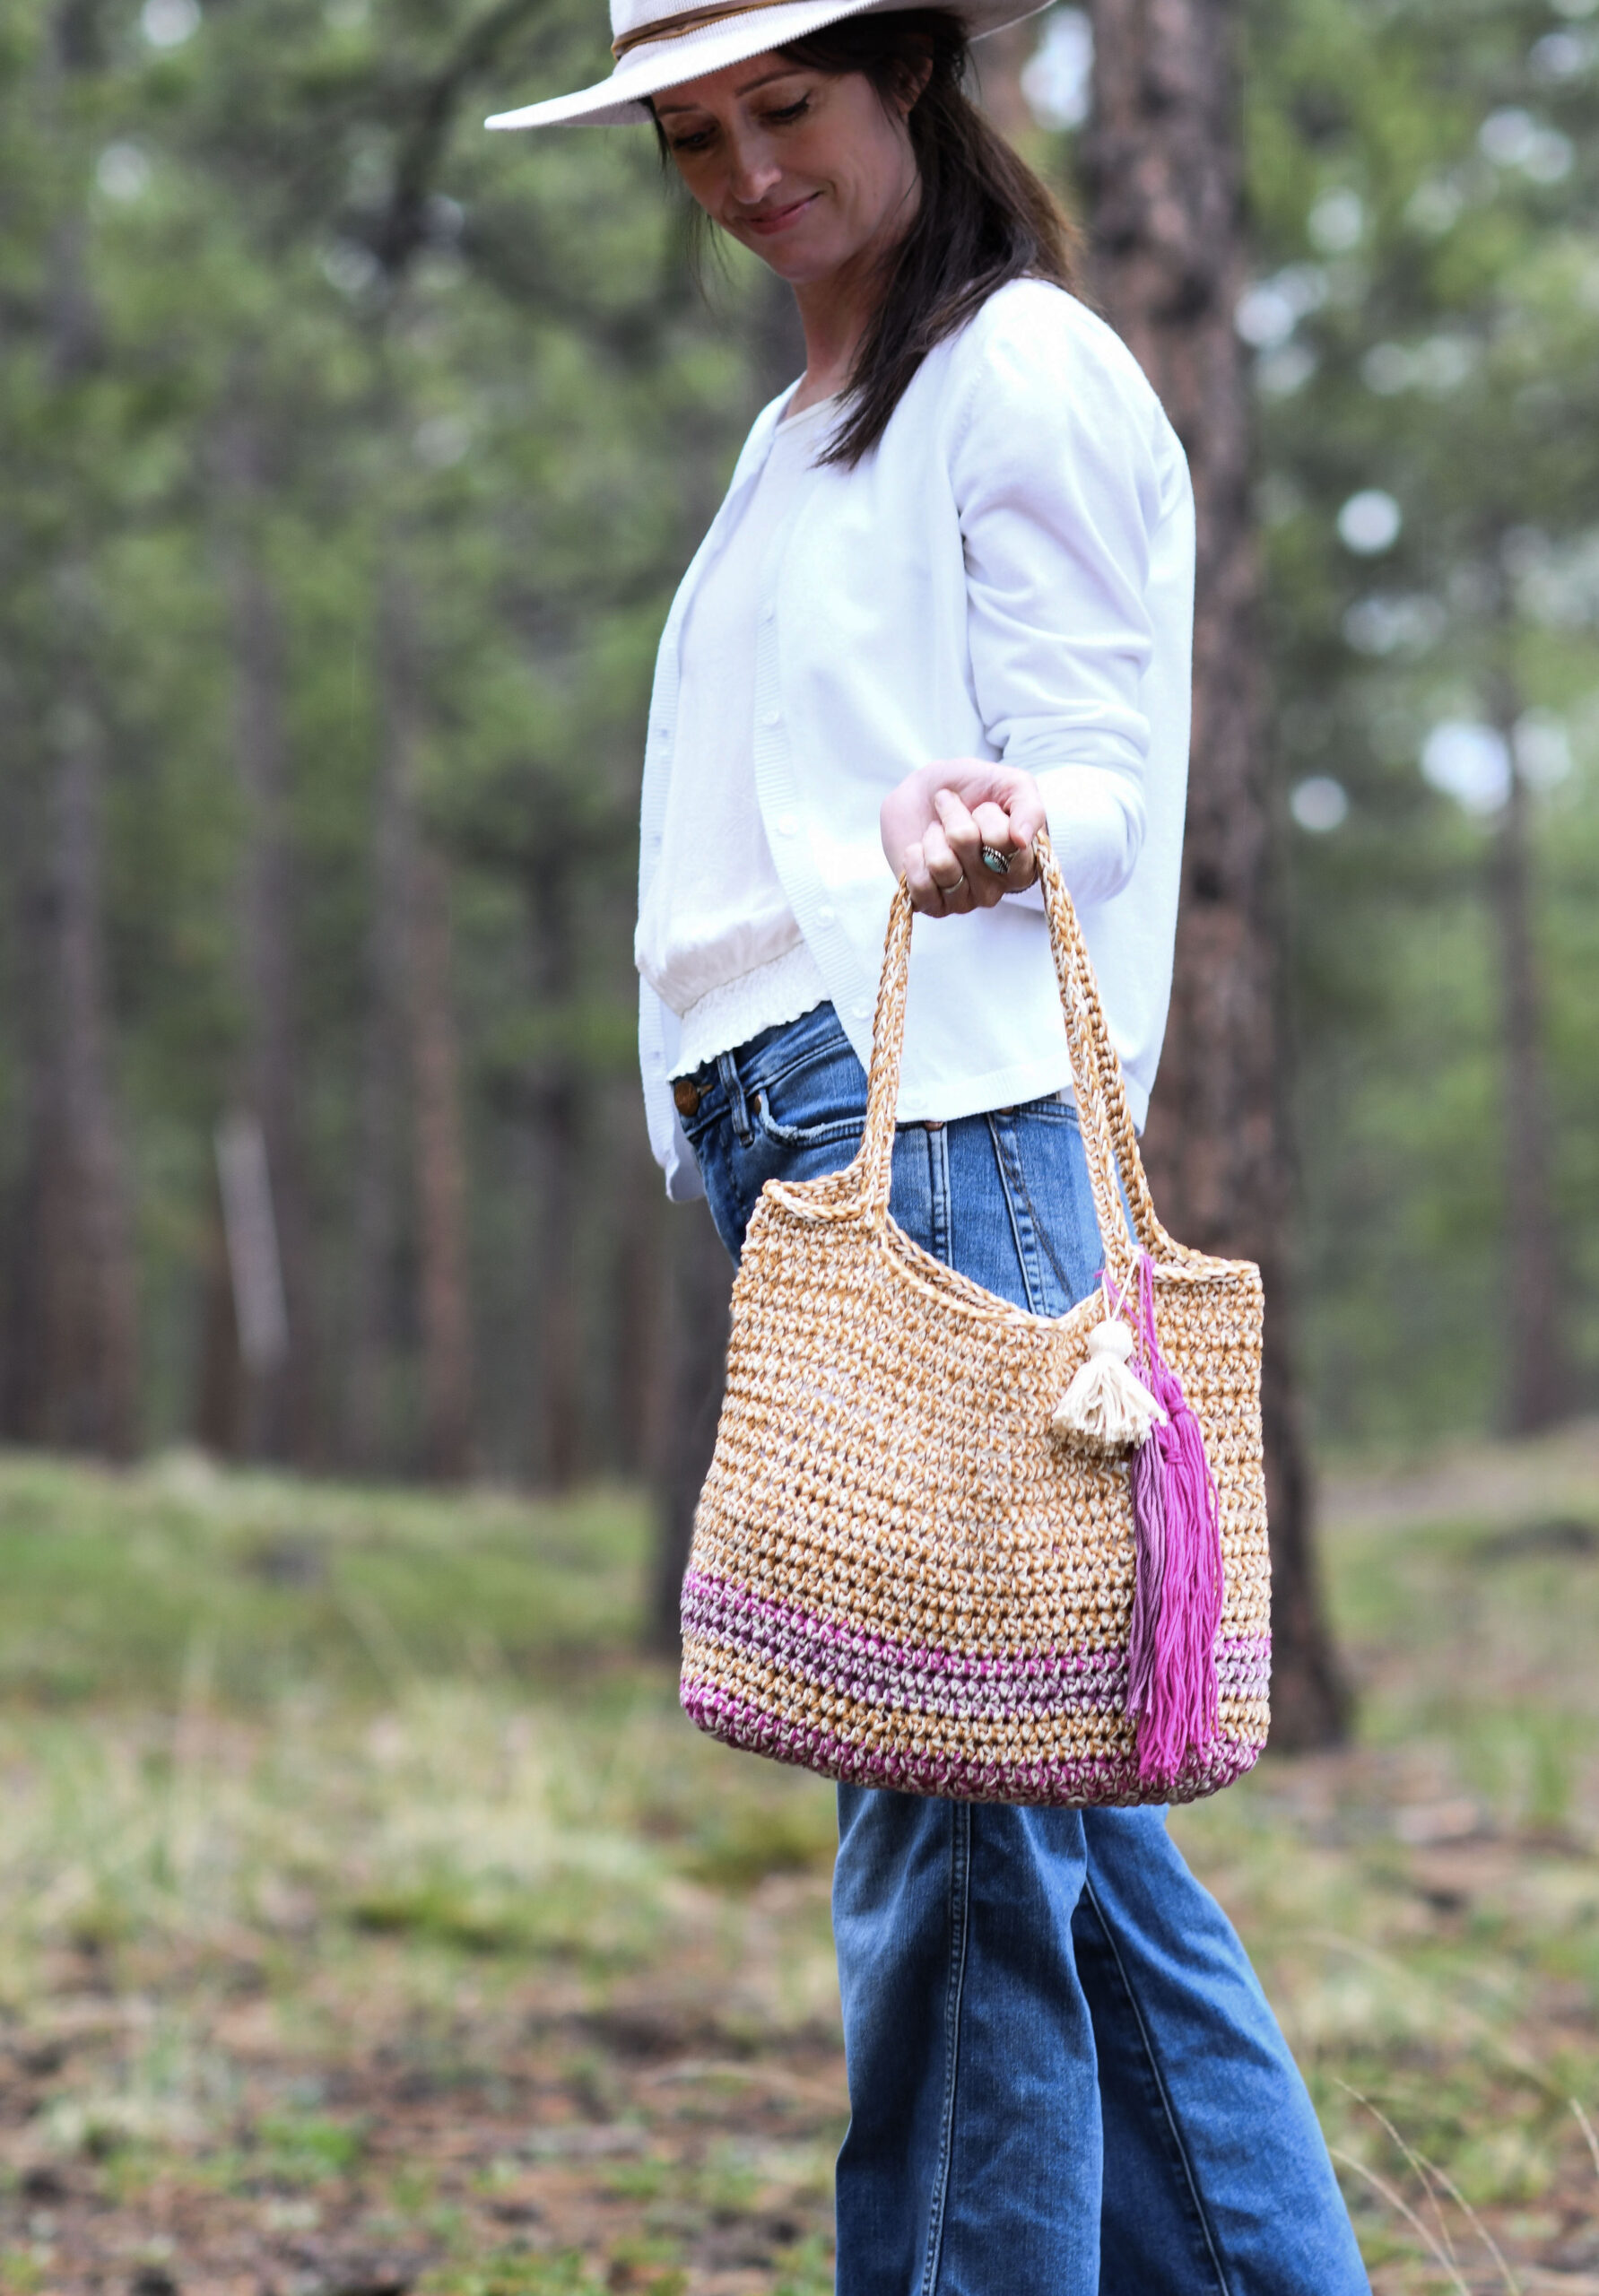
Today’s “Fiesta Tote Bag” is a playful, sturdy, colorful crochet bag pattern for all your summer adventures. It’s also super easy, and it would be cute in so many color option varieties. Read on! (There are also progress photos to help you along)
You can check out the full, free pattern below, or you may purchase the ad-free printable version from my Etsy shop HERE or the kit from Lion Brand Yarn HERE.

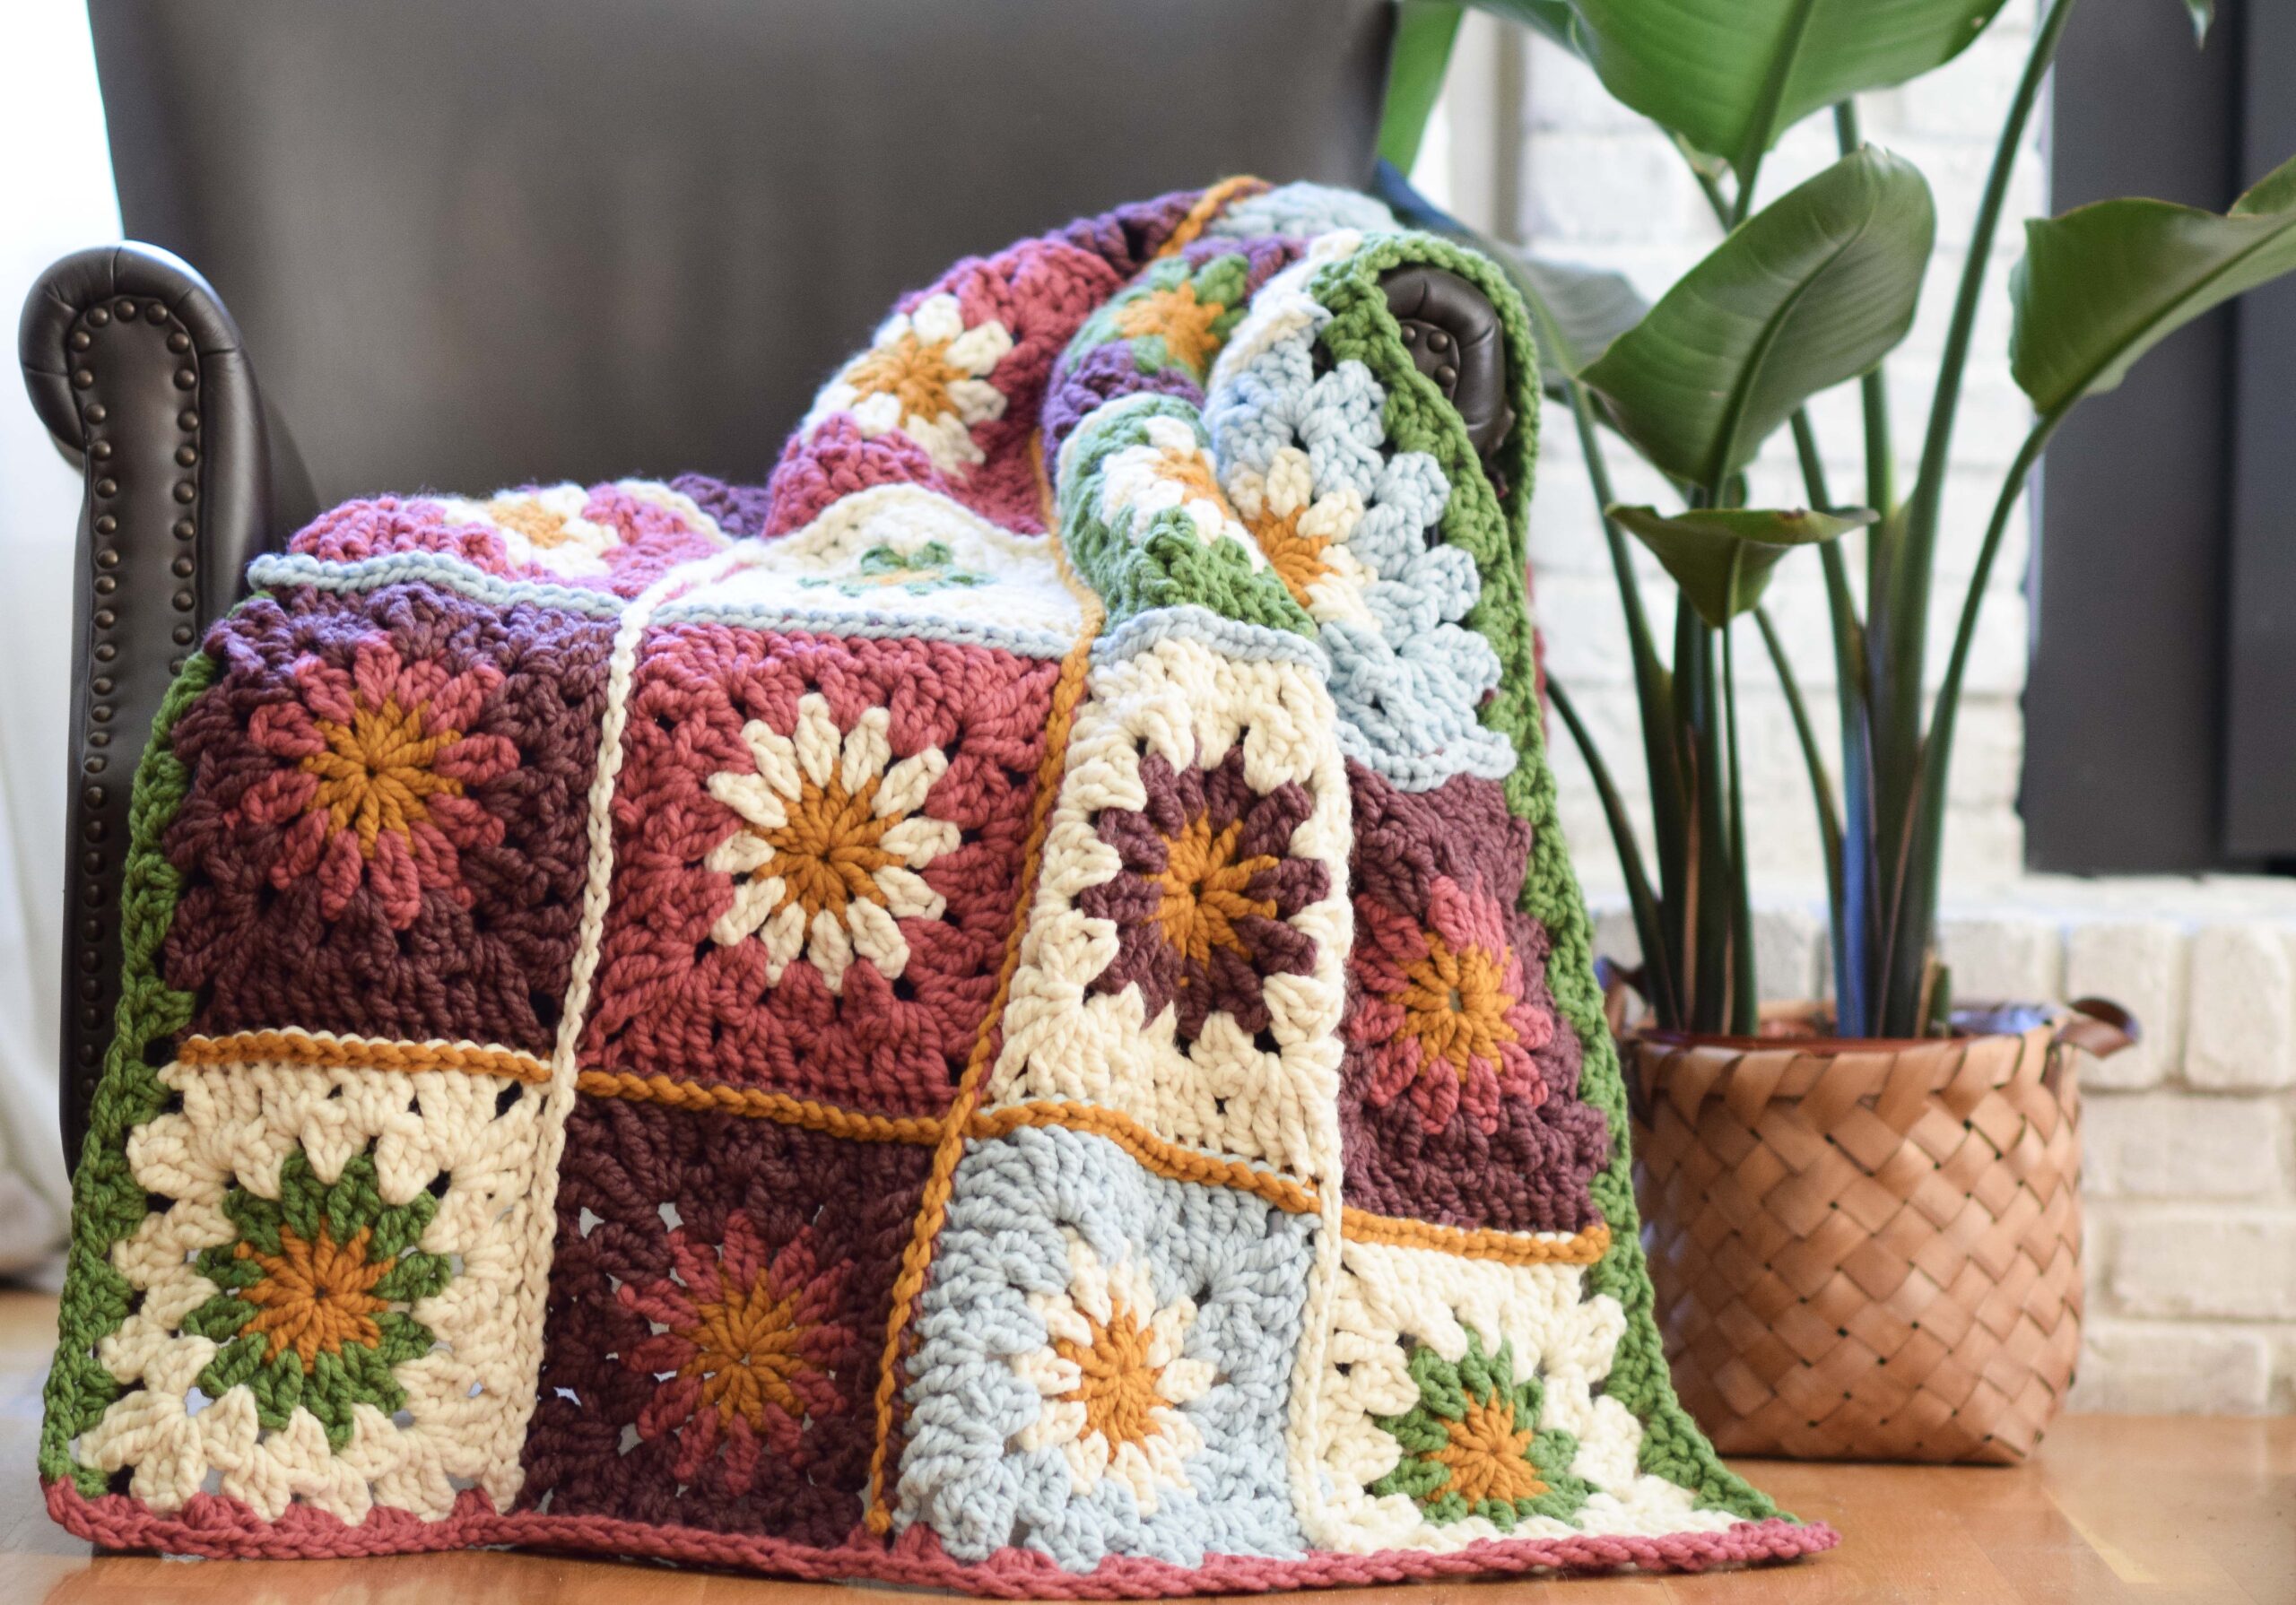
I’ve seen some scrap yarn baskets making the rounds this year and I just love the look and functionality! This bag was inspired by this idea of mixing and playing with various yarn colors to make a sturdy tote. The tassels were added for a bit more flair. I’m really happy with how it turned out! It almost looks store bought.
If you know how to half double crochet, you can totally make this bag. You’ll hold two strands of worsted weight yarn together throughout. Because of the tight stitching, it’s really optional if you ever want to line it.
What Yarn Do I Use To Crochet This Bag?
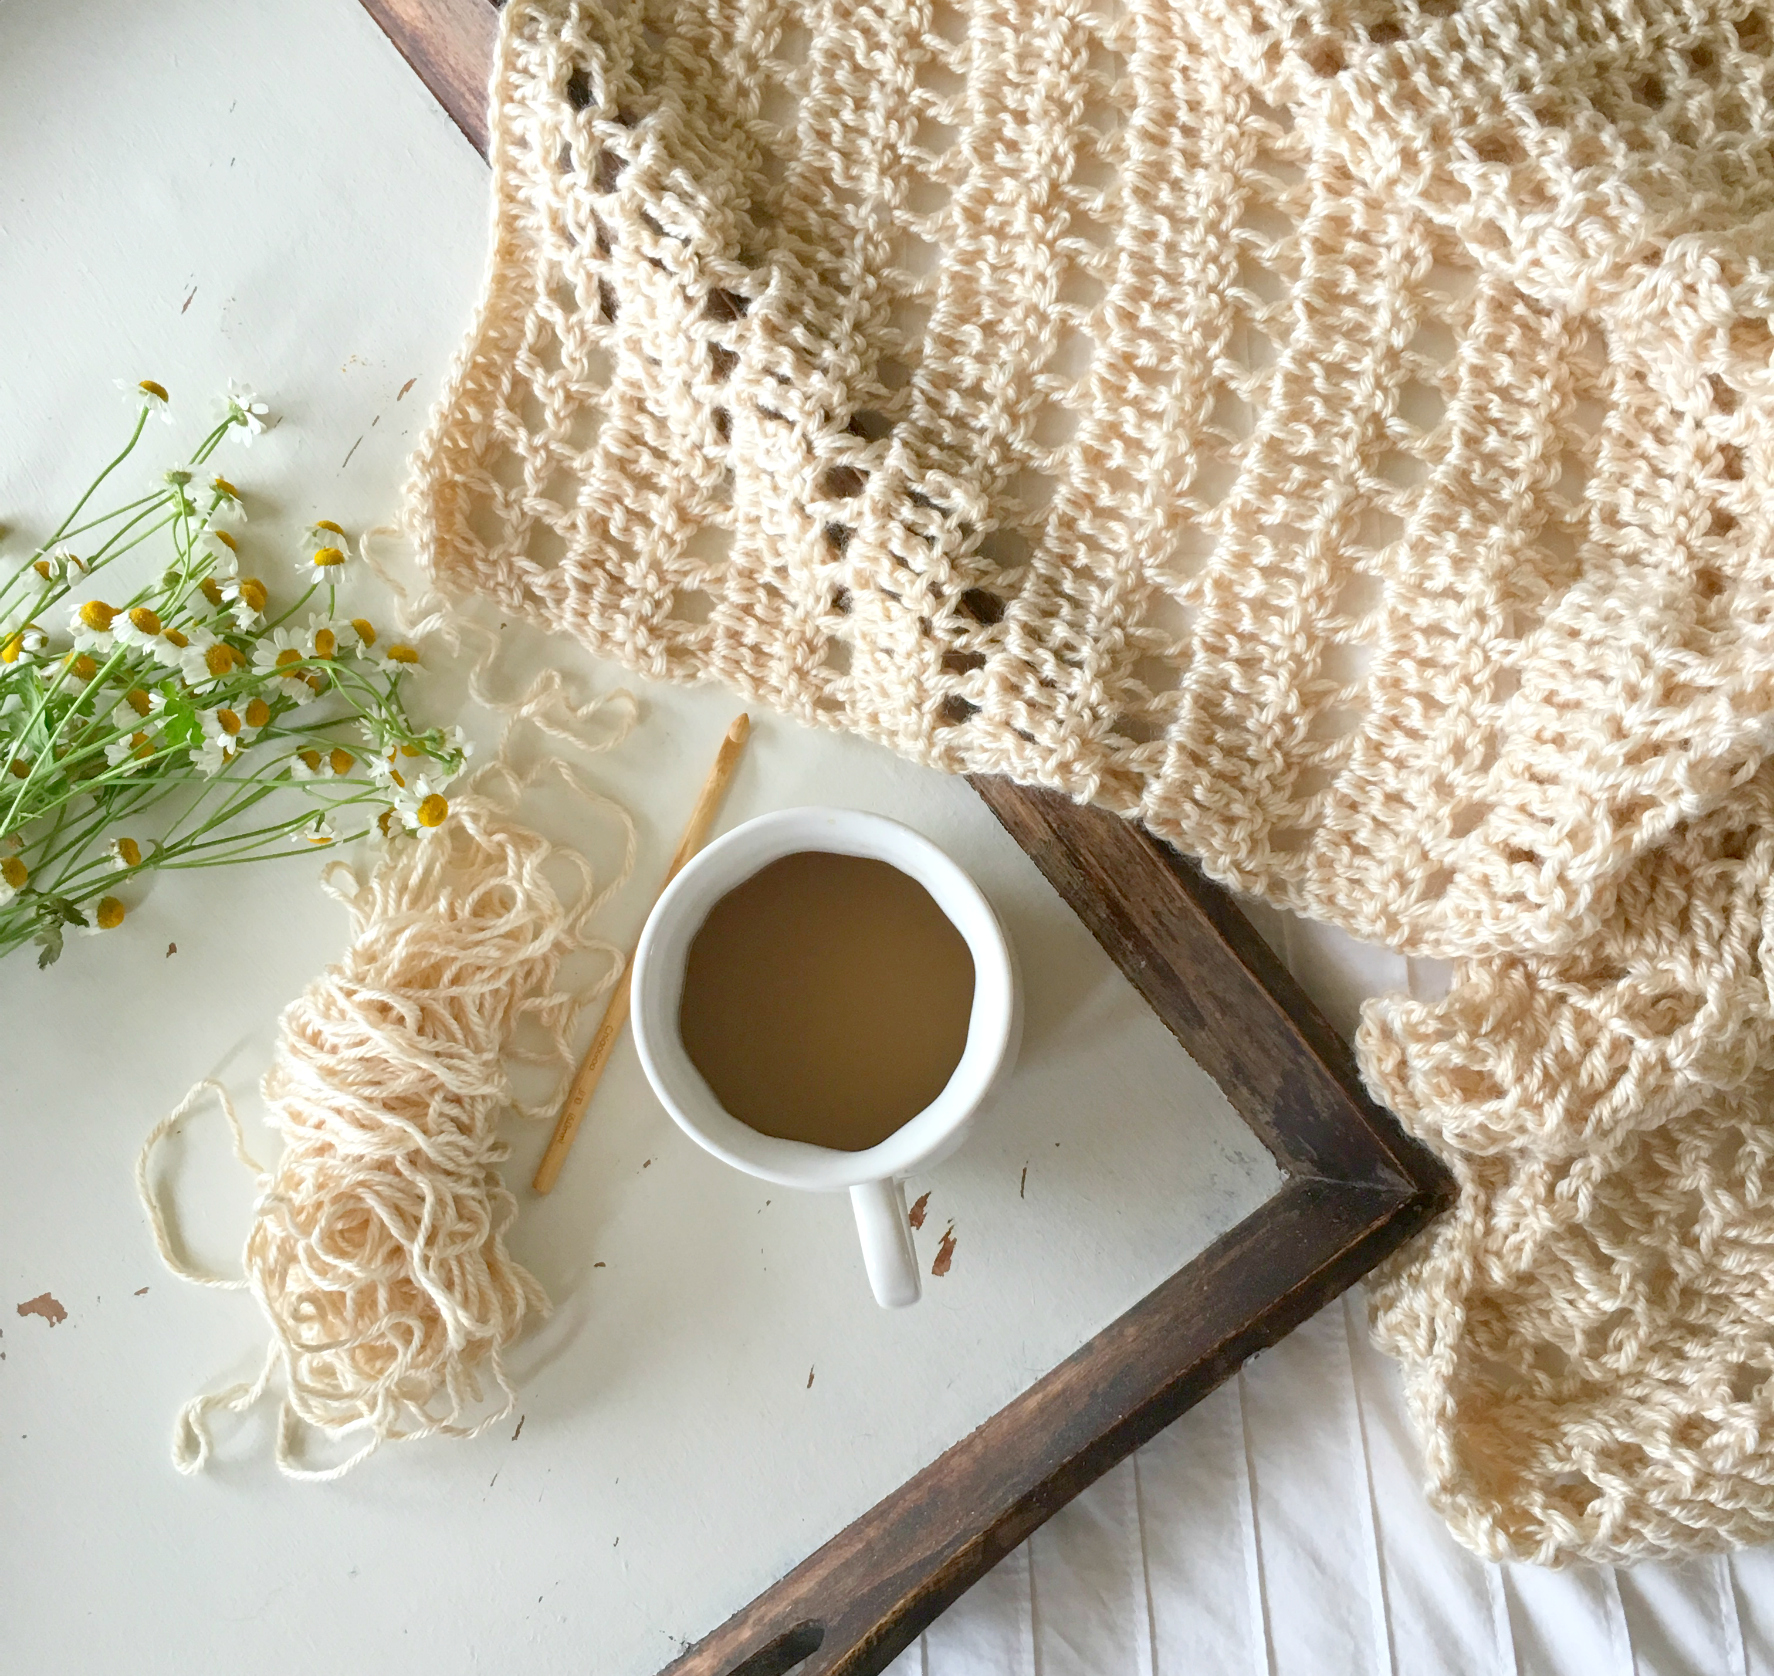
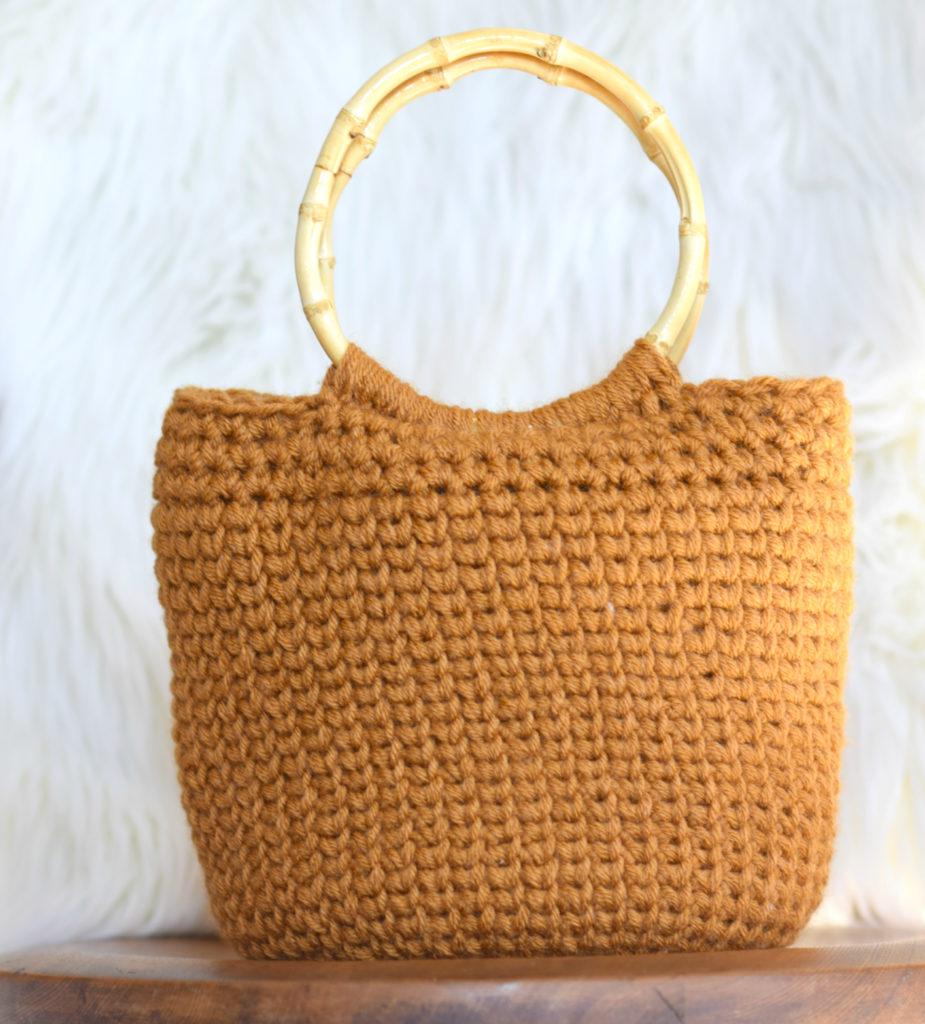
I turned to Lion Brand 24/7 Cotton again for making a good bag. I used this same yarn on my Magnolia Tote Bag Crochet Pattern, and was really happy with how the mercerized cotton holds up. They have nice, bold colors to choose from for summer time, and it’s just a high quality yarn.
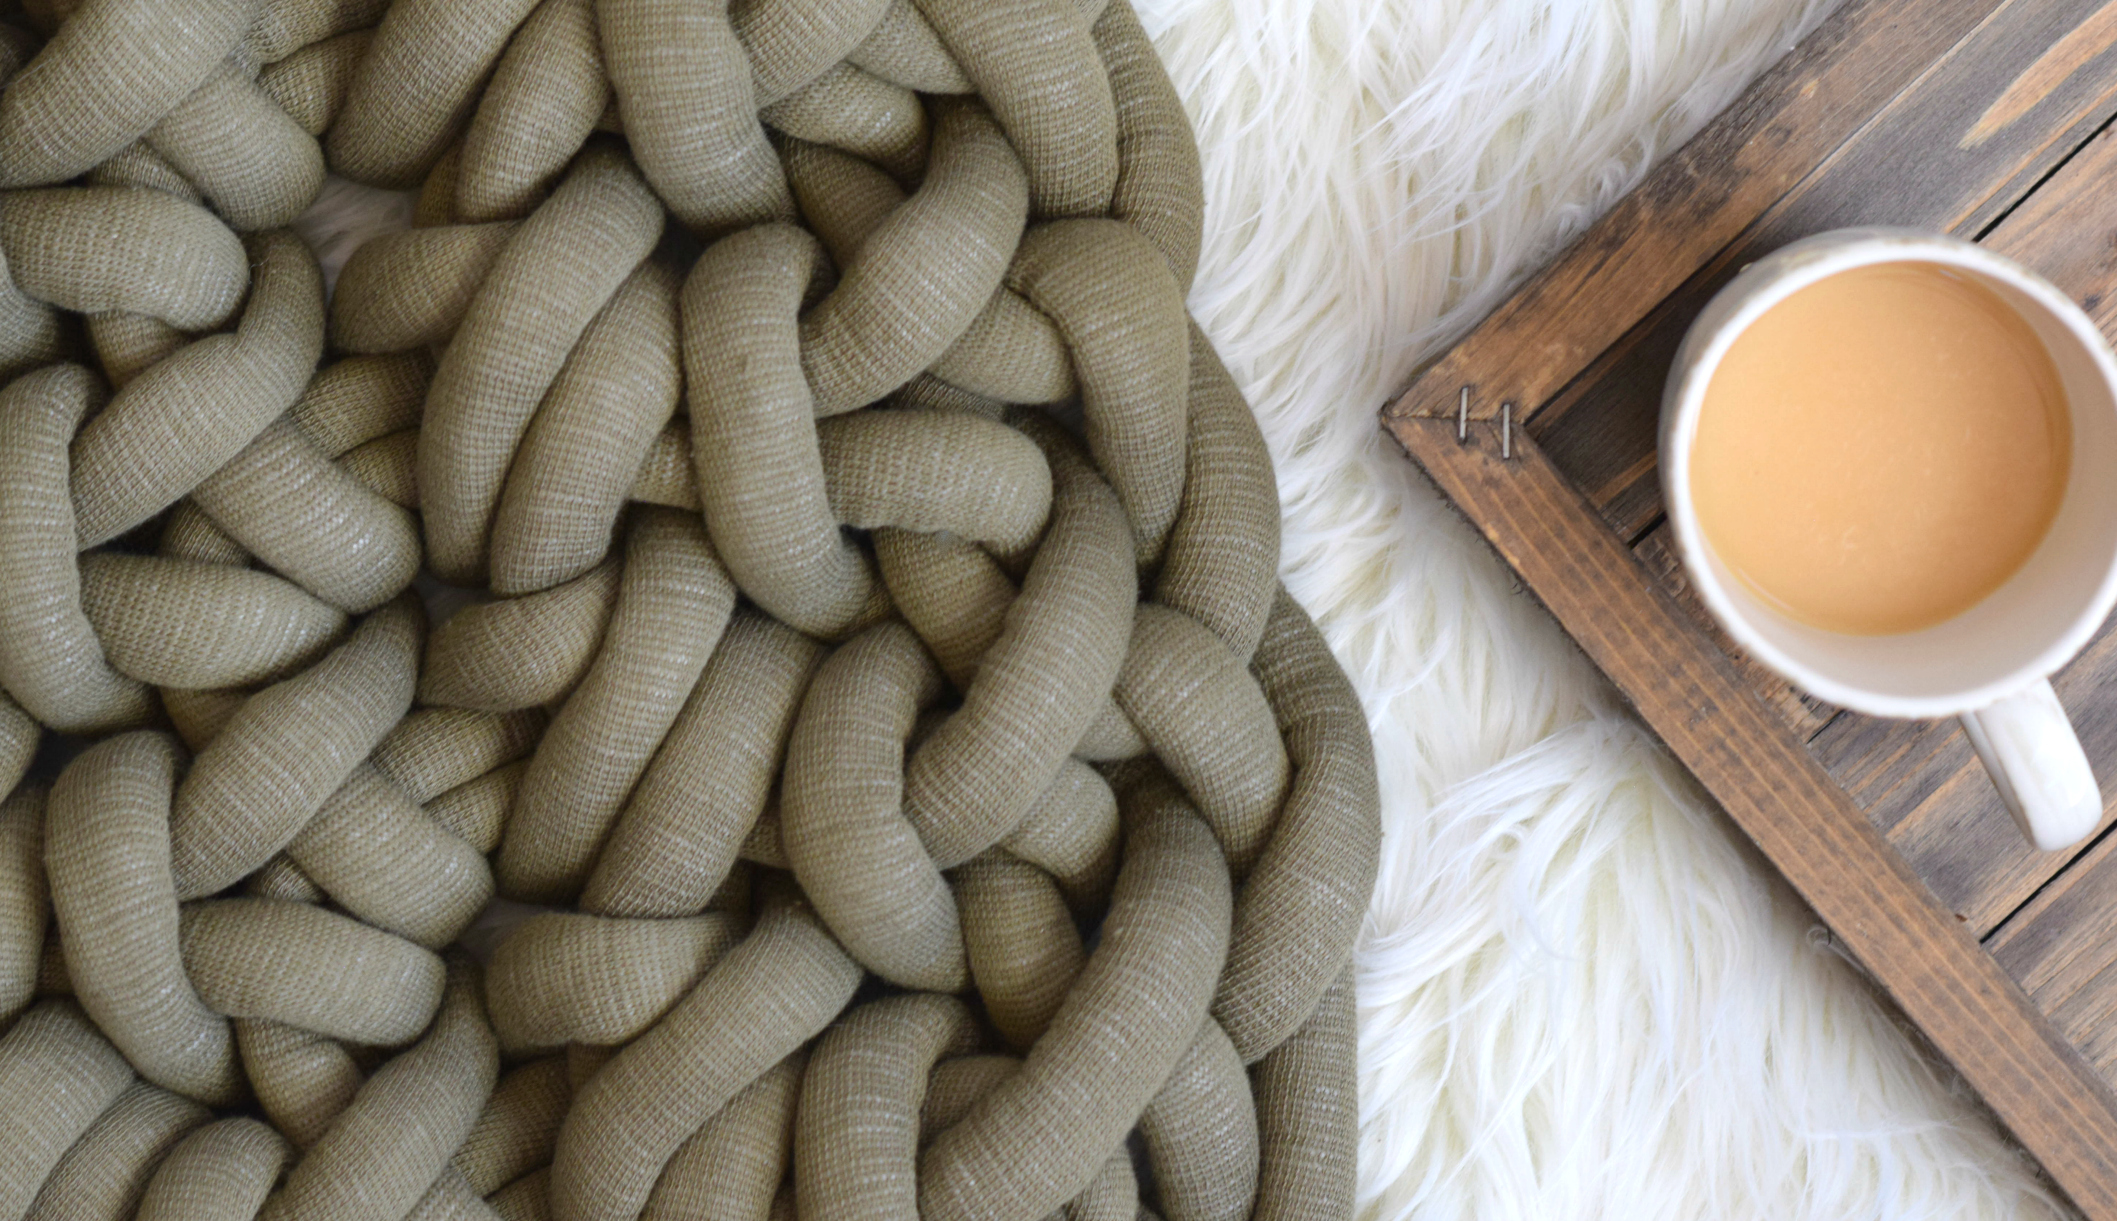
On my bag, I really love the mix of the color Camel and Ecru, but any shade of tan, brown, orange, or grey mixed with a lighter color like Ecru would have a similar look. It gives that trendy look of a basket or raffia yarn, but it’s so fun to pick and choose your fave colors.
This is also a perfect project to use up your extra worsted weight yarn – a great stash and scrap buster!
How do I Make This Crochet Bag Larger or Smaller?
This bag is totally customizable, and I’d love to see it as a big, giant, oversized tote! You can make the base any size you like, and then work around the base to make the sides. To make it deeper, you’d simply crochet for more rounds. To make it smaller, crochet fewer rounds before adding the handles. There are more details about adjusting the size of this bag in the pattern below!
So now that you have a general idea on how you’ll make this tote, let’s get onto the pattern!
Don’t forget to check out the progress photos at the end to give you a visual on how this bag comes together!
Purchase the ad-free, printable FIESTA TOTE BAG pattern from Etsy HERE
…and check the freebie out below!
Description:
Crochet this colorful, whimsical, heavy duty cotton bag for all your summer fun adventures! Made with basic crochet stitches, it’s super easy to whip up, and the color options are endless. It almost has the look of a pretty basket, but it’s made with high quality 100% mercerized cotton. Because of the tight stitching, lining the bag is optional. If you’re crafty, consider adding a zipper or button enclosure to finish, or leave it open as a handy tote!
Enjoy!
Materials:
(Convenient Kit Available HERE from Lion Brand)
2 Lion Brand Yan 24/7 Cotton in Ecru 100 g/skein and 186 yds
1 Lion Brand Yarn 24/7 Cotton in Camel 100 g/skein and 186 yds
1 Lion Brand Yarn 24/7 Cotton in Rose 100 g/skein and 186 yds
1 Lion Brand Yarn 24/7 Cotton in Lilac 100 g/skein and 186 yds
Pattern uses approximately 325 g
US Size I 5.25 mm crochet hook
Scissors
Tapestry needle to weave in ends
Stitch Markers (optional)
Size (approximate):
15” wide X 12” tall when laid flat
Gauge:
Approximately 12 sts and 8.5 rows of hdc in the round
Pattern Notes:
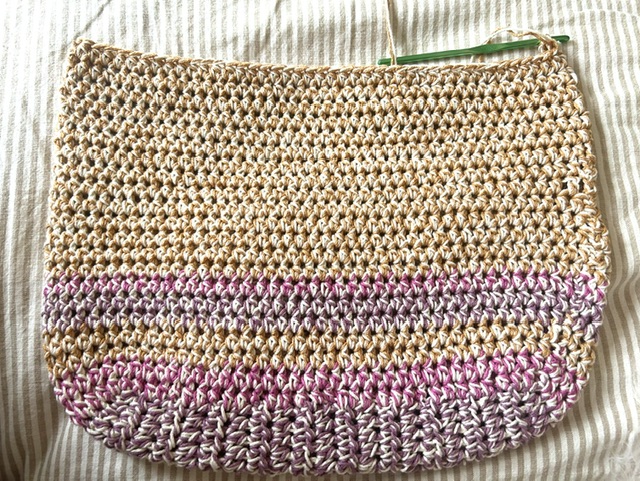
The bag is crocheted while holding two strands of yarn together throughout. You will begin by crocheting a flat base. Next, you will crochet around the base and continue to crochet in the round to make the sides. The handle is crocheted at the end of the pattern directly onto the tote. While the base of the bag may seem narrow, you will gain more width as you make the sides.
To make the bag wider, simply make a larger base. To make it deeper, crochet for more rounds before adding your handles. Keep yarn needs in mind!! See Progress Photos at the end of the pattern for visual assistance on how the bag comes together!
Abbreviations (US) & Skills:
ch – chain
hdc – hdc
st – stitch
sl st – slip stitch
rnd – round
Hold two strands of yarn together throughout the pattern
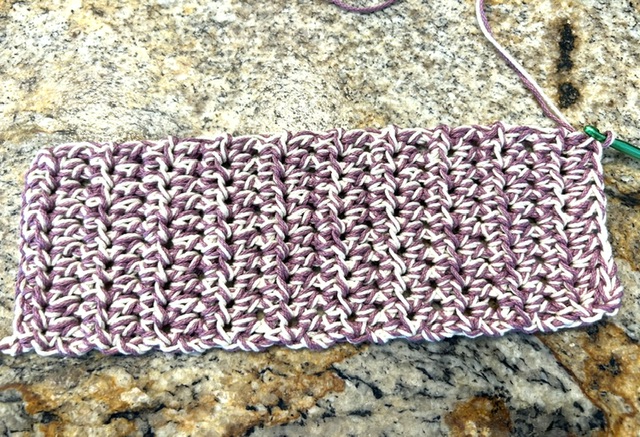
Rectangular Base of Bag
With Lilac & Ecru
Ch 11
Row 1 Hdc in 2nd ch from hook and in each ch st across the row. (10 sts)
Row 2 Ch 2 (doesn’t count as hdc), turn, hdc in each st across the row. (10 sts)
Repeat 3 – 21 Repeat row 2.
Tie off and weave in ends.
(Base should be approximately 3.5” wide and 11” long)
Next, you will make the sides of the bag!
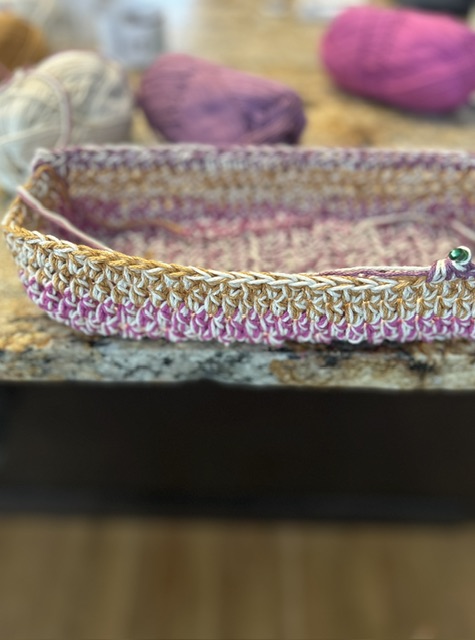
Sides of Bag
- Mark beginning of round with a stitch marker if needed
- Work in continuous rounds – do not turn at the end of rounds
Change Colors as Follows
Work 2 rnds with Rose Ecru, next 3 rnds with Camel Ecru, next 2 rnds Lilac Ecru, next 1 rnd Rose Ecru, and remainder with Camel Ecru.
Pick up yarn (Rose and Ecru) at any corner of base of the bag.
Rnd 1 Ch 2, hdc evenly around base of bag by making 31 hdc sts on each long side and 10 hdc sts on each short side of rectangular base, sl st to join.
Rnd 2 Ch 2 (doesn’t count as a st), hdc in 1st hdc of previous round and in each hdc around, sl st to join in top of ch 2. Repeat rnd 2 for approximately 17 more rounds changing colors as indicated previously. Do not tie off. - Handles
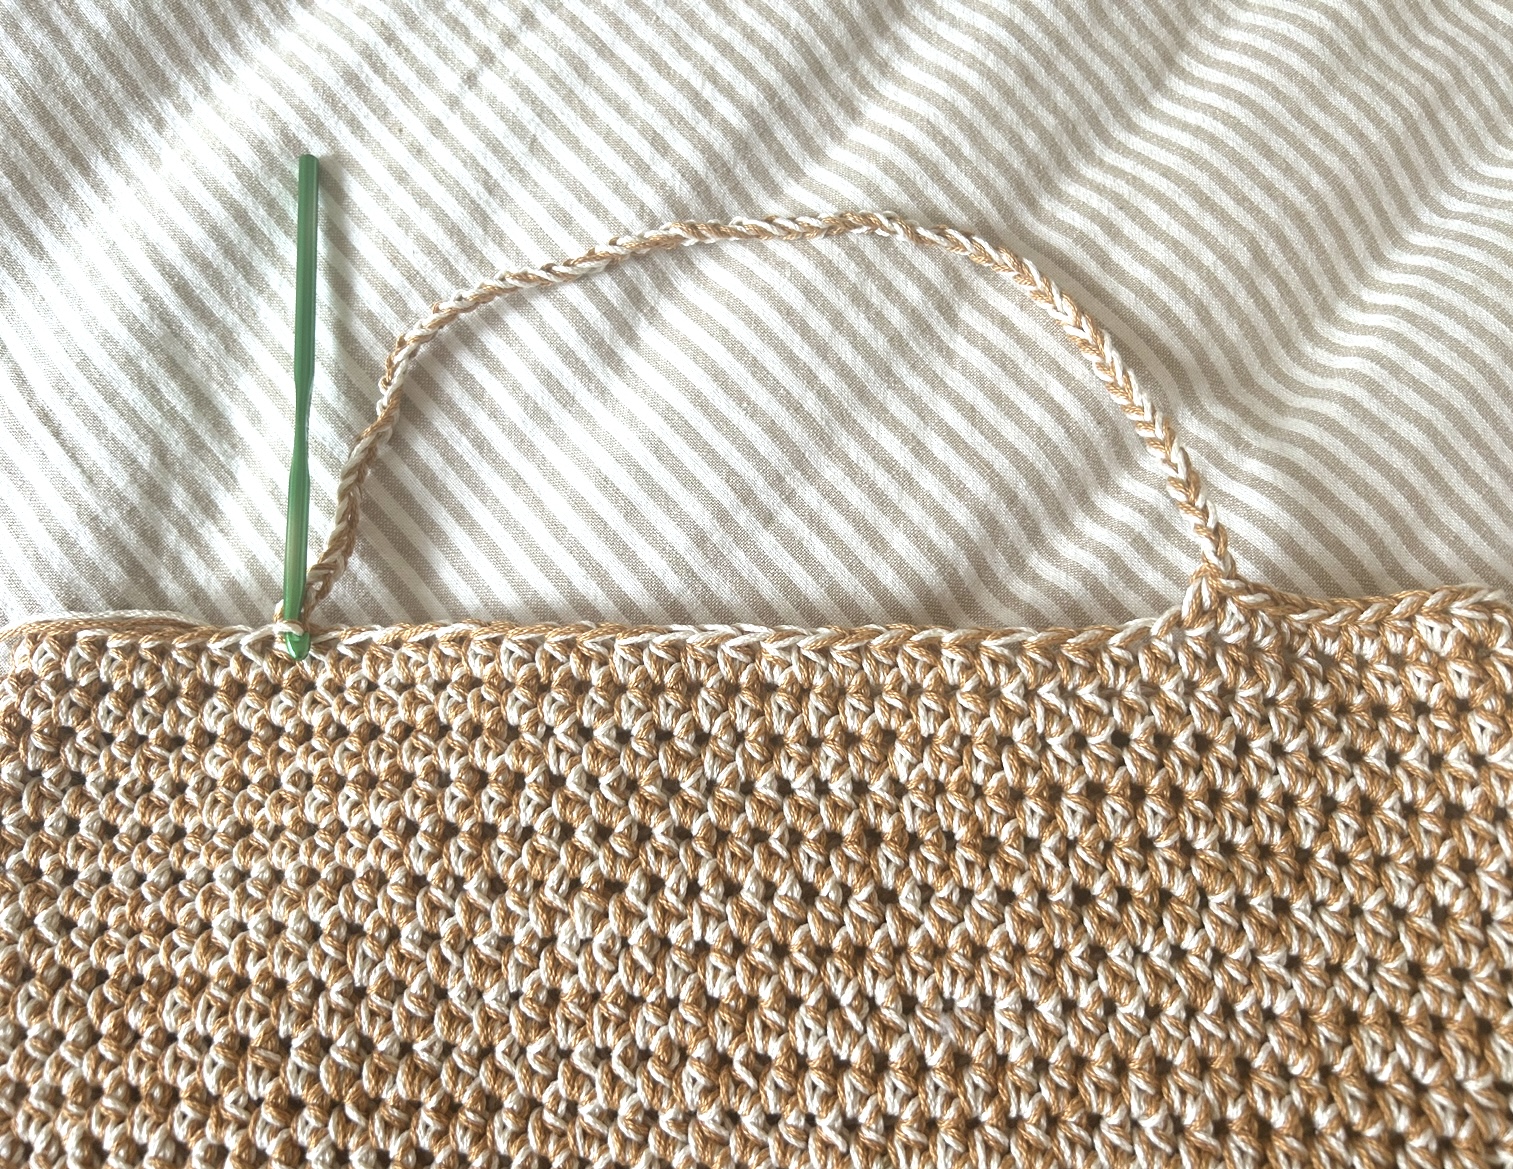
You will now crochet your handles by first placing stitch markers where the handles meet the bag, and then making a chain on each side to work your handles. Read on!
*See Progress Photo at end of pattern for visual assistance
Lay bag flat and count 11 sts inward, place a stitch marker for one end of the handle. Repeat on the opposite side, counting 11 sts inward and placing a stitch marker. Next, flip the bag over, and repeat this process, placing stitch markers 11 sts inward on each side. These stitch markers indicate where the handles will meet the bag on each side.
Next, pick up your yarn where you left off and hdc in each st around to the first stitch marker, ch 52, sl st to join at next st marker on the same side.
Continue to hdc in each st around to next st marker, ch 52, sl st join at next marker and hdc to end of round, sl st to join.
Ch 2, hdc in each stitch and each ch st across each handle to the end of the round, sl st to join.
Optional: Finish with working one round of slip stitches. Tie off and weave in ends! - Tassels
Feel free to add tassels or poms with left-over yarn! Here is a tutorial on how to make tassels:
https://www.mamainastitch.com/how-to-make-tassels/ . Once complete, simply tie them to the handles of your bag! Have fun making them various lengths and thicknesses.
That’s it!
Fiesta “Scrap” Tote Bag Crochet Progress Photos
I hope you like this bag as much as I do!
You can totally line if if you want, or add a zipper if you’re crafty. Have fun crocheting!
Magnolia Tote Bag Crochet Pattern
Camel Bucket Bag Crochet Pattern
And if you liked this basket like bag, you might also love these crocheted basket patterns HERE.
XO,
Jessica
This post sponsored by Lion Brand Yarn. All opinions are 100% my own.