Festival Fringed Crochet Purse Pattern
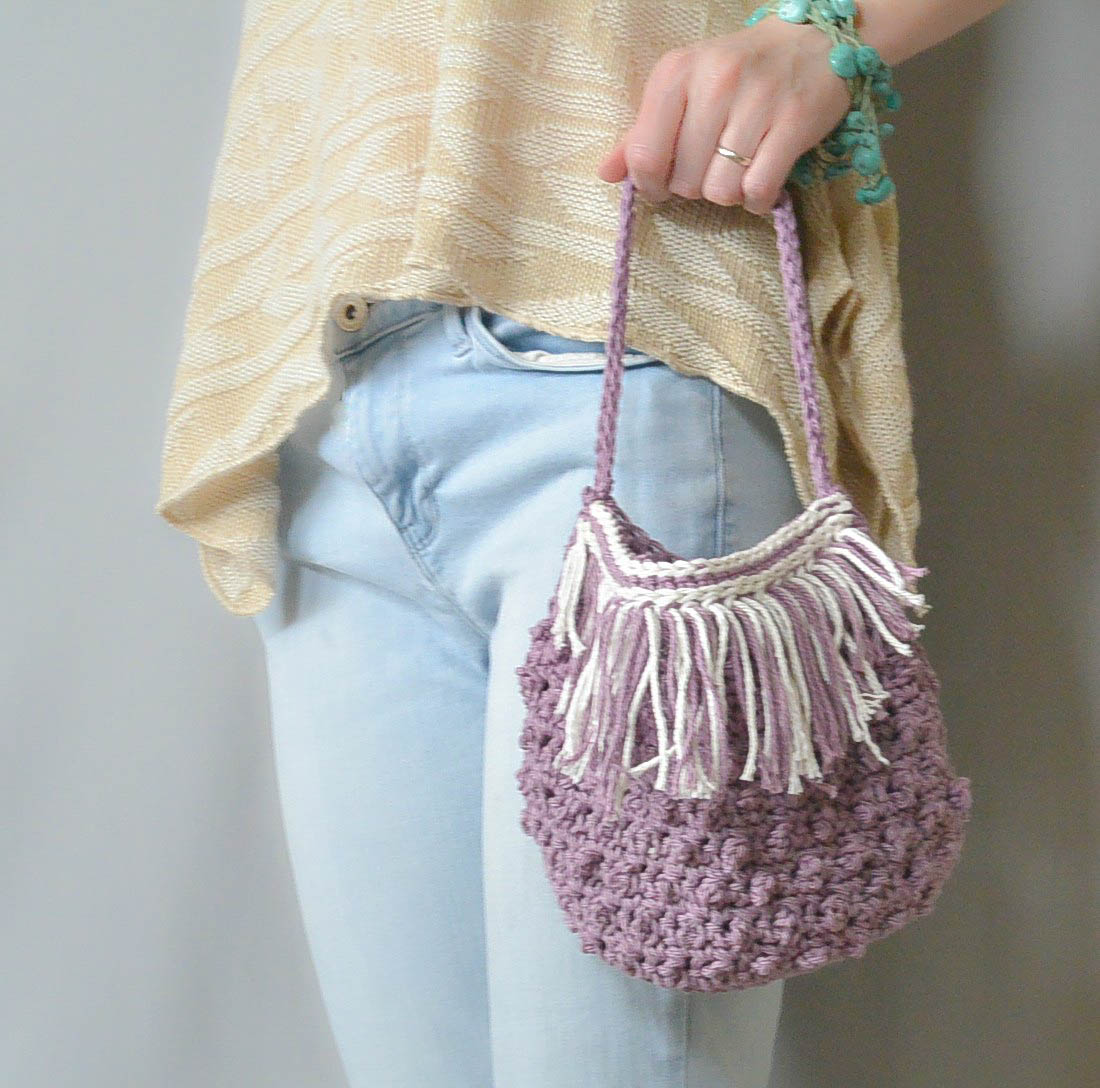
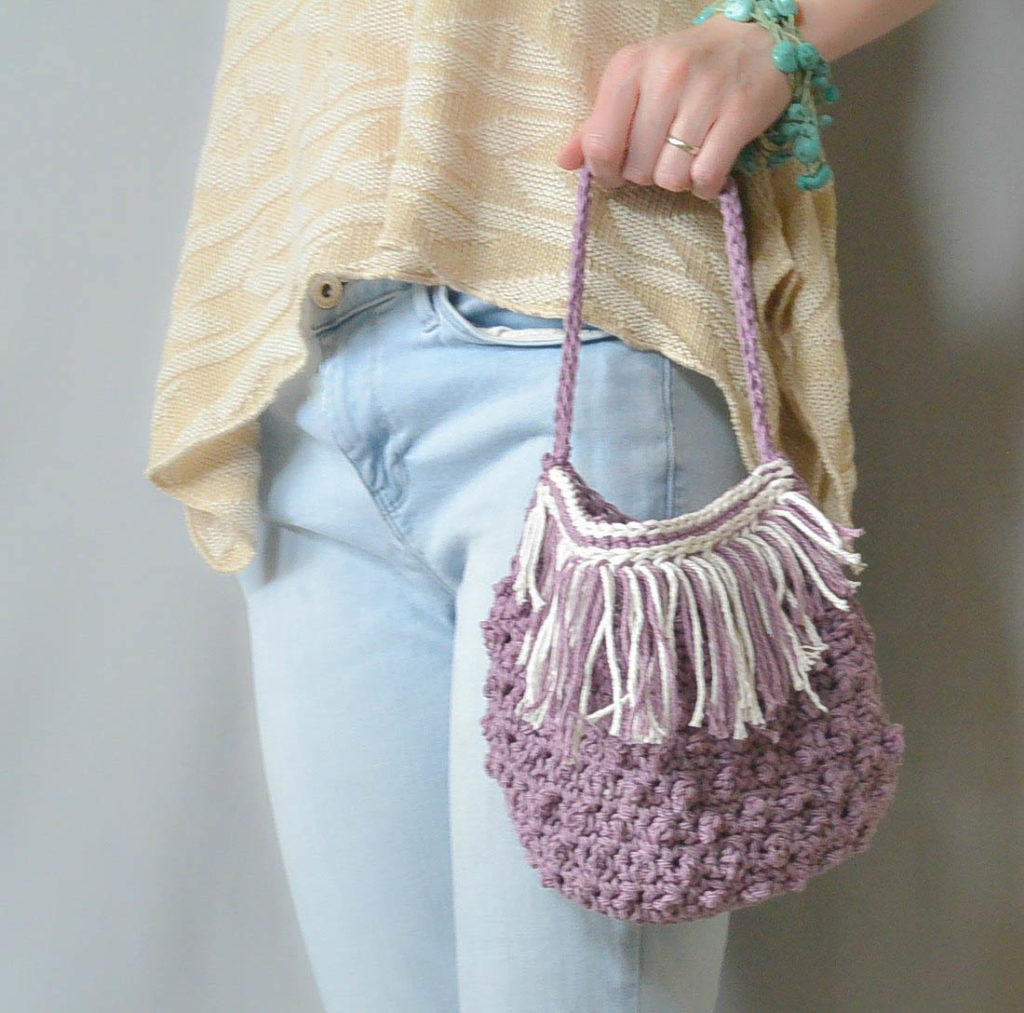
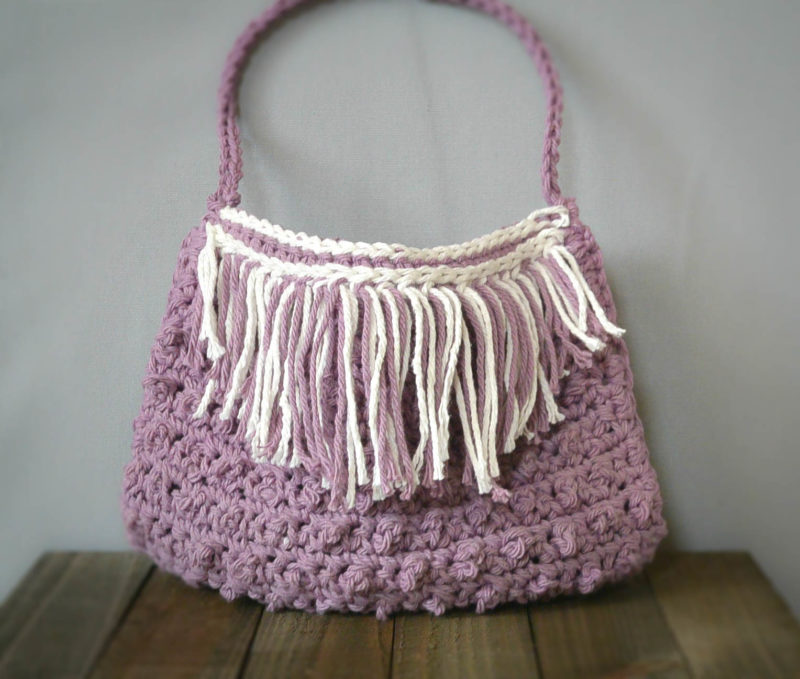
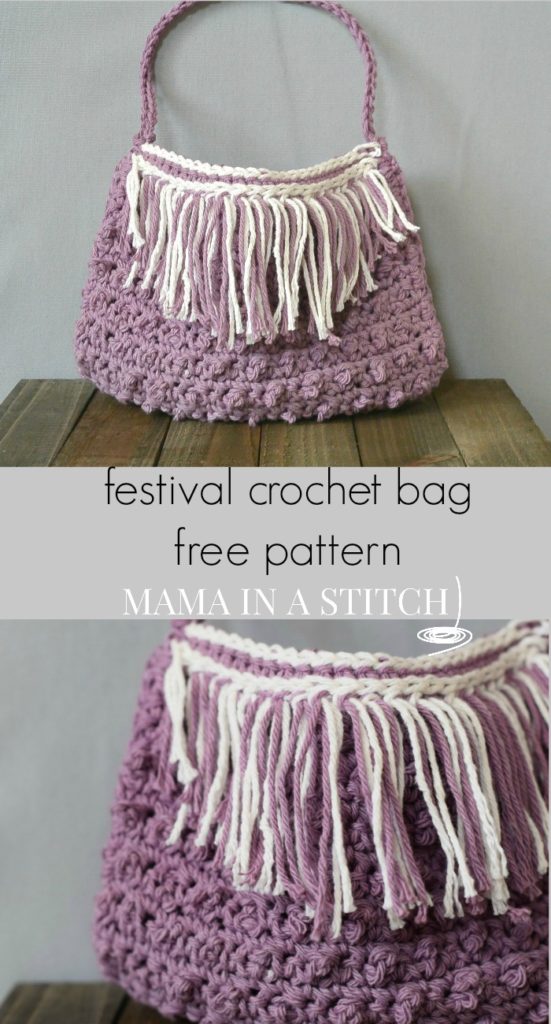
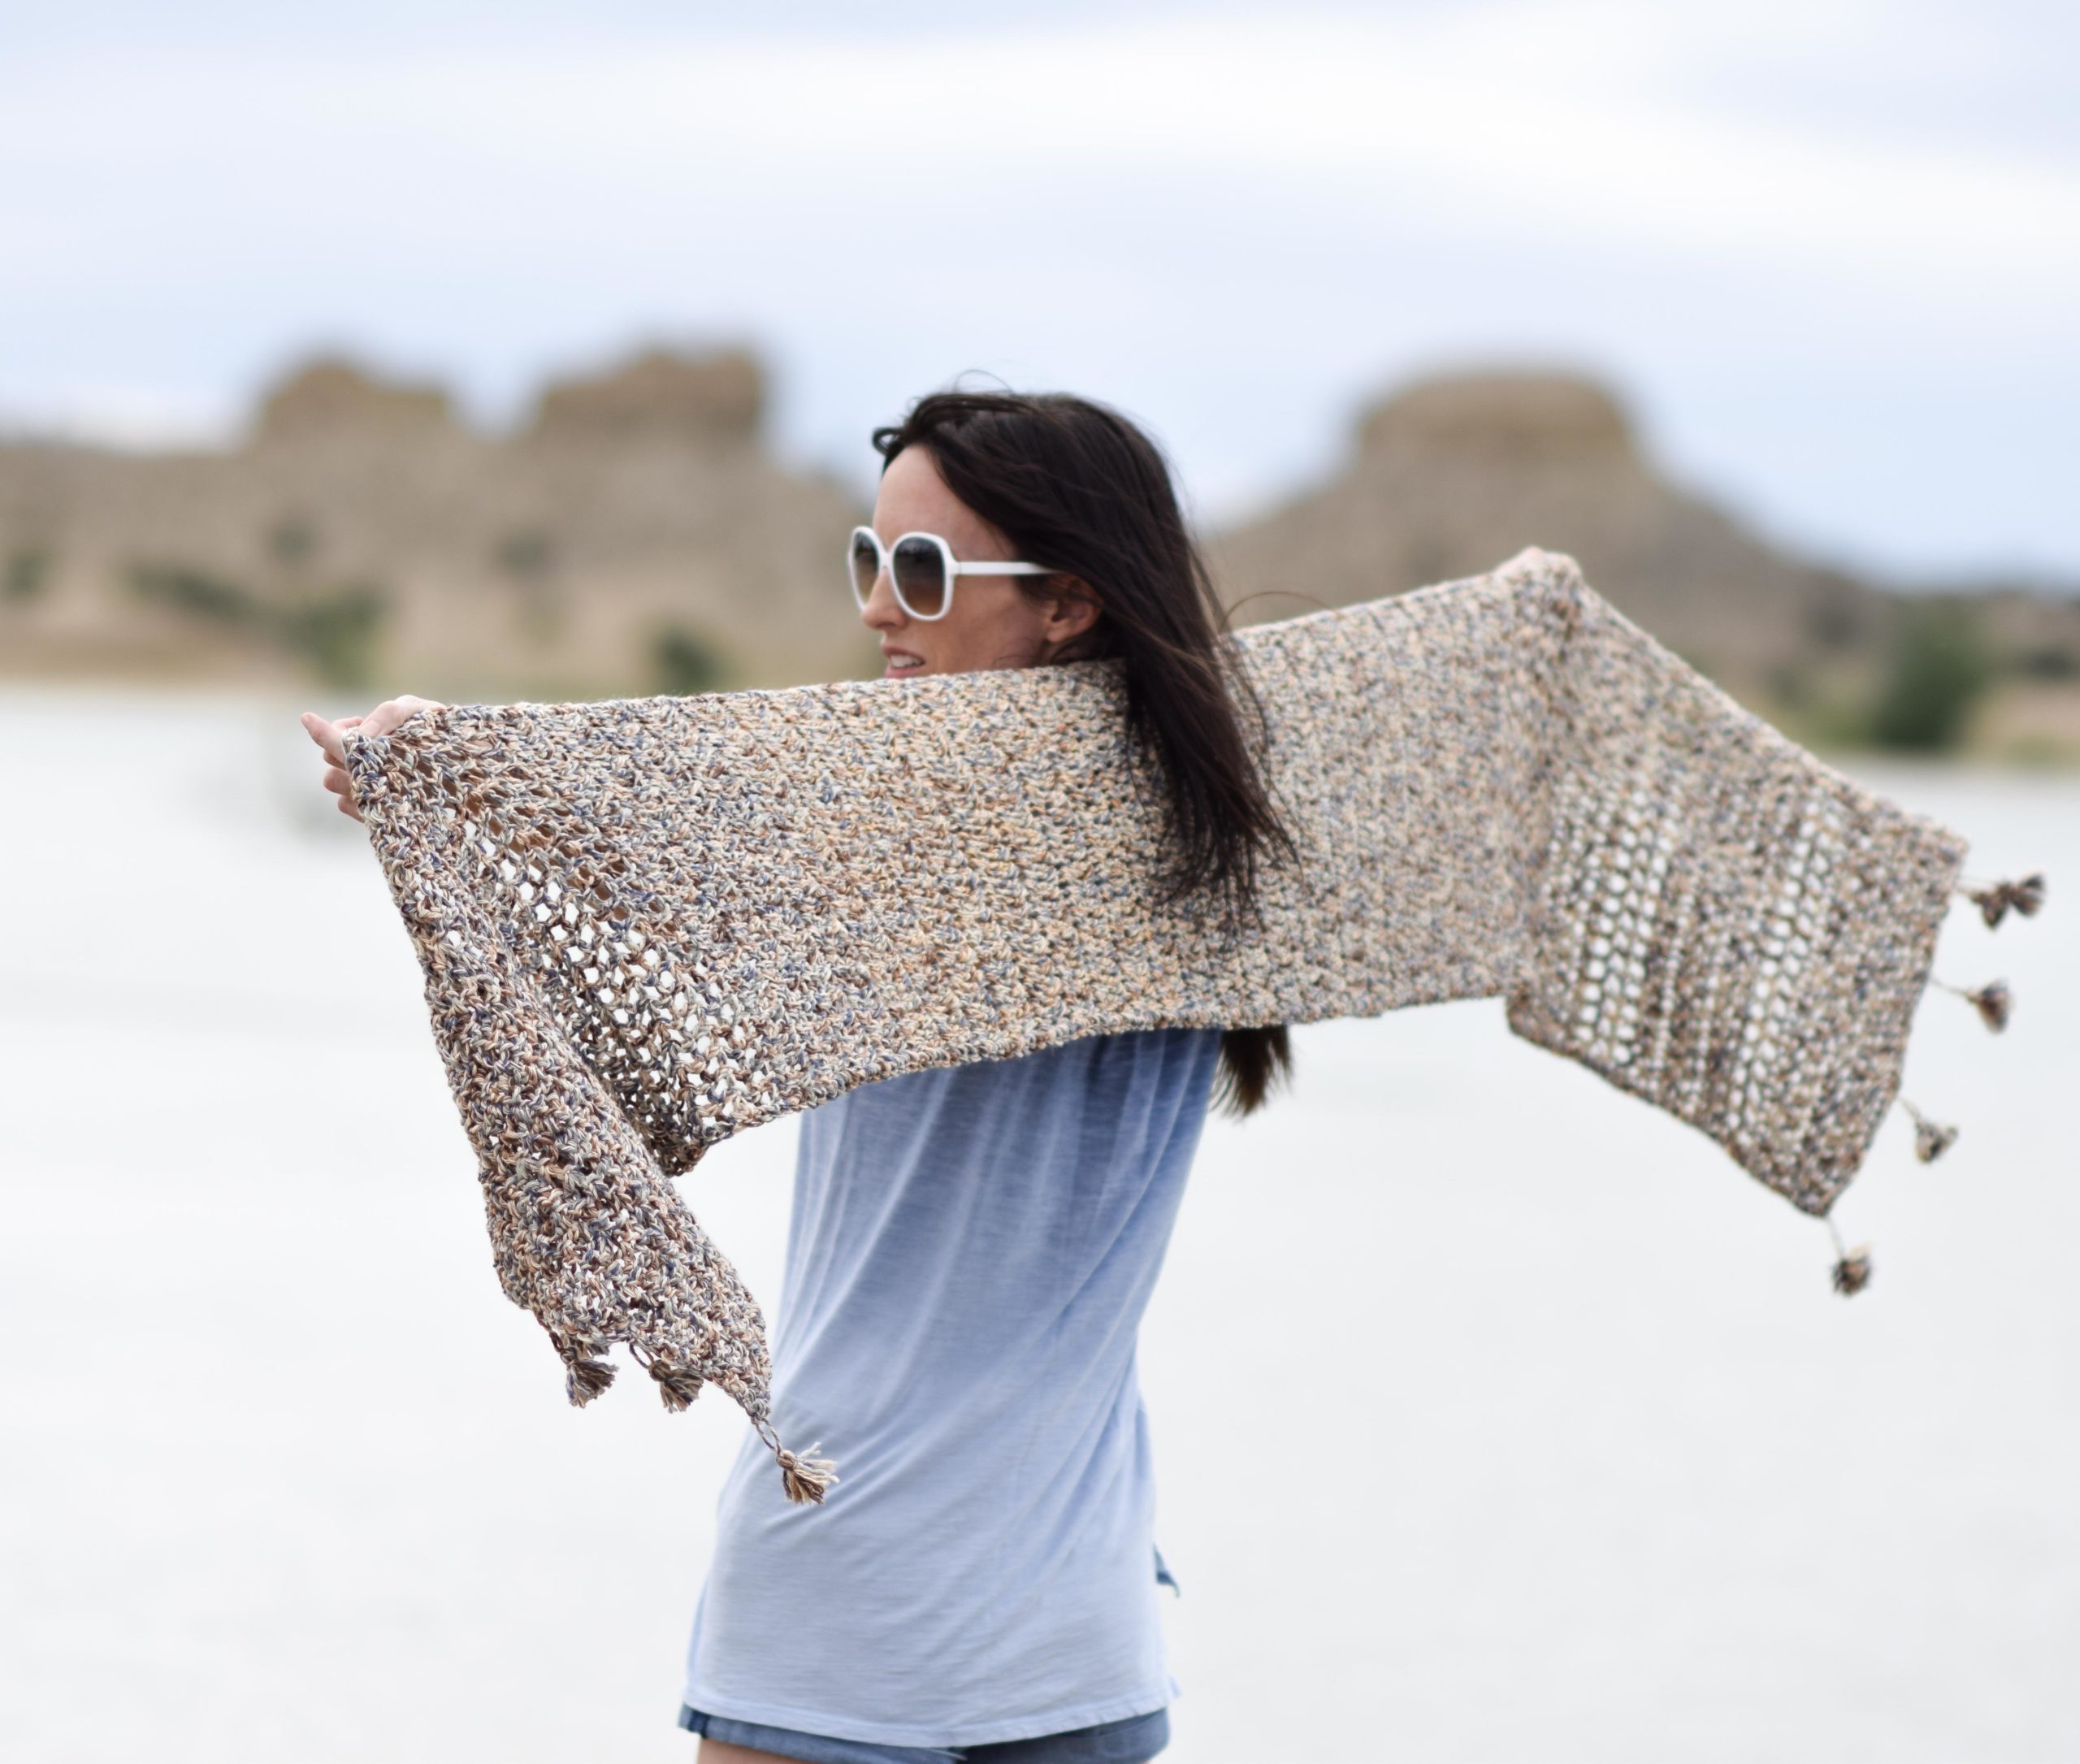
Hi friends! I started this festive little pouch/purse several months ago and just finished it up. It’s one of those projects that sat on the back burner and I wasn’t sure if I’d ever get around to sharing it with you. It’s made out of cotton (which I love for summer) and is crocheted with the “Mini Berry” stitch. What do you think?
Let’s be honest. I’m calling this the festival bag but I don’t plan to do any wild concert going with my four year old. But hey, we can all use cute boho things can’t we? This little bag is more for my daughter than myself actually (purple is her favorite color). But you can make this any color combination that you’d like! I think it would be really cute if you used a nice dark brown yarn with some tan fringe. That would be very boho-ish, no?
Measurements:
Measures 9″ wide and approximately 7.5″ tall
You will need:
2 skeins Worsted Weight Cotton Yarn ( I used Lily Sugar N Cream in Lilac)
Small amount of contrast yarn for fringe
US Size H 5.0 mm crochet hook
Scissors
Tapestry needle to weave in ends
Small button
Needle and thread
You will need to know:
Sc- single crochet
Ch – chain
Special Stitch:
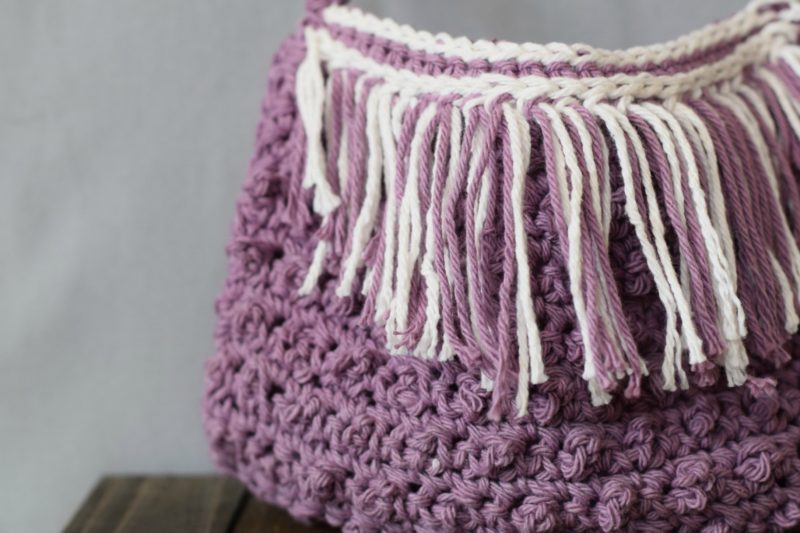
Bst- Berry Stitch: Insert hook in specific sc or st. draw up a loop, leaving lp on hook, ch 3 more sts, draw yarn through both loops on hook: Bst made.
SO, this stitch took some practice for me. I kept getting confused with the chaining part. It’s kind of funky because you first draw up a loop, and as you have the loop on your hook, you chain 3 with that sitting on your hook. Hopefully that little explanation will help you. If you’re not sure how to do it, search the “Berry Stitch” on YouTube and I know I found a tutorial or two.
Notes:
This is made in two pieces. You will first work the front, and then the back. Once complete, you will seam them together with a single crochet stitch. When empty, it lays flat. If there’s contents inside, it looks more like a pouch (as you see it pictured).
The front of the bag is worked in the berry stitch. I made the back of the bag entirely with single crochet. You can do the berry stitch for the back of the bag as well. I just wanted it to be a bit easier.
Pattern:
Front of bag:
Chain 26
Row 1 Sc in 2nd chain from hook and in each chain across; ch 1, turn
Row 2 Sc in first sc, *Bst in next sc, sc in next sc, rep from * across, ch1, turn
Row 3: Sc in each st across, ch 1, turn
Row 4 Bst in 1st sc, sc in next sc, repeat from * across to last sc; sc in last sc; ch 1, turn
Row 5 Rep row 3.
Repeat rows 2 – 5 until your piece measures approximately 6 3/4″ tall
Once your piece measures 6 3/4″ tall, make 4 rows of single crochet. Tie off and weave in ends.
Slip Stitch Feature on Top:
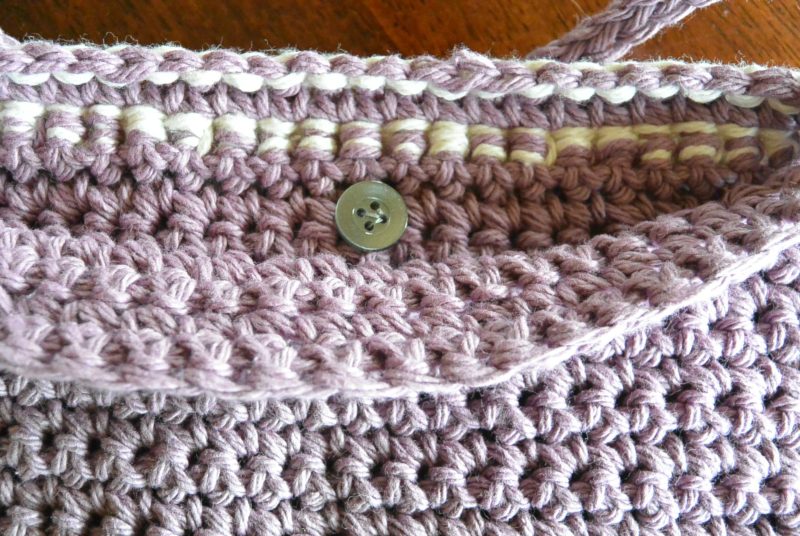
Using your contrast yarn, attach it to the top corner of bag. Slip stitch across the very top of piece, and 3/4″ below top of piece. This will make that slip stitch (the white stripes) along the top length of the bag. Tie off, weave in ends.
Fringe:
Cut tassel yarn, 6″ in length. Holding two together at a time, fold in half. Place folded half through fabric and pull yarn through the fold to secure tightly. Place fringe along front length of the top of the bag. Once all in place, cut the fringe to the length you like. I made mine in the shape of a V, with the center being the longest and the sides shorter. ( If you’ve never made tassels or fringe before, search ” how to make yarn tassels ” on YouTube. It’s easy!
Back of bag:
Chain 26
Row 1 Sc in each stitch across, ch 1, turn
Row 2 Repeat row 1.
Repeat row 1 until the back of the bag is the same height as the front of the bag.
Seam
Place front and back of bag together (right sides out)
With your yarn and crochet hook, use a single crochet stitch seam to attach both pieces. Start from the upper outside corner, working through both fabrics, and tie off at the end.
Weave in all ends.
Handle:
Chain 40
Row 1 Slip stitch in each ch st across, tie off, weave in ends.
Yes, it’s that easy!
Attach handle to each side with a length of yarn.
Button Closure:
Place a small button (one that can fit through your stitches, yet stay secure, inside the front center of your bag. With your needle and thread, sew on the button.
You could also do a nice zipper closure along the top edge. The button was fast and easy and will work fine for my daughter.
Have fun with your new cotton, summer bag!
Have you ever tried the berry stitch?

Love it! Amazing colour
Thanks for the pattern 🙂
https://soldenochedecocrochet.blogspot.com.ar/
So happy you like the color Cintia! Thank you.
Jessica you did a great job! I love little purses it will be nice to have to take on a date nite . I dont know about you but I have a 8 yr old little boy and 4 grandsons with me and everything seems to wind up in my purse. Thank you for the pattern you are very talented! Thank you for all your hard work!!!
Aww,Susanne, your kind words come at a good time! I’ve been having some trouble with the techy stuff with blogging and getting a little frustrated. Yes, everything ends up in my purse too! I call it the black hole because there’s so much in there and you can’t find a thing. So happy you like the purse!
What a fun little purse!! Great job once again!!
Aww, thanks Doreen!
So cute! I want one for me, I might make the strap longer to toss over my shoulder! Thank you for sharing!
It would be really cute with a long strap! Thanks for sharing your idea Nadette!
Love your purses. Plan on trying one or two of them.
The Manhattan tote is my favorite if you’re going to pick one. Thanks for the kind words and I hope you enjoy, Kay!
Cute little purse.. Want to make a couple for my granddaughters. I’m confused where you do the second contrasting slip stitch row .
I’m going to keep trying maybe someone can give me a hint.
Thanks
Hi Linda,
I made the first contrasting slip stitch at the tippy top, and the second just about a 1/2 inch below that. Hope that helps!
I love this bag! So cute!
Thanks so much Bethany!
This is such a cute little purse, and I’ve started making 2 for my twin great grandaughters. I don’t understand your directions re the slip stitch rows at the top: “Using your contrast yarn, attach it to the top corner of bag. Slip stitch across the very top of piece, and 3/4″ below top of piece.” I can see that the first sl st row is above the last of the 4 rows of sc, but is the 2nd row to be stitched through the 3rd row of sc?? And will the fringe then be attached below that 2nd row of contrast stitches?? Thank you so much.
How sweet that you have twin great granddaughters! Yes, I the slip stitched in that third row down for the second row of contrast stitches and the fringe is placed just below it. You probably already got it figured out, but if not, I hope this helps! Sorry for the delay in getting back to you Becky.