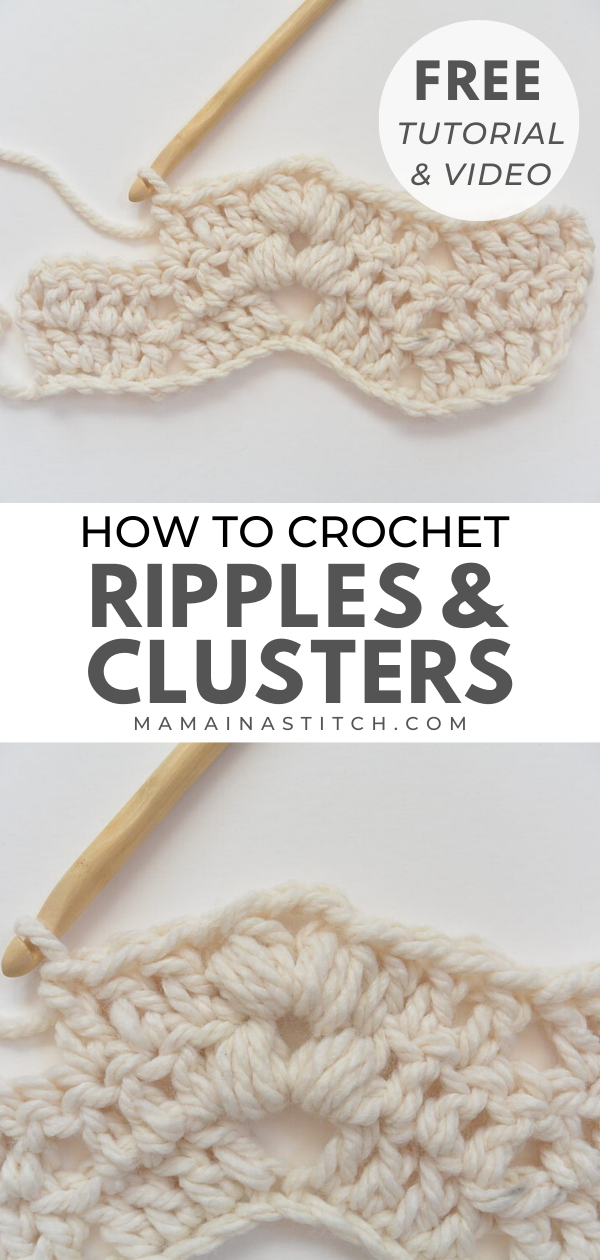
Chunky Ripples Blanket Tutorial
When I shared my Vintage Lola Ripple Throw Pattern (here), many of you said you’d like a video tutorial. Your wish is my command – ha! Below you’ll see the link to my video tutorial so you can see how to make this super cozy blanket. I sure hope it helps you!
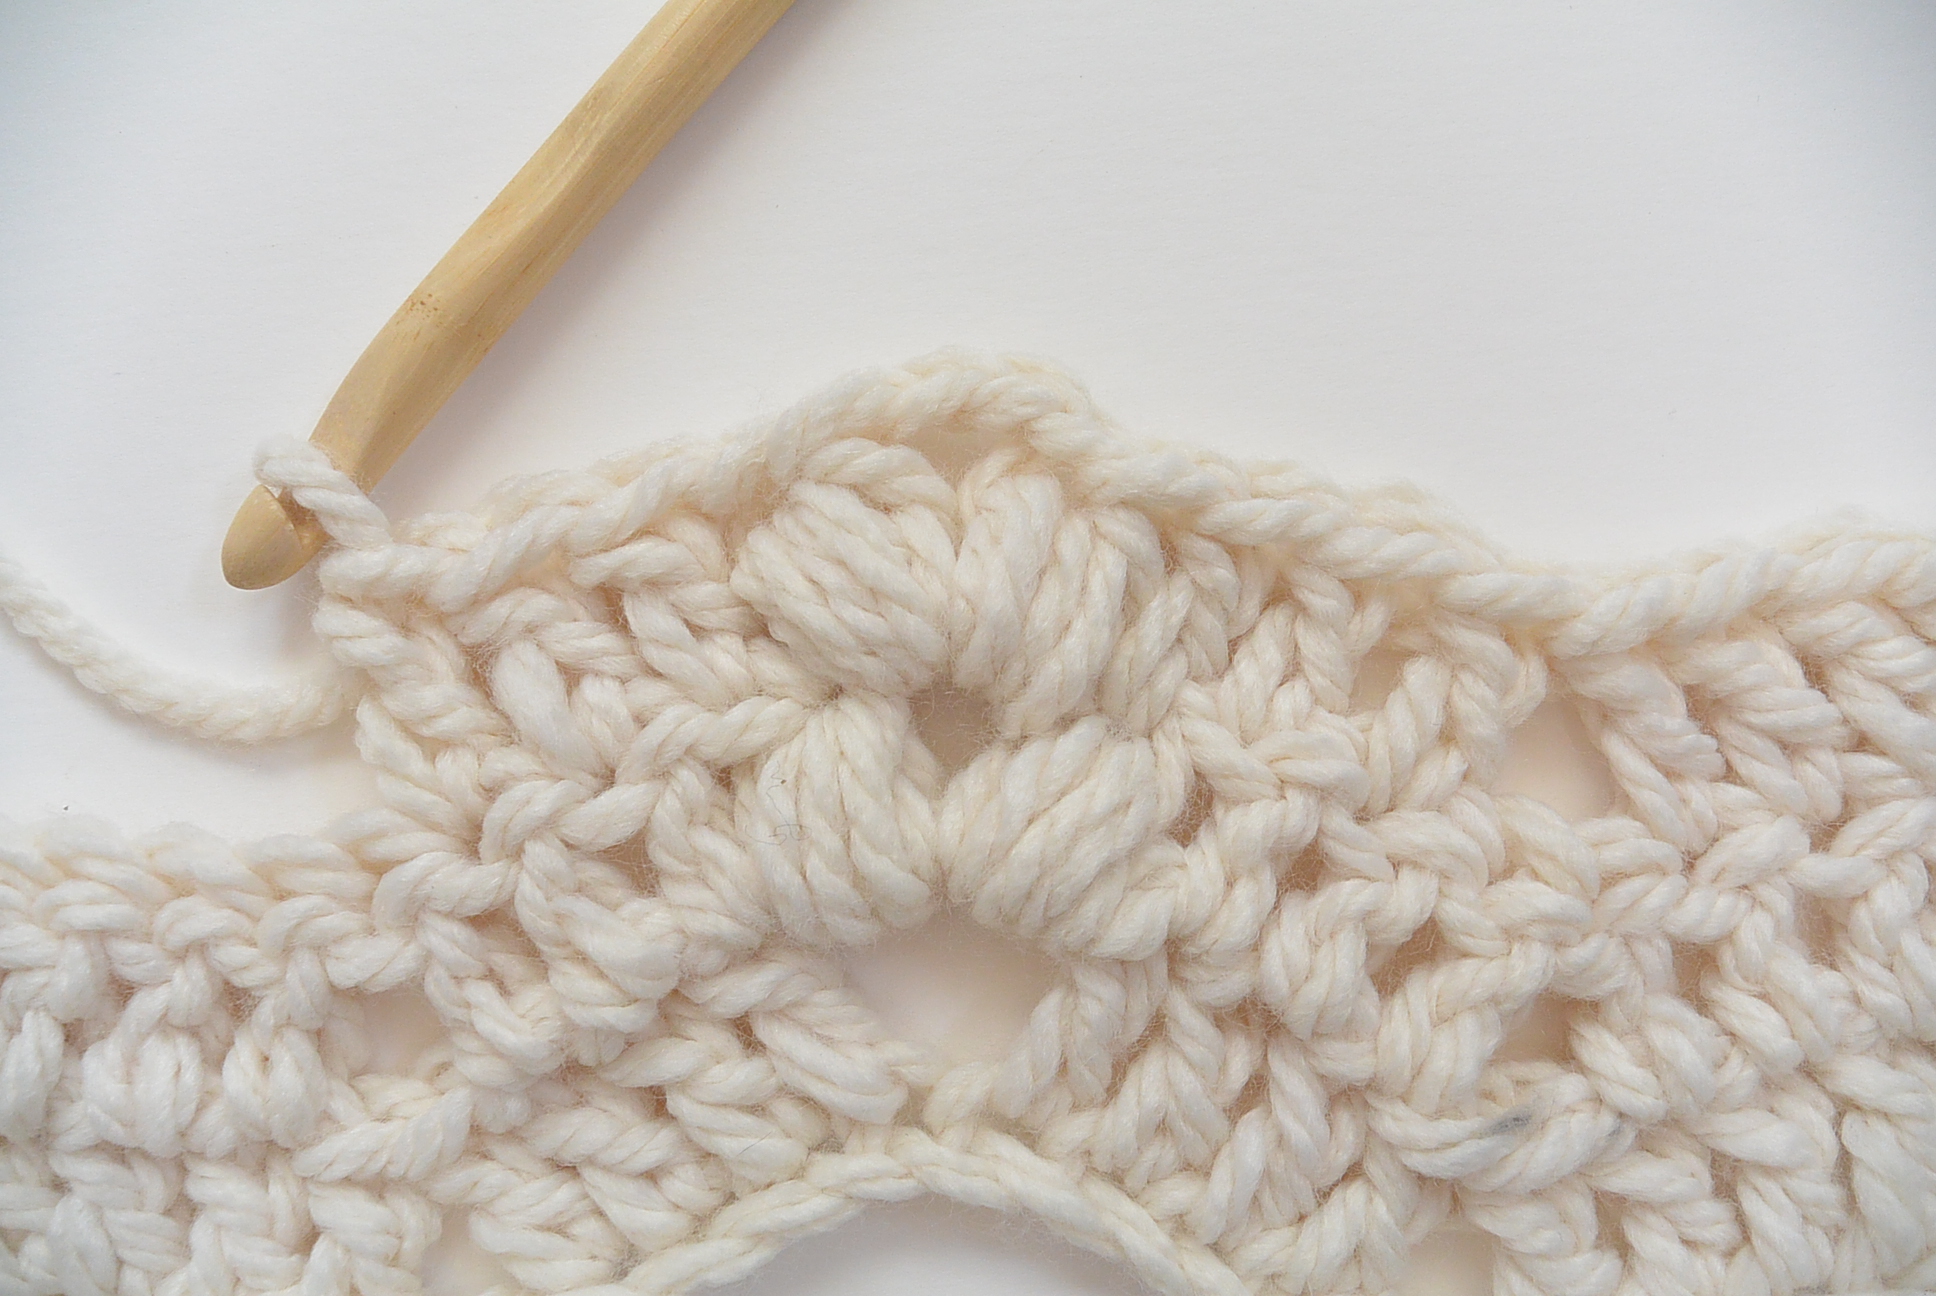
What I love most about this blanket is that it works up fairly quickly and it’s a one row repeat. That’s right! You will simply repeat row two throughout the pattern in order to make this throw. It would also make a beautiful stash buster in my opinion.
Those of you who are brave with color, can you imagine a bright, multi-colored blanket in this pattern? I think it would be so pretty!
![]()
As you work this pattern, you’ll see the ripples starting to emerge. The ripples in this blanket are understated and definitely aren’t a bold chevron. You’ll also see how to make the bobbles/clusters, which aren’t difficult at all! That “bobble” part of the video is probably the most helpful since reading the pattern at that point can get a bit overwhelming. You do need to be comfortable with double crochet stitches and counting stitches. This one isn’t as easy as some of the other blanket patterns I’ve shared in the past (like this and this). But if you can get that one row down, you will be set!
My advice is to put the blanket pattern (here) in front of you (whether on your tablet, phone or printed out). Next, open up the video tutorial on YouTube (link below) and “follow along”. If you’ve got a yarn and hook to practice while you’re watching, that’s perfect! Make sure to pause and rewind whenever you need to do so.

You’ll see the video tutorial below!
Here’s the basic stitch pattern you’ll be working:
Make a chain in a multiple of 10 + 3 extra stitches (for the blanket pattern, you’ll chain 43)
Row 1 1 dc in 4th ch from hook, 1 dc in each of next 3 ch, *skip next 2 ch, 1 dc in each of next 4 ch, ch 2, 1 dc in each of next 4 ch; rep from * across to last 6 ch, skip next 2 ch, 1 dc in each of next 2 ch, 2 dc in next ch, 1 dc in last ch, turn
Row 2 Ch 3 (counts as first dc), skip first dc, 2 dc in next dc, 1 dc in each of next 2 dc, *skip next 2 dc, 1 dc in each of next 3 dc, [bobble, ch 2, bobble] in next ch2 space, 1 dc in each of next 3 dc; rep from * across to within last 6 dc, skip 2 dc, 1 dc in each of next 2 dc, 2 dc in next dc, 1 dc in top of turning ch, turn
Repeat row 2, making color changes as indicated below, until you have reached your desired length.
Click “PLAY” if it doesn’t start automatically for ya!
What colors would you use for your blanket?
I hope you liked this tutorial and video! I’m no video expert (ha!), but I sure hope this one helped you learn how to make this wonderful throw.
Happy crocheting!
XO
Jessica
If you liked this, you might also like:
How To Crochet the Blanket Stitch
![]()
![]()
Thanks for the tut, I wasn’t quite sure of a bobble before.
Hi I was wondering how many Yooge yarn should be ordered to make blanket that’s playing in the right hand corner video
It would have been nice if the another repeat row was done in the pattern because that is where the pattern falls apart. I think all the requests for a video were a polite way of saying that.
The 2 row sample worked for me too but the pattern for the full afghan did not work. a bigger sample would have helped also. The tutorials by Mikey and others pause the video while they work a bigger sample. The pattern for the sample and the pattern for the afghan are two different things.
I appreciate your feedback and will keep it in mind! Some folks have emailed me and found it very helpful and are grateful for the video, even without the second repeat. I really think it helps to have the pattern in front of you so you can see where that repeat happens. I’ve also marked in the video where you can rewind it and get to the beginning of the repeat. Again, I will improve for next time and do really appreciate your advice while I step into the world of video!
That takes one skeins of the yooge yarn. 🙂
I haven’t even watched the video yet, but wanted to thank you for taking the time to create this (and all of the videos on your site). I’m one of those people who can’t read a pattern to save her life! I just stumbled across your blog, but can already tell we’ll be spending a lot of time together!
Hi Patty! I just used my fingers actually! While I do think there may be a needle out there that’s large enough, I ended up simply threading the yarn around and through the fabric with my own hands. Hope this helps!
Thank you for the pattern. I changed it a bit and made a scarf turned out great!! To those whom had problems I suggest go slow and just keep repeating the pattern it works. I think myself as a beginner still and a lot of times you have to just pull it out and start again. Try and try again.