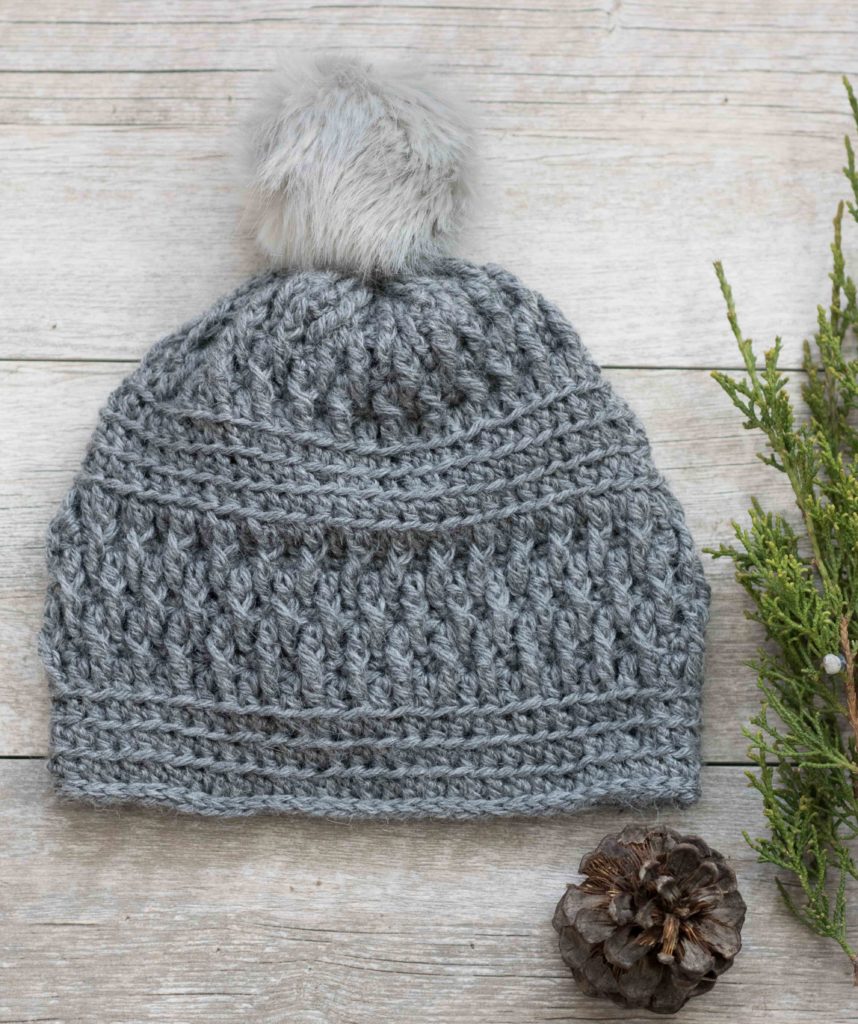
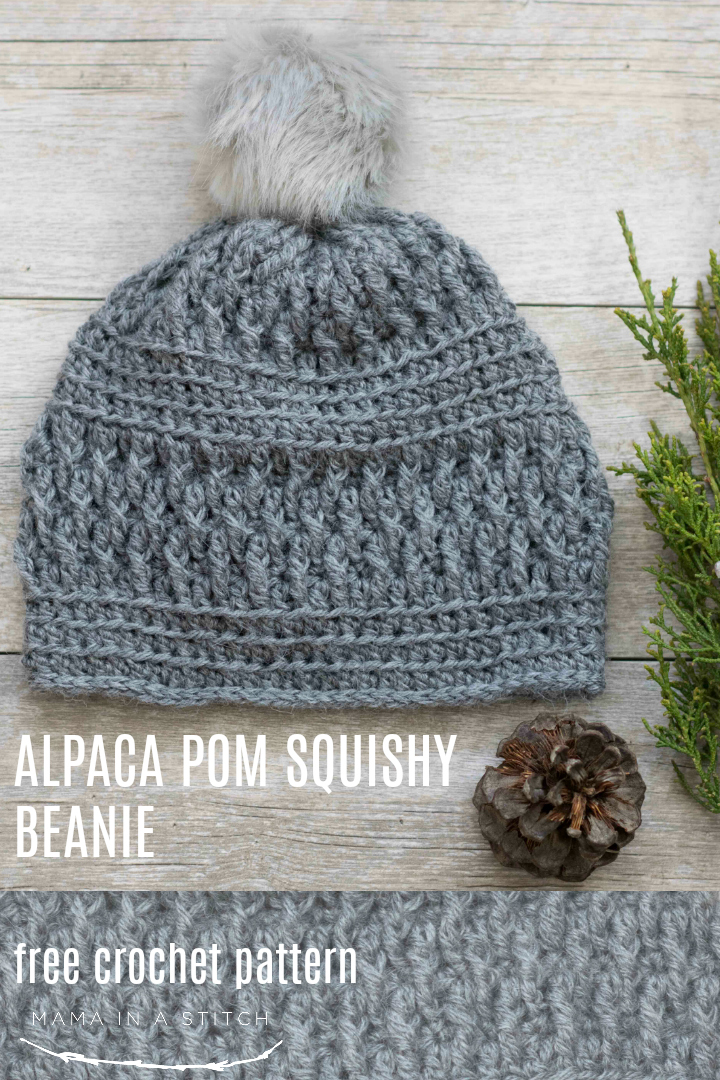
Alpaca Squishy Pom Beanie Crochet Hat Pattern
Find the free pattern for this Alpaca Squishy Pom Crocheted Beanie below or you may choose to purchase the printable ad-free PDF version from my Etsy shop HERE
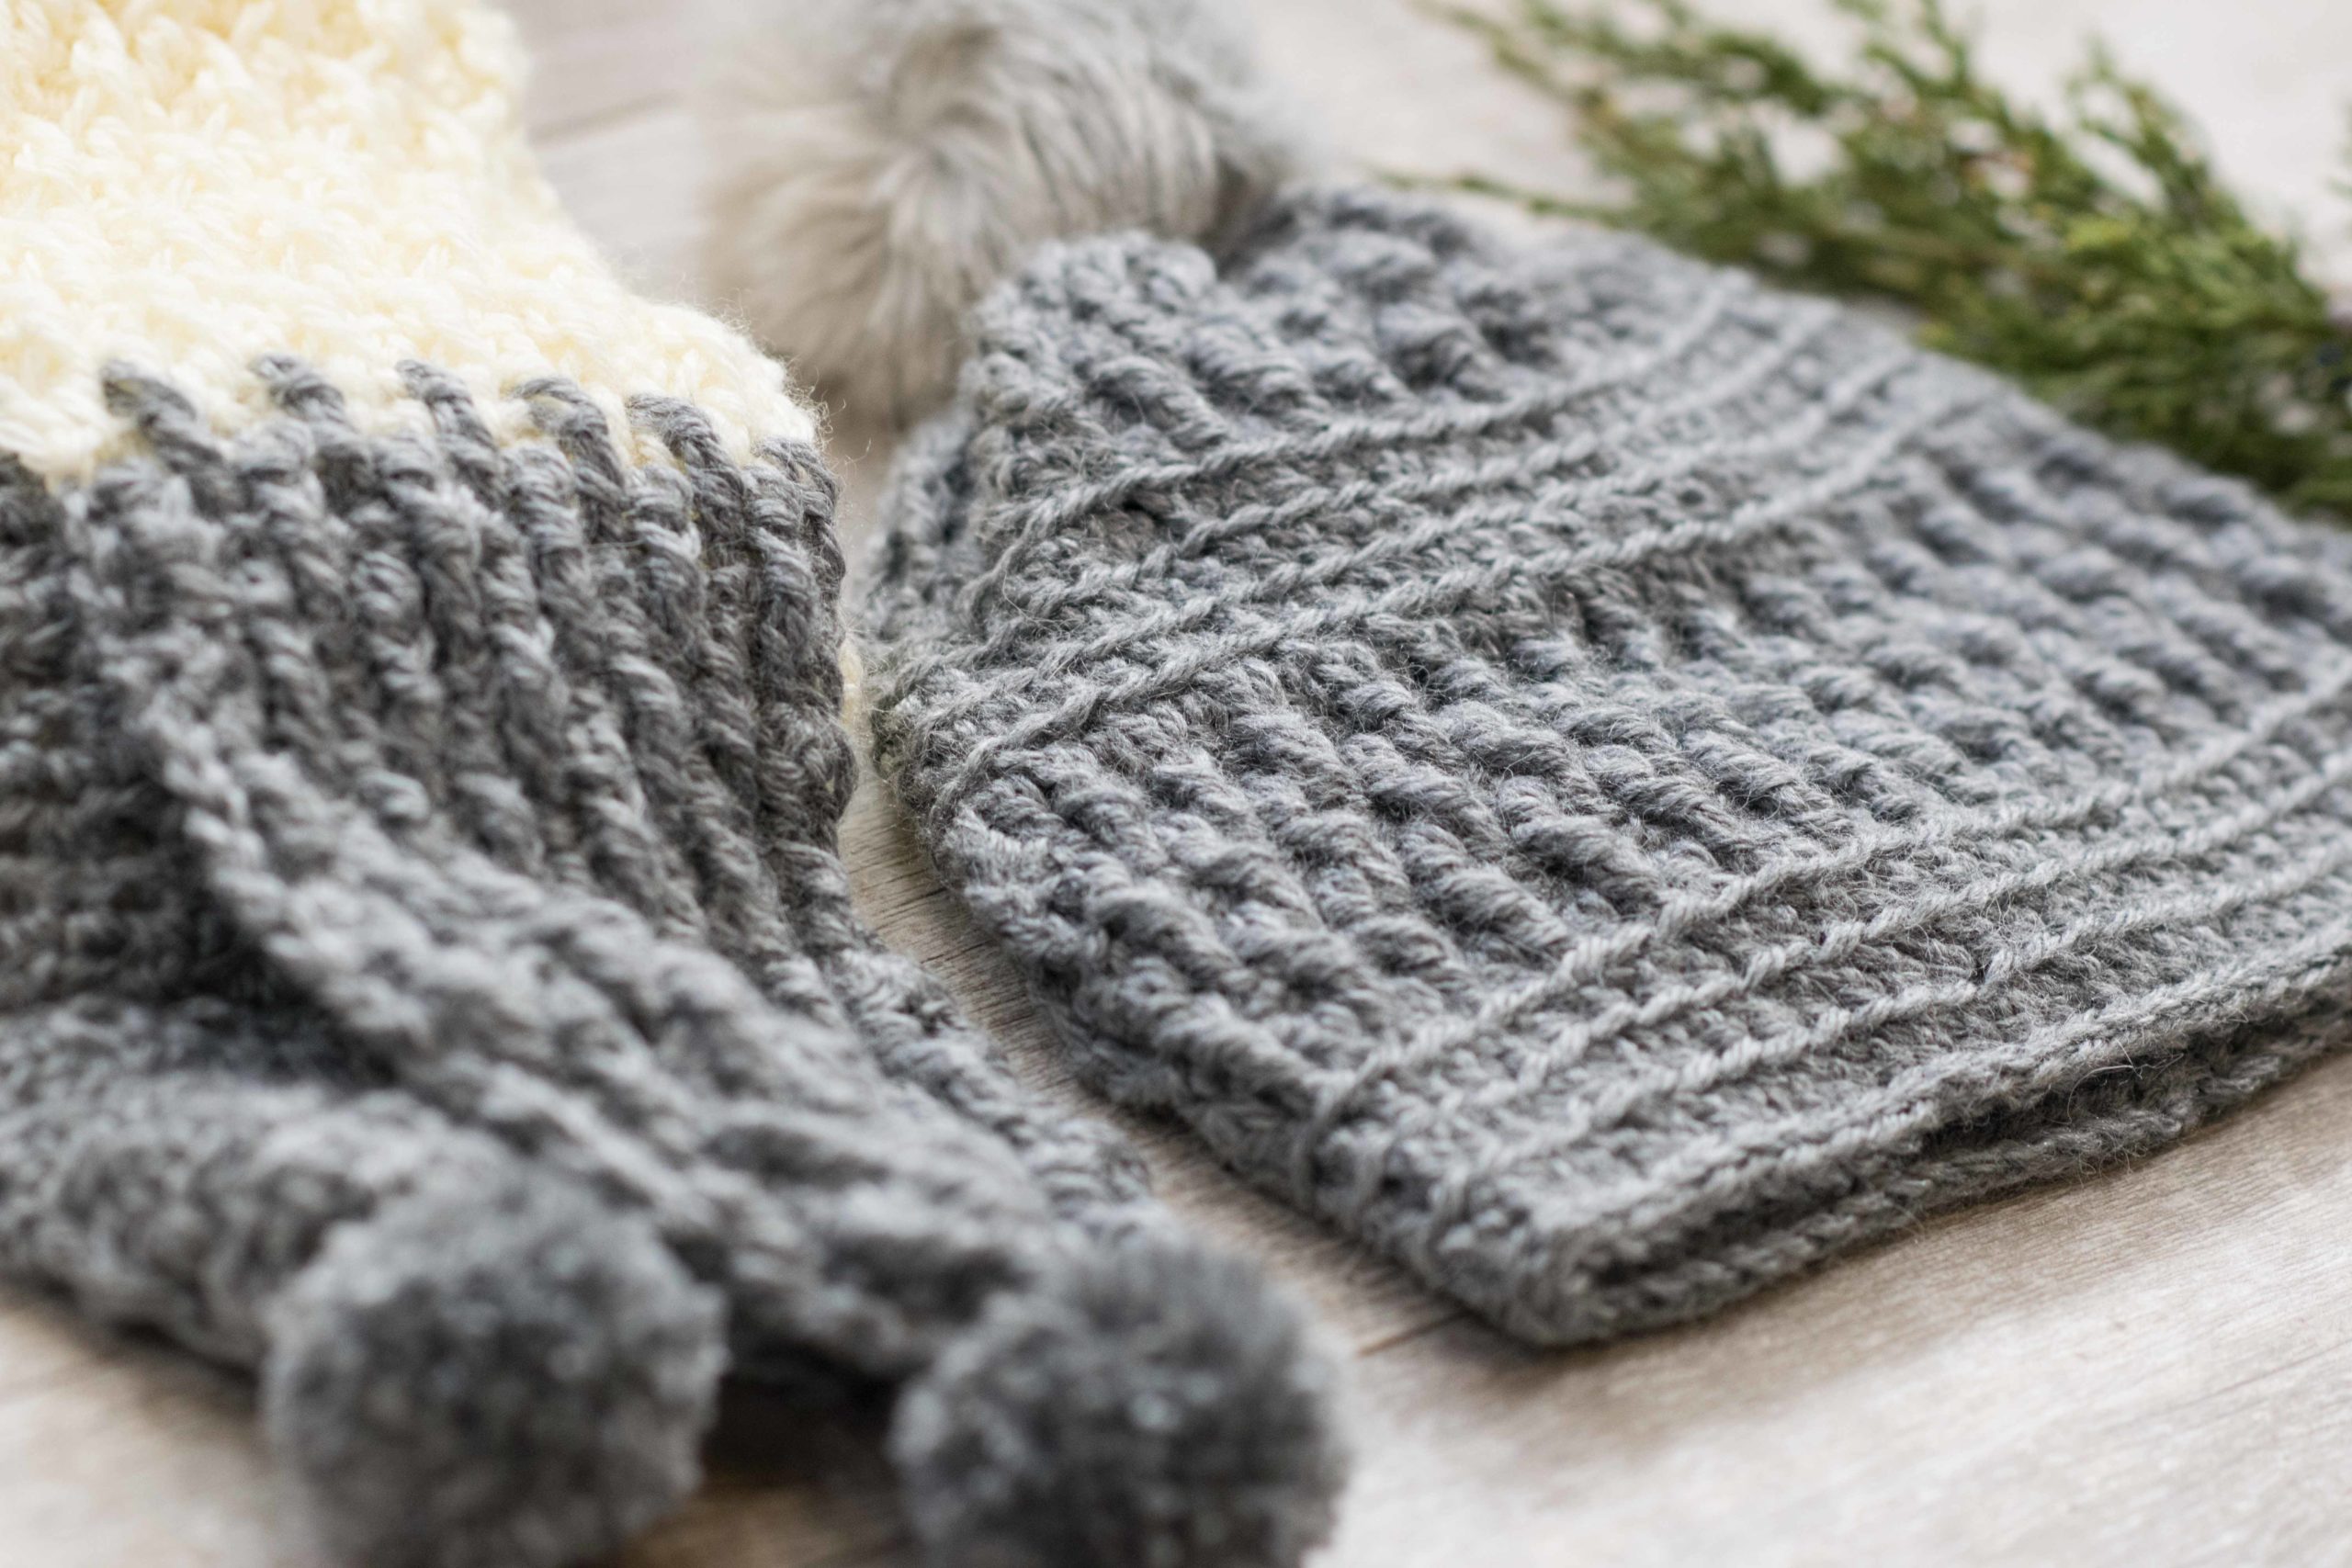
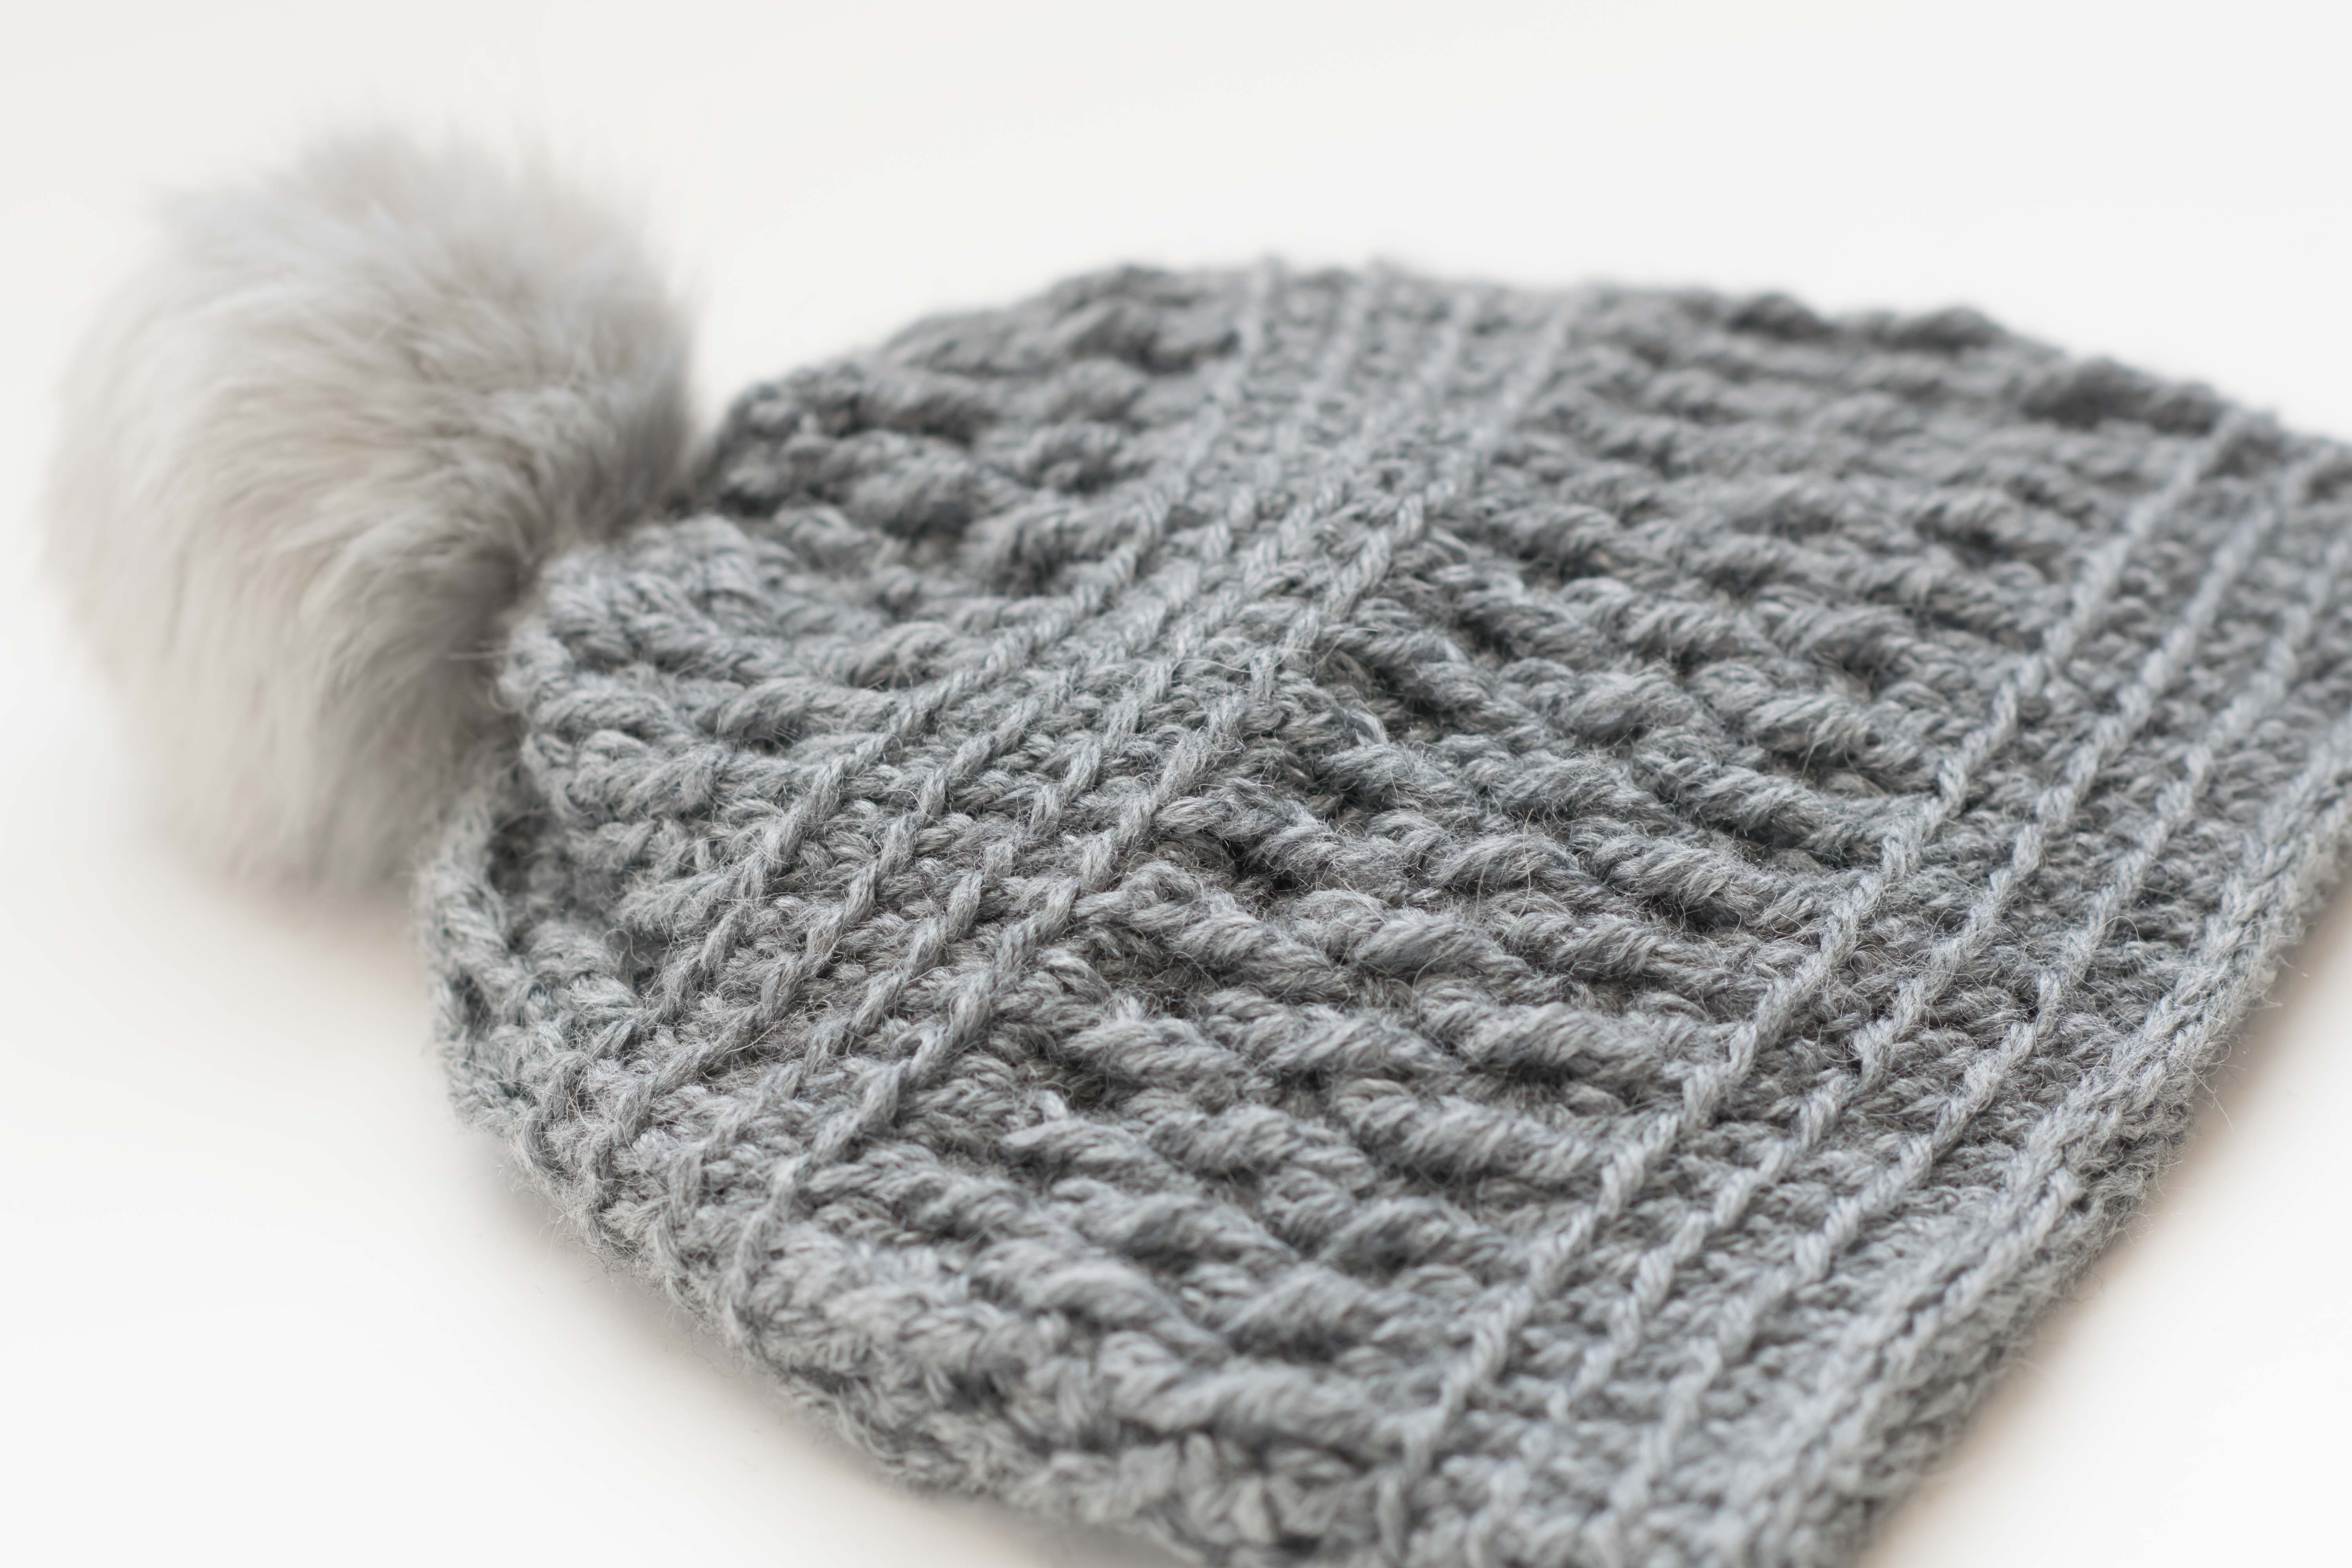
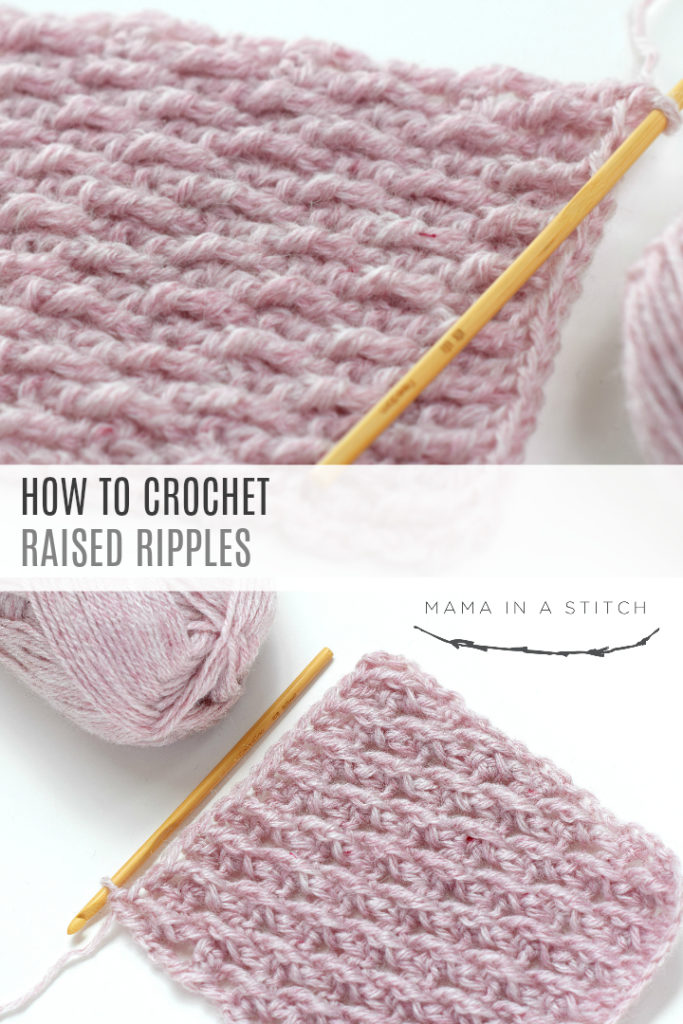
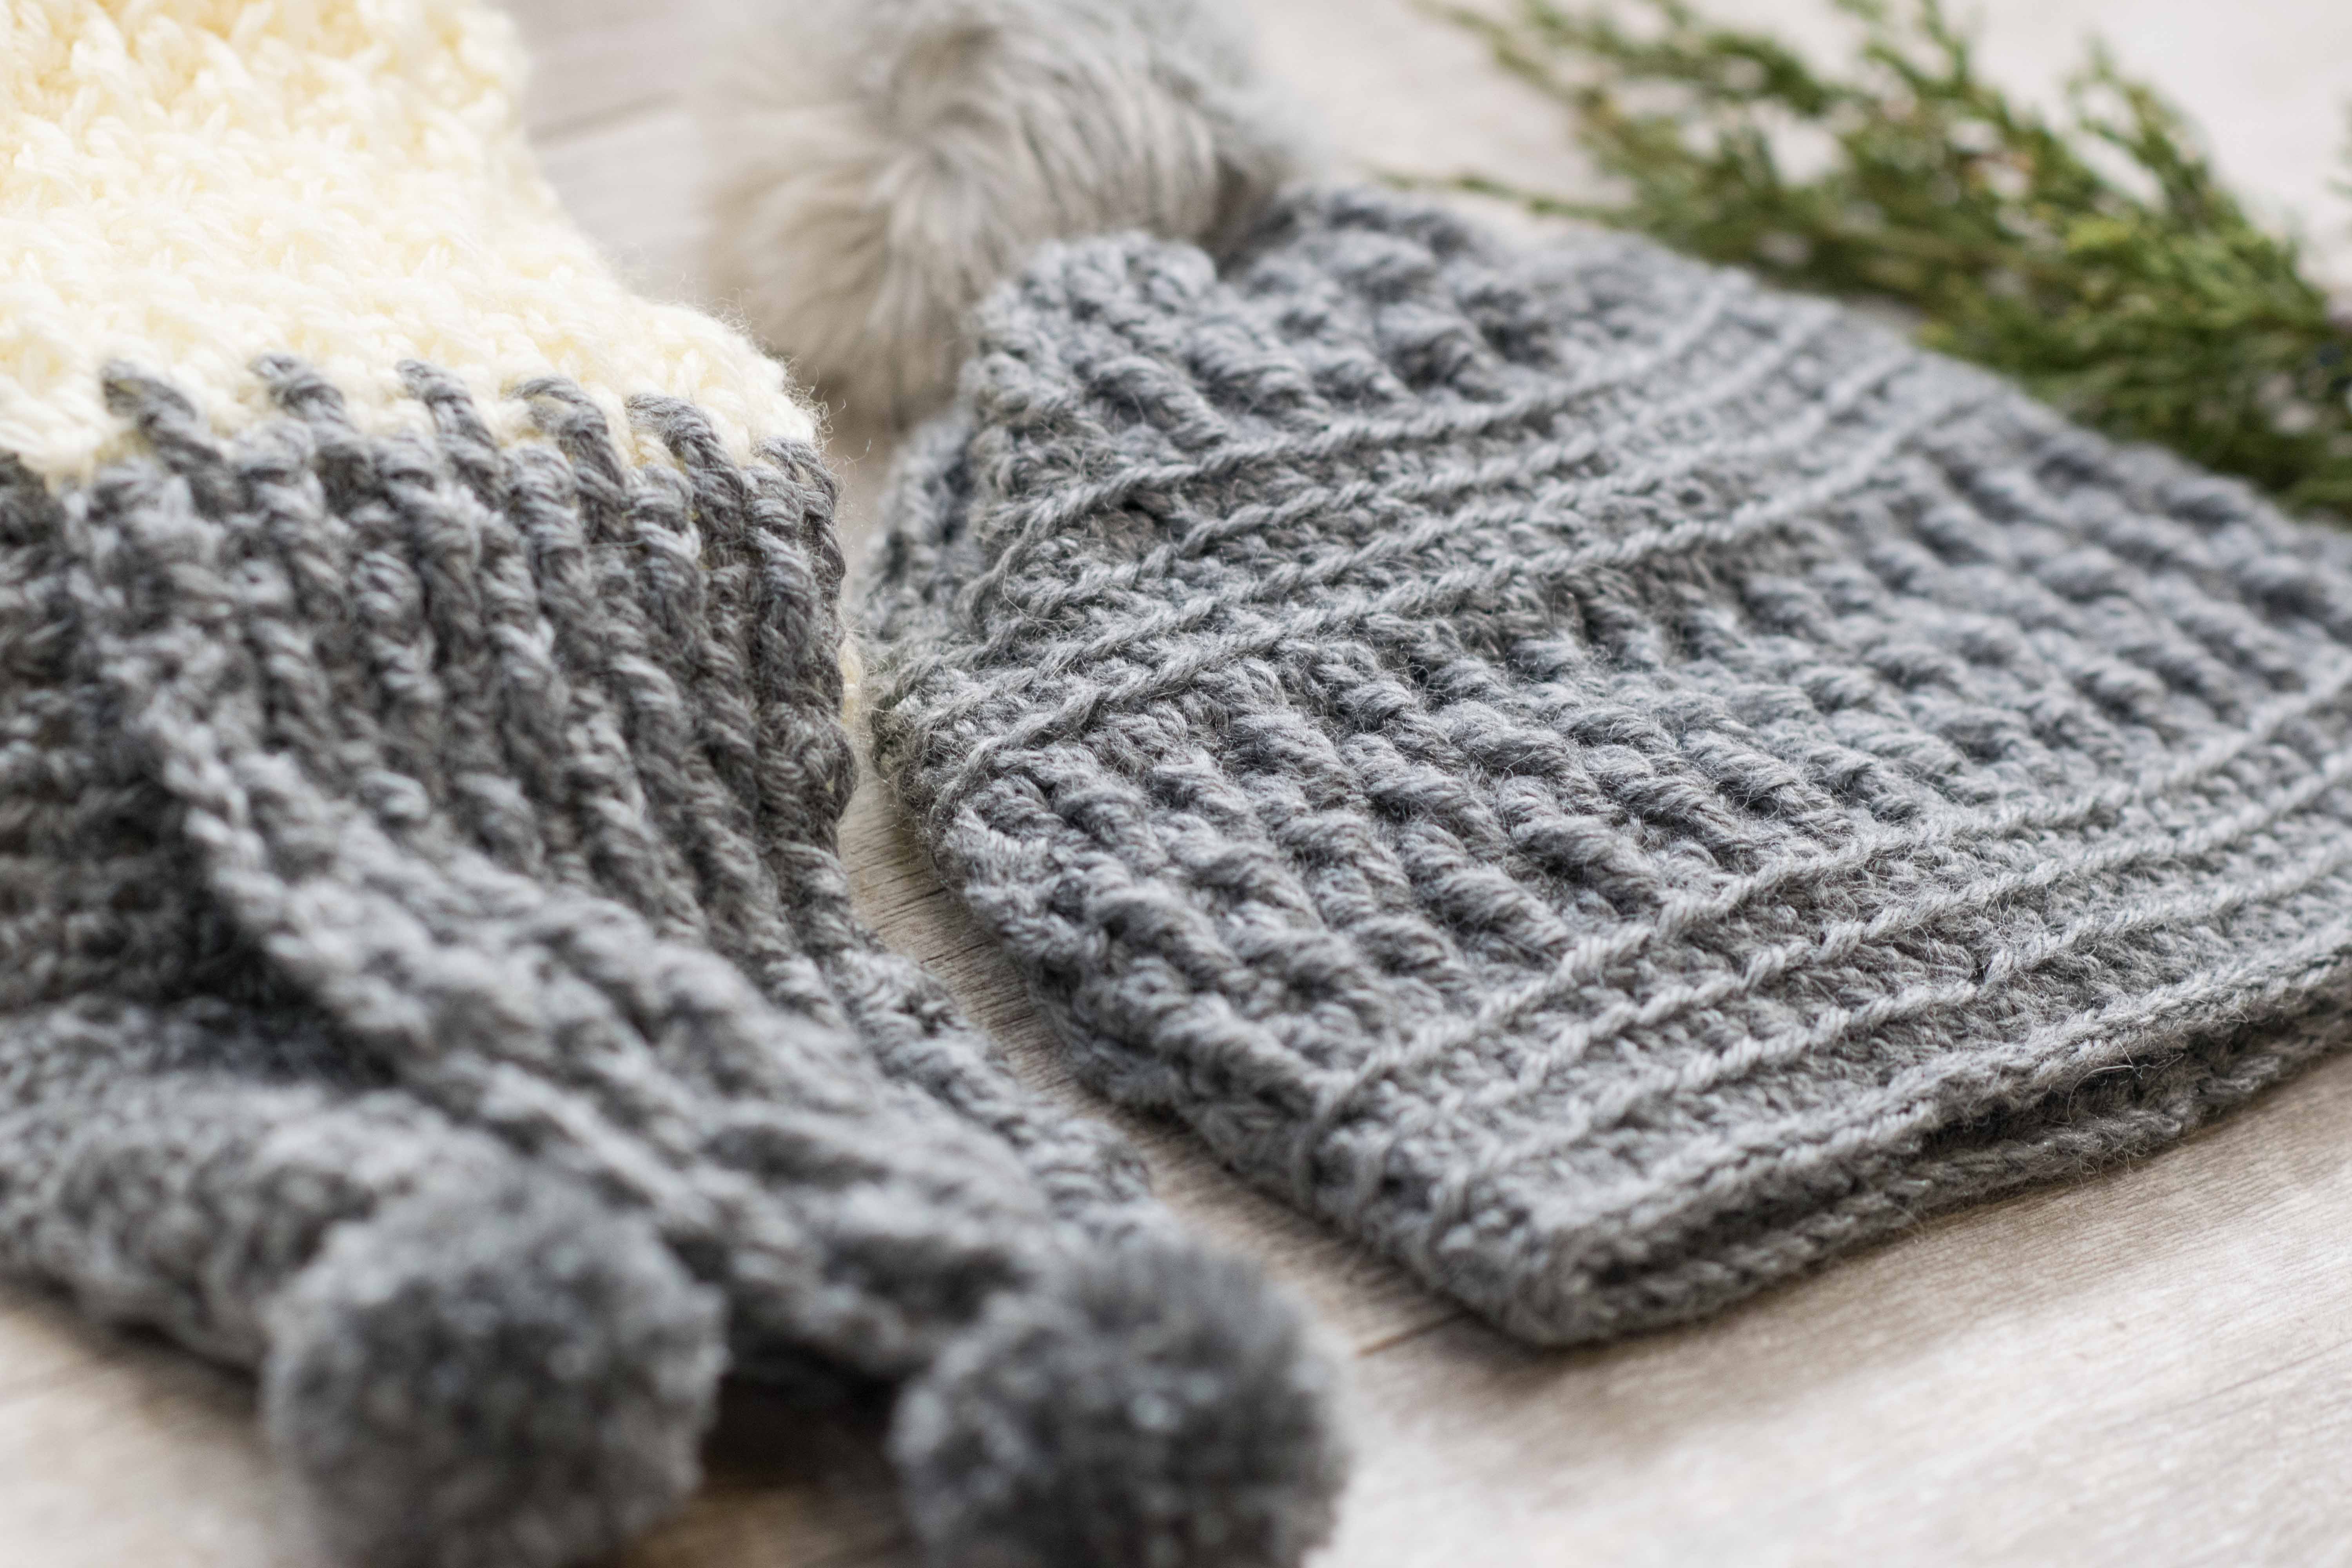
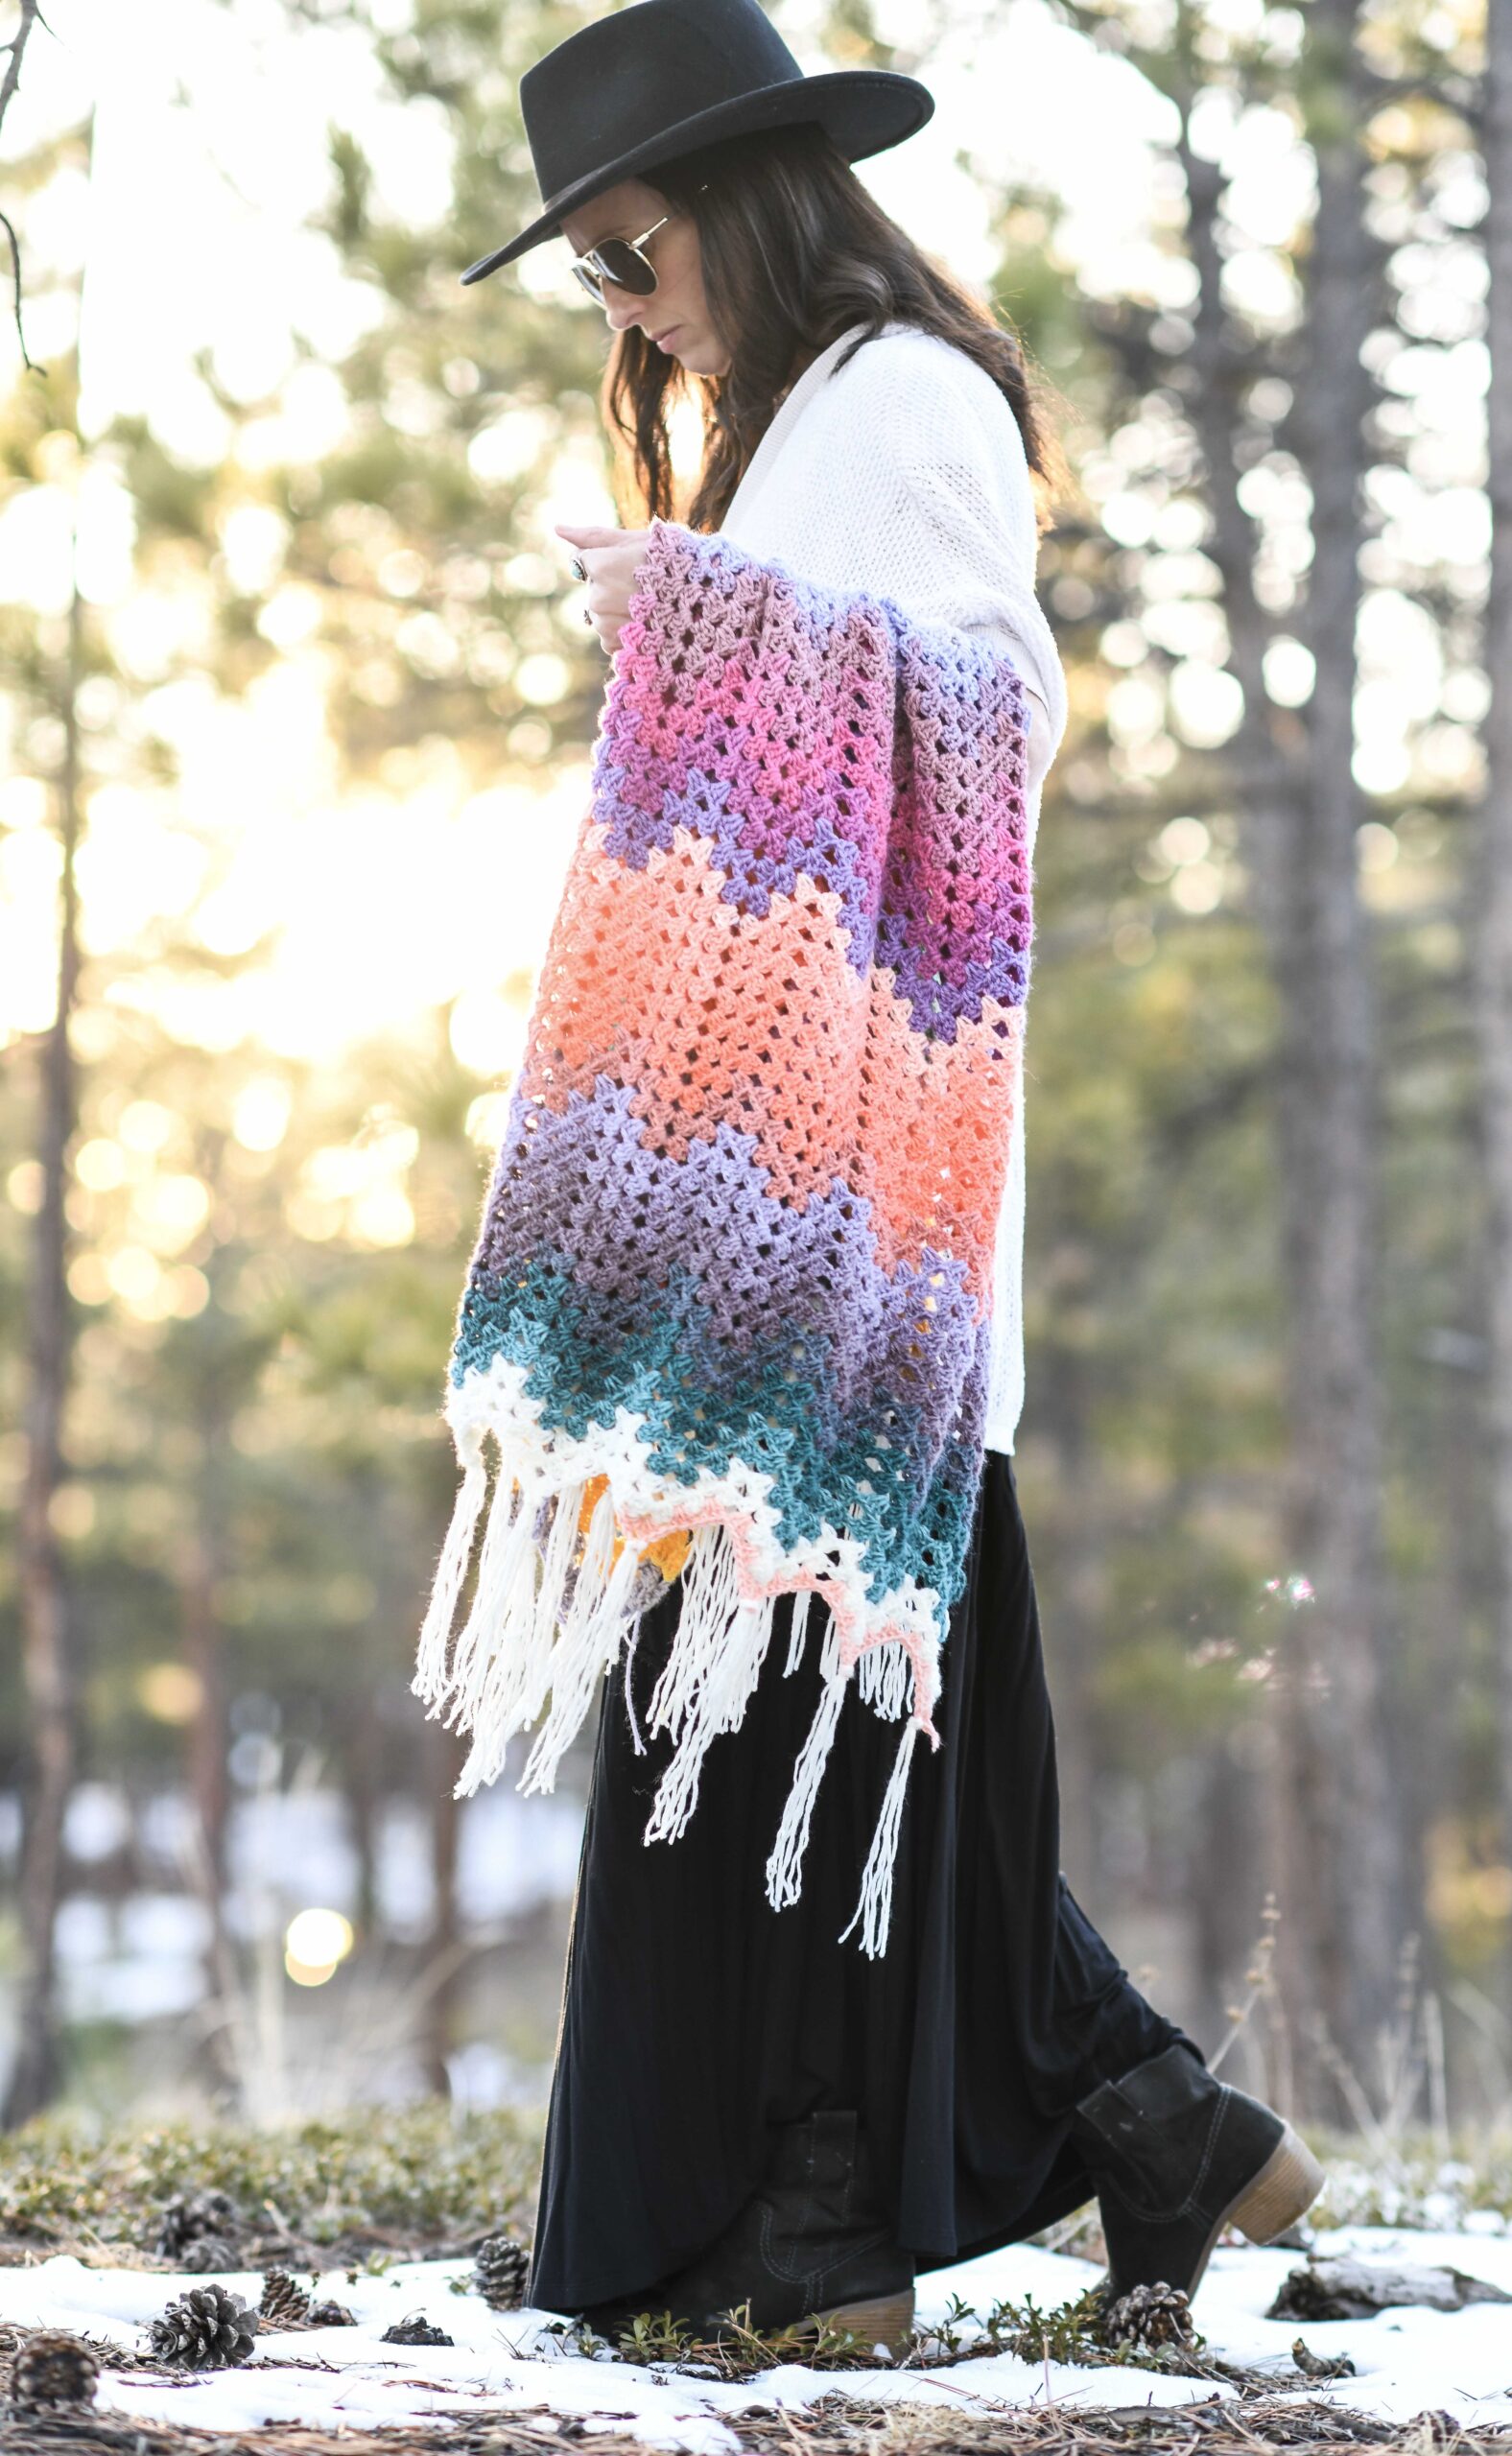
I’m on a total kick with this alpaca blend yarn because it’s so soft and also quite affordable. It’s true that I may have bought half of my local JoAnn’s stock to make my latest projects. Lol! Anyway, this hat turned out to be so squishy and super cute! It uses the “Raised Ripple” stitch that I recently shared with you (tutorial here). It’s a stunning stitch that is full of texture and warmth and can work for so many different projects. This is one of them!
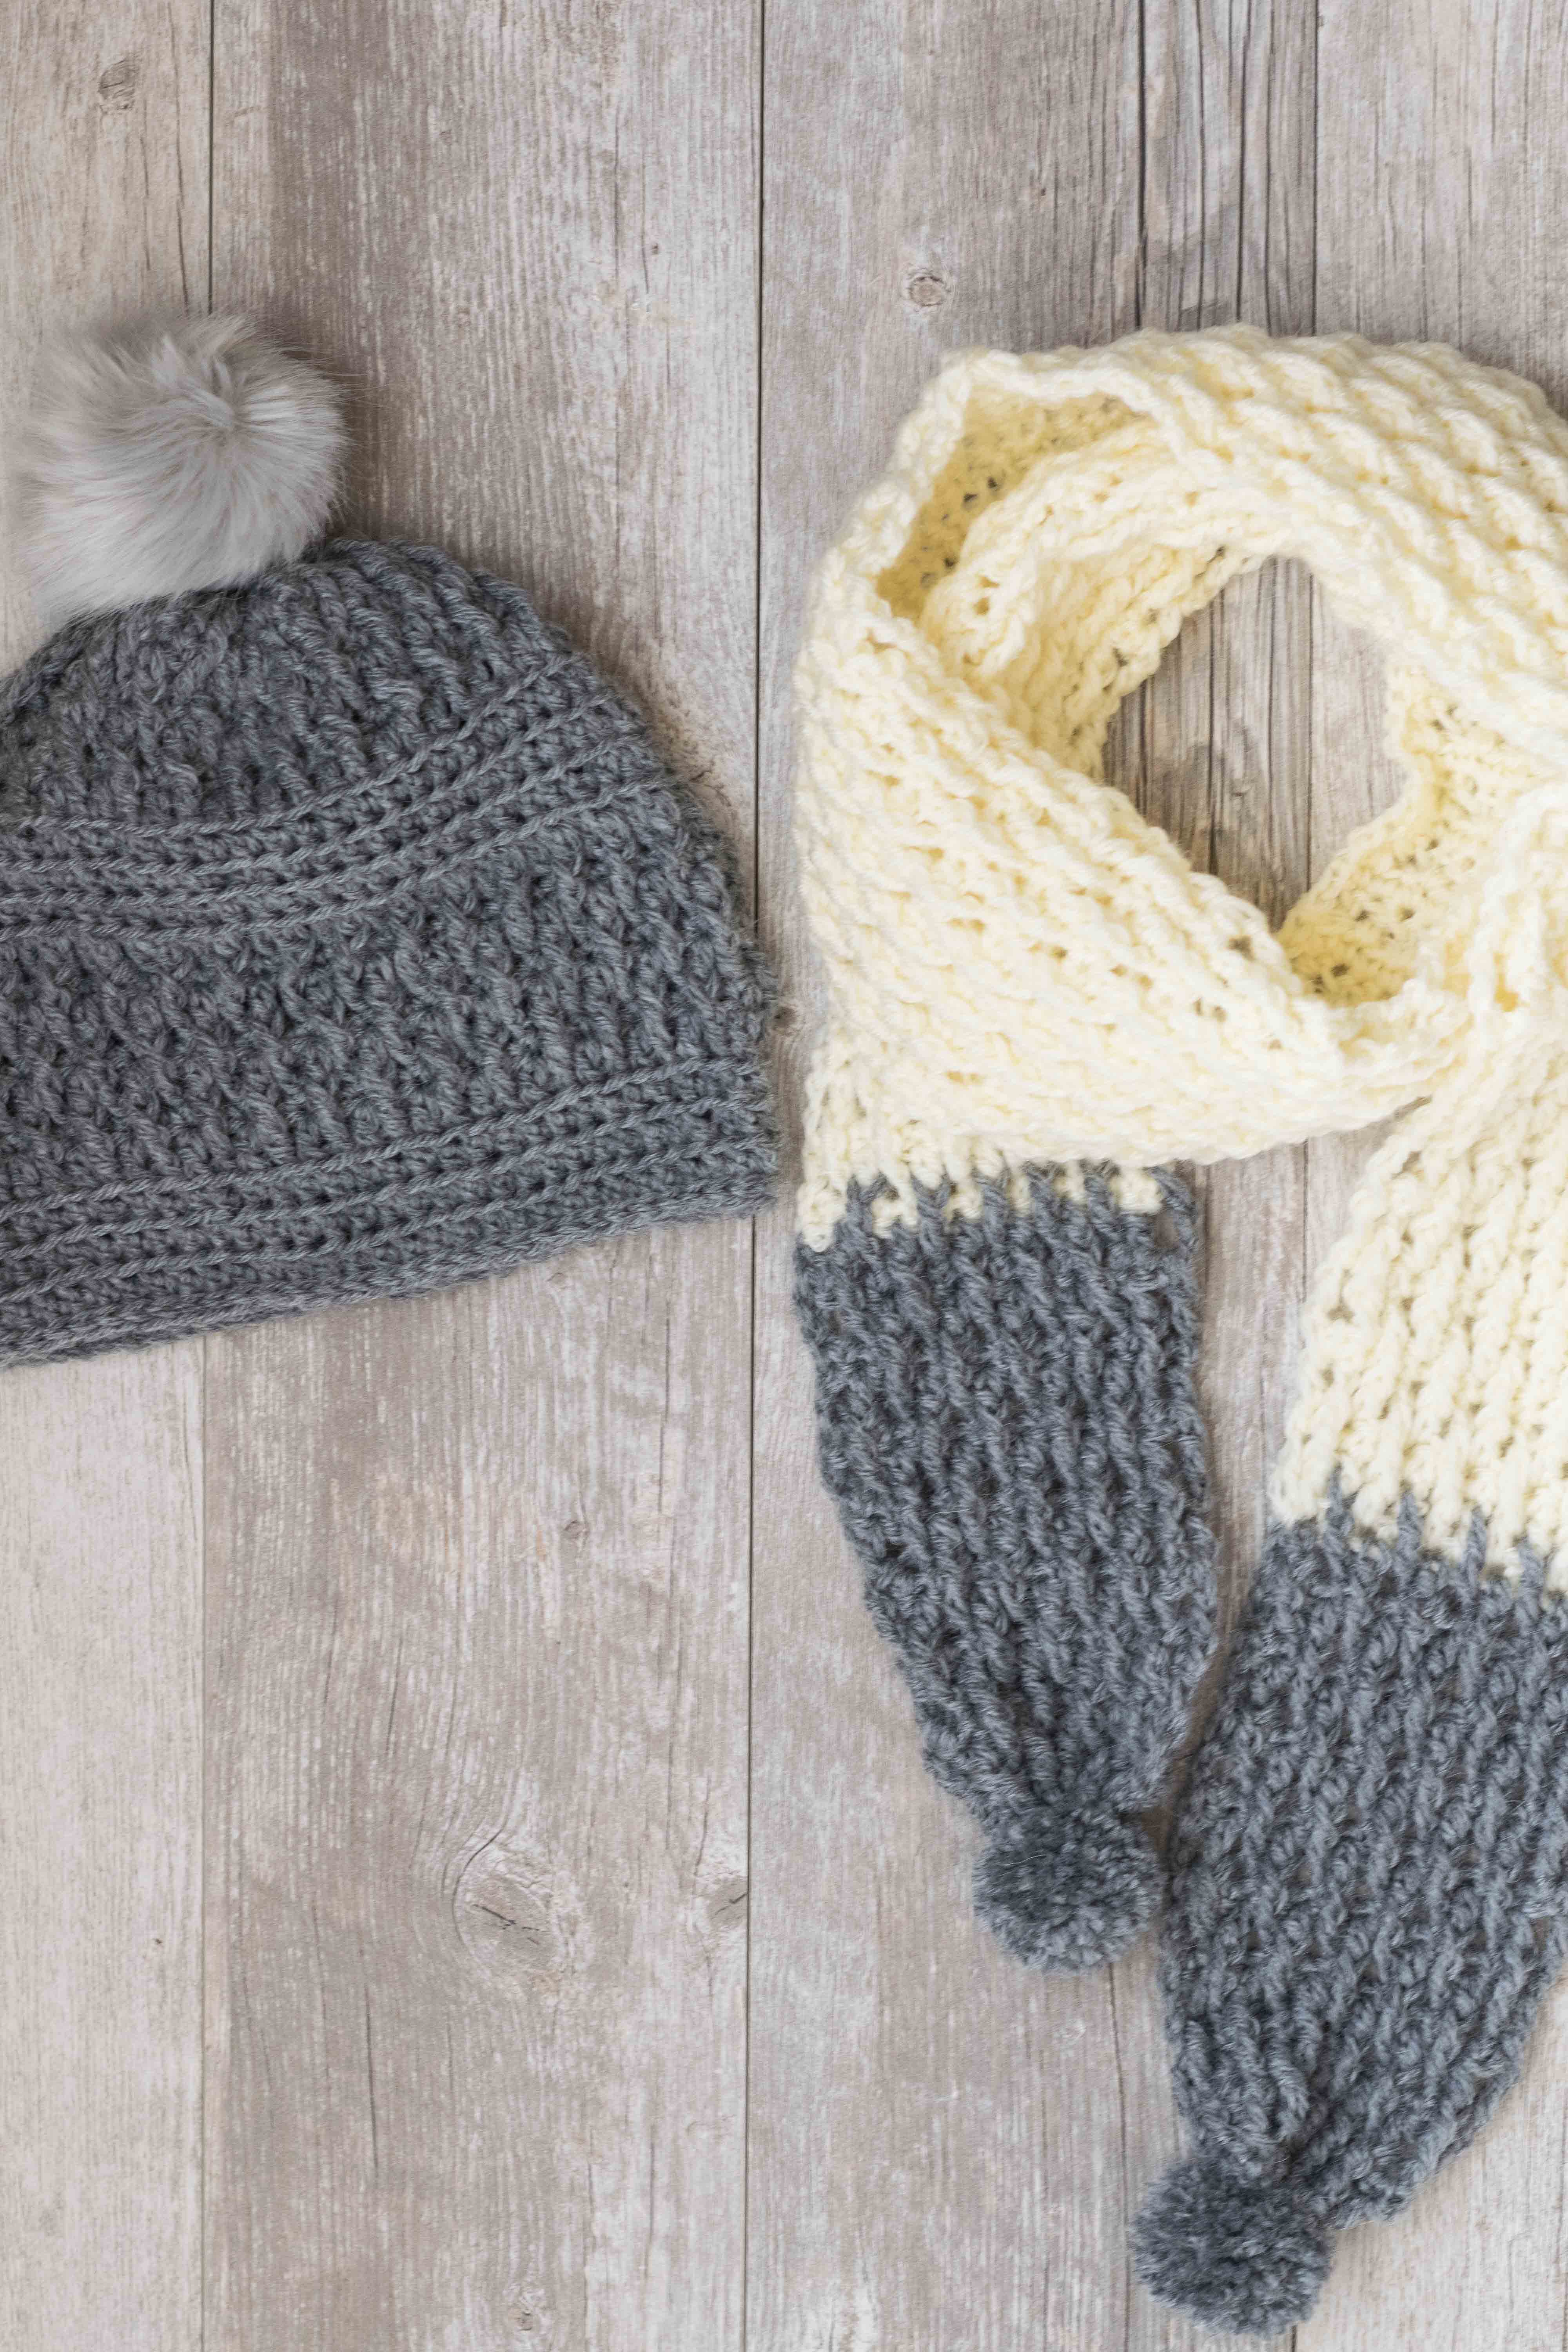
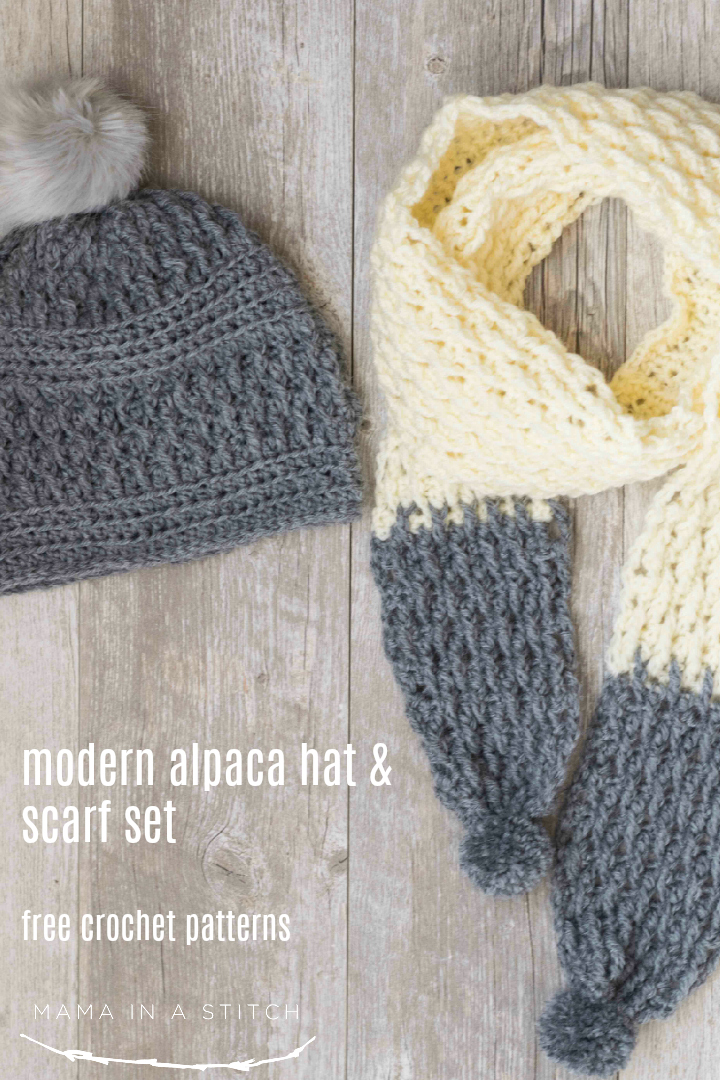
As you can see in the picture above, I made a scarf which matches the beanie as well which you can also find on the blog (here).
You’ll see more details about how to crochet this beanie in the pattern notes below, but let me give you the quick lowdown. This hat really isn’t for beginner crocheters as it’s important to keep your stitch count correct, however, if you’re fairly experienced it should be pretty fun! It’s cool to see how the Raised Ripples stitch works up as you complete each round. The contrasting texture is made with half double crochet stitches through the back loop only. There’s no increasing or decreasing so it’s a fairly straight forward pattern without any shaping needed.
Remember that if you need extra help, you can find a stitch tutorial for the Raised Ripple stitch on the blog (here). If you can work the stitch pattern flat with some practice, you will be able to do it in the round as well. There is only a a slight modification to the pattern in the round so that the join comes together seamlessly. (It took me a bit of work to get that one figured out!)
Click the image below to head to the tutorial and video on the Raised Ripple Stitch. 🙂
Pattern Description:
A soft, squishy, hat featuring sections of contrasting textures that’s both comfortable and beautiful to wear.
Skill Level:
Intermediate
Materials:
US Size H 6.0 Crochet Hook
1 skein Lion Brand Yarn Touch of Alpaca in Oxford Grey (here) (100g/skein) Pattern uses approximately 76 g of yarn
Scissors
Tapestry Needle
Gauge: Approximately 13 stitches & 9 ½ rows of hdc blo in 4” X 4”
Dimensions (approximate): Circumference 20” around Height Approximately 8.5”
Abbreviations & Skills:
FRTR – Front Raised Treble – yarn round hook twice, insert hook from front around double crochet stitch indicated from right to left, then complete the treble crochet as normal.
ch – chain
sc – single crochet
dc – double crochet
st – stitch
sl st – slip stitch
hdc blo – half double crochet through the back loop only
sk – skip
Notes: This hat is worked in the round. Mark rounds as needed and count stitches to check your work. The textured portion of the hat is created with the Raised Ripple Stitch – you can find a tutorial on this stitch at https://www.mamainastitch.com/how-to-crochet-the-raised-ripple-stitch/ The other striped section of the beanie is made with half double crochet stitches made through the back loop only.
Alpaca Squishy Pom Beanie
Chain 62, sl st to join to form a ring
Round 1 Ch 3 (counts as dc), dc in each st around, sl st in 3rd ch of ch 3 to join (62)
Round 2 Sc in next st and in each st around, sl st to join (62)
Round 3 Ch 3 (counts as dc), sk first sc, * 1 FRTR around dc below next sc, skip this sc, 1 dc in next sc, repeat from *, ending with FRTR, sl st to join in 3rd ch of Ch 3 (62)
Round 4 Sc in each st around, sl st to join (62)
Round 5 Ch 3 (counts as dc), sk 1st sc, *1 DC in next sc, 1 FRTR around dc below next sc, repeat from *, ending with DC, sl st to join in 3rd ch of Ch 3 (62)
Round 6 1 FRTR around DC below ch 3, sc in next st, sc in each st around, sl st to join (62)
Round 7 Ch 3 (counts as dc), sk first st, *1 FRTR around dc below next sc, skip this sc, 1 dc in next sc, repeat from *, ending with FRTR, sl st to join in 3rd ch of Ch 3 (62)
Round 8 Ch 2(doesn’t count as st), hdc blo in next st and each st around, sl st to join in top of ch 2 (62)
Round 9-10 Repeat round 8
Round 11 Ch 3 (counts as dc), dc blo in each st around, sl st in 3rd ch of ch 3 to join (62)
Round 12 Repeat round 2
Round 13 Repeat round 3
Round 14 Repeat round 4
Round 15 Repeat round 5
Round 16 Repeat round 6
Round 17 Repeat round 7
Round 18 – 20 Repeat round 8
Tie off and weave in ends. You may also make this hat “slouchier” by repeating row 8 to make the hat longer.
Finish:
Flip hat so the beginning chain is at the top of the hat. With a length of yarn and a tapestry needle, work in and out of every other stitch. Cinch closed and tie with a knot.
Create a pom by hand or with a pom maker and attach to top. You may also purchase a pom like the one pictured at many retail and online locations.
If you find that you would like to have a tighter hat that will not stretch much, make one round of slip stitches around the bottom edge of hat. Tie off and weave in ends. You may also be creative and make any other sort of brim that you’d like!
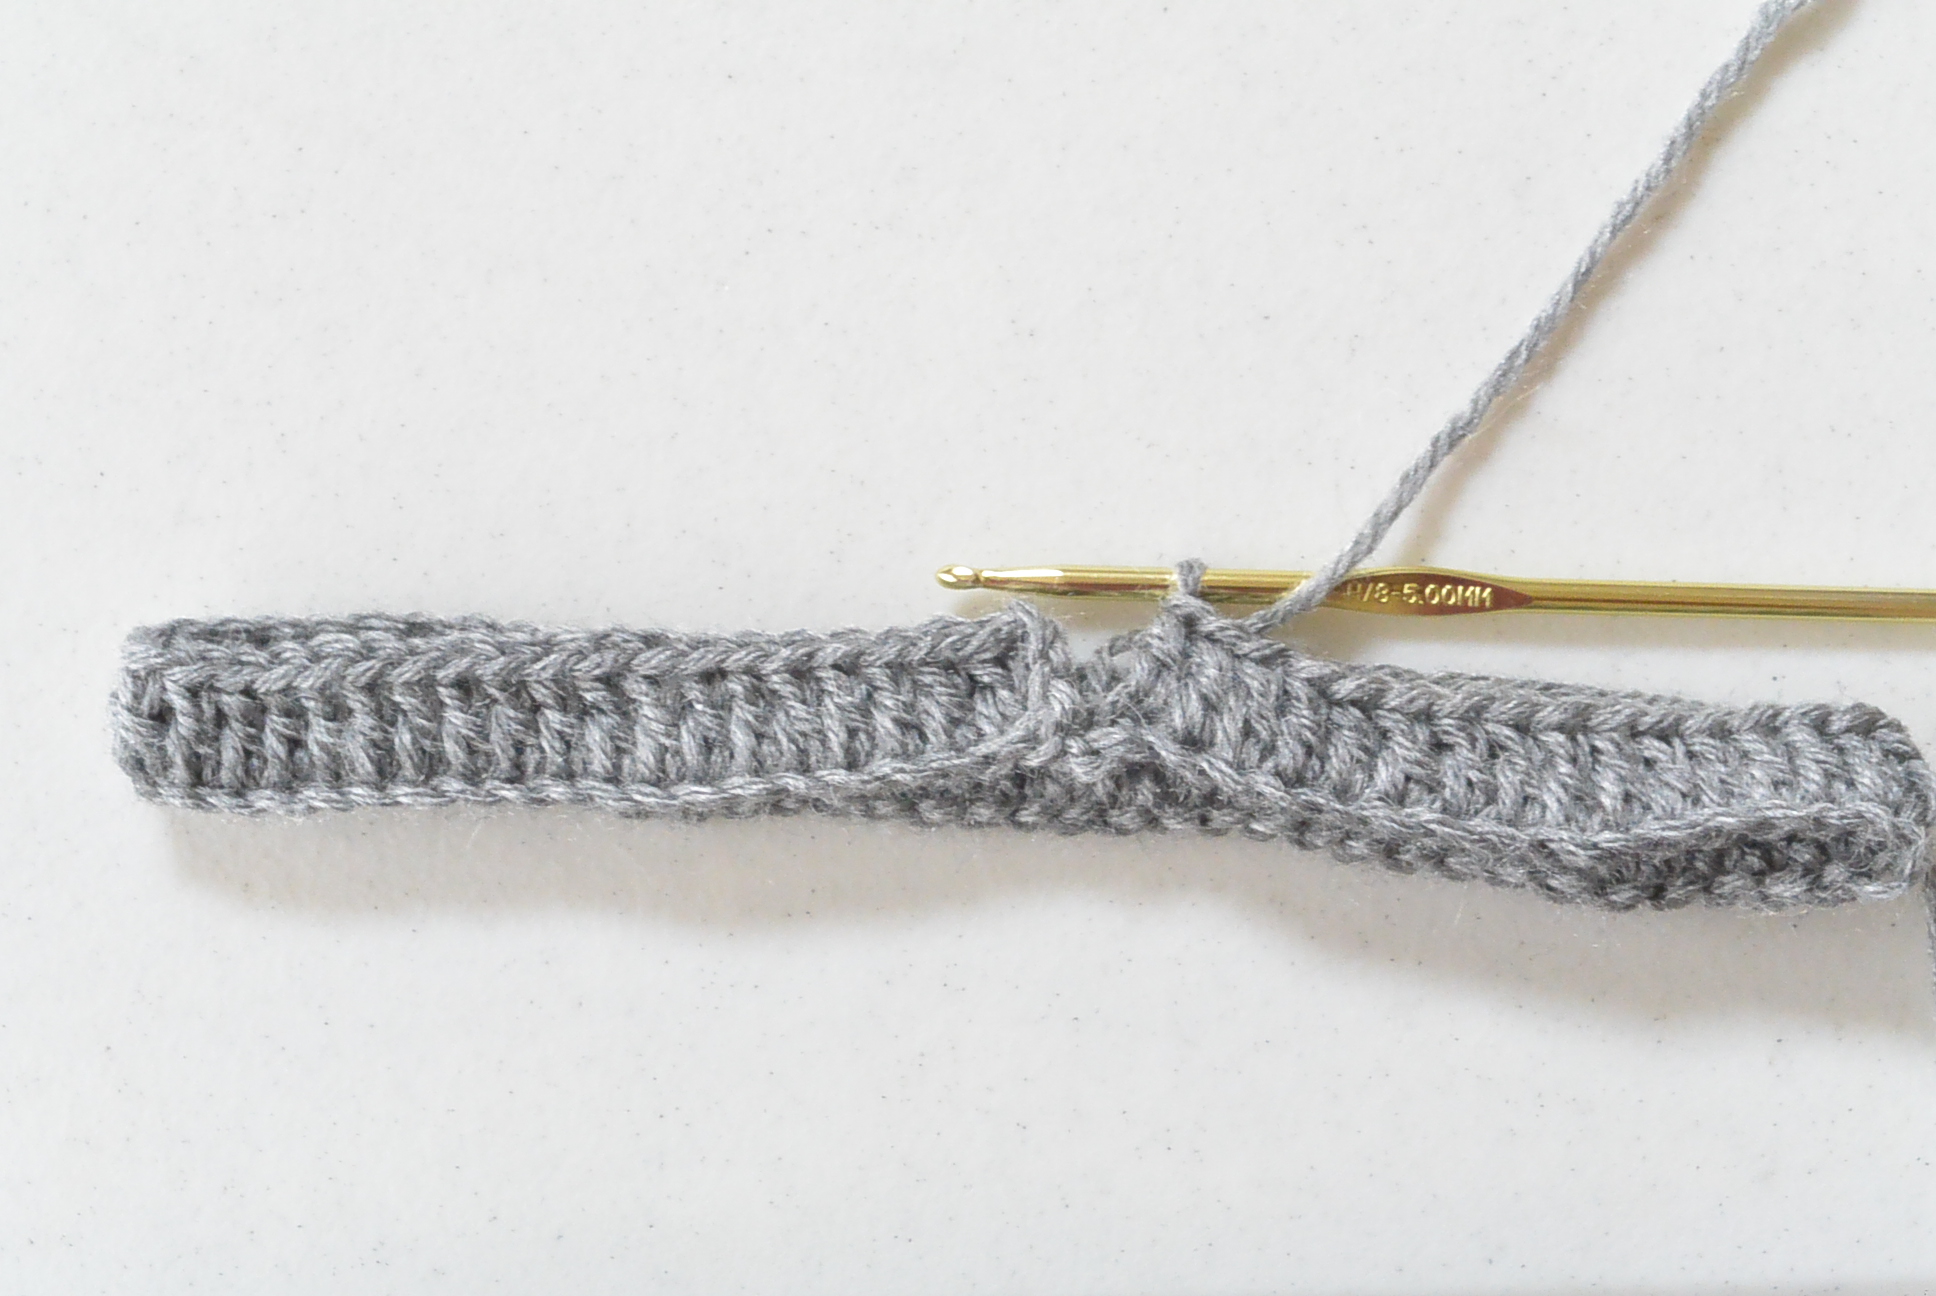
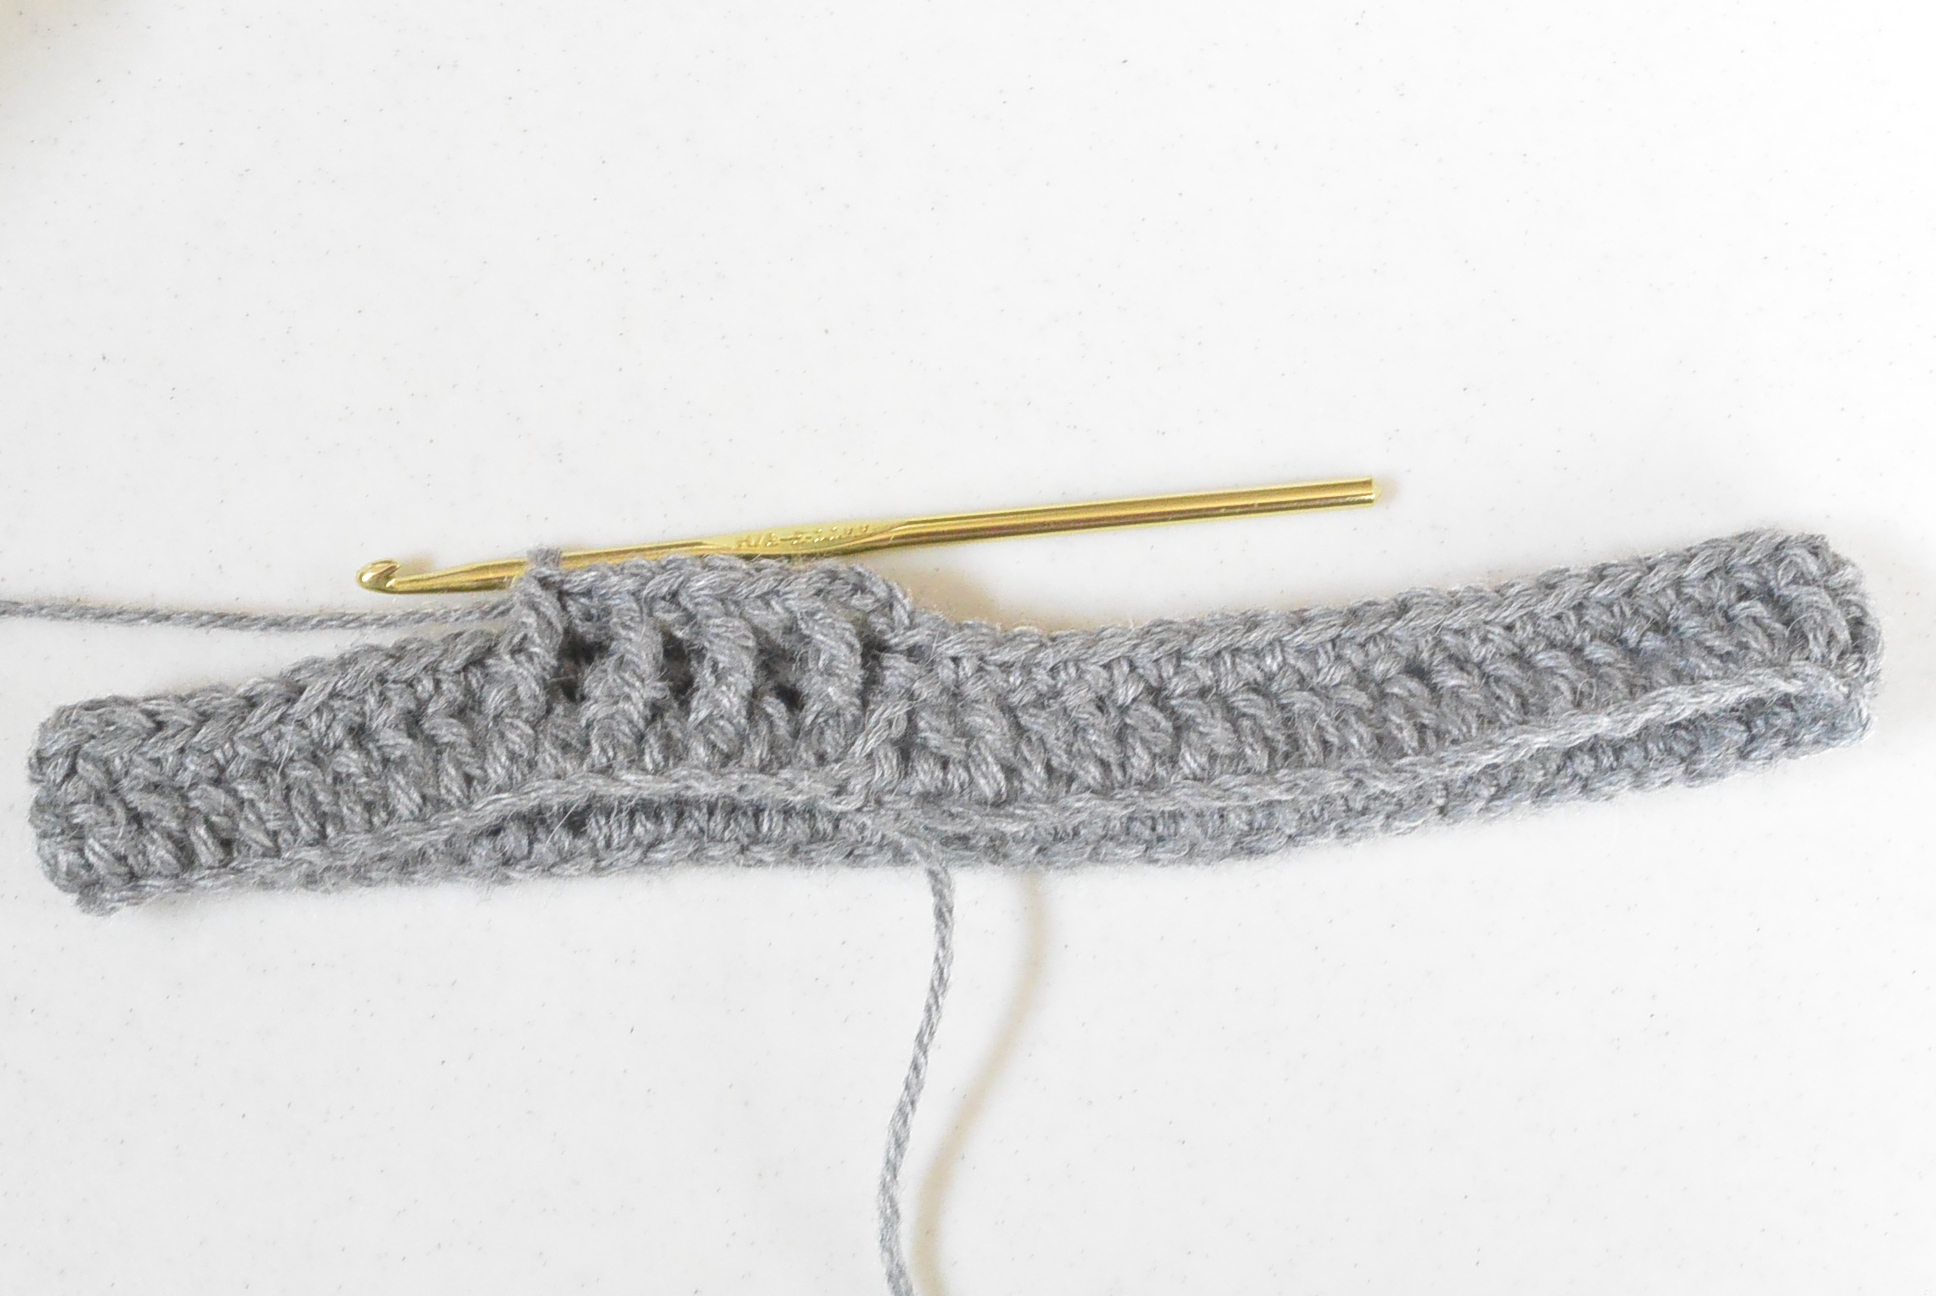
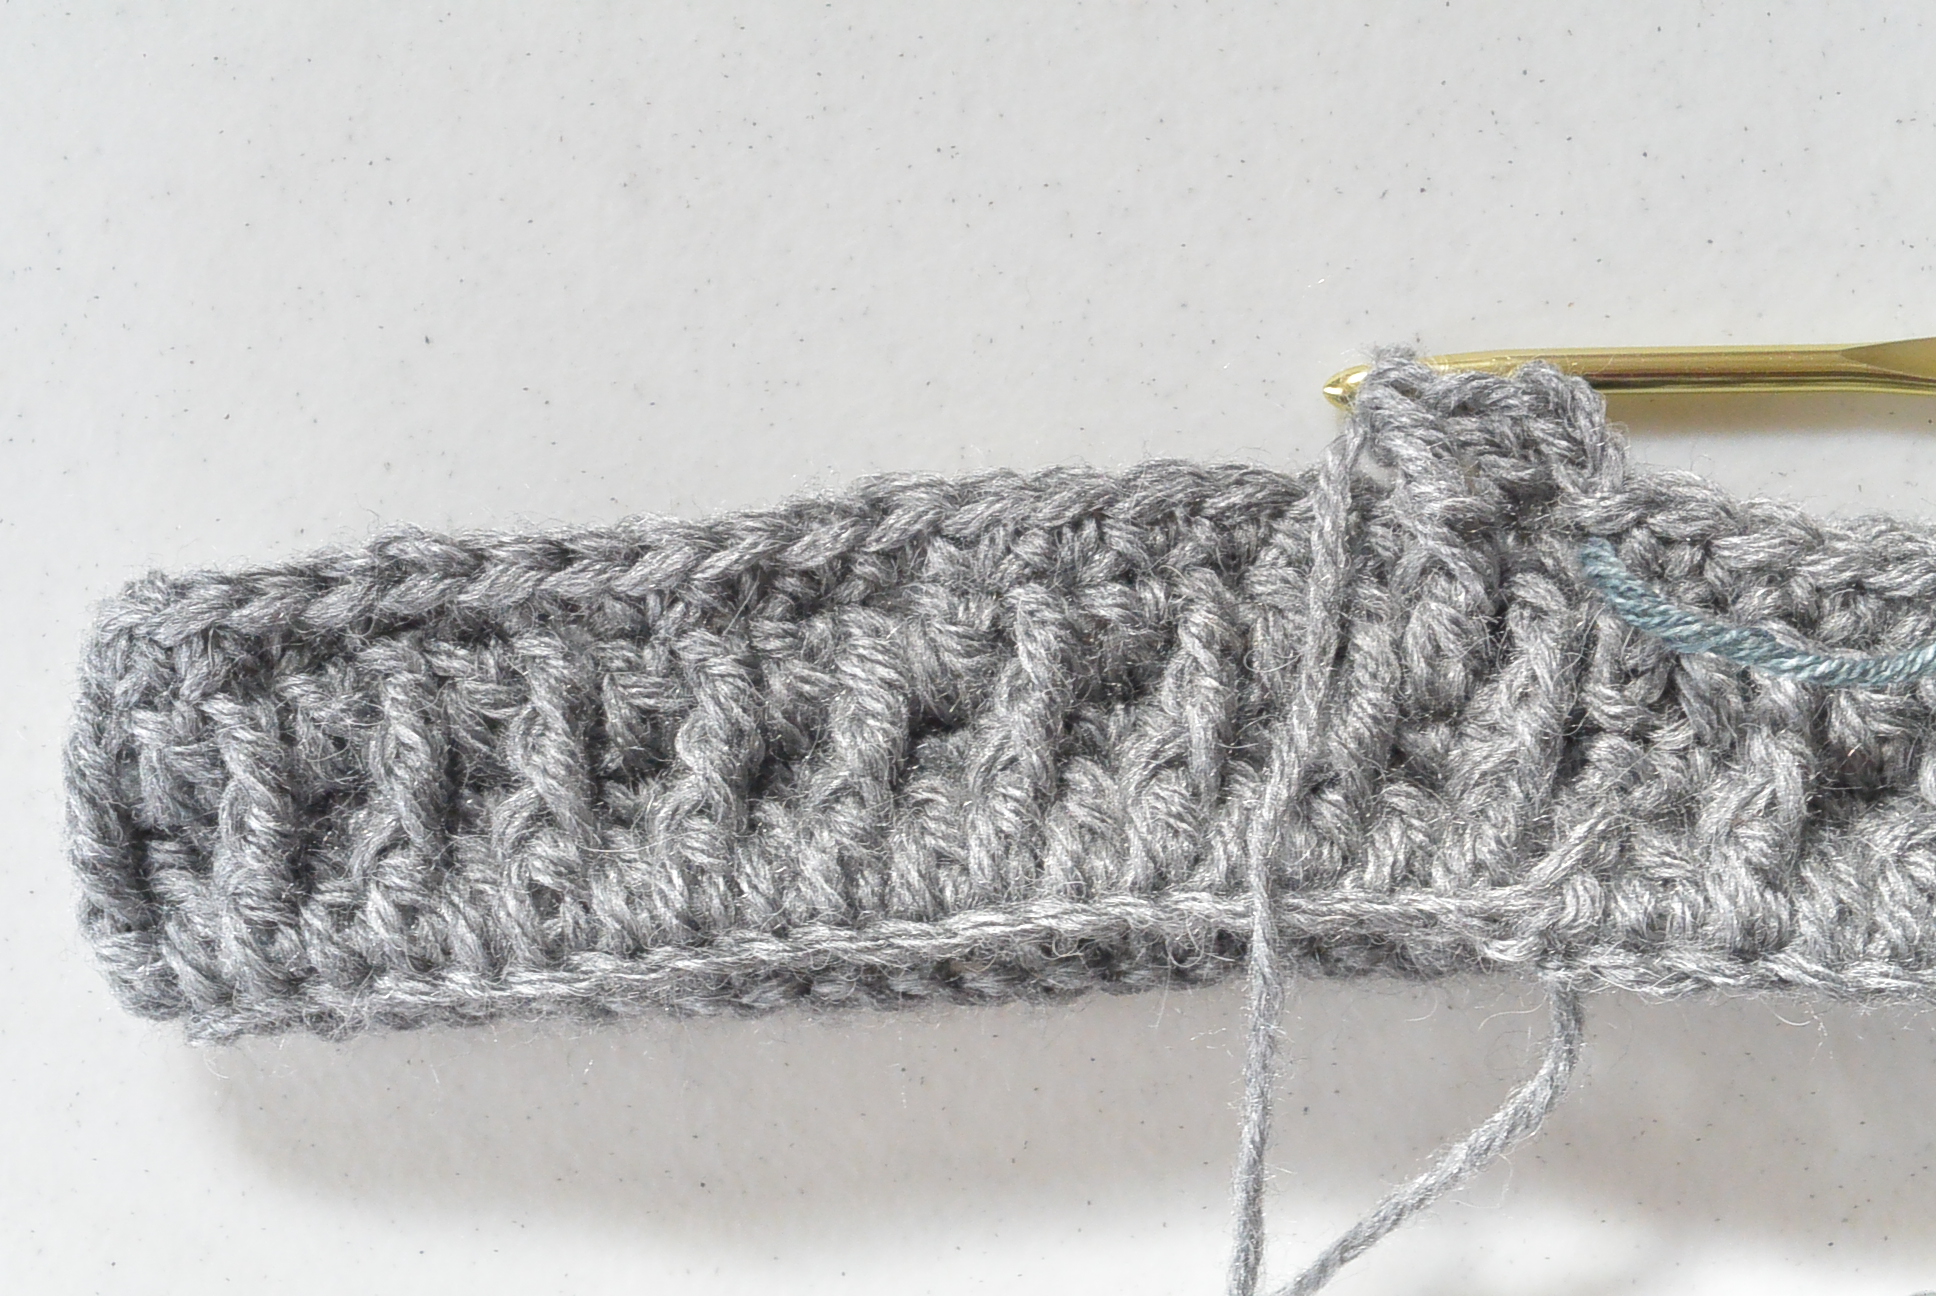
Below you can see how it looks as you get a few rounds into it.
I rarely, rarely design crocheted hat patterns, so please let me know if you have any questions or feedback!
XO,
Jessica
If you liked this, you might also like:
Go-To Crocheted Blanket Pattern
![]()
Thank you so much for this unique pattern Jessica! This gal loves texture and I happen to have a skein of pale pink T.ofA. yarn so will be making this hat in the near future.
Where is the scarf pattern that you have pictured with the hat?
Once again, many thanks, you are generous and I appreciate how nice you are in sharing your patterns. its lovely and I can finally put a dent in my alpaca stash.
Dear Jessica,
I always look forward to your emails to see what wonderful news pattern you have designed. You are so generous, besides talented! I am looking forward to making this hat, as I am like you, I love texture.
Again, thank you!
Cynthia S
hi:) I started trying to make the alpaca squishy pom beanie and im super confused lol im fine with the stitch itself its the counts. the pattern says 62 stitches for the first row but that didn’t reach around my head so I started with 77( per the tutorial it said use odd count even though the beanie started even…) anyway can you please help me?:) if I started with 62 (the top of the beanie?) will that fit me after its finished? my friend and I have the same head lol
What size hook did you use. A H and 6 mm are not the same thing.
The photos show a 5.00 mm
Hello — my daughter would like to make this hat with a skein of wool we have. the label says it is 50g and approximately 115yds of wool. We only have one skein that we bought in Steamboat and cannot purchase any more. Do you think we’ll have enough yarn? thank you!
This beanie looks so beautiful! Thank you for sharing the pattern! I wish there is a video tutorial for this beanie. I am a knitter and only know the very basics for crocheting. This beanie has made me want to go deeper in crocheting and hopefully one day I will be skilful enough to understand the pattern and make one!
Hi, so I think I can answer your questions. The tutorial is not the same as the beanie. For the beanie you have to use any even number (i.e.76, or 78 in your case) because, when you get to the row to start the specialty stitch after the row of single crochets, you are skipping a stitch each time to do the FRTR, therefore making it an odd number. Also, 62 is just the number she’s using as for standard sizing measurements, this is a bottom up beanie, so no, any one size in this case will not fit-all. You’ve got to measure whoevers head you’re going to do it for and chain accordingly to fit the pattern needs.