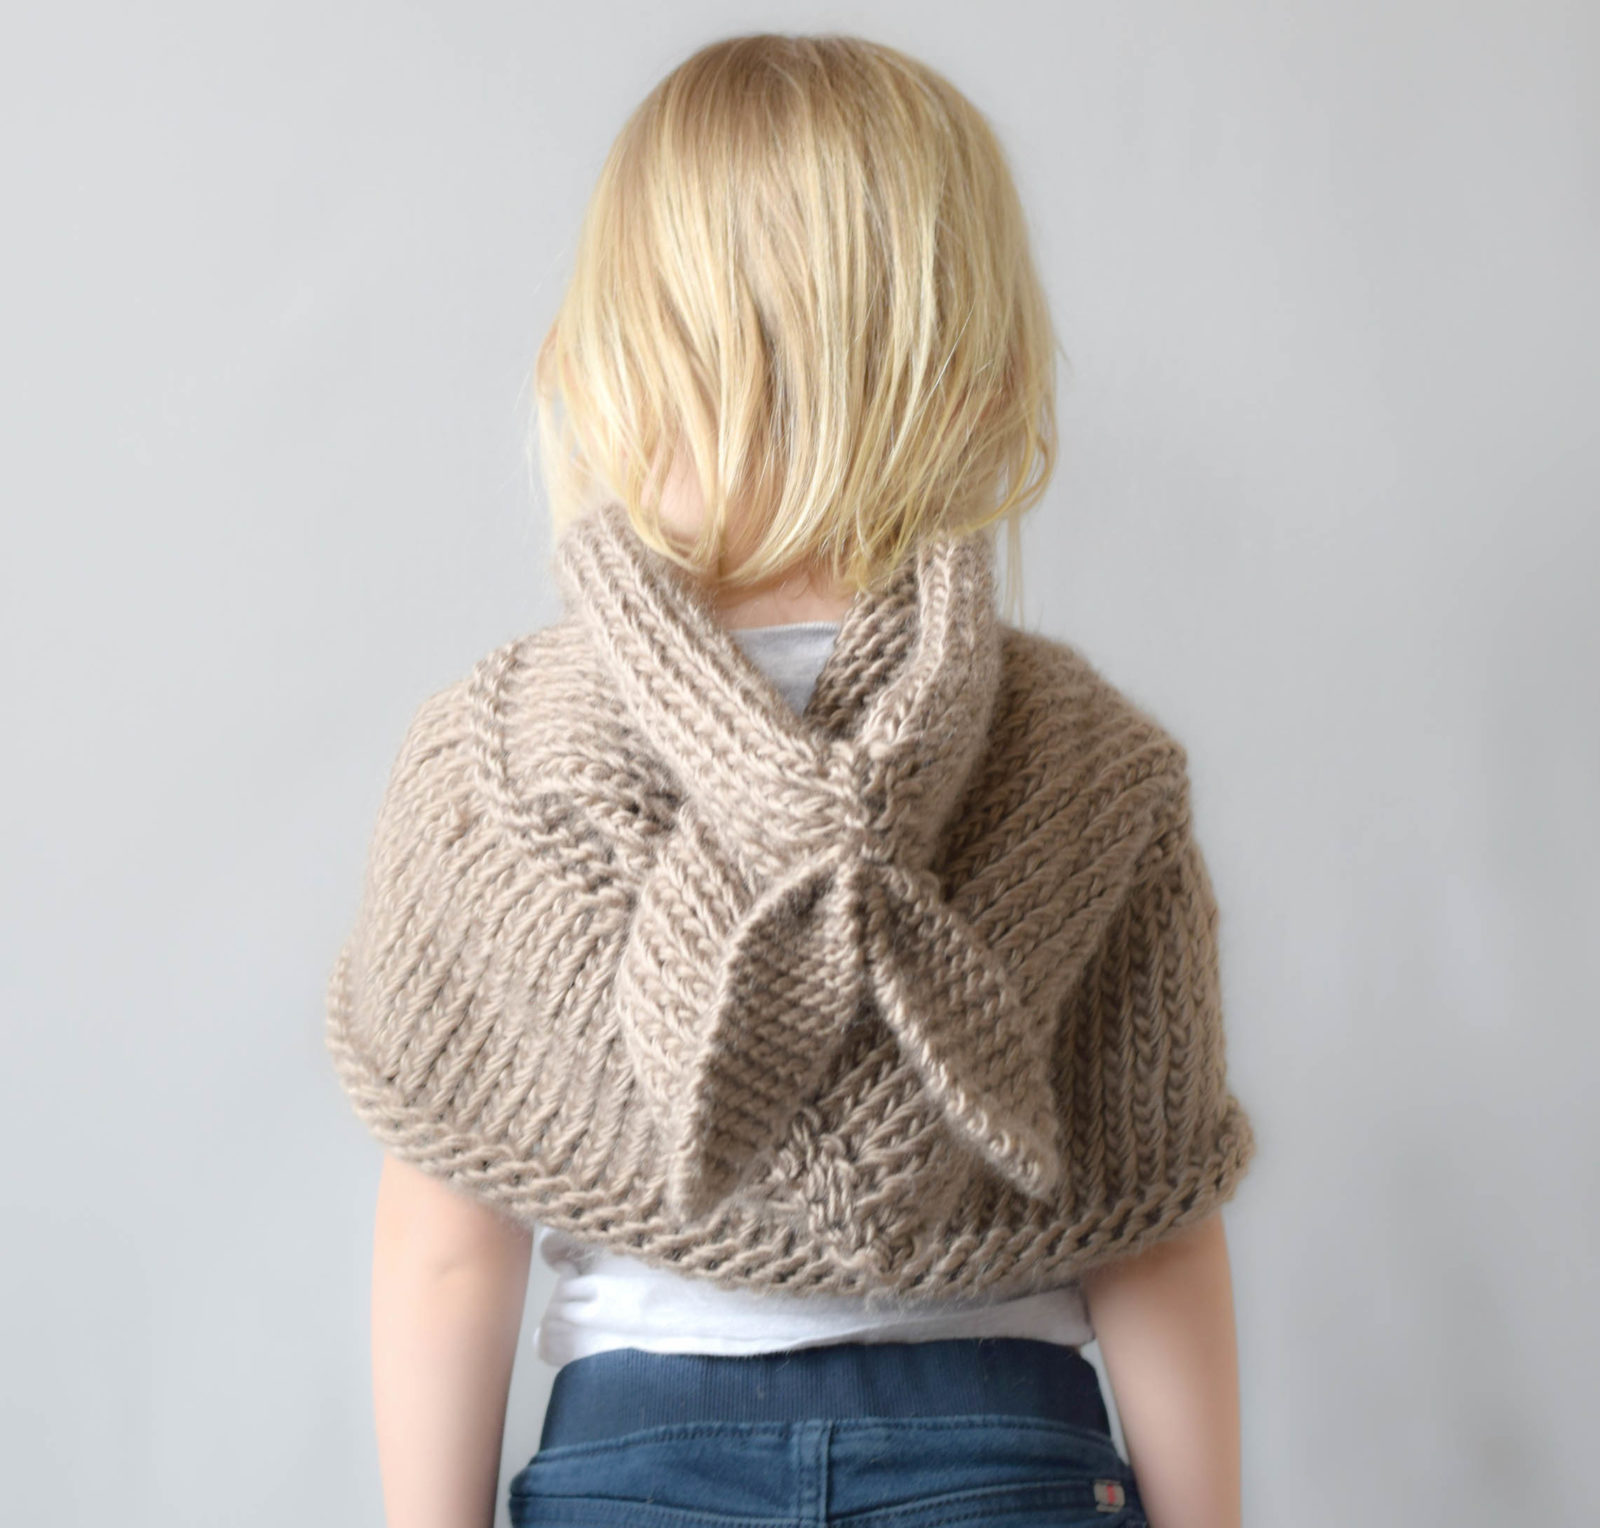
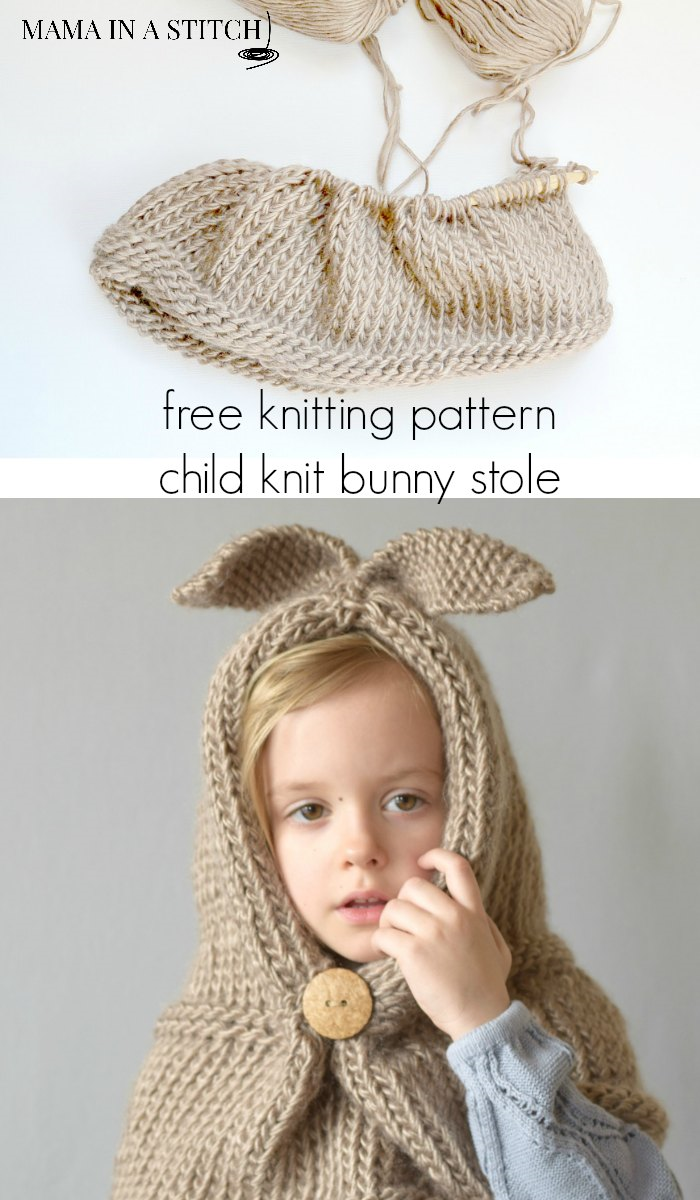
Velvet Rabbit Hooded Stole/Cowl Pattern
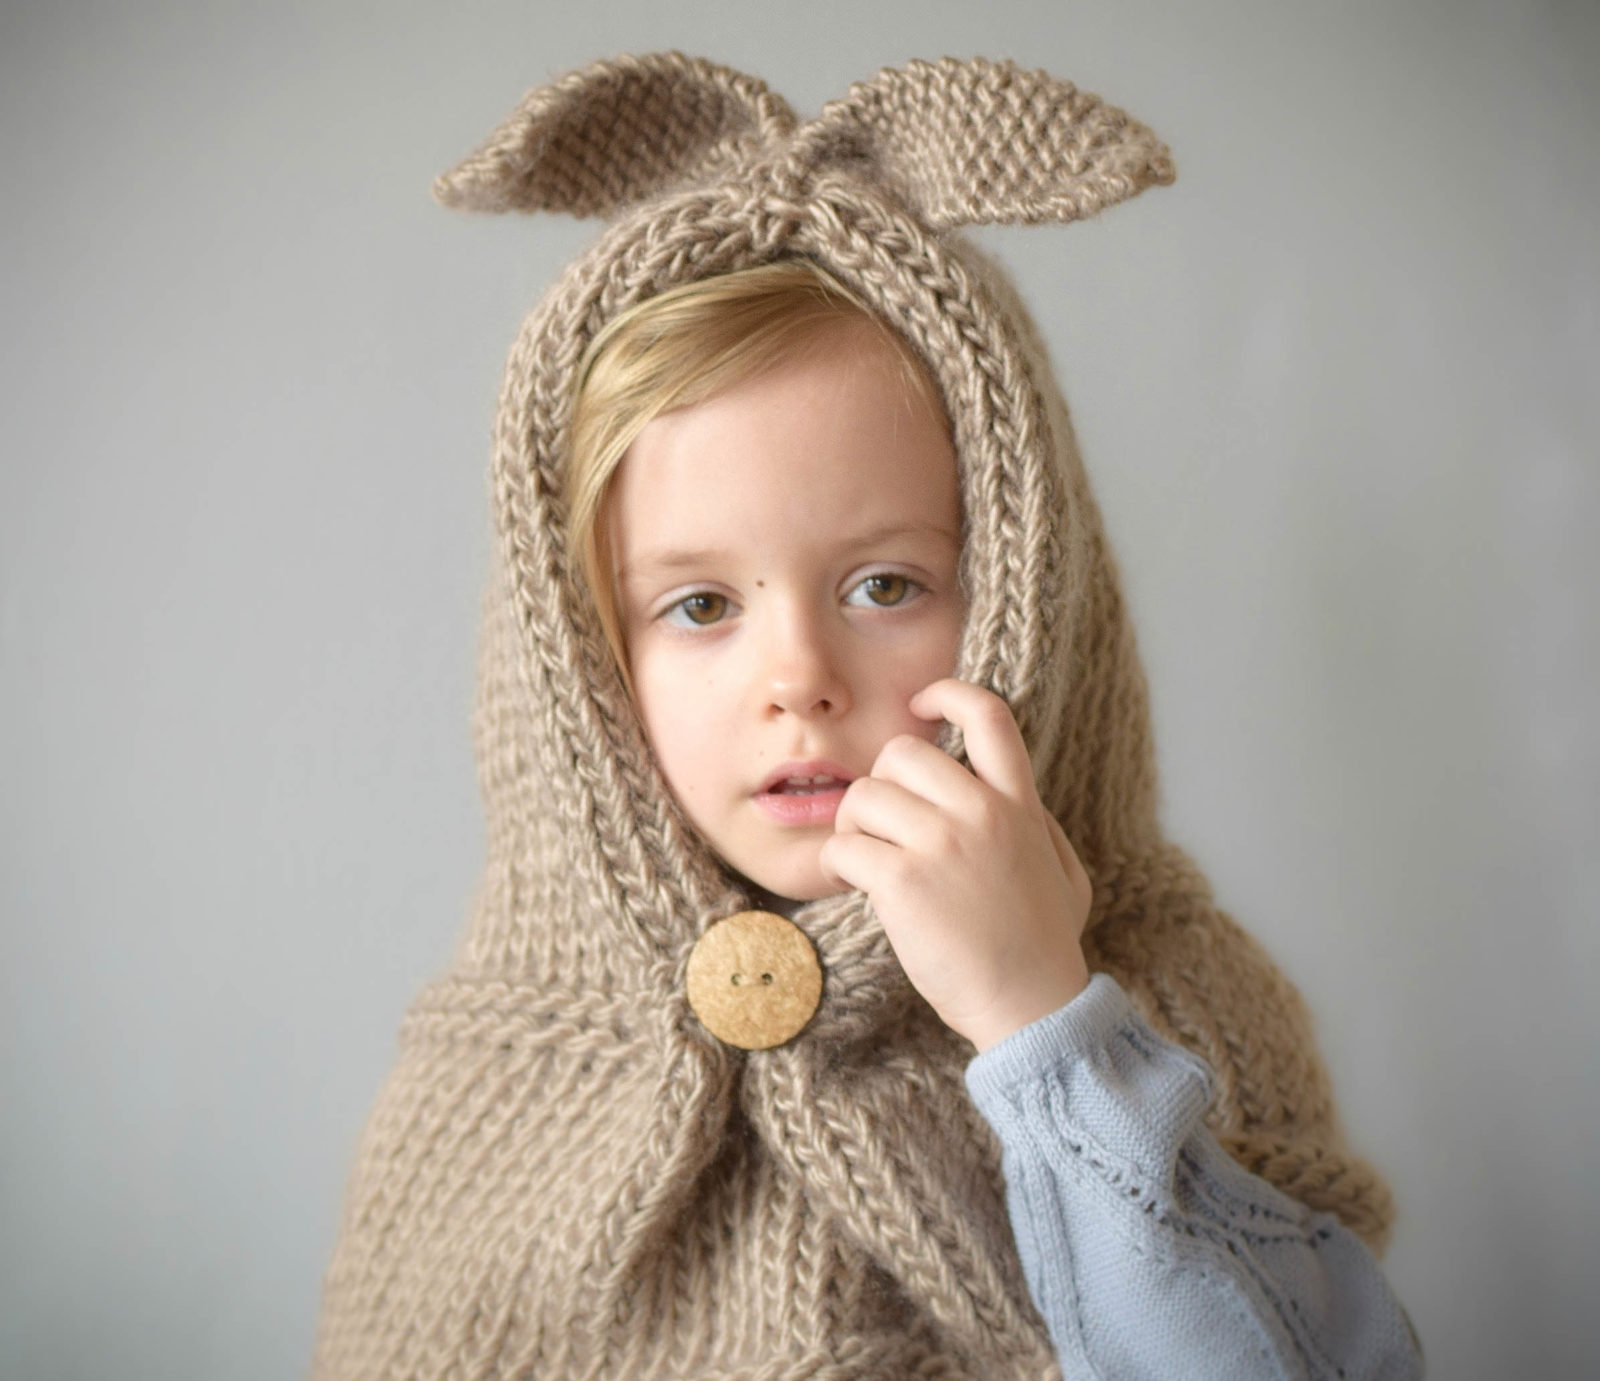
Spring and Easter is about to happen my friends. Last year I made my daughter a bunny hat right around this time (I can’t believe it’s been a YEAR!). It was so much fun to watch her wear it, so I knew that I had to knit another one. The hat from last year is starting to fit a bit too tightly at this point. Her head has always been in the 90th percentile which made for an extra fun birth. Ha ha! Don’t get me started on her giant, fat baby feet that could never fit in any shoes. I’ll save that story for a slipper post some day. 😉 Back to the hat. This time I made a bunny hood that’s more red riding hood style. This will hopefully keep her neck and head covered up with the high winds that we get around here.
[social_warfare]
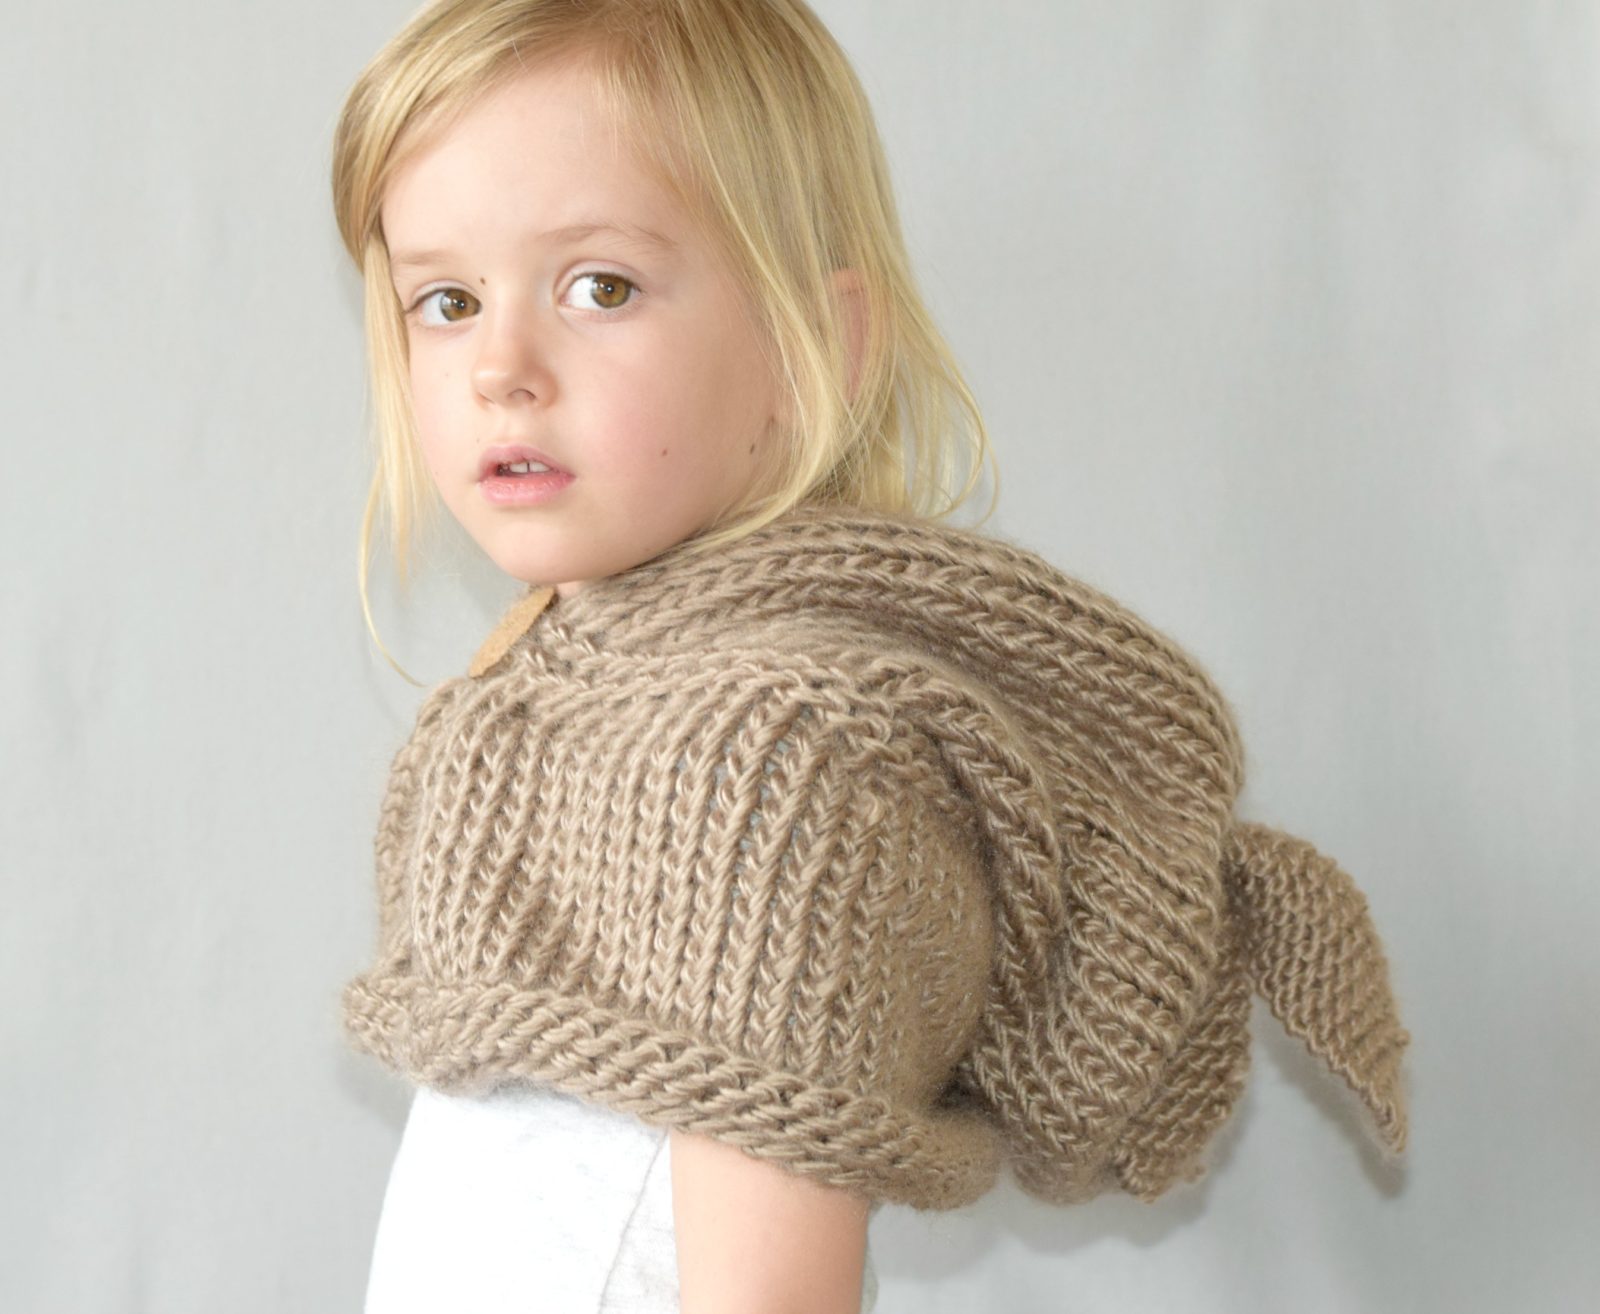
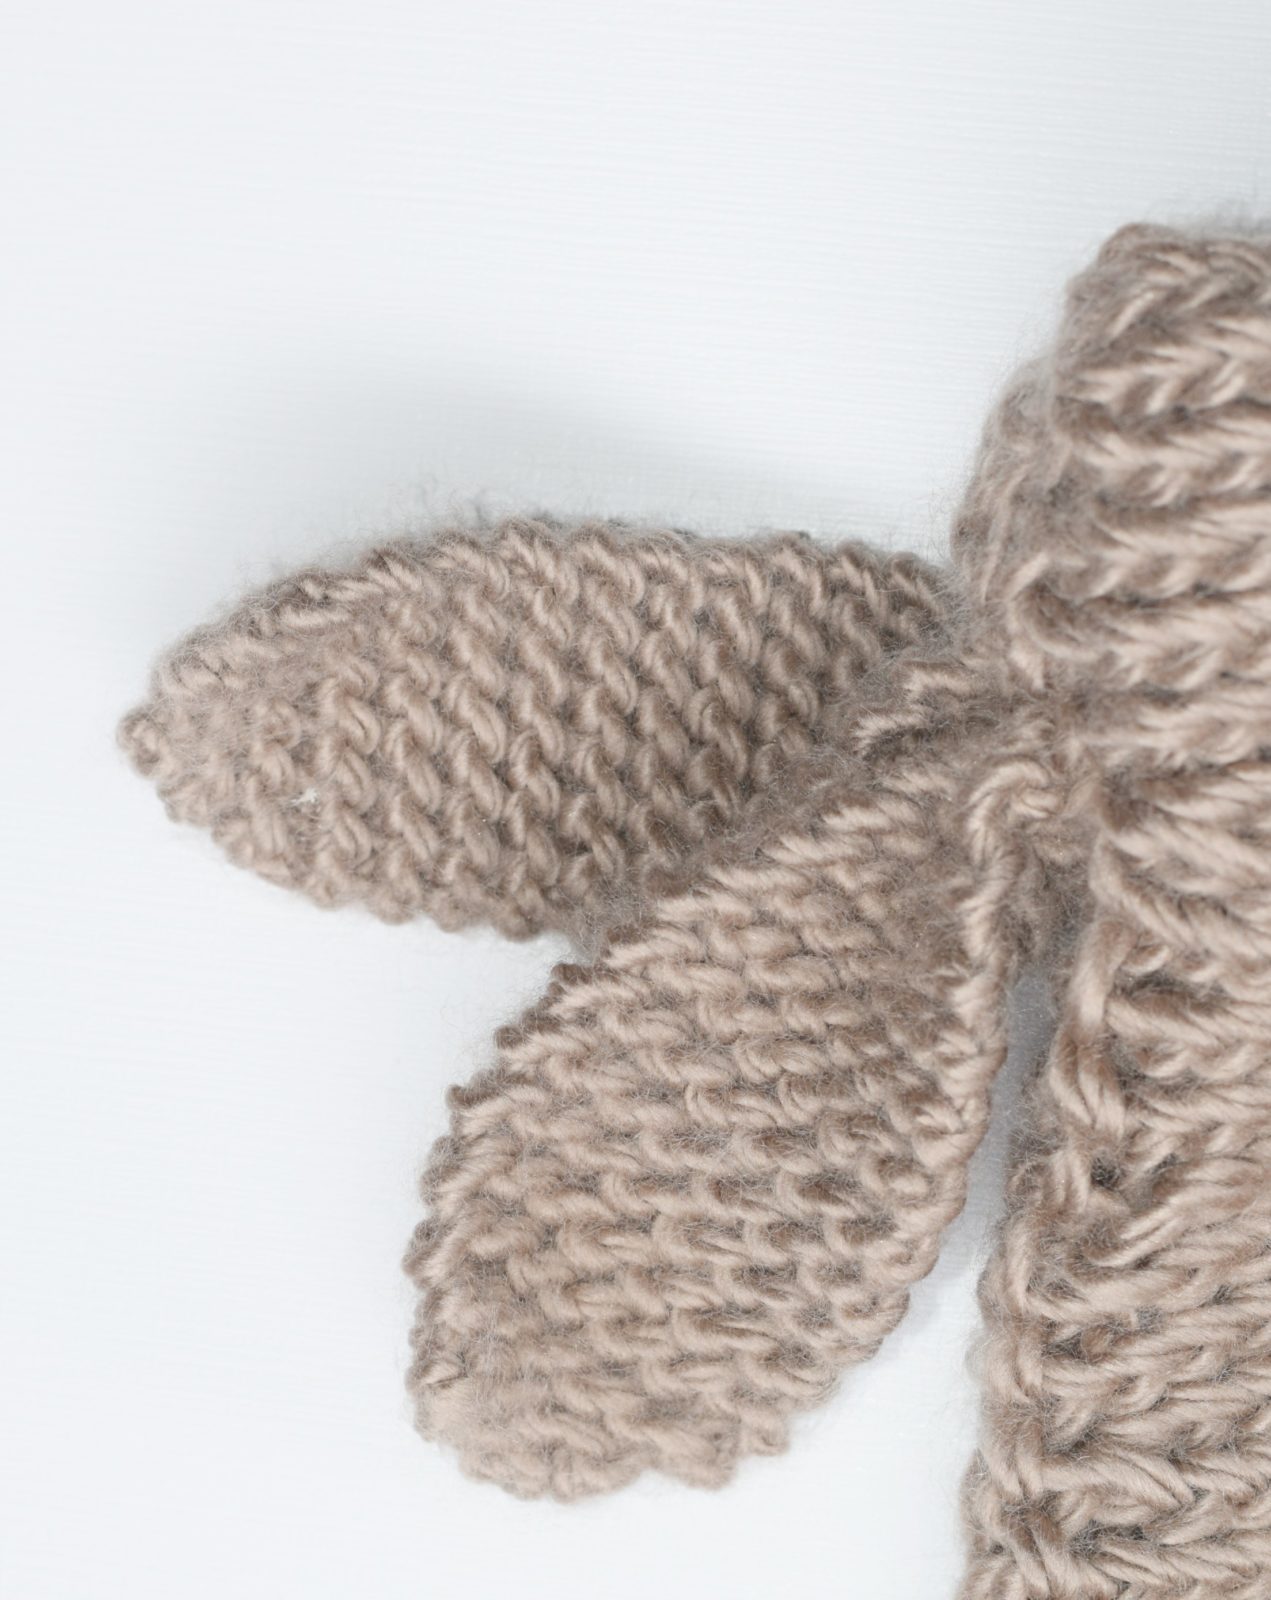
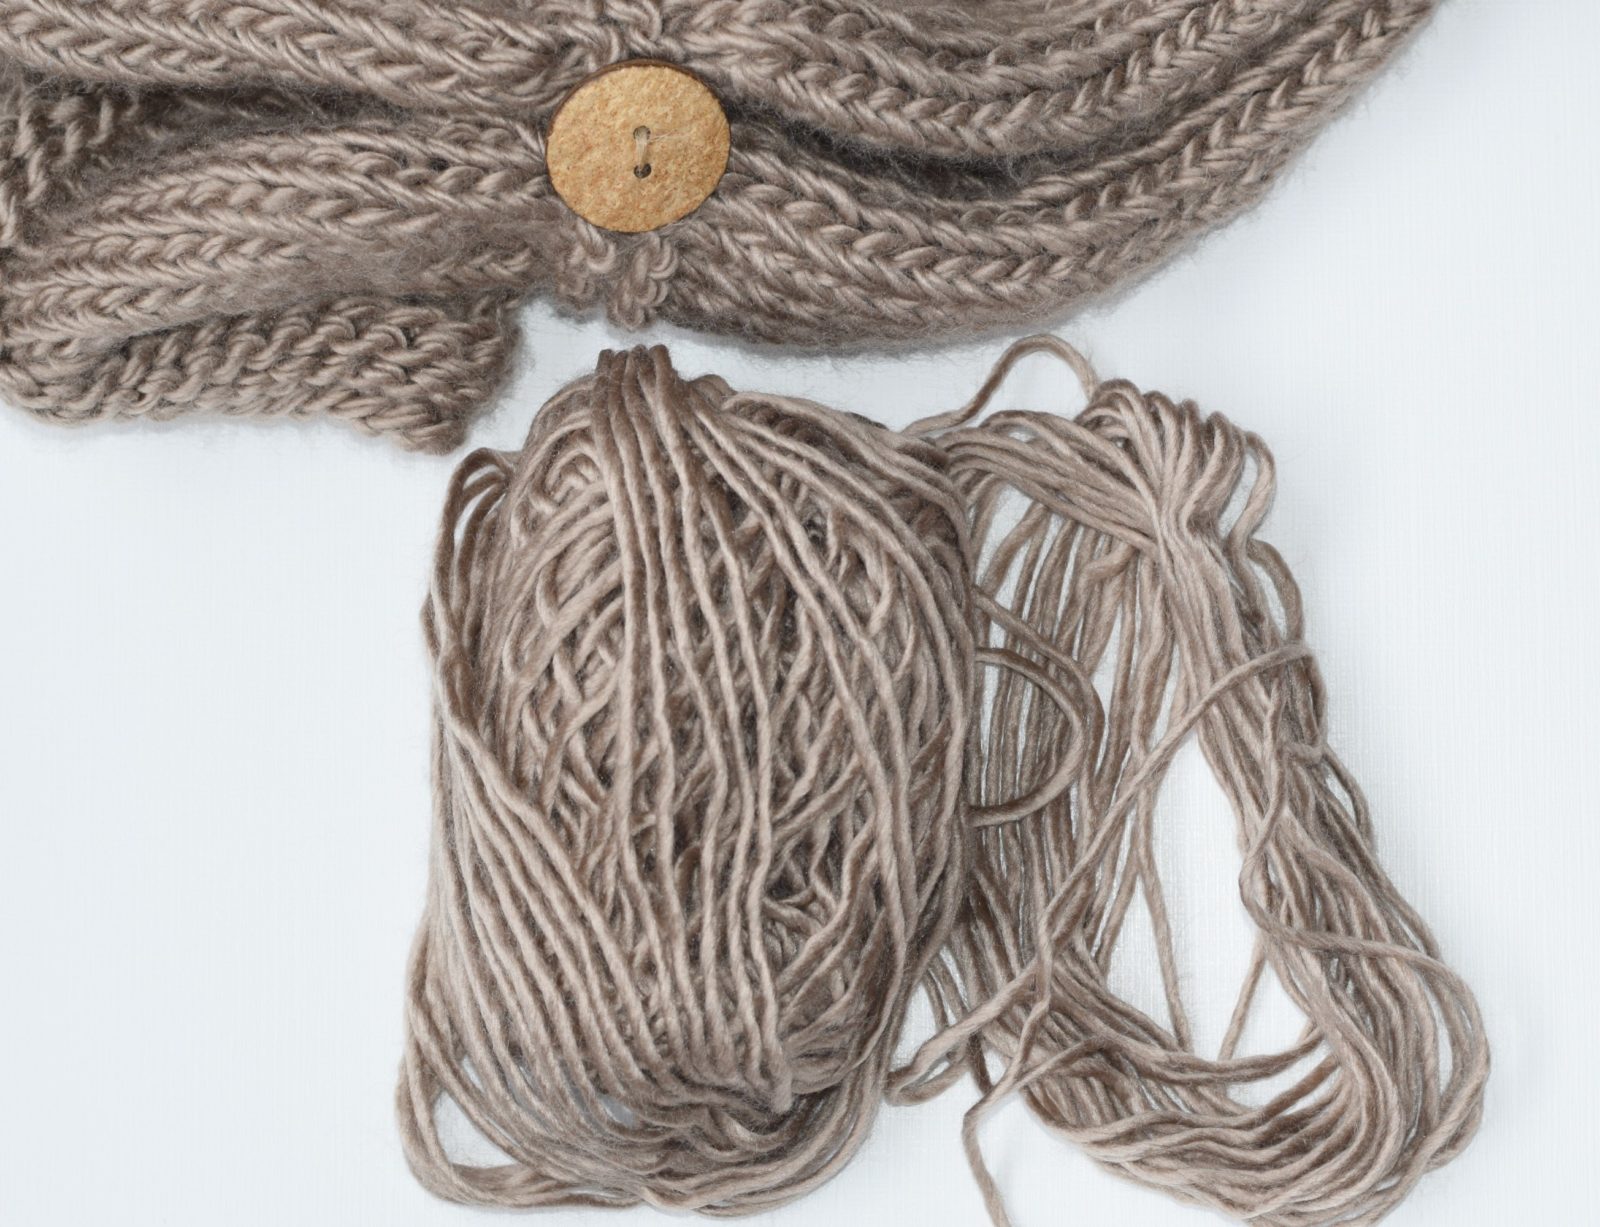
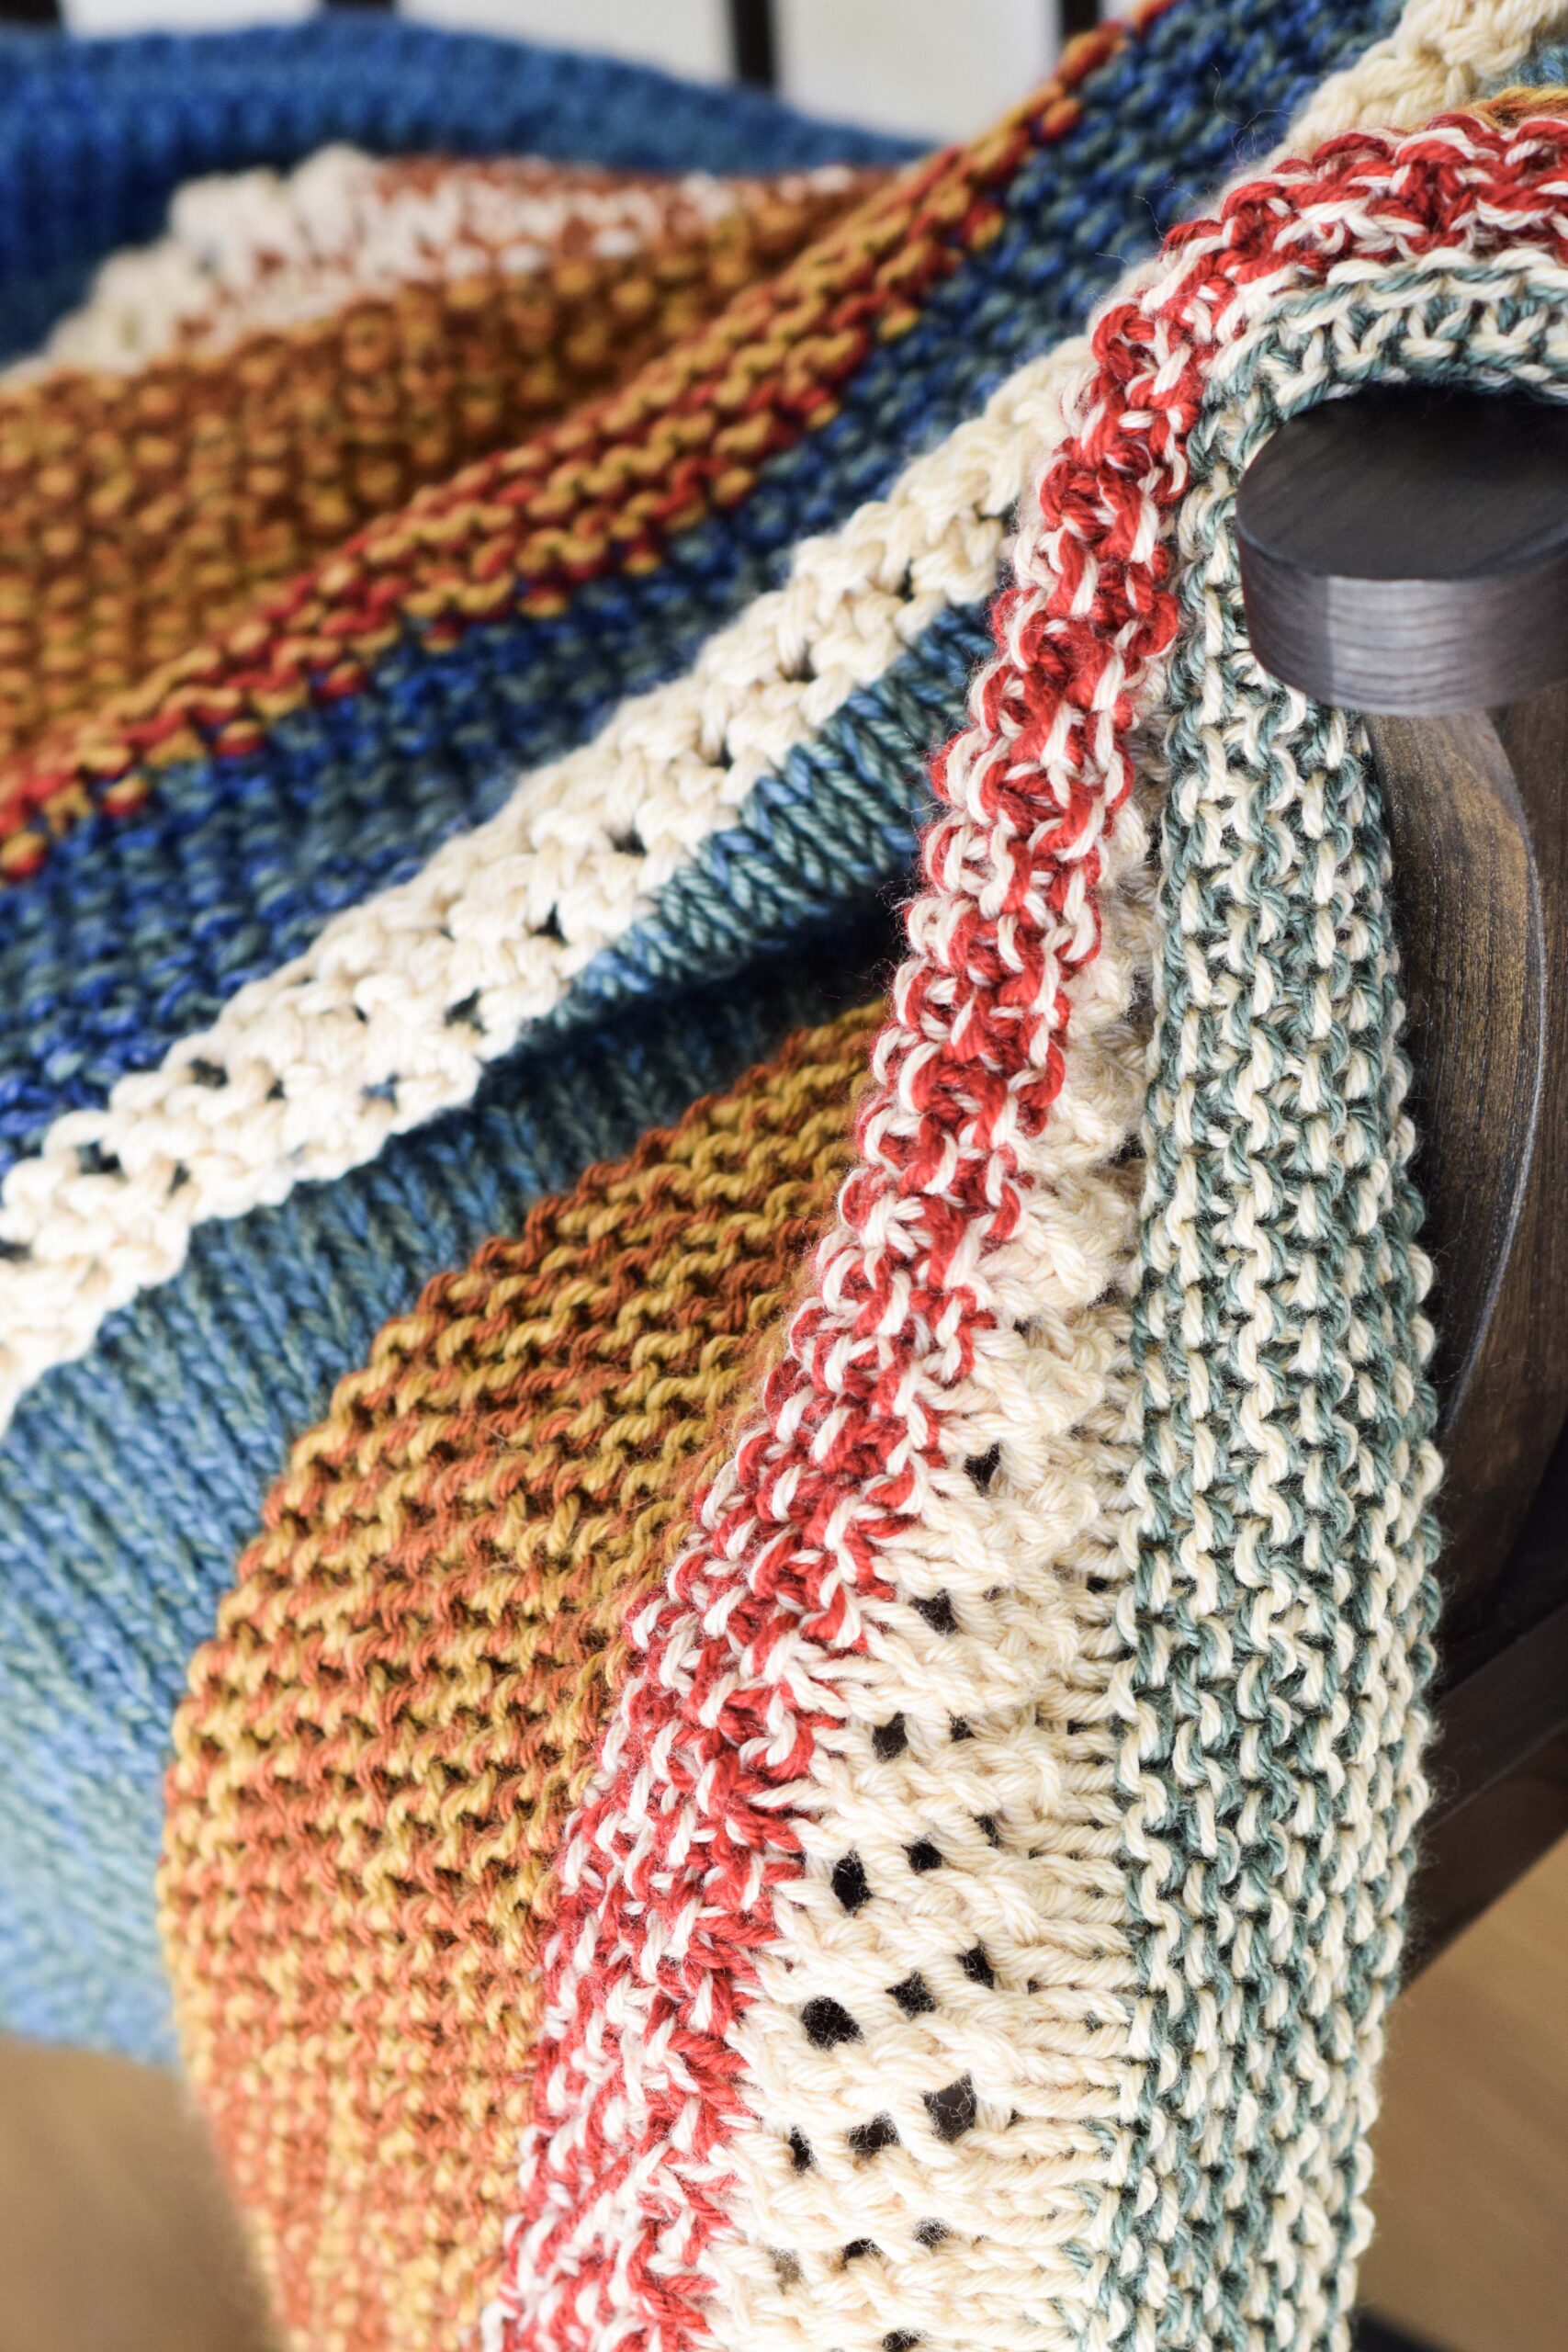
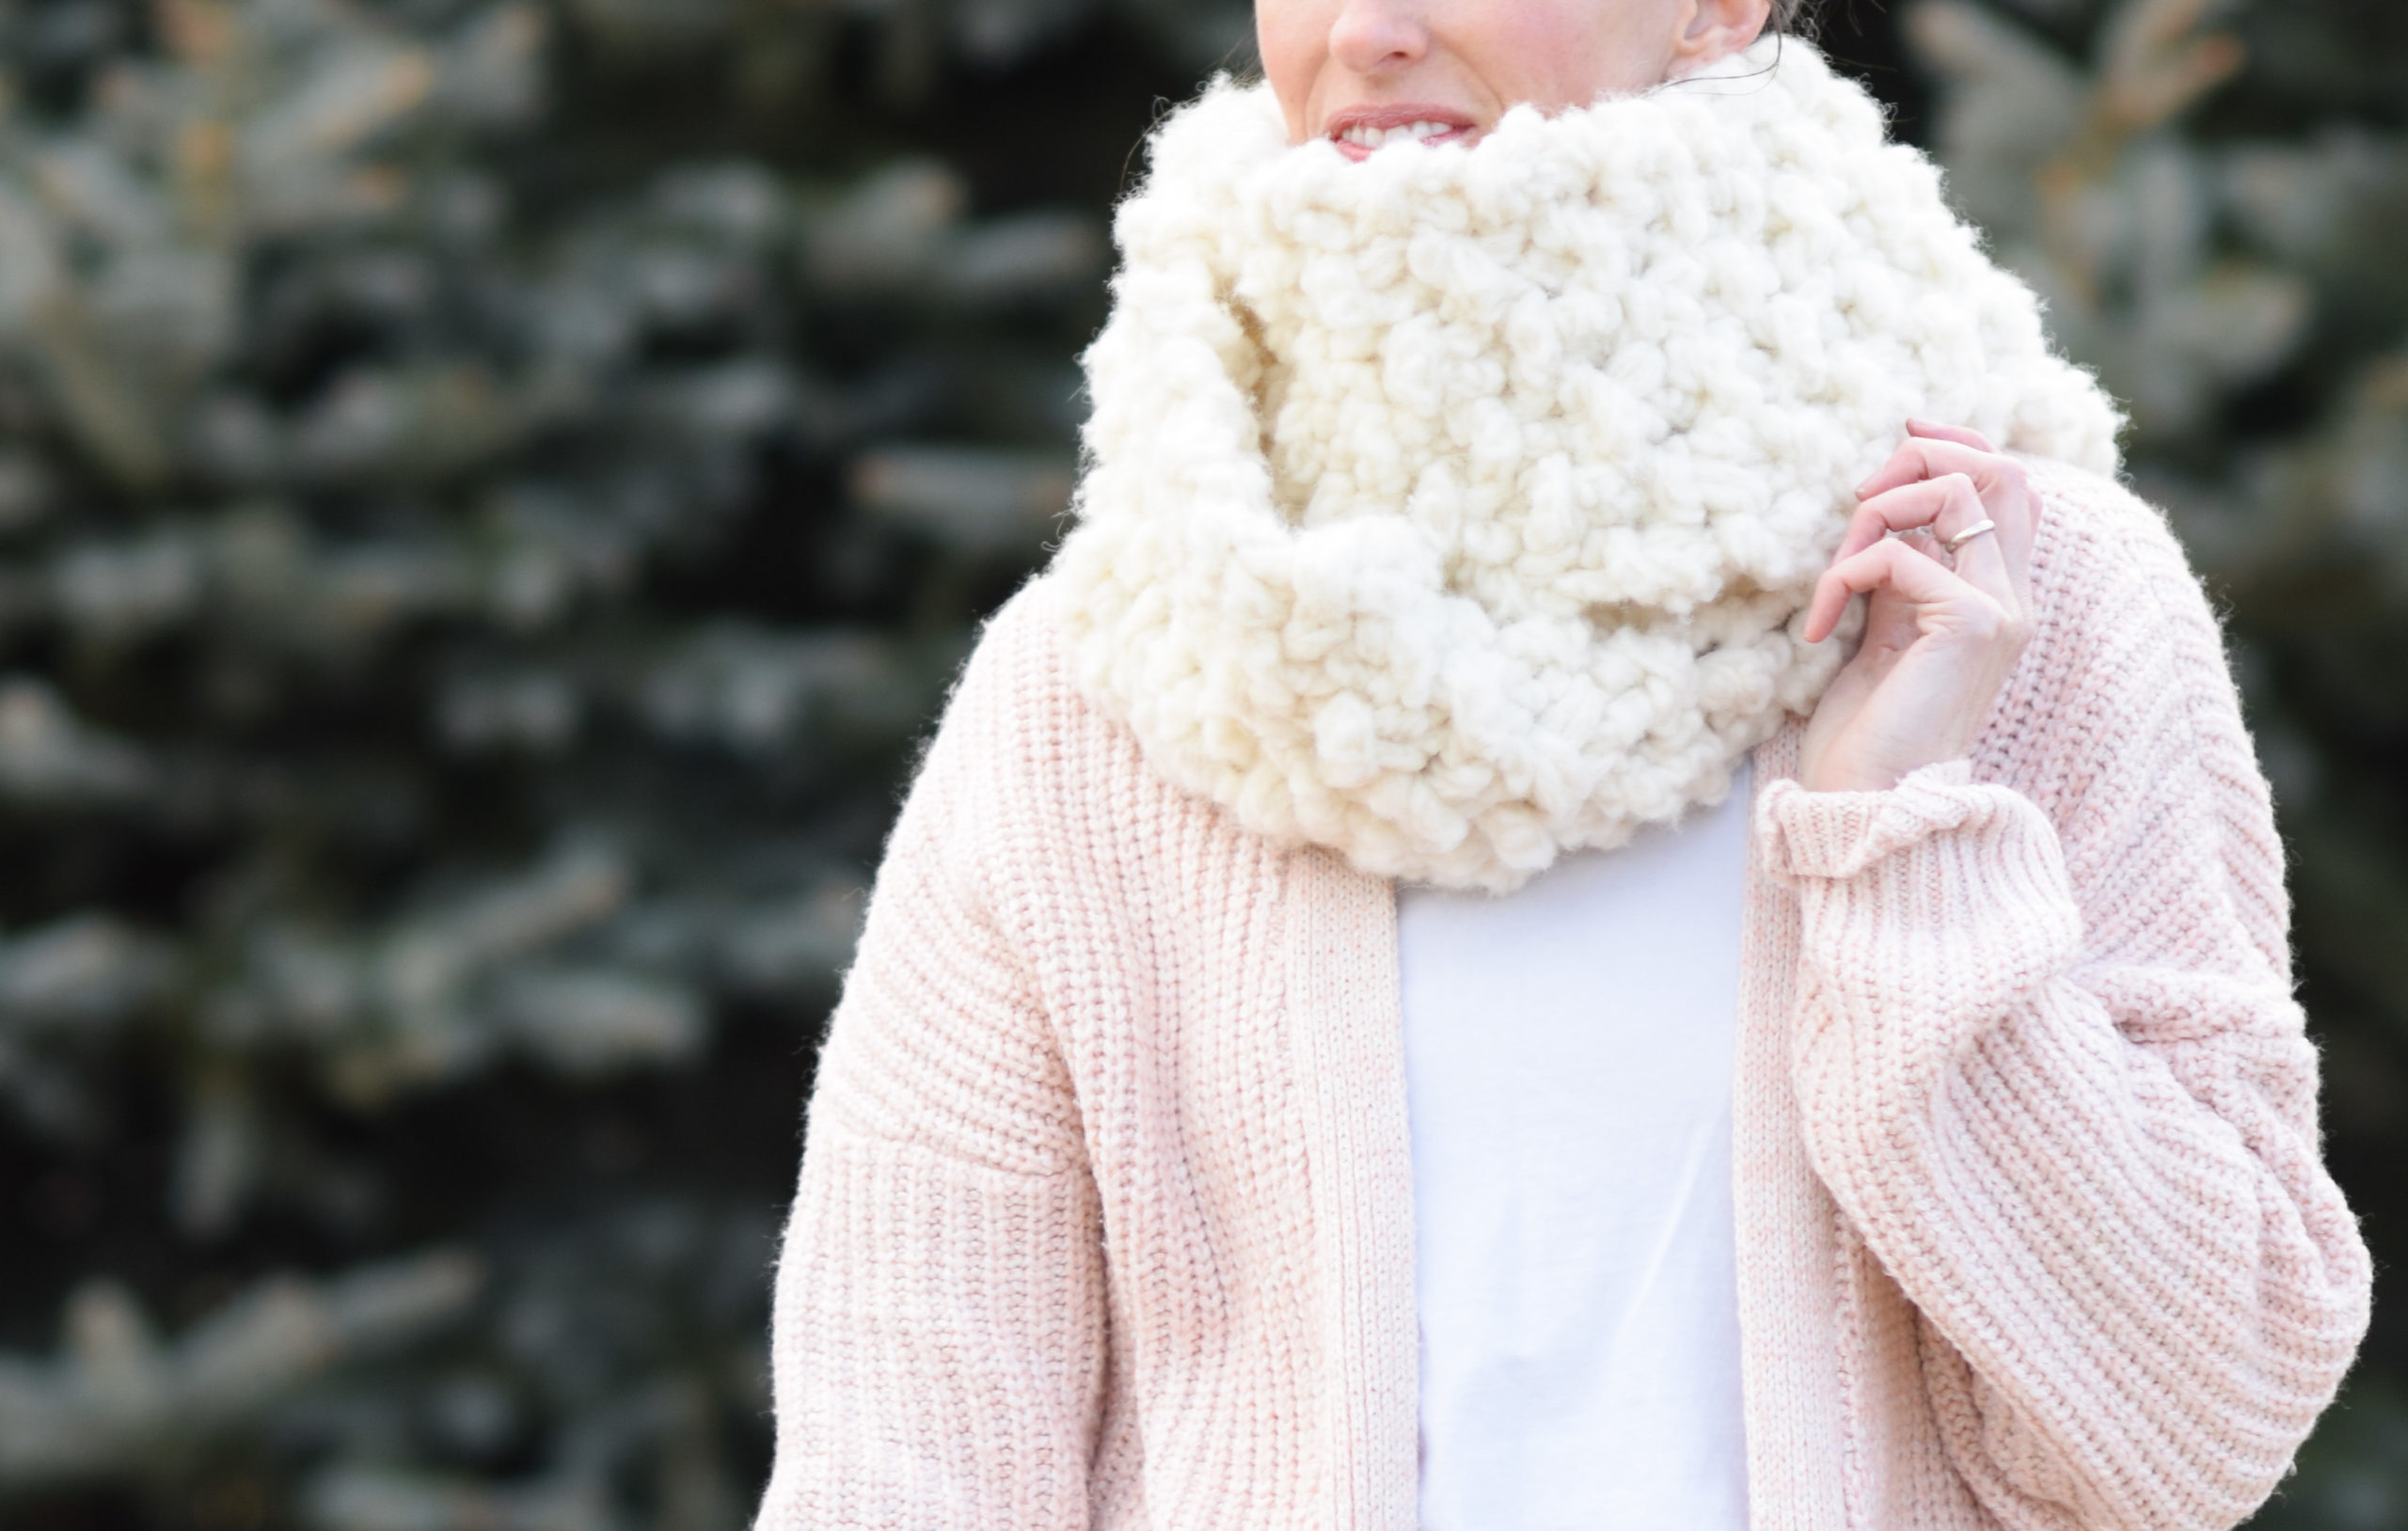
When I saw this yarn (Landscapes from Lion Brand), it reminded me of the color of a velveteen rabbit, hence the name. 😉 Landscapes yarn actually has a wide variety of really nice self striping skeins, but I loved this solid color for this project. The hooded cowl is knit by holding two strands of yarn together for both the cowl/stole and the ears. The ears have a mind of their own in a way, kind of twisting and flopping in interesting ways. I think it adds to the character of the hat. 😉
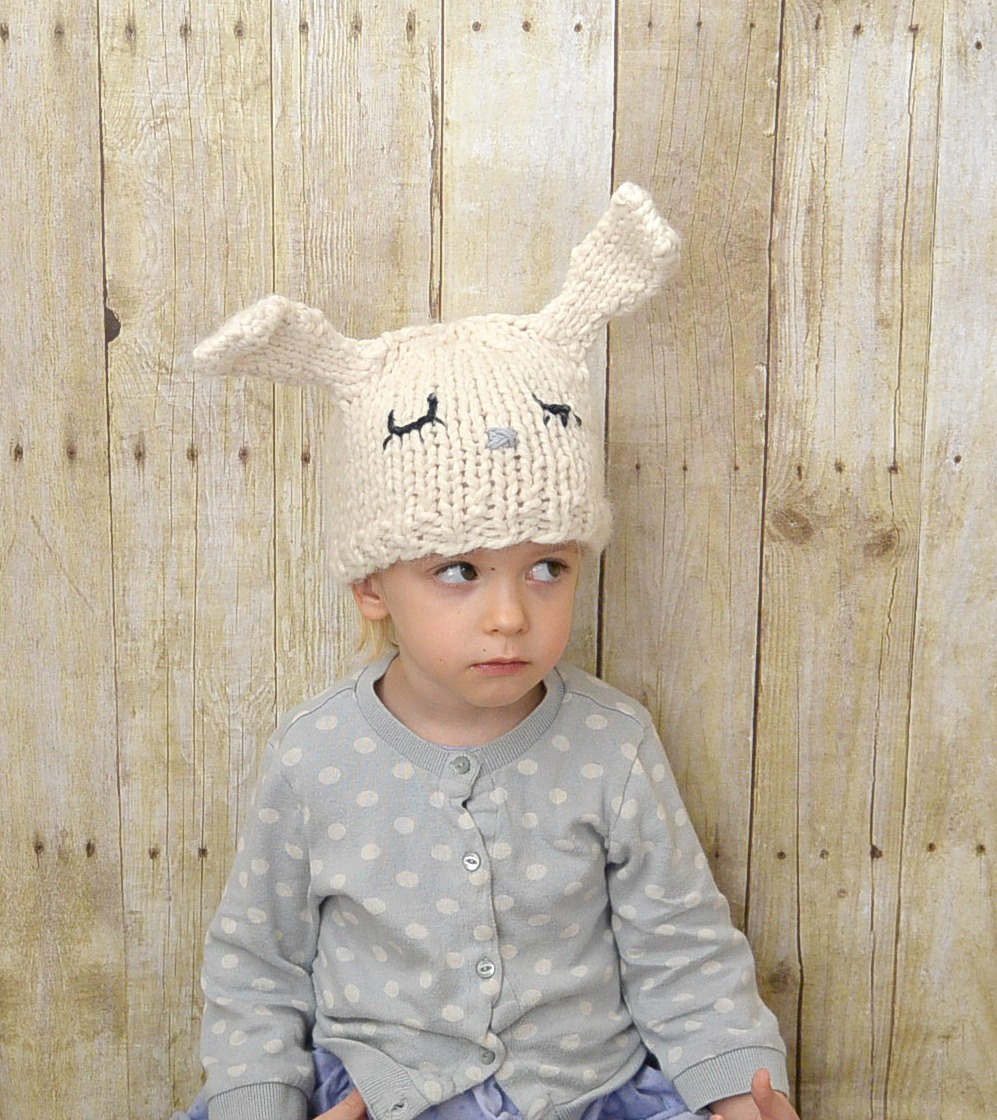
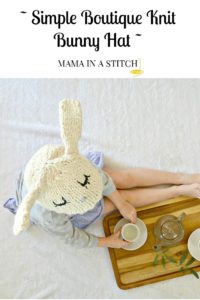
The white bunny hat above fits a toddler, so feel free to click HERE to grab that pattern if you’re wanting to make a smaller hat. The one I’m sharing with you today fits a small child.
Notes:
- In staying with my “keep it simple” theme when I knit and crochet, this hood has a very easy construction. You do need to know how to knit in the round and be comfortable with knit and purl.
- There is also very minimal decreasing by knitting two together. Nothing complicated here. 😉
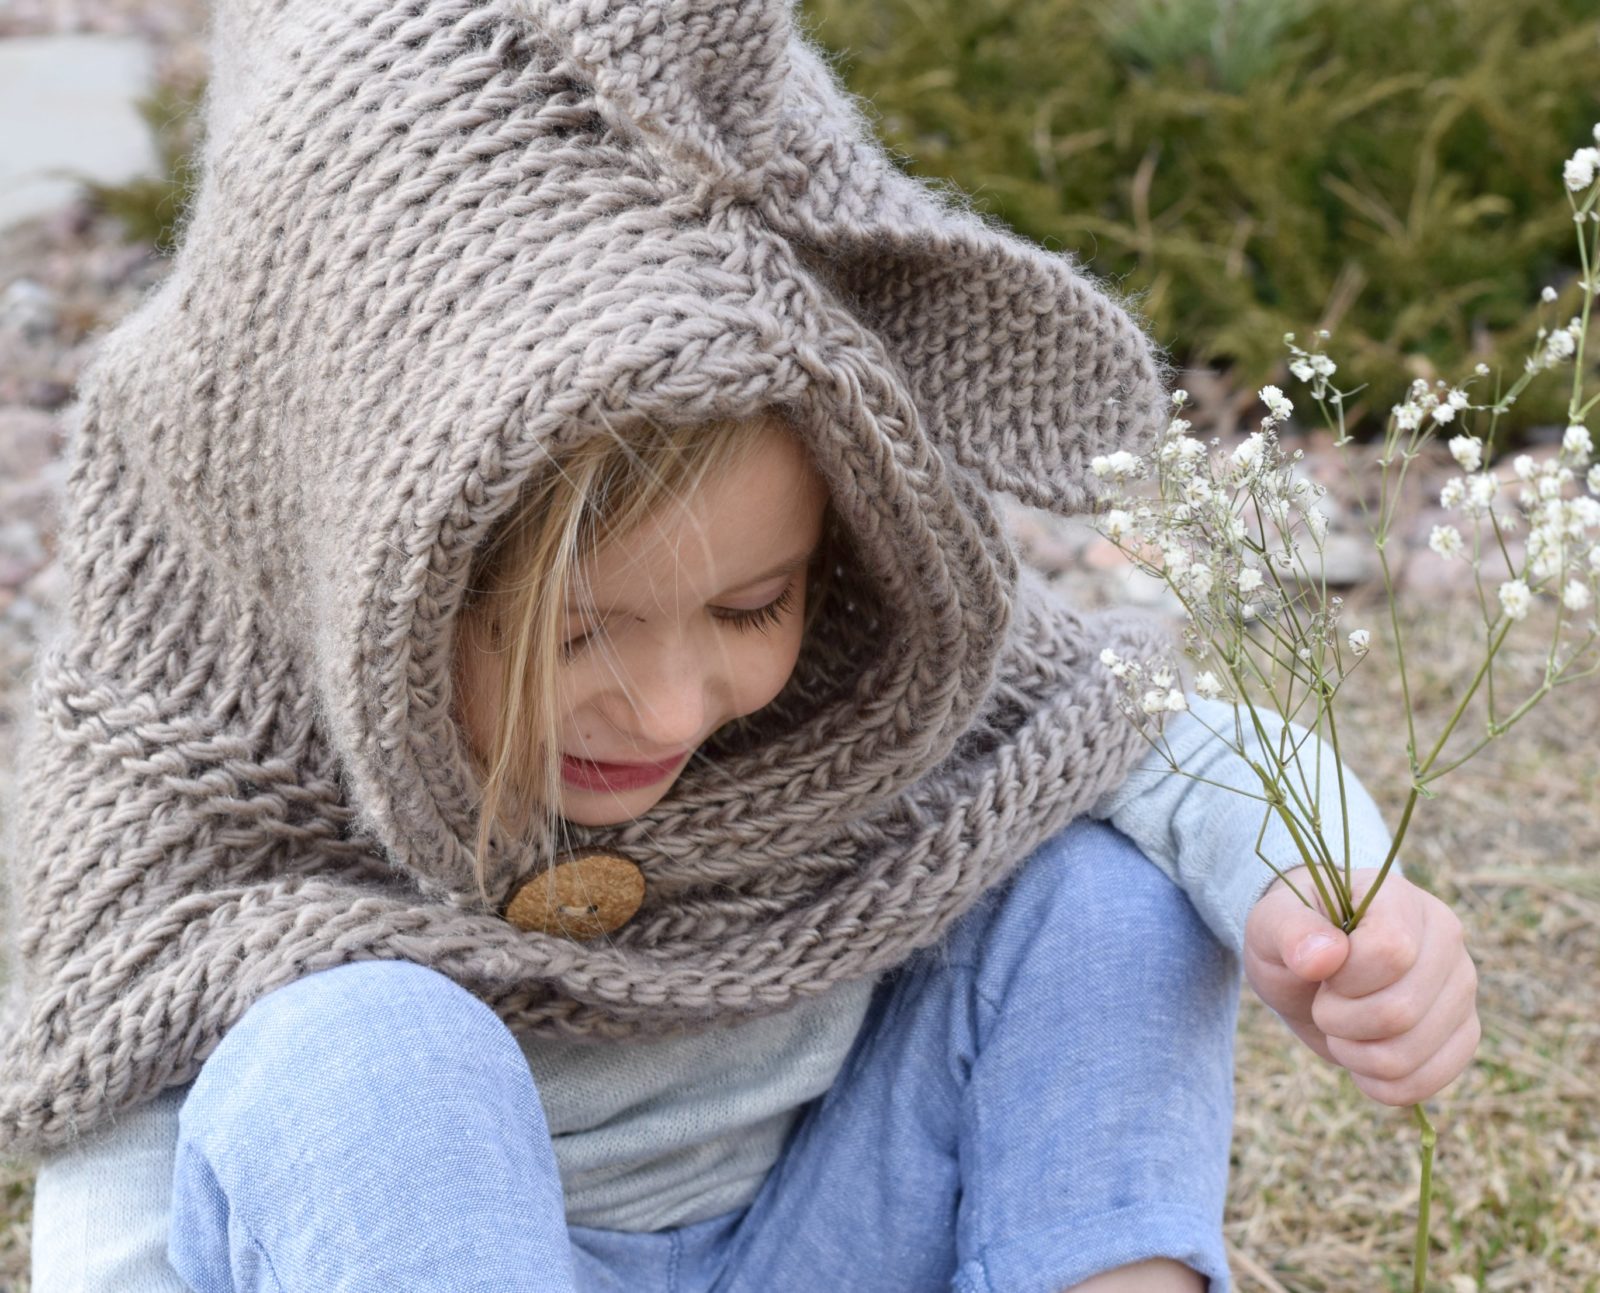
- The hood will fit a small child, I’d say from 4 years old to maybe 6 or 7 years old.
- It’s pretty loose fitting on my four year old so she can grow and still use it
- Gauge is approximately 2.5 stitches and 3 rows per inch
You will need:
4 Skeins Lion Brand Landscapes in Taupe or comparable yarn ( It’s listed as Medium Worsted Weight yarn, but I think it appears to be almost chunky)
US Size 13 9.0 mm 16″ circular needles
US Size 10 knitting needles (for the ears)
A large button for the front of the hood
Scissors
Tapestry needle to weave in ends and attach years
Pattern:
Holding two strands together, cast on 77 stitches on your circular needles, join to knit in the round (mark the beginning of your round if wanted. I use the tail to be able to see where my round begins)
Purl for approximately 2″ inches ( you are working from the bottom, up. This is the detail at the bottom)
Next – Knit for approximately 5″ inches or 15 rounds
Next – Purl for 2 rounds
Next – you will now knit as if you are knitting flat, working rows back and forth instead of rounds in order to make the opening for the hood. ( You can search YouTube to see how it’s done if you’re not sure – it’s really easy)
Decrease Row:
Knit 5, Knit 2 together across row
Next – Continue to knit for approximately 10″ inches or about 30 rows
Cast off
Assembly:
Turn the hood inside out. Seam the top of the hood together with your preferred method. I did a simple whip stitch, lining up the stitches and grabbing a leg from each stitch, attaching along the length of the hood. Tie off, weave in ends.
Turn hood right side out.
To make the detail at the bottom with the button:
At the hood opening, fold in at the purl ridges on both sides about 2 inches in. Make a few stitches with your tapestry needle and yarn to hold the folds together. You will place the button at the front of the folds.
Ears – Make two of these:
With your size 10 Knitting needles, and holding 2 strands of yarn together, cast on 8 stitches
Knit for approximately 4.5″ inches
After knitting for 4.5″, next row- Knit 2 together, knit 4, knit 2 together across row
Next row- knit across row
Next row- Knit 2 together, knit 2, knit 2 together
Next – knit cast off. Tie off and weave in ends.
Attaching ears:
Take each ear, and pinch the bottom, take a small length of yarn and tie this “pinch” together so that it gives more shape to the ear.
Placing ears 2″ inches back from the front of the hood. Hold the ears together and with your tapestry needle and yarn, whip stitch around the the base of the ears working through the fabric of the hood. Once the ears feel firmly attached, tie off and weave in ends.
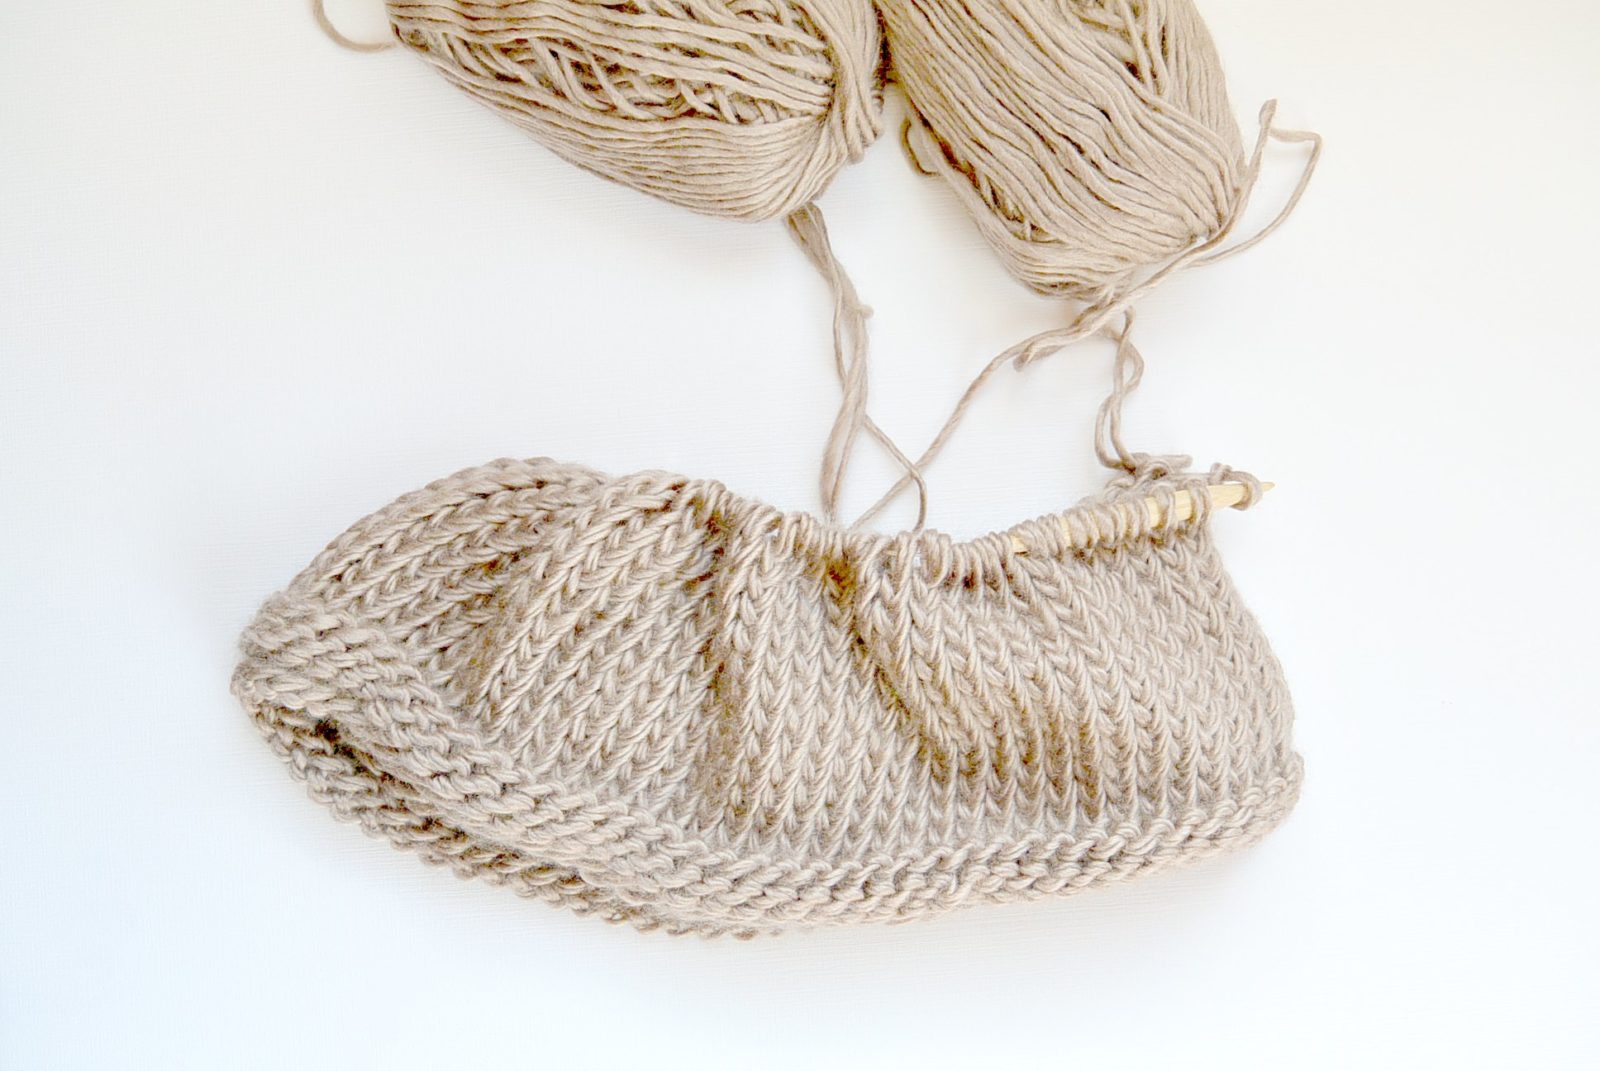
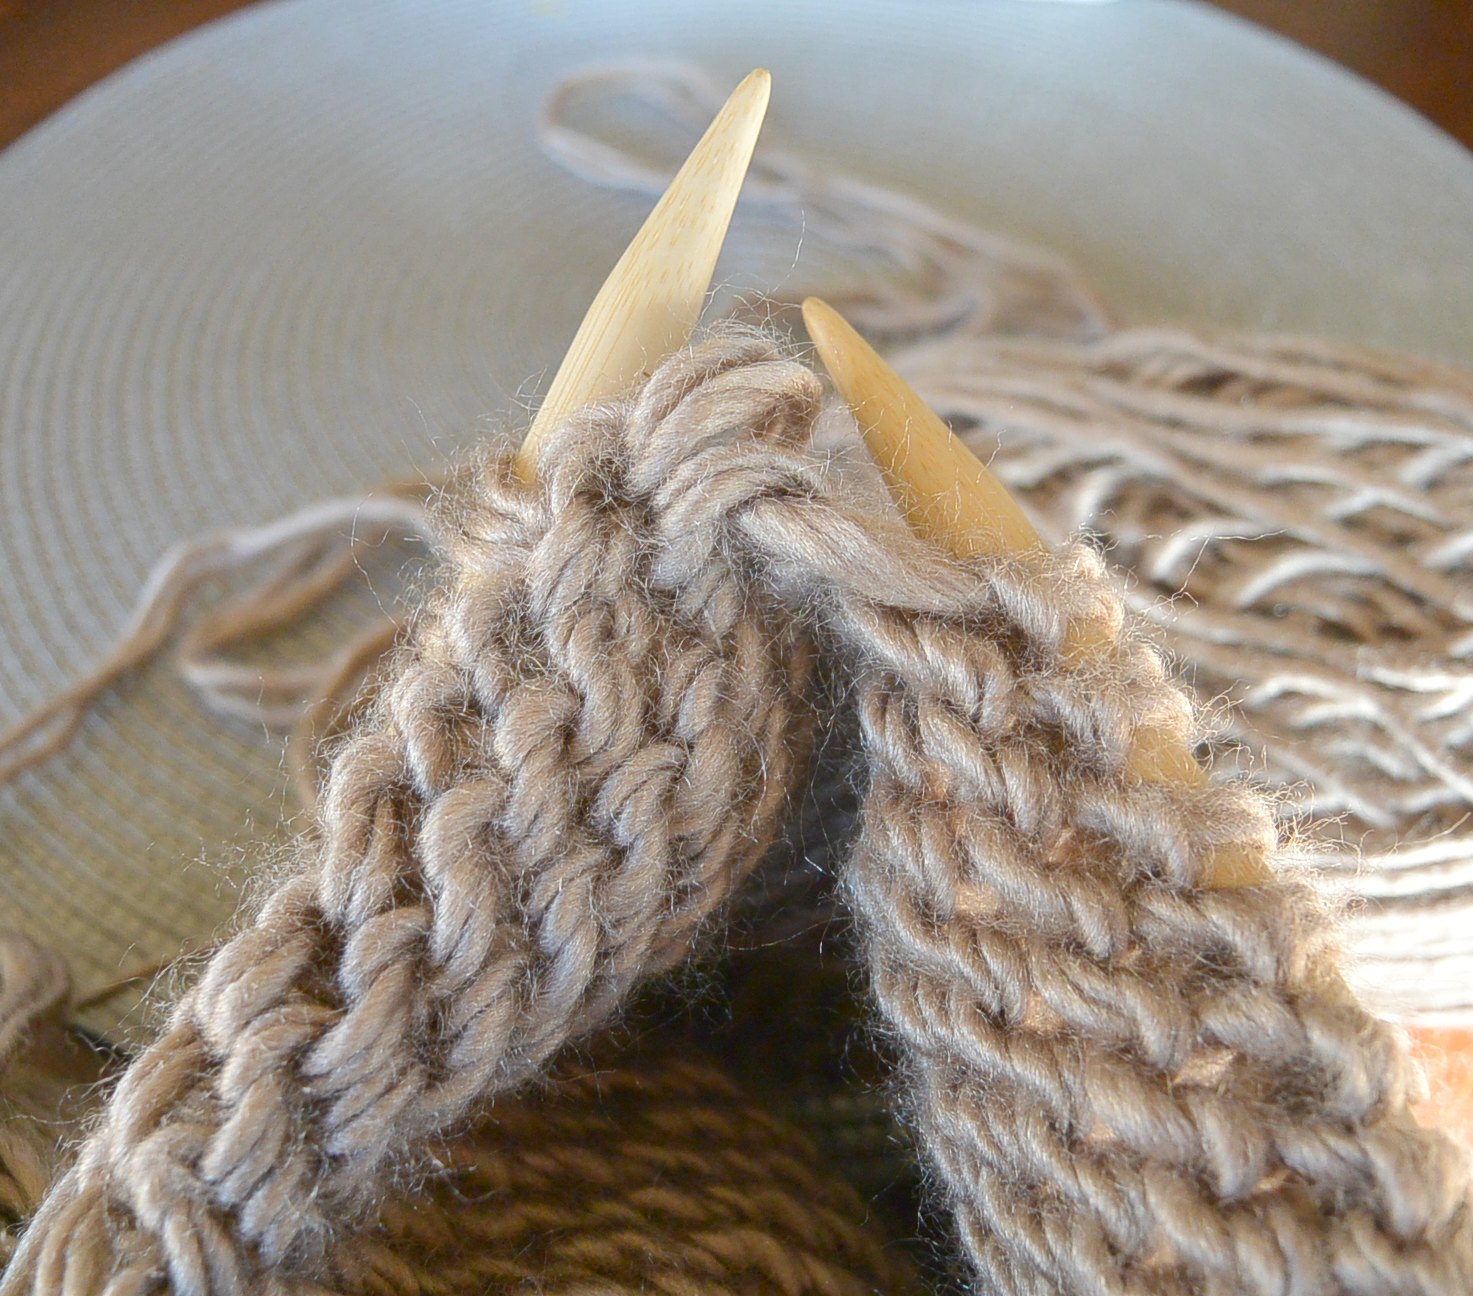
Here’s how it looks as it being knit:
I wish you and yours a happy spring time. We are really enjoying the warm days, though I know we have a lot more snow before summer arrives for good.
I love seeing you over on my Facebook page, and feel free to subscribe if you’d like to get the blog posts and patterns straight to your inbox.
Can I say “Happy Spring” yet?
Okay, at least have a “hoppy” day! 😉
What do you like to knit or crochet this time of year?
XO
Jessica
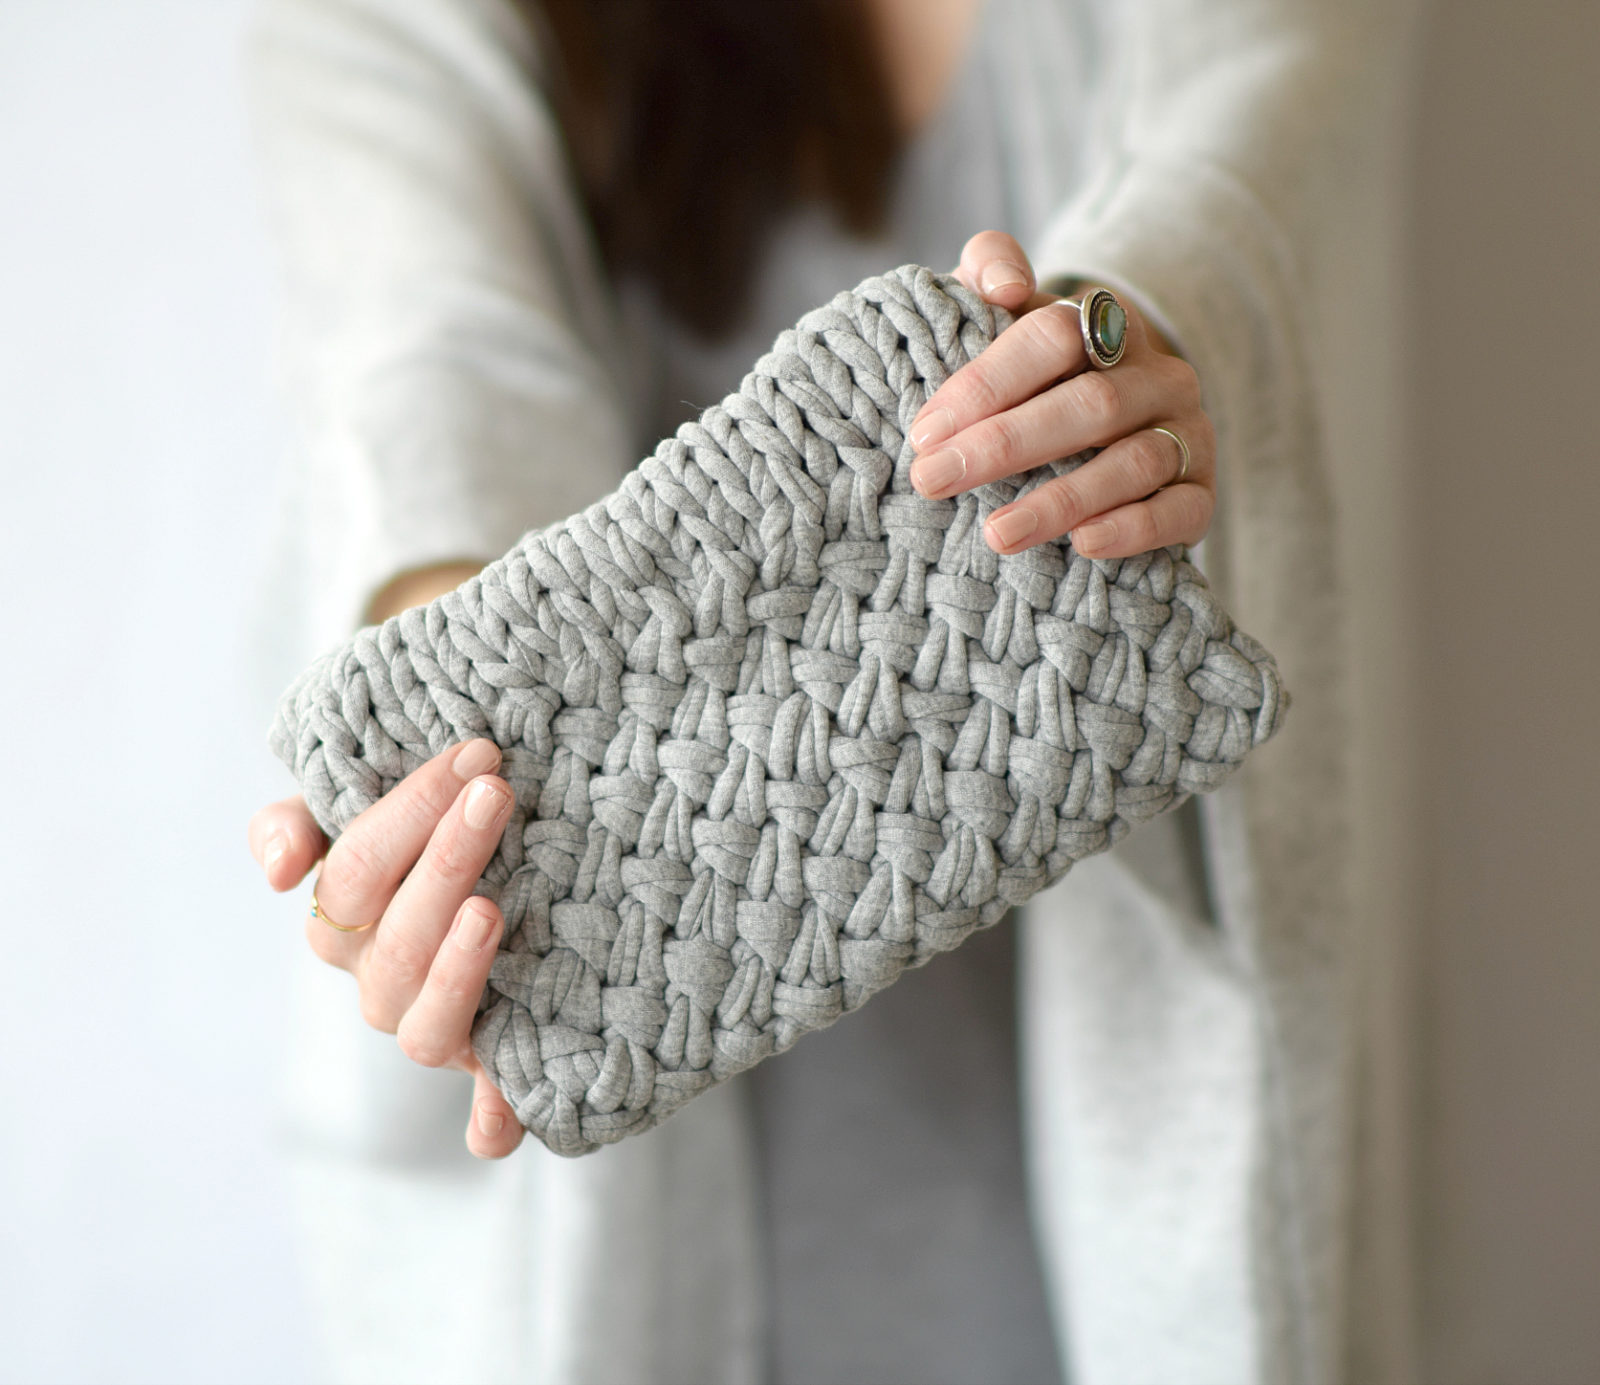
If you liked this, you might also like:
Thank you to Lion Brand Yarn for sponsoring this post. All opinions are my own.
So cute!! I love it! What does your daughter think of it? Does she become a bunny while wearing it? Hehe! (I think I’ve said this before but I need to learn to knit!)
Hey Amy! Last year she totally acted like she was a bunny. This time she likes it, but hasn’t hopped around in it. The weather has been so nice here that she’s not gotten to wear it for real yet. I’m not complaining! Did you get the gorgeous crochet blanket done?
Thank you for your wonderful posts and simple patterns! I’m a beginner and am still working on the twisted headband you posted recently! I look forward to learning all of the skills and techniques that you have down!
Ps we are also loving this warm co weather:)
Ah this is just too cute!! love lion brand when i can get my hands on it, its a bit hard to find in my neck of the woods
Thanks Maura – so glad you think it’s cute. Yes I do love Lion Brand and can find it everywhere here, so that makes it easy for sure. Happy spring – almost.
You’re welcome, and thank you Chianne for the kind words! Isn’t this warm weather great?! Such a tease it is.
Thankyou for your blog . Have crocheted the twisted headband in denim cotton and have got a lot of compliments. It’s nice to read your stories and inspirations to create. I have a blog on word press to called headinjuryand crochet. Thankyou to your inspiration.
Amazing! Thank you for sharing this. I want one for myself 😉
I am putting together a sort of Easter arts and crafts compilation blog post, with pictures of creative projects for spring. Would you mind if I shared one of your pictures? I will of course credit it with a link to this post. I did the same thing last year if you would like a reference on how it might look: https://aliciasivert.blogspot.se/2015/03/paskpeppen-2015.html
Thank you for the inspiration!
Sincerely,
Alicia
You have a beautiful blog Alicia! Thanks so much for the kind words. Of course, feel free to post one picture and a link back to the blog! I appreciate you asking and sharing. 🙂 Happy spring time to you!
Jessica
Thank you for the kind words, and for letting us know about your blog! I’m so glad that you’ve enjoyed the twisted headband Agatha!
This year’s spring/Easter arts and crafts compilation post is up on the blog! Thank you so very much for your contribution (and for your kind words)! If you like, you can find it here: https://aliciasivert.blogspot.se/2016/03/peppiga-paskprojekt-2016.html
May your Easter be filled with fluffy bunnies and happy birds 🙂
Love, Alicia
Hi Alicia,
Thank you for including this in your beautiful compilation! I hope your Easter is filled with wonderful things as well! -Jessica