As someone who both knits and crochets, I was interested to try out weaving for the first time. Below, I will show you the steps that I used to create my first wall hanging. You’ll also find a good YouTube tutorial at the bottom of this post to get you started on your small loom!
[social_warfare]
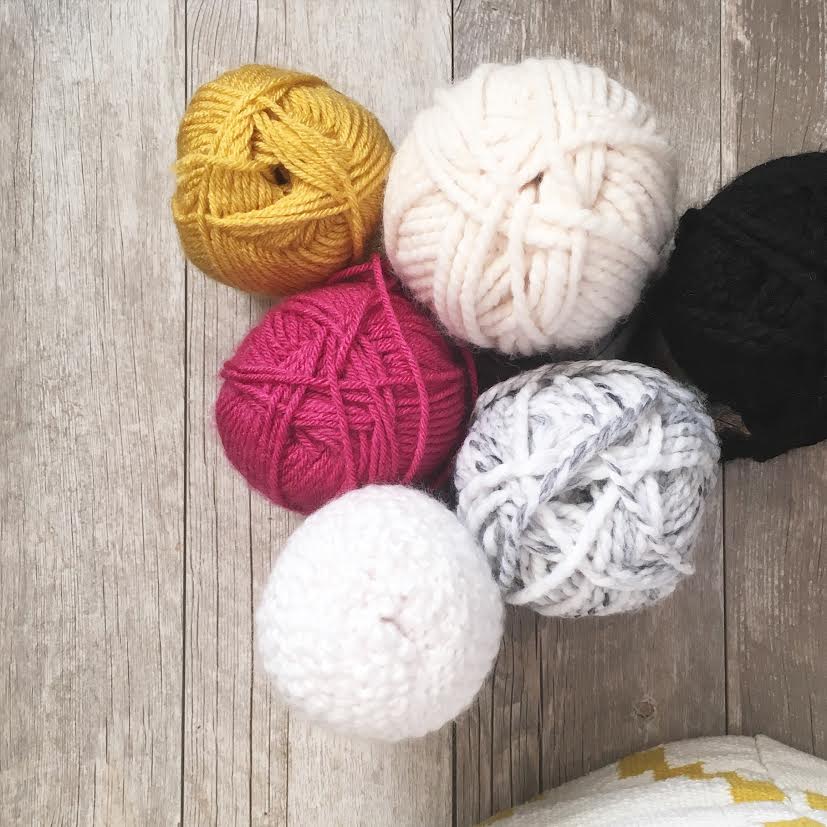
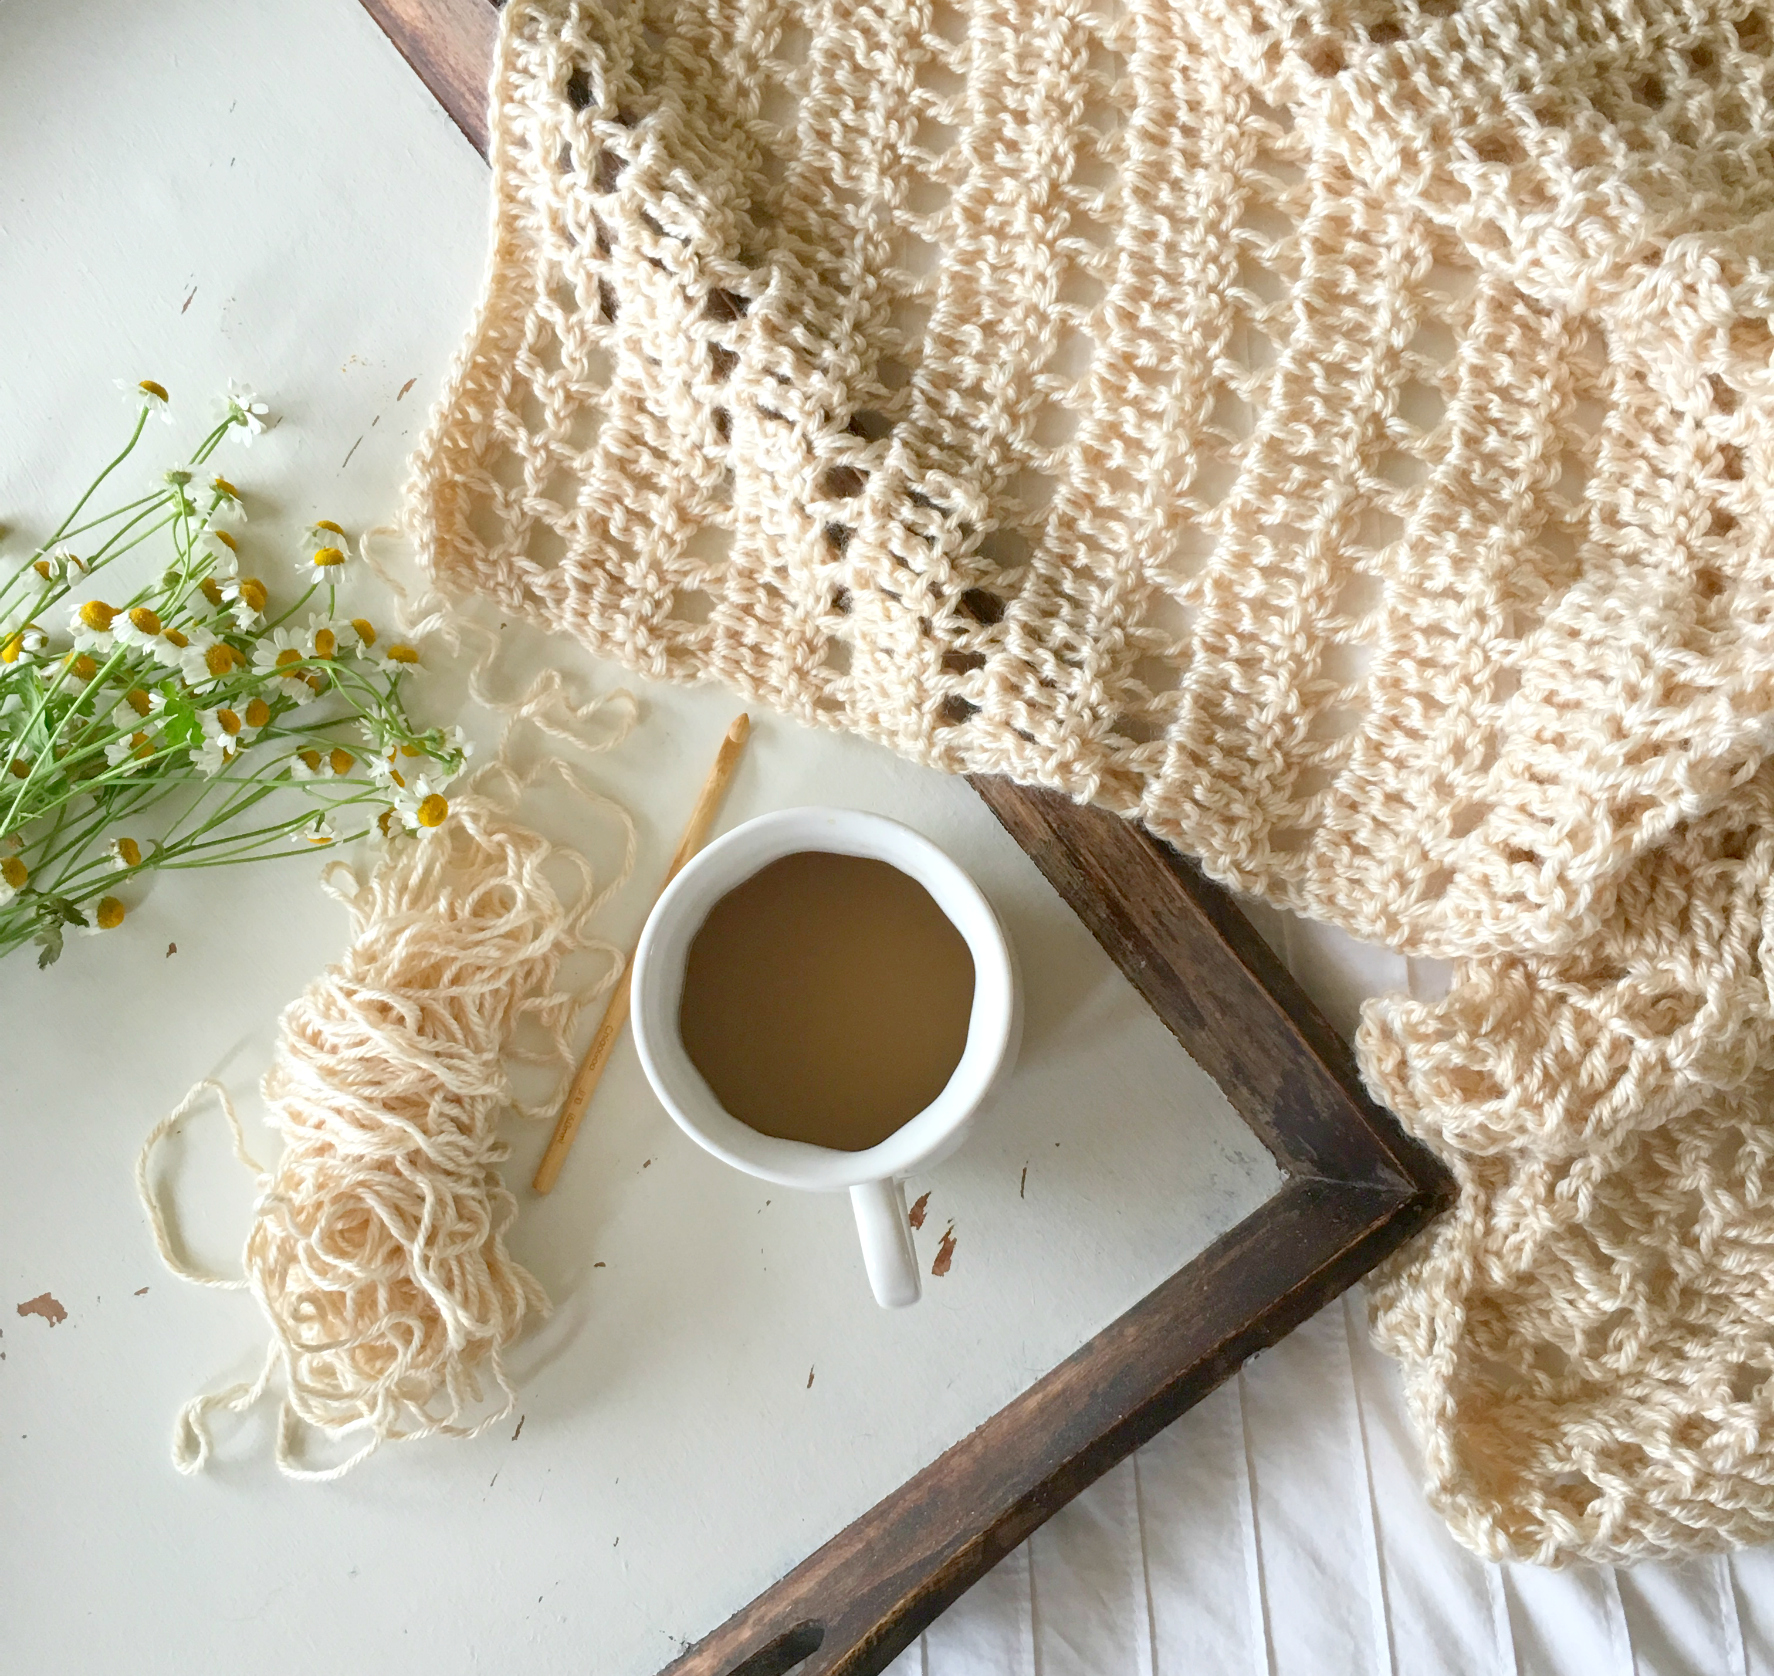
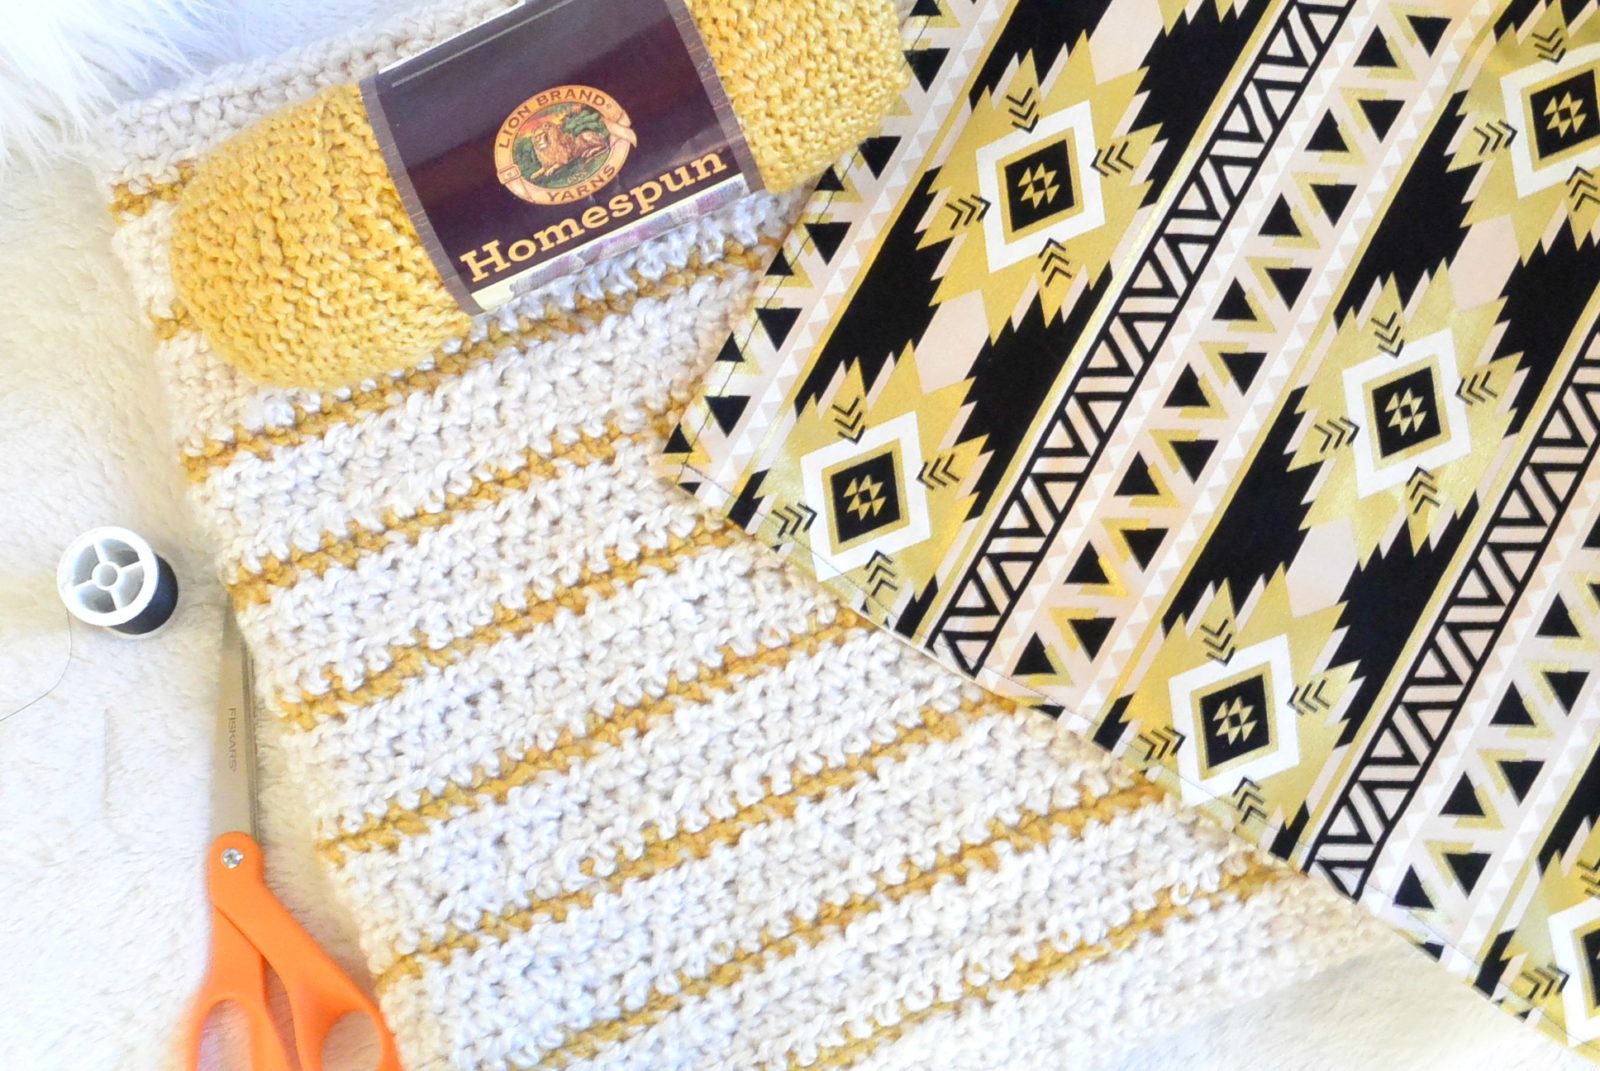
Step 1: Choosing your yarn
Pick the yarns for your project. I think it’s fun to use a variety of textures, weights and colors.
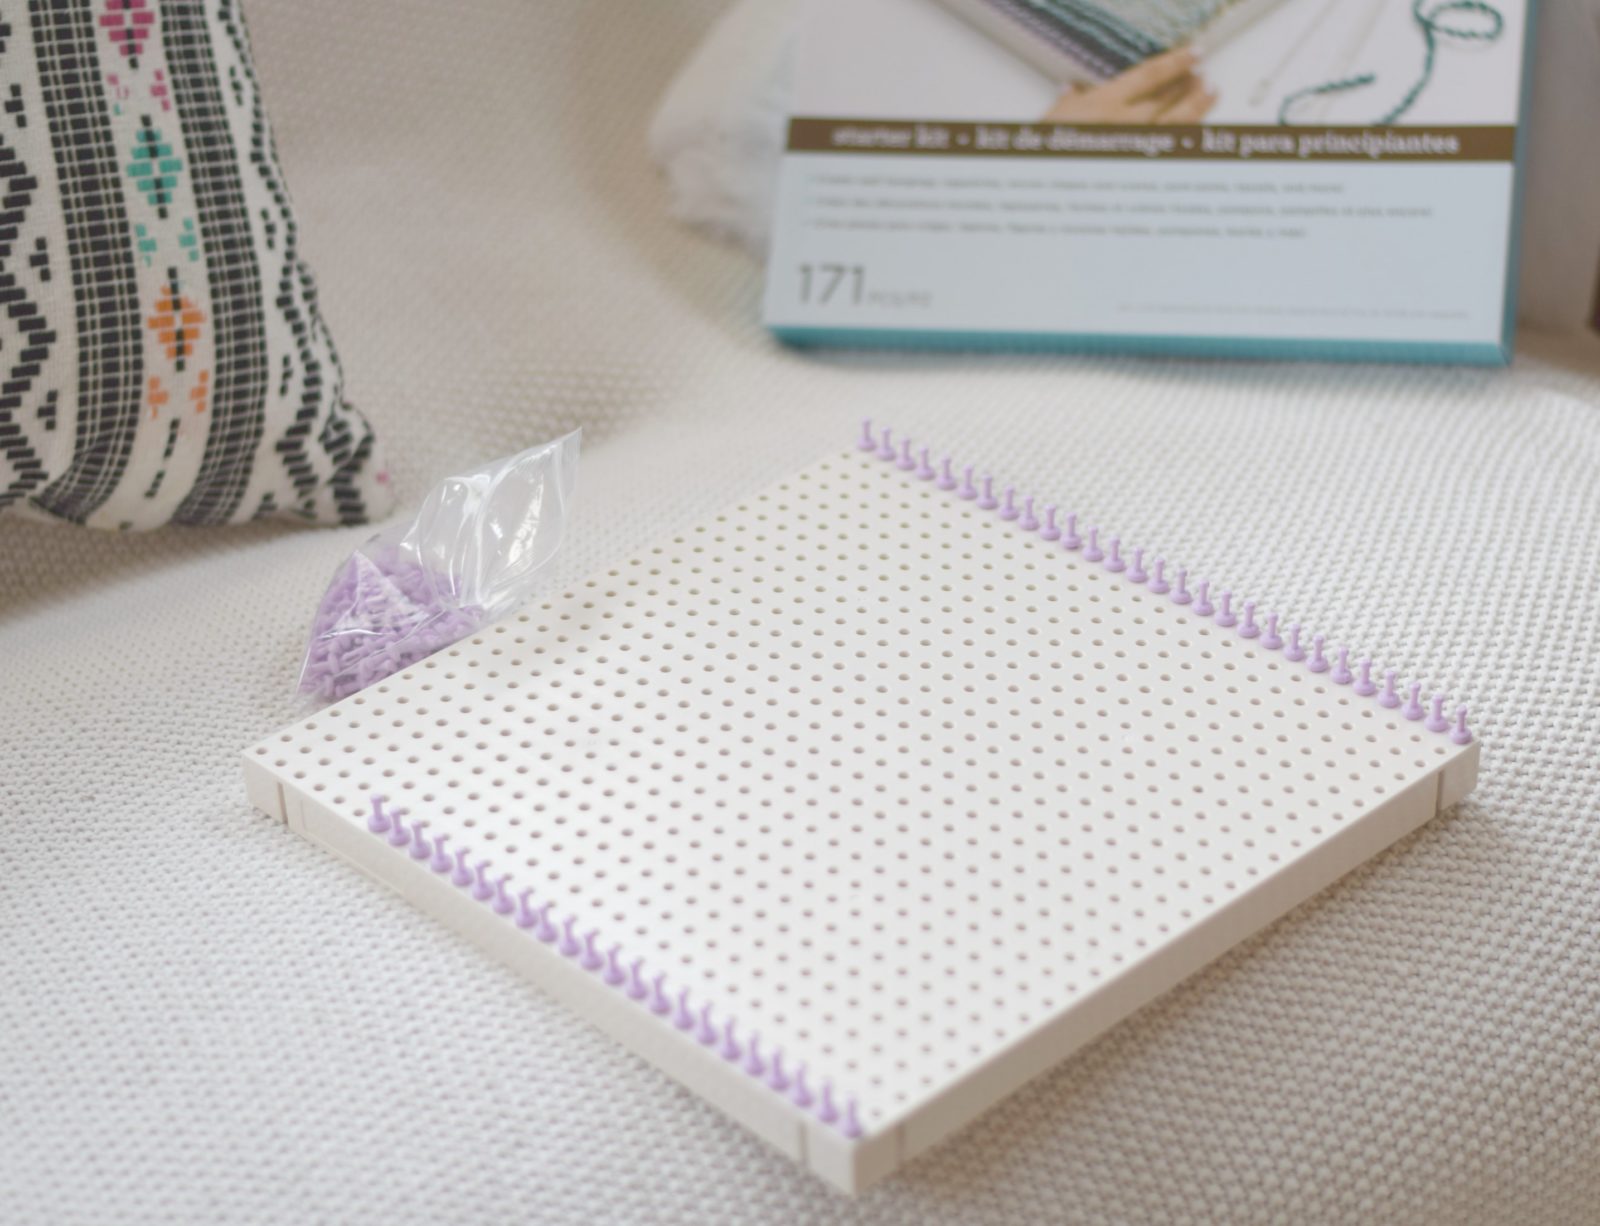
Step 2:
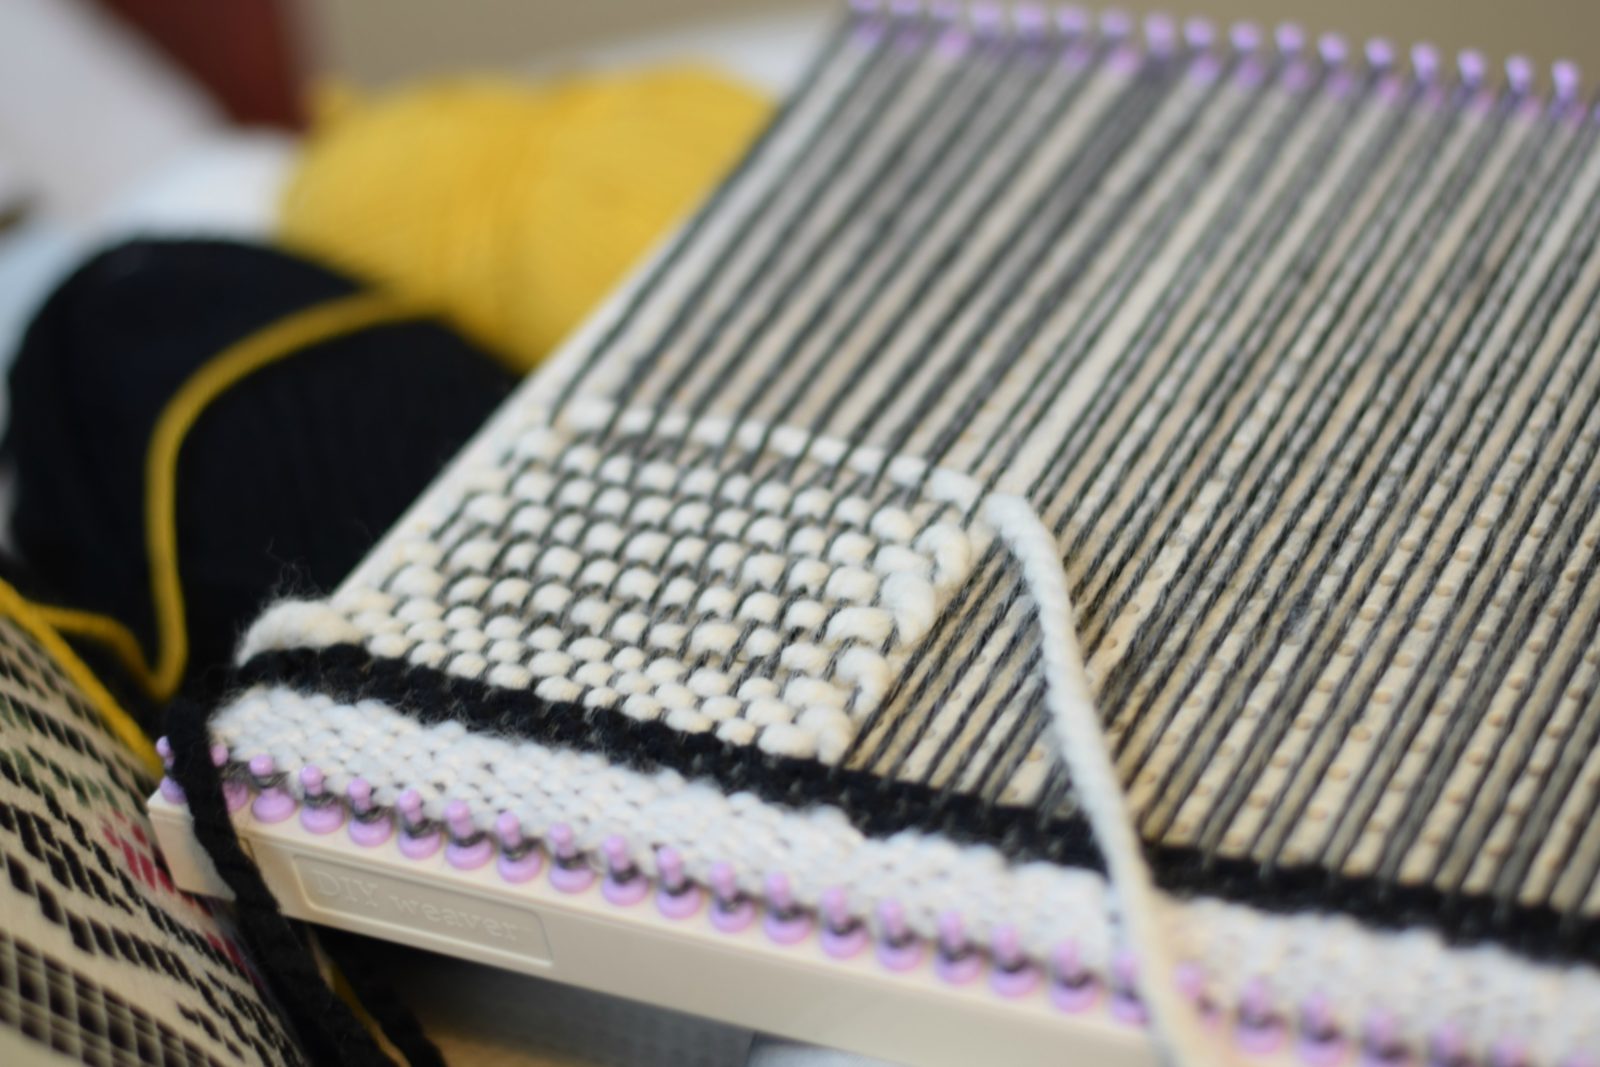
This is my DIY Weaver from Lion Brand Yarn. It came with pegs which I was to place at the top and bottom of the loom.
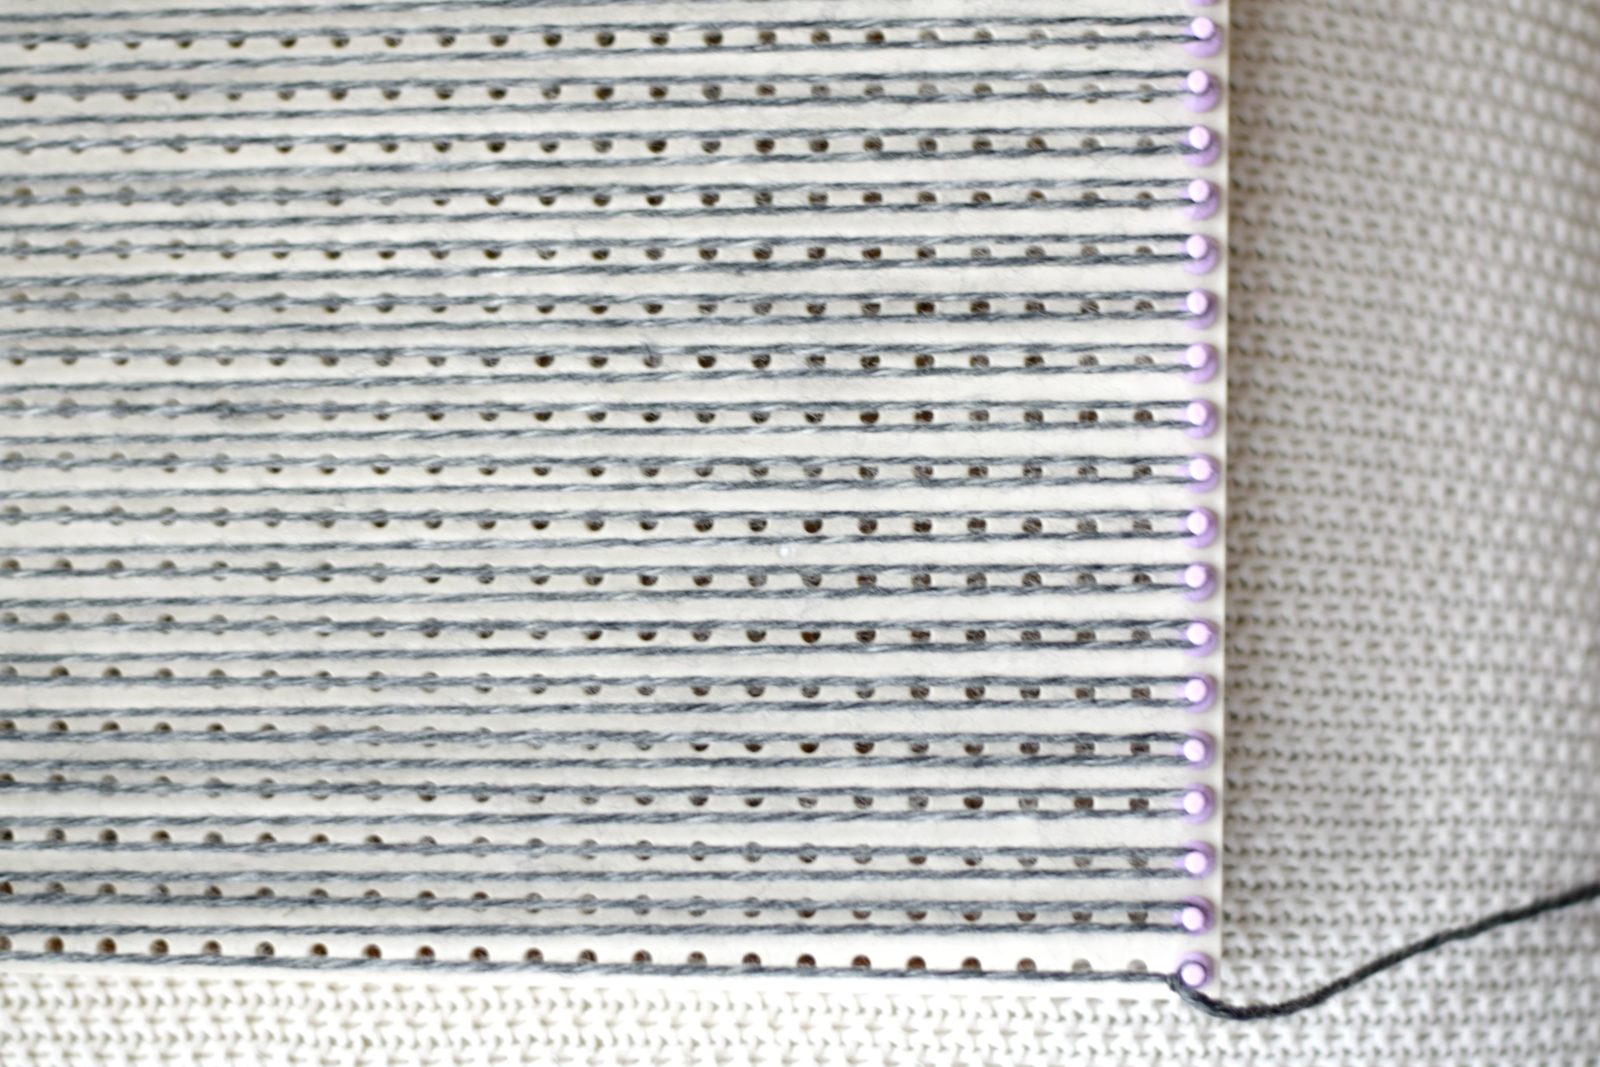
Step 3:
This is called the weft. Simply wrap your yarn around the top peg and work it one time around the bottom, continuing to wrap it around each peg on the loom. Tie a knot to secure.
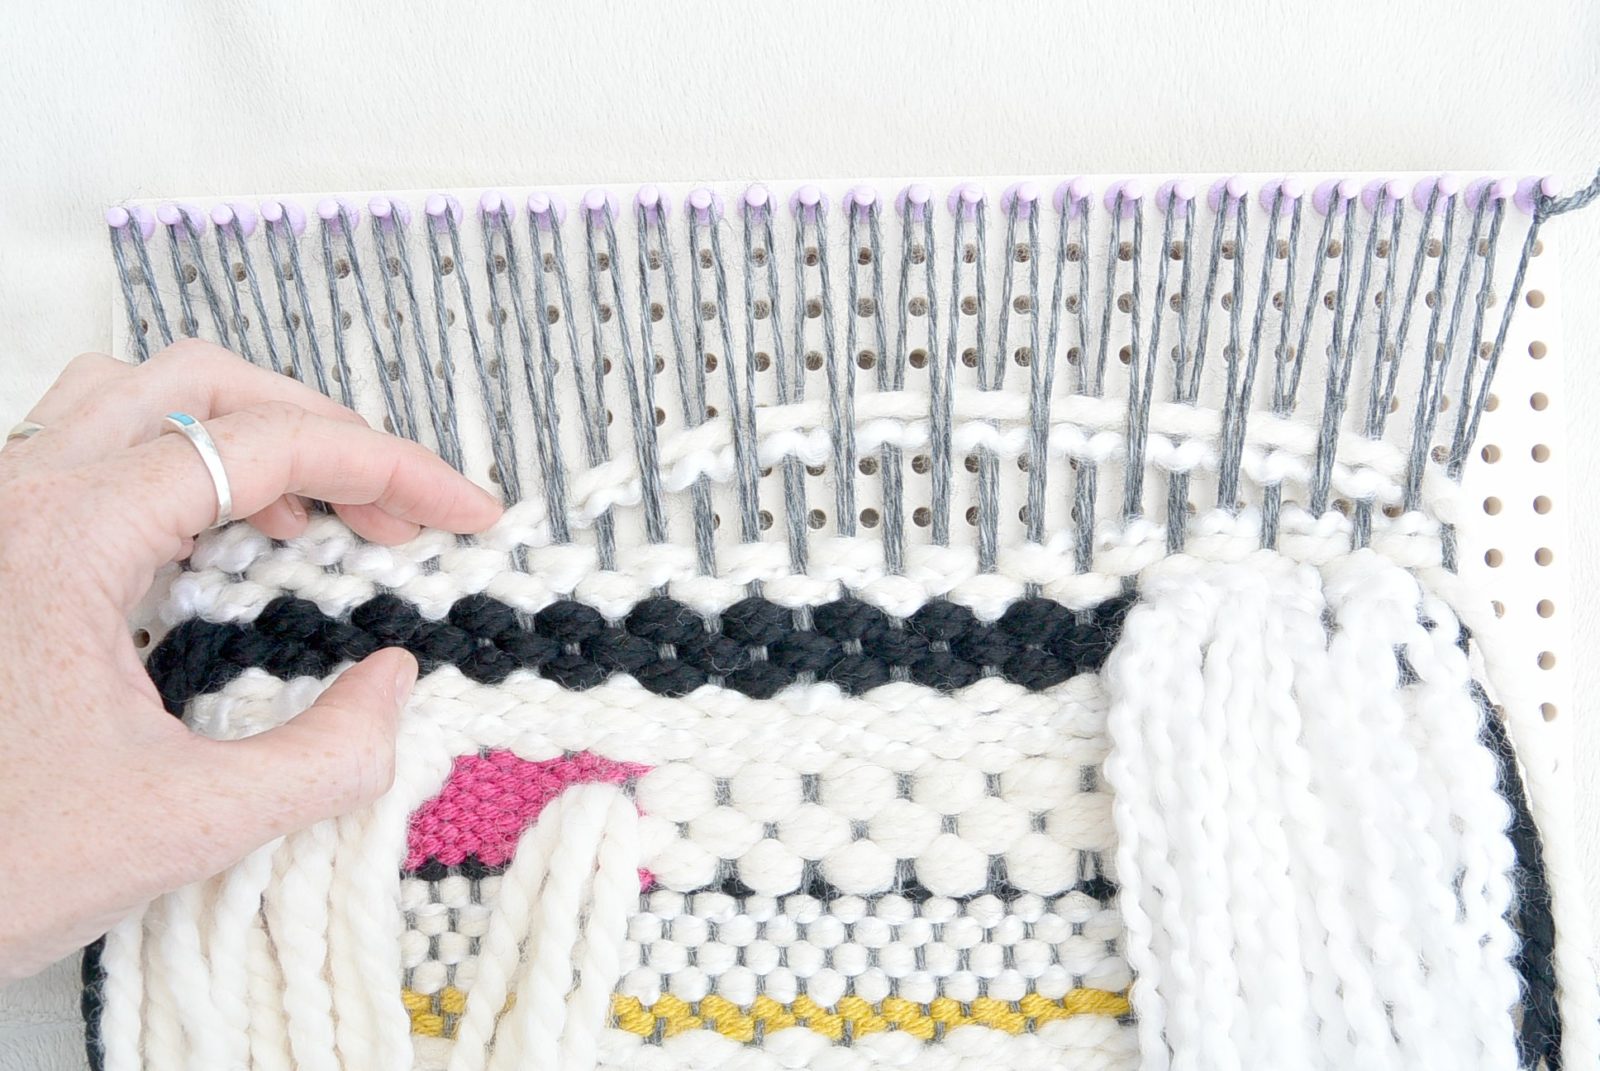
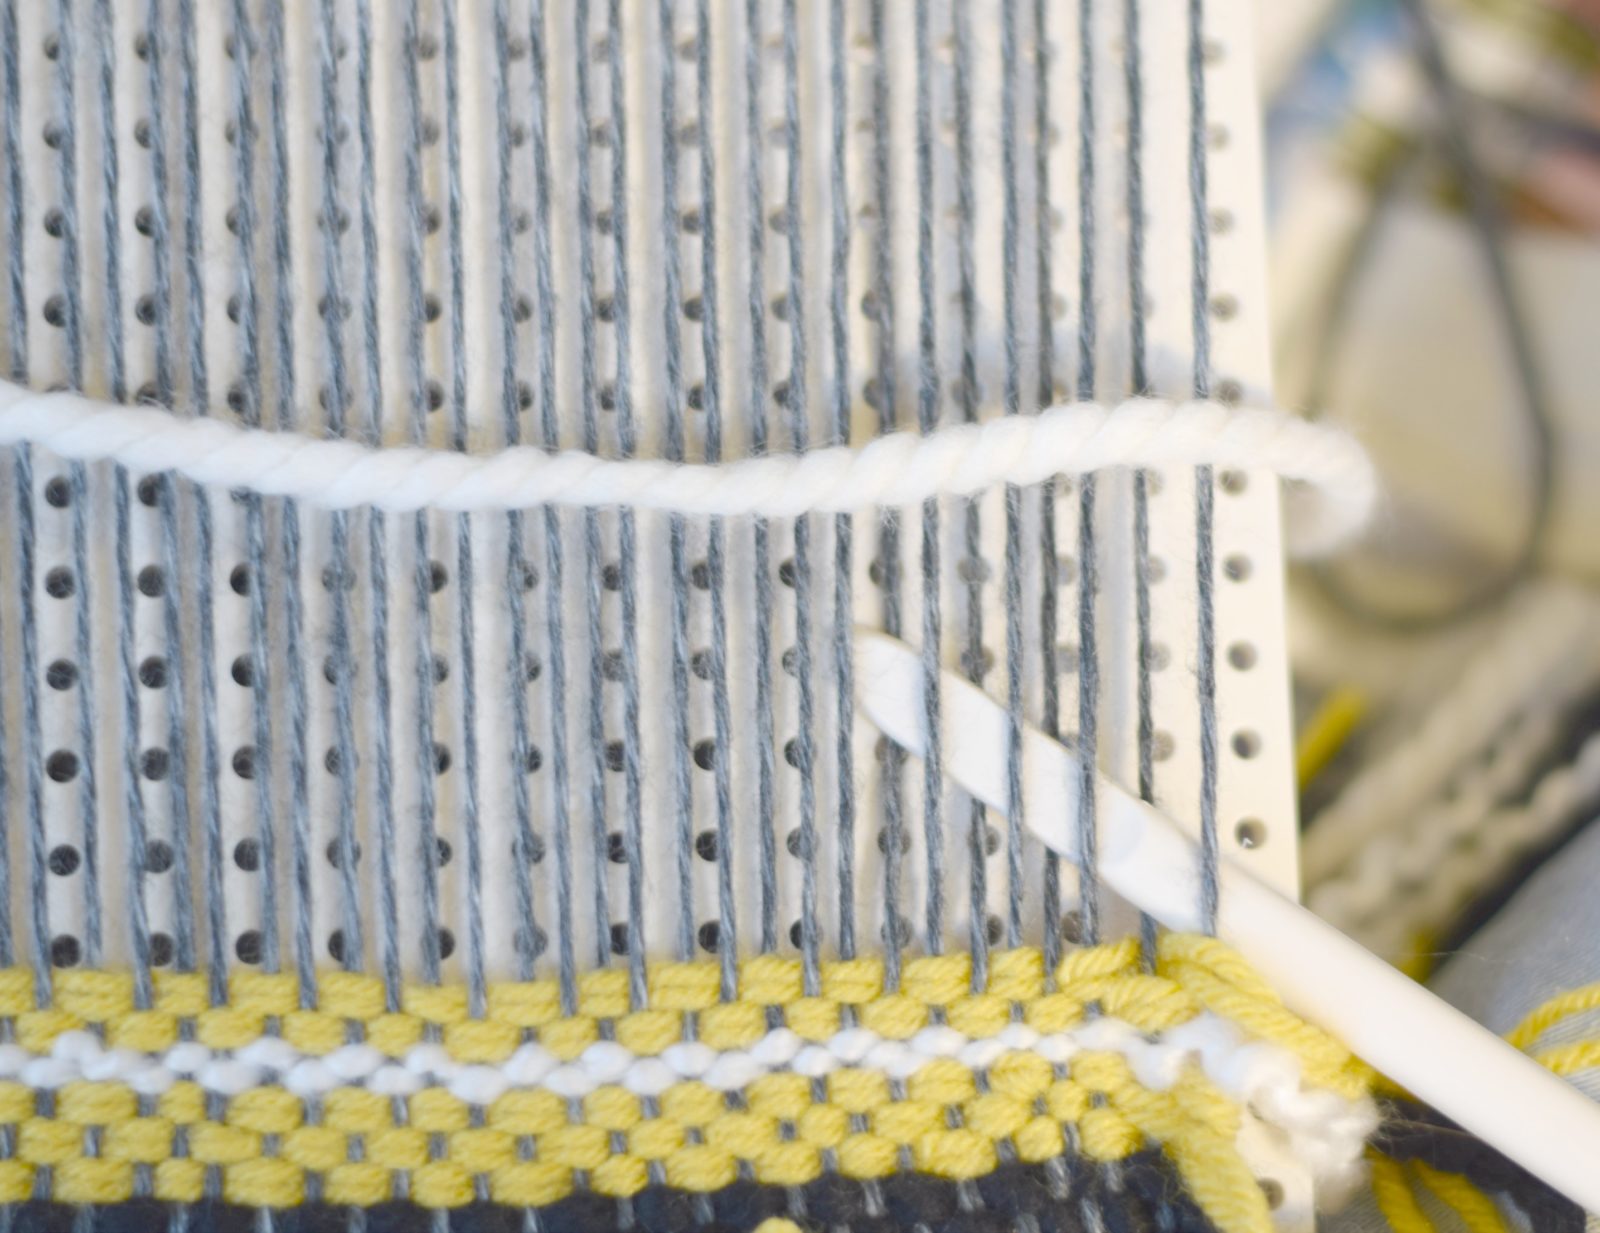
Step 4:
With a length of yarn a few yards long, attach it to the tool provided (It works much like a needle and thread). Pull the yarn over and under each strand on the loom. You want to do the opposite of what you did on the prior row. If you went under a strand, you now need to go over that strand.Changing how many strands that you go over and under will change the look of your weaving. Go over and under two strands of weft, or go over and under one strand. You can also hold more than one strand of yarn together.
Step 5:
Once your yarn is pulled through each row, push it down with the comb like tool provided or with your hand. Add fringe where you would like.
Step 6:
Tie off the weaving and carefully remove from the loom. Weave in any loose ends and trim fringe.
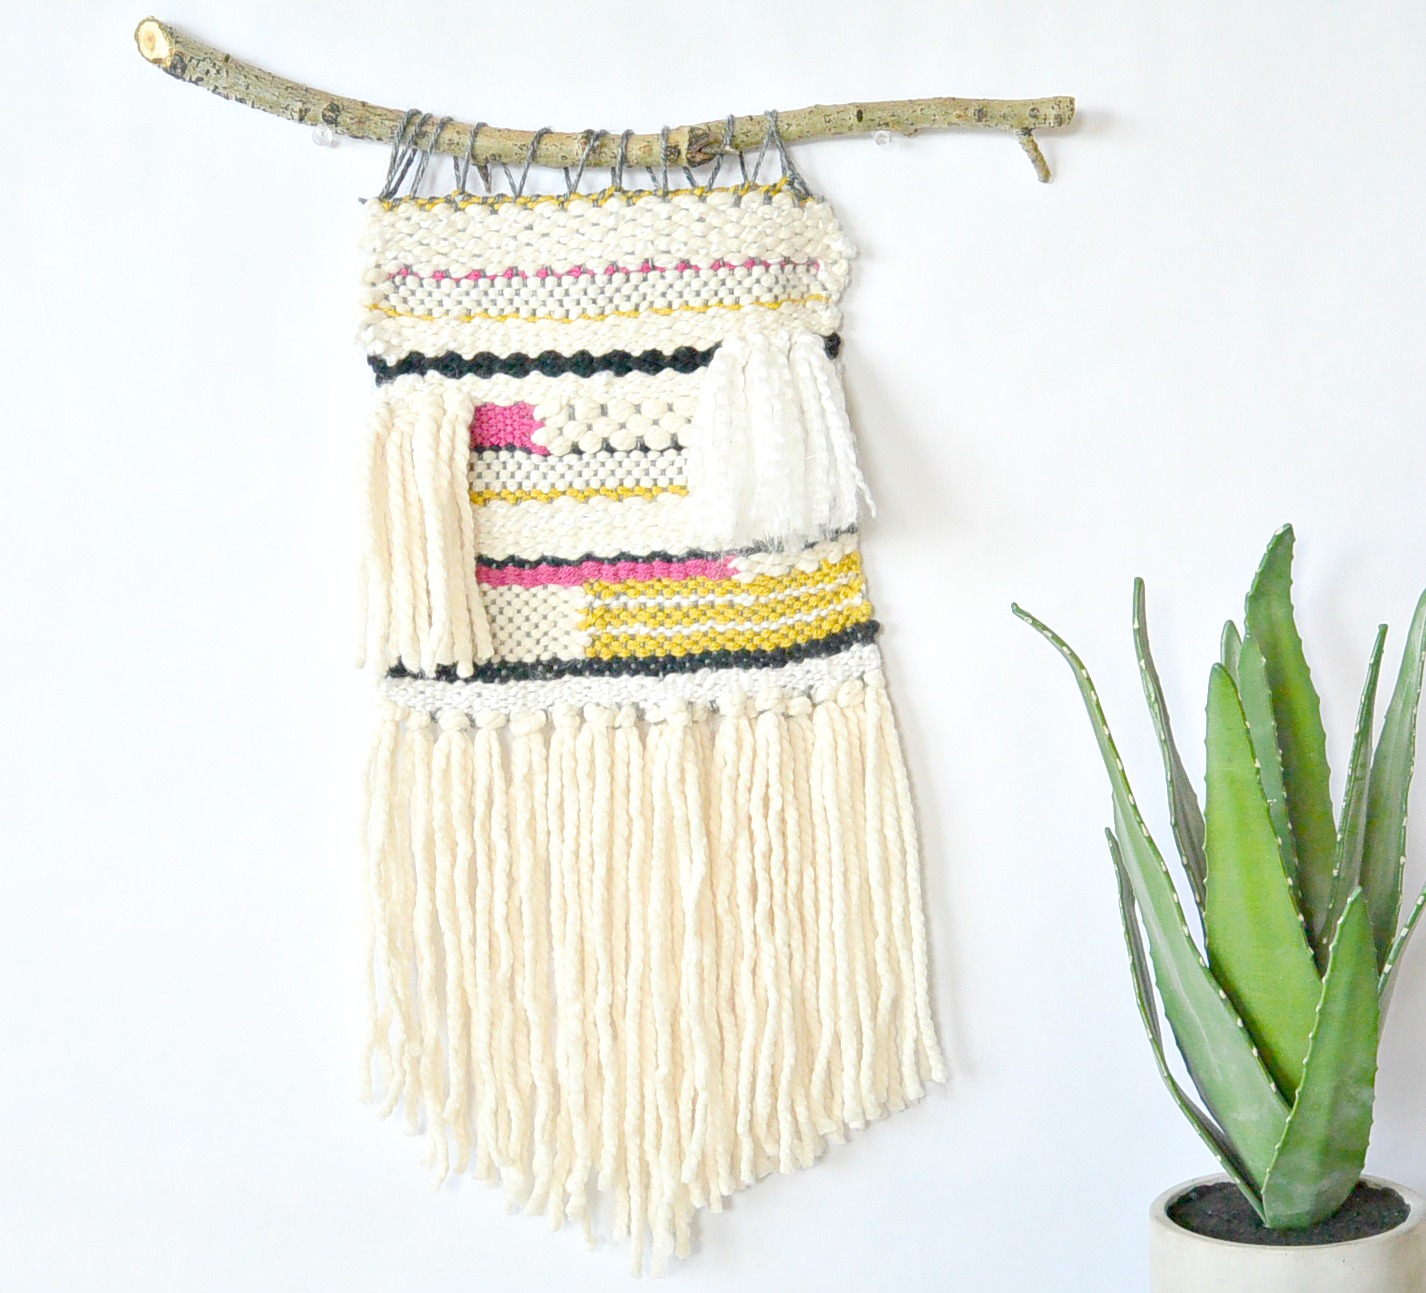
Step 7:
Attach hanging to a branch or dowel of your choice.
Step 8:
Enjoy your new wall hanging!
There are also several great YouTube tutorials that show you how to weave. Here is a tutorial that uses a similar lap loom: YouTube Lap Loom Weaving Tutorial
please share I ordered loom and I am excited to try and make your wall hanging
I sure hope you enjoy it as much as I did! The booklet that it comes with is so helpful as well. Have fun!!
So I loved this tutorial so much I went out and bought the loom today. I”m in the process of making the wall hanging but I’m a bit confused as what to do when you are doing a half colour. (like one colour half way across the weft). How do you join the two colours together without leaving a gap between. Does this make any sense?? Do you do one colour and then the second colour on the second half, forcing it between the weft to join them? I’m so sorry if this is convoluted, I don’t know how to explain this any better.
Your question makes total sense and I should add this explanation above. So the way I did it was this….
So you’re weaving the one side. Do that one side first (let’s say we are on that lower left side white portion that meets up with the yellow). I’ve finished that, and now want to add in the yellow to the opposite side. So I weaved the yellow side and when you come to the point of joining with the white, you will work under or around the weft holding the last strand of white. So put that yellow in between two white strands and work around the weft. That one strand of weft will hold both the white section and the yellow. Does that make sense? Maybe there are other ways to do it that you could look up on YouTube, but this worked for me. Let me know if I can clarify in some other way!
I think I understand what you mean, thank you! Basically you just mean try to jam it in between the strands of the other, right? I’m gonna try right now! Thanks again!