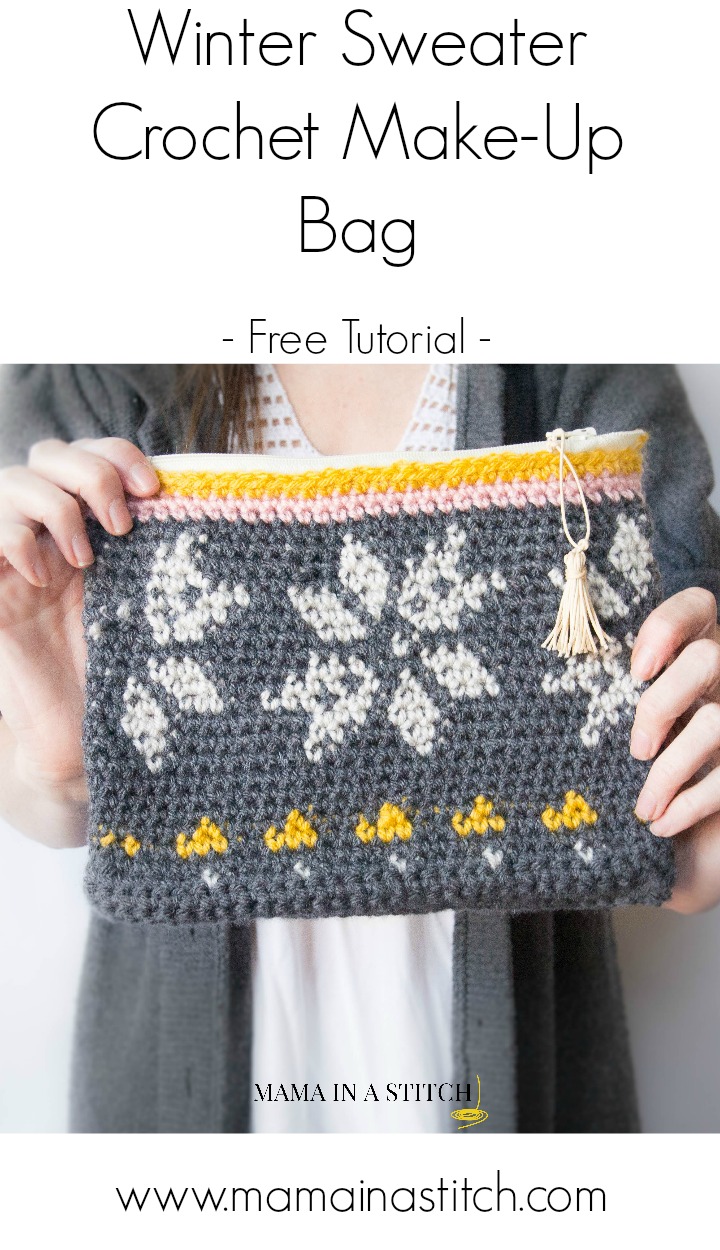
Knit Look “Sweater” Tapestry Crochet Bag
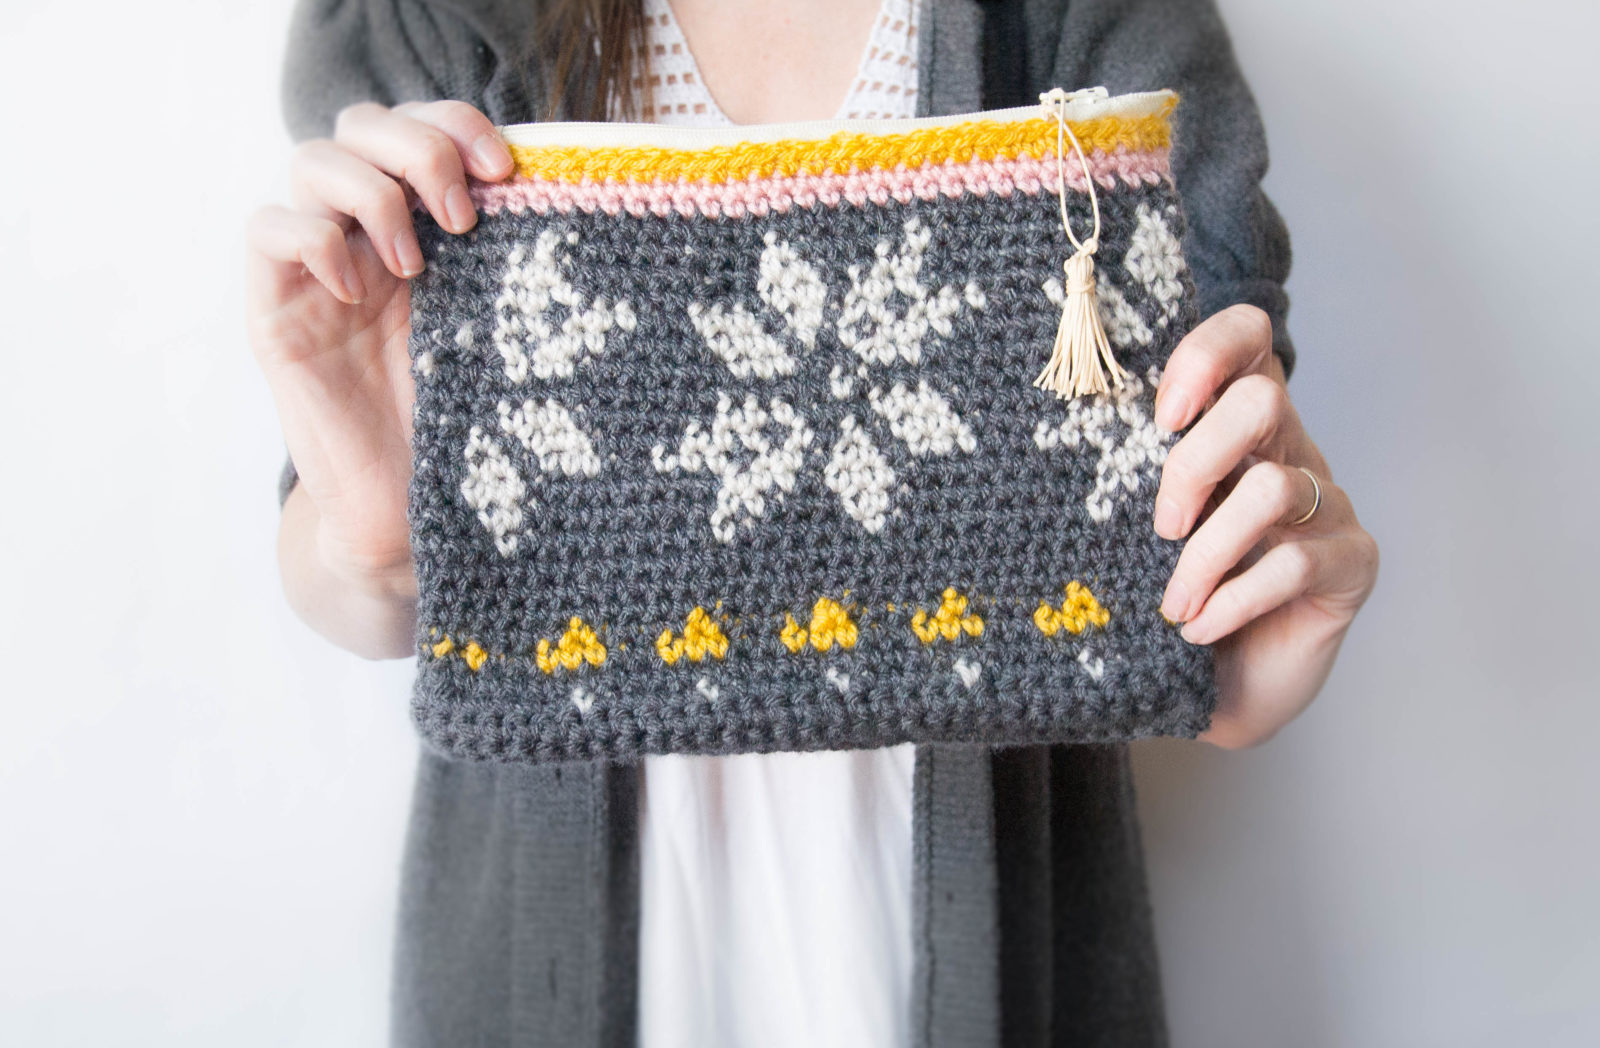
With sweater season in full swing, I’ve been wanting to either knit or crochet something with the cute snowflakes that I’ve got on some sweaters and slippers. For some reason, after comparing the knit and crochet versions of this look, it seemed easier to me to try it with crochet. Fair isle knitting is gorgeous, so I am sure I will give it a whirl soon. I think besides these fingerless mitts that I made a while back, I haven’t been much of one to do “details” on my projects. 😉
What I found out is that you can do tapestry crochet (while carrying two colors at the same time) in the round or flat. Quite frankly, the flat version freaked me out a bit. The way I kept seeing it done was to crochet a row, and then crochet BACKWARDS rather than chaining and turning. Oh my! I decided that I’d like to try it out in the round as it seemed more doable. So then I debated on what to make…a coffee cup cozy, a basket, or a wine bottle holder of some sort. Finally I decided on a little zipper make-up bag as it wasn’t too big or overwhelming.
If you’re up for trying this, click on the pink text below to check out the great video on how to do it from Moogly. Thanks to Moogly for permission to share this!
Video On How to Tapestry Crochet from Moogly
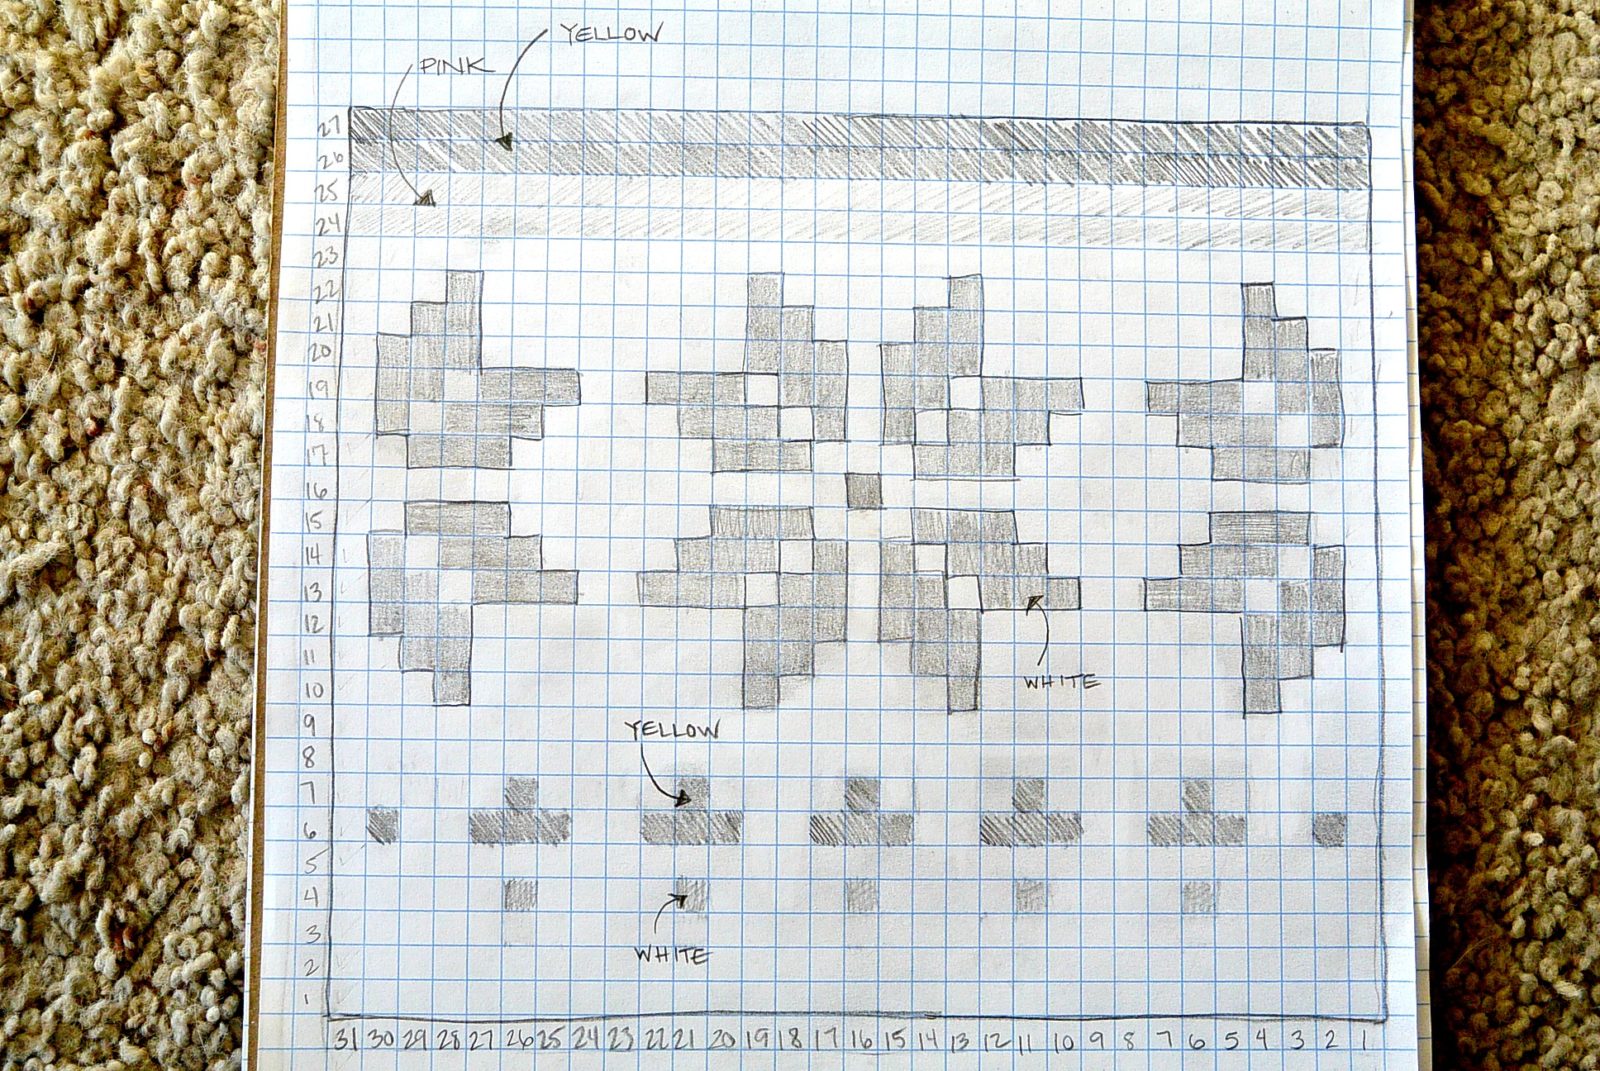
So once I decided that I wanted a wintery sweater look, on a piece of graph paper, I was able to fit a snowflake in the middle with two halves on either side. By adding a few extra accent stitches, simple triangles and stripes, it gives it more of a knit look. My other love is art, but I don’t get to do much of it anymore since I’m so addicted to yarn! It was really fun to break out the pencil and paper again. 🙂
For your first time, you may want to make something a little easier. Maybe making a “checkered” look might be simple, or stripes would be easy too. I had to frog a couple of rows that were off when crocheting the snowflakes.
There were a couple of times that I was twisting my yarns. I was able to stop it, but I’m not totally sure what I did! The one thing that helped was that I didn’t carry the color all the way around. I cut it and then began carrying it again about 5 stitches before the color work would start again.
Needed for This Project
Size I crochet hook
Less than one skein each of Lion Brand Vanna’s Choice in Linen, Pink, Mustard and Silver Grey or comparable yarn. (You can do as few or as many colors as you want)
Scissors
Graph paper and pencil( you can copy my graph onto some paper, or if you know how to paste the picture into Word and print it – go for it)
Zipper
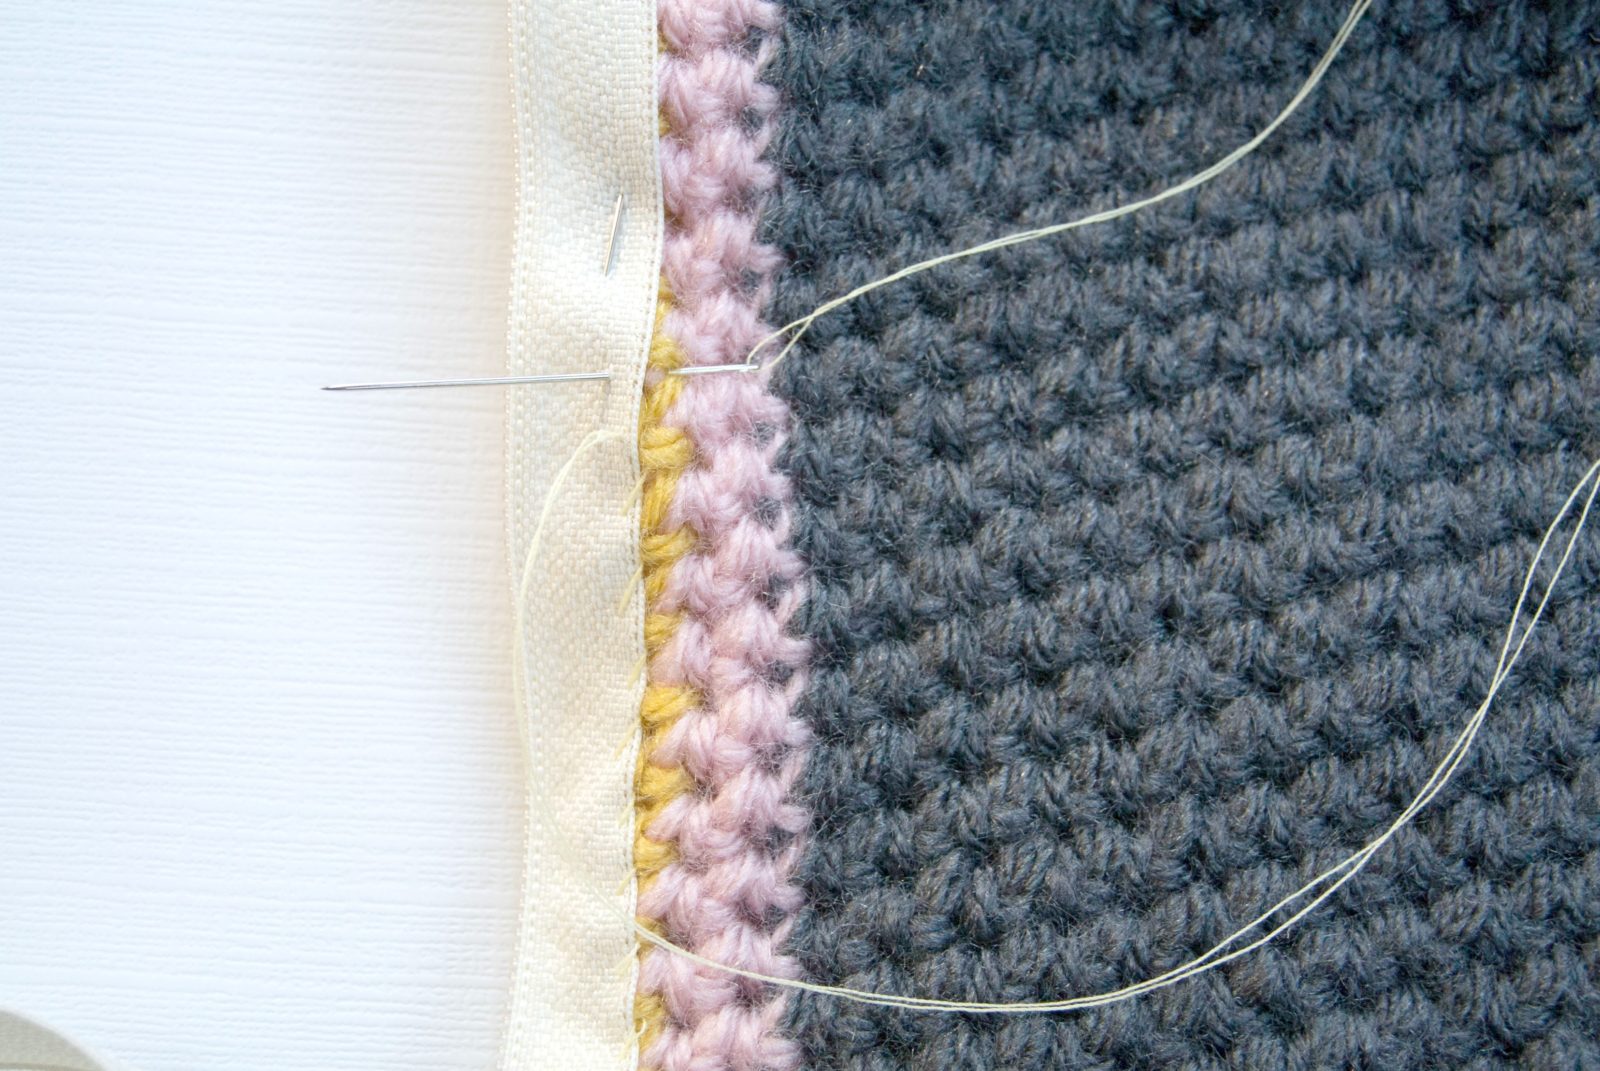
Needle and thread to sew on zipper
Fine yarn or waxed thread to make a tassel
OR make up your own graph and use up some scrap yarn to make a coffee cup cozy or something else that you may enjoy! After watching the video above, you can see how fun and easy it really is.
How I Made This
- Colored in a graphic on my graph paper that I liked (try simple checkers or stripes if you want to make it easy!)
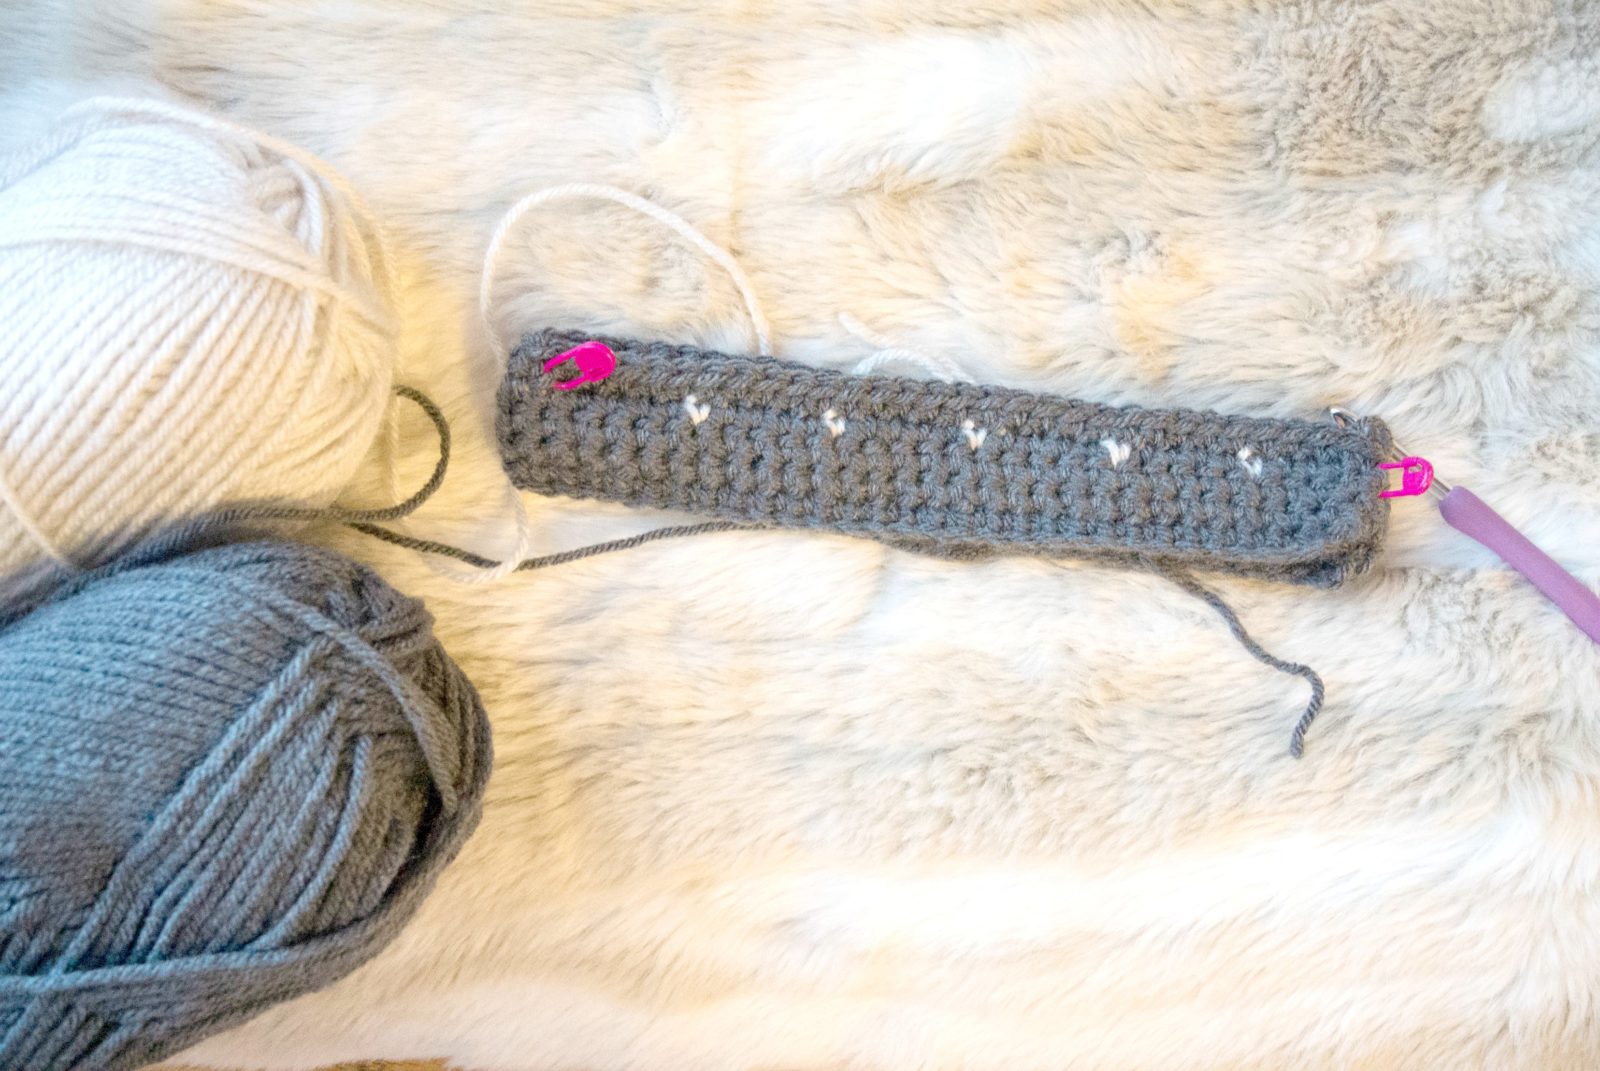
- Chained 62 – for me it was easier to do one row of single crochet and THEN join in order to continue in the round. This was a tip I got from a reader that prevents twisting the chain. Because I seam the bottom of the bag at the end, this worked perfectly fine. You can however, chain 62, slip stitch to join, and begin crocheting in the round. Just be careful not to twist your chain. You will be working CONTINUOUS rounds and essentially you’re making a tube. 🙂
- Place stitch markers on either end of 31 stitches (this was the width of my graph picture)
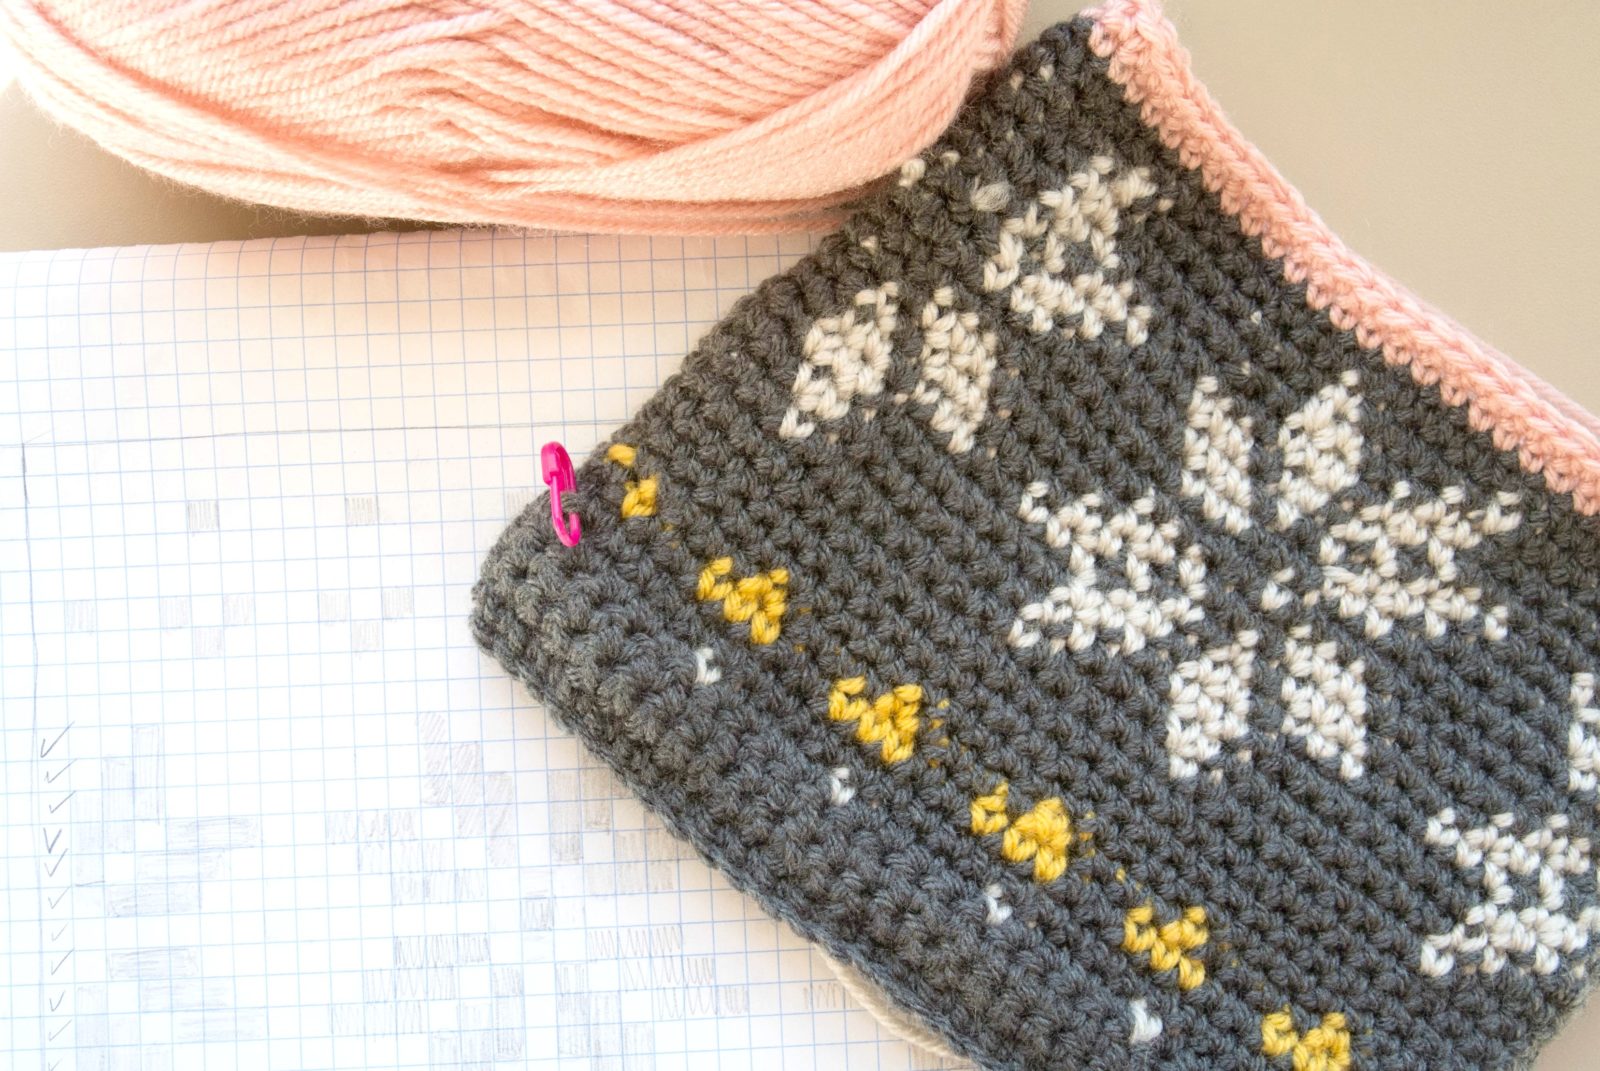
- Follow your graph and make color changes (just as the video above shows) as you go! It helps to check off each row as you complete it on your paper. Weave in all ends with your tapestry needle.
Wait to seam the bottom until after you add the zipper!
Adding A Zipper:
For this bag I bought a 7 inch zipper.
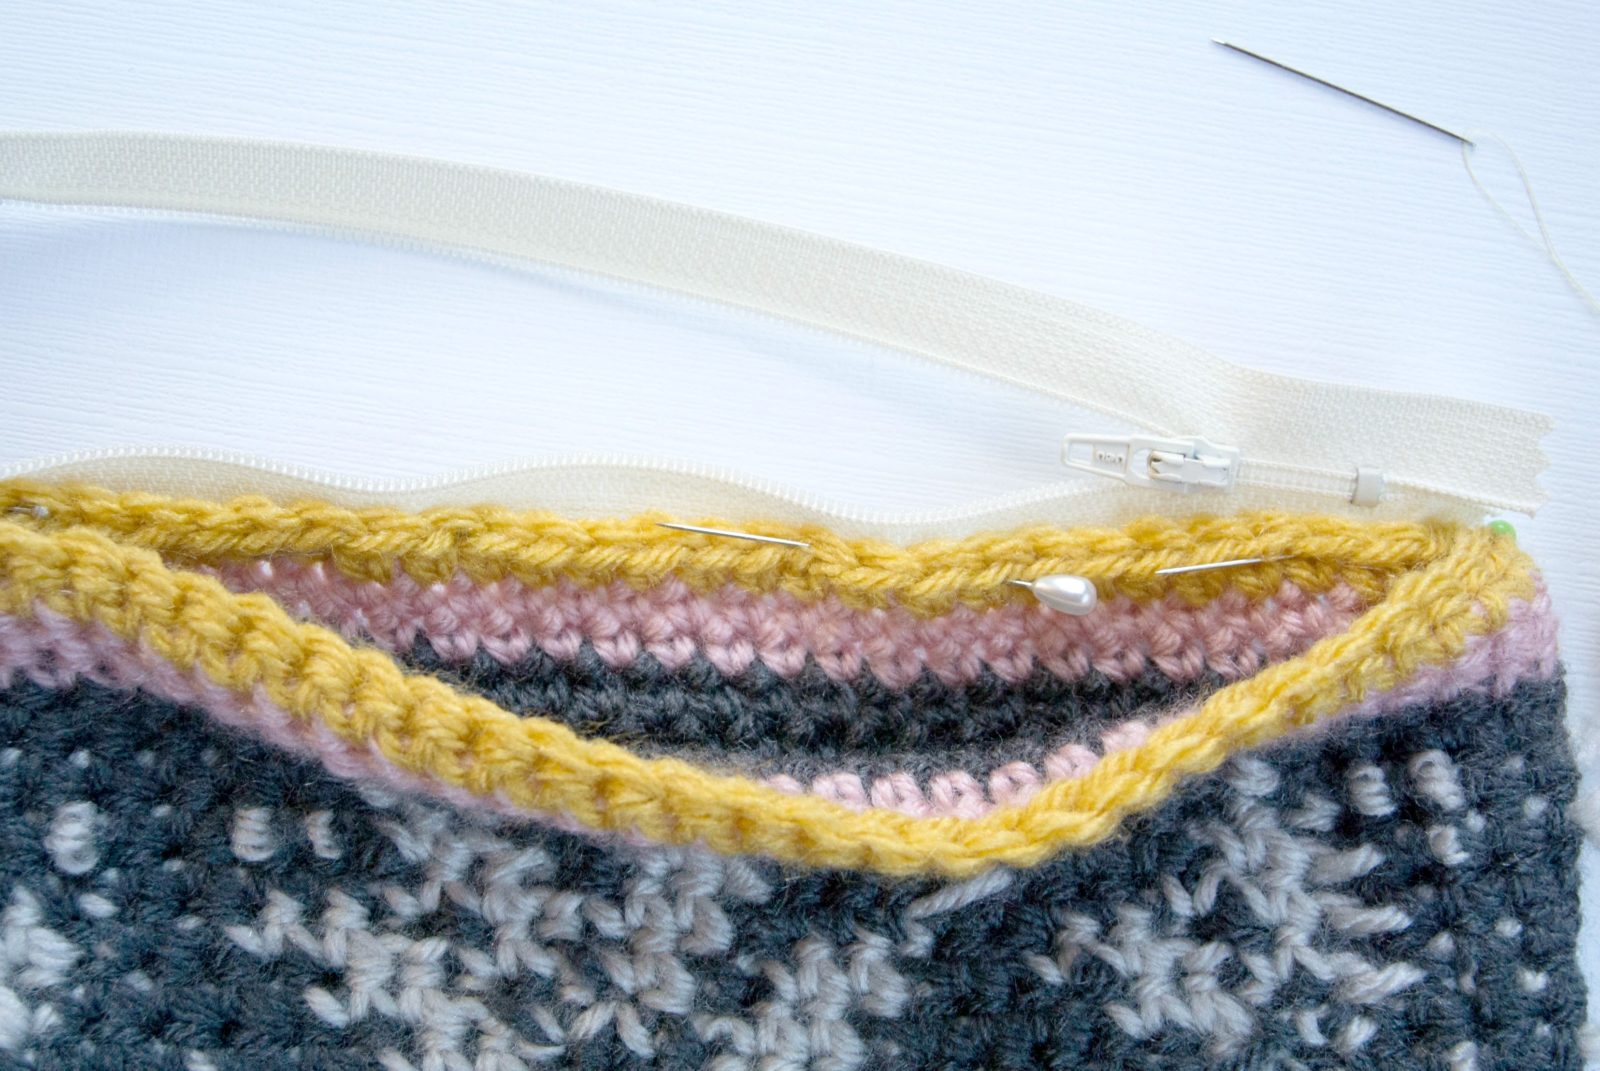
With the bag inside out, pin the zipper, facing inward, around the bag.
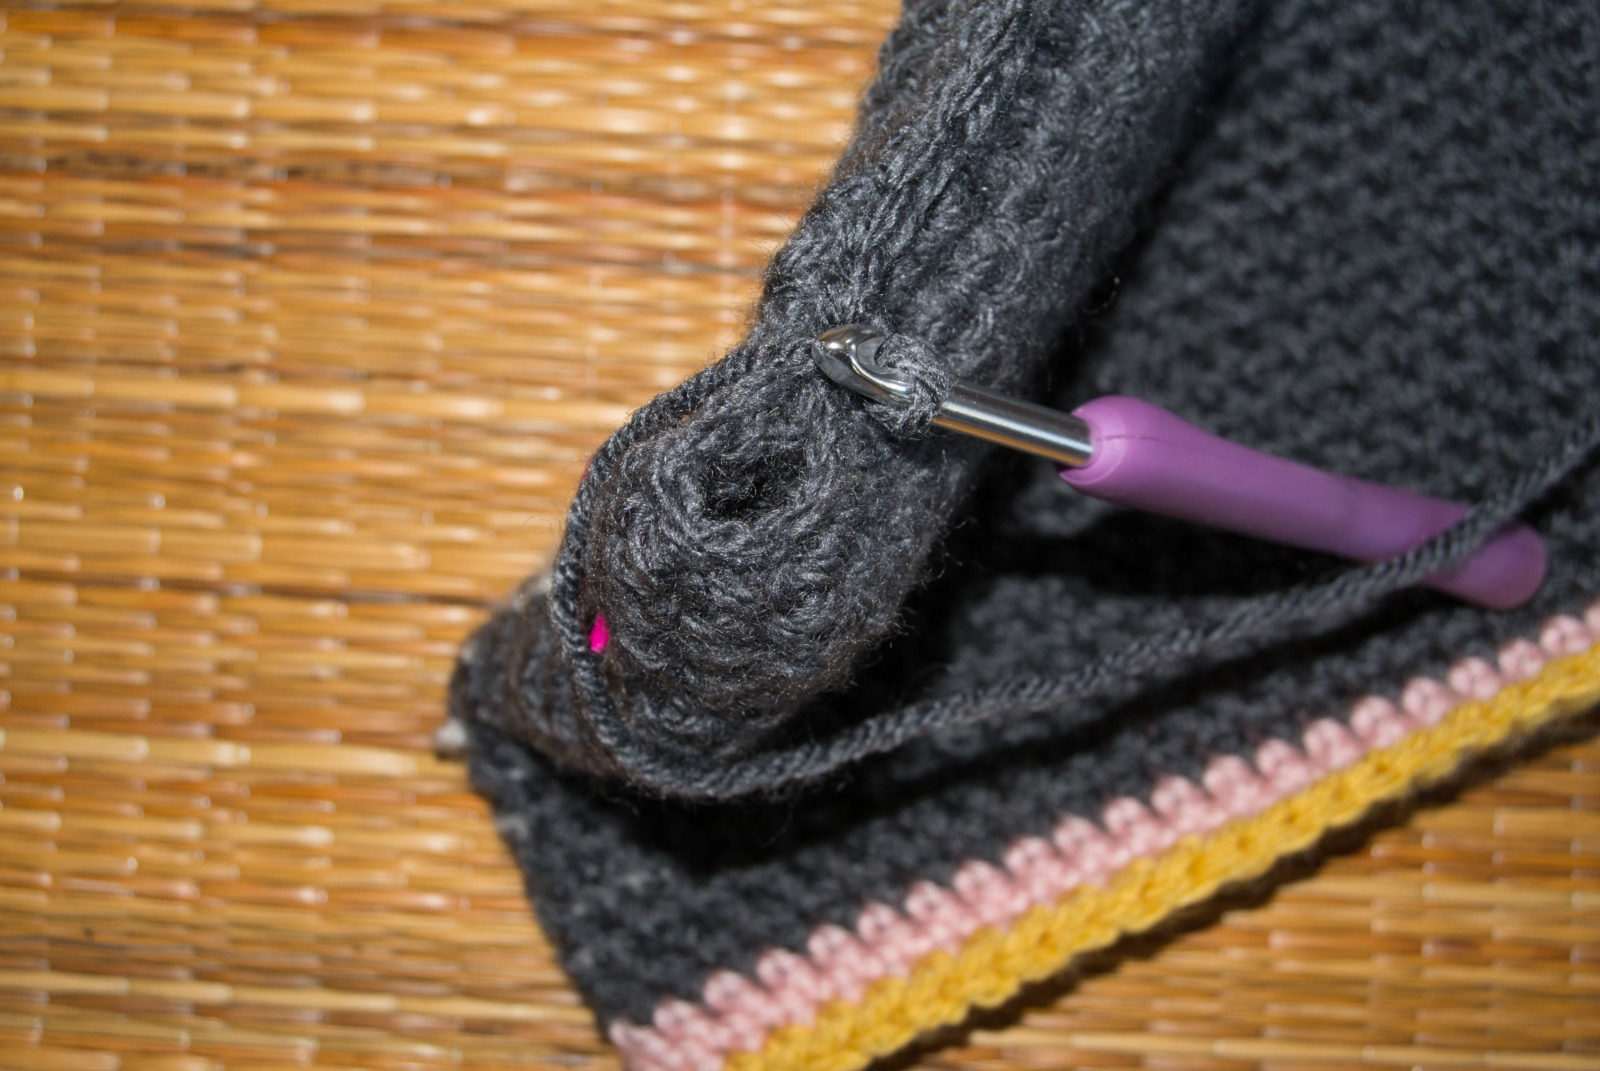
Seam the Bottom Closed
I seamed the bottom closed with a single crochet seam. In other words, I attached my yarn with a slip stitch. Holding both sides together, I inserted by hook through both sides of the bag and single crocheted along the bottom. I then tied off and weaved in my ends.
Attaching a Tassel to the Zipper
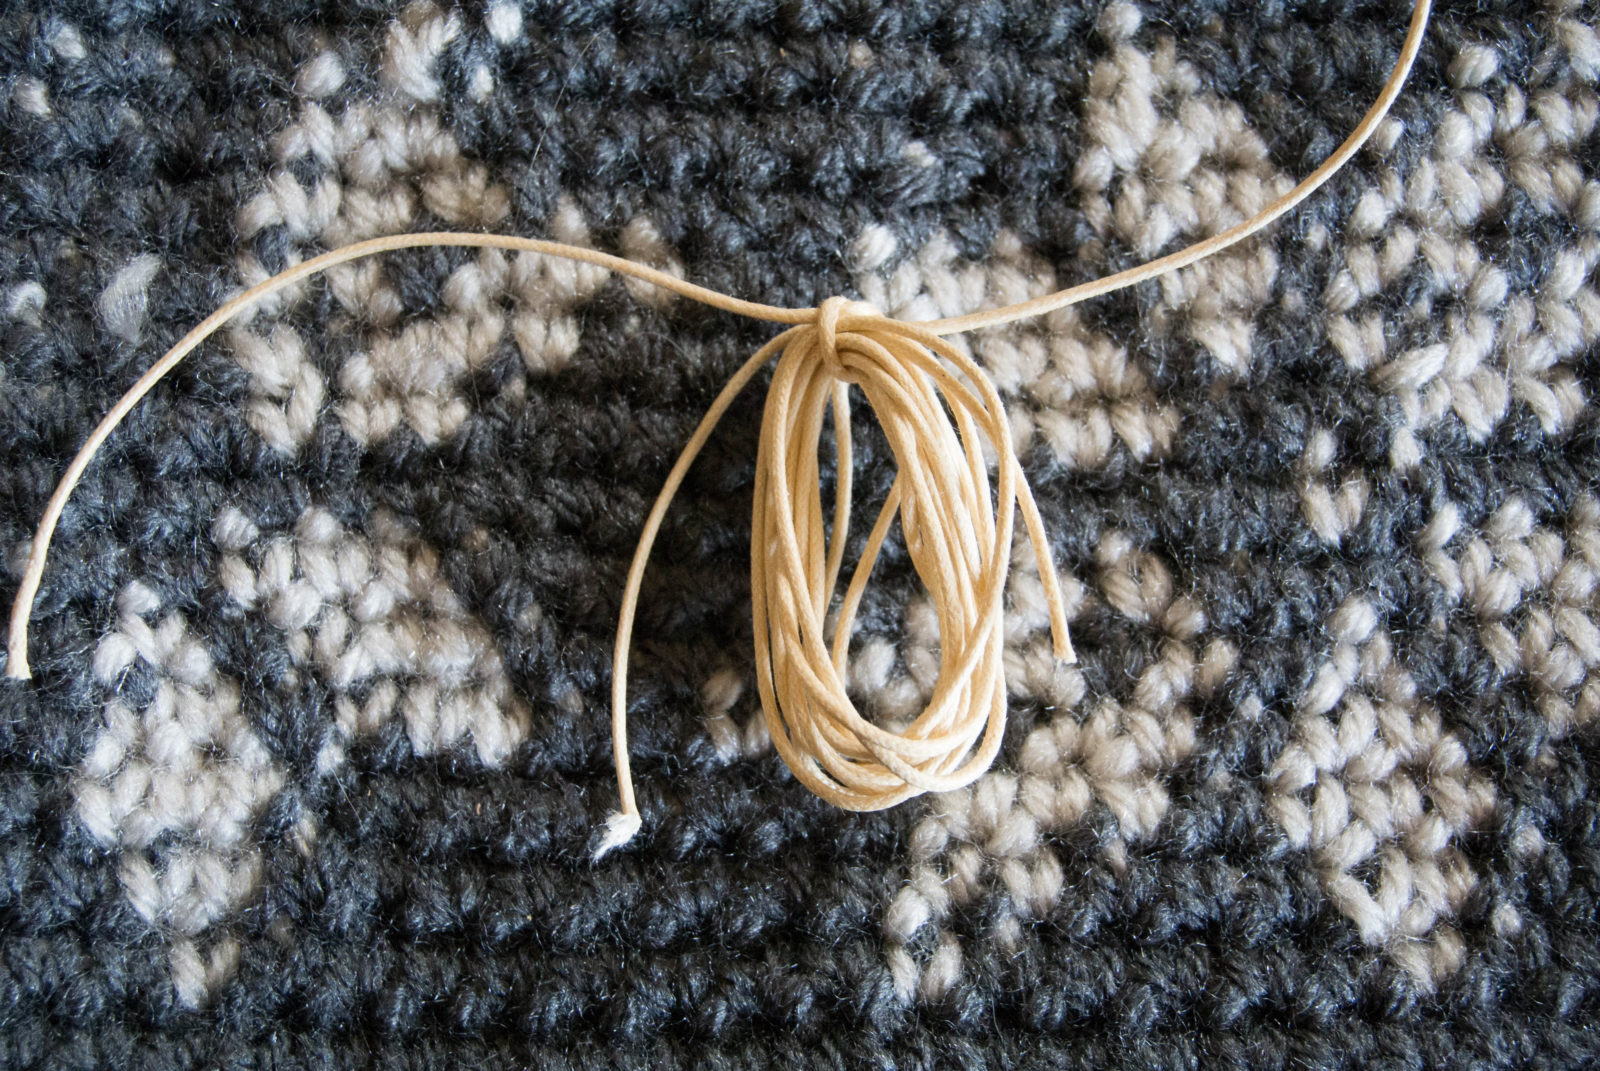
For my tassel I used waxed thread. There are tons of tutorials online on how to make a tassel. You can search it in YouTube as well. The quick explanation from me would be to simply wrap the thread/yarn around two or three fingers several times as if to make a pom pom. Take a piece of string and pull it through the center and tie. Then wrap another piece of string around the top a few times, tie off and tuck the tail into the tassel. Cut the bottom to create the fringe. Attach to the zipper.
There you have it!
So while tapestry crochet isn’t the EASIEST project in the world (and I tend to only do easy 😉 ), it still is fairly simple. It’s just single crochet, and switching up colors.
Fun, right?!
Love it! Beautiful!
Aww, thanks Mona! 🙂
This bag is really cute Jessica! It is also a very nice size.
It is a nice size for sure….so happy you think it turned out cute!
Oh, so good. Colors are great. You have such wonderful ideas.
They are fun colors for sure. Thanks for the kind words Gwyn.
Very nice, thank you for sharing!!
Love, love, love it! Beautiful color combo. The graph paper scares me, but your instructions are crystal clear. Keep these beautiful projects coming!
Thanks for the kind words Susan! The graph paper is a bit scary at first, but it’s easy once you get going. Thanks for stopping in!
This is absolutely amazing!I love the cute detail of the tassel and the snowflakes are adorable, although I never thought I would ever say that 🙂
So happy that you like it Helen! Thanks for letting me know. 🙂
Just fantastic! I love it, great job Jessica!
Thank you, thank you Esther!
Oh my! GORGEOUS!!!
Thanks Bethany! And thanks for stopping by!
Its best bag for winter season and looking wonderful . Great piece of art….
Hi! Thanks for the kind words. So happy you think it’s a great winter bag – probably so with the snowflakes. 🙂
When I decide to do this bag, I think I’ll crochet the 62 stitch chain, work single crochet down one side, the three stitches in the last chain, and work single crochet up the other side of the chain, then two single crochets in the last stitch, and slip stitch it to the beginning single crochet. This might not make it as strong as the way you did it, but I plan on lining my bag. I can sew in the lining at the same time I put in the zipper. With the zipper open, it shouldn’t be a problem, I think. Crochet makes it a much stiffer bag than knitting would. I do have an intarsia bag on needles, but it will take f o r e v e r to finish it, then it has to be felted to make it strong enough.
Thank you for sharing another technique and ideas! I’d love to hear how it turns out. Fell free topost a picture on my Facebook page. I also thought about lining it, so I’m glad to hear you will give that a go.
Tres beau dessin! Merci pour l’explication .Je garde le dessin pour crocheter un rug tapis avec du vieu tissu avec un crochet n° 10 merci et felicitation
Claire BROSE de Belgique
I’m super excited to try this project. I just gathered my yarn!! I’m wondering what you have used the stitch markers for?? Thanks!
Hi Holly! I hope you enjoy it! I marked the first and last stitch of the “graph paper picture”. So each square represents a stitch, and it helped me to mark the first and last stitch in order to count correctly. Once you get going on it you don’t need it as much, but I needed it to begin with to make sure I was counting across correctly. Good luck!! It’s a fun project. 🙂
I Love it.❤️❤️❤️❤️
Antje
Thank you!
This is adorable, just seeing it set my fingers to twitching…..imagine it a bit bigger, grey with ivory and teal, and an awesome strap for a playful winter purse….thank you for the great ideas!
Great idea for this bag! Too cute. Thanks for sharing, and I’m glad you like my ideas Janice!