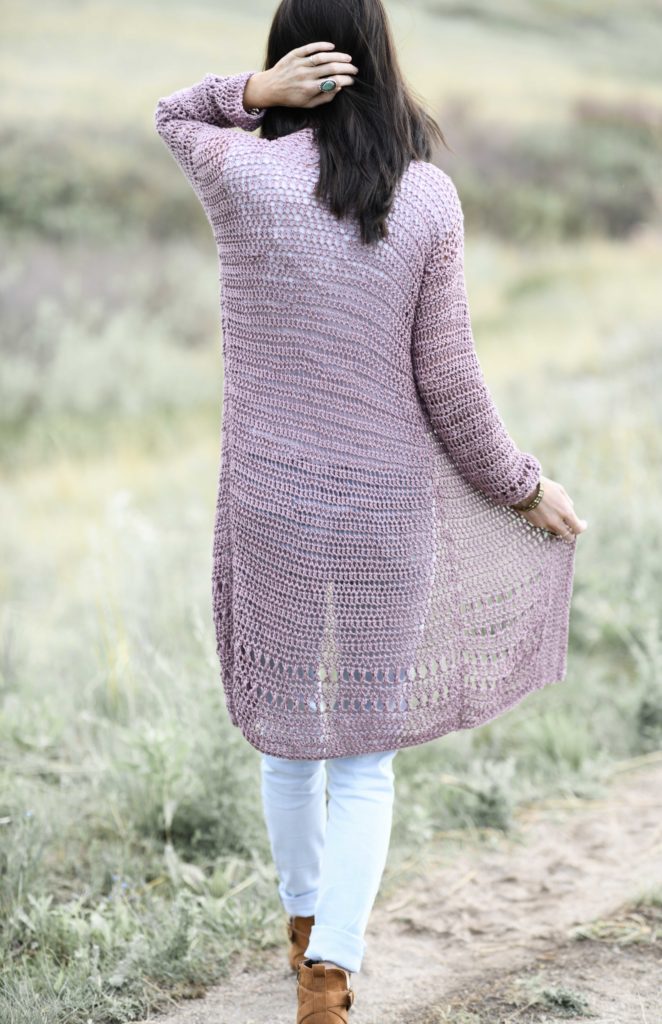
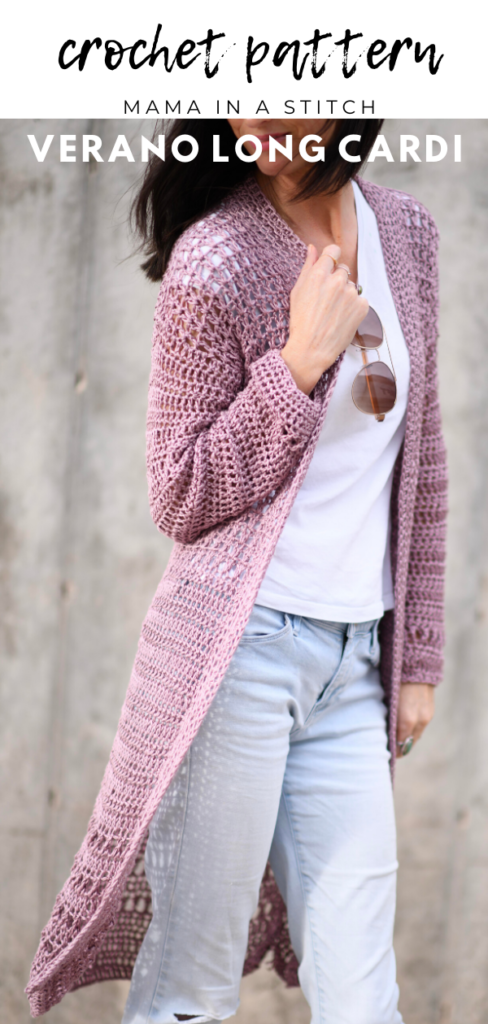
Verano Longline Cardigan Pattern
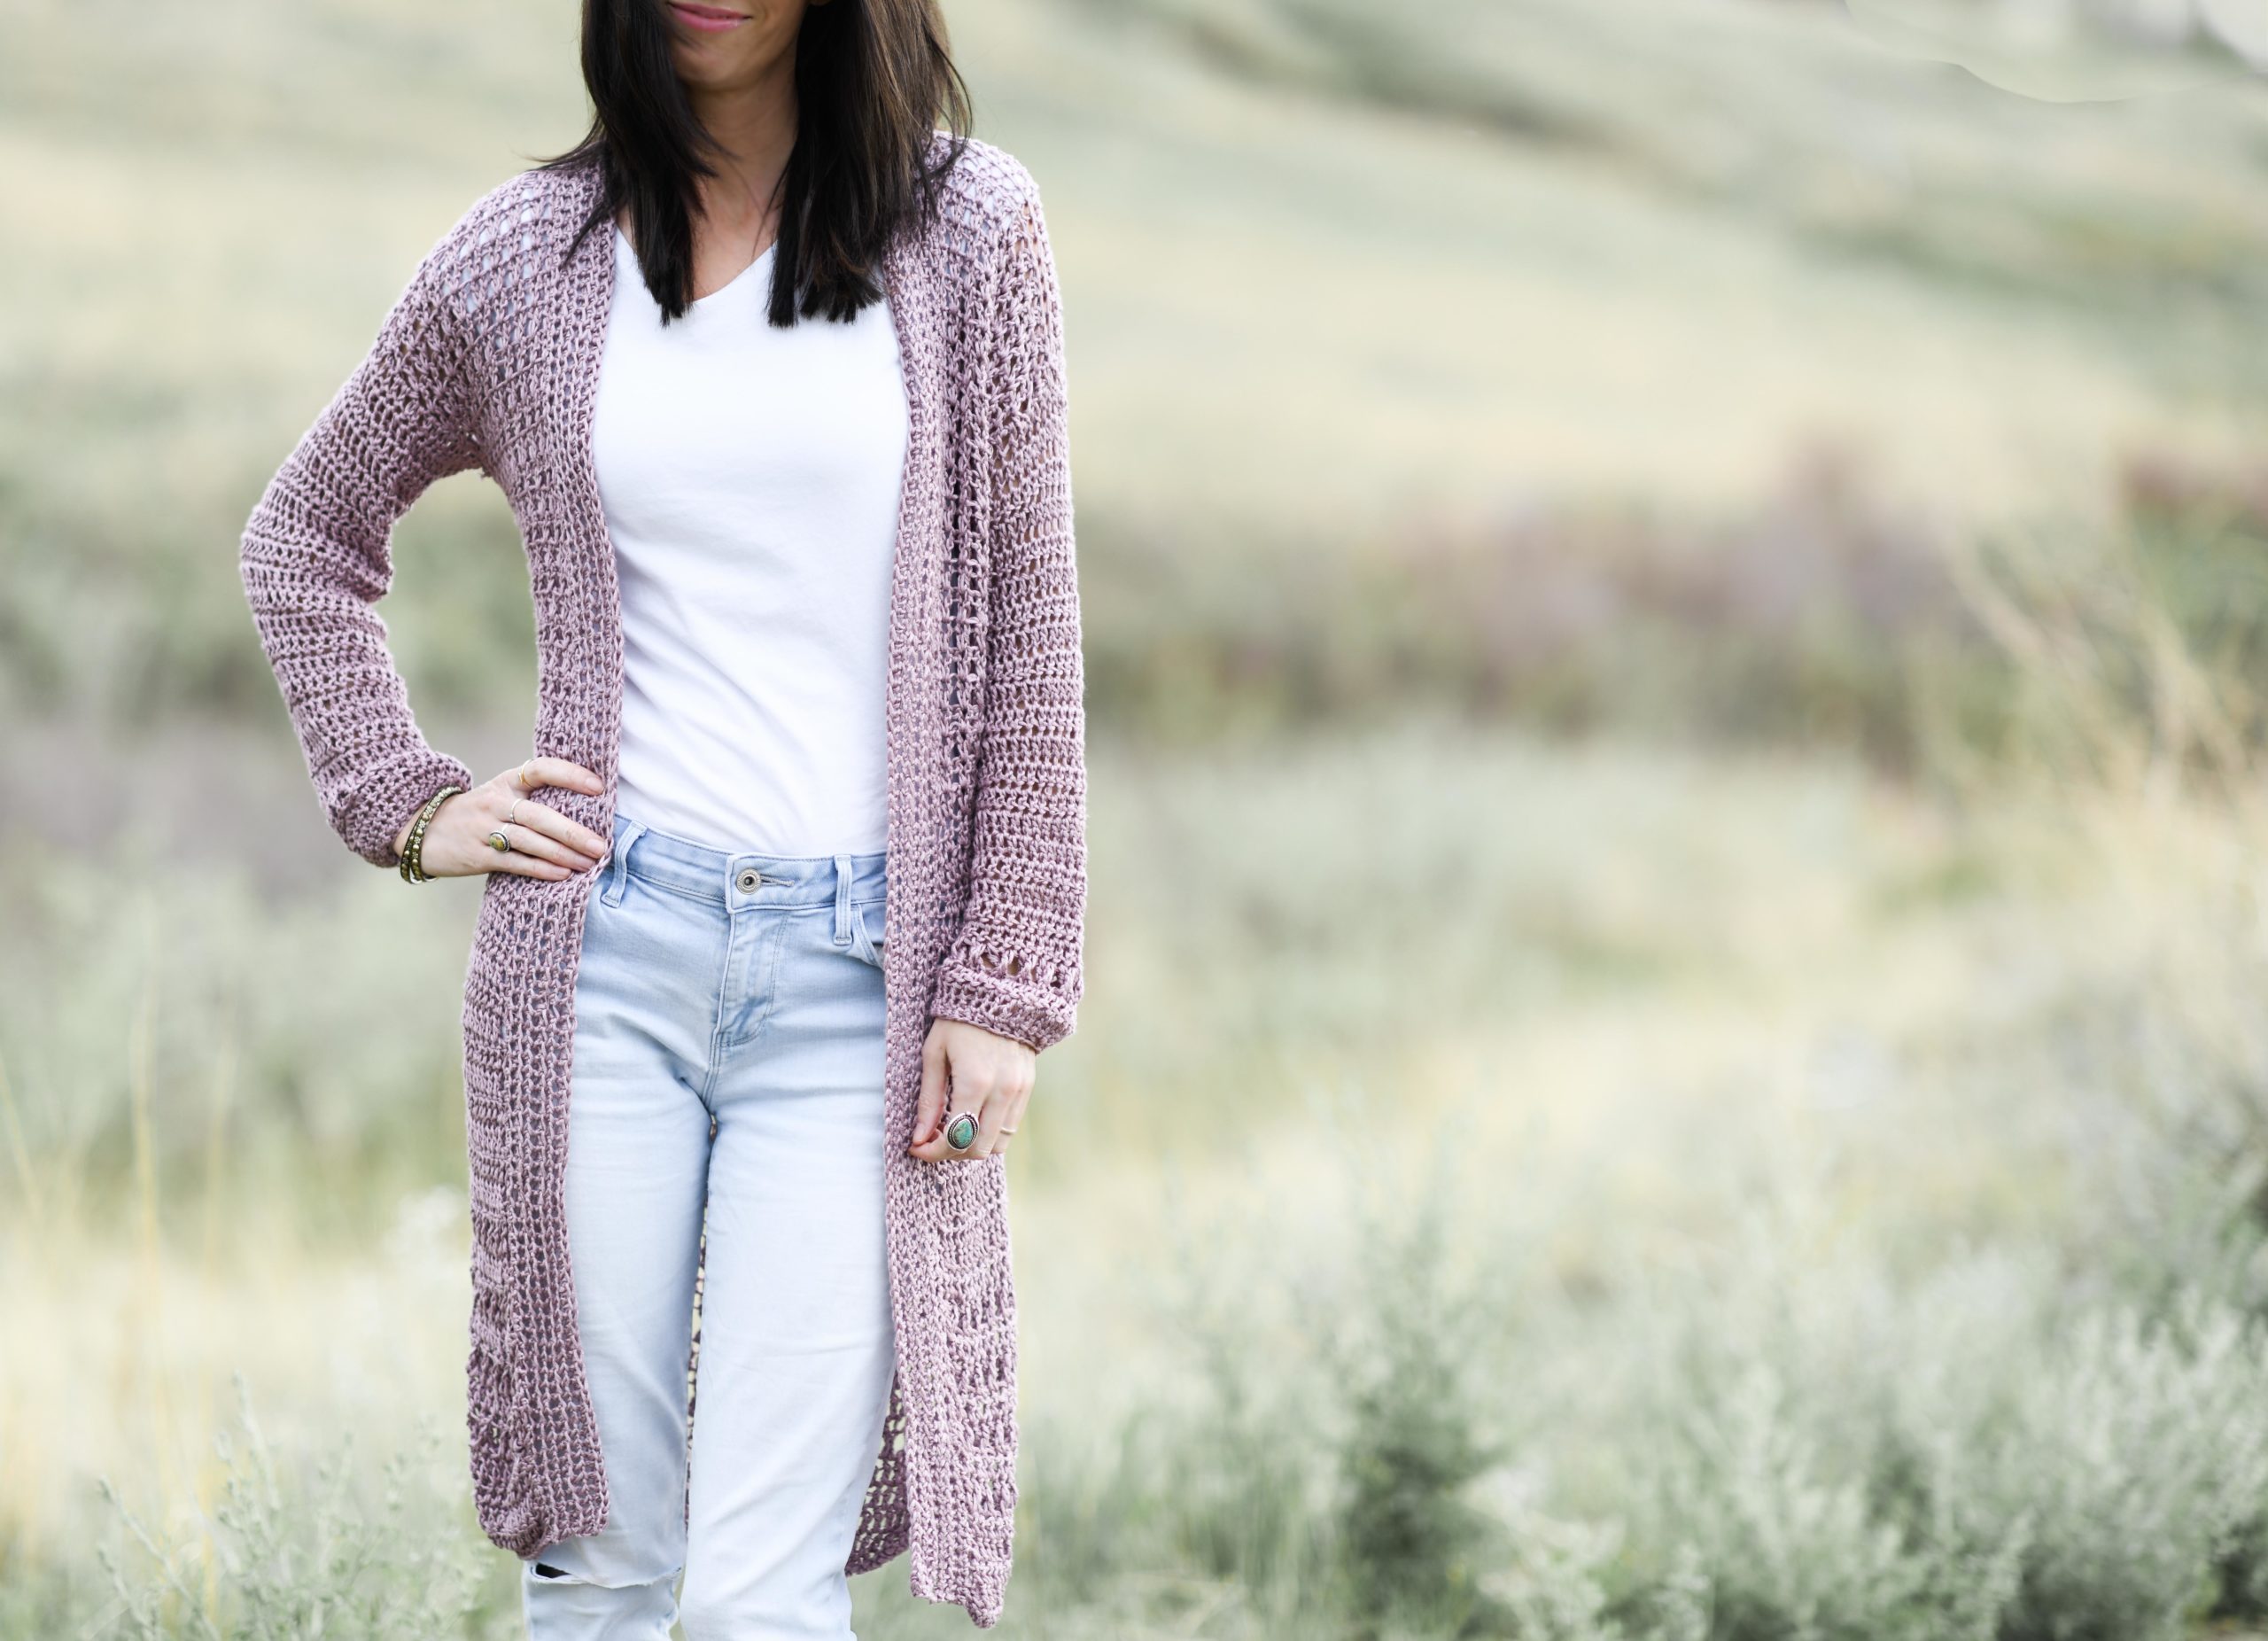
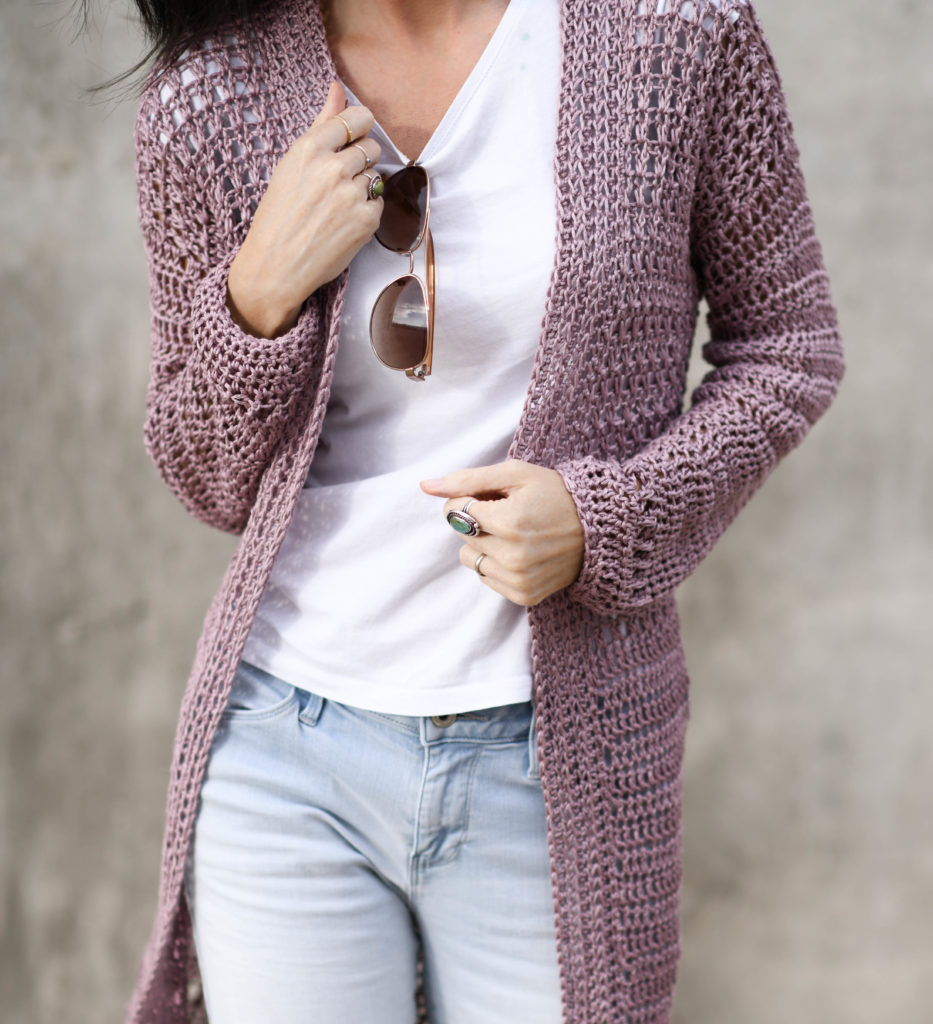
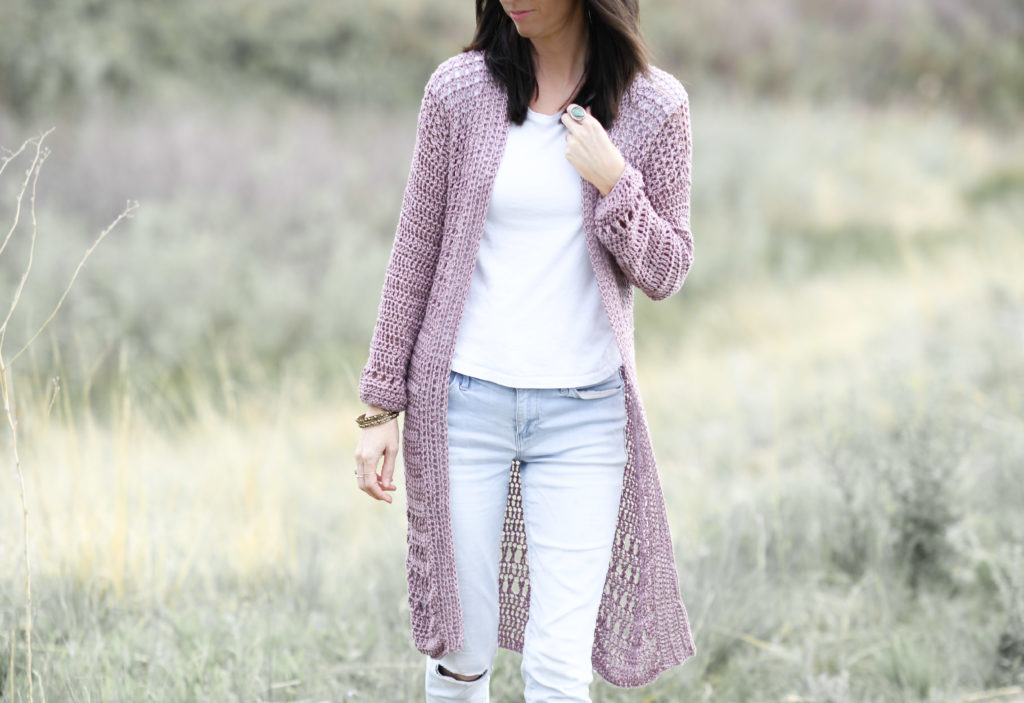
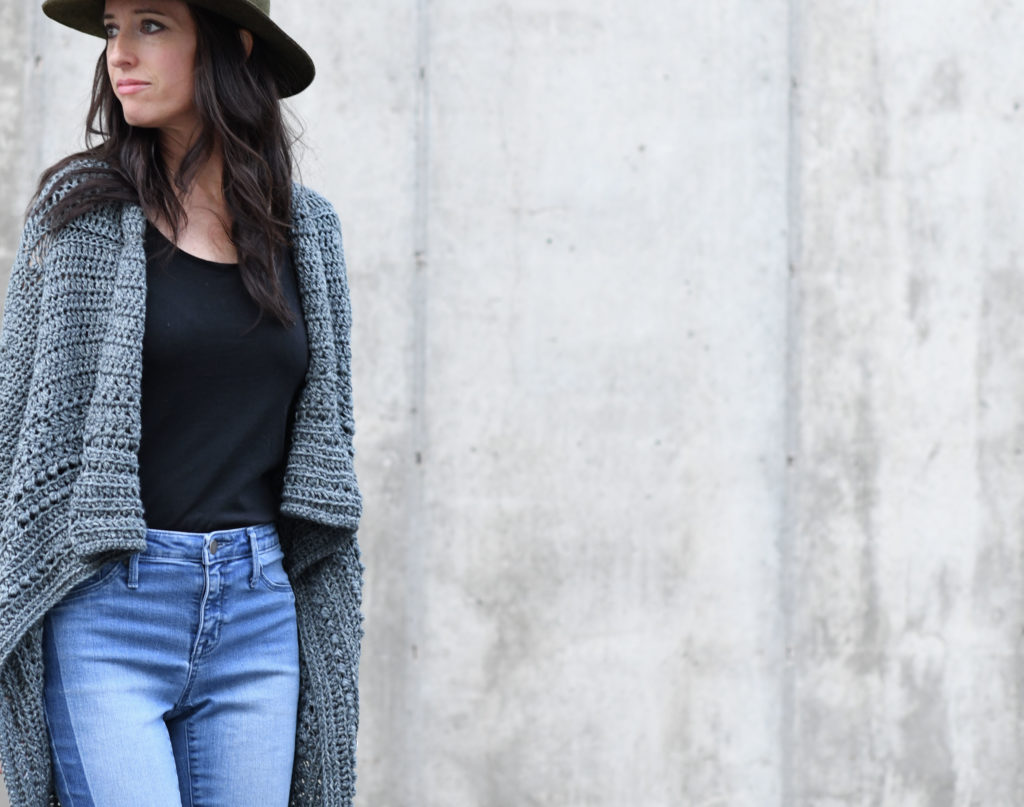
I’m SUPER thrilled to share today’s long cardigan crochet pattern! It’s lengthy, light, soft and drapey! You’ll crochet a few different stitch patterns to create some beautiful texture and touches of vintage lace. No worries as they are all simple stitches! Many of you really liked the sneak peek that I shared on Facebook and Instagram, so I’m happy to finally show you the full pattern. The best part about this one is that it’s a great sweater for both summer and fall. 🙂 See the free pattern below, or you may choose to purchase the ad-free printable pattern on Etsy HERE or the kit (pick any color) from Lion Brand HERE!
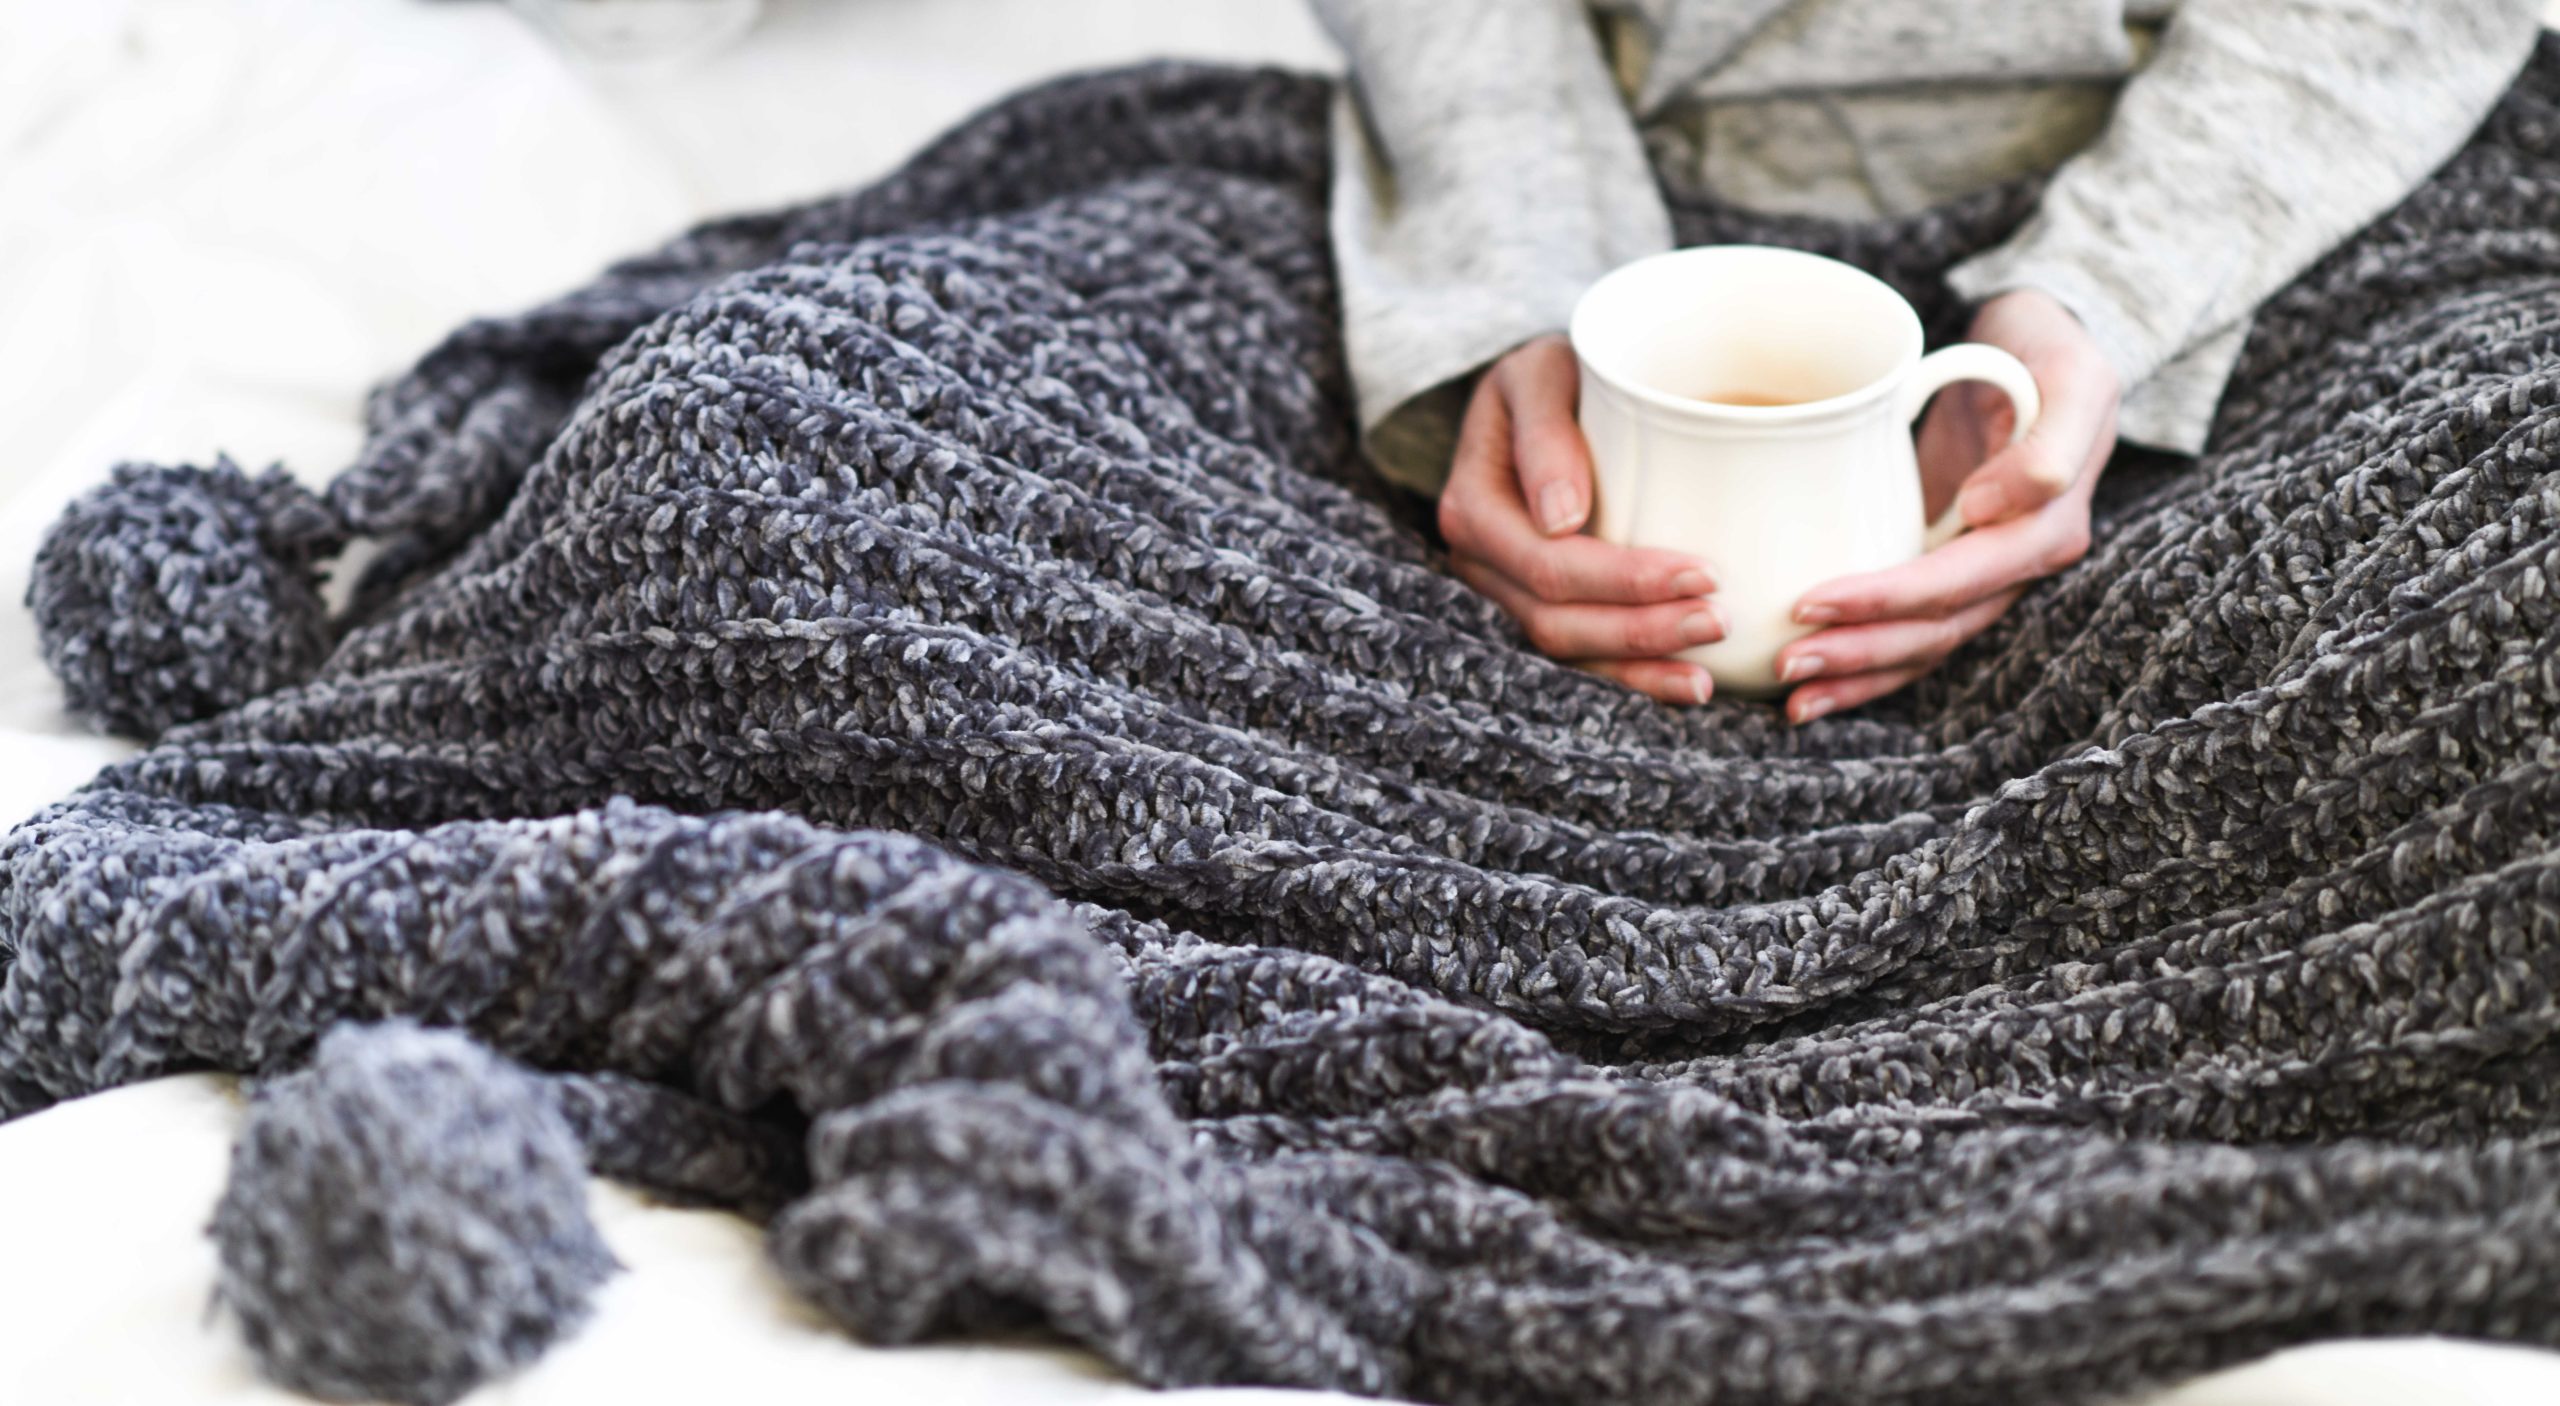
You can also check out what I made with my leftover Truboo yarn HERE! It’s a knit t-shirt. 🙂
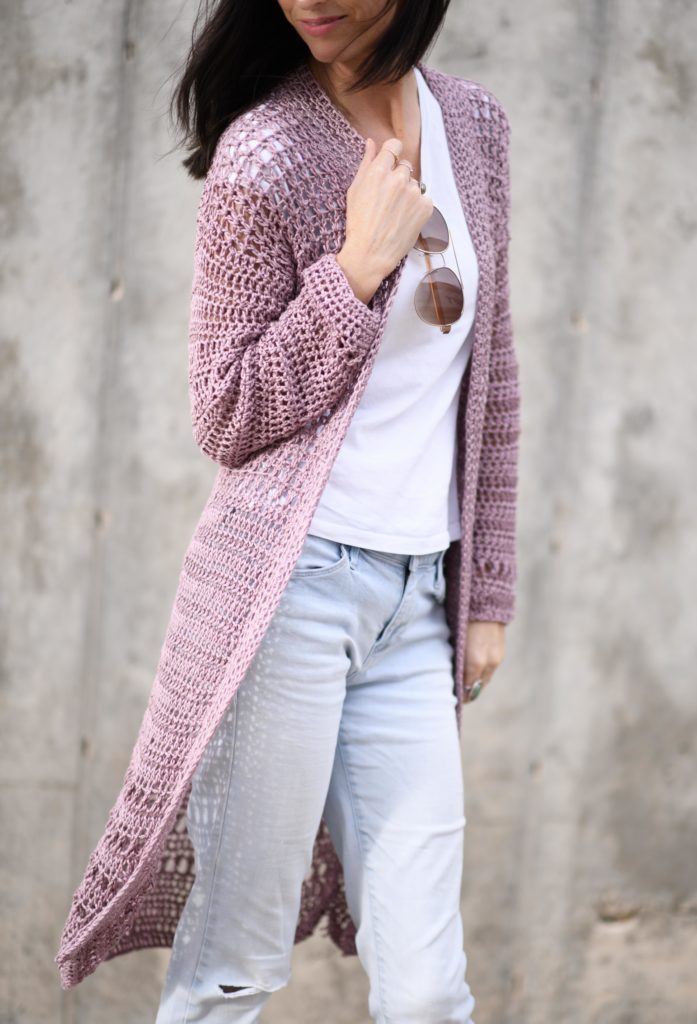
I’ve been dreaming of making a long duster style cardigan for a while, and really enjoyed crocheting my Free Girls Sweater (HERE). However, today’s Verano Longline Cardigan is one of the softest, most comfortable cardigans I’ve made (The Velvet Bomber is right up there with comfort too). It just feels light and airy, fits really well, and the yarn is soooooo soft! If you haven’t felt a bamboo yarn, definitely check it out. Even though I think it’s perfect for warm weather tops, it’s definitely a yarn that I’ll use year round.
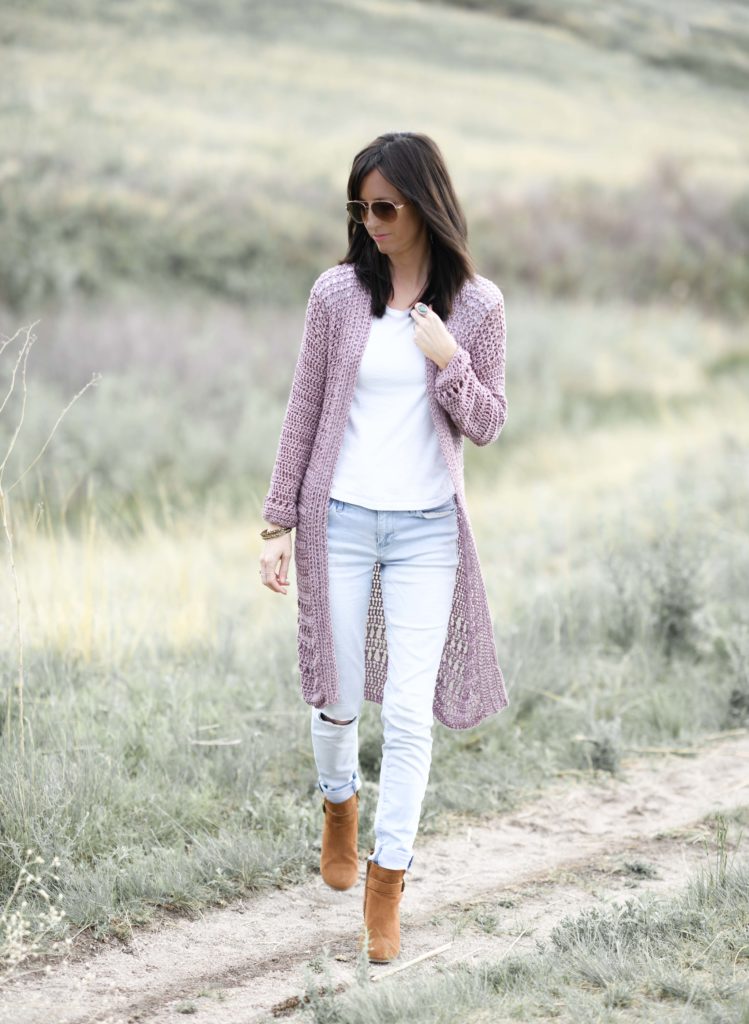
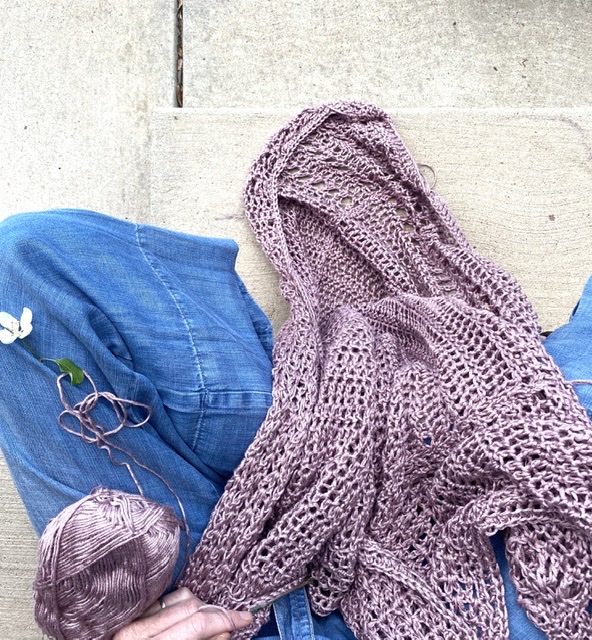
And this color, right?! I couldn’t wait to use the Truboo “Mushroom”. Lion Brand was nice enough to send me a sample quite a while back, and I had been trying to think of something worthy of this color! It’s like a muted, mineral purple/mauve that is earthy and elegant. There are other awesome colors available with Truboo too, including a lovely orange for those of you who love vibrant colors.
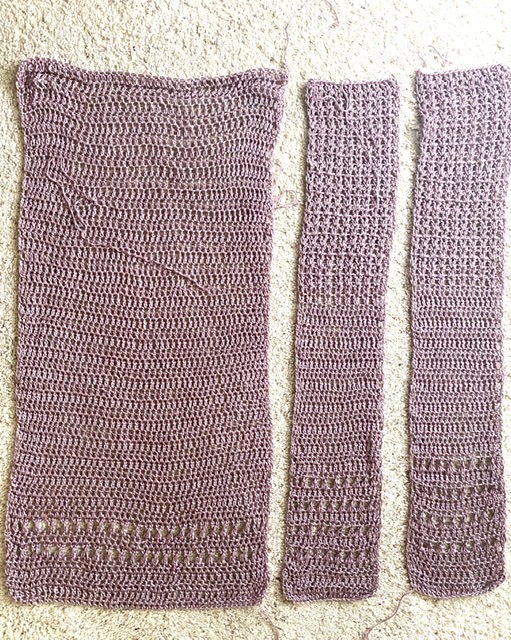
So, how do we crochet this cardigan? It’s a very simple construction (no surprise there if you follow my blog 😉 ) First, you’ll make one long rectangle for the back panel. Next, you’ll crochet two skinny rectangular pieces for the front panels. You’ll work a couple of different stitches to create the pretty texture. Finally, you’ll seam the panels together and crochet a collar and sleeves!
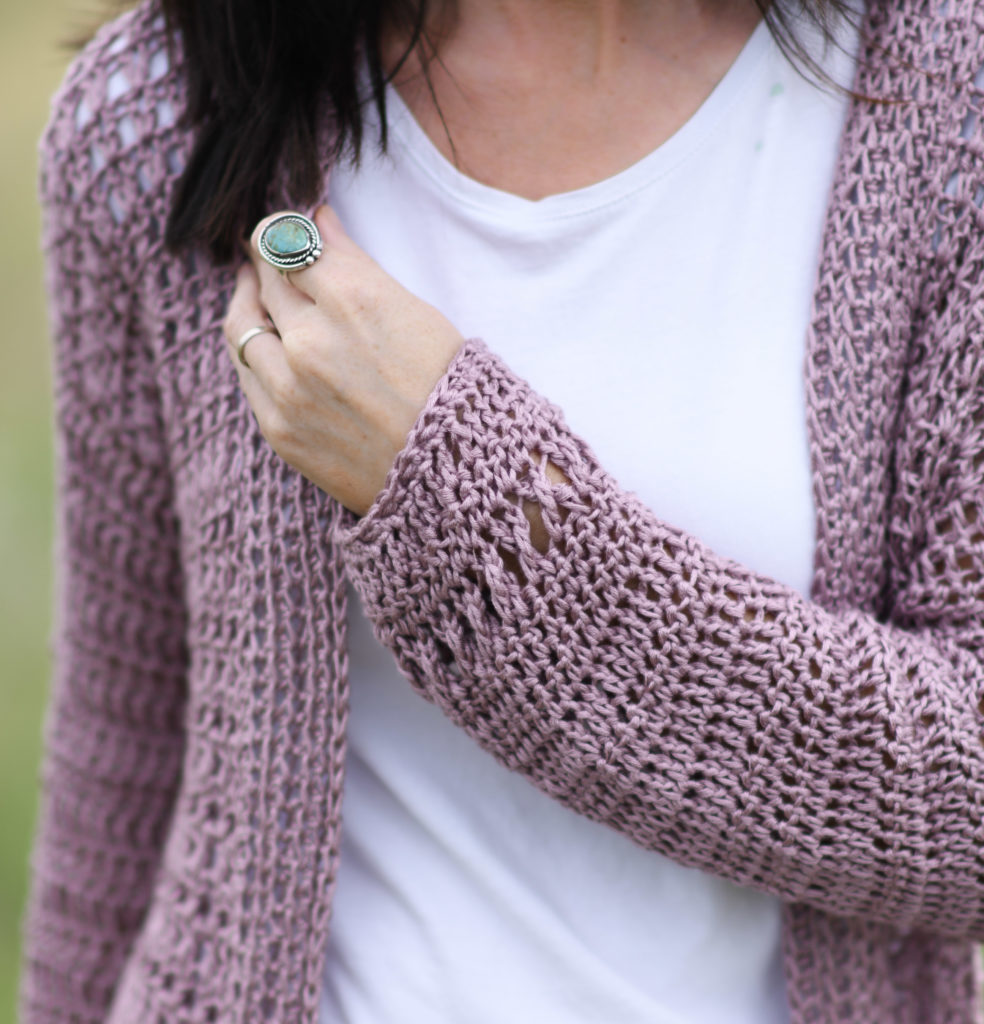
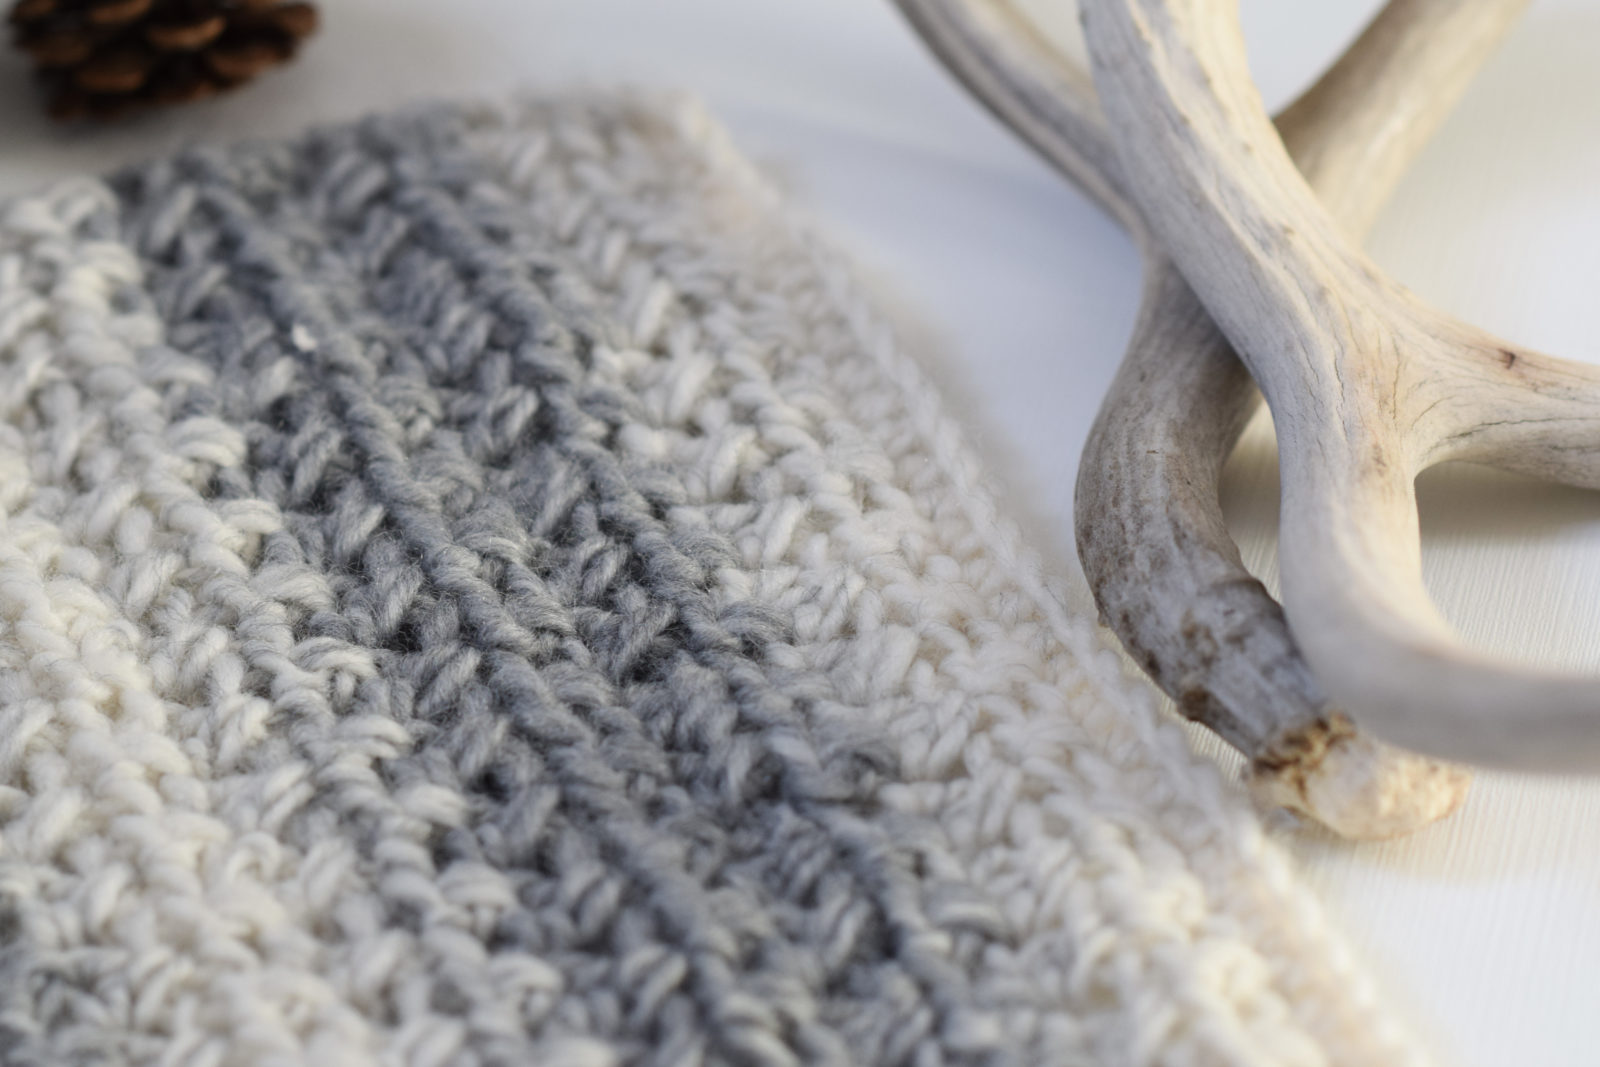
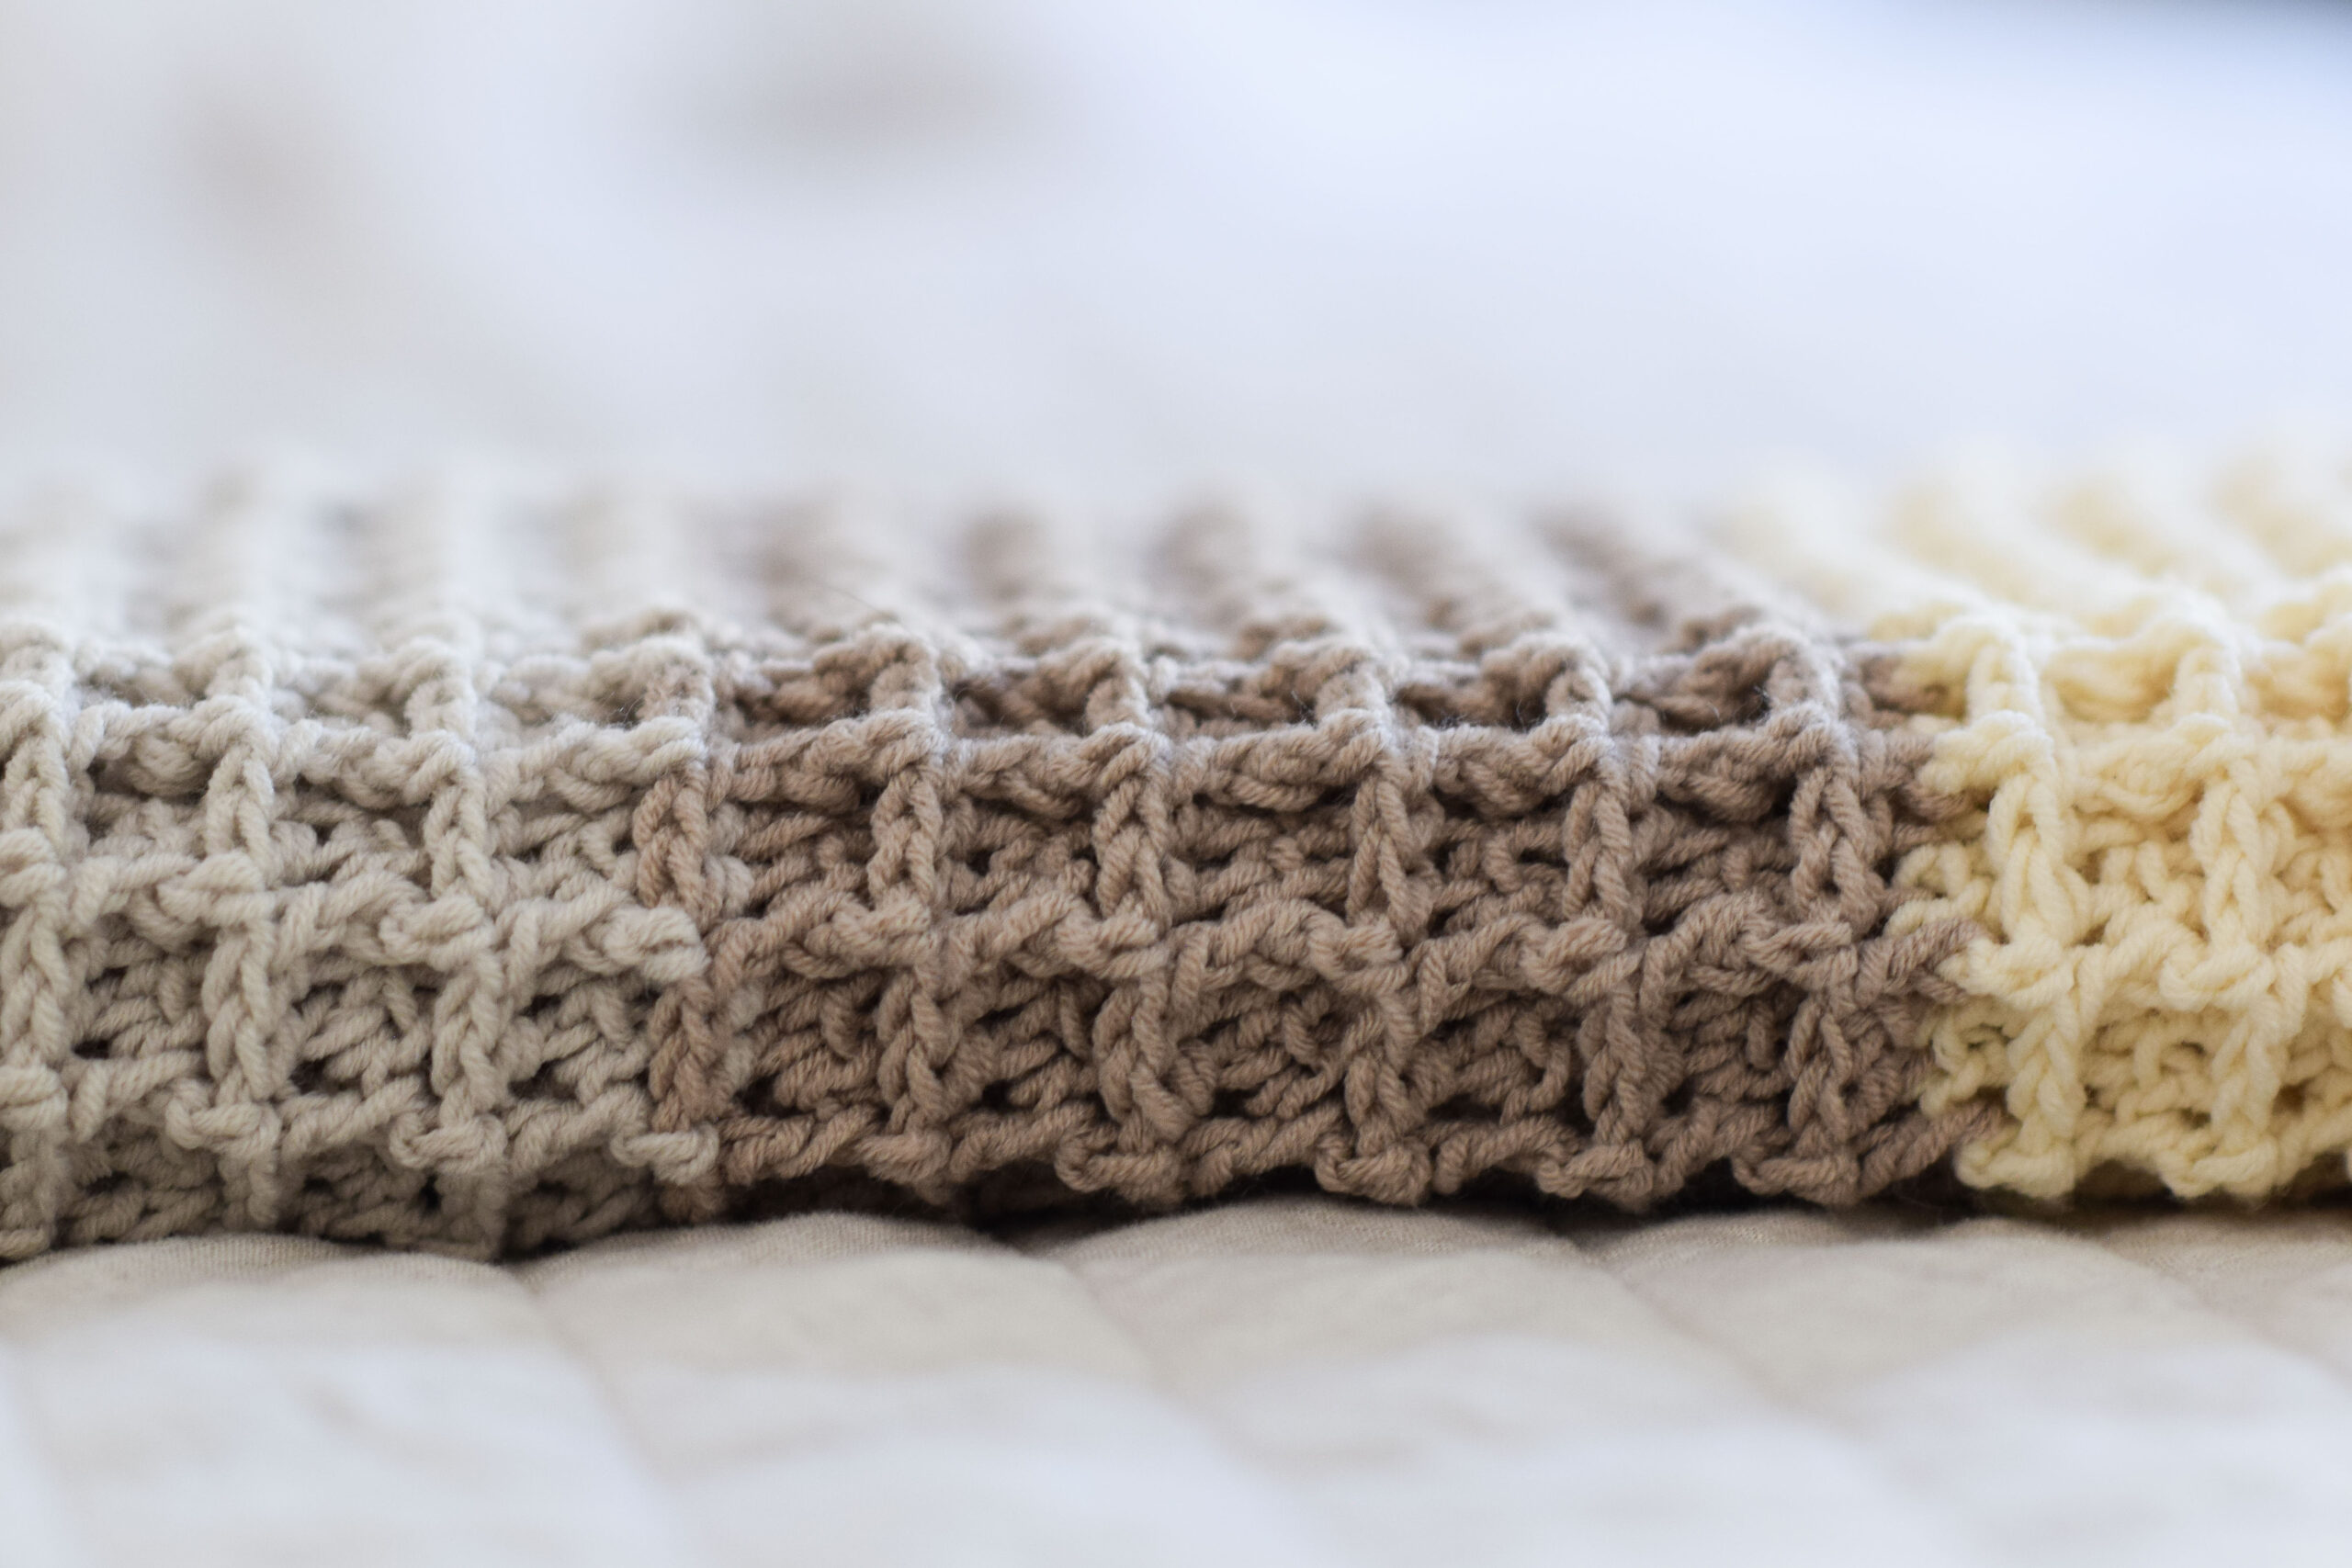
You can see some simple lace stitching along the bottom on the back and front panels. It adds some pretty detail. However, if you’d rather just double crochet for the length of the panels, you certainly can! It’s great when you can take a pattern and make it your own.
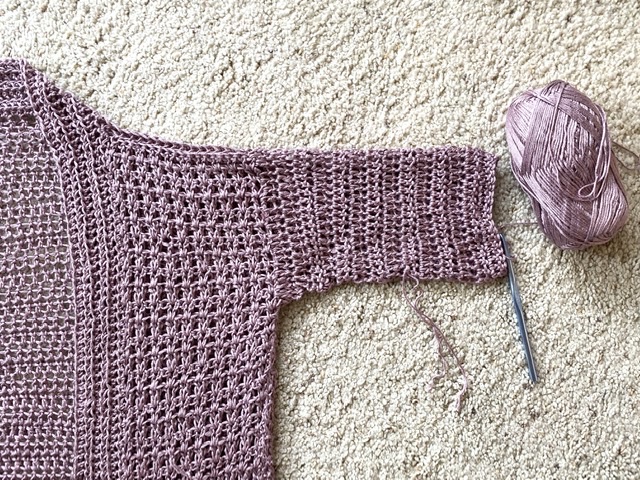
The sleeves are crocheted directly onto the cardigan. If you’ve never crocheted sleeves in this manner, it’s a really nice way to avoid seaming. These sleeves are worked in turned rounds. Basically, it’s just like working in the round, but you will turn at the end of each round (hence the name “turned rounds” 🙂 .

Let’s get to it!
You can find the printable, ad-free version available for purchase in my Etsy Shop HERE!
Verano Longline Cardigan Free Crochet Pattern
Description:
This stunning light cardigan features a lengthy fit and an ultra soft fabric. The hints of vintage lace and the amazing drape make it a showstopper! Wear it with your cut-offs this summer and your jeans this fall. You should be comfortable with basic crochet skills and stitches in order to make this fun sweater.
Skill Level:
Easy +
Materials:
US Size K 6.5 mm crochet hook
US Size H 5.0 mm crochet hook
4 (5, 6, 7, 8, 9) Lion Brand Yarn Truboo in Mushroom 100 g/skein (Choose your color – Convenient Kit Available HERE)
Pattern requires 400 g, (478 g, 563 g, 654, g, 751 g, 855 g)
Measuring Tape
Tapestry Needle
Scissors
Sizes:
XSmall, Small, Medium, Large, XL, XXL
Please follow the key throughout the pattern according to the
size you are crocheting:
XS (S, M, L, XL, XXL)
Width:
XS – 15”
S – 17”
M – 19”
L – 21”
XL – 23”
XXL – 25”
Bust Circumference:
XS – 30”
S – 34”
M – 38”
L – 42”
XL- 46”
XXL – 50”
Length (approximate):
XS – 35”
S – 37”
M– 39”
L – 41”
XL – 43”
XXL – 45”
Abbreviations & Skills:
ch – chain
st – stitch
hdc – half double crochet
dc – double crochet
tr – treble crochet
sk st – skip stitch
hdc flo – half double crochet through the front loop only
BPsc – back post single crochet
FPsc – front post single crochet
Gauge:
Approximately 13 sts and 6 rows in 4” x 4” of double crochet. Adjust hook size accordingly to obtain correct gauge before beginning. This will ensure your sizing turns out correctly!
Notes:
This cardigan is made by crocheting three rectangular panels and seaming them at the sides and shoulders. Sleeves are crocheted directly onto the sweater by picking up your yarn and working around the arm openings. The collar is added after the panels have been seamed and assembled. Use the US Size K crochet hook throughout the pattern except for the Collar. You’ll work a variety of stitches that include double crochet stitches, v-stitches, crossed treble crochet stitches and half double crochet stitches. You may make the cardigan longer by crocheting more rows on each panel – keep yarn needs in mind.
Pattern Instructions
Back Panel Pattern
With the US size K crochet hook, ch 50 (56, 62, 68, 74, 82)
Row 1 Dc in 4th ch from hook and each st across. 48 (54, 60, 66, 72, 80)
Row 2 Ch 3 (counts as dc st here and throughout the pattern), turn, dc in each st across the row. 48 (54, 60, 66, 72, 80)
Row 3 – 5 Repeat row 2
Lace Section
Row 6 Ch 4 (counts as tr st here and throughout pattern), turn, tr in next st, *sk st, tr in next st. Working behind tr just made, tr in skipped st (twist stitch made). Repeat from * across the row to last two sts, tr in each of last 2 sts. 48 (54, 60, 66, 72, 80)
Row 7 Repeat row 2
Row 8 Repeat row 6
Double Crochet Section
Next, repeat row 2 until entire piece measures approximately 35”(37”, 39”, 41”, 43”, 45”)
Tie off and weave in ends.
Front Panel Pattern (Make 2)
Ch 22 (26, 28, 32, 34, 38)
Row 1 Dc in 4th ch from hook and each st across. 20 (24, 26, 30, 32, 36)
Row 2 Ch 3 (counts as dc st here and throughout the pattern), turn, dc in each st across the row. 20 (24, 26, 30, 32, 36)
Row 3 – 5 Repeat row 2
Lace Section
Row 6 Ch 4 (counts as tr st here and throughout pattern), turn, tr in next st, *sk st, tr in next st. Working behind tr just made, tr in skipped st (twist stitch made). Repeat from * across the row to last two sts, tr in each of last 2 sts. 20 (24, 26, 30, 32, 36)
Row 7 Repeat row 2
Row 8 Repeat row 6
Row 9 Repeat row 2
Row 10 Repeat row 6
Row 11 Repeat row 2
Row 12 Repeat row 6
Double Crochet Section
Rows 13 – 28 Repeat row 2
V-Stitch Upper Section
Row 29 Ch 3 (counts as st), turn, dc in next st, *sk st, 2dc in next st (v-stitch made); repeat from * across the row. 20 (24, 26, 30, 32, 36)
Row 30 Ch 3, turn, dc in sp of v-stitch from previous row, 2dc in sp of each v-stitch across the row to last 2 dc sts, 2dc in sp between last 2 dc sts. 20 (24, 26, 30, 32, 36)
Row 31 Ch 3, turn, dc in sp of v-stitch from previous row, 2dc in sp of each v-stitch across the row. 20 (24, 26, 30, 32, 36)
Next, repeat row 31 until piece measures approximately 35”(37”, 39”, 41”, 43”, 45”) and it’s equal in length to the back panel.
Make a total of two of these front panels.
Seam & Assemble
Place two front panels directly on top of back panel aligning outer edges, and leaving an opening in the middle for neck.
Shoulders
Using your preferred seaming method, sew the shoulders along the top on each side leaving an opening for the head and neck.
Seam Sides and Create Arm Openings
Using your preferred seaming method, sew up each side from the bottom-up. Leave arm openings that are approximately 6 ¼” ( 6 ¾”, 7 ¼”, 7 ¾”, 8 ¼”, 8 ¾”)
Sleeves
Sleeves are crocheted in turned rounds. You will sl st to join and then turn as if to work a row.
Attach yarn to the bottom of the arm opening.
Rd 1 Ch 3, dc evenly around, sl st to join in top of ch 3. 39 ( 42, 46, 49, 52, 55)
Rd 2 Ch 3, turn, dc2tog, dc in each st around, sl st to join in top of ch3. 38 ( 41, 45, 48, 51, 54)
Rd 3 Ch 3, turn, dc in each st around.
Rd 4 Ch 3, turn, dc in each st around
Next, repeat rounds 2 – 4, in that order until sleeve measures approximately 14”( 14”, 14 ½”, 14 ½”, 15”, 15”), ending with an even amount of stitches. Stitch count will decrease by 1 stitch every 3rd row.
Next, you will work one round of the lace stitching.
Ch 4 (counts as tr st), turn, tr in next st, *sk st, tr in next st. Working behind tr just made, tr in skipped st (twist stitch made). Repeat from * around to last two sts, tr in each of last 2 sts, sl st to join in top of ch4.
Next, repeat round 1 from this section for a total of 2 times, working dc stitches around.
You’ll now move onto the final cuff detail.
Cuff Detail
Rd 1 Ch 1, turn, sc in each st around
Rd 2 Ch 1, BPsc in first st, *FPsc in next st, BPsc in next st; repeat from * around to last st, FPsc in last st.
Tie off and weave in ends.
Repeat above pattern for second sleeve.
Collar
Attach yarn to bottom inner corner on the front of the cardigan.
Row 1 Ch 2, work hdc sts evenly across to opposite end of collar, working along the neckline. (tip: work approximately 2 hdc stitches in each dc st and 3 in each tr st)
Row 2 Ch 2, turn, hdc flo in each st across
Rows 3 – 6 Repeat row 2
Feel free to crochet more rows to make the collar wider if you’d like!
Tie off and weave in ends.
Enjoy your new cardigan!
I hope you enjoy this cardigan as much as I do. Feel free to share your cardigan with me by tagging me on Instagram @mamainastitch #mamainastitch. Have a lovely day!
XO
Jessica
If you liked this, you might also like:
This post sponsored by Lion Brand Yarn. All opinions are 100% my own.


Jessica . . I’ve tried so many of your patterns and love them all. Is there a chance you might do this duster sweater in a knit pattern as well . . that’s all I’m seeing in all the fashion magazines. Thanks so much!!
Aaaaah!!! Hi Jessica, I I’m totally obsessed with this long light sweater!! I’m going to work on it right away. Lately, I have been having in my mind a beautiful duster and this is perfect.
Thank you, you are one of my favorites crocheting and knitting designers. I love your creations!!
Please design a knit pattern for this cardigan. I knit your Telluride Kimono, and I love it! I would like to knit a long cardigan like this one. Thank you.
Yes please a knitting pattern! I have been wanting to do one and I know your pattern would be stylish and easy enough for me!
Hi Jessica, This is the perfect cardigan to crochet during my holidays. It’ll take some time to make but the pattern seems easy enough for those lazy days. No thinking! It’ll be wonderful to wear on summer evenings. The color reminds me of heather.
Me, too, please! I would love to knit something just like this gorgeous design! Thanks so much for all the great patterns!
So excited to start on this. I’m still waiting for my kit to be shipped from Lionbrand. I practiced doing the twist stitch that I was worried about and very easy. I shouldn’t have doubted you Jessica because all you patterns are easy. Lol. All your patterns are beautiful but this has got to be one of the prettiest. Can’t wait to get my hand on that gorgeous yarn!
Jessica , thank you. I’ve been wanting a duster for years , I’ve looked at a lot and yours is the one – love it. Have a great weekend.
Hi Jessica. I need help on the V stitch. My count won’t come out right. You chain 3 that counts as a stitch then work one dc then skip a st then work 2dc’s sk, 2dc’s across. What do I do at the end? If there is 2dc’s at the beginning of the row there should be2dc’s at the end, right? Thank you.
I have yarn that was given to me , not enough for anything this size but am thinking two tone . Most of it is acrylic , I know it stretches but is it possible ? Love your patterns.
Hi Jessica
Is there a video tutorial on how to do this? I’ve never attempted a cardigan and do not know how to do the sleeves or collar
Thank you