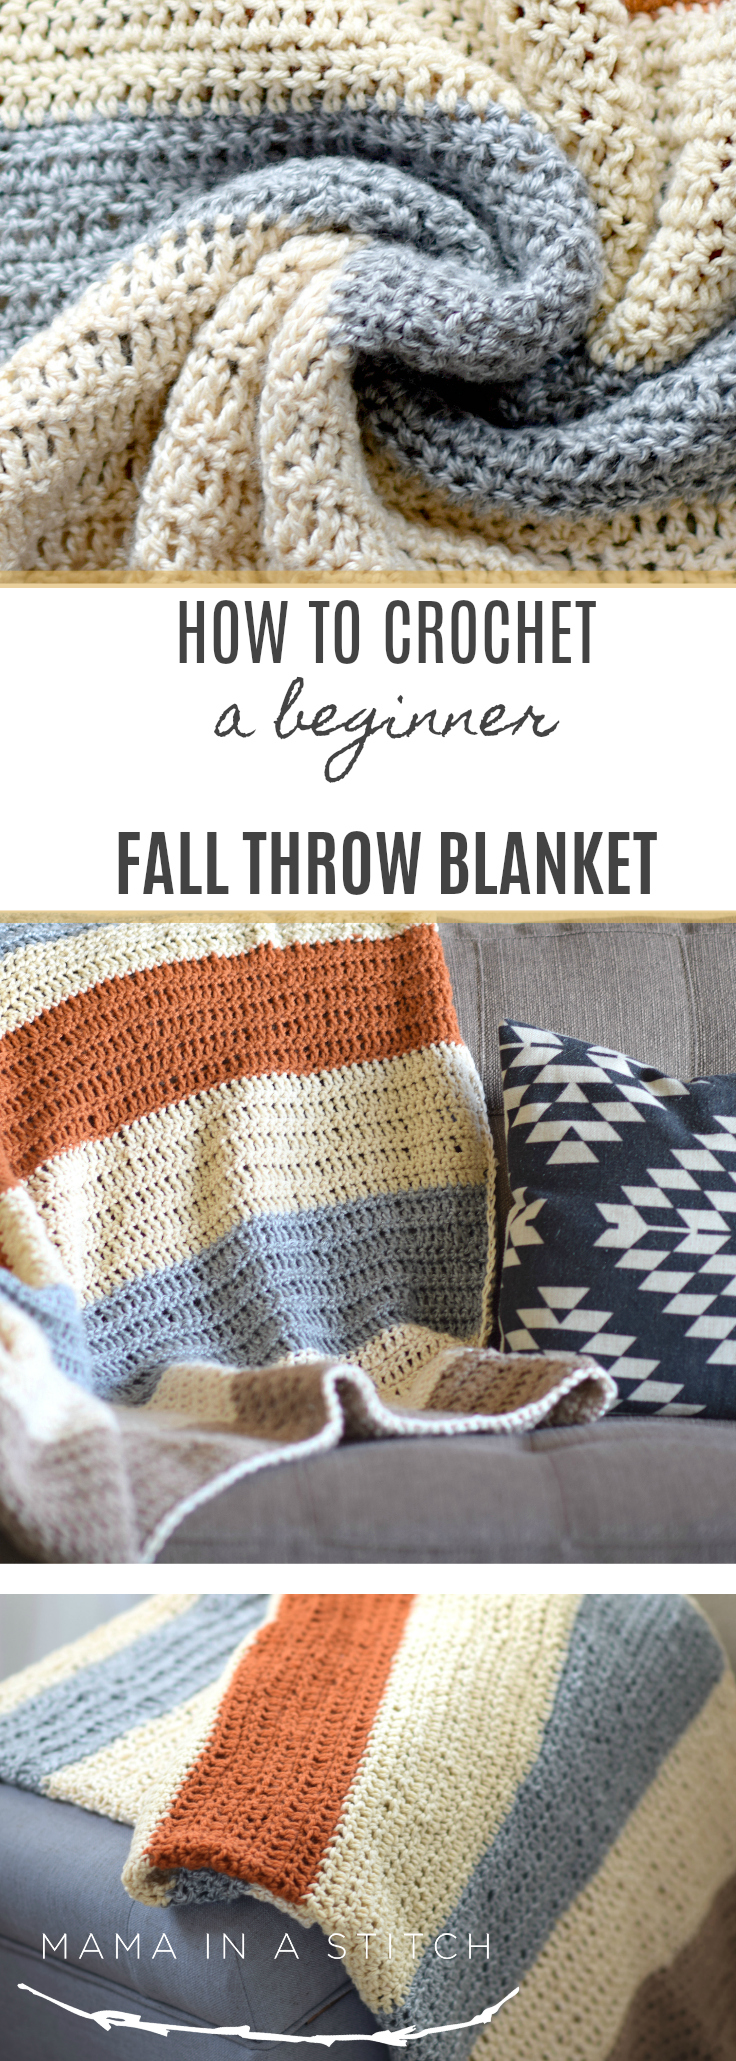
How To Crochet A Beginner Fall Throw Blanket
Nothing says cozy like a handmade throw blanket to cuddle up with on the sofa. I’m a blanket fan as you know from the zillion that I’ve made including this one and this one. This beginner fall crocheted blanket is so simple and is perfect for beginner crocheters. In fact, this was made by a beginner crocheter who is my friend and neighbor (more about that in a bit)! The colors used in this blanket scream fall yet they are neutral enough to add warmth and charm to any room year round. The simple striping will help you to practice color changes and it uses super easy stitches. The rectangular shape keeps things easy peasy and makes it possible to keep track of those stitches (and count them if you need to). If you’re experienced you’ll still appreciate it for it’s simplicity and color pattern! 😉
So about this blanket. Not long ago my neighbor Gwyn asked if I could show her how to knit. She’d knit a bit in the past but wanted to start again and I was happy to be able to hang out with her and show her the basics. Fast forward a couple of years and she is an amazing knitter but she’s also now started to crochet! She wanted to make a blanket for her hubby so she rounded up some pretty yarn from her stash and got to work. When I saw it, I knew I wanted to share it with you! Isn’t it a lovely color combo? The fun part about this blanket is that you can use any colors that you like and it makes an awesome stash buster. Let’s get to how she made this easy blanket. And thank you for sharing with us, Gwyn! 😉
![]()
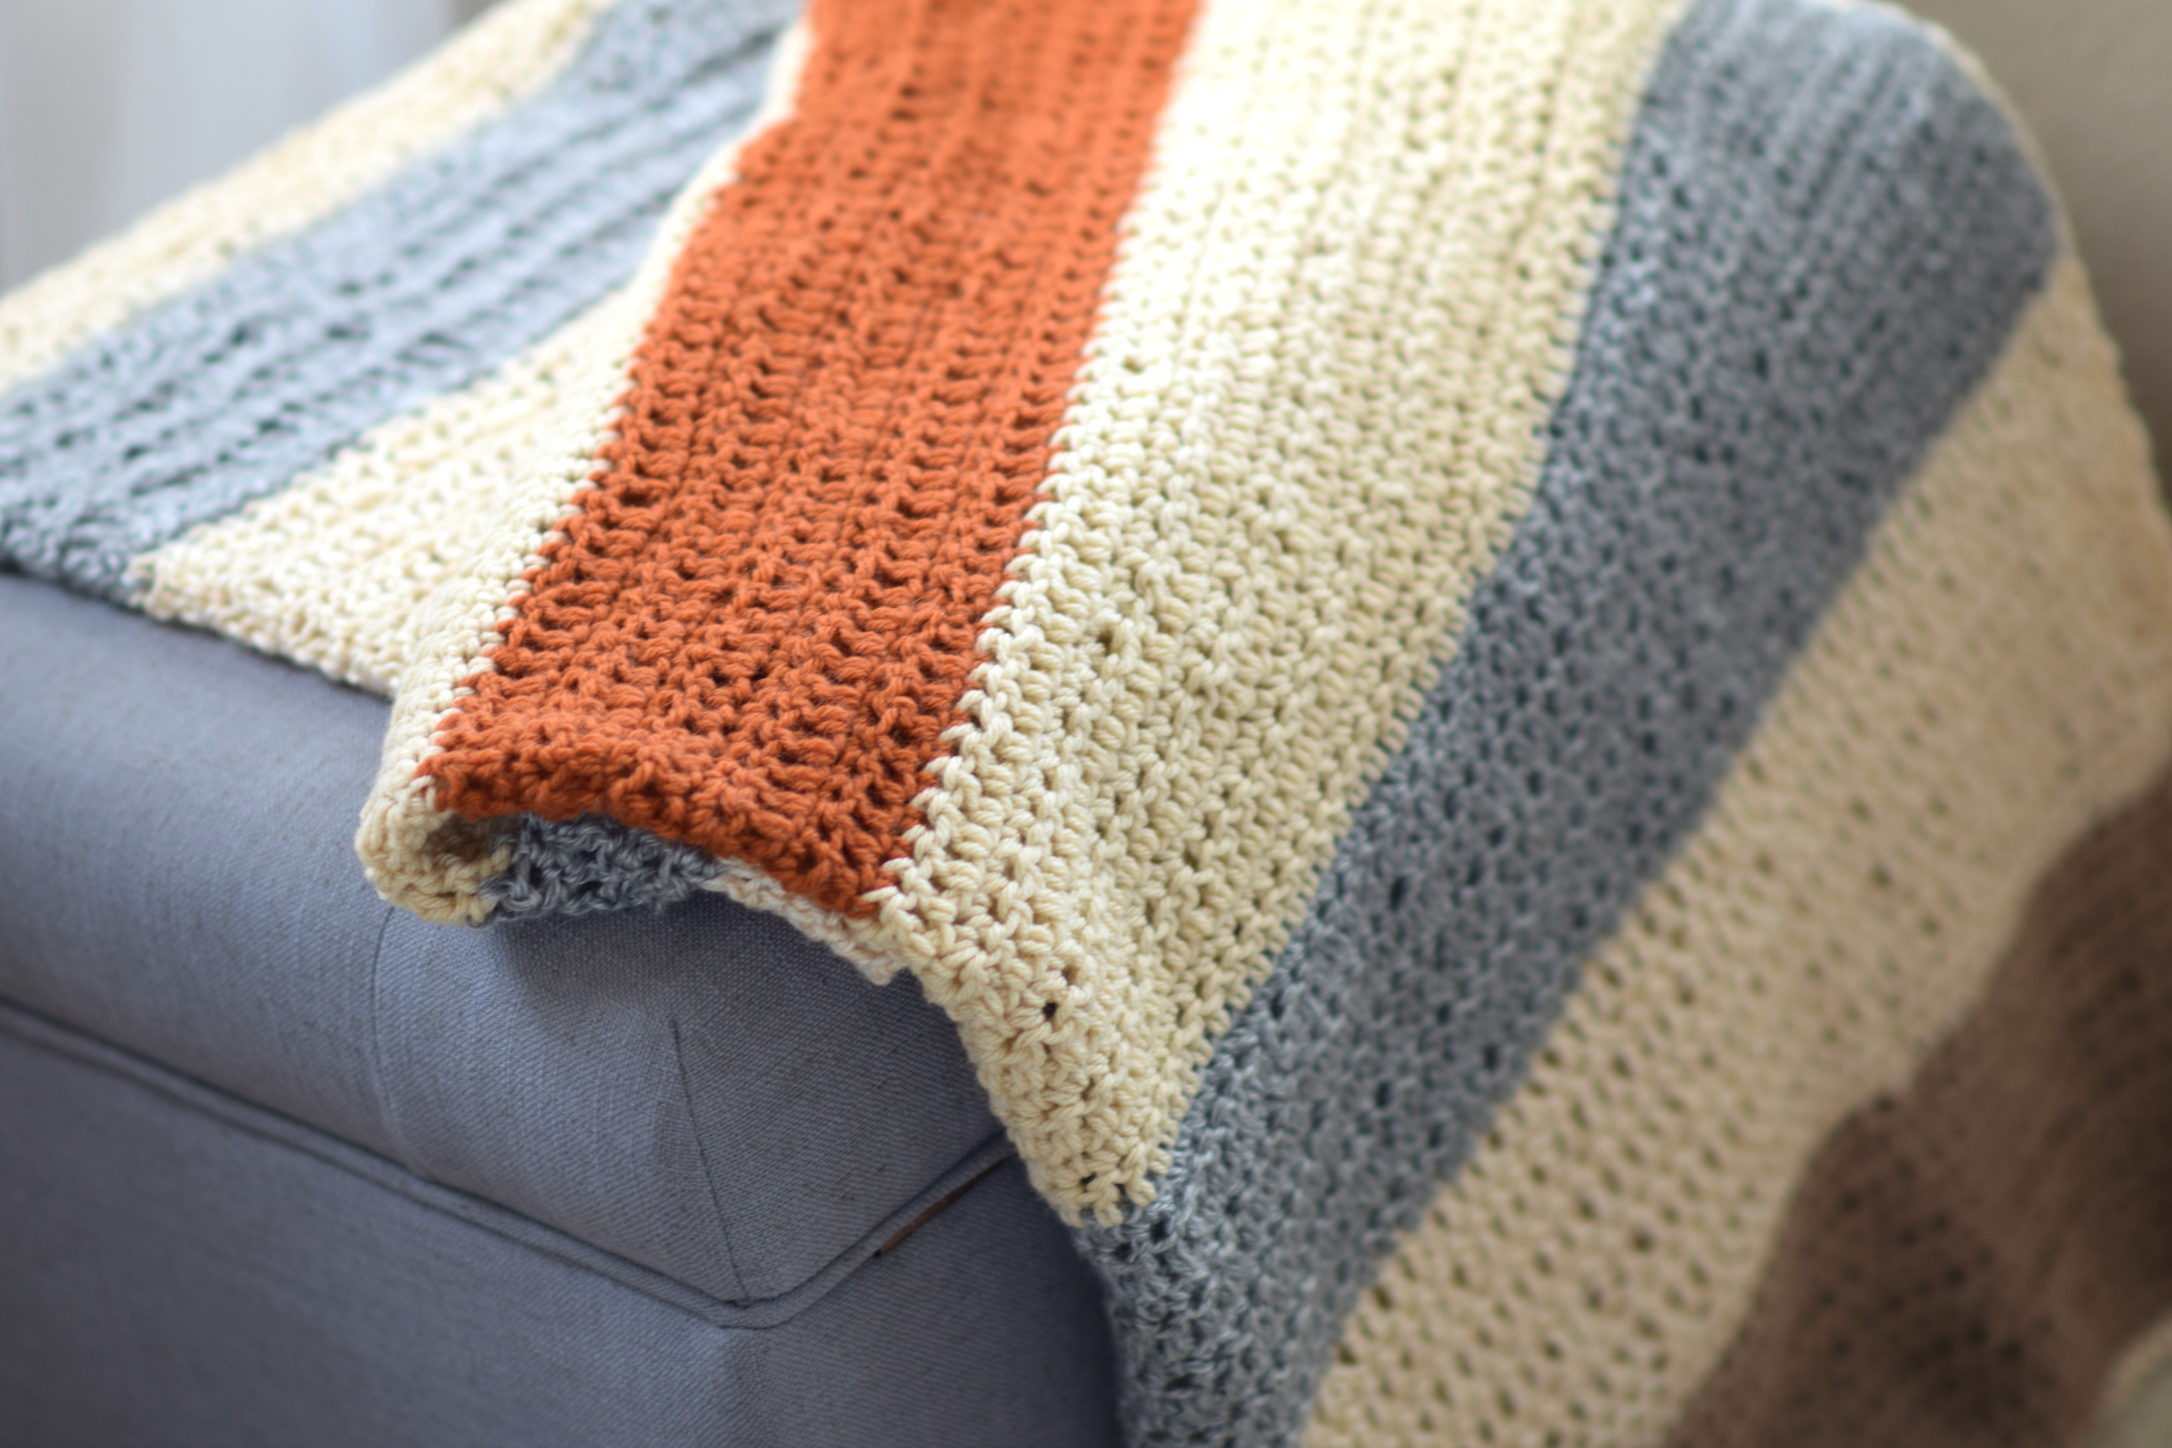
Above: These colors are sooooo fall. The burnt orange, taupes and tans make me want to swim in a pumpkin spice latte or something – Lol!
Below: I love how it looks on my couch, but alas, it’s not mine. 😉
![]()
![]()
How To Make An Easy Fall Crochet Throw Blanket
Step 1 Get The Yarn
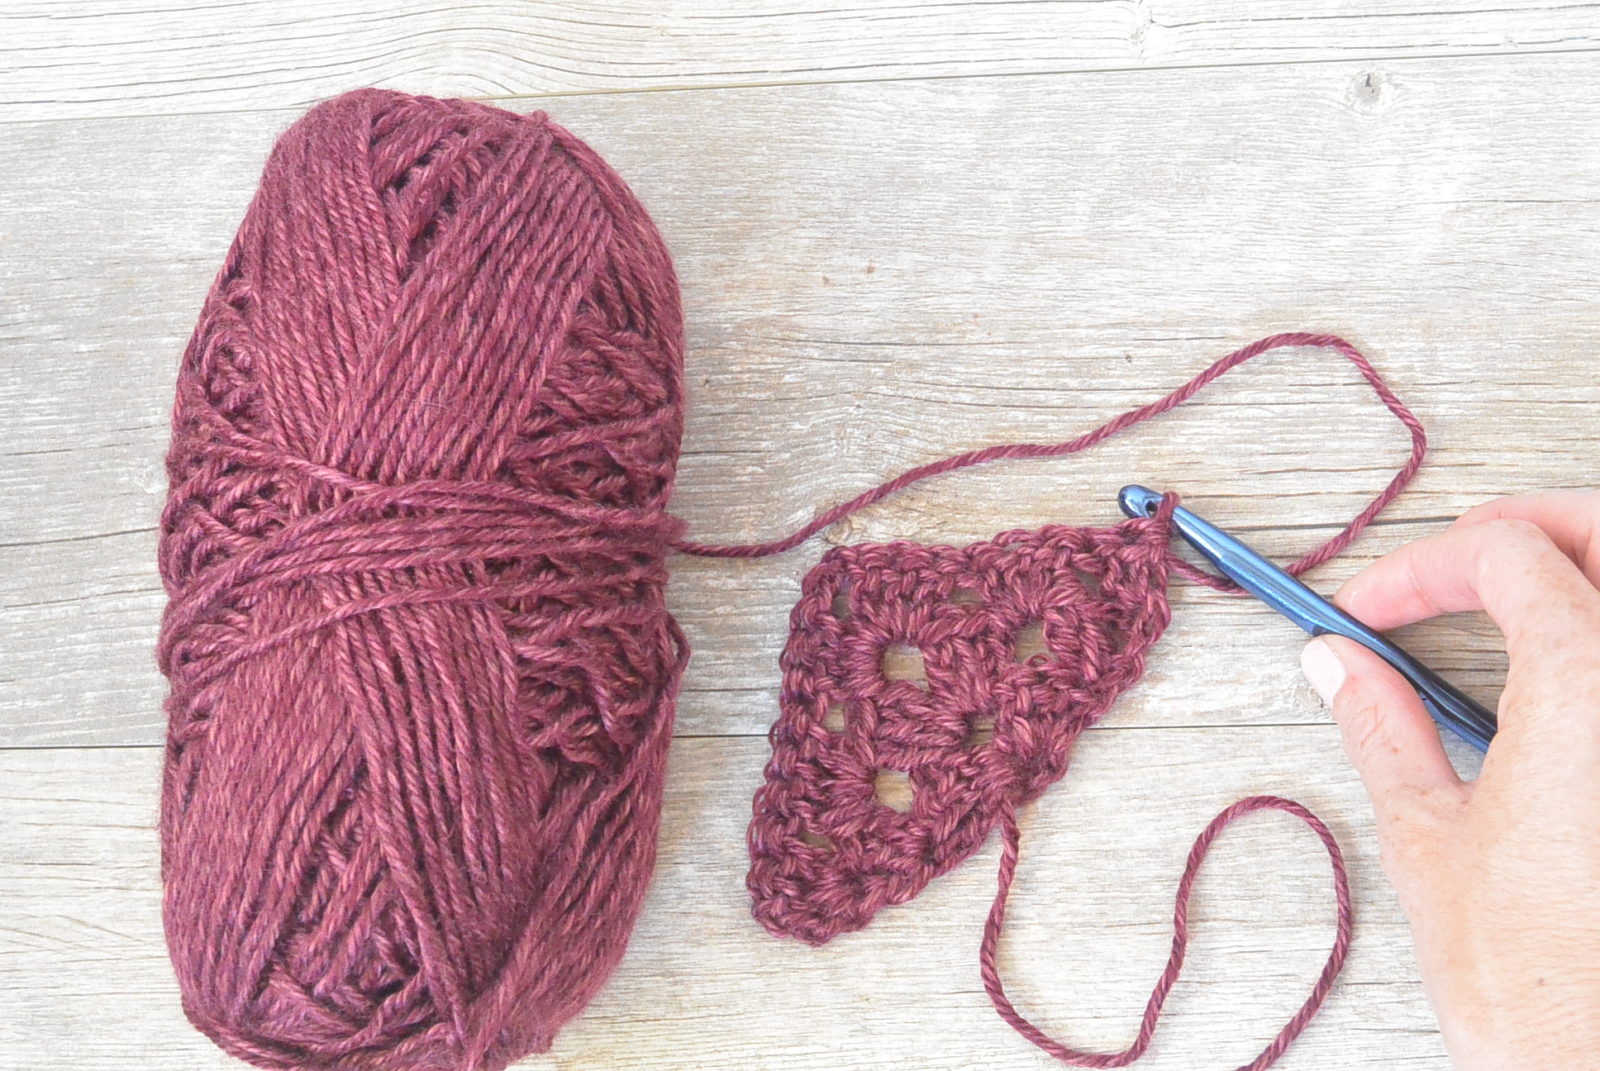
Purchase or grab 4 colors of worsted weight yarn from your stash – you’re going to need several skeins of these colors. If you want to stick with the fall theme, choose colors like reds, yellows, burnt oranges, browns, taupe, grey and any neutrals that you like! Think harvest, gourds, corn, leaves and all that good autumn stuff. The yarns used here were from my neighbor Gwyn’s stash and a bit from my stash as well, but they included Lion Brand Heartland Yarn in Acadia, Lion Brand Heartland Yarn in Mount Rainier (here). I’m pretty sure that the other two colors are Lion Brand Vanna’s Choice in Taupe and Rust (here). Remember that you can be creative and use any colors that you like!
![]()
I love Heartland for how soft it is and for the heathered color tones.
Step 2 Hook + Crochet Chain
Grab your US Size J crochet hook, one of your skeins of yarn, and make a chain as long as you’d like the width of your throw blanket. The crochet chain is the first step to nearly any crochet pattern. You can see how to make an initial chain HERE from Annie’s Catalog.
Step 3 Crochet with Double and Single Crochet Stitches
Double crochet across the row for the first row, then single crochet across the row for the second row. Here is a tutorial from Annie’s Catalog about how to double crochet (here), and here’s a tutorial on single crochet (here) Then repeat these two rows for the remainder of the blanket, changing colors when needed. This alternating between single crochet and double crochet is a great way to get used to using different stitches while working an easy stitch pattern. Because I’m a little impatient when it comes to making big blanket like this, I’ll most likely simply double crochet across each row if I make one. This way it will work up a bit quicker and look almost exactly the same.
Step 4 Change Colors
Once you’ve made the stripe as wide as you’d like, it’s time to change colors! Here’s a great tutorial on changing colors (here).
Next, you will simply continue to work the pattern making the stripes as you go. You’ll want to keep the stripes equal widths by either measuring or counting your rows. Of course, you can also get creative and make stripes all different widths as well. Part of the fun is making it your own!
Step 5 Finish It Off!
Tie off and weave in the ends once your blanket is as long as you’d like. 🙂
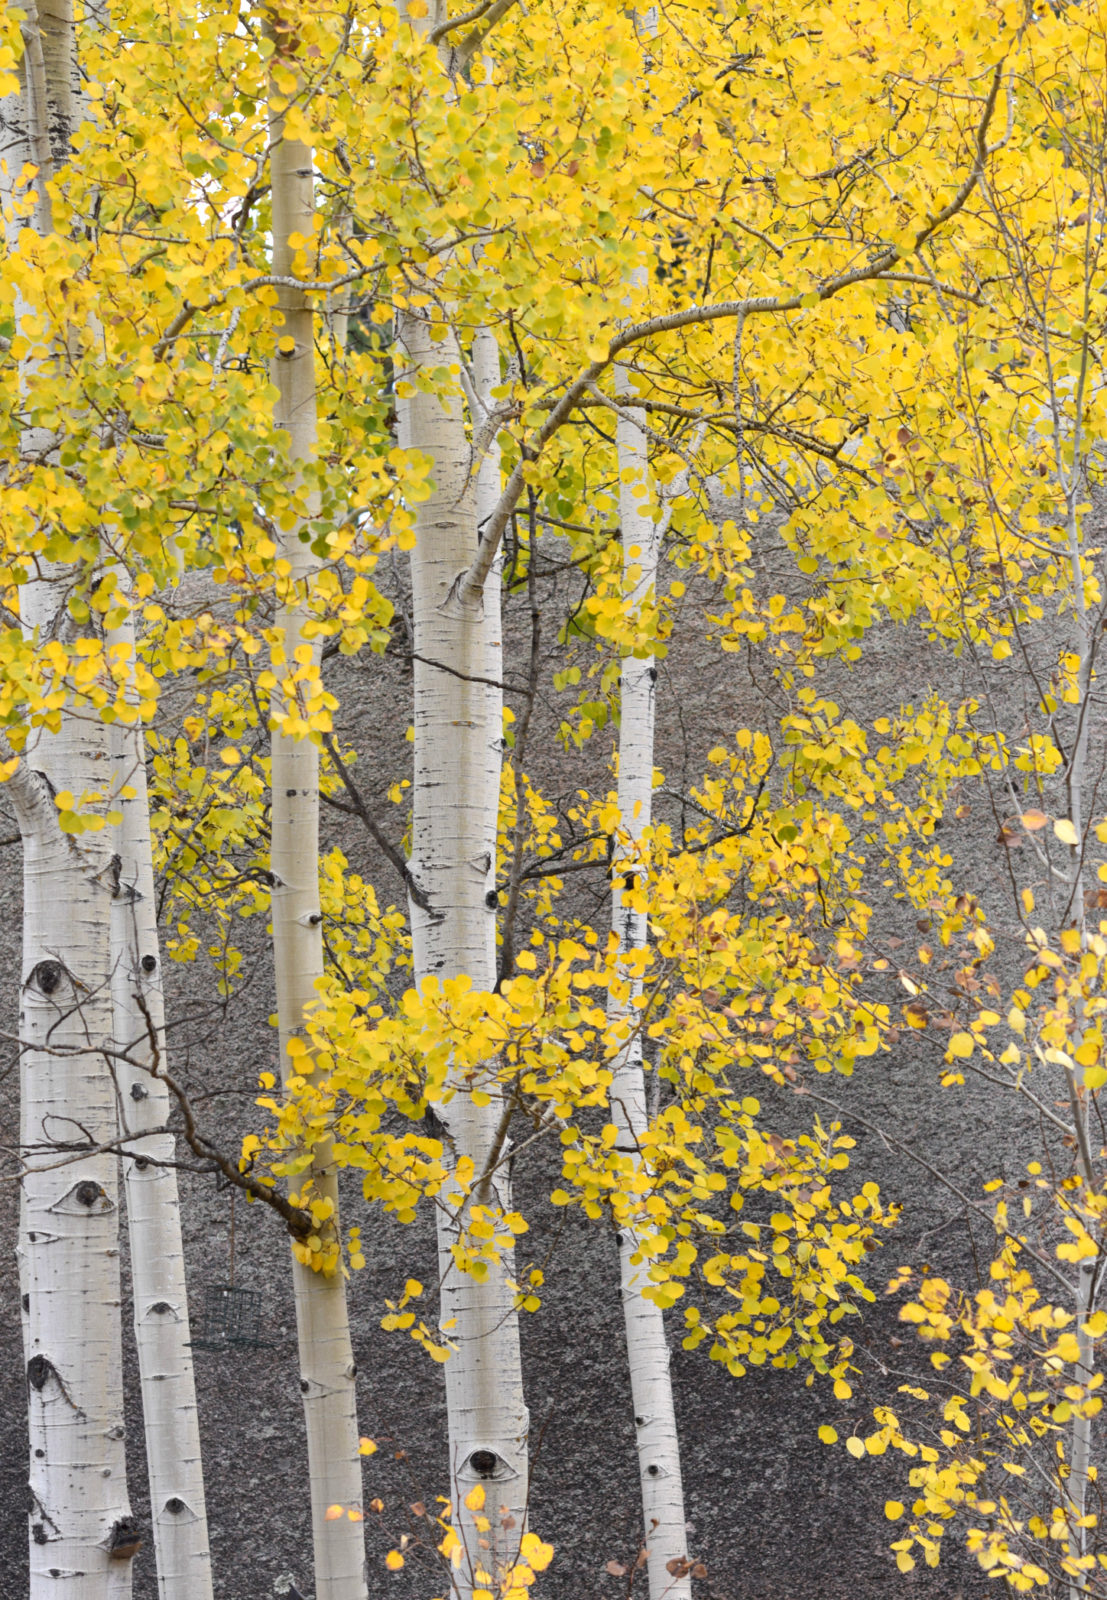
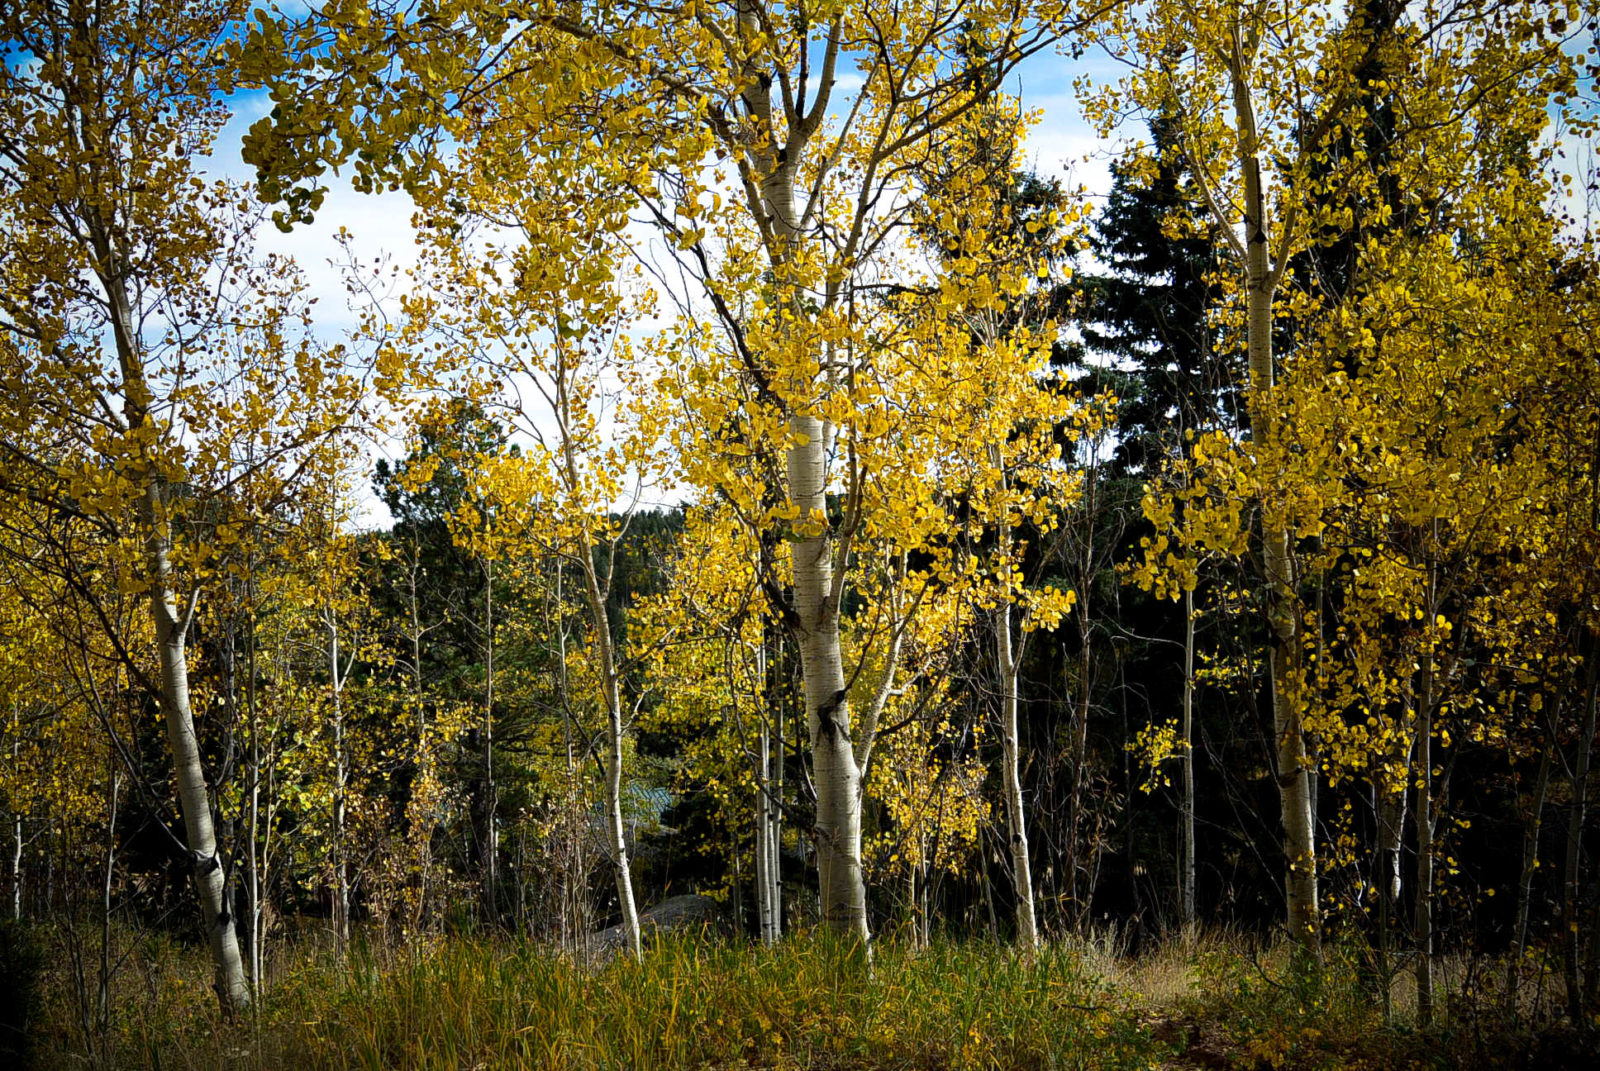
Now how about a little fall inspiration? Such a gorgeous season, right? I took these photos in Pike National Forest. 🙂
Do you enjoy making blankets during the fall season? I’d love to hear if you have a favorite blanket pattern or if you plan to make one like this!
![]()
XO
Jessica
If you liked this, you might also like:
Mod Heirloom Crocheted Blanket Pattern
![]()
![]()
Native Stripes Knit Blanket Pattern
![]()
This blanket is beautiful! Thank you for sharing this sweet story about your neighbor. I have a ton of bits of yarn that I really should turn into a blanket! I love the Fall colors, too.
Hi sweet Christina! So great to hear from you here on the blog! I too definitely have a lot of yarn that could be used for a blanket. Now to find all the time, right? Lol! Have a great day friend.
Way to go Gwyn! Beautiful!
🙂
I’ve been procrastinating learning to crochet, I think I need to stop procrastinating because I want this blanket! I’m a little blanket-crazy at the moment, I have 2 on needles at the moment (I knit). 🙂
Should I get the thick version of that yarn? Or are you using the normal yarn? Thank you
I have been looking for a pattern like the fall throw blanket pattern. Thank you for sharing it. Could you share the finished size of it.
Working on one of your kimono patterns now.
Thanks again Kay
I love this blanket! What an easy way to make something so cozy. I have used both the Vanna’s Choice and Heartland.and they are soft. I was going to get the Mount Rainier yarn to start a blanket of my own, but it is a gray and it looks like you have a blue in your blanket. Could you have used something different?
Can you start with a foundation double crochet on this pattern?