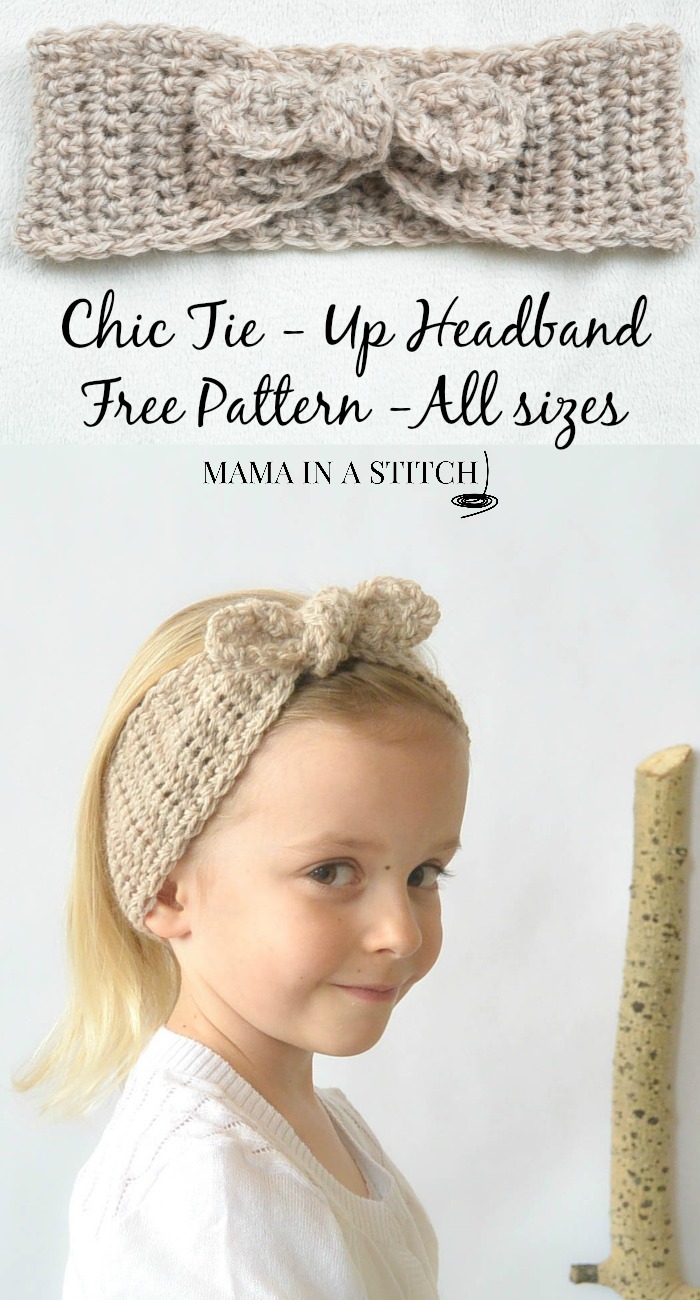
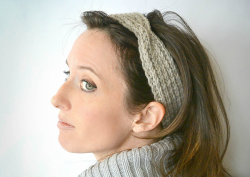
Naturally Chic Tie-Up Crochet Headband Pattern
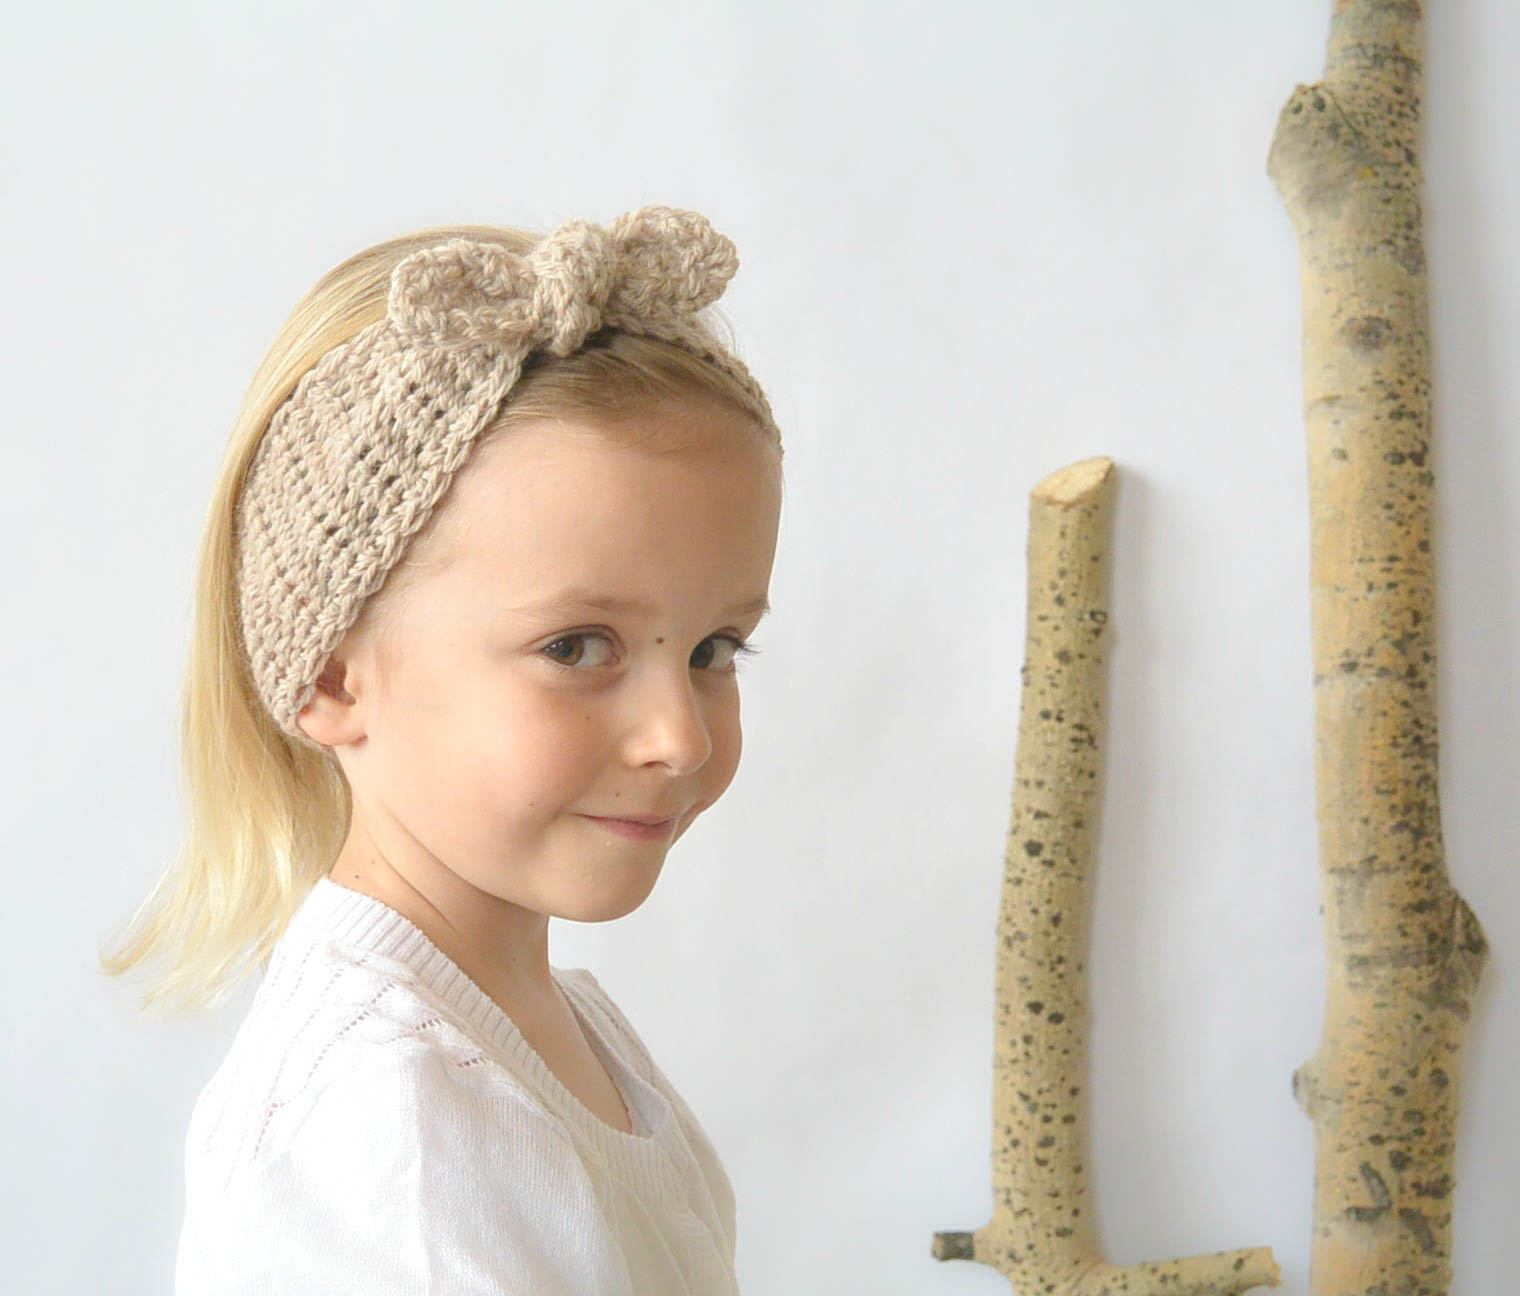
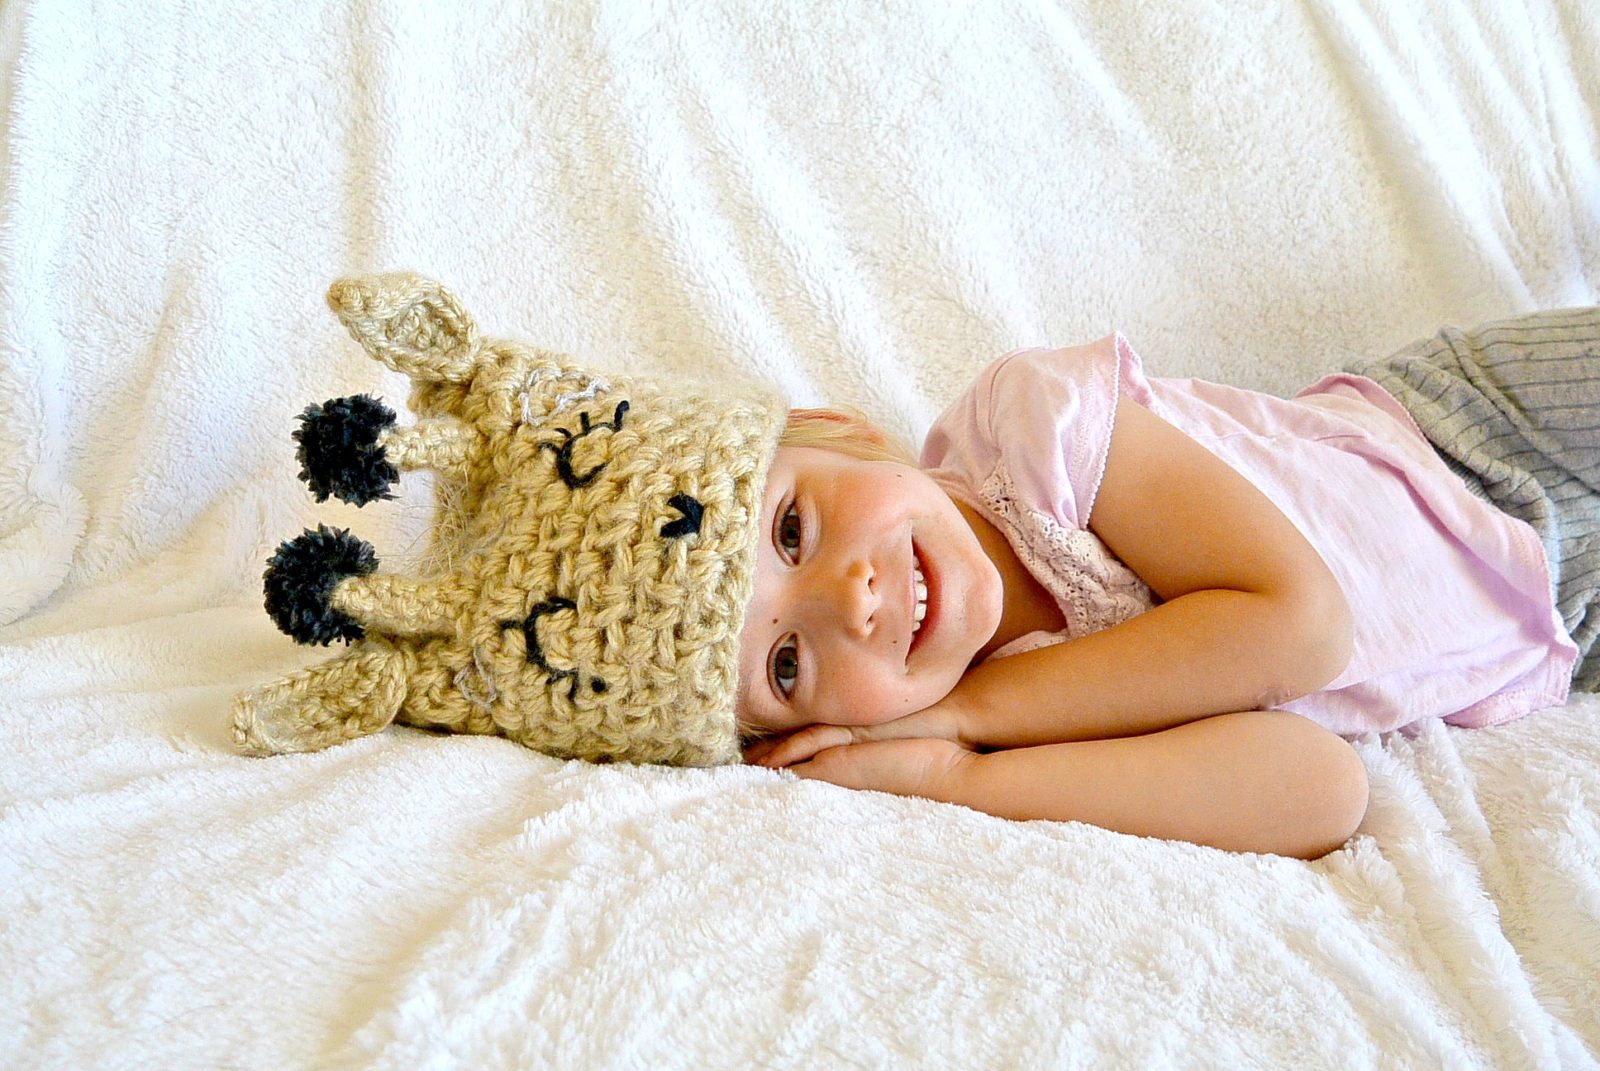
Thanks to a few of my readers for requesting a crochet version of the “Knit Vintage Chic” headband pattern. It’s so cute on my girl, don’t you think? I was so excited to get this precious shot of her…ugh, she’s growing up too fast!
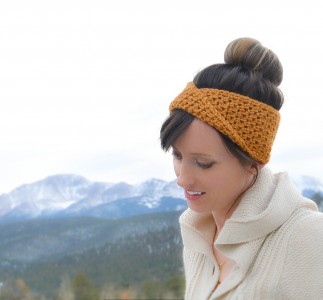
These headbands can be made for any size, and I’ll make sure to give you directions for a lady and a kiddo. 🙂 This pattern doesn’t have as many pictures as many of my patterns since I was working on it late at night and the lighting was quite bad for picture taking. The good thing is that the knit headband from a few weeks ago was assembled in the exact same way and there are several pictures from that pattern! I will post some of them here to help you along, but definitely click on the knit headband pattern to see the full picture tutorial.
This is so very easy and totally beginner friendly. I remember when I first started crocheting, sometimes it was hard to find pretty and super easy patterns. The only things you need to know how to do for this is to single crochet, and sc 2 tog, which means single crocheting two stitches together. Search it on YouTube if you’ve never tried it….so easy!
You will need:
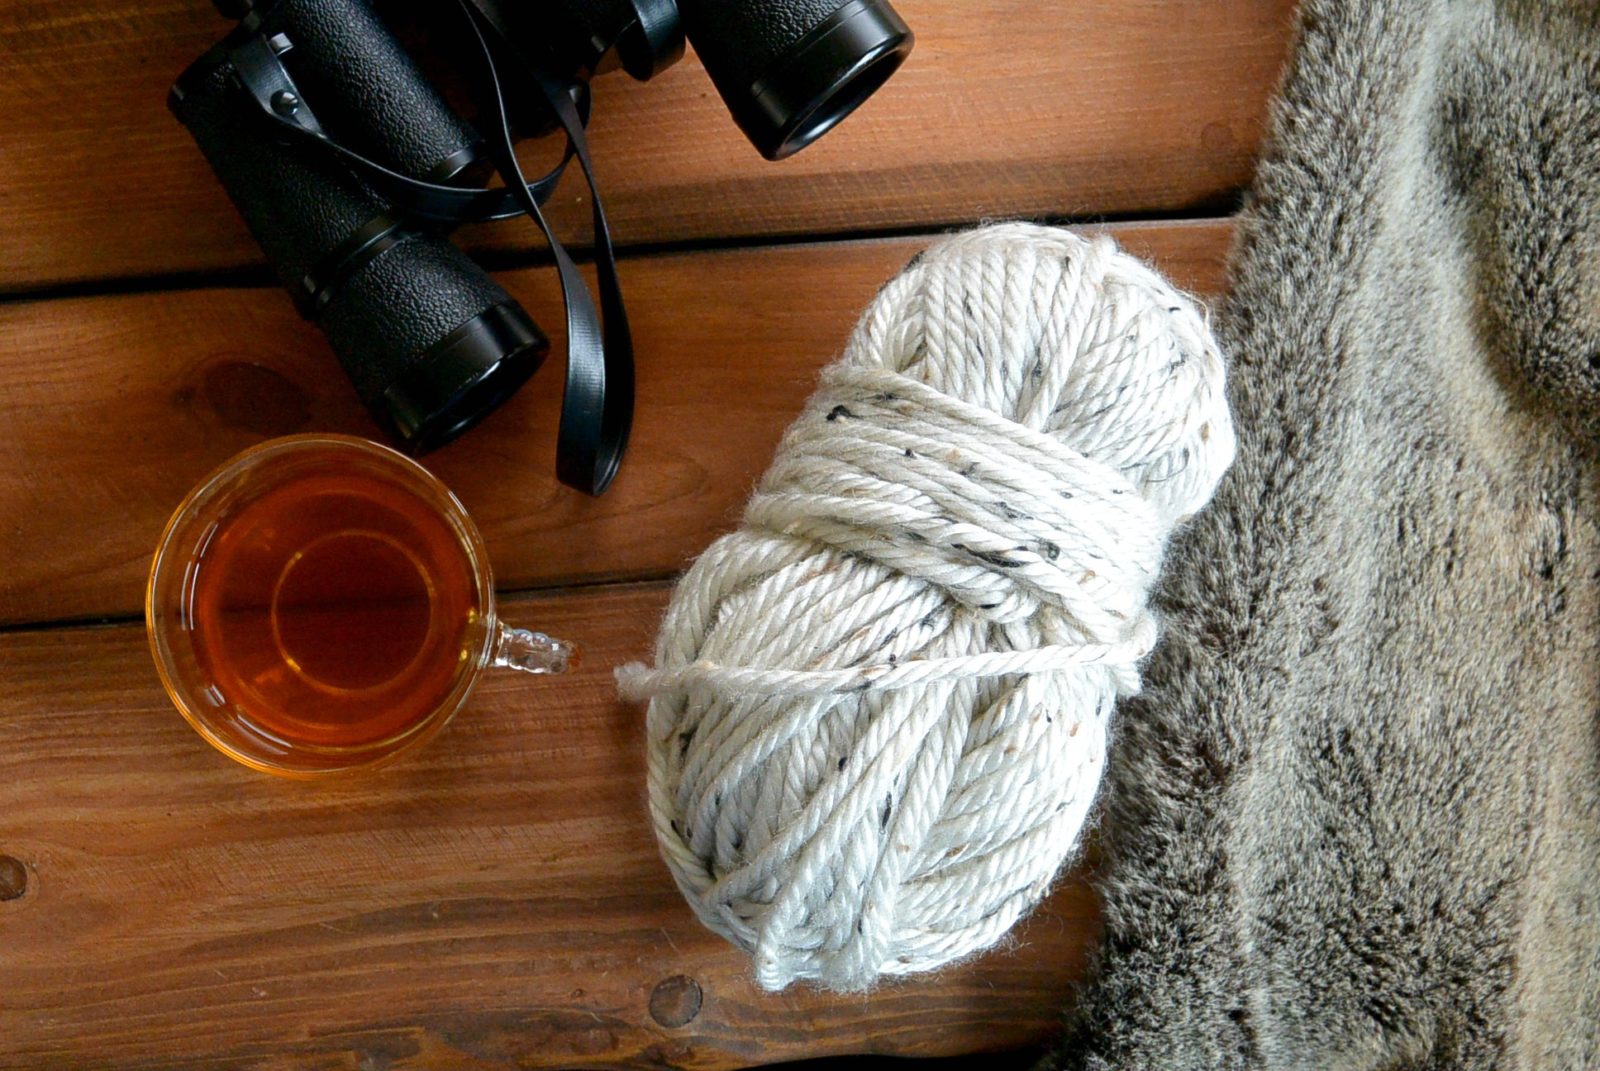
US Size G Crochet Hook
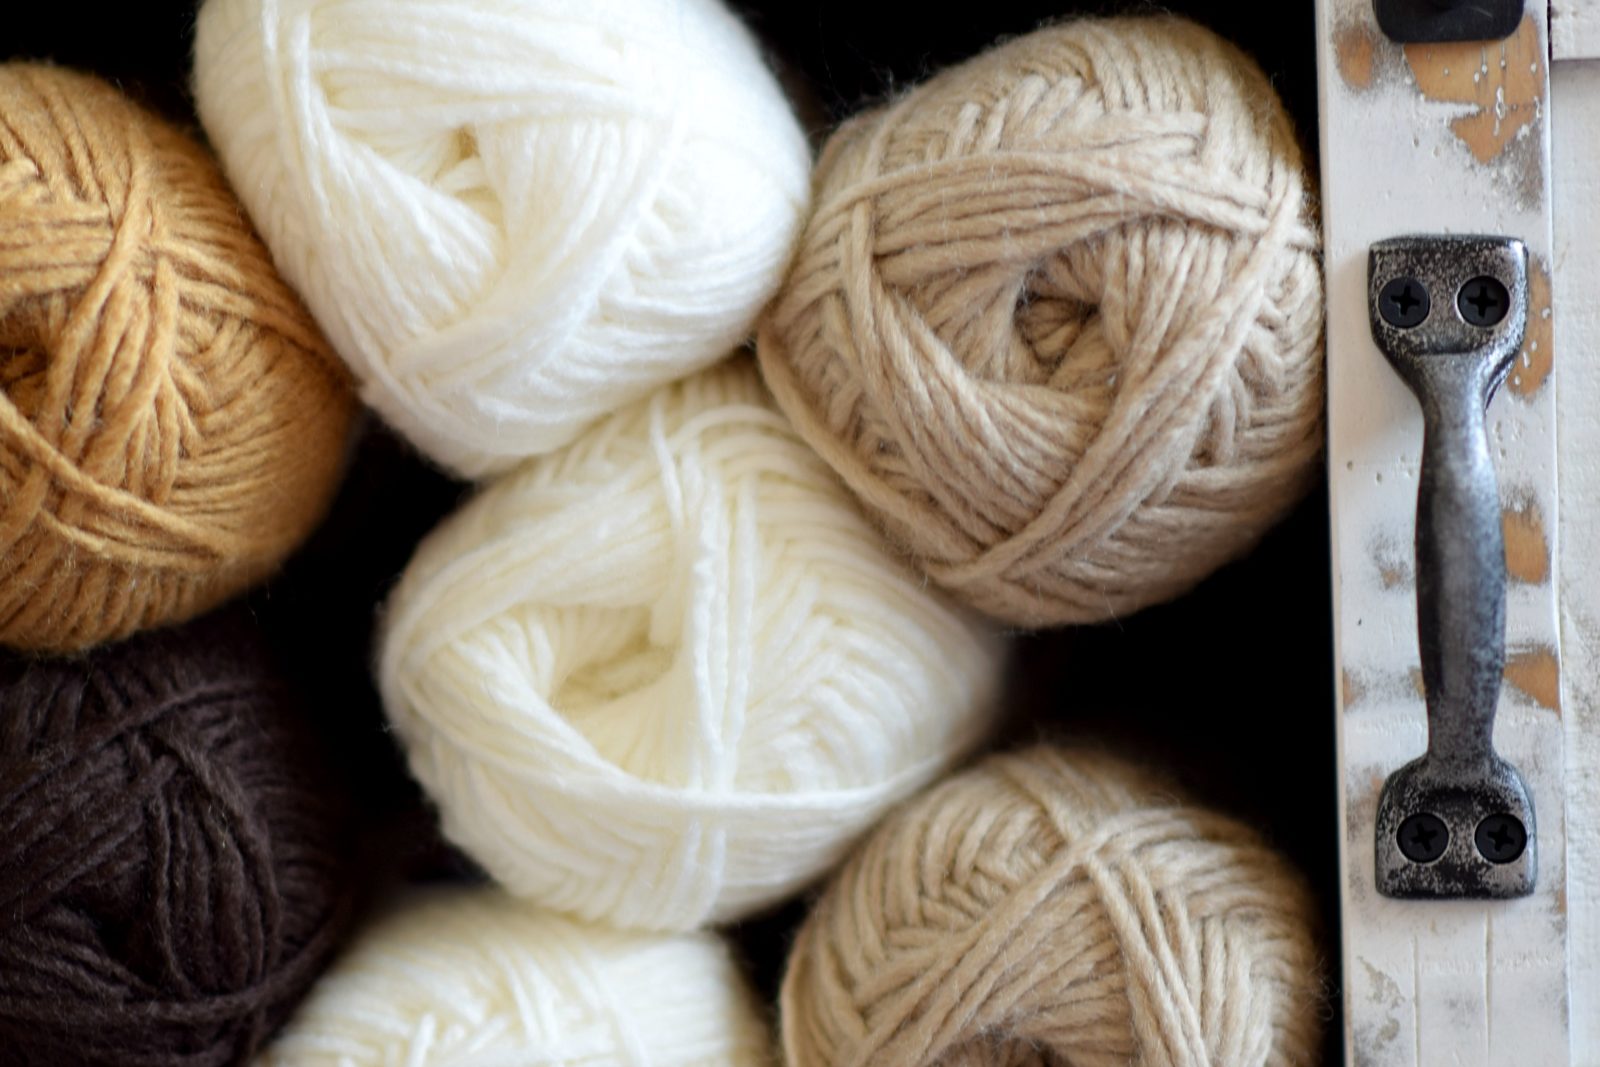
Worsted Weight Yarn ( I used Patons Classic Wool in Natural Mix which I found at Michaels Stores )
Scissors
Tapestry Needle to weave in ends
Naturally Chic Tie-Up Crochet Headband Pattern:
Chain 11
Row 1 Sc across row (10 stitches)
Repeat row 1 until the piece measures approximately 17″ long for an adult, 16″ for a child
(If you can, test it around your head. Depending on the elasticity of the yarn you use and the size of your head, you might need it longer or shorter)
**The length which the piece measures at this point is what will go around your head. We then continue to make it longer in order to have the “tie-up” portion. Make sense?
You now have a long, rectangular piece. It is now time to begin decrease rows.
Decrease Section ( Essentially you alternate rows. One row you decrease at either end, the next row you simply single crochet across)
Next Row – Sc 2 tog, sc across to last two stitches, sc 2 tog, ch 1 turn
Next Row – Sc across row
Repeat these TWO rows, alternating a row with the decreases and a normal row until you have one stitch left. Tie off, weave in ends. This is what gives you a tapered ends for that cute tie on the top.
You now have one end that has the tapered triangle. You will now do the same to the other side of the headband.
Attach your yarn to the corner of the headband, where you started on row 1. You will be making a triangle just as you did a moment ago at the end of the headband.
Row 1 Sc 2 tog, sc across until you reach the last two stitches, sc 2 tog.
Row 2 Sc across
Repeat Rows 1 & Row 2 until you are left with one stitch. Tie off weave in ends.
Now you will single crochet around the entire outside edge of the headband. Tie off, weave in ends.
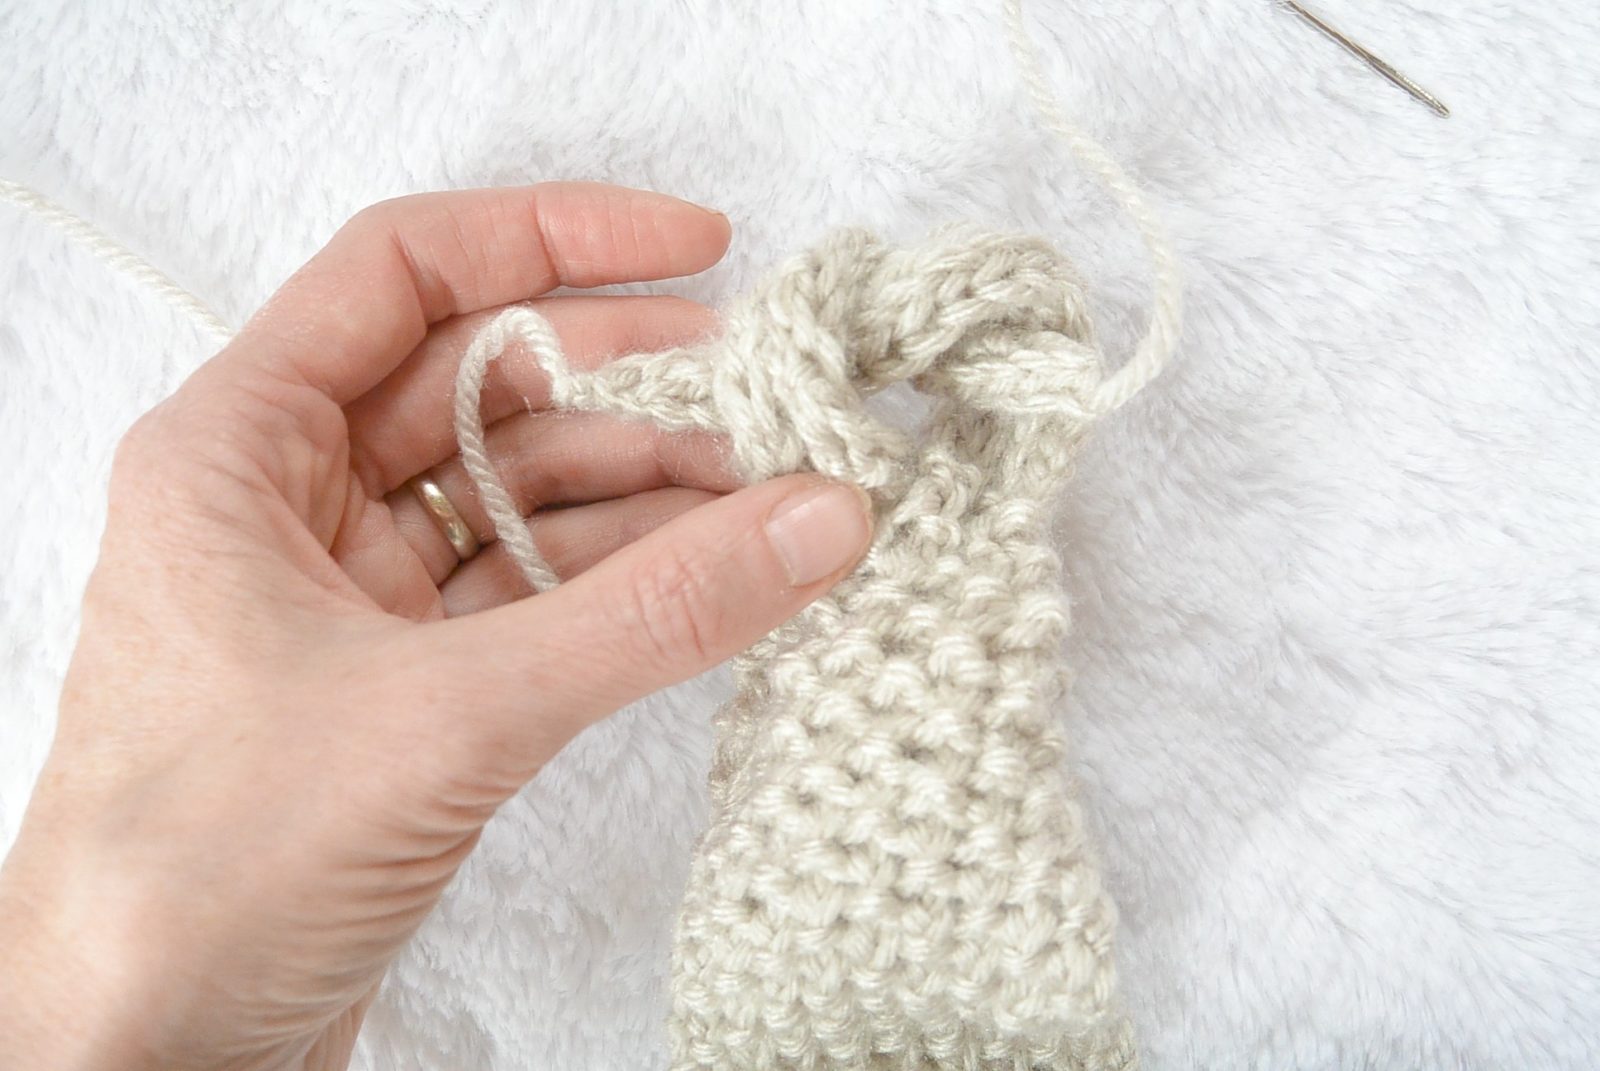
Assembly:
I’m going to explain how to assemble the tie-up portion, but you really should take a look at my picture tutorial of the knit version HERE to see how it’s done! I’m a visual person, and a lot of times explanations just don’t cut it!
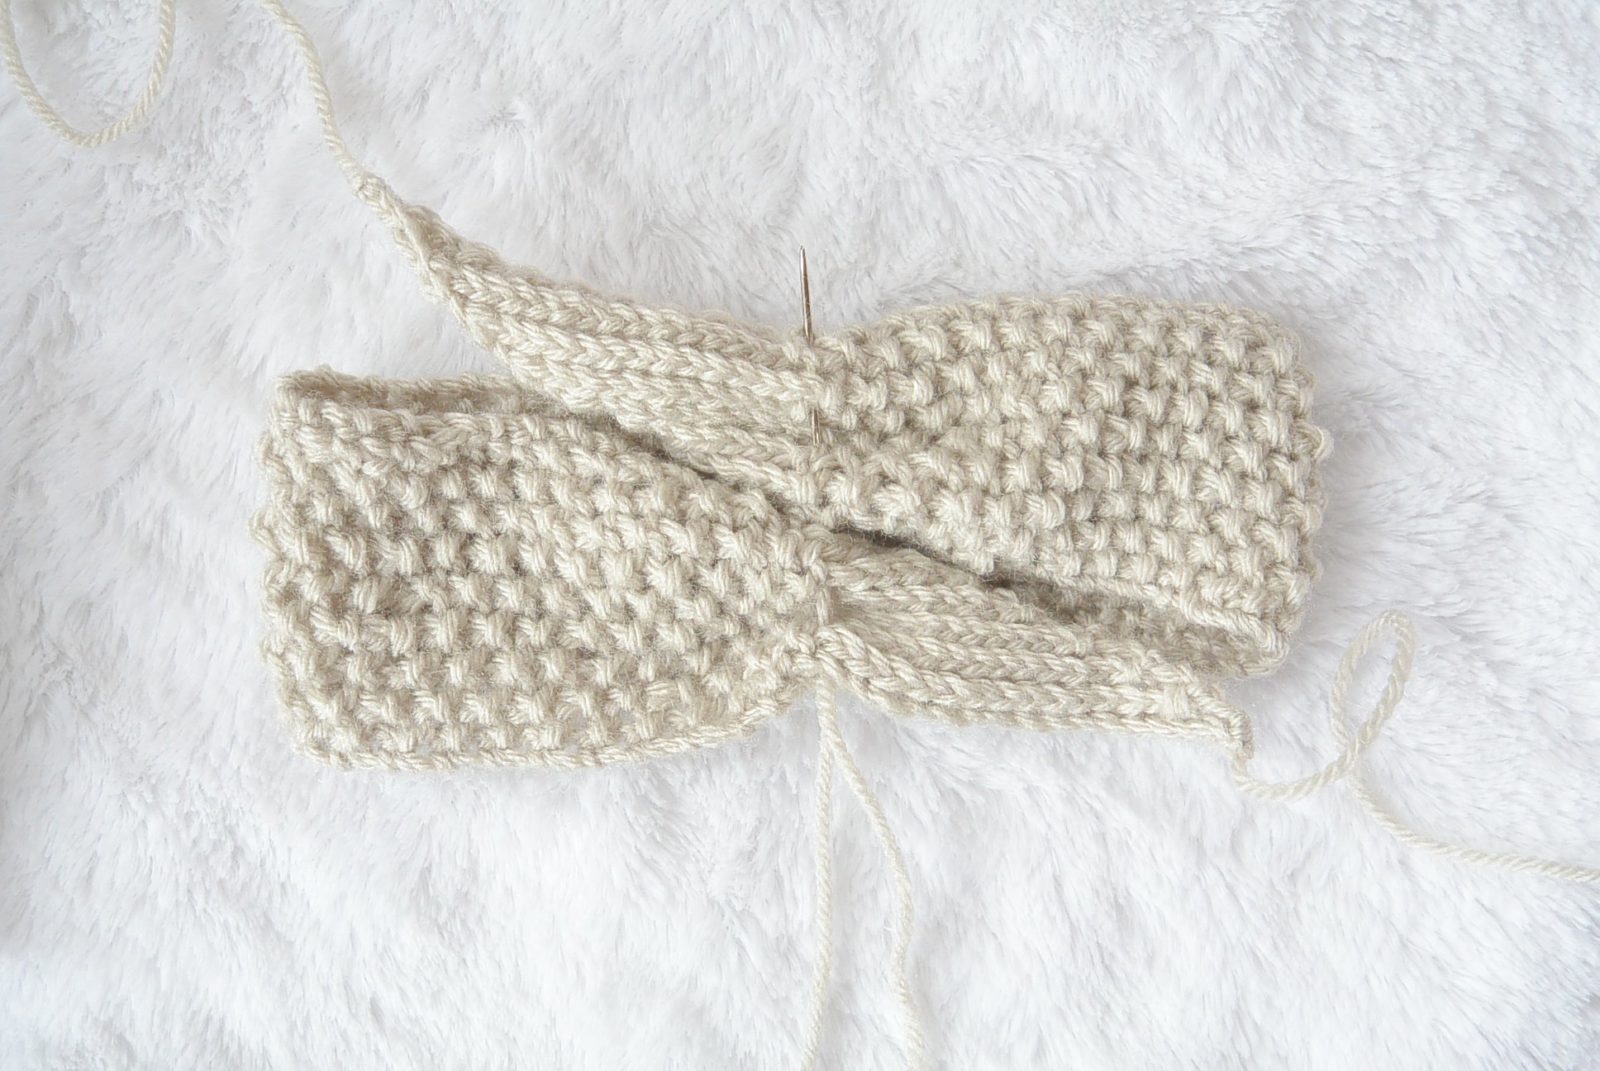
- Lay your piece out flat. Now fold it so the two tapered ends are side by side.
- With your tapestry needle and a length of yarn, work your yarn in and out across both fabrics and cinch together, tie a knot. You are working across the section just before you began to make decreases. Make sure the two sides are attached well by working your needle through both fabrics and tying again.
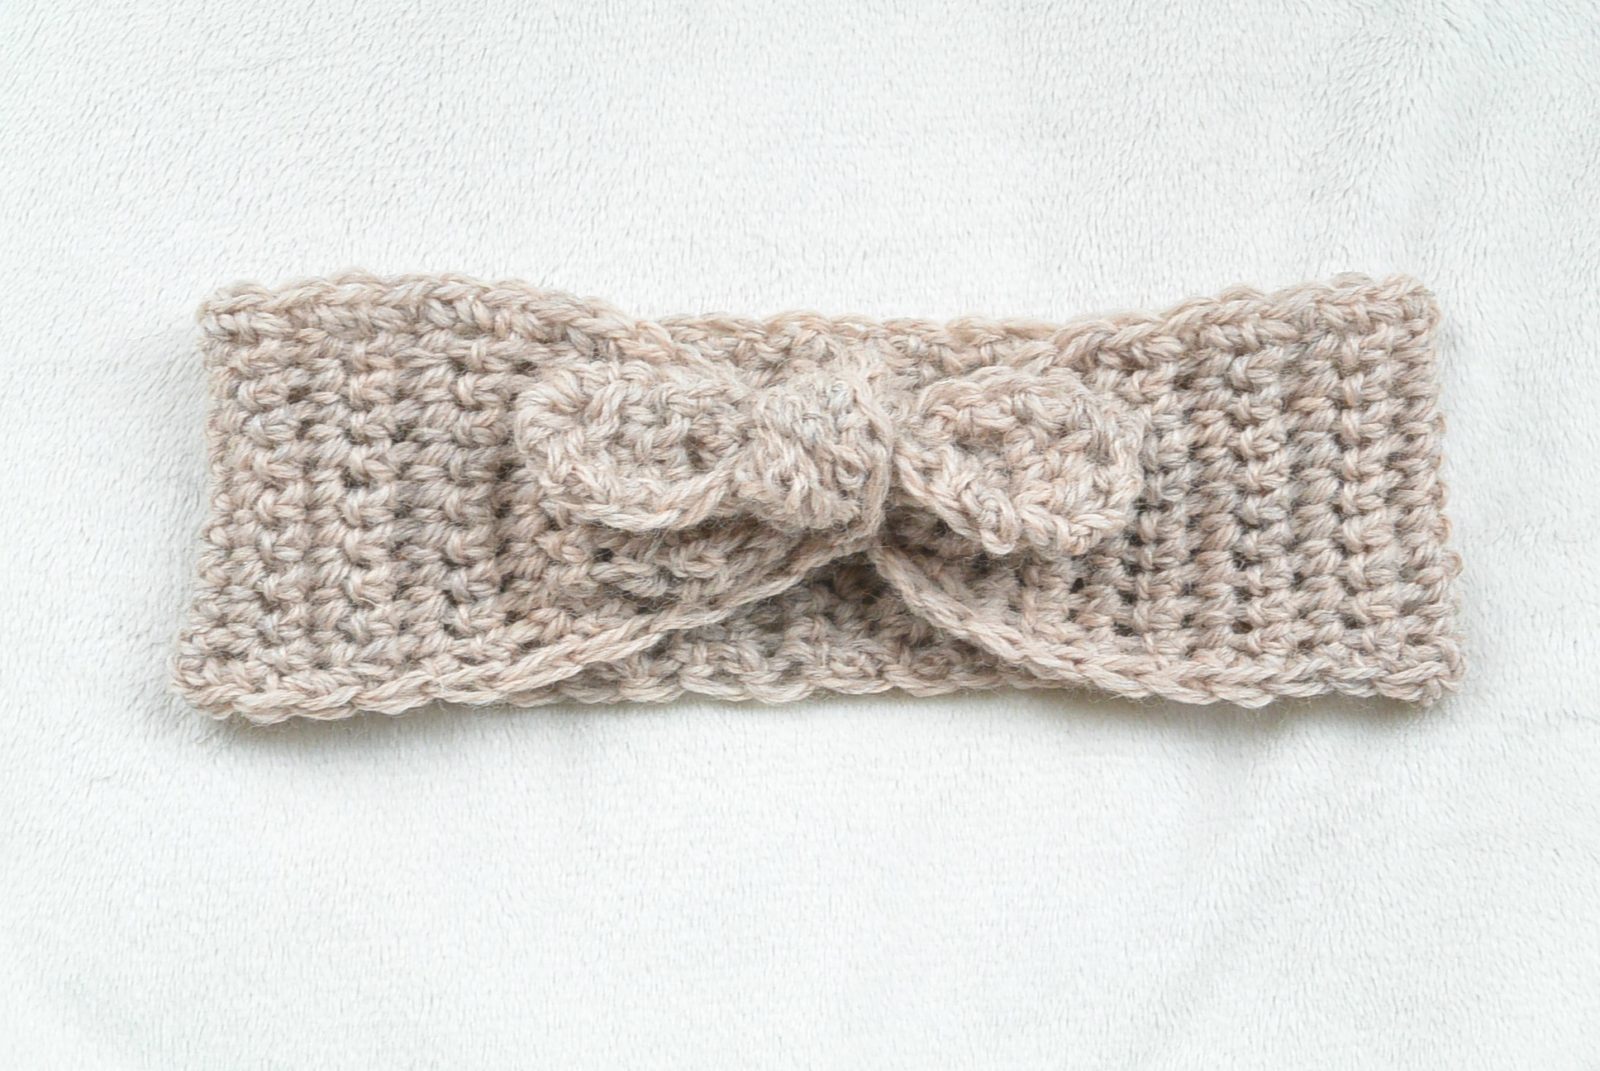
- You now have the two ends sitting on top and they need tied in a knot. Simply tie them in a knot and pull securely.
You’re done!
I sure hope you’re happy with the crochet version of this headband. Feel free to share your thoughts in the comments below. 🙂
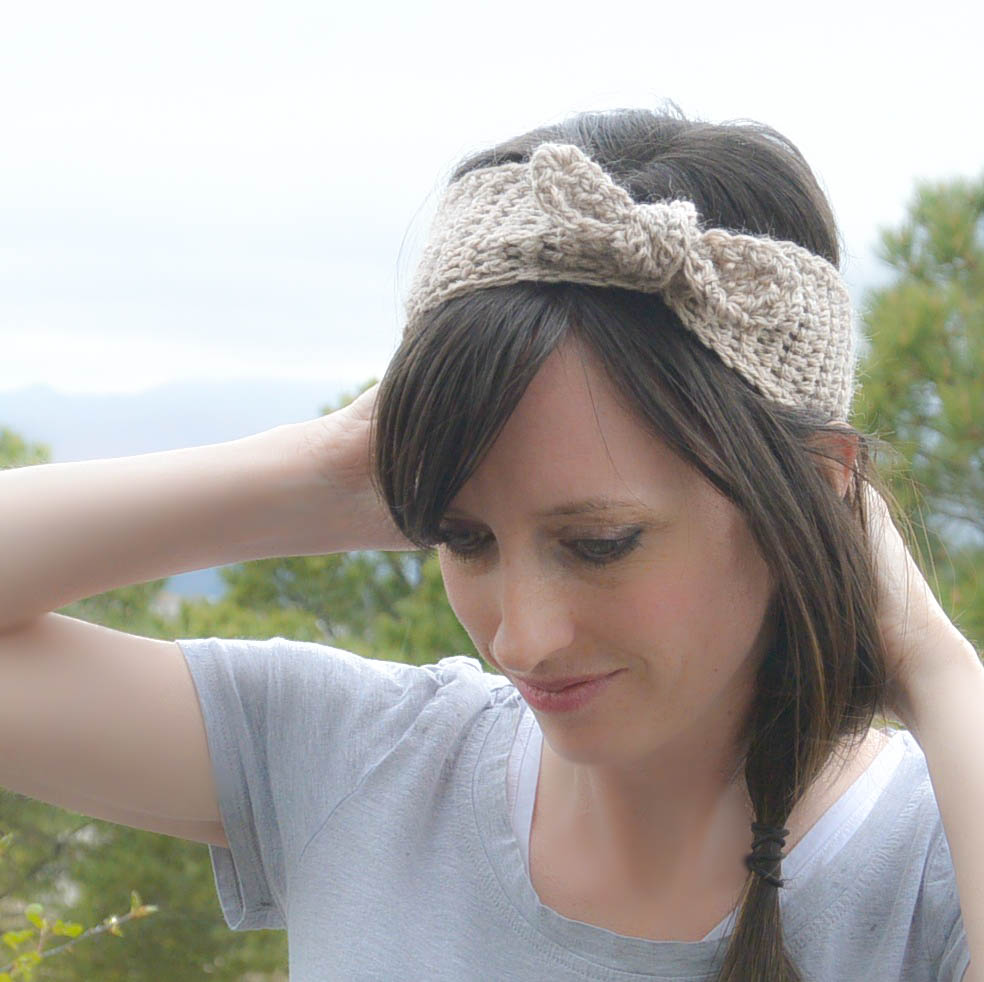
I’m also very happy that it has warmed up around here which means more photos outdoors, which is more my style!
Best to you and yours! XO
-Jessica
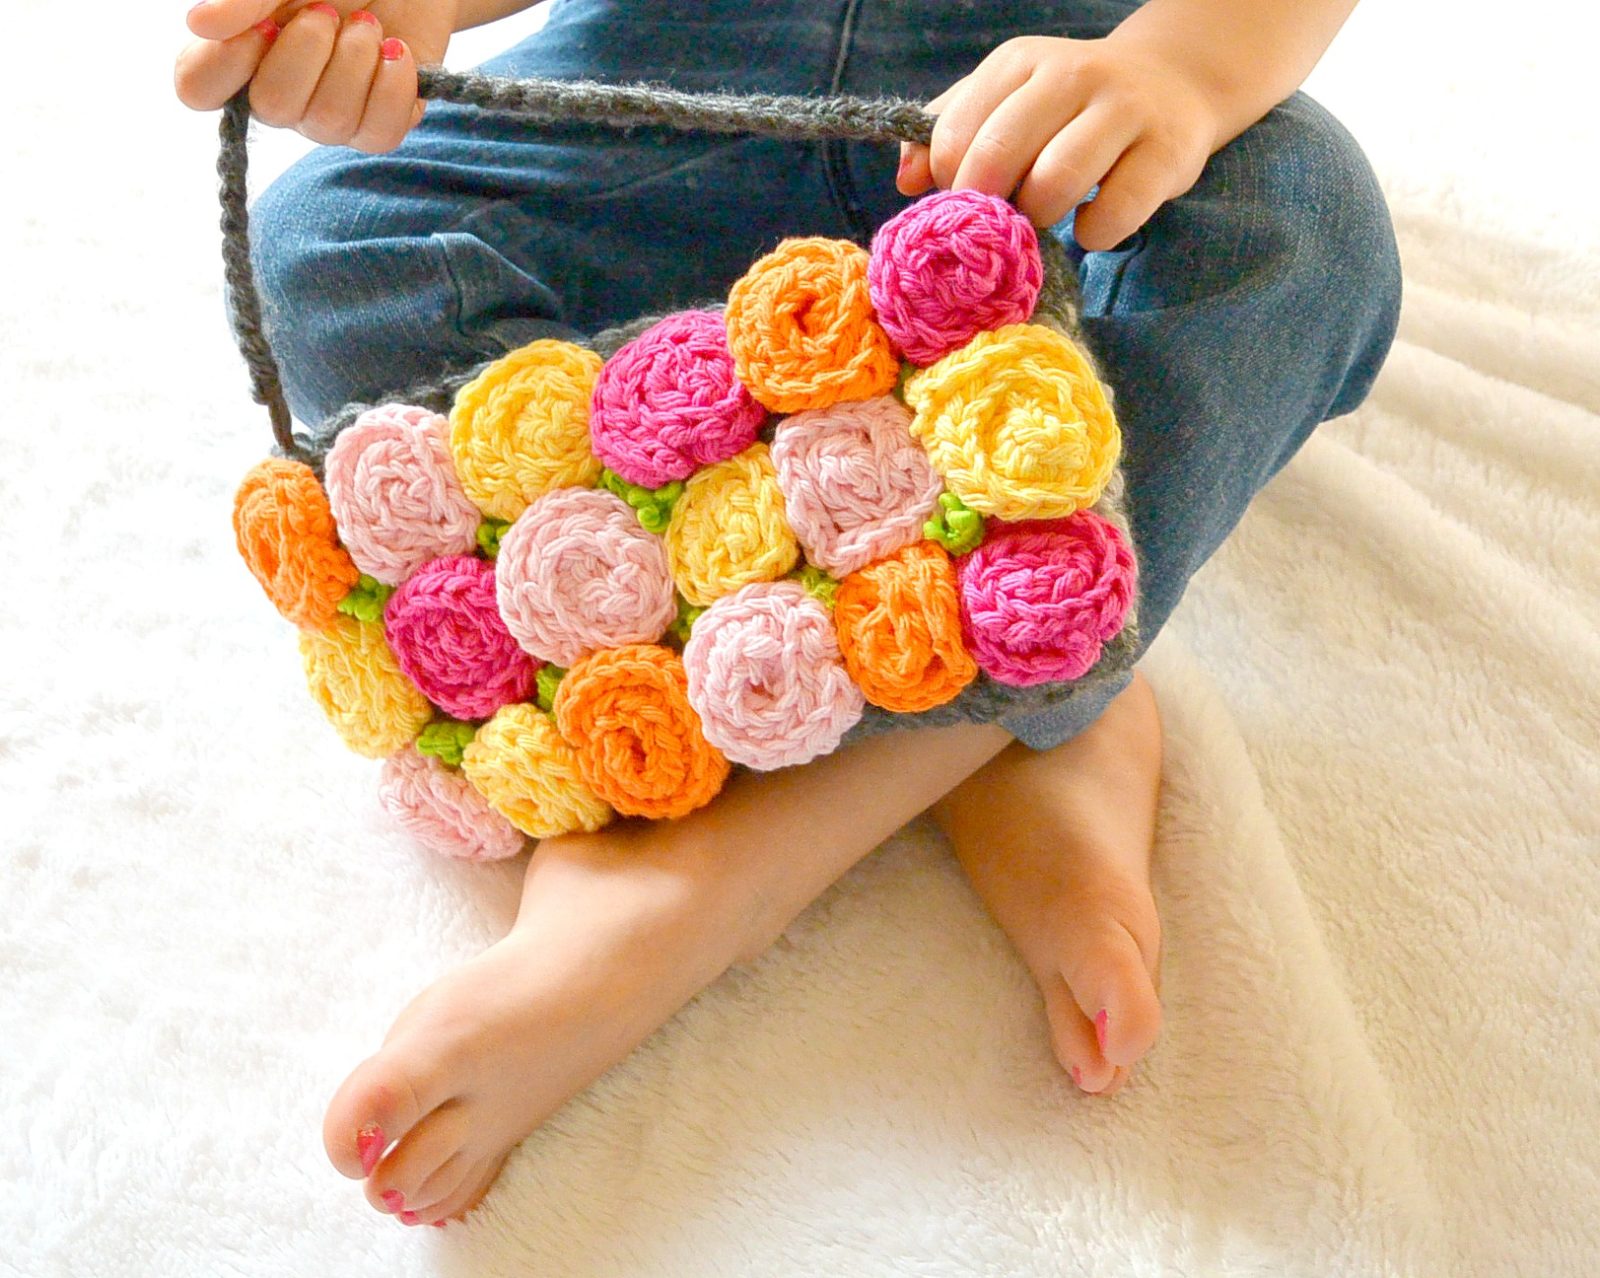
You might also like:
I love it! Thank you for sharing the crochet version! I can’t wait to make them for my grand daughters!
You’re welcome Kathi! I’m so glad that you like it for your granddaughters. 🙂
Thank-you! I was looking at the crochet and thought oh how sweet and easy. I’m just learning to knit finally! So, of course I wondered how a knitted version would be. And there it was right below the crochet one! Thanks so very much. I love your blog!
How sweet! Thanks so much Elizabeth. I’m so happy that you found the knitted one here too! Ha ha! I’m so glad you like my blog. 🙂
This is so cute. Just finished the child size but I think next time I will use size H hook since I
crochet pretty tight. My headband was about toddler size. Love the pattern, thanks.
I noticed that in the knit version you only decrease on one end of the row, but in the crochet version you decrease on both ends which causes there to be a very short tail to tie. Am I reading it correctly?